 5
5
Sharkoon ELITE SHARK CA700 Review
Thermal Stress Test »Review System
| System Parts for Case Reviews | |
|---|---|
| Processor: | ATX: Intel Core i5-11600K mATX/ITX: Intel Core i5-10600K Provided by: Intel |
| Motherboards: | ATX: Gigabyte Z590 AORUS PRO AX ITX: Gigabyte Z590I Vision D Provided by: Gigabyte mATX: ASRock B560M Steel Legend Provided by: ASRock |
| Graphics Card: | Palit GeForce RTX 2080 Gaming Pro OC Provided by: Palit ZOTAC GAMING GeForce RTX 3060 Ti Twin Edge OC Provided by: Zotac |
| Memory: | 16 GB XPG SPECTRIX D50 3200 MHz 16 GB XPG SPECTRIX D60G DDR4 3000 MHz 16 GB XPG GAMMIX D20 DDR4 3200 MHz Provided by: ADATA |
| HDD: | Toshiba MG08ADA400E 7200 RPM SATA III Provided by: Toshiba |
| SSD: | ATX:XPG SPECTRIX S20G 500 GB mATX: XPG GAMMIX S50 Lite 1 TB ITX: ADATA Falcon 512 GB ADATA Ultimate SU800 512 GB ADATA Ultimate SU720 500 GB Provided by: ADATA |
| Power Supply: | ATX: Fractal Design ION+ 650W 80 Plus Gold SFX: Fractal Design ION SFX-L 650W 80 Plus Gold Provided by: Fractal Design |
| Cooling: | be quiet! Pure Loop 120/240/280/360 Provided by: be quiet! |
Assembly
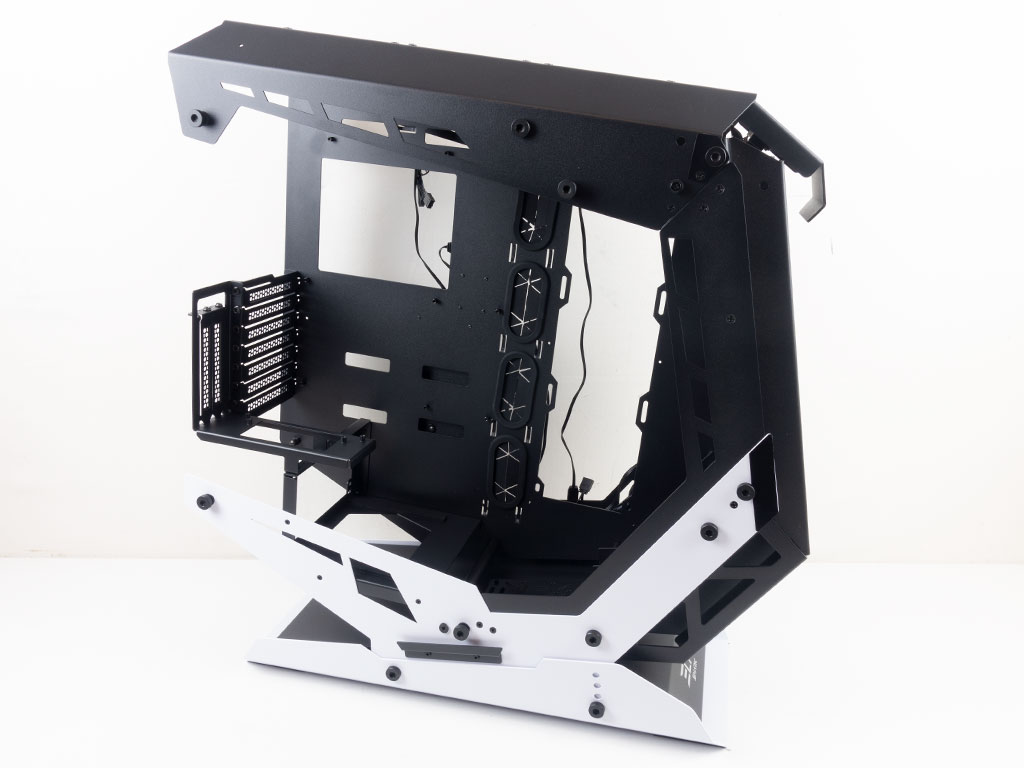
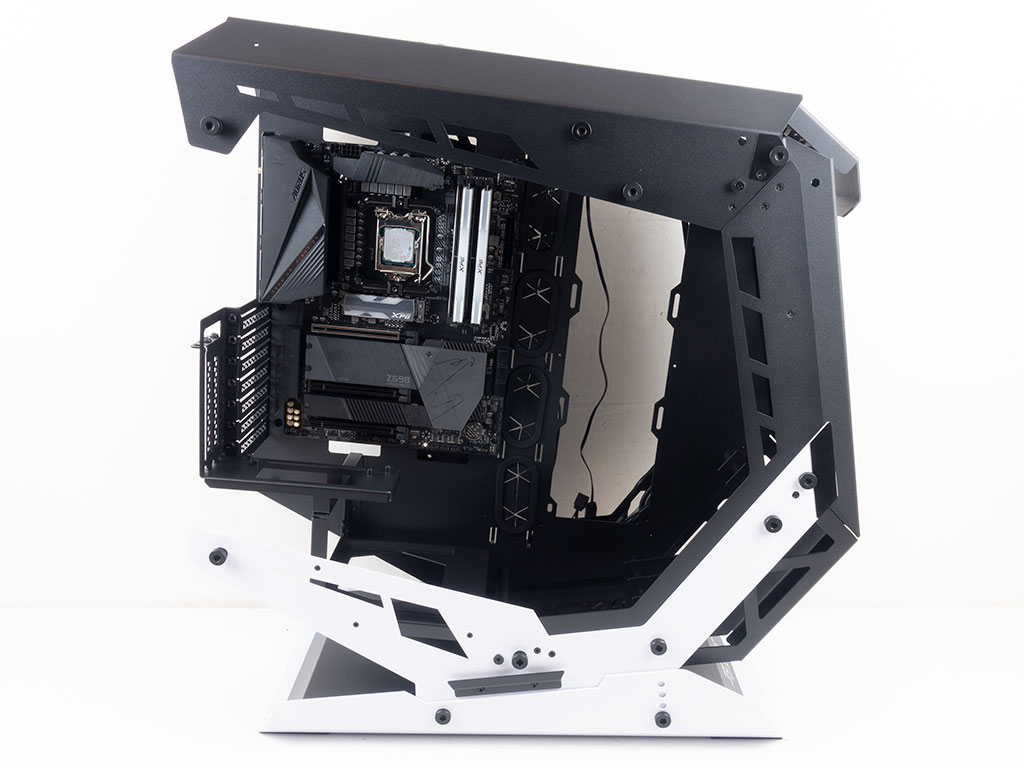
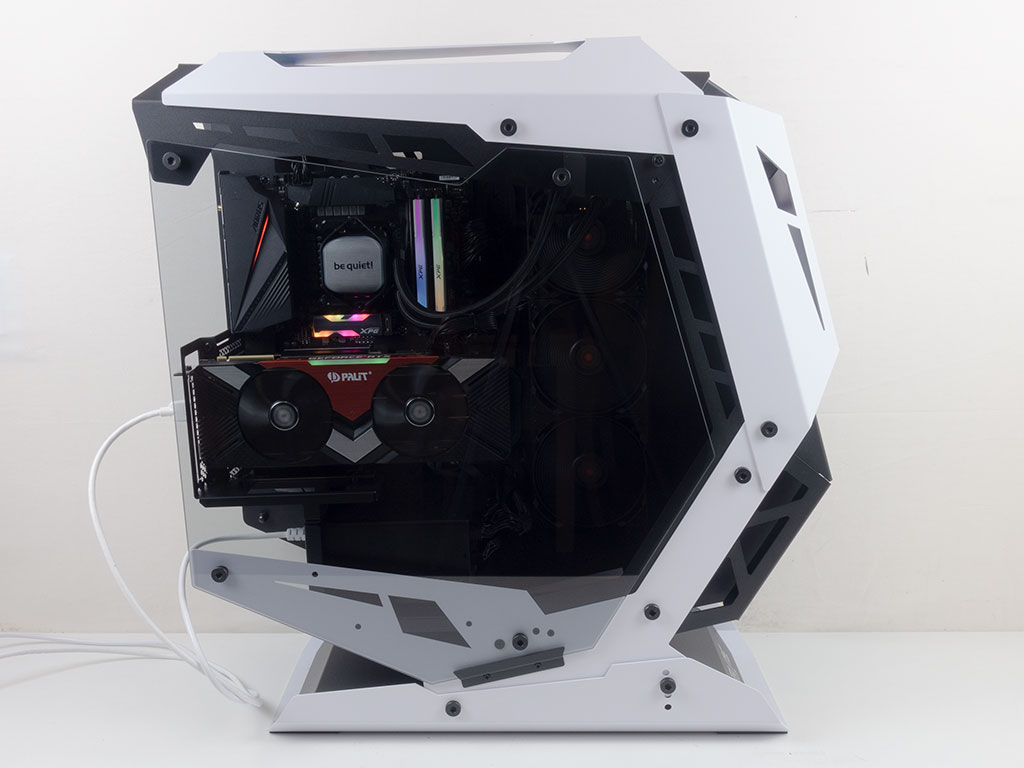
Before adding any components, we went ahead and opted for the 7+2 expansion-slot layout and removed the cover plate from the side-mounting position. The motherboard is installed using traditional means by securing it to the pre-installed spacers with classic screws. Naturally, there is loads of space all around, with plenty of cable-management opportunities on the three major edges of the board.
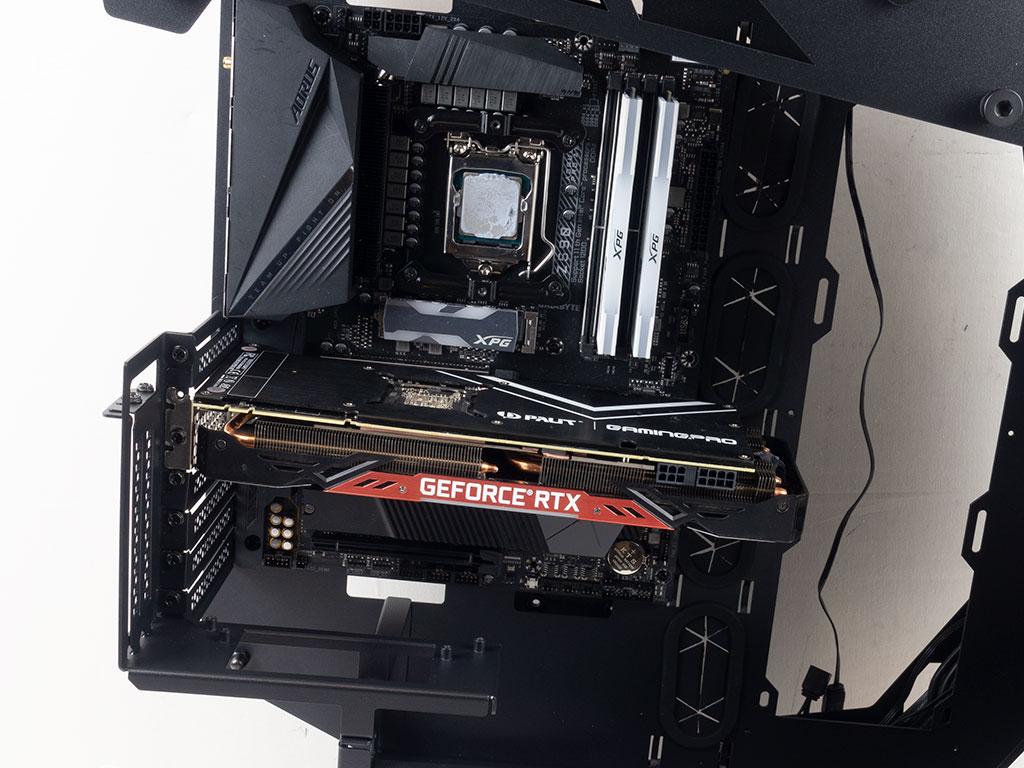
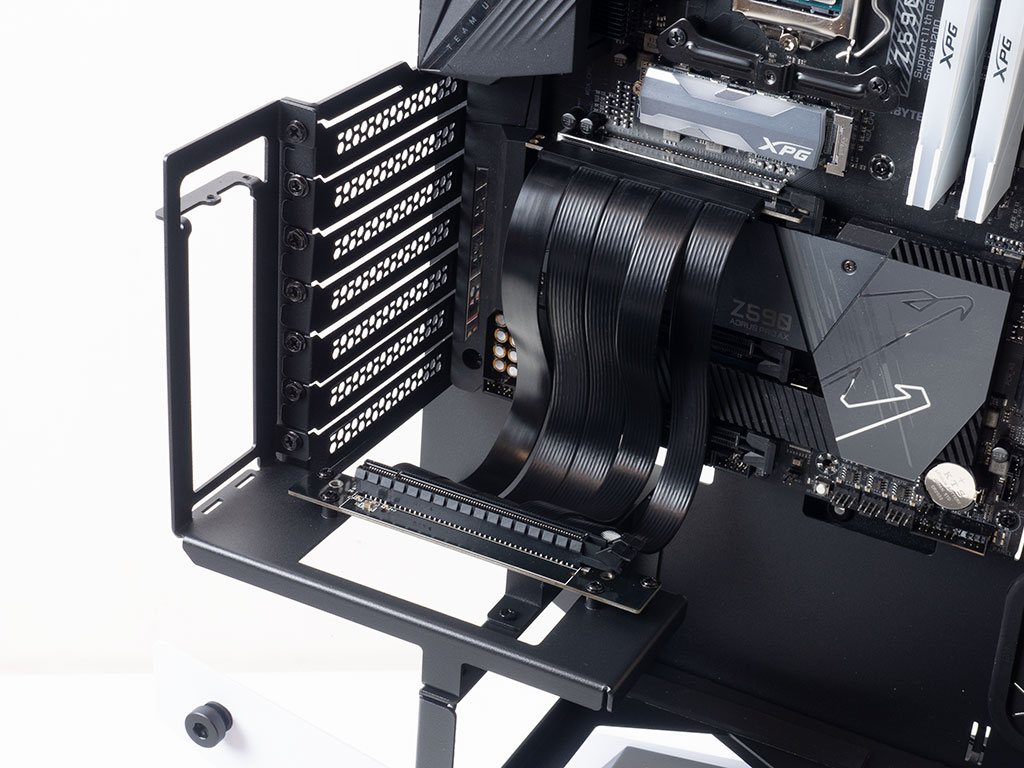
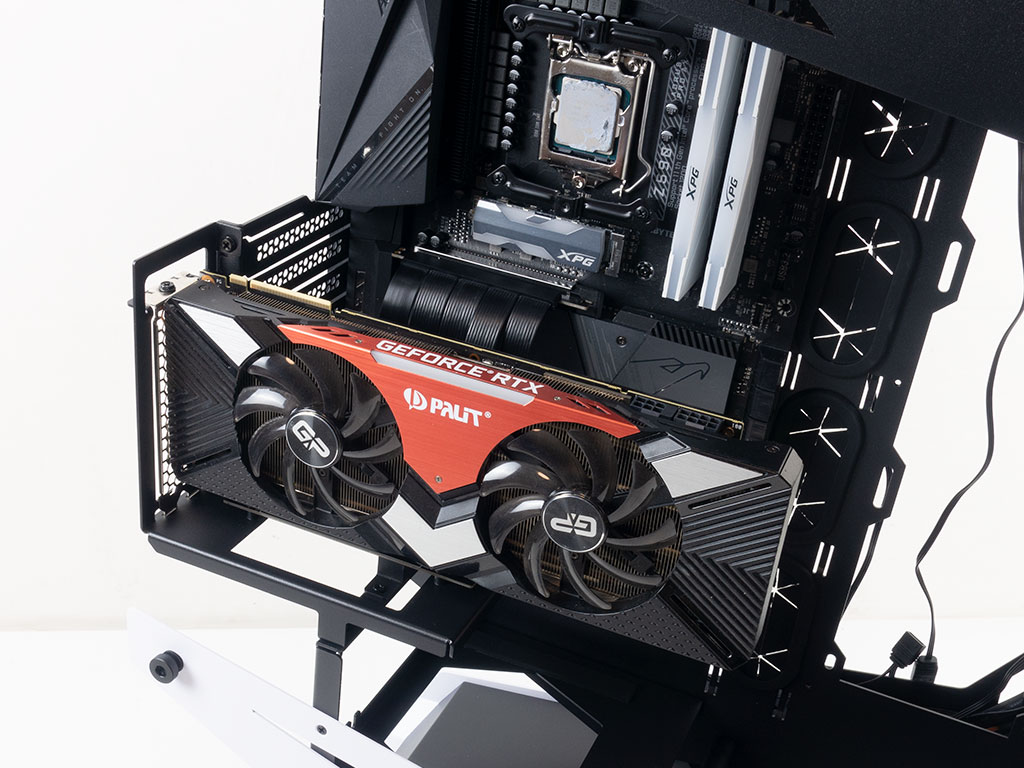
As we have full-sized horizontal slots available, you could simply install your GPU traditionally. There is enough room to accommodate a 320 mm long graphics card without worrying about any side-radiator setup getting in the way of things. Alternatively, once you install the nice and long PCIe cable, you may install your pixel pusher horizontally to really show it off. The ribbon cable being plenty long, you should still be able to use the remaining slots underneath of it as well.
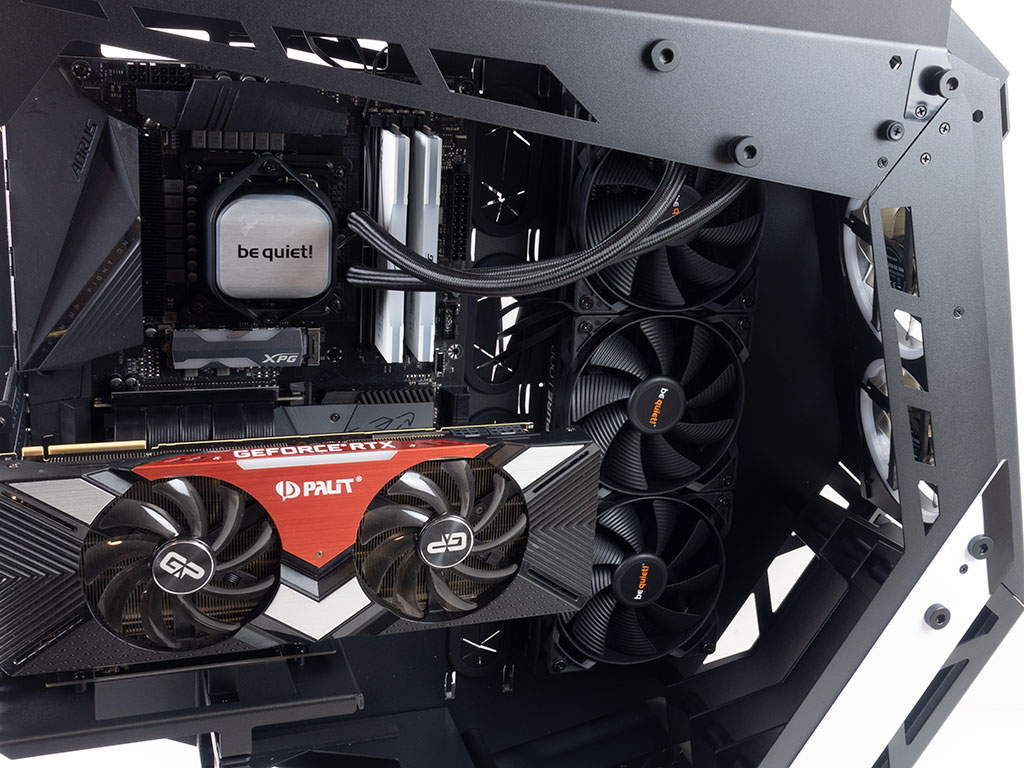
As you can see, we opted for a large 360 mm AIO, but there is enough space to even go for a six-fan, push and pull configuration. However, doing so would get in the way of the front intake fans a bit as well.

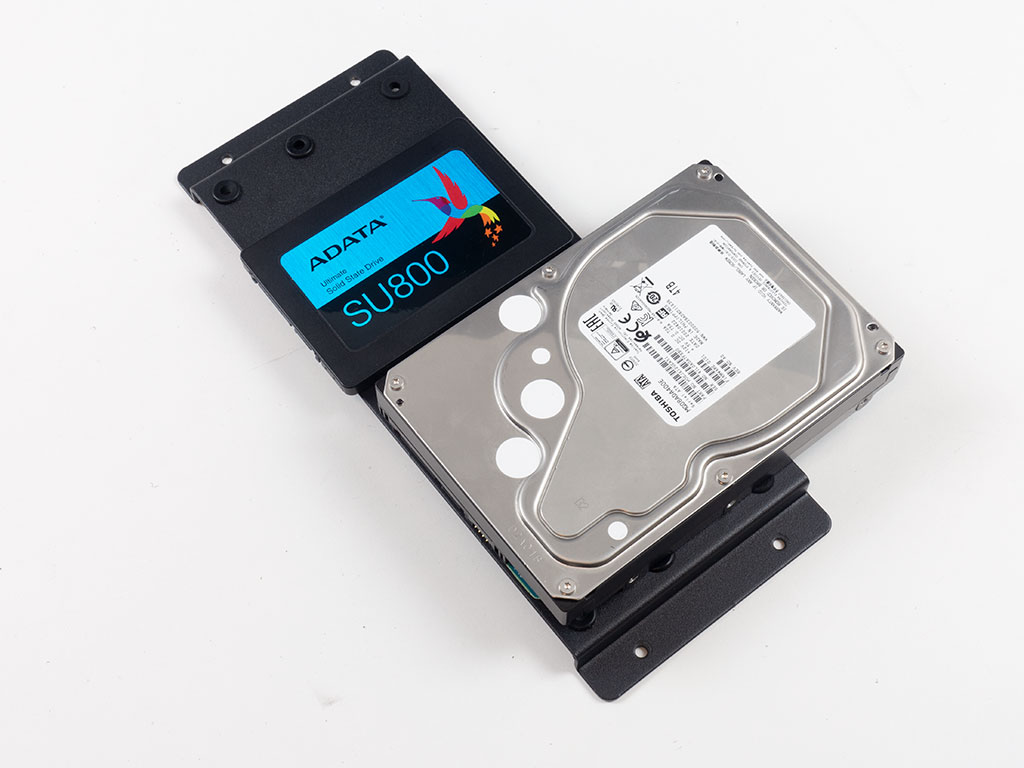
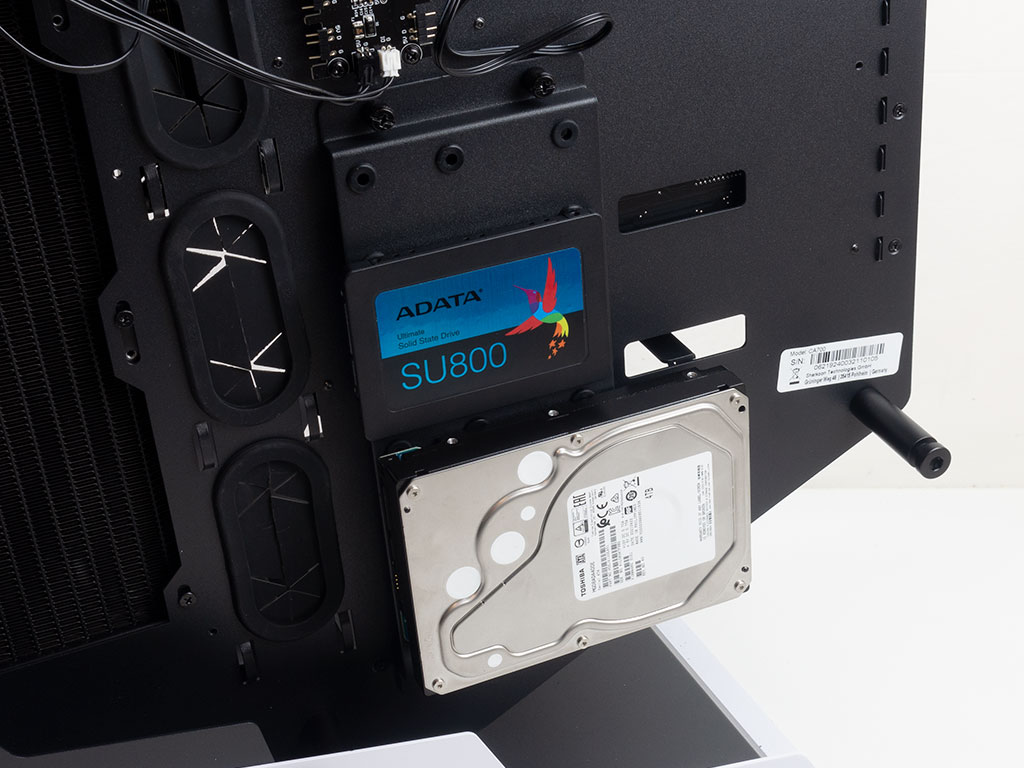
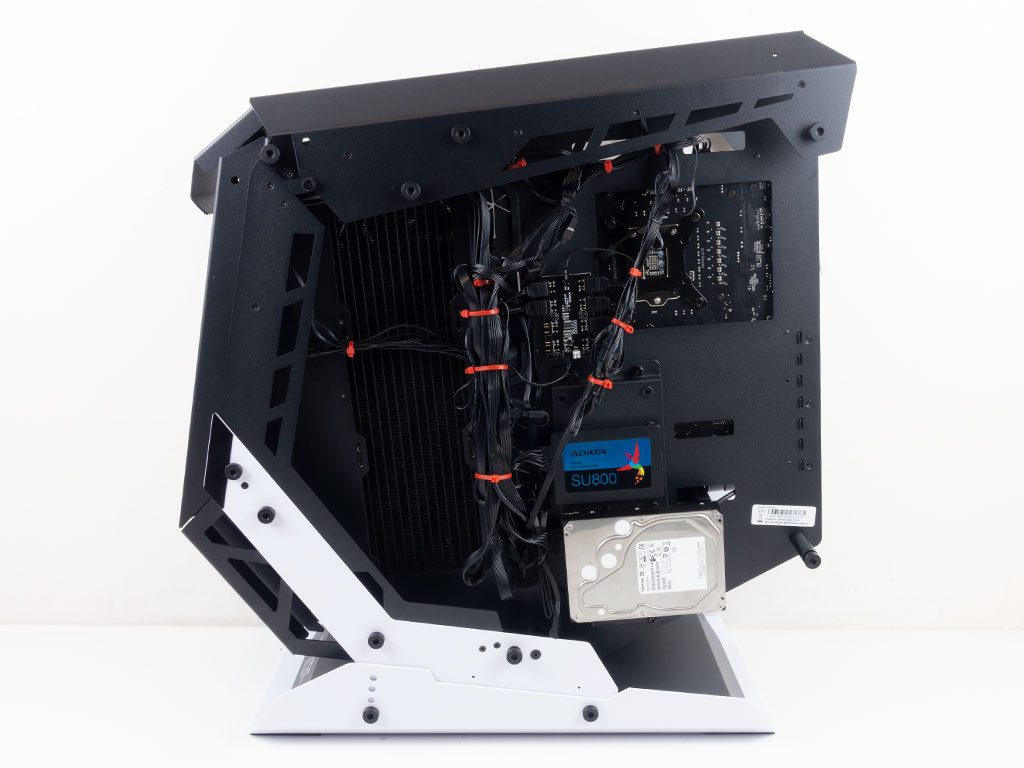
With the radiator on the side, the rear of the board was the most sensible place to install hard drives. The tray holds both 3.5 or 2.5-inch drives with special screws. The drives sit on rubber rings to keep vibrations at bay as well. Once filled, simply line the four holes up and use the thick thumb screws to hold the filled tray in place.
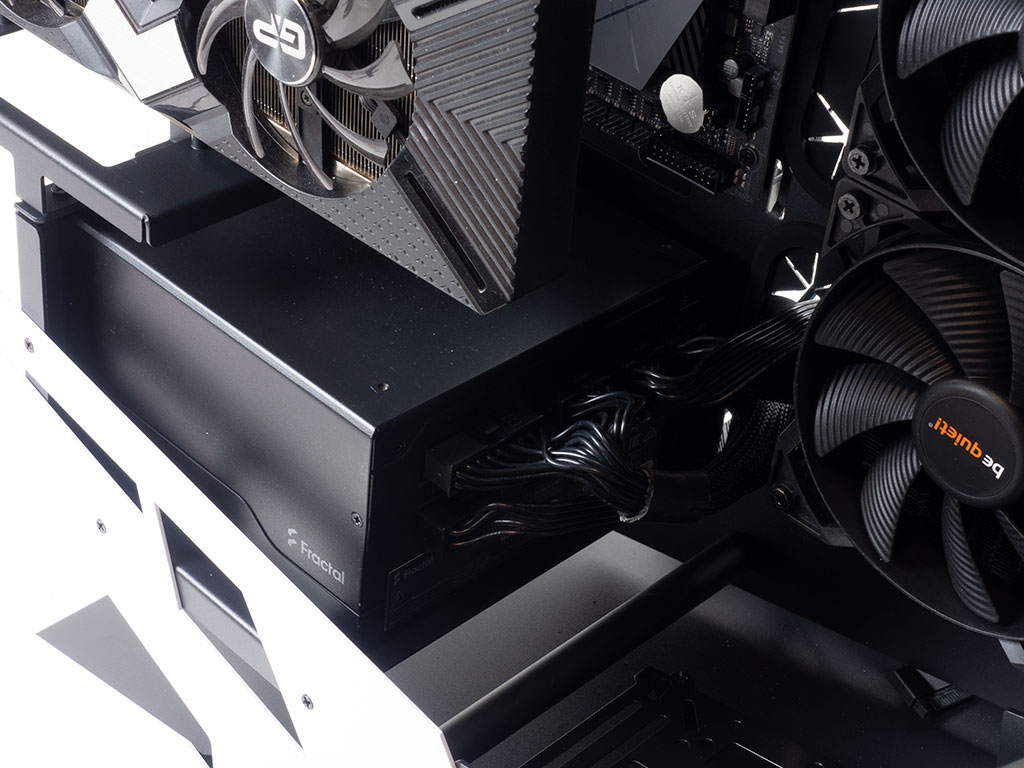
Lastly, adding the PSU is very easy even with all the components already installed and essentially no different than with any classic ATX chassis as four screws hold it in place as well. Thanks to the row of grommets, you can make those cables disappear from view nicely as well.
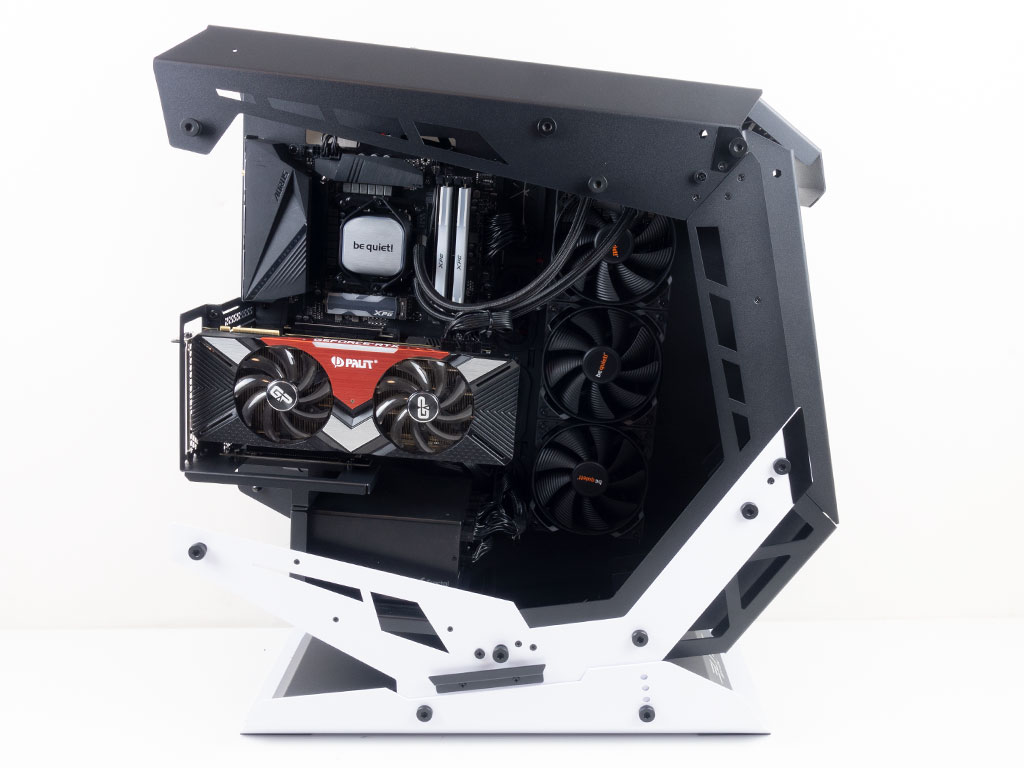
With everything installed, the main interior of the Sharkoon Elite Shark CA700 looks nice and clean. That said, things add up quickly with eight fans, five of which have secondary ARGB cables, power supply leads, and long I/O wiring, so it took a bit of work to keep the area around the side-mounted radiator free for a clean result.
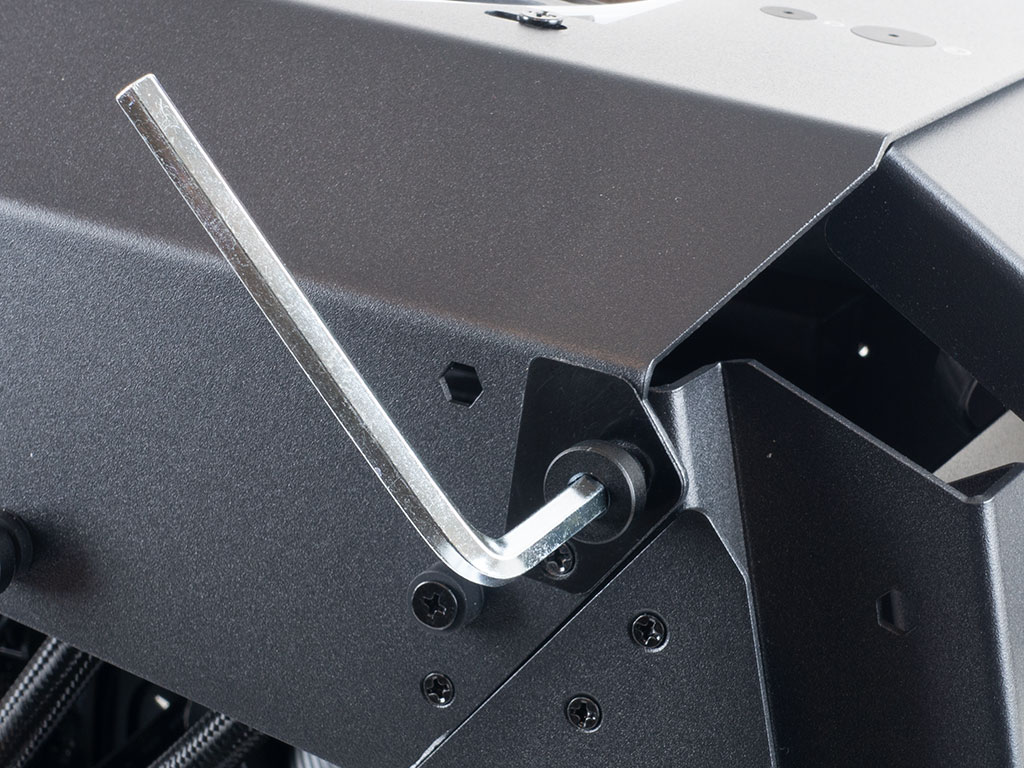
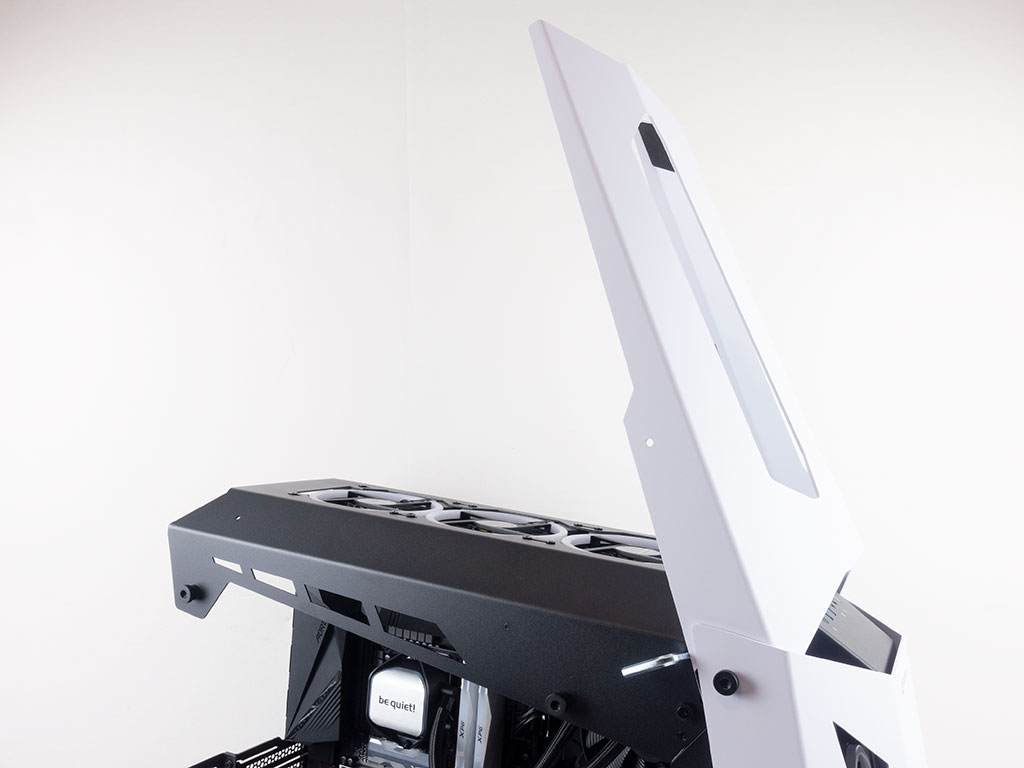
Before the assembly can be considered complete, one has to add the two shell parts and side panels. To do so, remove numerous large screws with the hex tool. That piece of equipment also slides into the special holes to prop up the top and front securely, so you won't have to worry about bodily harm when working in these areas of the chassis.
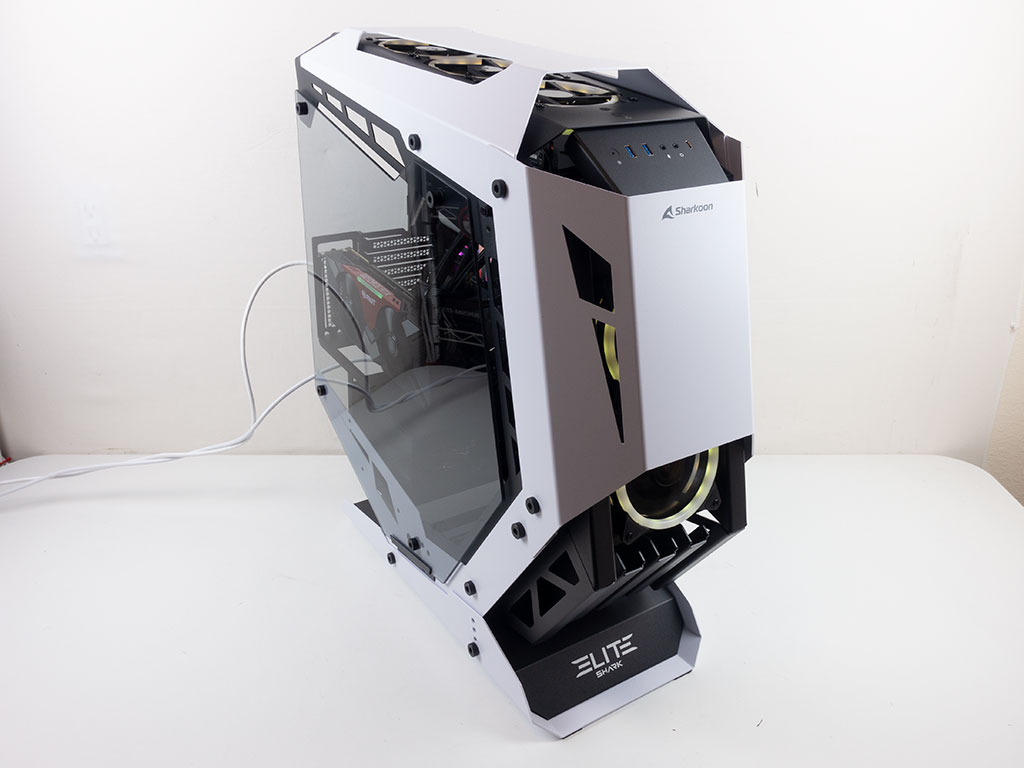
Finished Looks

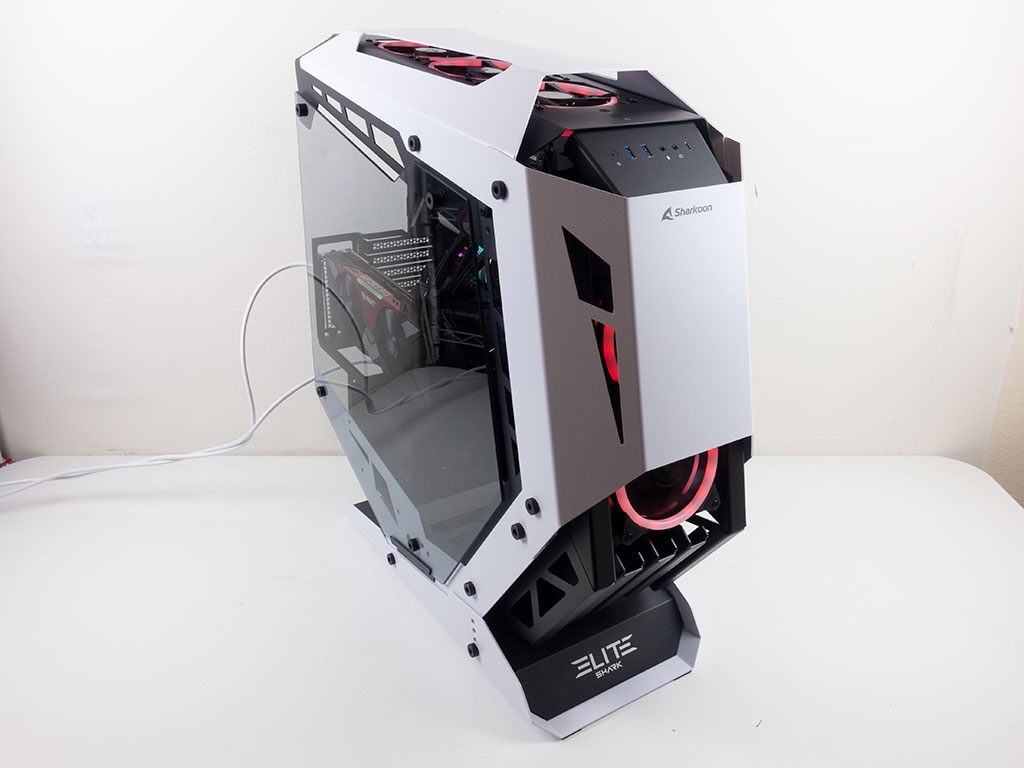
Once complete and turned on, the Sharkoon Elite Shark CA700 is one beast of a chassis. The five fans light up nicely in the top and front, and you can clearly see all your major hardware within. Naturally those who employ even more ARGB bling will see it all, and if you happen to go with a custom liquid cooling loop, the Sharkoon Elite Shark CA700 will certainly shine, too. Also noteworthy is that the fans are extremely quiet in idle, which is an excellent result.
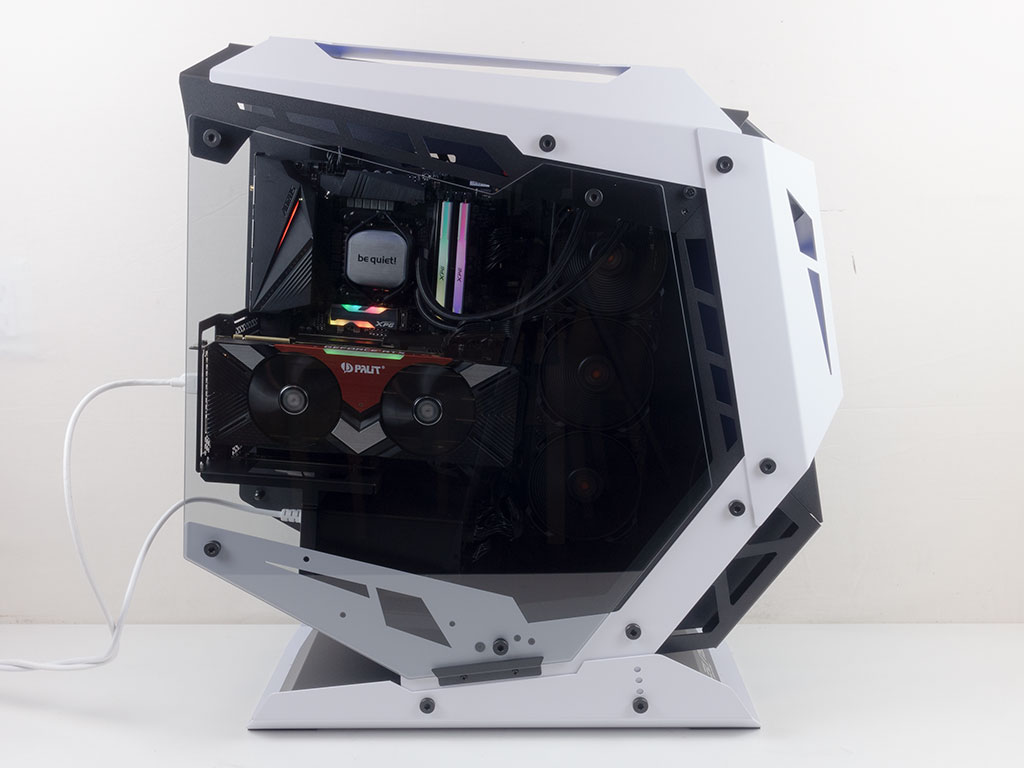
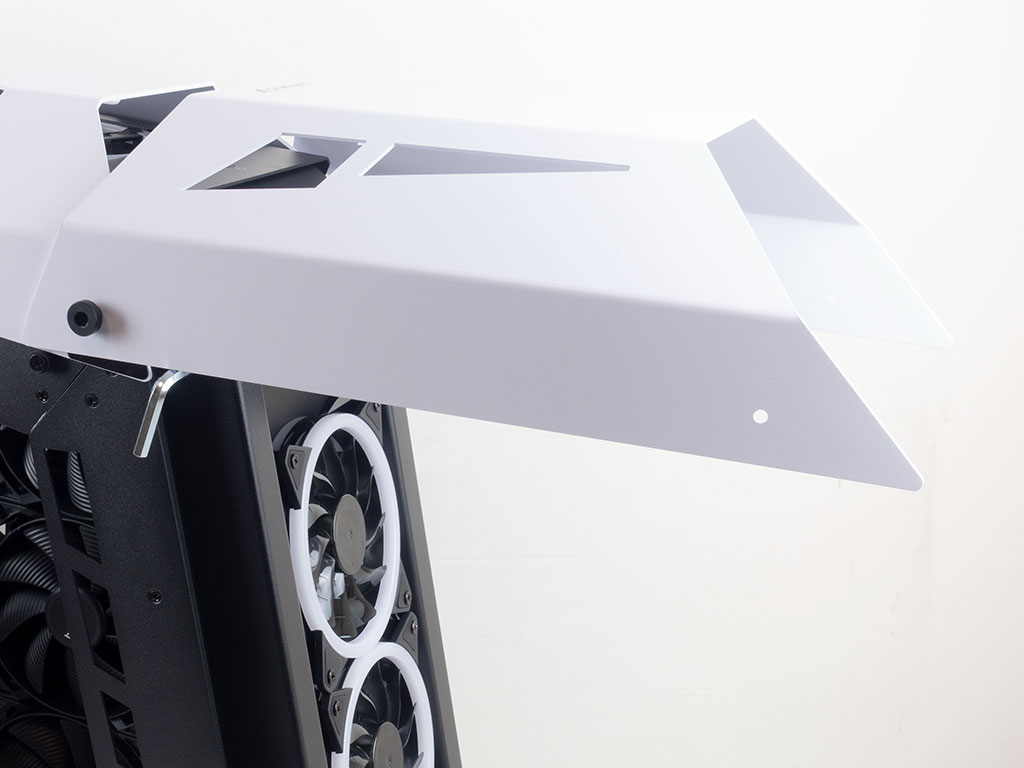
As you can see, all the parts within are clearly seen through the window even though it is slightly tinted. This is due to the open-air frame letting in surrounding ambient light as well. Propping the case up just three holes further than its original position also really changes the general look as all the parts are now tilted upward towards the front, making it somewhat less menacing in the process.
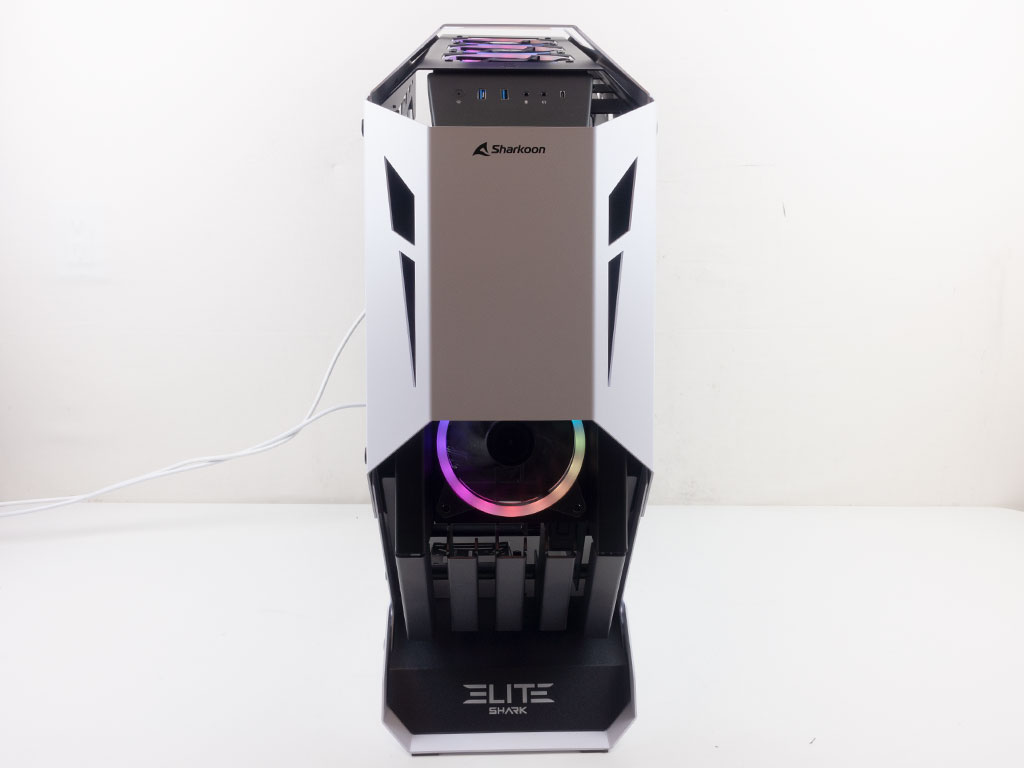
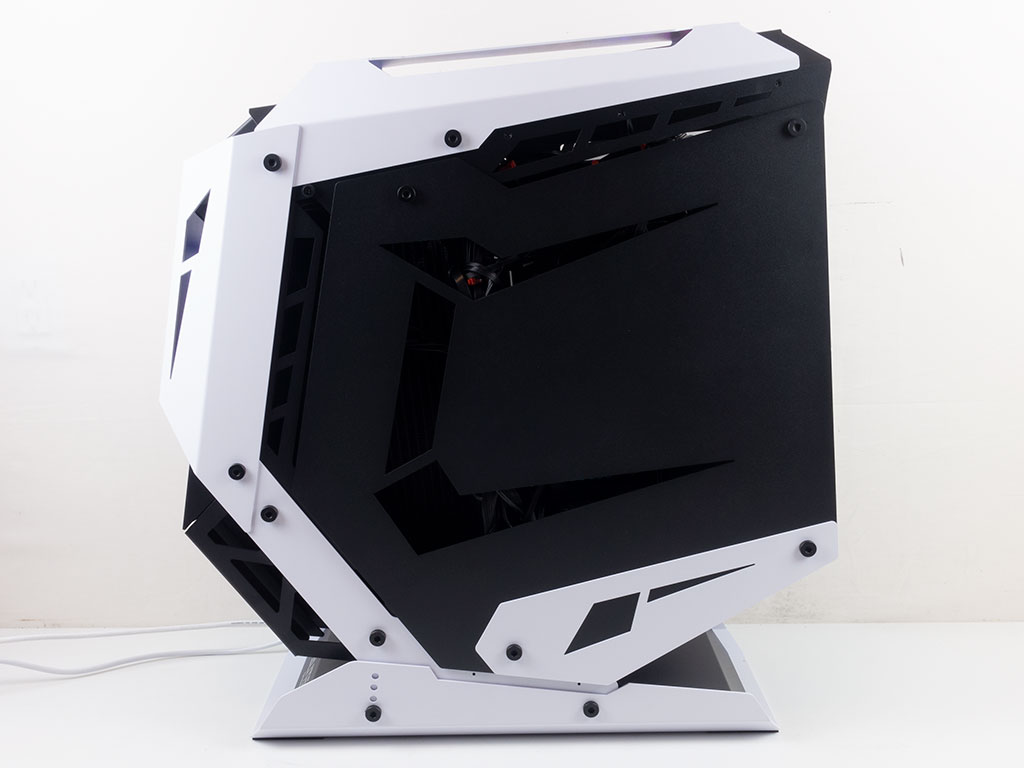
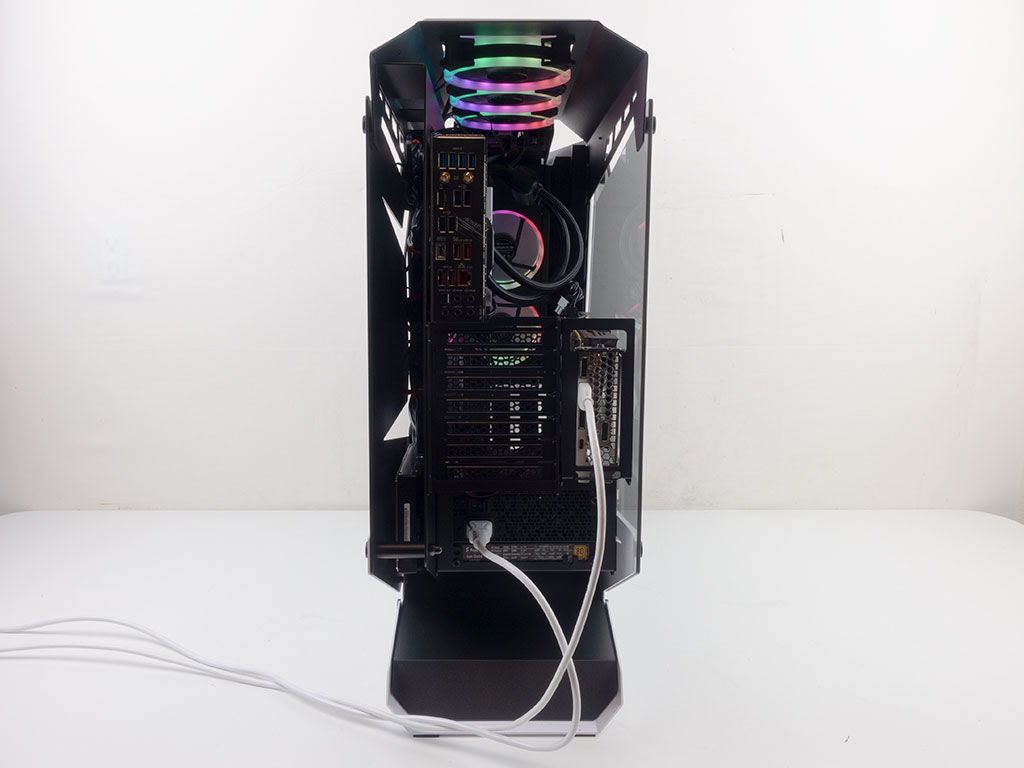
Looking at the front, you can clearly see the bottom ARGB ring of the fan, while the top fan is hidden behind the white shell. This is also where you have the Sharkoon branding. On the solid metal side are a few openings you could see some cables peeking through, but as it is all black on black, you won't really notice. Lastly, why the Sharkoon Elite Shark CA700 is called an open-air frame becomes apparent in the rear. Gigabyte has permanently installed their I/O bracket cover to their board, but if your motherboard comes with it separately, you will not need it with this case.
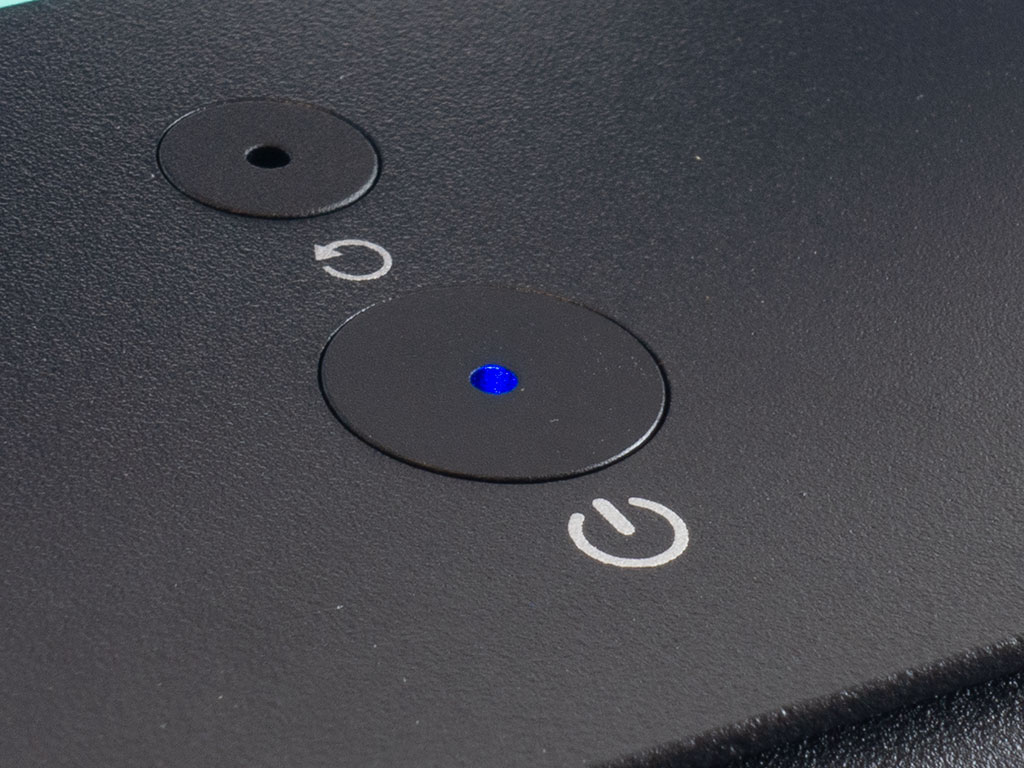
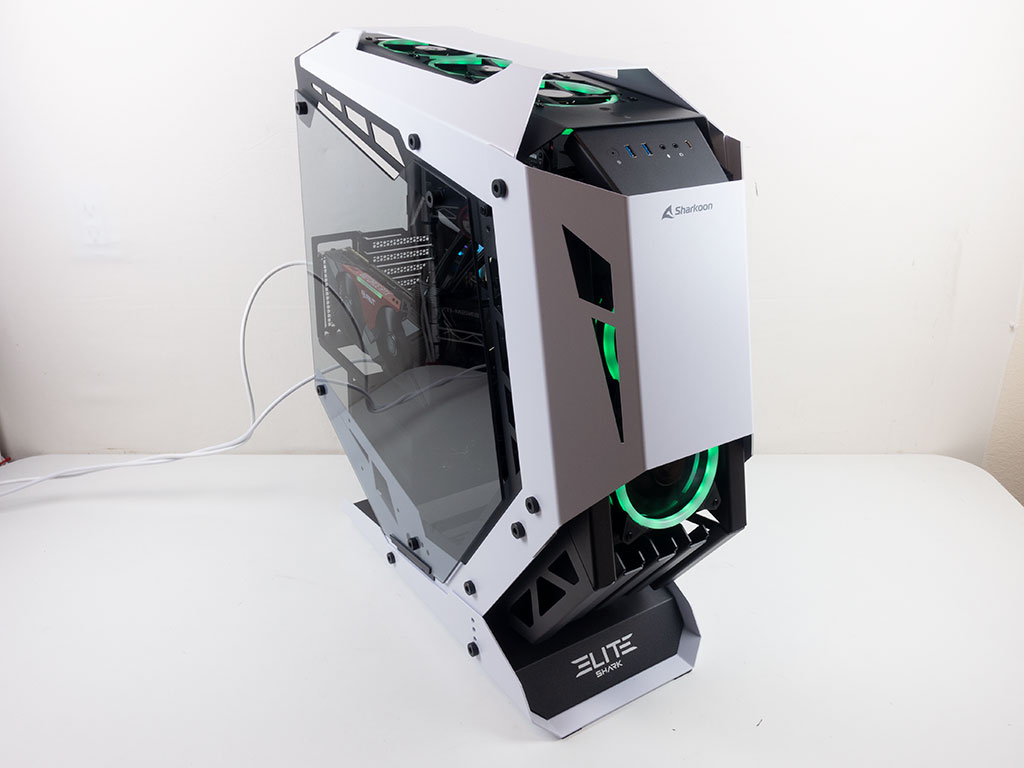
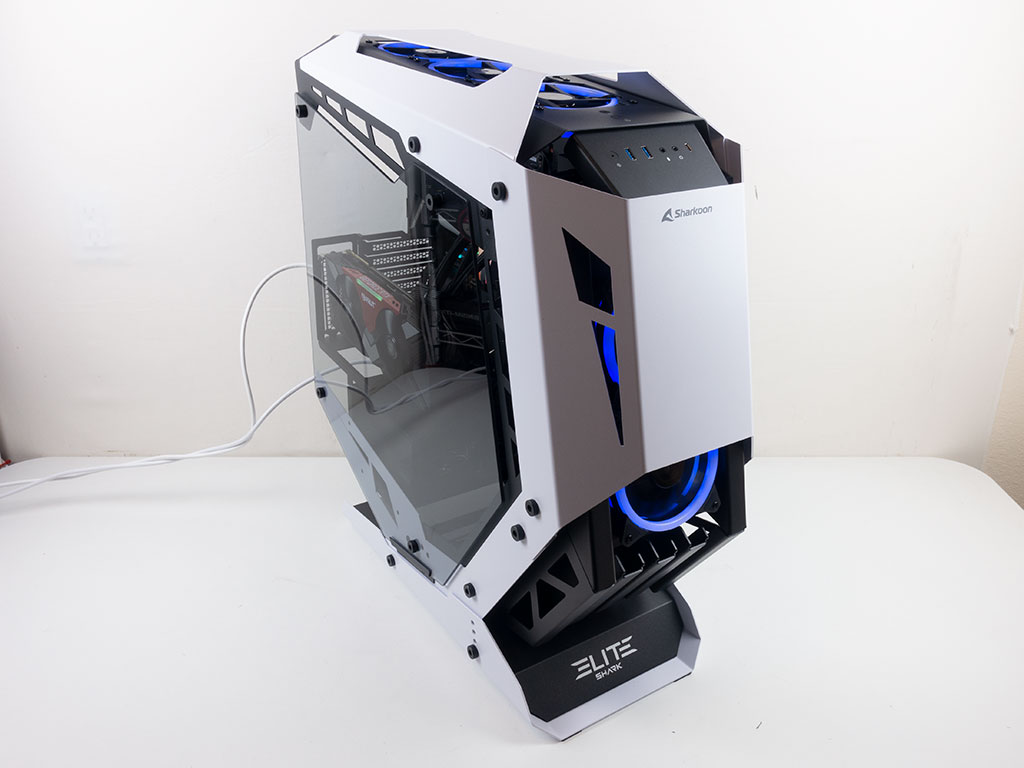
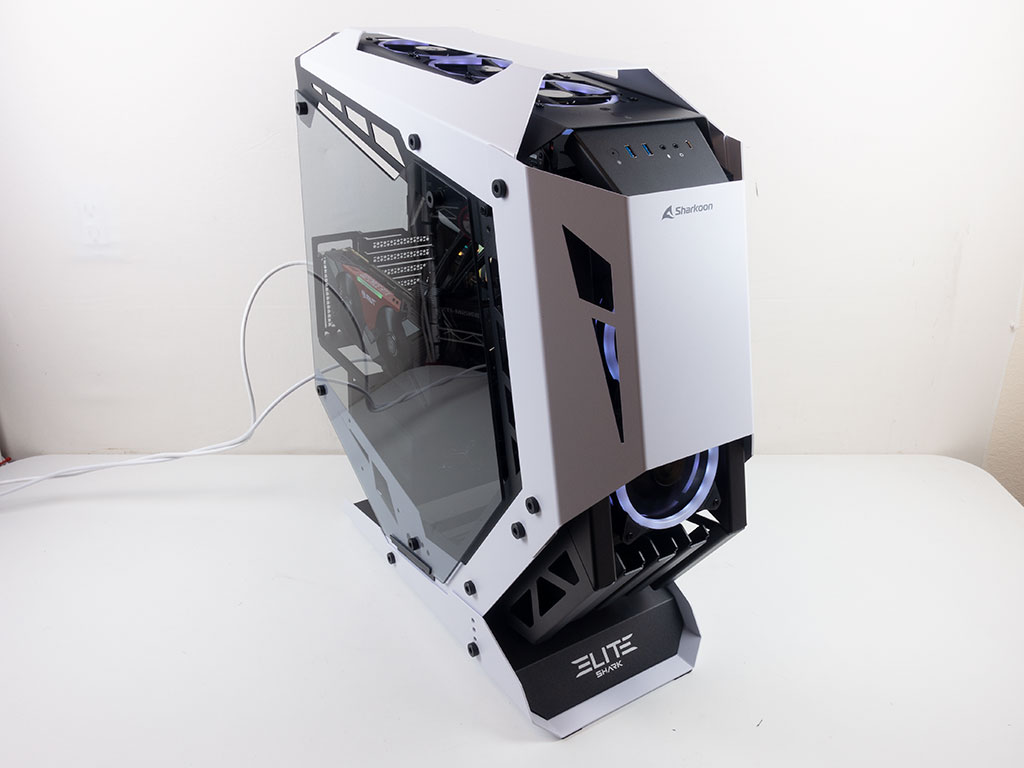
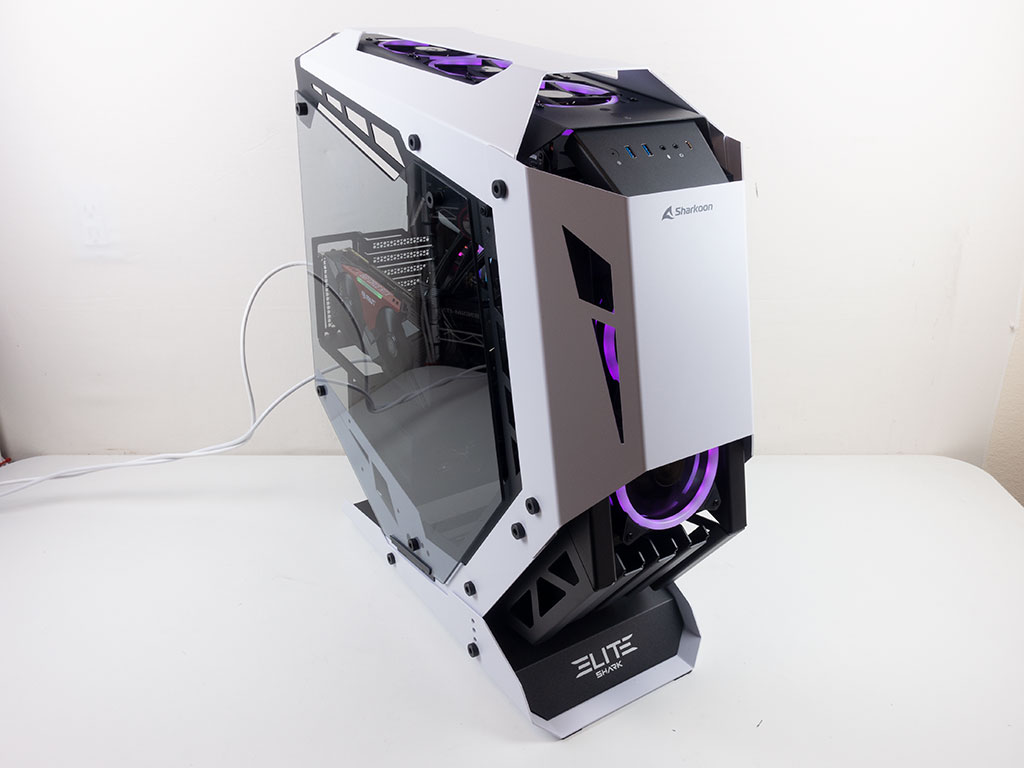
The built-in controller gives you several single and multi-colored animations to cycle through, but also offers the usual selection of solid colors, which are shown below.

Feb 26th, 2025 10:26 EST
change timezone
Latest GPU Drivers
New Forum Posts
- Nvidia's GPU market share hits 90% in Q4 2024 (gets closer to full monopoly) (646)
- Gaming AM5 Board (Swapping from Intel) (4)
- AAF Optimus Modded Driver For Windows 10 & Windows 11 - Only for Realtek HDAUDIO Chips (331)
- Gentle Enhancement proposal: differenciating data obtained from driver from the ones in internal database (1)
- Are the two M.2 pcie Gen4 x4 slots on my Zen 4 8845HS Socket FP8 Mini-PC equal? (3)
- RDNA4 Prediction Time Part Deux!!! (55)
- Choosing the Perfect Motherboard to Complete My PC Build (8)
- Windows 11 General Discussion (5706)
- TPU's Nostalgic Hardware Club (20006)
- GameTechBench GPU benchmark is already out! (272)
Popular Reviews
- Corsair Xeneon 34WQHD240-C Review - Pretty In White
- ASUS GeForce RTX 5070 Ti TUF OC Review
- Corsair Virtuoso MAX Wireless Review
- MSI GeForce RTX 5070 Ti Ventus 3X OC Review
- MSI GeForce RTX 5070 Ti Vanguard SOC Review
- MSI GeForce RTX 5070 Ti Gaming Trio OC+ Review
- darkFlash DY470 Review
- AMD Ryzen 7 9800X3D Review - The Best Gaming Processor
- Gigabyte X870 Aorus Elite WiFi 7 Review
- Gigabyte GeForce RTX 5090 Gaming OC Review
Controversial News Posts
- NVIDIA GeForce RTX 50 Cards Spotted with Missing ROPs, NVIDIA Confirms the Issue, Multiple Vendors Affected (495)
- AMD Radeon 9070 XT Rumored to Outpace RTX 5070 Ti by Almost 15% (304)
- AMD Plans Aggressive Price Competition with Radeon RX 9000 Series (274)
- AMD Radeon RX 9070 and 9070 XT Listed On Amazon - One Buyer Snags a Unit (247)
- NVIDIA Investigates GeForce RTX 50 Series "Blackwell" Black Screen and BSOD Issues (241)
- Edward Snowden Lashes Out at NVIDIA Over GeForce RTX 50 Pricing And Value (241)
- AMD Denies Radeon RX 9070 XT $899 USD Starting Price Point Rumors (239)
- AMD Radeon RX 9070 and 9070 XT Official Performance Metrics Leaked, +42% 4K Performance Over Radeon RX 7900 GRE (186)