 6
6
Sharkoon MS-Y1000 Review
Thermal Stress Test »Review System
| System Parts for Case Reviews | |
|---|---|
| Processor: | ATX: Intel Core i5-11600K mATX/ITX: Intel Core i5-10600K Provided by: Intel |
| Motherboards: | ATX: Gigabyte Z590 AORUS PRO AX ITX: Gigabyte Z590I Vision D Provided by: Gigabyte mATX: ASRock B560M Steel Legend Provided by: ASRock |
| Graphics Card: | Gigabyte Radeon RX 6600 Eagle Provided by: Gigabyte ZOTAC GAMING GeForce RTX 3060 Ti Twin Edge OC Provided by: Zotac |
| Memory: | 16 GB XPG SPECTRIX D50 3200 MHz 16 GB XPG SPECTRIX D60G DDR4 3000 MHz 16 GB XPG GAMMIX D20 DDR4 3200 MHz Provided by: ADATA |
| HDD: | Toshiba MG08ADA400E 7200 RPM SATA III Provided by: Toshiba |
| SSD: | ATX:XPG SPECTRIX S20G 500 GB mATX: XPG GAMMIX S50 Lite 1 TB ITX: ADATA Falcon 512 GB ADATA Ultimate SU800 512 GB ADATA Ultimate SU720 500 GB Provided by: ADATA |
| Power Supply: | ATX: Fractal Design ION+ 650W 80 Plus Gold SFX: Fractal Design ION SFX-L 650W 80 Plus Gold Provided by: Fractal Design |
| Cooling: | be quiet! Pure Loop 120/240/280/360 Provided by: be quiet! |
Assembly
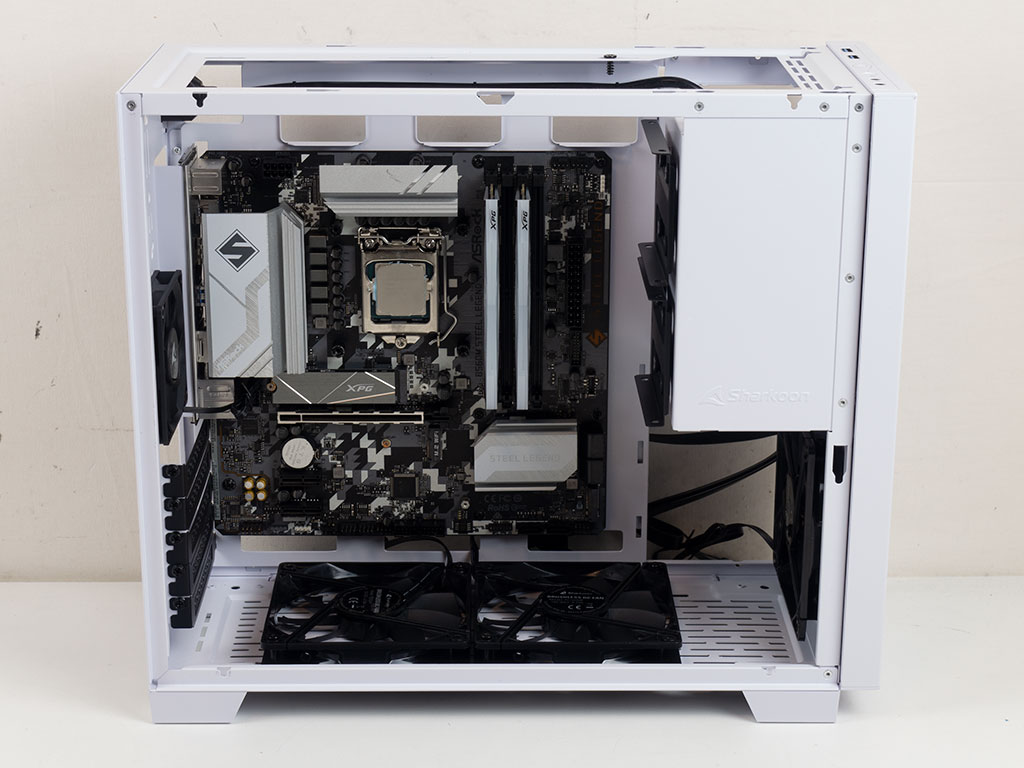
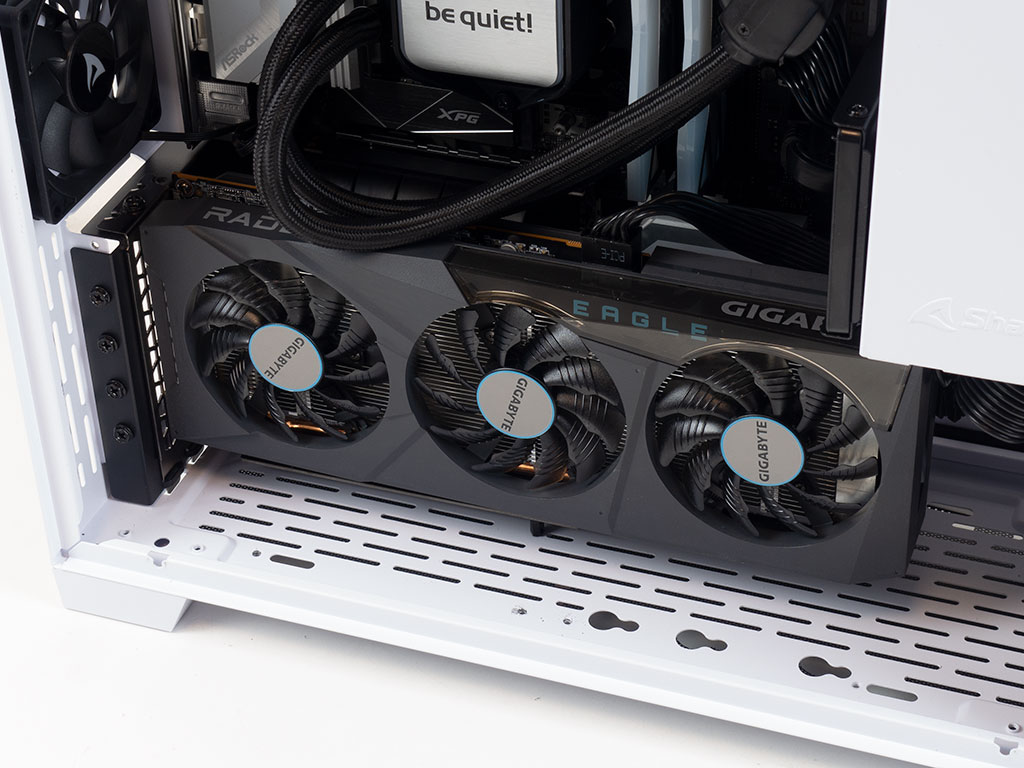
Installing the motherboard is pretty straightforward, using the pre-installed spacers and screws. The openings along the top and bottom edges of the board line up well and should help with cable management. With the board in place, it becomes apparent that one or two such openings along the right edge could be helpful as well. There is lots of space for such components as the GPU, but big power supplies or any other contraption in the lower front area will obviously limit the total possible length.
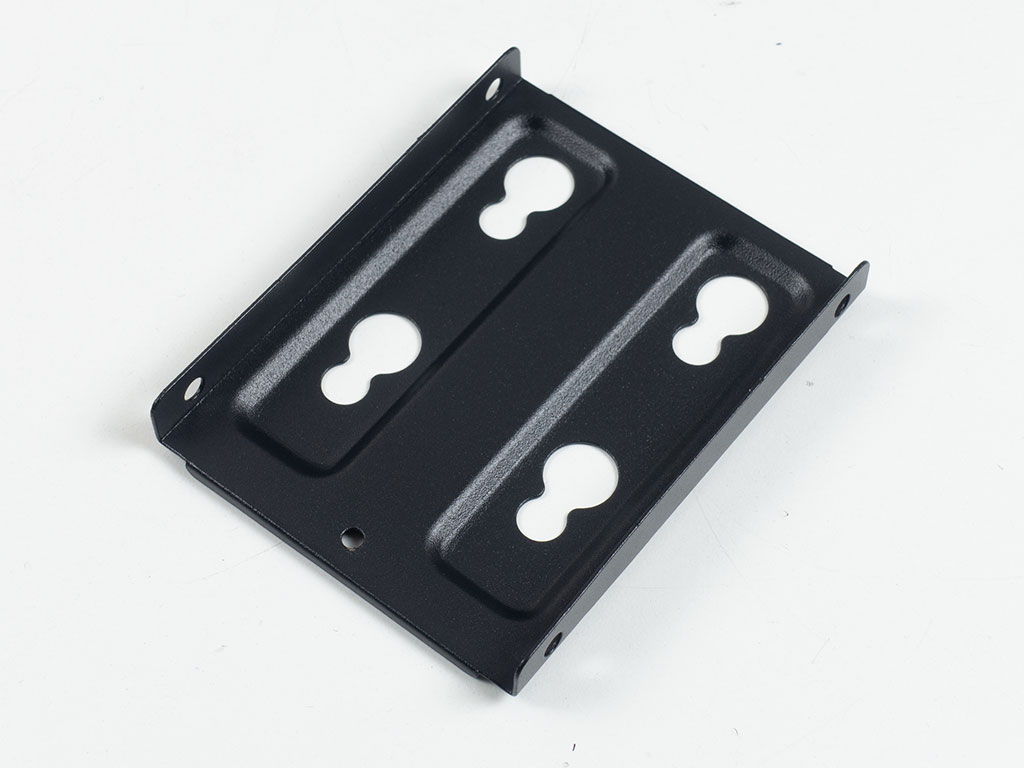
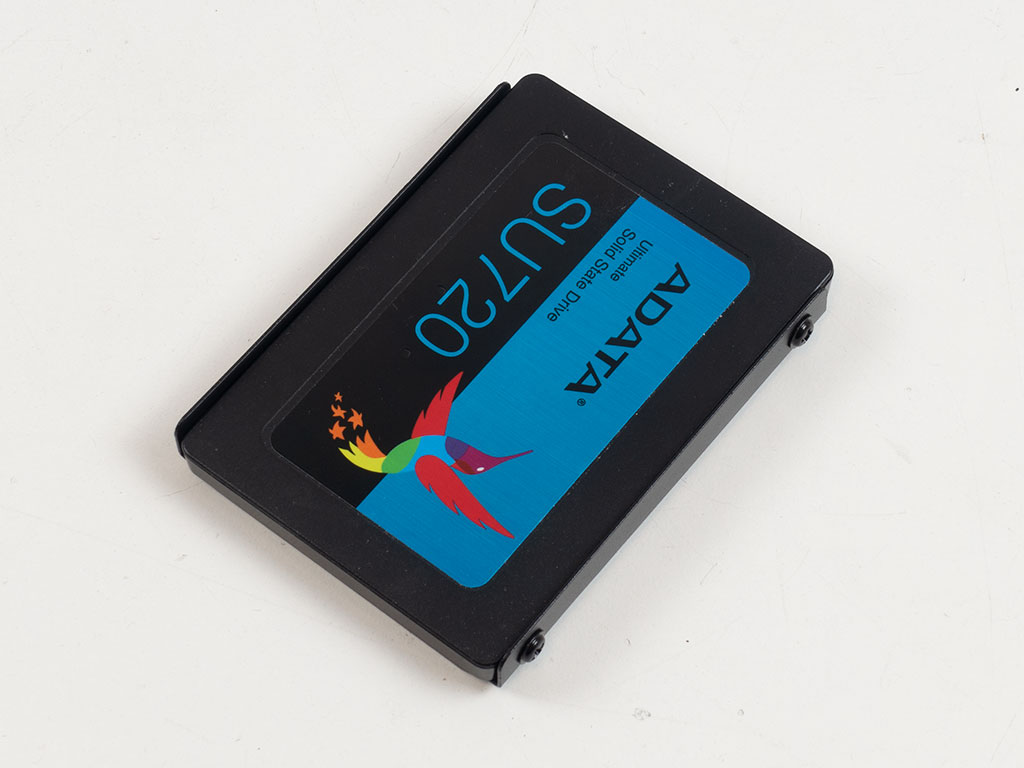
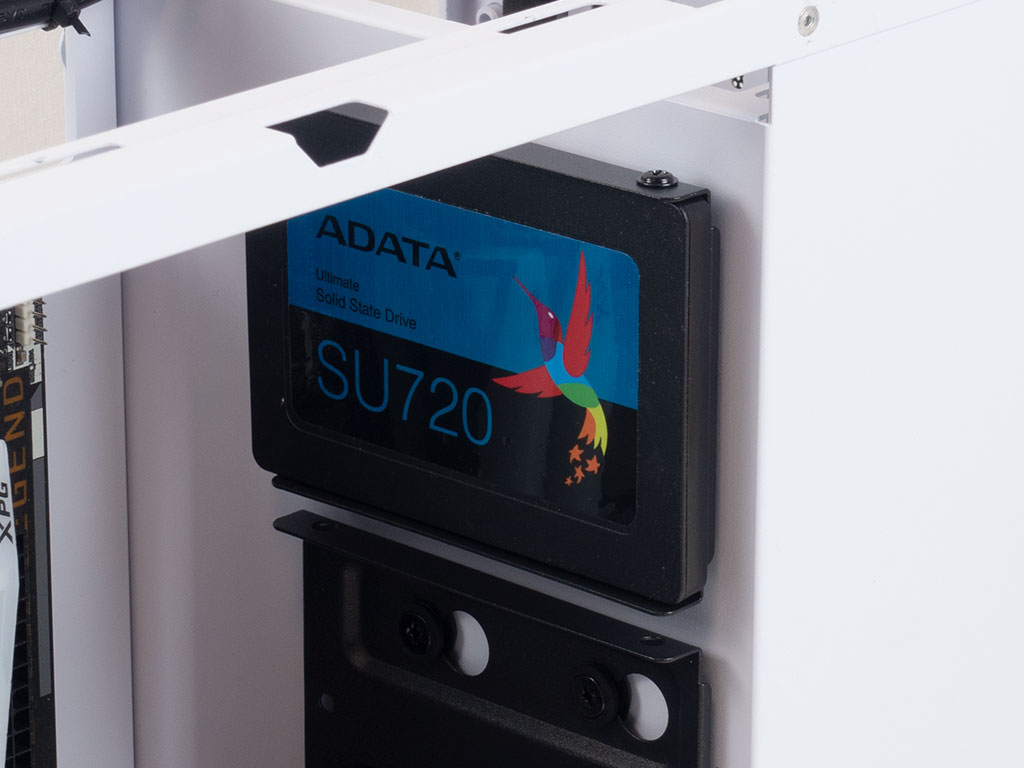
Thanks to the metal trays, including a classic 2.5" SSD is no issue at all. Simply fill the tray using the provided screws and snap it back onto the rubber-ringed mounting screws. While you should be able to place an AIO above the SSD plates, its tubing will most likely force you to give up the top slot in the process.
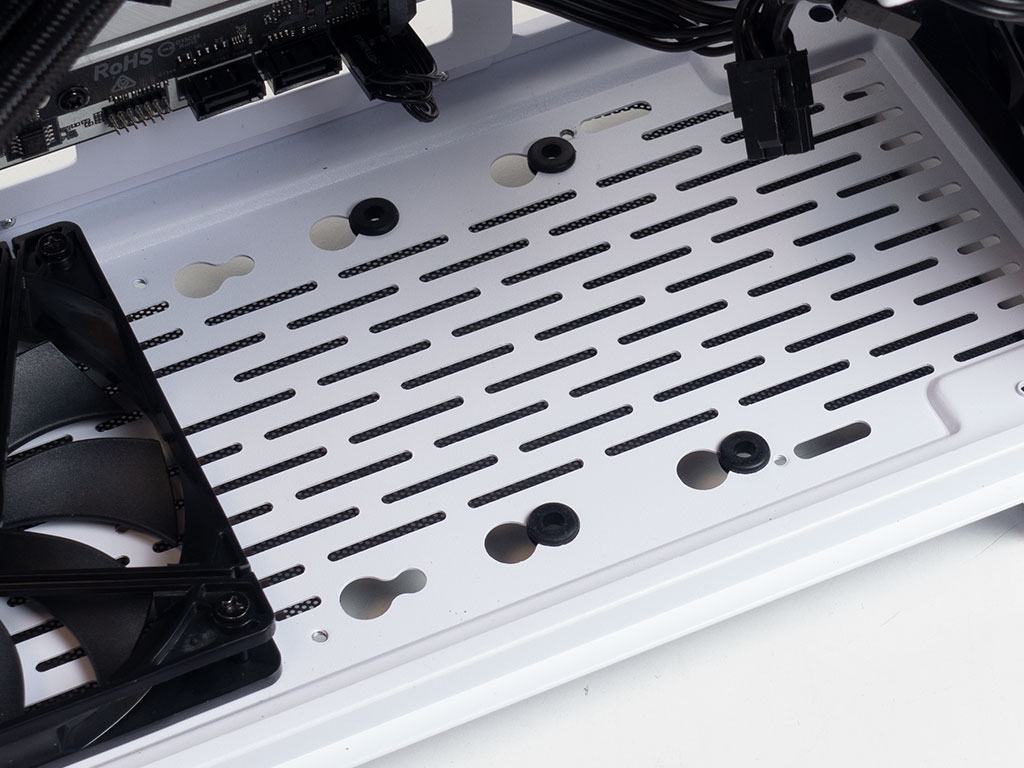
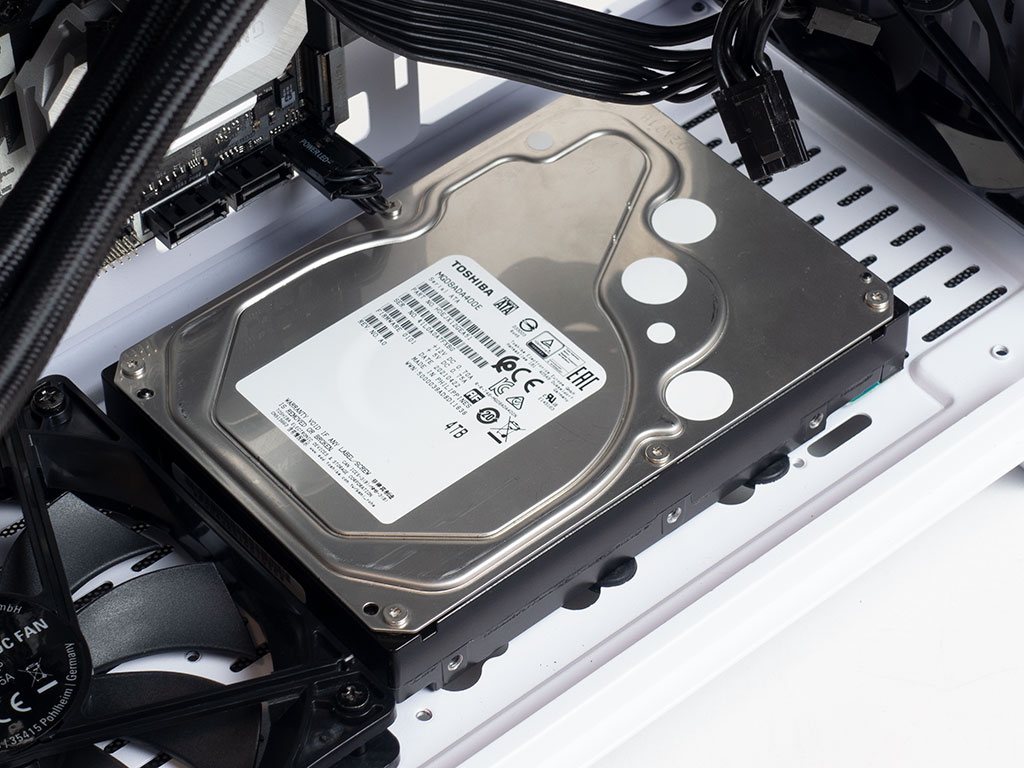
If you are installing a 3.5" drive on the floor, first apply the rubber rings to then use special screws to hold the drive in place. There is lots of room towards the front—connecting data and power cables even with an intake fan installed here shouldn't be a problem.
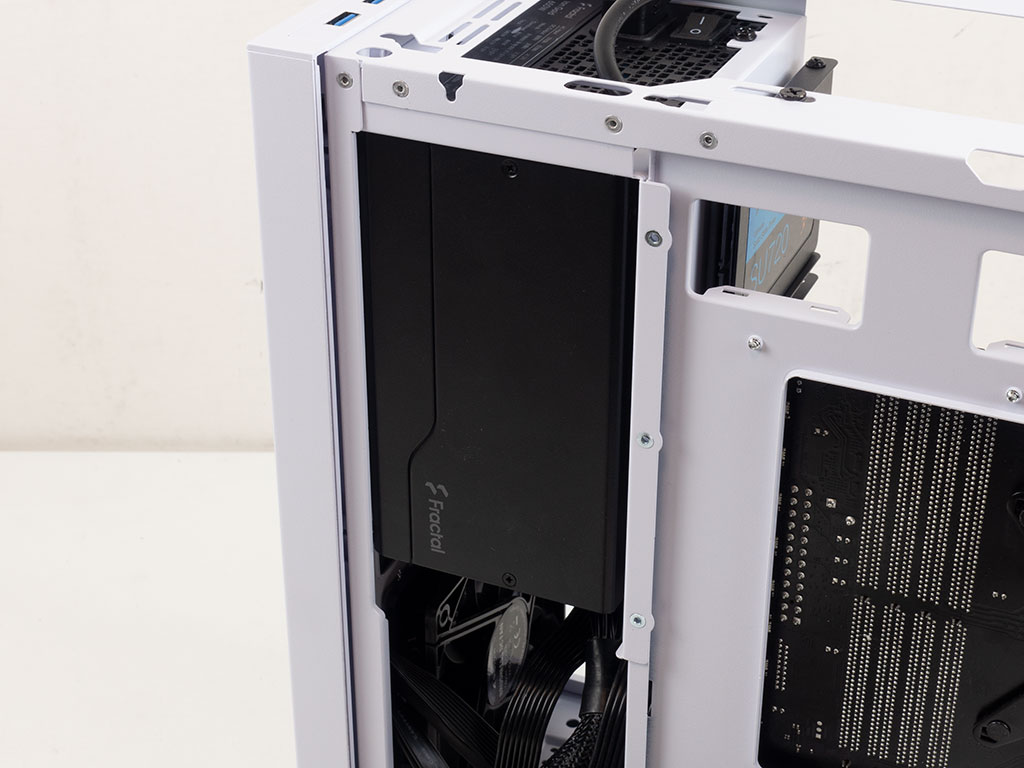
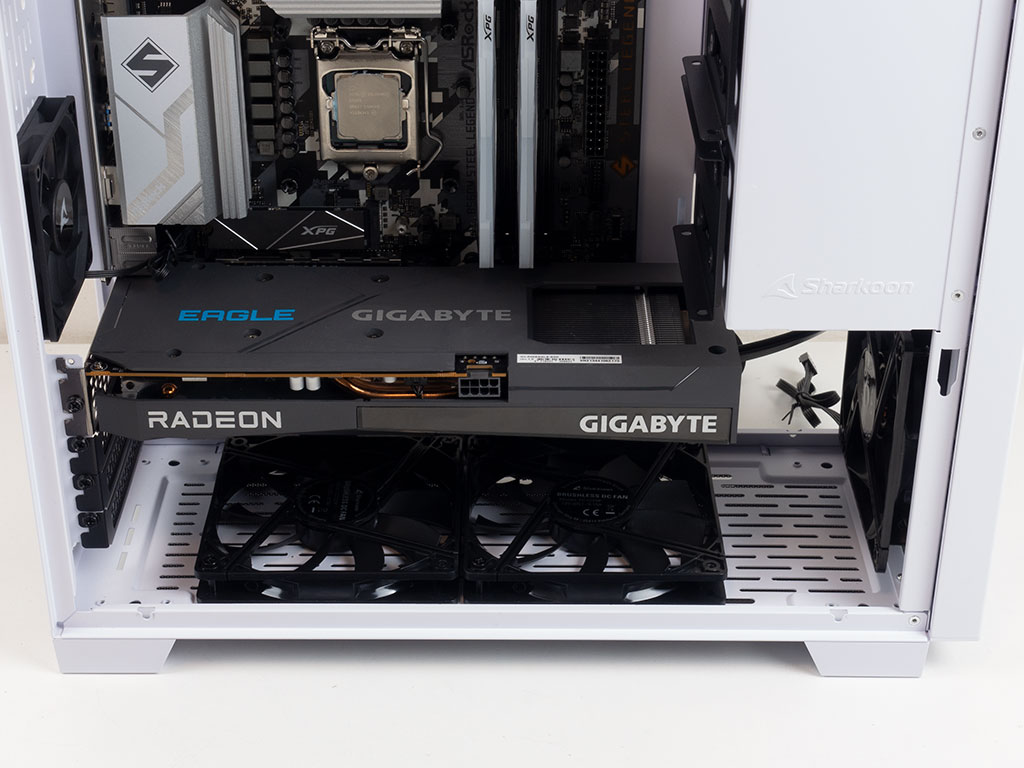
An argument can be made for installing the PSU earlier in the assembly process, or at least before the GPU. But there is a bit of a gap between the cage and GPU even so. As such, routing cables is not impossible. We used a few zip ties to bunch up the excess wiring and keep the interior as clean as possible.
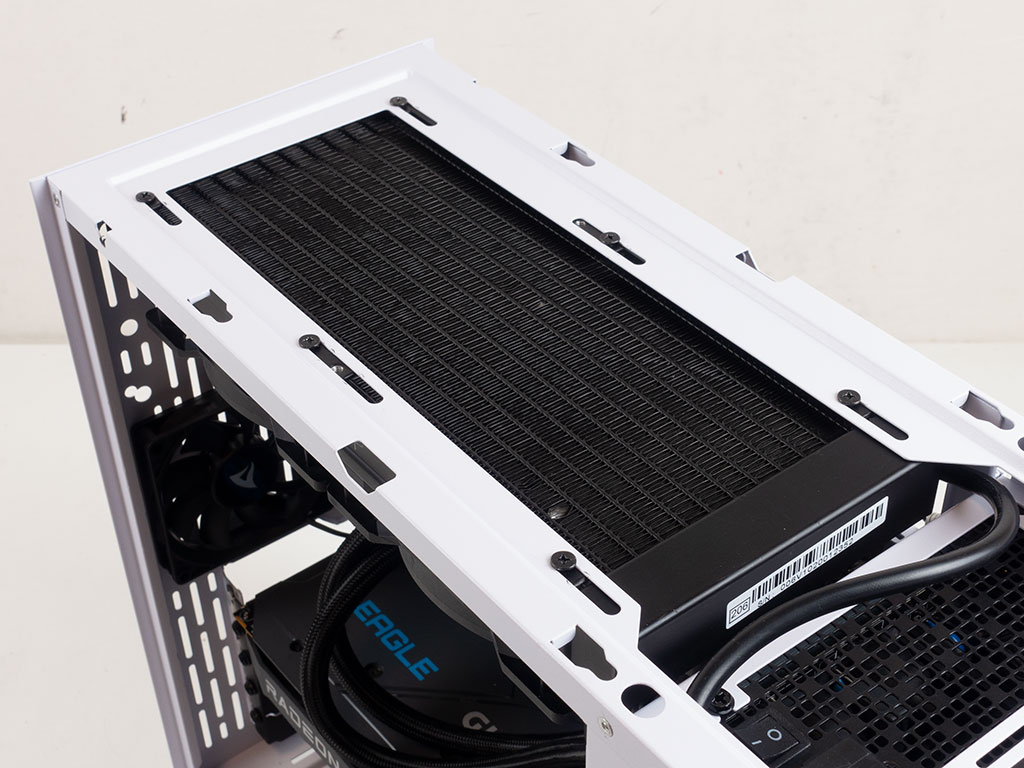
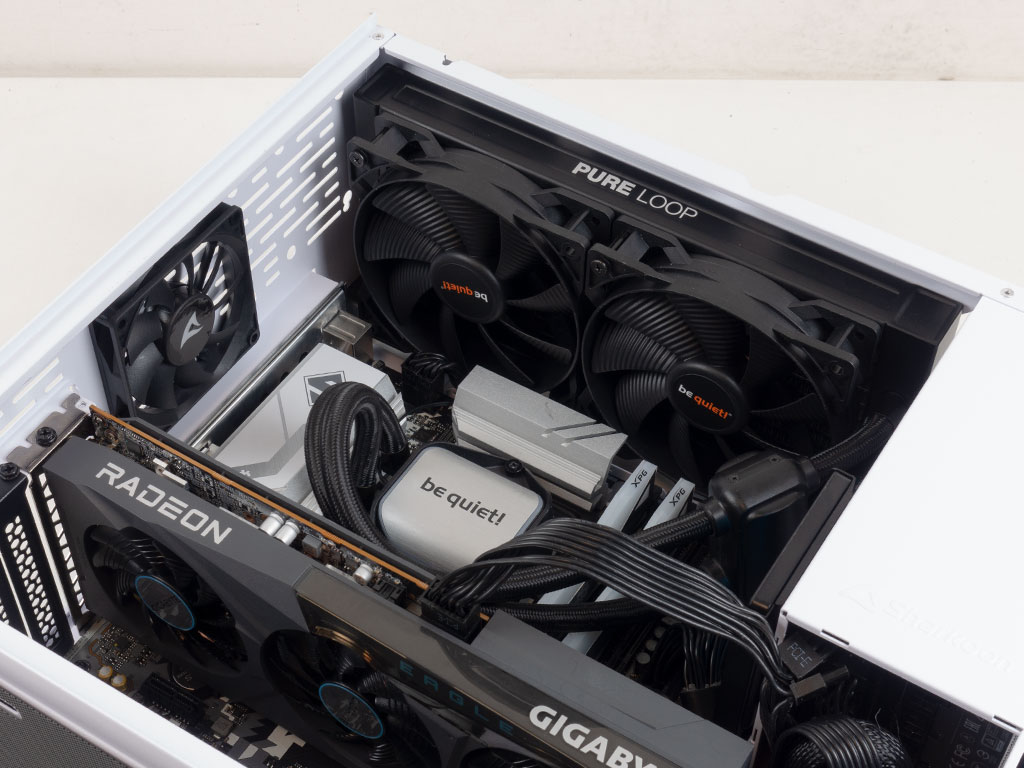
In this built, we moved the fans to the front and floor of the chassis to allow for a 240 mm AIO in the ceiling of the chassis. This works just fine, but you will have to forgo the top 2.5" SSD tray to provide room for the tubes. Otherwise, this worked just fine, and while things are a little tight vertically above the motherboard, it did not cause any real issues as all the components are still accessible. That said, do connect all the wires up before placing an AIO. We also had to take two of the special pin screws of the floor-mounted fan to secure the second unit here, so each fan was only held in place by a pair of screws each.
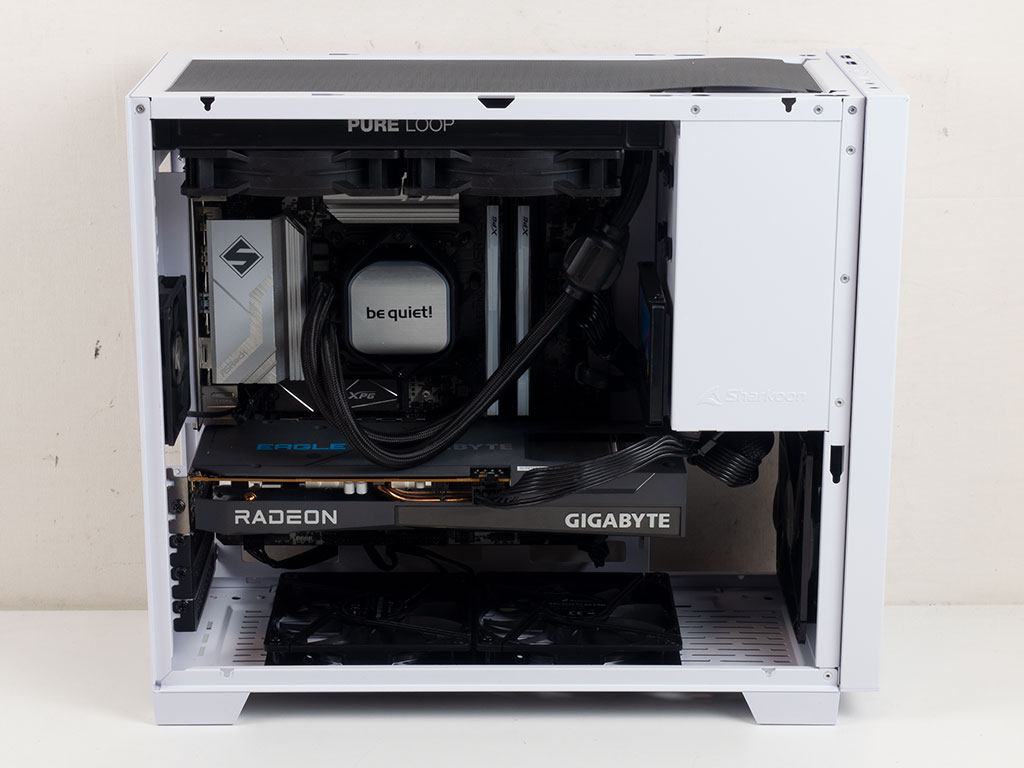
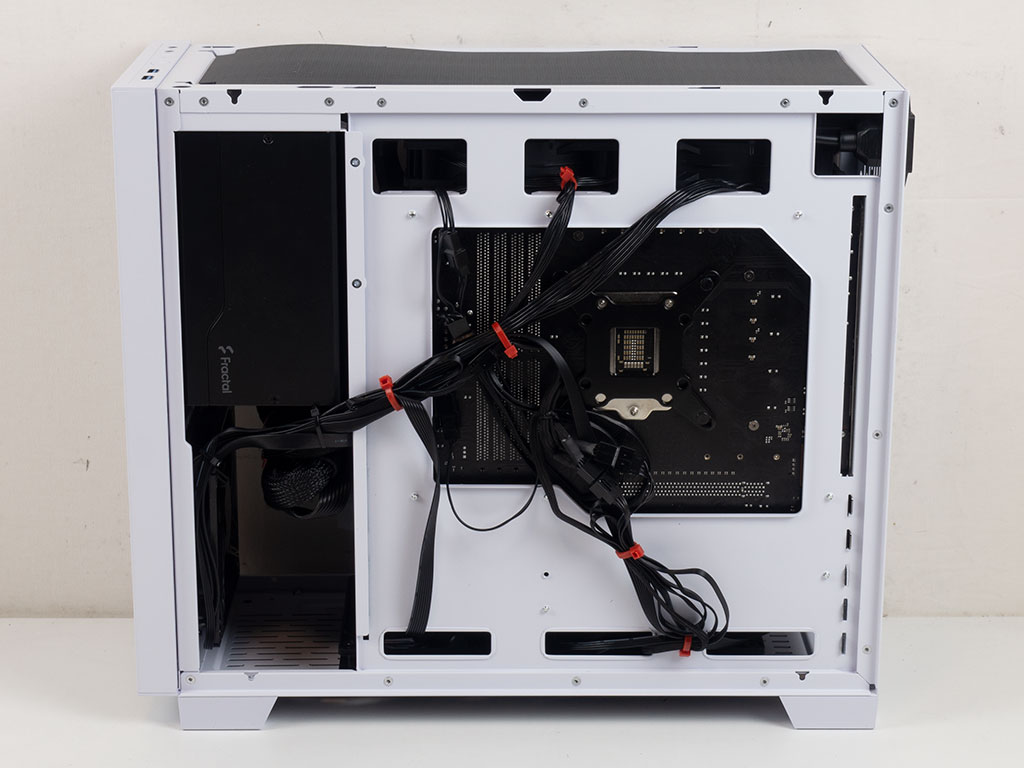
With everything in place and a bit of extra effort and time put into cable management, the Sharkoon MS-Y1000 interior doesn't look half bad. It could be cleaner towards the front, especially as the white interior does not help hide it. Those opting for the black variant of the enclosure will have it easier. In the rear, we actually focused the cable mess towards the center of the motherboard tray since the cutout gives us some extra room to work in.

Switching to the vertical setup is pretty straightforward as you simply remove all the covers of the five expansion slots and screw the whole kit down in its place. There should be no issues with 2.5 or even 3 slot high GPUs as long as there is no I/O at the top-most space of the graphics card.
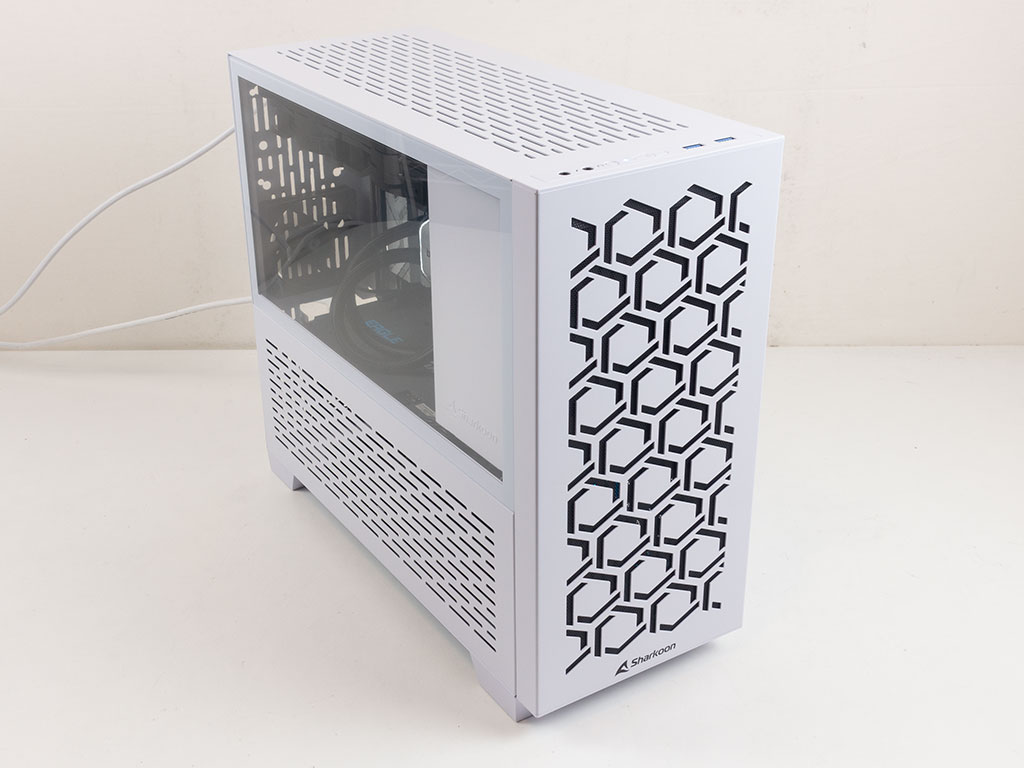
Finished Looks
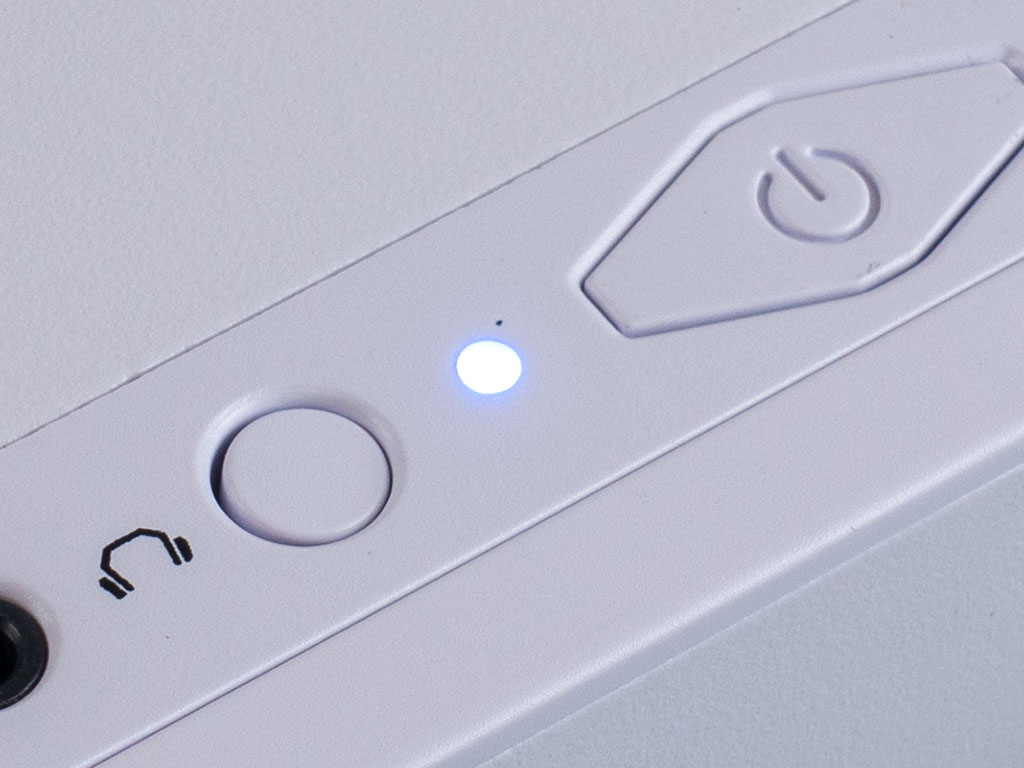
Turning the Sharkoon MS-Y1000 on, the fans are quiet in idle. The only visual elements that are the system's own are the blue power LED in the top and any internal component lighting.
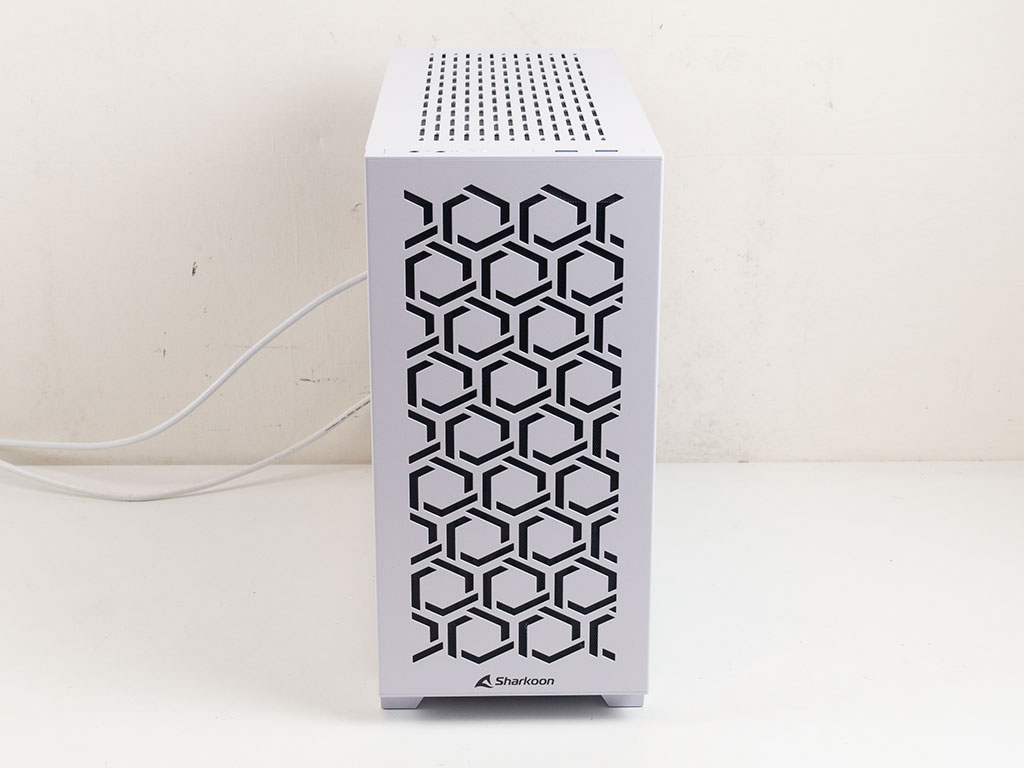

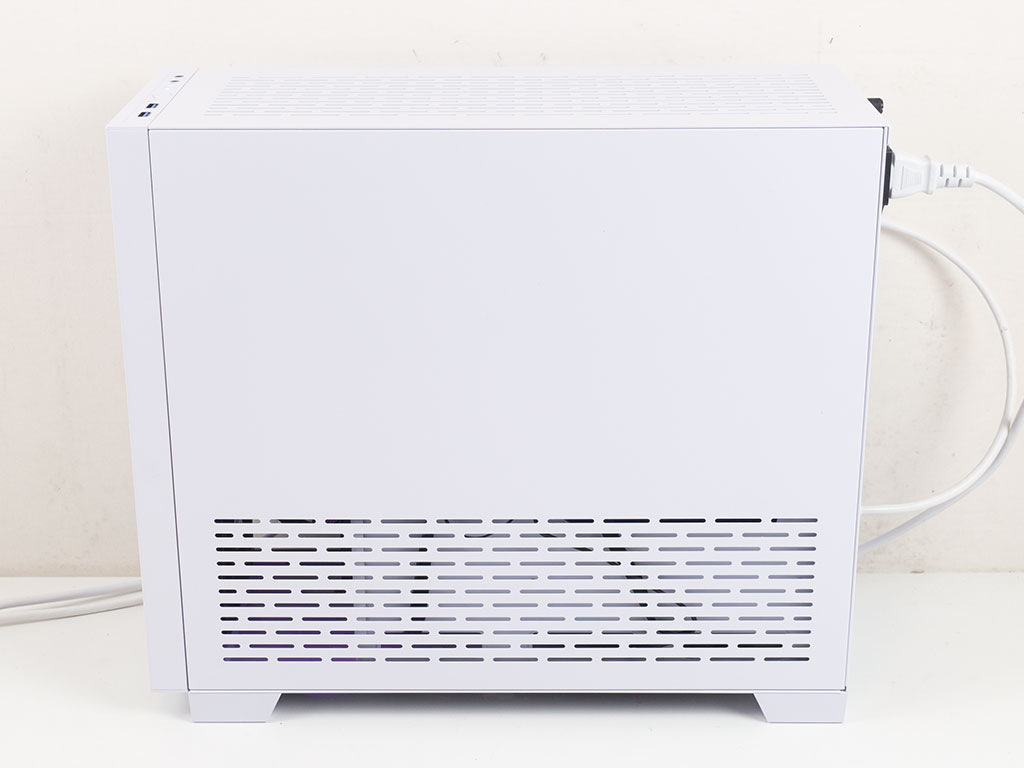
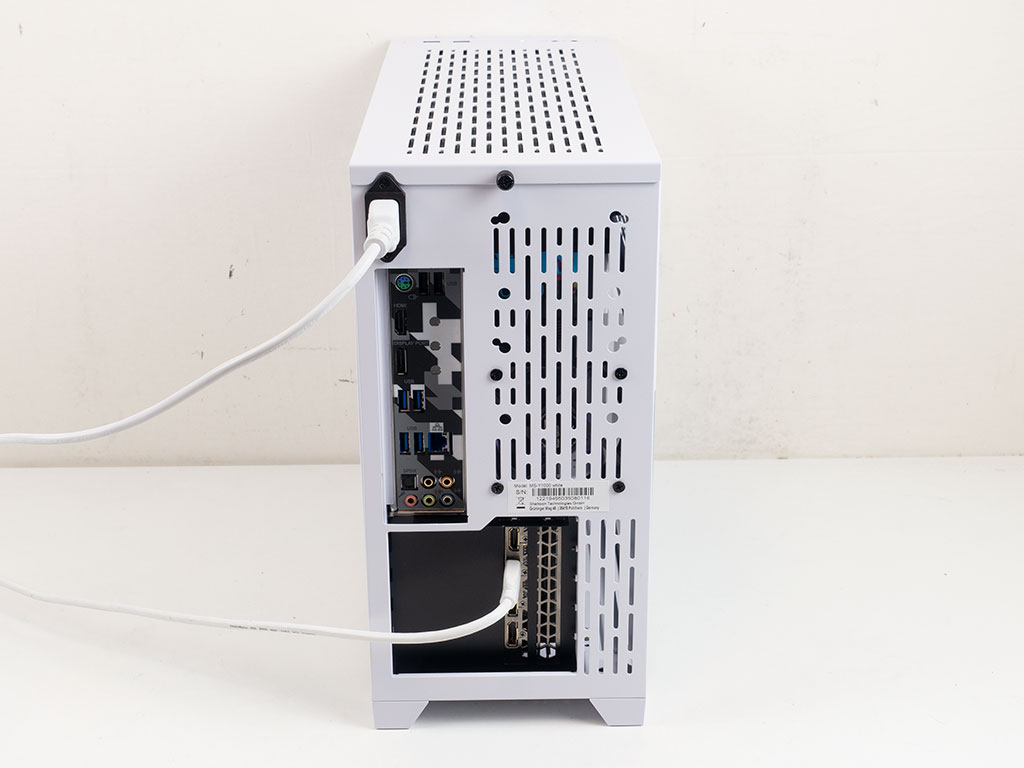
Looking at the front, none of the internal components shine through, which isn't surprising as there are two pretty solid layers of metal in the way. In the rear, everything but the power plug in the top looks normal.
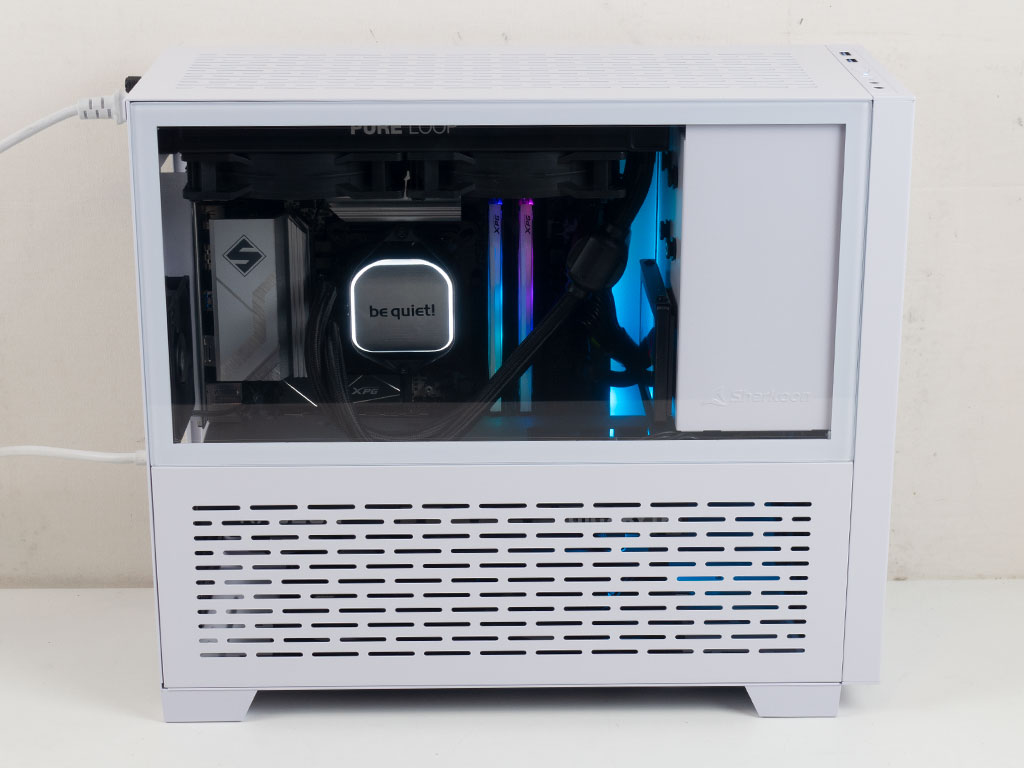
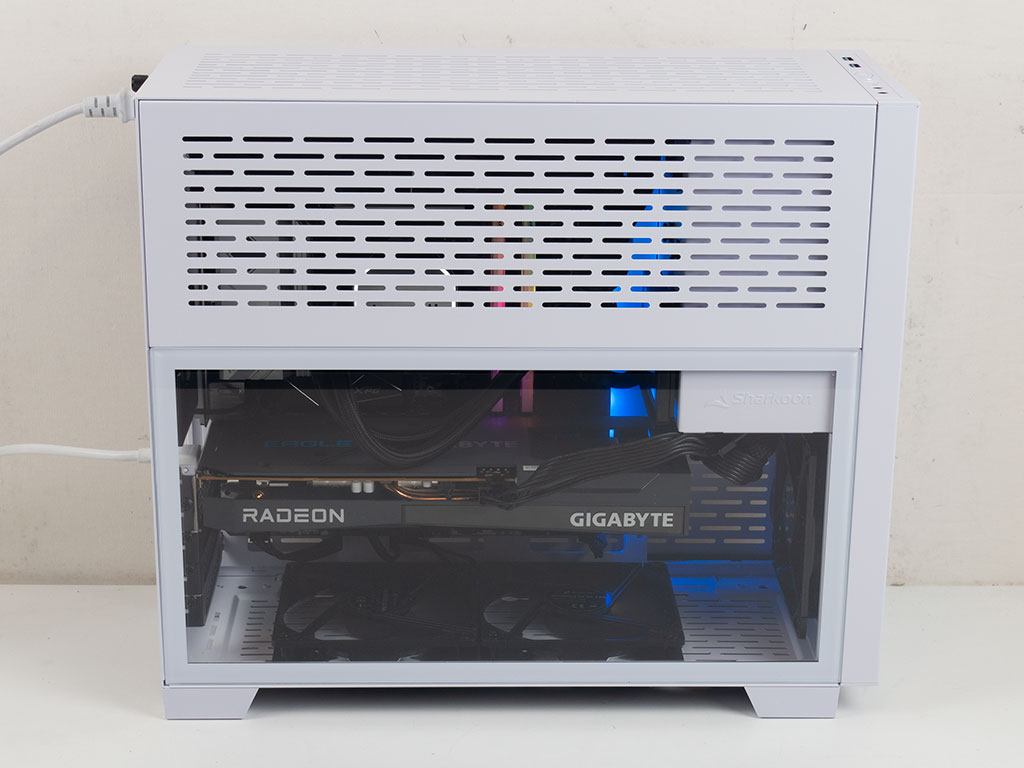
As already hinted at in the beginning of the review, you can clearly see through the glass of the side panel, and get to pick if you want to view the top half of the motherboard along with your CPU, memory, and cooling setup or focus on the lower half showing off your GPU. Having that flexibility is a nice touch, of course. Taking a quick peek at the opposite side, not a whole lot excites there.

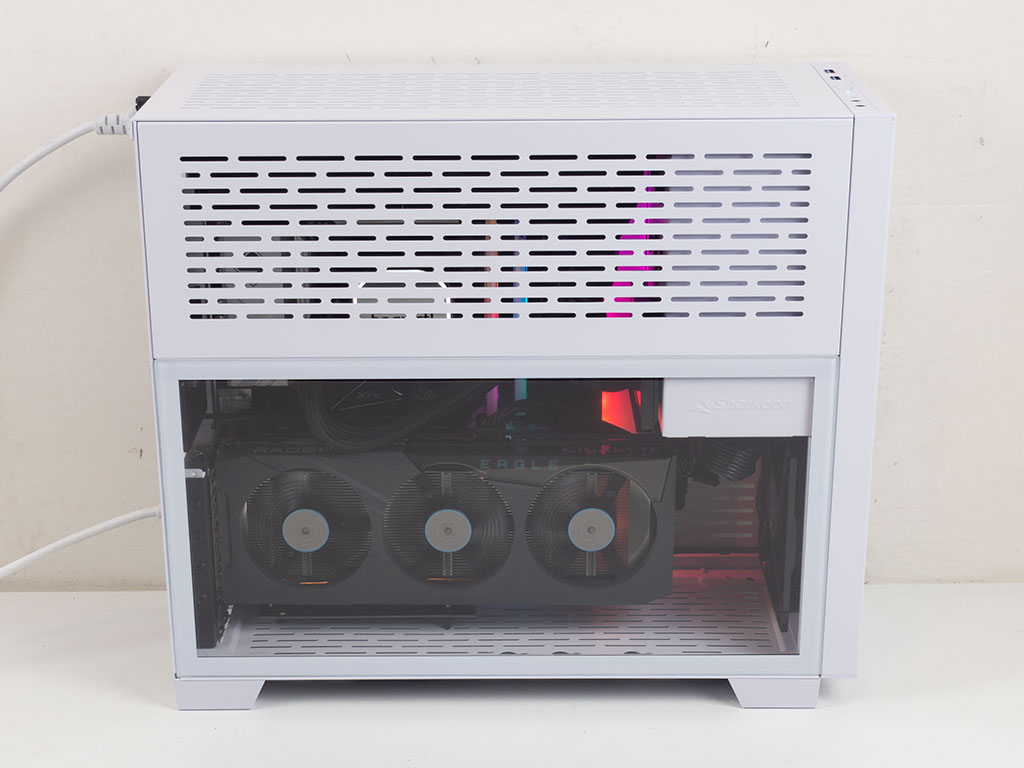
Naturally, with the vertical GPU kit in place, you may want to keep the side panel flipped over to really show off your pixel pusher in all its glory. In the rear, the expansion slots are now just one solid cover with the two vertical expansion slots.
Mar 10th, 2025 18:51 EDT
change timezone
Latest GPU Drivers
New Forum Posts
- Biostar RX 6700 XT OC BIOS (5)
- Wherein lies the difference (2)
- USB hard disk box capacity limits (14)
- AMD RX 7000 series GPU Owners' Club (1306)
- RX 9000 series GPU Owners Club (41)
- Nvidia's GPU market share hits 90% in Q4 2024 (gets closer to full monopoly) (773)
- What's your latest tech purchase? (23277)
- Gaming PC instabiliity (22)
- Msi 5090 DOA? (30)
- RX 9070 availability (170)
Popular Reviews
- Sapphire Radeon RX 9070 XT Nitro+ Review - Beating NVIDIA
- XFX Radeon RX 9070 XT Mercury OC Magnetic Air Review
- ASUS Radeon RX 9070 TUF OC Review
- MSI MAG B850 Tomahawk Max Wi-Fi Review
- NVIDIA GeForce RTX 5080 Founders Edition Review
- NVIDIA GeForce RTX 5070 Founders Edition Review
- Corsair Vengeance RGB CUDIMM DDR5-8800 48 GB CL42 Review
- AMD Ryzen 7 9800X3D Review - The Best Gaming Processor
- ASUS GeForce RTX 5070 Ti TUF OC Review
- MSI GeForce RTX 5070 Ti Gaming Trio OC+ Review
Controversial News Posts
- NVIDIA GeForce RTX 50 Cards Spotted with Missing ROPs, NVIDIA Confirms the Issue, Multiple Vendors Affected (513)
- AMD Plans Aggressive Price Competition with Radeon RX 9000 Series (277)
- AMD Radeon RX 9070 and 9070 XT Listed On Amazon - One Buyer Snags a Unit (261)
- AMD RDNA 4 and Radeon RX 9070 Series Unveiled: $549 & $599 (260)
- AMD Mentions Sub-$700 Pricing for Radeon RX 9070 GPU Series, Looks Like NV Minus $50 Again (248)
- NVIDIA Investigates GeForce RTX 50 Series "Blackwell" Black Screen and BSOD Issues (244)
- AMD Radeon RX 9070 and 9070 XT Official Performance Metrics Leaked, +42% 4K Performance Over Radeon RX 7900 GRE (195)
- AMD Radeon RX 9070-series Pricing Leaks Courtesy of MicroCenter (158)