 2
2
Sharkoon TG7M RGB Review
Assembly & Finished Looks »A Closer Look - Inside

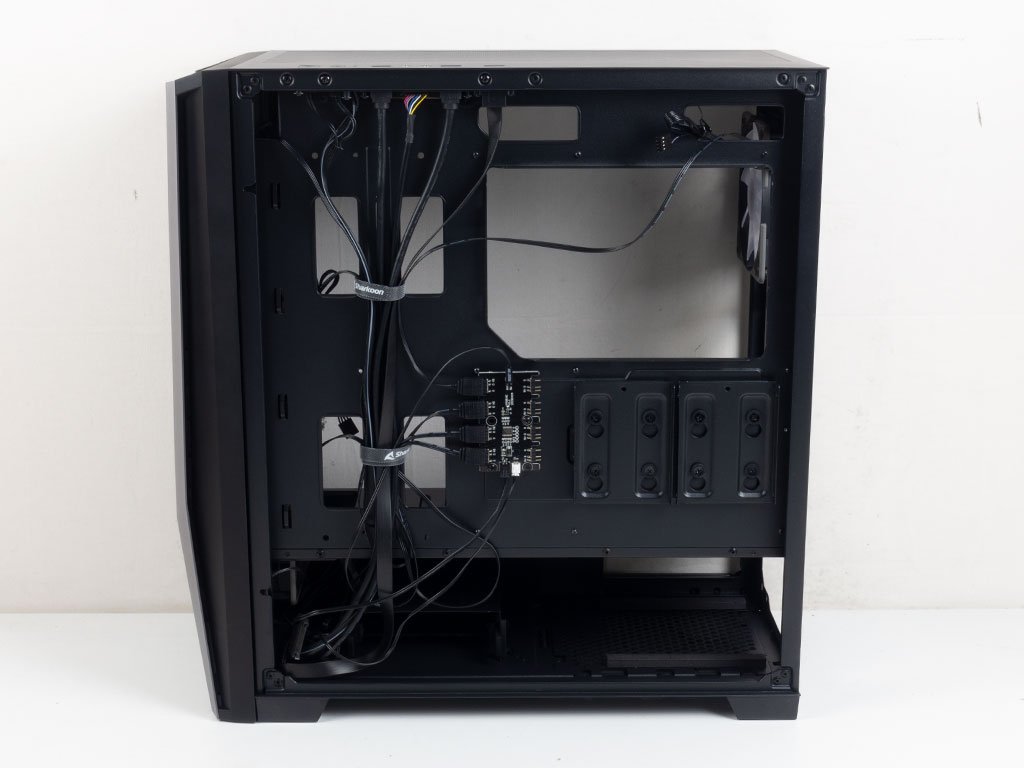
To access the interior of the TG7M RGB, simply remove each panel by releasing the thumb screws holding each in place. The case interior is quite traditional, but does have some additional details we usually don't see from a case of this price bracket. A large opening has been put around where the CPU cooler backplate will be situated, and two rows of cable-routing holes will serve both ATX and E-ATX users well. Unfortunately, unlike the competition, Sharkoon did not put any grommets on these. Lastly, as there are only a very limited number of hooks to secure cables to, cable management will be slightly harder.

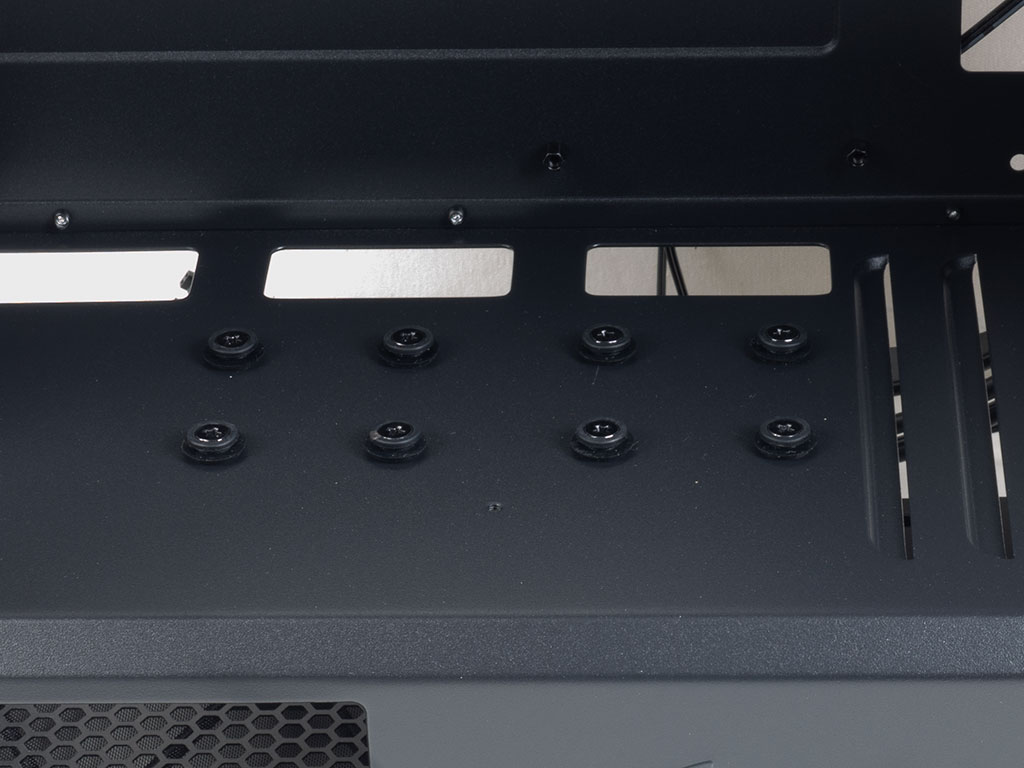
The metal shroud covering the PSU and HDD cage has three well-placed cutouts for cable routing as well as a cosmetic vent. Interestingly enough, Sharkoon includes all the bits and pieces for two 2.5" drives here. However, the case only comes with two such trays on the backside of the motherboard tray. It seems users are meant to have the option to use those trays here, which is quite a nice touch. However, Sharkoon should have simply excluded these eight rubber-mounted screws to spend that money on grommets for cable management instead. After all, users who want to place their 2.5" drives here can just use the screws from the backside, along with the metal tray.


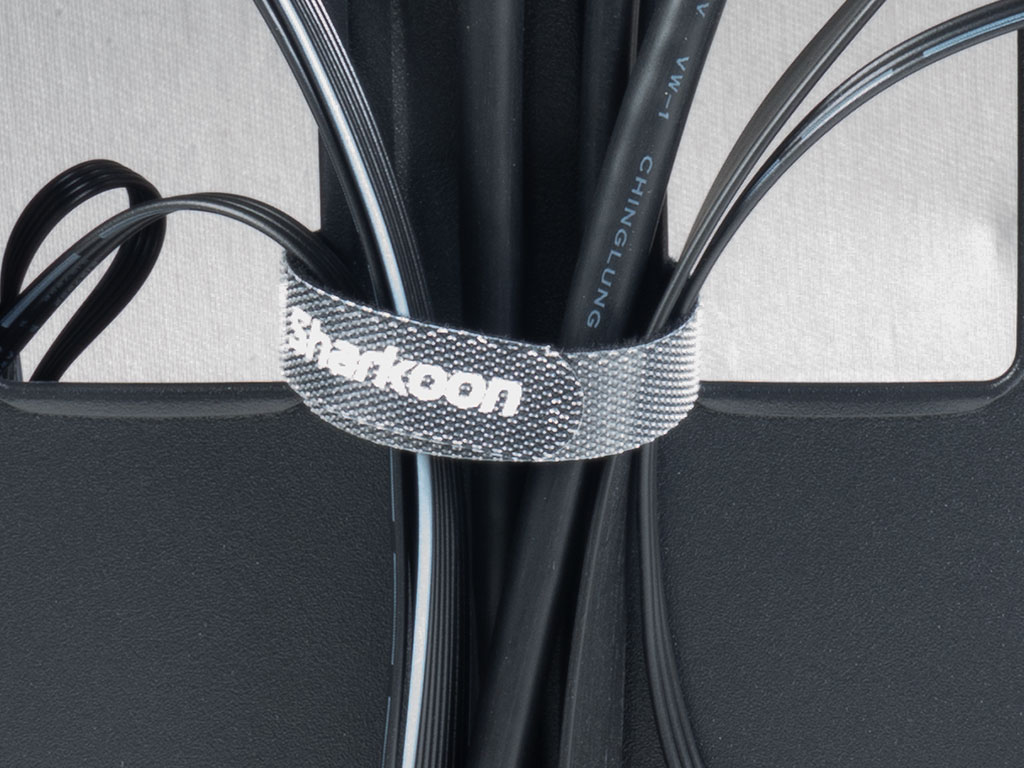
The Sharkoon TG7M RGB includes an embedded 8-port ARGB controller that uses the reset switch to cycle through various settings if the motherboard has no such support. Four of these are taken up by the pre-installed fans, so you don't have to do any additional work to route them. To the right of that are the two 2.5" hard-drive trays that may also be placed into the front of the chassis. Sharkoon uses Velcro strips to simply secure wires onto the pillar between the two cable-routing holes. That works, but is a bit odd.
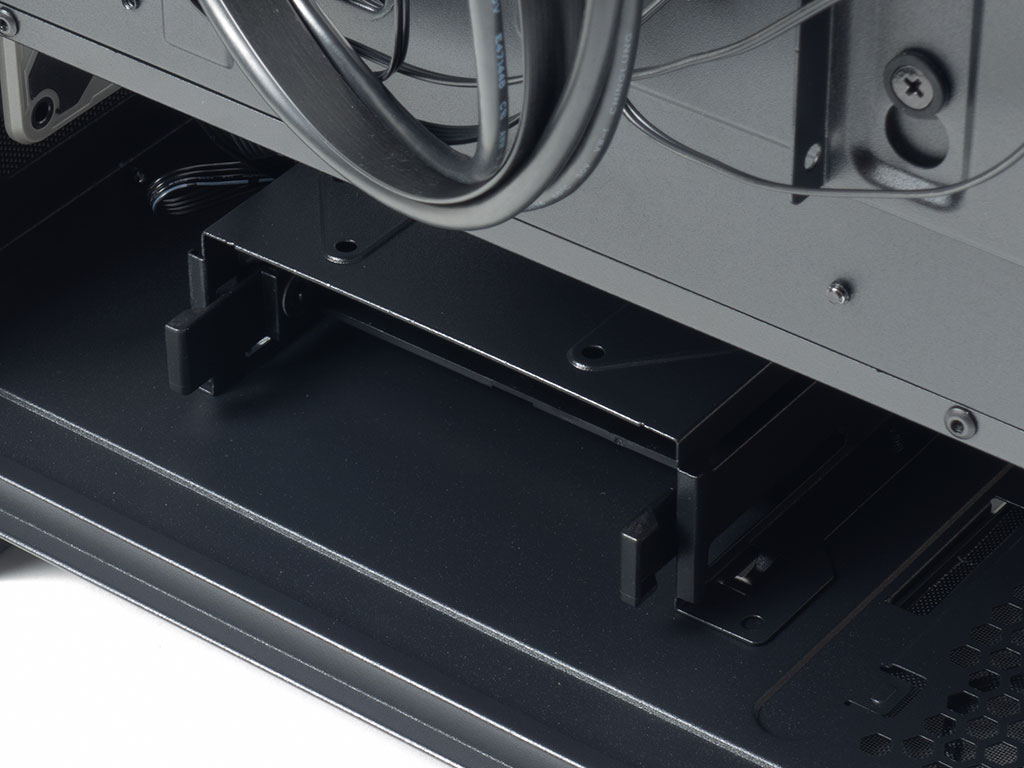
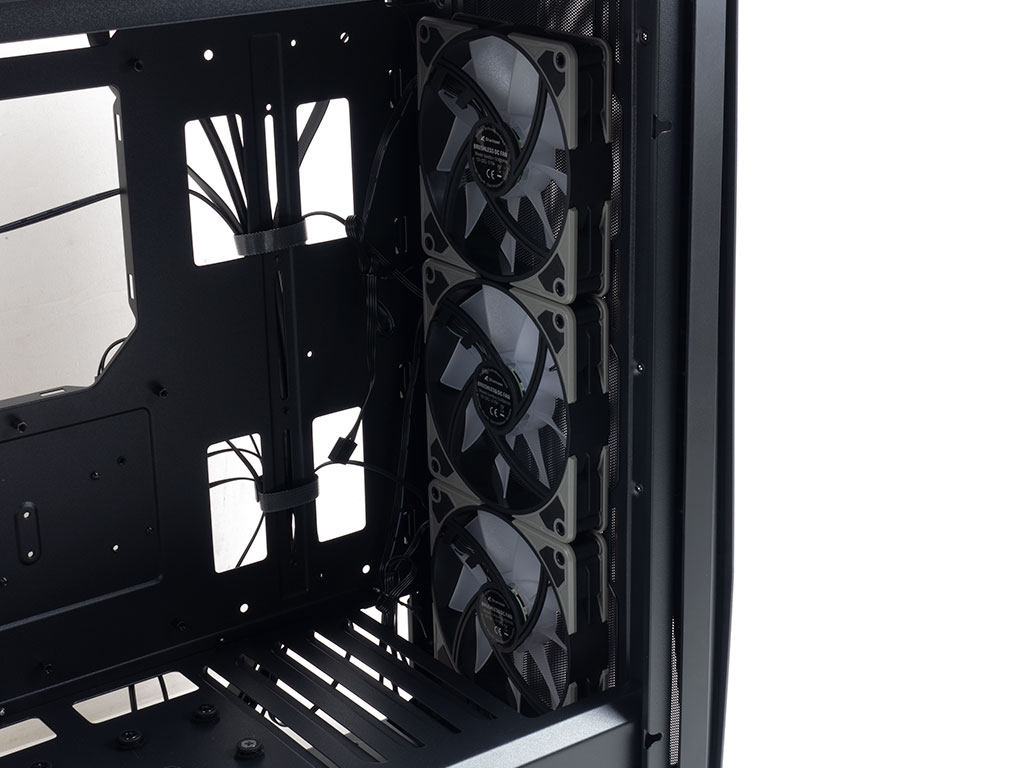
Underneath the shroud, in the front, the Sharkoon TG7M RGB has a basic hard-drive cage with a single tray. You may secure a second 2.5" or 3.5" drive to the top of that cage, but will have to unscrew it from the floor of the case. It would have been nice if the case used a cage with two individual trays instead. Above that, the space is taken up for cooling purposes with the three pre-installed intake fans. You may also go for a radiator of up to 360 mm here.

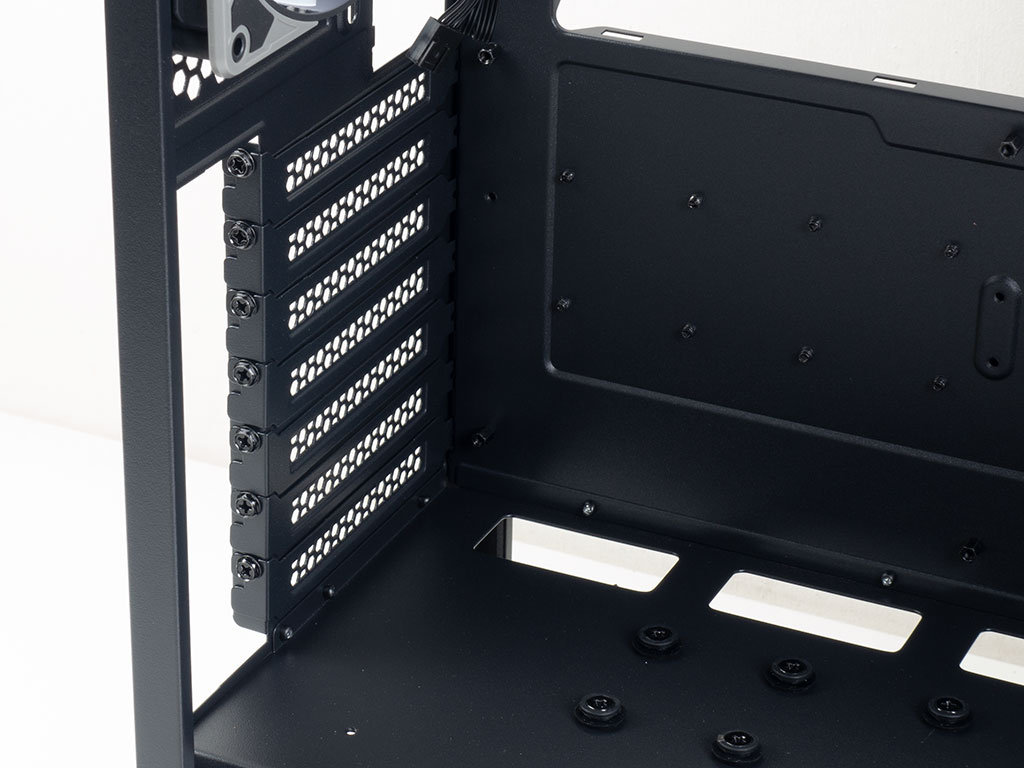
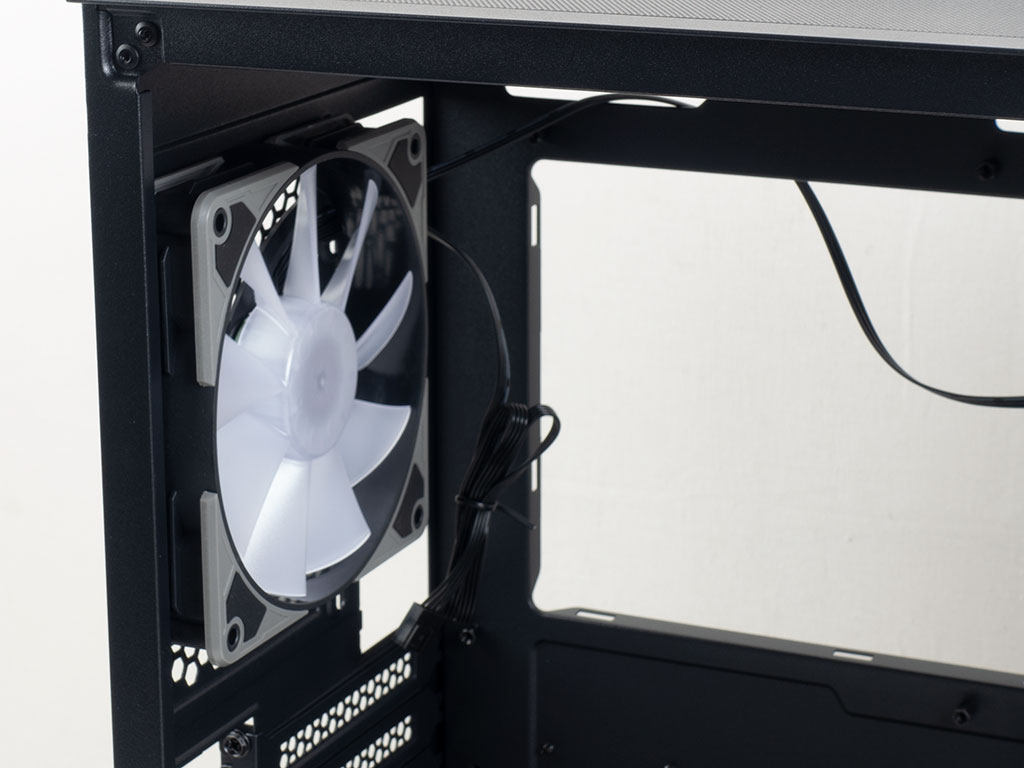
In the rear, the PSU bay is pretty straightforward with two foam pads for your unit to rest upon. There is ample space, so going with a potent enough variant for your gaming build shouldn't pose any issues. Above that are the expansion slots with reusable, vented covers. In the very top is that fourth fan set to push hot air out the back of the enclosure.

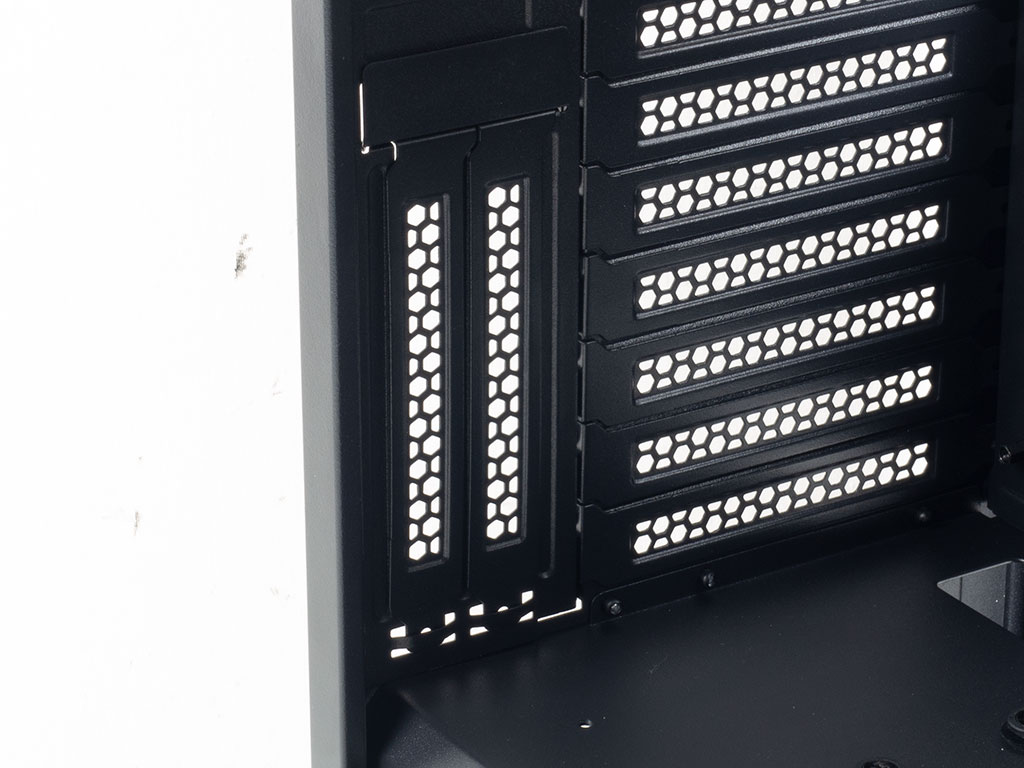
Installing the vertical mounting bracket, why Sharkoon doesn't do so at the factory becomes apparent. Doing so keeps you from getting to that second expansion-slot screw, which is one of two a GPU needs. Thus, you should really wait to install the cover until the end of the build.
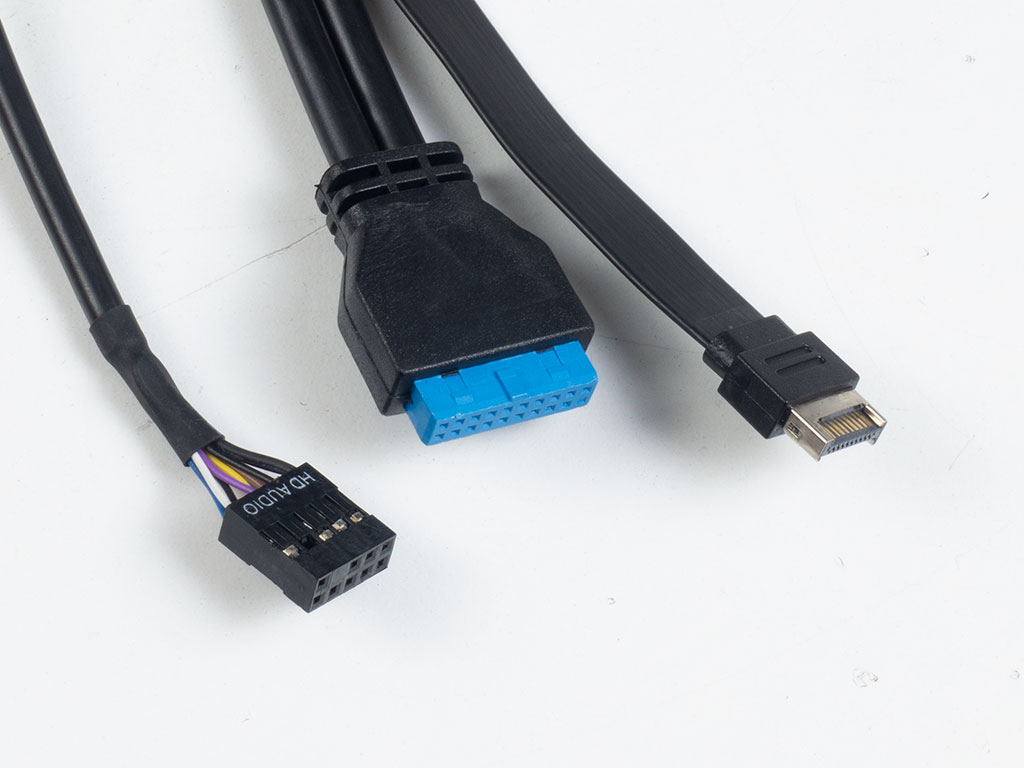
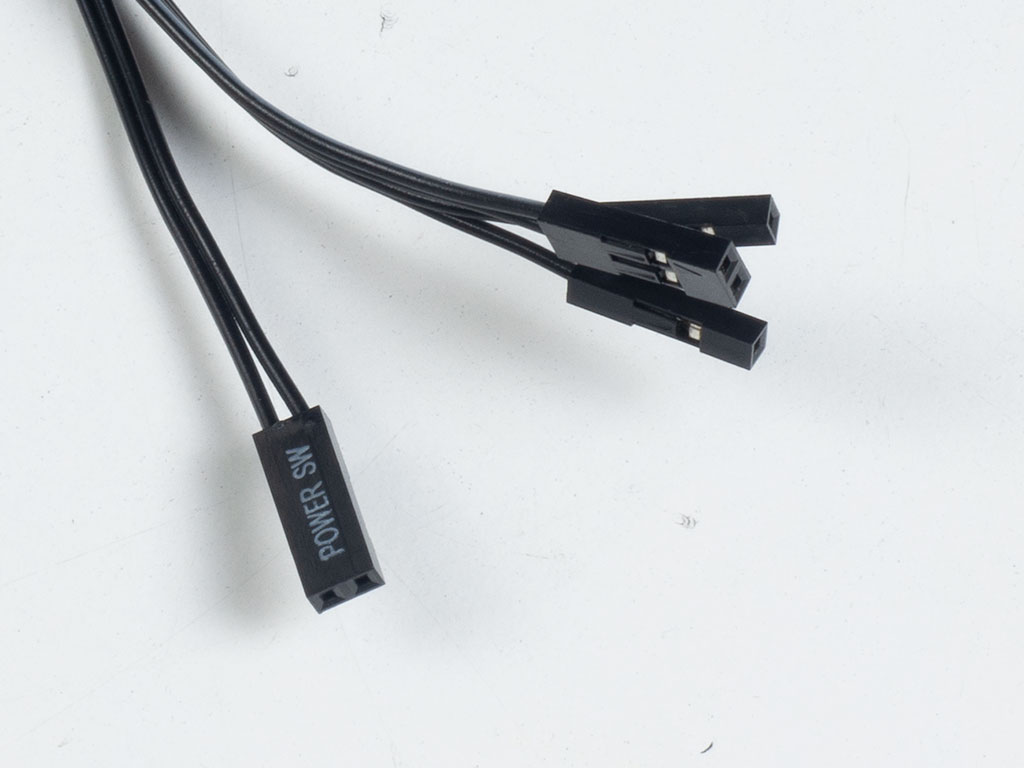
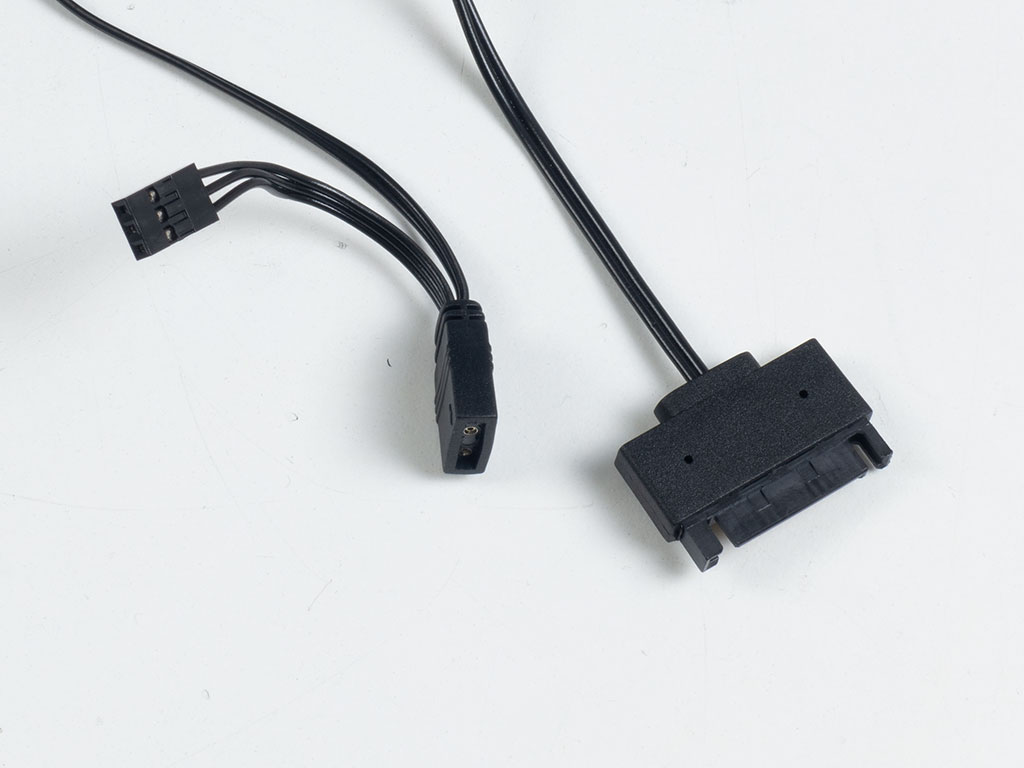
All the cables inside the Sharkoon TG7M RGB are of the usual black sleeved variety. The built-in ARGB controller utilizes a SATA connector for power and comes with an interface cable should you choose to use motherboard control instead of the button at the top of the chassis.
Feb 11th, 2025 04:33 EST
change timezone
Latest GPU Drivers
New Forum Posts
- Suggestion: Allow auto-selecting "best driver" with NVENC patch support (4)
- Case fan with controller (4)
- Asteroid 2024 YR4 reaches level 3 on the Torino Scale (62)
- win10 or win11 (0)
- What's your latest tech purchase? (23125)
- Help Needed on Toshiba IS-1522 (1)
- It's happening again, melting 12v high pwr connectors (112)
- Guide: Flashing with a hardware programmer (15)
- Daisy chaining mixed 4-pin fans (8)
- The TPU UK Clubhouse (25723)
Popular Reviews
- Civilization VII Performance Benchmark Review - 35 GPUs Tested
- Kingdom Come Deliverance II Performance Benchmark Review - 35 GPUs Tested
- ASRock Phantom Gaming B850I Lightning Wi-Fi Review
- Team Group T-Force XTREEM DDR5-7200 48GB CL34 Review
- Spider-Man 2 Performance Benchmark Review - 35 GPUs Tested
- NVIDIA GeForce RTX 5080 Founders Edition Review
- AMD Ryzen 7 9800X3D Review - The Best Gaming Processor
- Kingdom Come: Deliverance 2 Handheld Performance Review
- DAREU A980 Pro Max Review
- Corsair Frame 4000D Review
Controversial News Posts
- AMD Radeon 9070 XT Rumored to Outpace RTX 5070 Ti by Almost 15% (286)
- AMD is Taking Time with Radeon RX 9000 to Optimize Software and FSR 4 (256)
- AMD Denies Radeon RX 9070 XT $899 USD Starting Price Point Rumors (239)
- Edward Snowden Lashes Out at NVIDIA Over GeForce RTX 50 Pricing And Value (239)
- AMD Radeon RX 9070 XT & RX 9070 Custom Models In Stock at European Stores (226)
- New Leak Reveals NVIDIA RTX 5080 Is Slower Than RTX 4090 (215)
- AMD's Radeon RX 9070 Launch Faces Pricing Hurdles (175)
- AMD Radeon RX 9070 XT Tested in Cyberpunk 2077 and Black Myth: Wukong (169)