 0
0
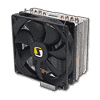
SilentiumPC Fera 2 HE1224 Review
Finished Looks »Installation
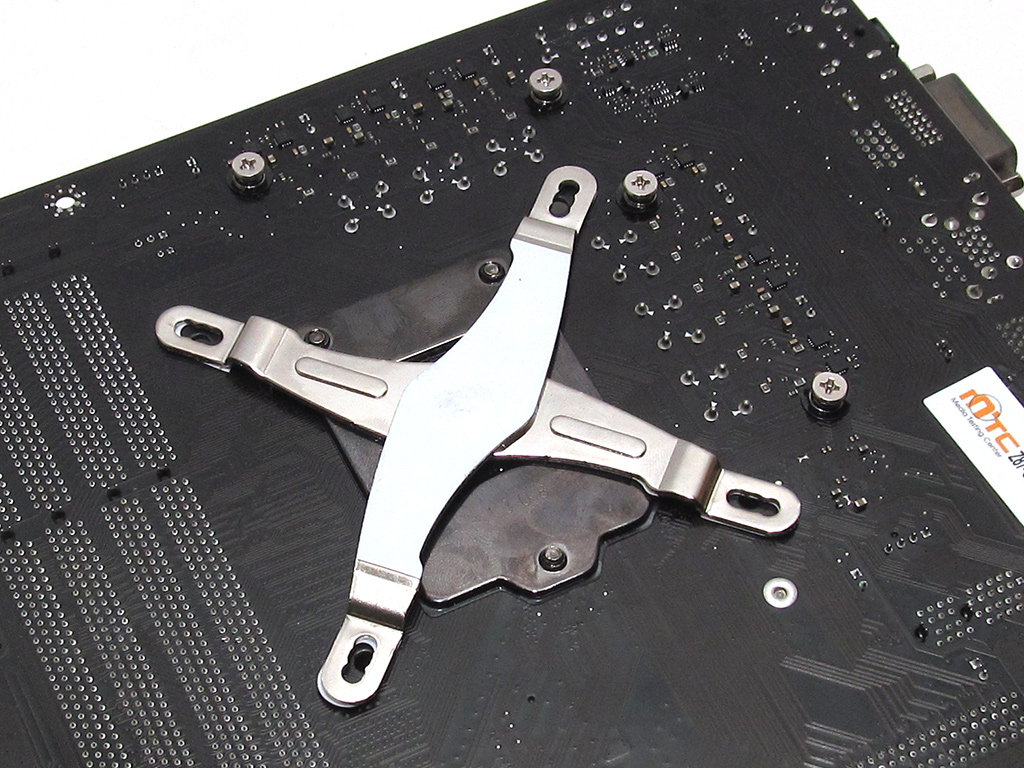

The first step to installing the SilentiumPC Fera 2 HE1224 is to attach the backplate to the motherboard. First, line the proper mounting holes on the backplate up with those on the motherboard to slide the long screws into place. Now use the small rubber O-rings to hold the screws in place.

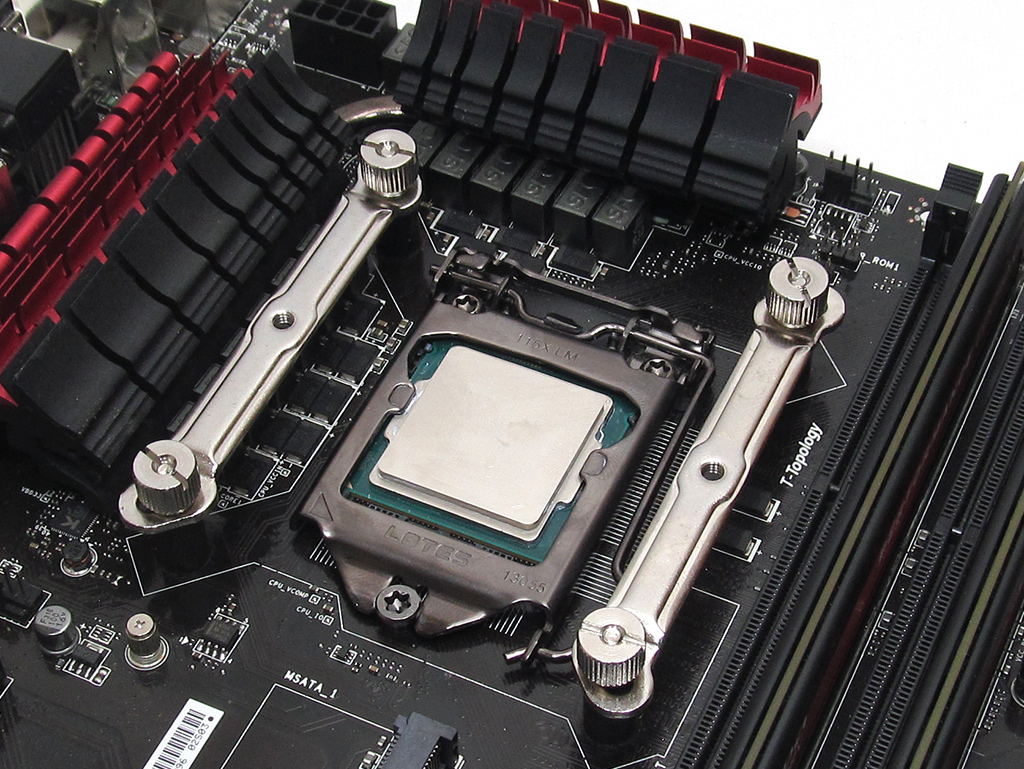
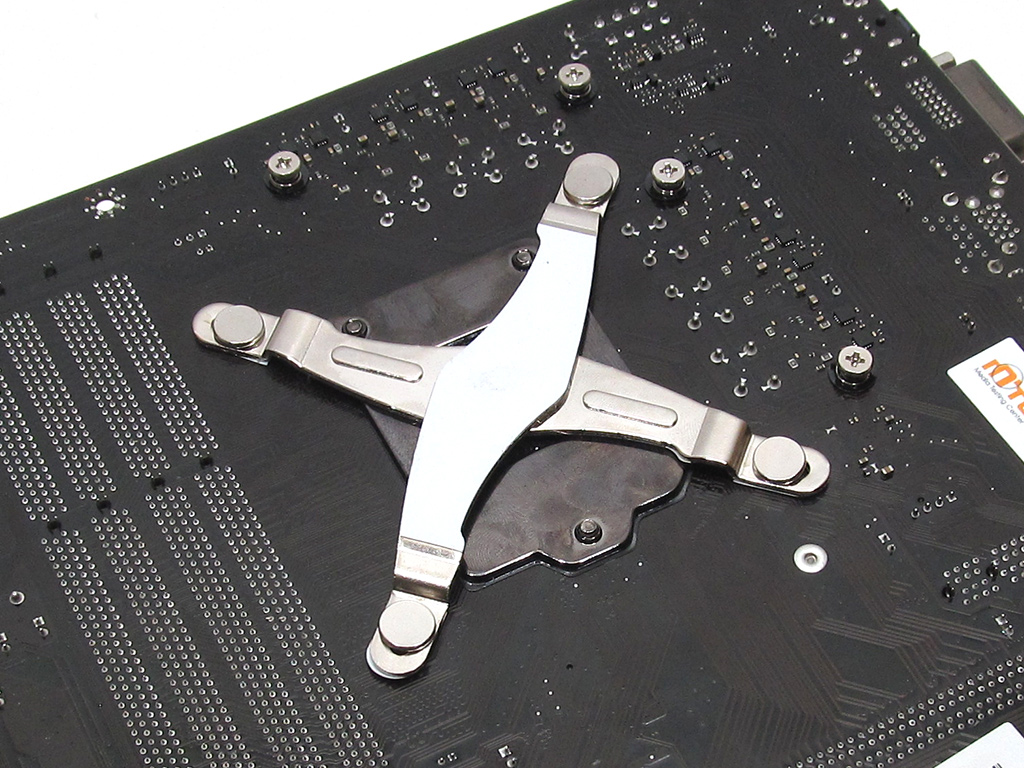
Place the black spacers over the screws before sliding the mounting arms over. Use the provided nuts to secure both mounting arms.

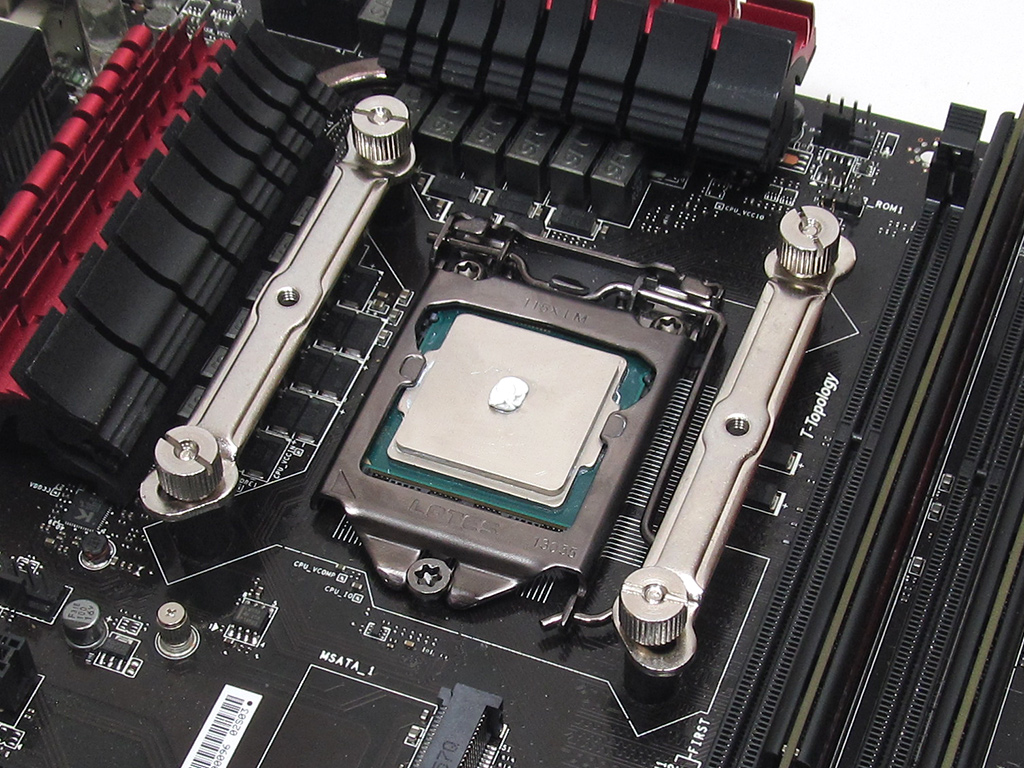
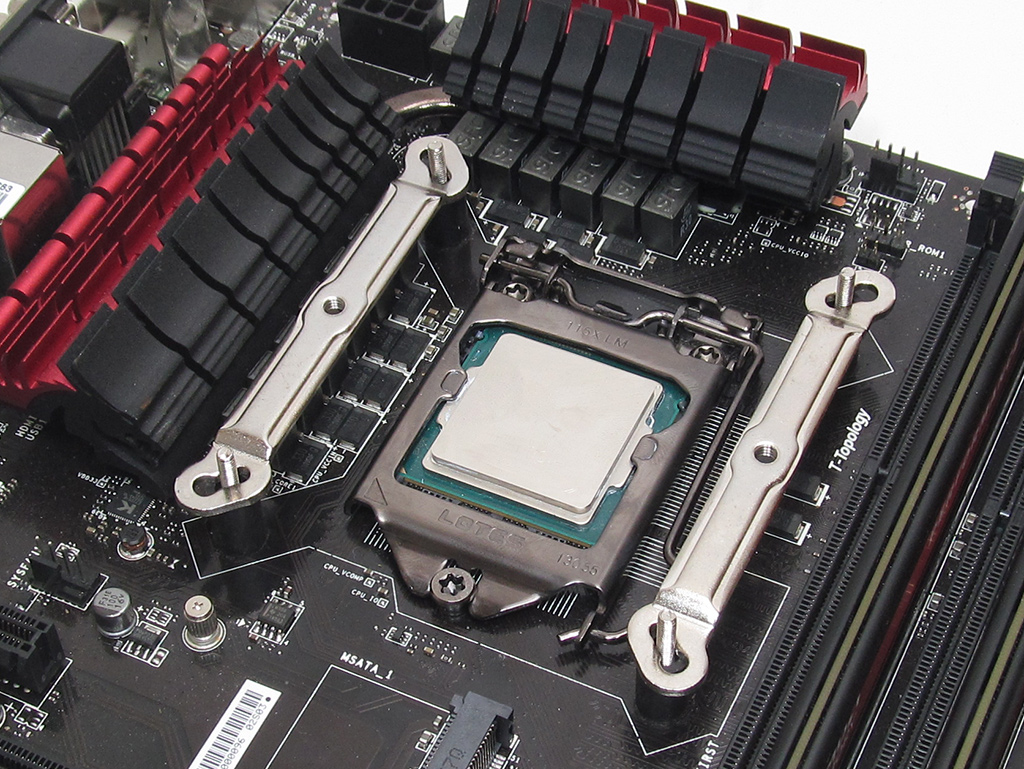
It is now time to prepare the cooler for mounting by securing the crossbar to the heatsink and applying an adequate amount of thermal paste to the CPU.

Line the holes on the crossbar up with those on the mounting arms, gently setting the cooler into place. Now use the remaining two thumbscrews to attach the cooler to the mounting arms. With that done, the heatsink has been installed.

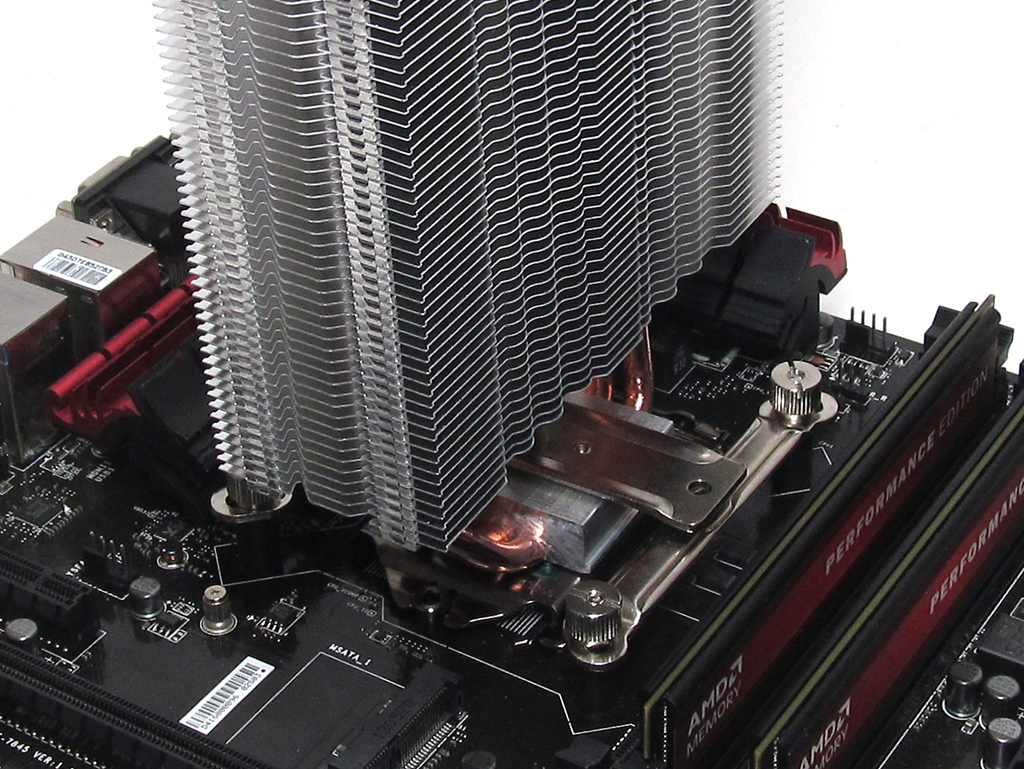
All that is left to do now is to attach the fan to the cooler, plugging it into the motherboard's CPU fan header.
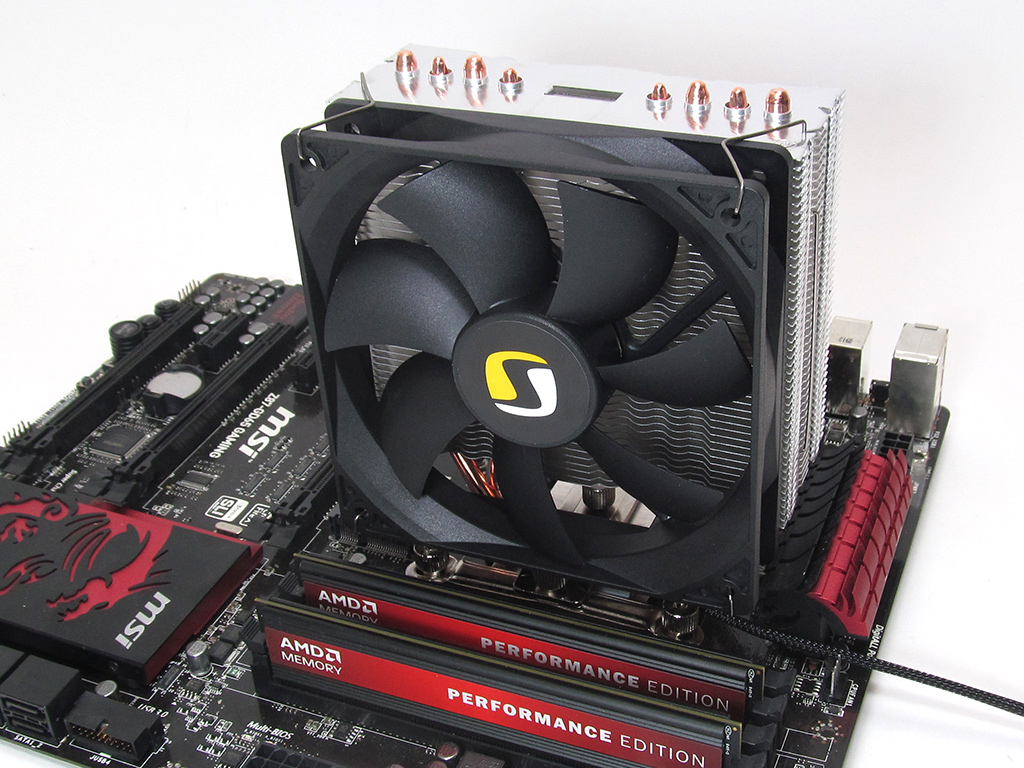
The install was quick and painless in part because of the simple and effective design. Granted, it is not perfect, but the fact that there are no meaningful issues to report on here means SilentiumPC has done a good job. I would rate the installation process an 8 on a scale of 1 (hardest) to 10 (easiest).
Mar 4th, 2025 09:02 EST
change timezone
Latest GPU Drivers
New Forum Posts
- WD Black or Gold for Gaming (10TB) (3)
- It's happening again, melting 12v high pwr connectors (999)
- B550 phantom Gaming ITX/AX bios problem. (6)
- DTS DCH Driver for Realtek HDA [DTS:X APO4 + DTS Interactive] (2107)
- The future of RDNA on Desktop. (77)
- AMD Path Tracing Toyshop Demo (7)
- Free Games Thread (4524)
- Windows 11 General Discussion (5775)
- Oh boy here we go again...potential X3D woes (26)
- 1080ti with 0 vram (4)
Popular Reviews
- AMD Radeon RX 9070 Series Technical Deep Dive
- ASUS GeForce RTX 5070 Ti TUF OC Review
- EIZO FlexScan EV4340X Review - A Multitasking Powerhouse
- AMD Ryzen 7 9800X3D Review - The Best Gaming Processor
- RAWM ES21M Review
- be quiet! Pure Base 501 DX Review
- MSI GeForce RTX 5070 Ti Vanguard SOC Review
- MSI GeForce RTX 5070 Ti Ventus 3X OC Review
- ASUS ROG Harpe Ace Mini Review
- MSI GeForce RTX 5070 Ti Gaming Trio OC+ Review
Controversial News Posts
- NVIDIA GeForce RTX 50 Cards Spotted with Missing ROPs, NVIDIA Confirms the Issue, Multiple Vendors Affected (513)
- AMD Plans Aggressive Price Competition with Radeon RX 9000 Series (277)
- AMD Radeon RX 9070 and 9070 XT Listed On Amazon - One Buyer Snags a Unit (260)
- AMD Mentions Sub-$700 Pricing for Radeon RX 9070 GPU Series, Looks Like NV Minus $50 Again (248)
- NVIDIA Investigates GeForce RTX 50 Series "Blackwell" Black Screen and BSOD Issues (244)
- AMD RDNA 4 and Radeon RX 9070 Series Unveiled: $549 & $599 (232)
- AMD Radeon RX 9070 and 9070 XT Official Performance Metrics Leaked, +42% 4K Performance Over Radeon RX 7900 GRE (195)
- AMD Radeon RX 9070-series Pricing Leaks Courtesy of MicroCenter (158)