 11
11
SilverStone ALTA D1 Review
Review System Setup »A Closer Look - Inside


Taking off the four cover panels is easily done without the need for any tools. Each of these, much like the case itself, is built in an extremely sturdy fashion. SilverStone also includes a pair of magnetic dust filters on each of these panels. While this is a welcome addition to keep dirt out of the chassis, these are clearly not purpose made for the Alta D1, as they don't completely cover the vents. The interior of the chassis is all black, which is something we have come to expect from retail enclosures while server cases tend to skip this finishing step. There is a large crossbar on both sides of the case as an added structural component. You may remove it temporarily if you need the access. The Alta D1 is clearly not made with the usual clean cable management in mind. While there are some openings, there are only a few hooks for cable management and there isn't much room to really route anything, but we went ahead and tried anyway. That said, those using this case won't mind if wiring is running through the interior as long the system manages to perform its tasks reliably.
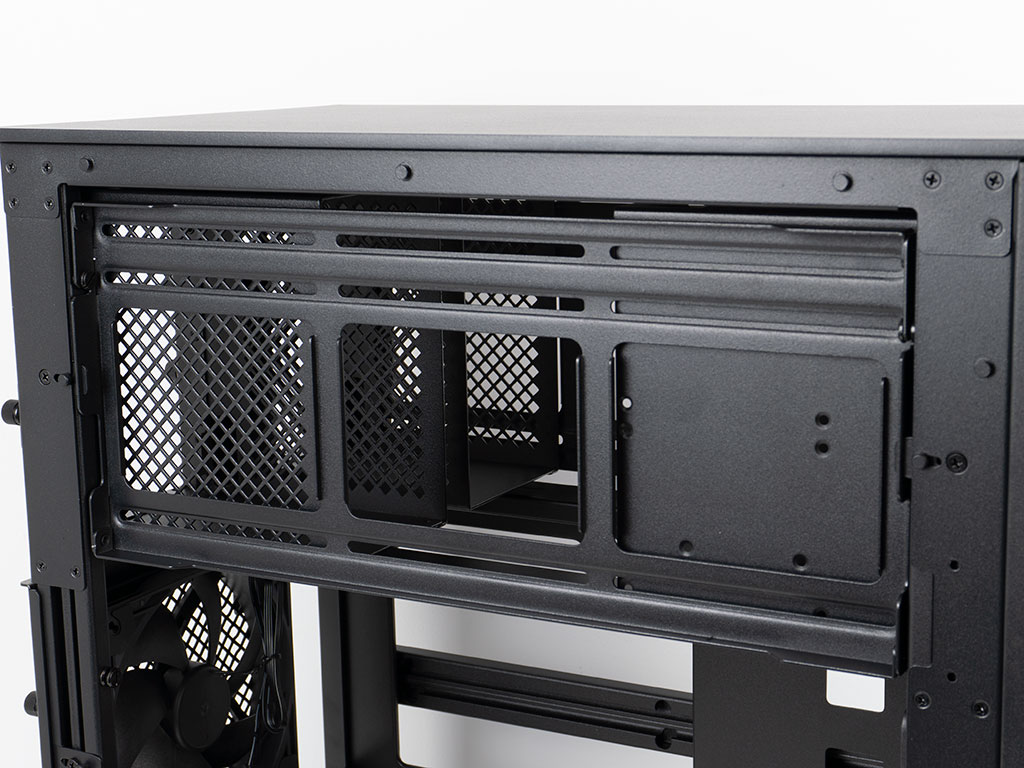

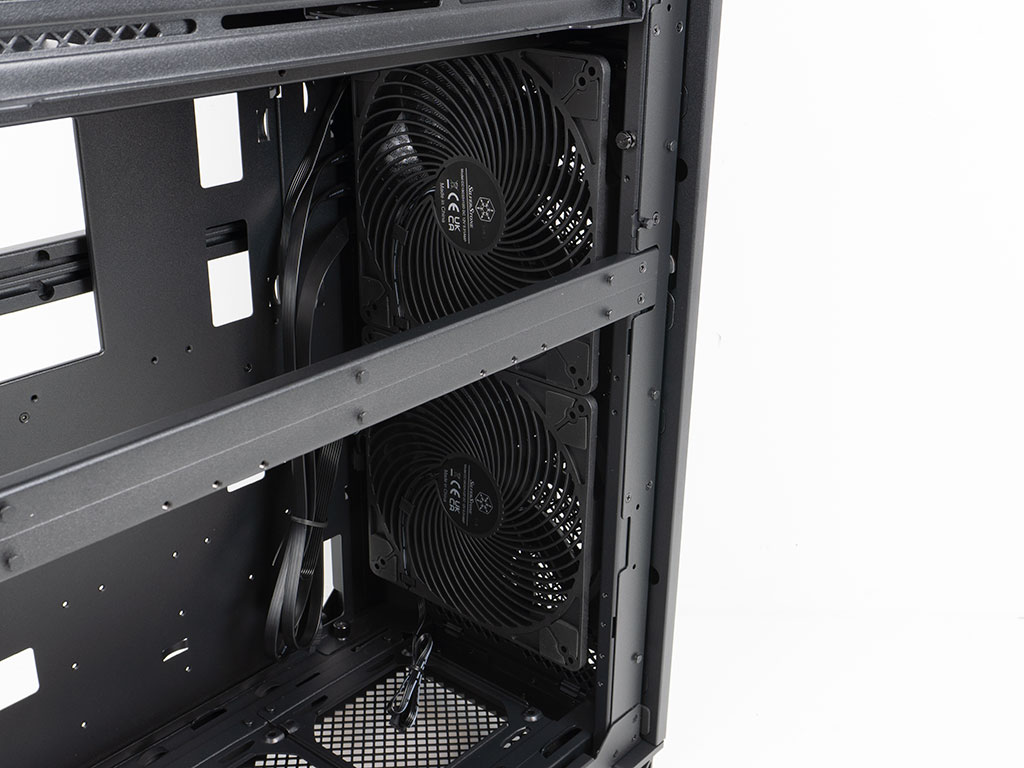
The top section of the chassis has multiple uses, with the default being storage and dual-PSU in the shape of a pair of cages for each purpose. Both sides have the same setup, with an AIO mounting frame. You may move the frame of the right side down below the one on the left, so that you could retain all storage and PSU capabilities, while being able to mount a single 360 AIO for CPU cooling for example. Each of these frames sit on pins, but use latches which are secured by screws to hold them in place. Thus, to remove them, you have to first loosen that screw and slide the latch away from the cooling mounting frame.
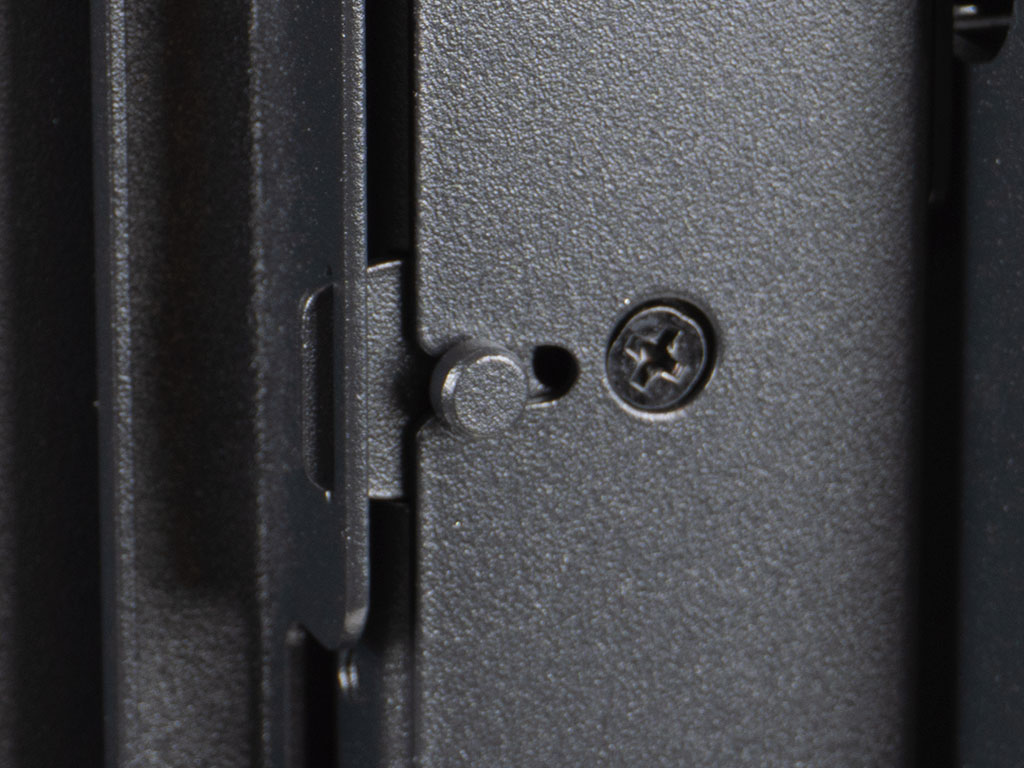
On the floor, there are three individual frames which allow you to mount cooling. Alternatively, if you do install the modular kit under the motherboard, that will naturally limit you to the one forward fan placement opportunity.

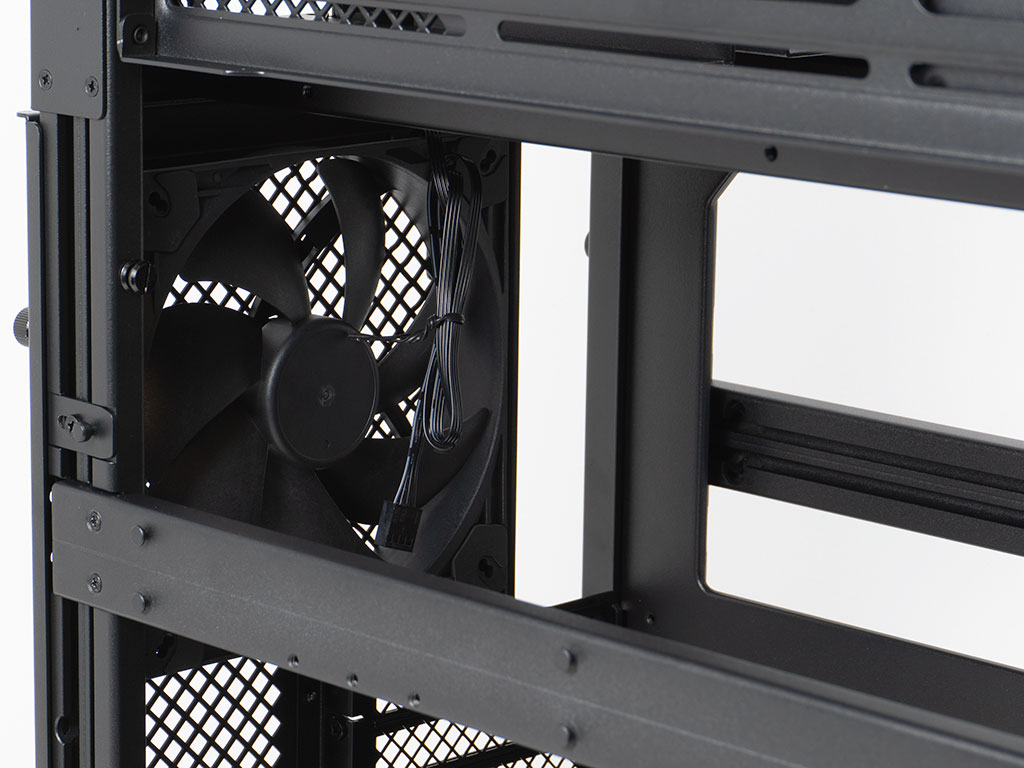
In the front, you will find the two 180 mm Air Penetrator fans from SilverStone, which feels like the one common element you can expect to see from all Alta enclosures. These channel the airflow thanks to their unique design and force more air across your components. This also means that these are not the quietest, but the target audience of the Alta D1 will likely not care at all. In the rear, the 11 expansion slots are protected by individual, reusable covers and normal screws. Looking at the very top, you will find that third included fan, set to push air out the back. This is not an air penetrator, as it would make no sense to have that as an exhaust unit. That said, it is a high-CFM unit, as we felt the airflow from the fan even when snapping the pictures of the system.
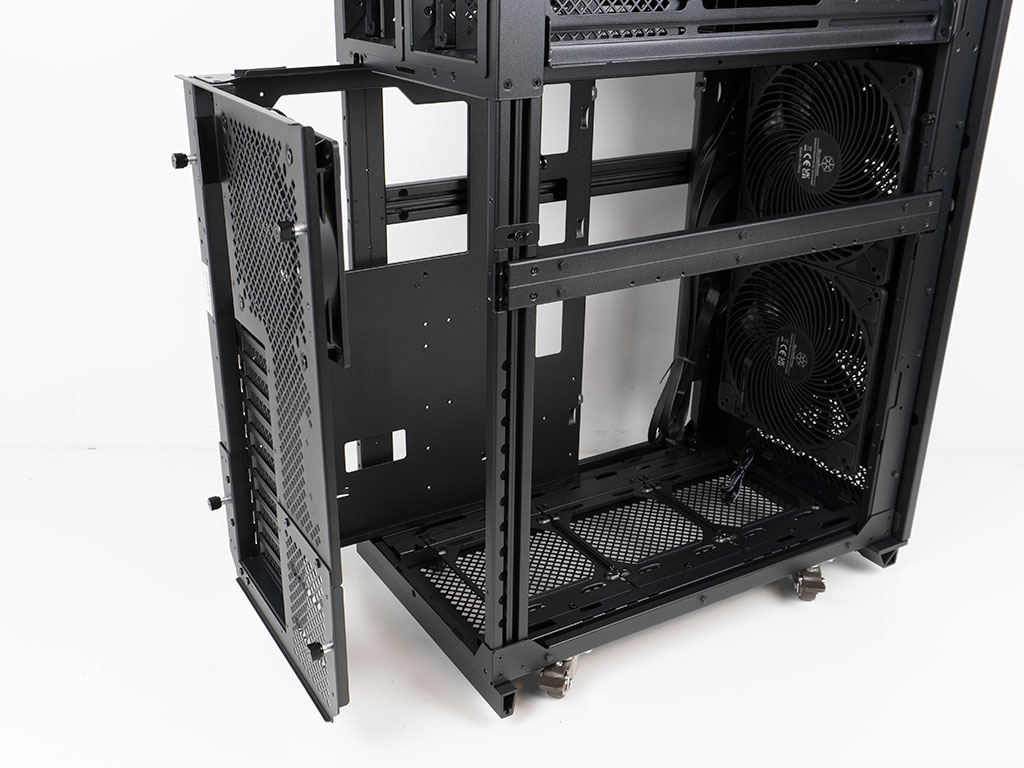

You may pull out the entire tray, which is very useful, especially considering the complex, dual-CPU & multi-GPU systems you could build. This will allow to easily pre-wire everything without having to deal with the confines of the chassis.
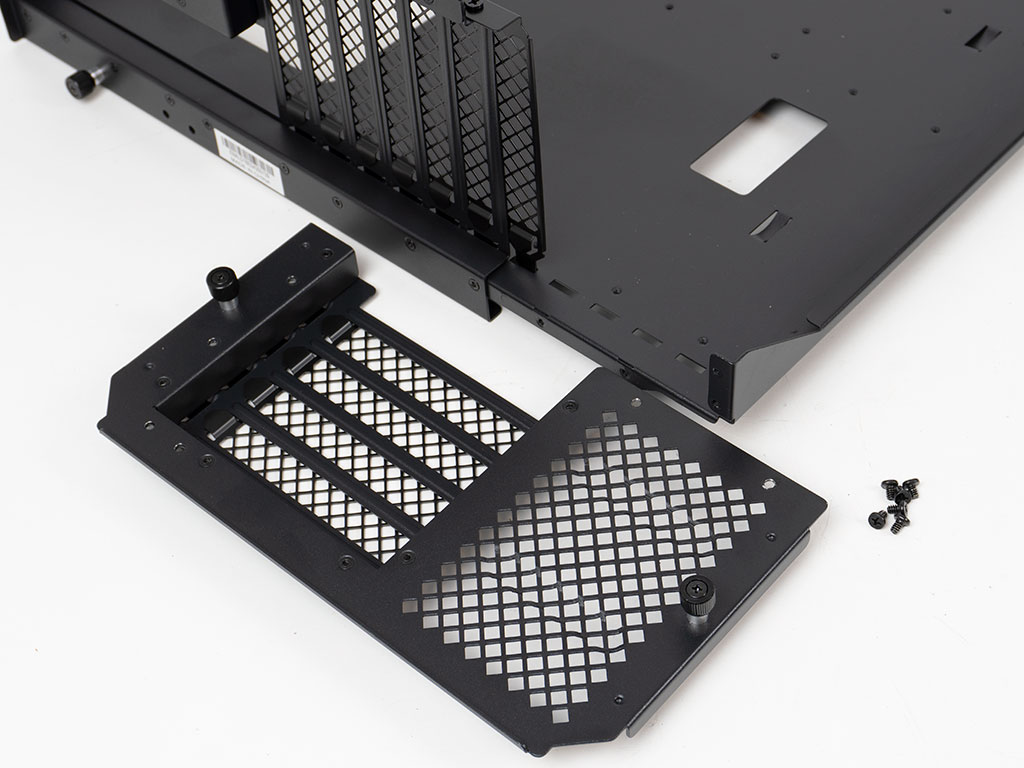

To convert the system from 11 to 7 slots when using the additional modular mounting kit, you simply can detach the bottom portion of the tray. This is one of the few elements which is secured by normal screws, which you will also use to attach that modular kit in place of the expansion slots. Having such screws is perfectly fine, as this is not something you should plan to change up often anyway.

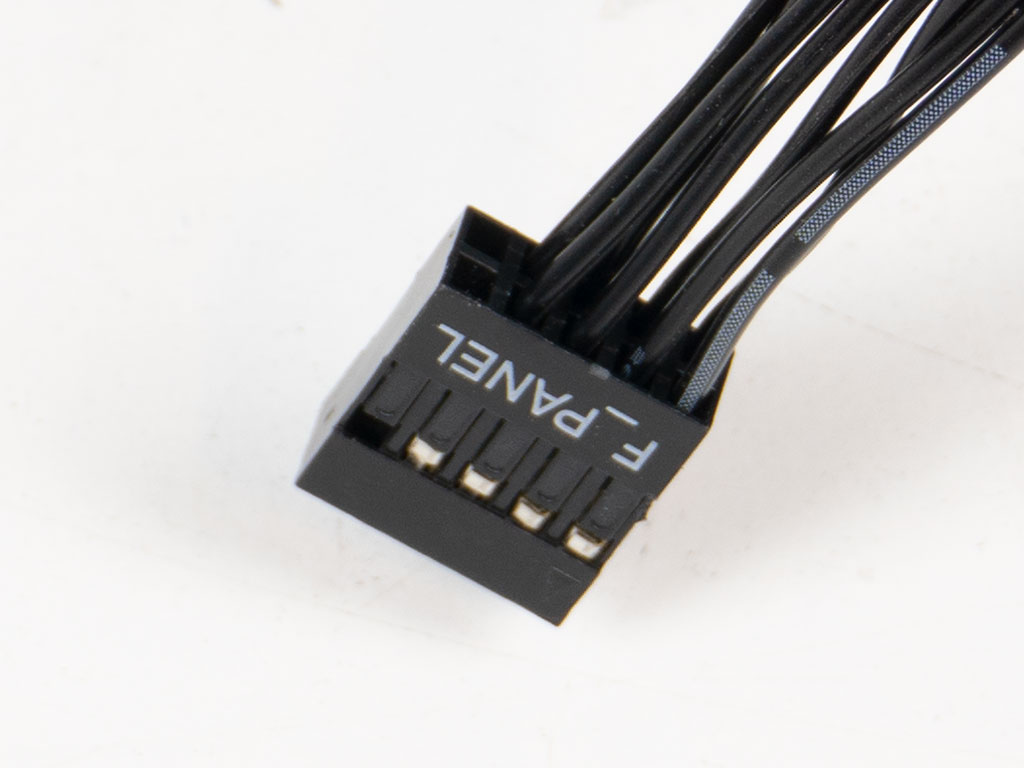
As there is no audio I/O on the SilverStone Alta D1, you will only find the two USB wires within. These are both flat-band style, which will make routing easier as well. On top of that the chassis uses a unified motherboard header connector, which is a welcome detail.
Oct 28th, 2024 19:17 EDT
change timezone
Latest GPU Drivers
New Forum Posts
- Poll - Do you prefer large or small jumps in generational performance from new CPU products? (83)
- Switching to AMD after 15 years, need AM5 motherboard advice (58)
- What are you playing? (22011)
- What's your latest tech purchase? (22060)
- Where do you buy your hardware? (15)
- TPU's Nostalgic Hardware Club (19301)
- Can't install latest Nvidia update using NVCleanstall. (566.03 GRD) (19)
- About 10 y/o hardware, rebuilt process (49)
- CPU Database (210)
- My three months old 13900KF seems to be showing signs of degradation (42)
Popular Reviews
- Intel Core Ultra 9 285K Review
- Intel Core Ultra 7 265K Review
- Intel Core Ultra 5 245K Review
- SilverStone ALTA D1 Review
- Meze Audio Alba In-Ear Monitors Review
- Quick Look: Ugreen Nexode 300W Power Bank
- Glorious GMMK 3 Pro HE Wireless Keyboard Review
- Upcoming Hardware Launches 2024 (Updated Jul 2024)
- DDR5 Memory Performance Scaling with AMD Zen 5
- Wooting 80HE Hall Effect Analog Gaming Keyboard Review
Controversial News Posts
- Quick Denuvo DRM Cracks Cost Game Publishers 20% in Revenue, According to Study (134)
- MSI OCLab Reveals Ryzen 9000X3D 11-13% Faster Than 7000X3D, AMD Set to Dominate "Arrow Lake" in Gaming (123)
- Single-Player Games Lose to PVP in Younger Audiences Despite Recent Hits (117)
- Intel's Core Ultra 9 285K Performance Claims Leaked, Doesn't Beat i9-14900K at Gaming (114)
- NVIDIA Tunes GeForce RTX 5080 GDDR7 Memory to 32 Gbps, RTX 5070 Launches at CES (112)
- AMD Ryzen 7 9800X3D Has the CCD on Top of the 3D V-cache Die, Not Under it (106)
- Afraid of Spiders? Call of Duty: Black Ops 6's Accessibility Features Have You Covered (91)
- AMD Ryzen 7 9800X3D Comes with 120W TDP, 5.20 GHz Boost, All Specs Leaked (80)