 5
5
SilverStone Redline RL05 Review
Assembly & Finished Looks »A Closer Look - Inside

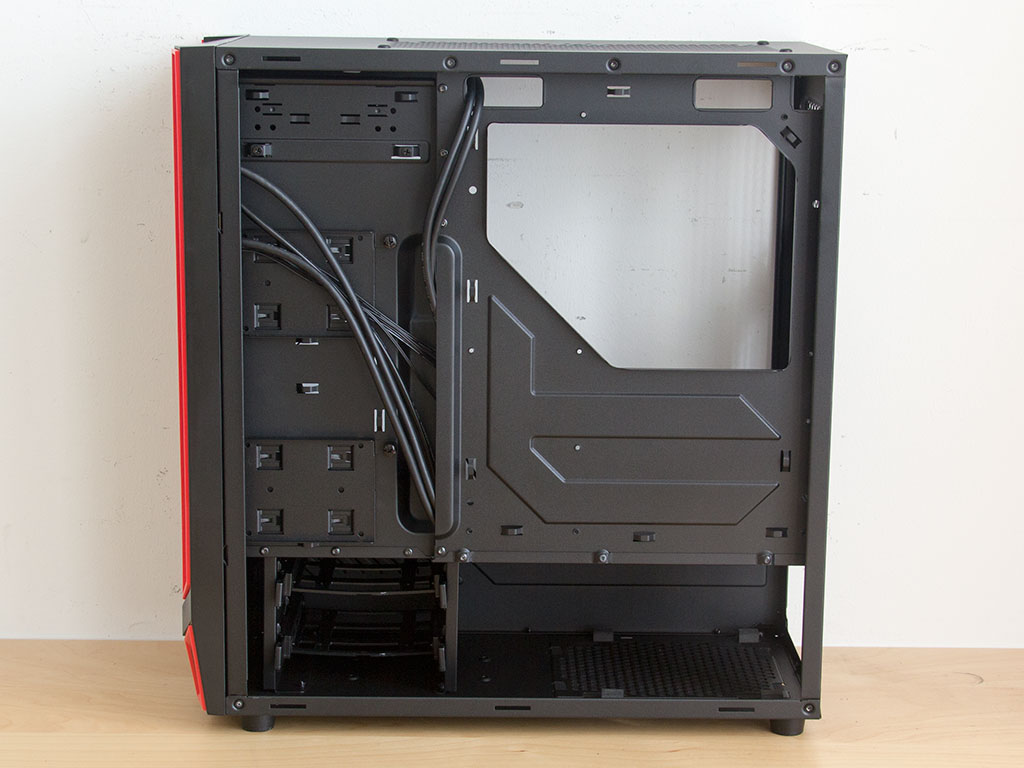
To gain access to the interior, simply remove the thumbscrews holding each panel in place. The interior lacks any visible 3.5" drive bays and sports a single 5.25" variant as an external opening. Looking at the motherboard tray from behind, there are two simple openings at the top edge, but only one large, partially covered opening has been put into the left edge of the tray. While this will allow for some interesting cable routing, it also means that you will have to route elements like audio all the way across the motherboard.
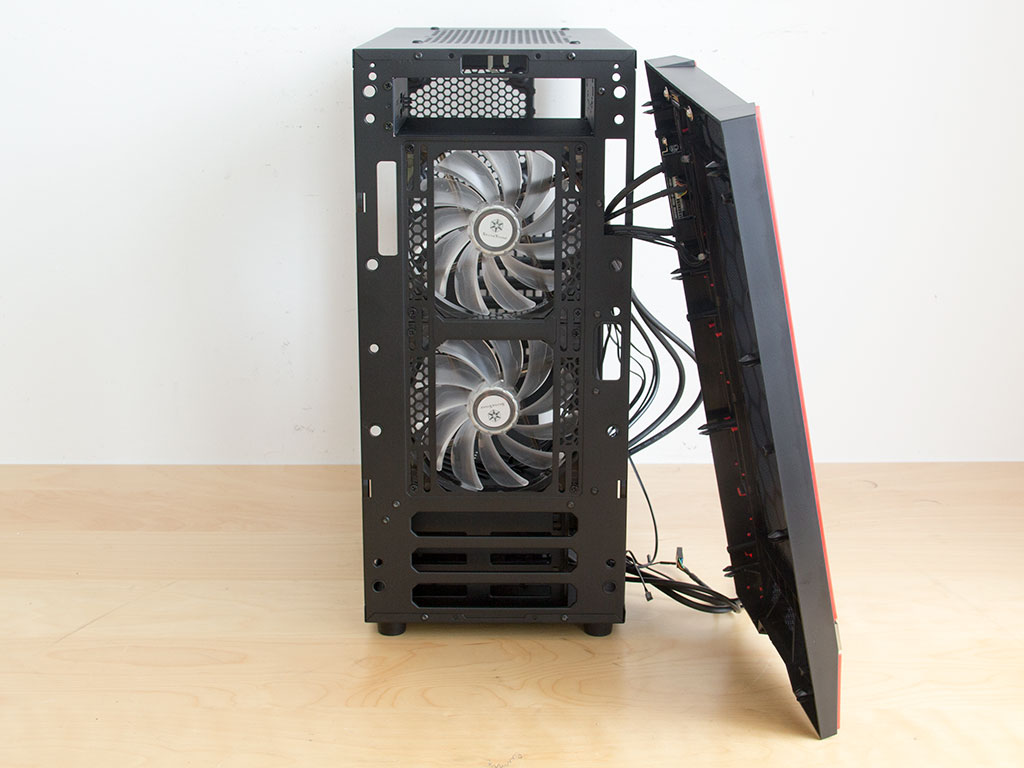
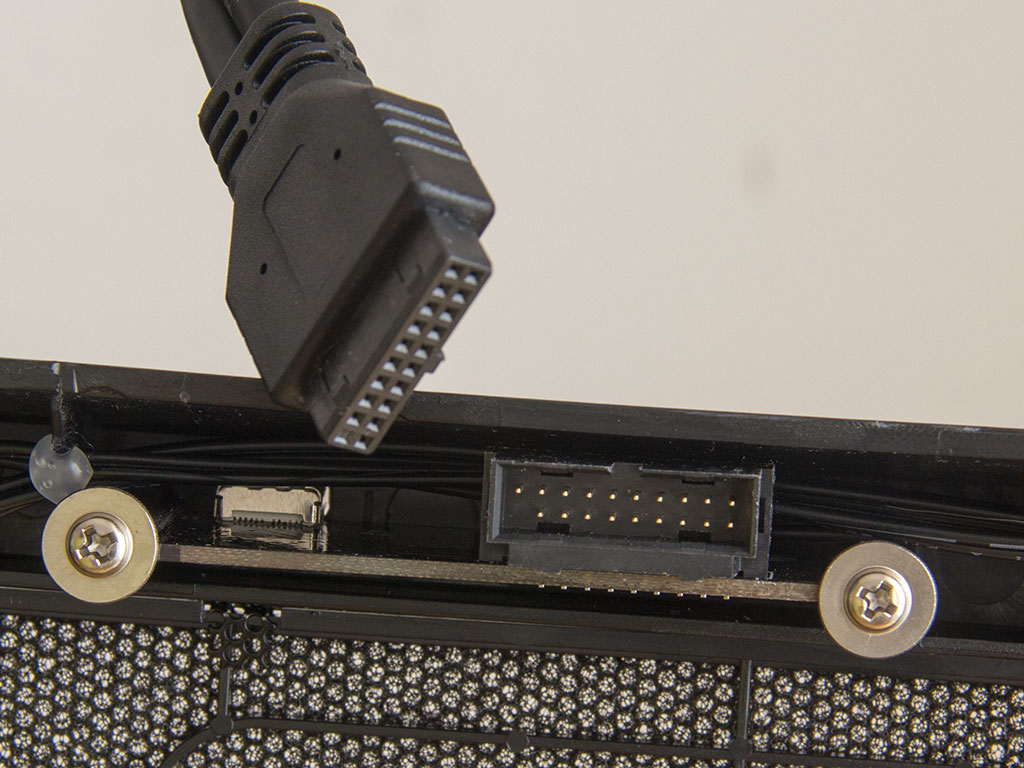
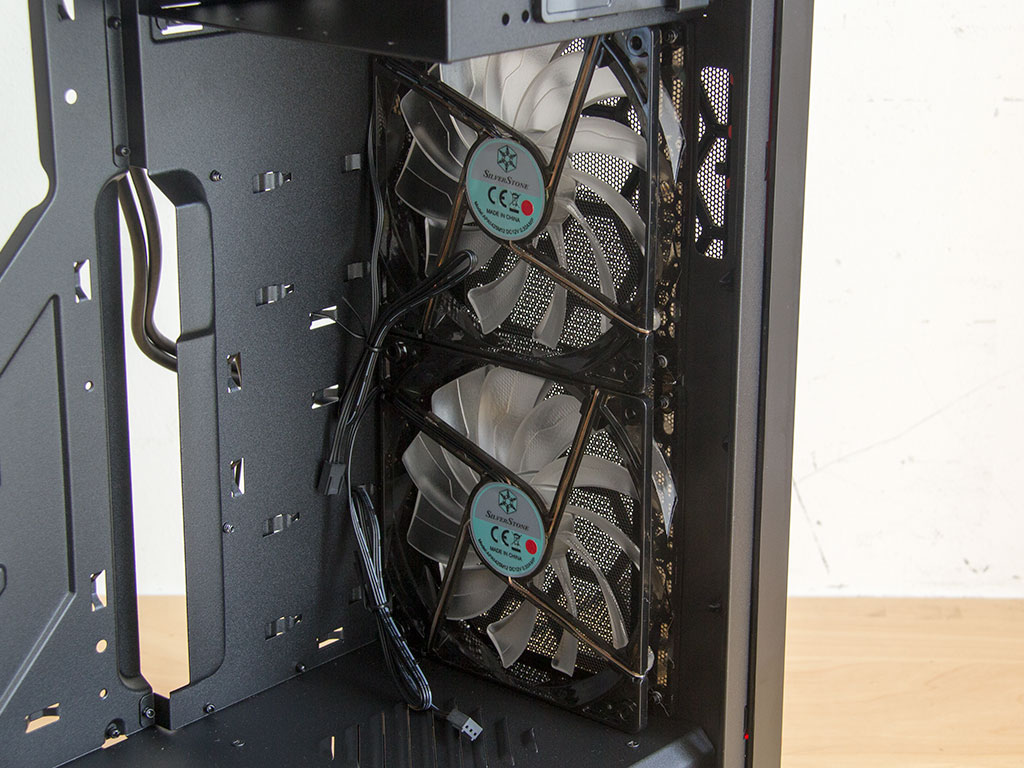
You may pry the front of the chassis off to reveal two 140 mm fans. The front is lined with a simple filter as well, which is not supposed to be removed. Silverstone simply used a fully sized USB cable that is connected to the front panel to offer the USB-C connector there. This means that you will require a board with two 20-pin plugs if you want to fully utilize both the Type-C and traditional USB 3.0 plugs.
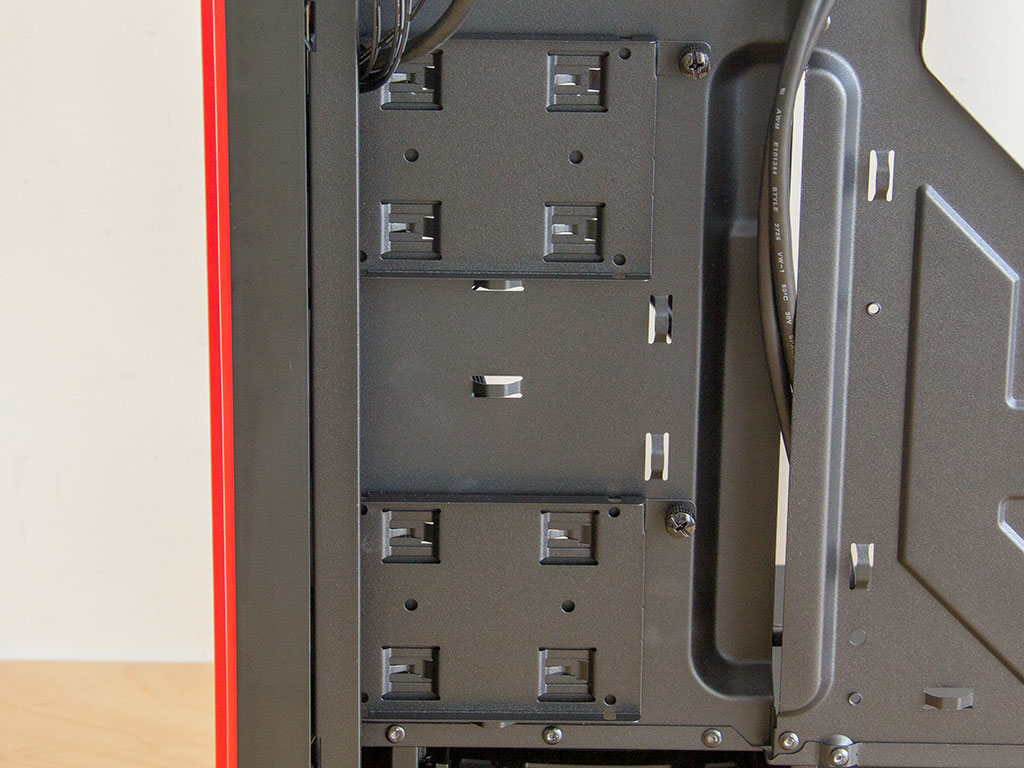
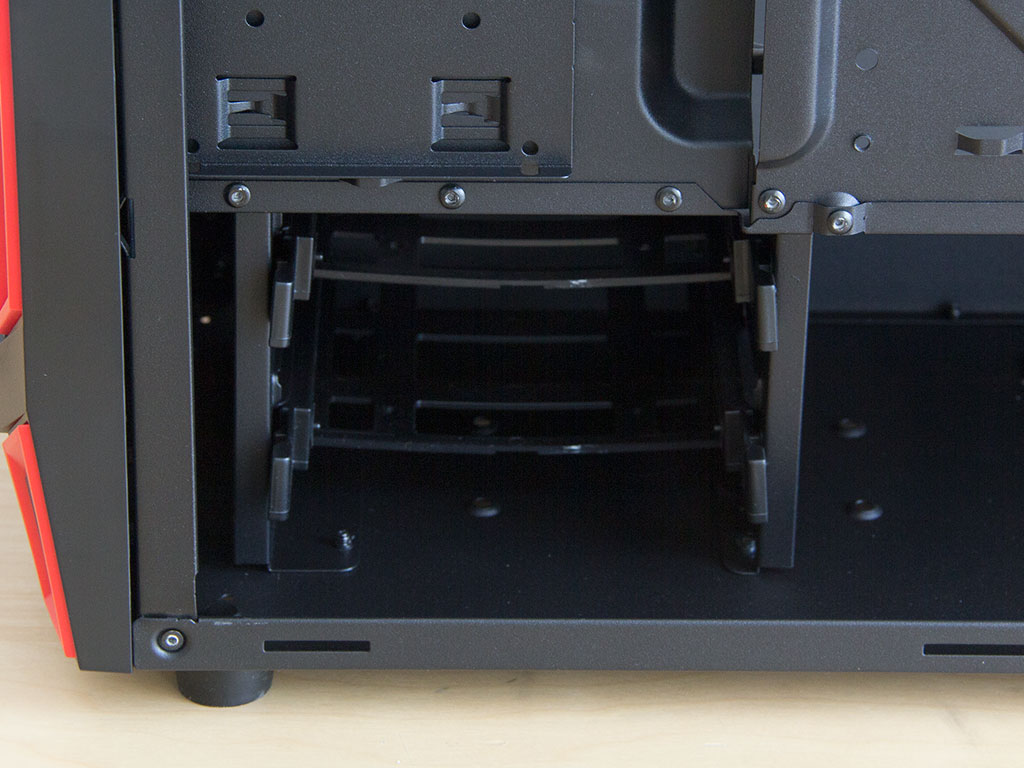
There are a total of four SSD-mounting positions, but Silverstone only provides two trays. These trays are on the backside of the motherboard tray by default, but may be moved to the top of the shroud on the floor of the chassis interior.
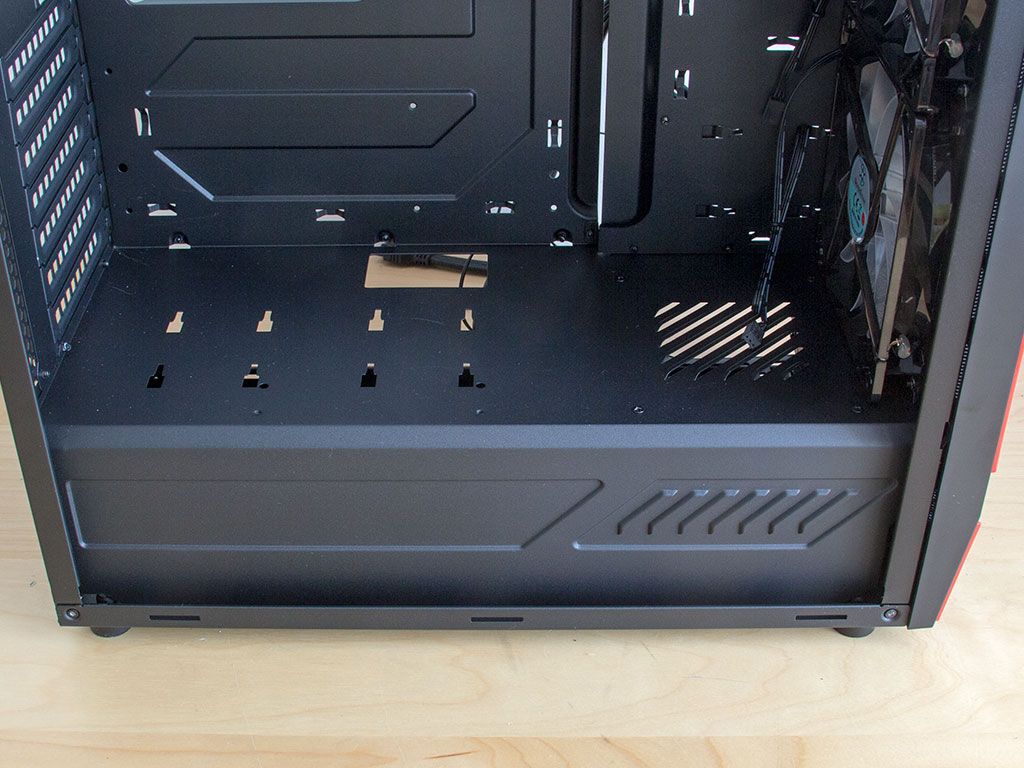
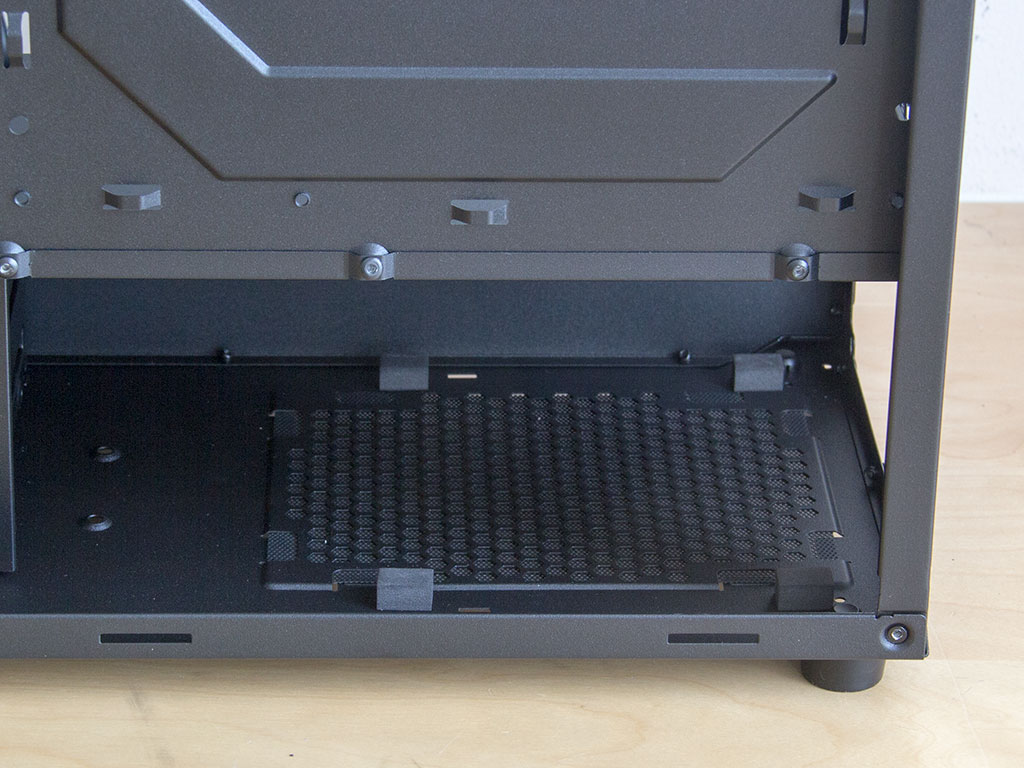
Looking at the front, starting underneath the shroud, there are two plastic drive trays for both 2.5'' or 3.5" drives. If you look closely, you will see the aforementioned mounting holes on the floor of the chassis. Turns out that these cannot be used and are just part of the tooling. Silverstone simply chose to leave them in instead of modifying the manufacturing process to keep production costs as low as possible.
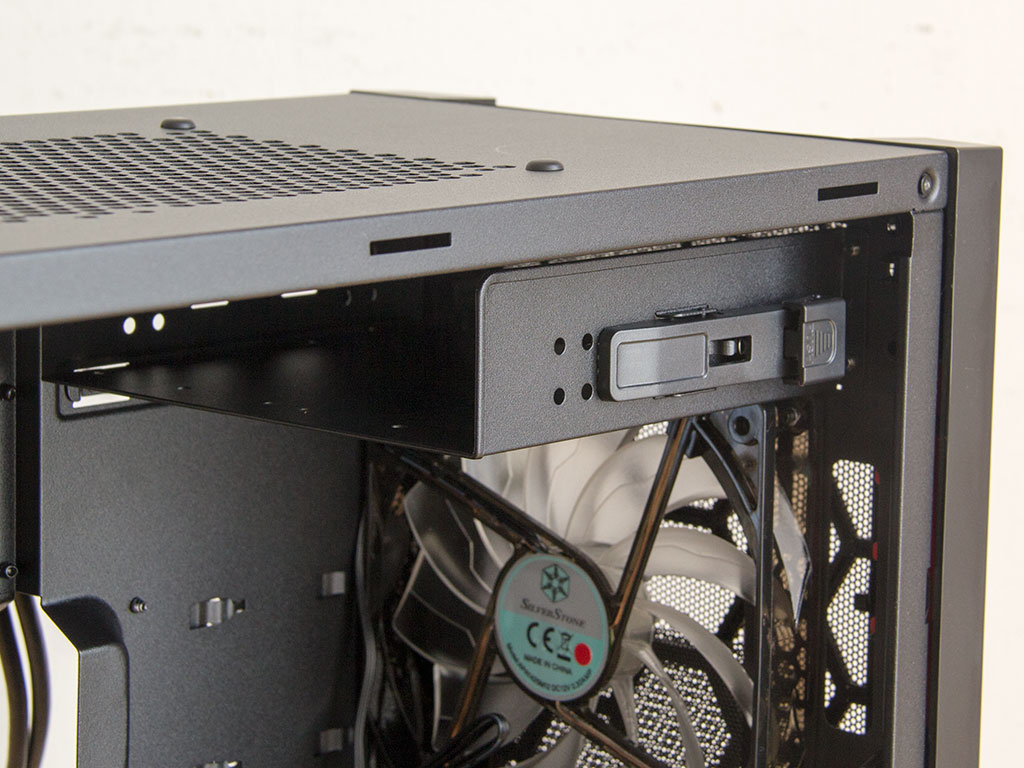
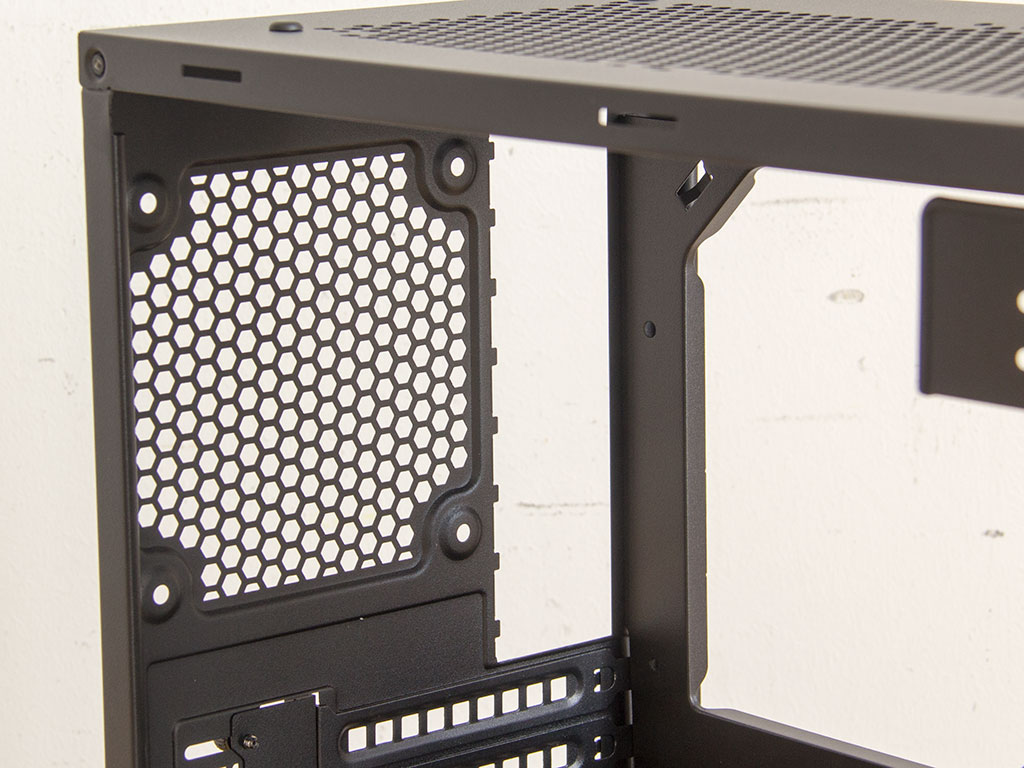
Above that are the two 140 mm intake fans. You may install a radiator of up to 240 mm in size here, but that will also slightly restrict how long your graphics card can be. You will find the lone 5.25" drive bay which comes equipped with a tool-less lock for easy assembly in the very top. The tray for the drive is removable since you will need the space if you install a radiator into the ceiling of the Redline RL05.
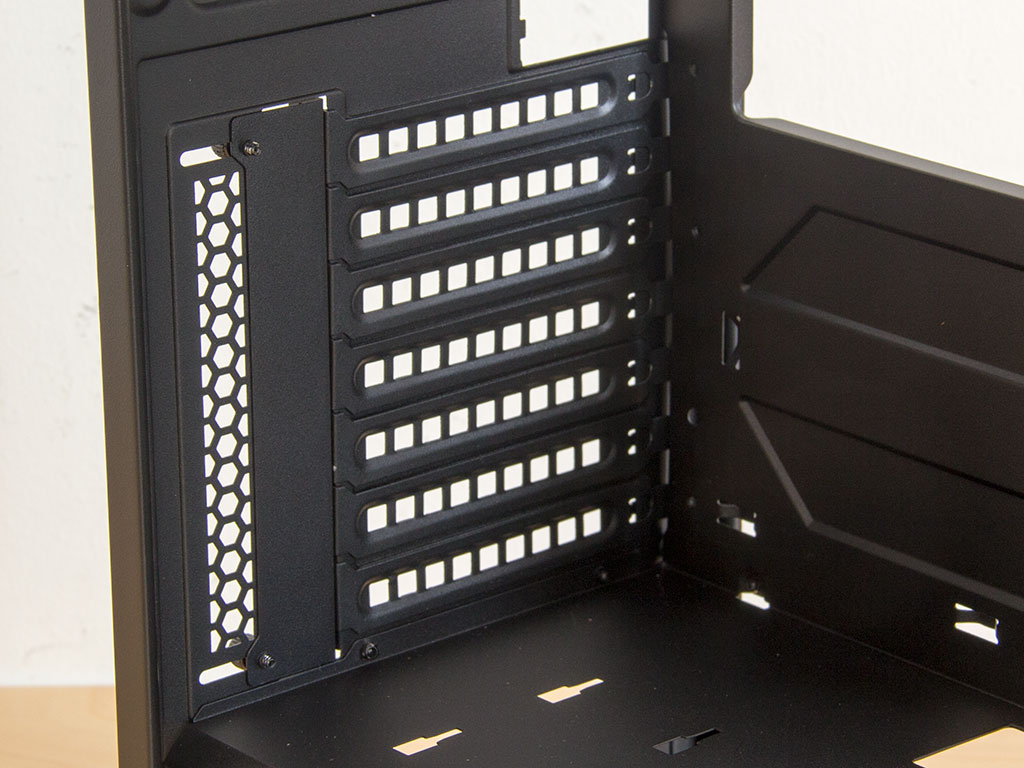
In the rear, once again starting below the shroud, you will find the simple but effective PSU bay. The PSU will rest on four foam spacers as an anti-vibration measure. Above that are the seven expansion slots and the 120 mm fan mount.
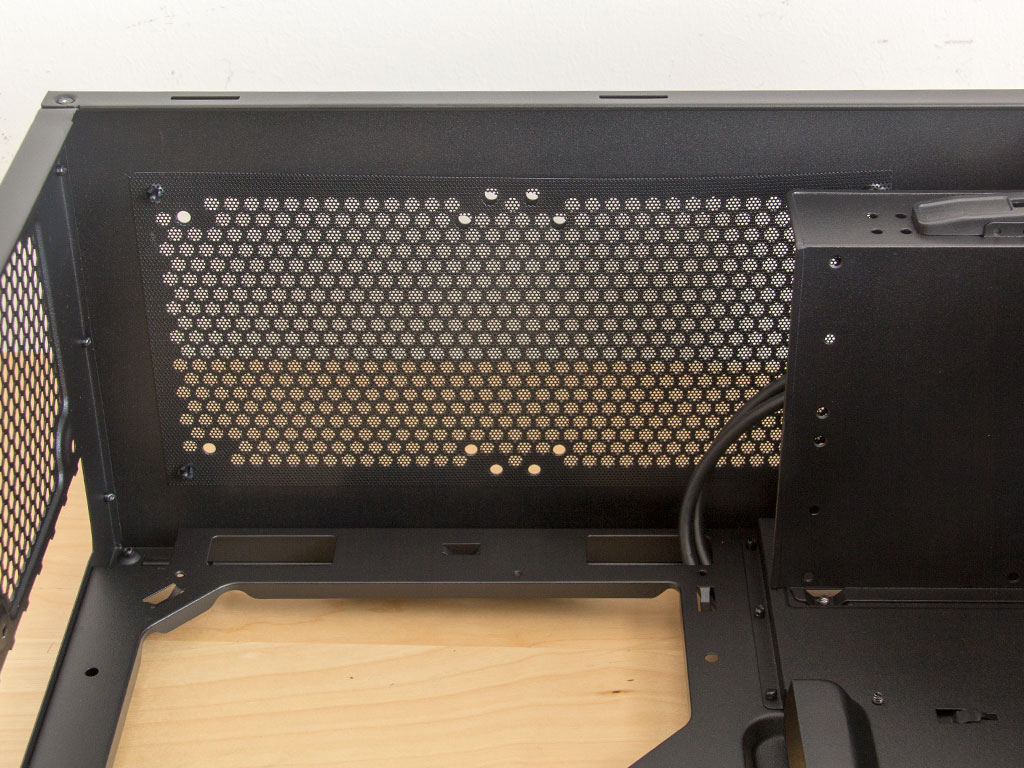
Taking a quick peek at the ceiling, you can clearly see the simple dust filter. It also comes with holes so that you may keep it in place, regardless of how big the installed fan will be.
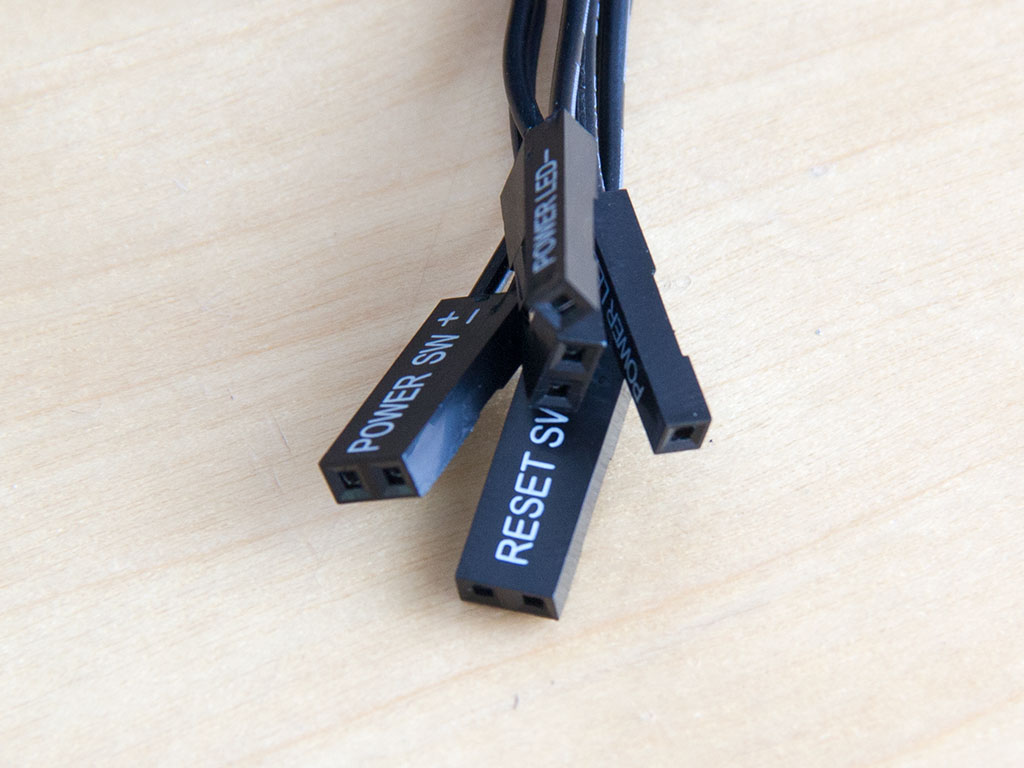

All the cables within the Redline RL05 are of the default variety and come with black sleeving. This means that you should have absolutely no issues when using modern motherboards. As previously mentioned, there are two 20-pin USB 3.0 connectors, which is something you should keep in mind before making the purchase.
Jul 23rd, 2024 23:19 EDT
change timezone
Latest GPU Drivers
New Forum Posts
- Is AMD starting to adopt the 12V-2x6 connector? (64)
- I have a question about a problem I'm having using OBS for game capture? (0)
- Starfield discussion thread (1658)
- Why doesn't every house have solar installed? (199)
- Bios ELSA RX580 (0)
- The Official Thermal Interface Material thread (1336)
- upgrade my Ryzen 7700X for i7 6950X (73)
- ARC "driver issues" turning out to be actually hardware deficiencies - Battlemage reveal (42)
- My Motherboard/i7-13700 is beginning to fail after 1 year of use (43)
- Which pad should be used in laptops? (10)
Popular Reviews
- INNOCN 32M2V Review - Aggresive Pricing, Excellent HDR
- Upcoming Hardware Launches 2024 (Updated Jul 2024)
- NZXT Lift 2 Symm Review
- Noctua NH-D15 G2 Review - Big Performance, Bigger Price
- GamaKay TK75HE Hall Effect Wireless Mechanical Keyboard Review
- AMD Zen 5 Technical Deep Dive
- Audeze MM-500 Open-Back Planar Magnetic Headphones Review
- AMD Ryzen 7 7800X3D Review - The Best Gaming CPU
- HIFIMAN Susvara Unveiled Planar Magnetic Headphones Review
- XFX Radeon RX 7900 XTX Magnetic Air Review
Controversial News Posts
- Intel Statement on 13th and 14th Gen Core Instability: Faulty Microcode Causes Excessive Voltages, Fix Out Soon (248)
- Several AMD RDNA 4 Architecture Ray Tracing Hardware Features Leaked (228)
- Faulty Windows Update from CrowdStrike Hits Banks and Airlines Around the World (220)
- NVIDIA GeForce RTX 50 Series "Blackwell" TDPs Leaked, All Powered by 16-Pin Connector (167)
- Noctua Announces $150 Flagship NH-D15 G2 CPU Coolers and NF-A14x25r G2 140mm Fans (164)
- Microsoft Closer to Removing Local Accounts from Windows 11, Removes Help Page on How to Switch to One (142)
- AMD is Becoming a Software Company. Here's the Plan (139)
- Intel Planning P-core Only "Bartlett" LGA1700 Processor for 2025 (123)