 9
9
Silverstone SETA A1 Review
Temperature & Noise Testing »Test System
| System Parts for Case Reviews | |
|---|---|
| Processor: | Intel Core i5-9600K |
| Motherboards: | ATX: MSI Z390 GAMING EDGE AC MATX: Z370M GAMING EDGE AC Mini-ITX: MSI Z370I GAMING EDGE AC Provided by: MSI |
| Graphics Card: | Long: Palit GeForce RTX 2080 Gaming Pro OC Short: EVGA GTX 1650 SC Ultra Black 4 GB |
| Memory: | 16 GB XPG GAMMIX D30 DDR4 2666 MHz CL16-18-18 1.20 V 16 GB XPG SPECTRIX D60G DDR4 3000 MHz CL16-18-18 1.35 V Provided by: ADATA |
| HDD: | Western Digital 320 GB 7200 RPM |
| SSD: | ADATA XPG SX850 256 GB ADATA Ultimate SU630 240 GB ADATA Ultimate SU750 256 GB ADATA SX6000 Pro M.2 256 GB ADATA GAMMIX S11 Pro M.2 256 GB ADATA SPECTRIX S40G M.2 256 GB Provided by: ADATA |
| Power Supply: | Fractal Design ION+ 750W 80 Plus Platinum |
| Cooling: | be quiet! Dark Rock 4 be quiet! Dark Rock Slim be quiet! Shadow Rock LP Provided by: be quiet! |
Assembly
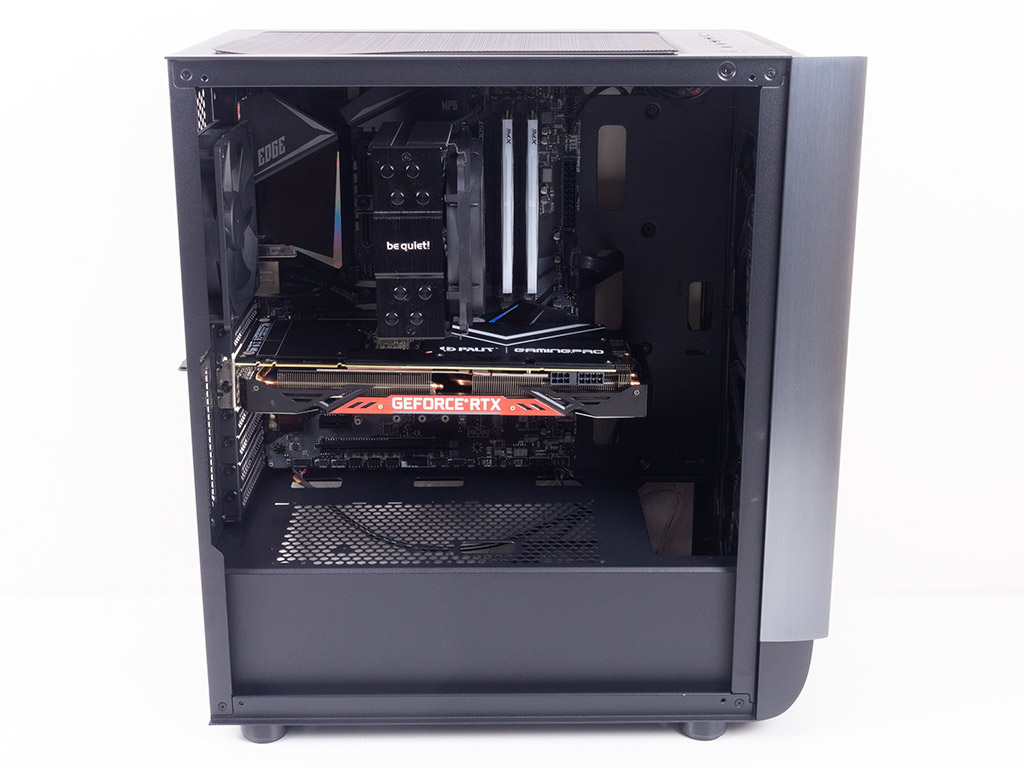
Installing the motherboard inside the Silverstone SETA A1 is done traditionally, with screws and spacers. The cable-routing holes nicely line up along the side and top edge of the board, and the cutouts in the shroud are also quite useful in keeping things clean with the audio, USB, and I/O leads coming out where they should. There is plenty of room for large GPUs of up to 350 mm, as well as virtually any air cooler on the market of up to 175 mm.
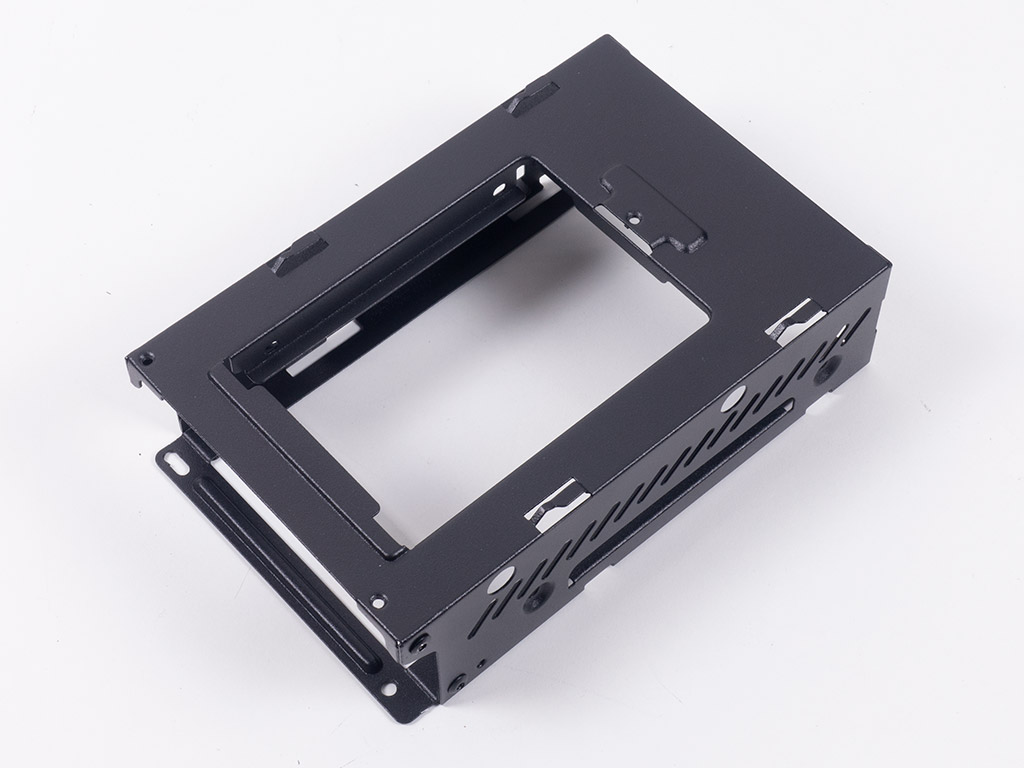
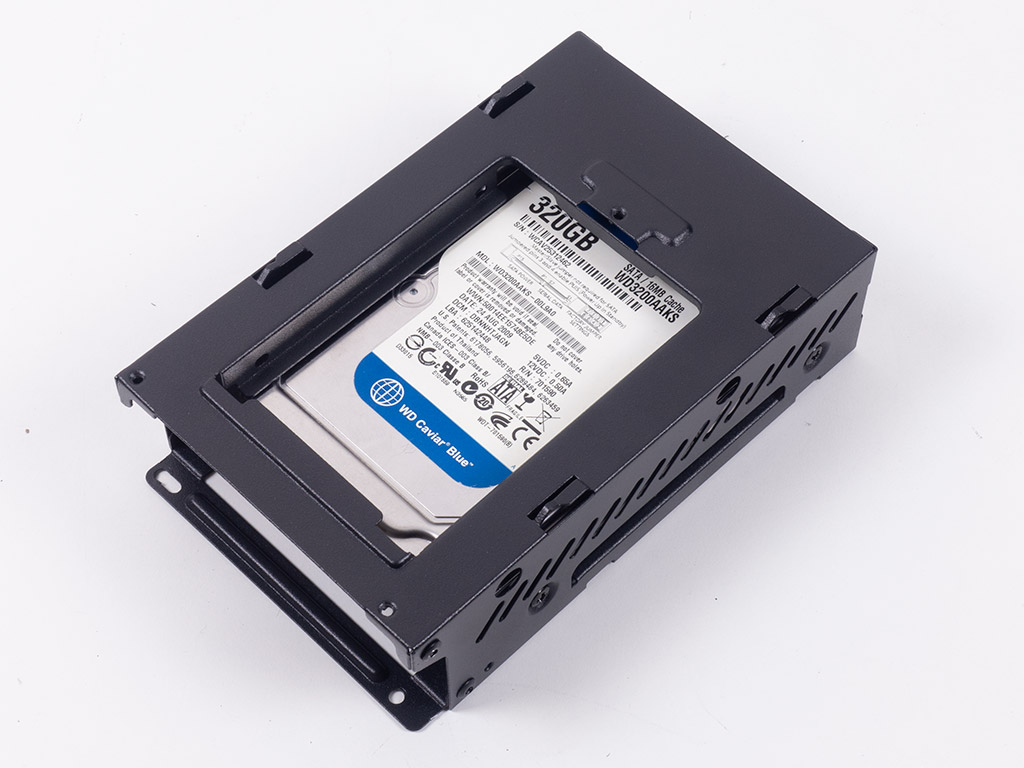
Installing the storage units, you may simply pull the tray out of the case upon removing the thumb screw holding it in place. As you can see, both the 3.5" and 2.5" drives are held in place by classic screws, so you know things will stay in place no matter what.
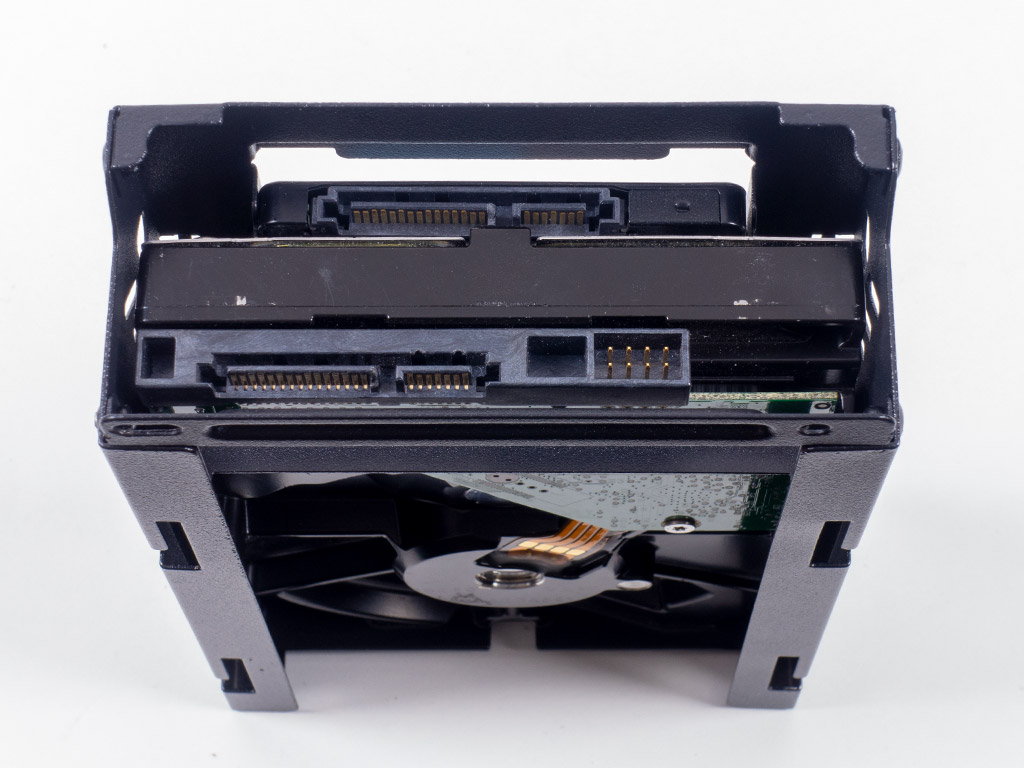
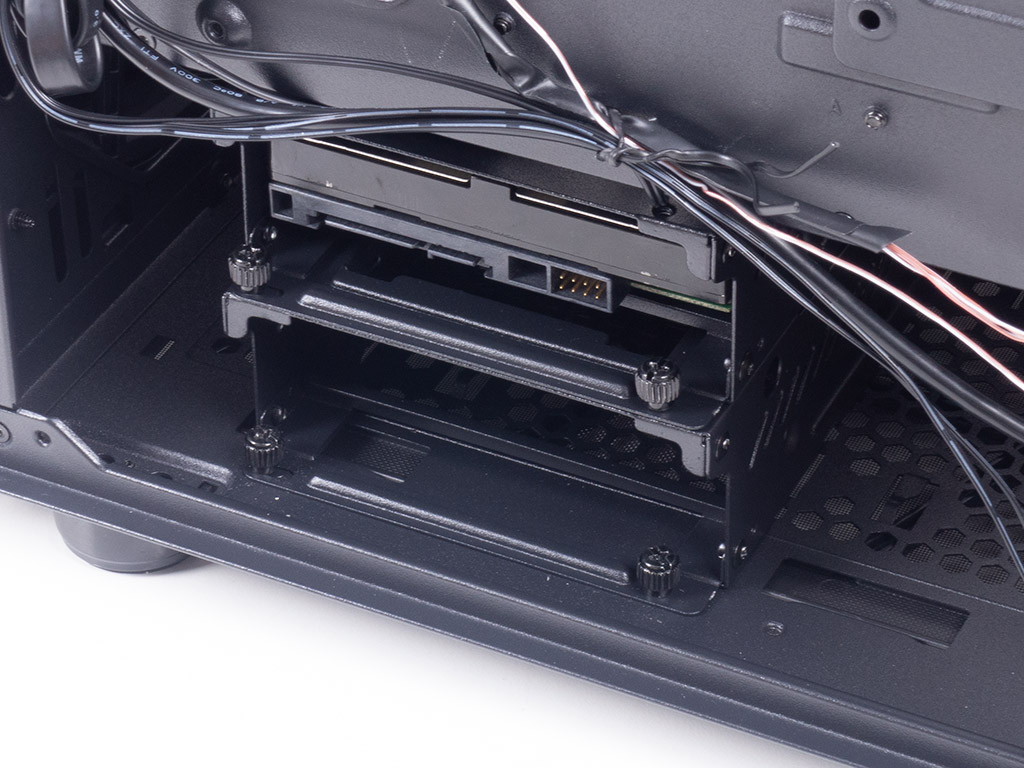
The only gripe I have is the fact that the 2.5" drive is pretty far inside the tray, which makes connecting things up a bit more difficult than it could be, as the mounting holes for the SSD could simply be moved towards the edge of the tray a little more. That having been said, it is great to see that Silverstone chose to make the most of all the space by allowing for both drive sizes to be installed simultaneously.
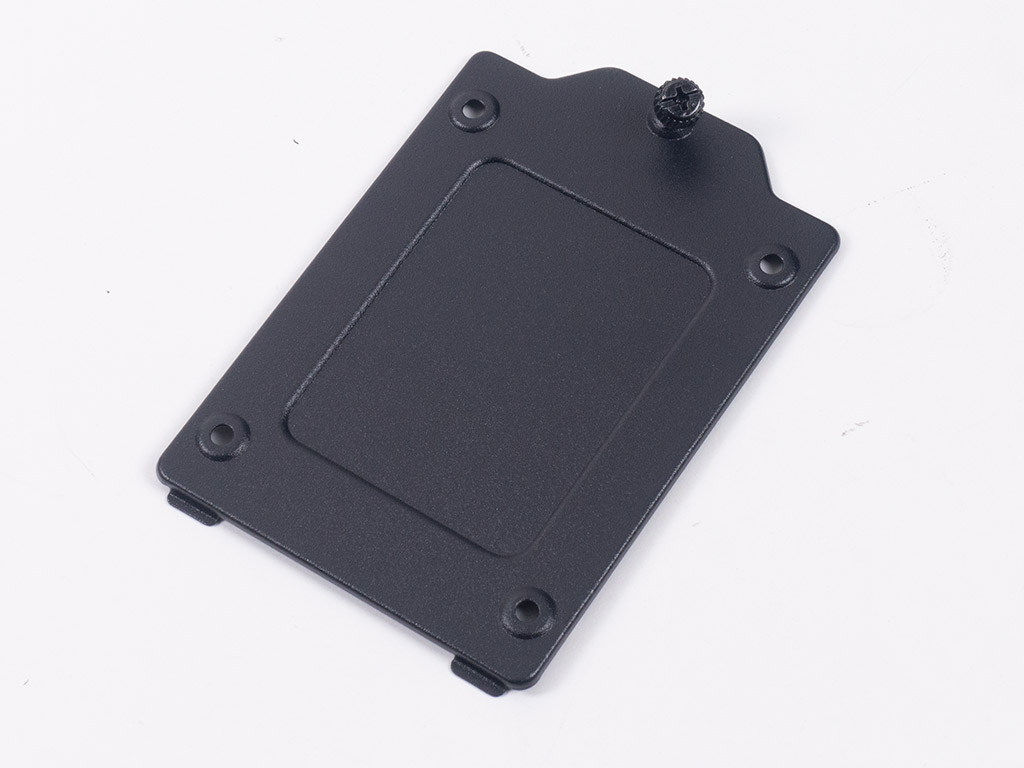
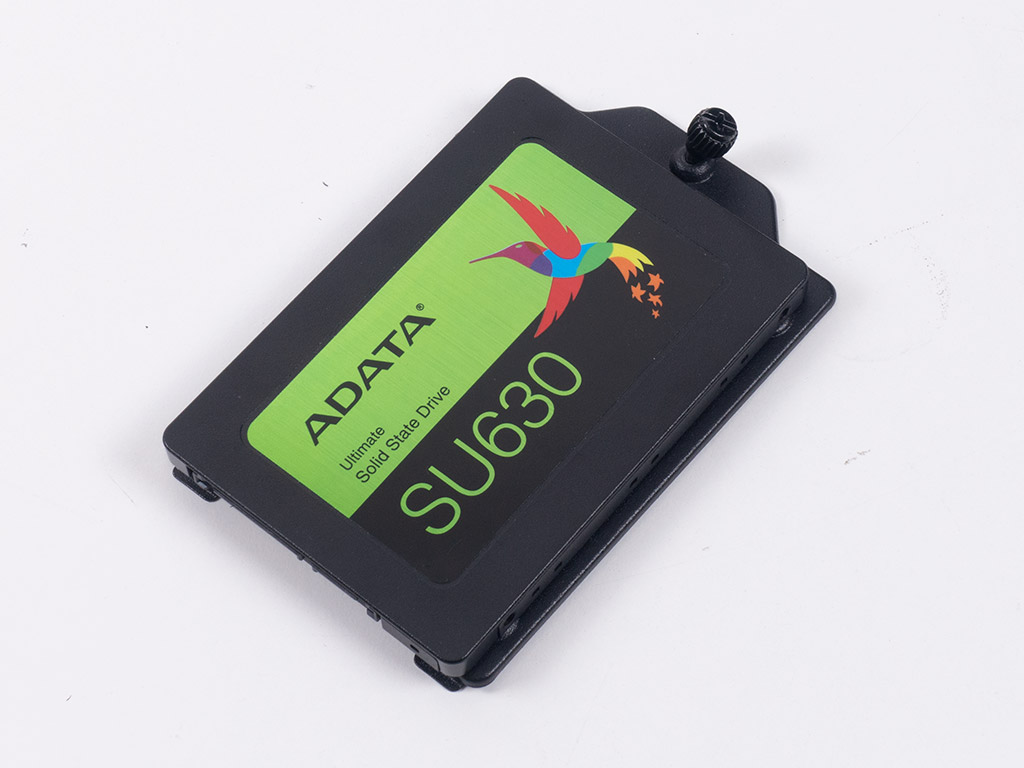
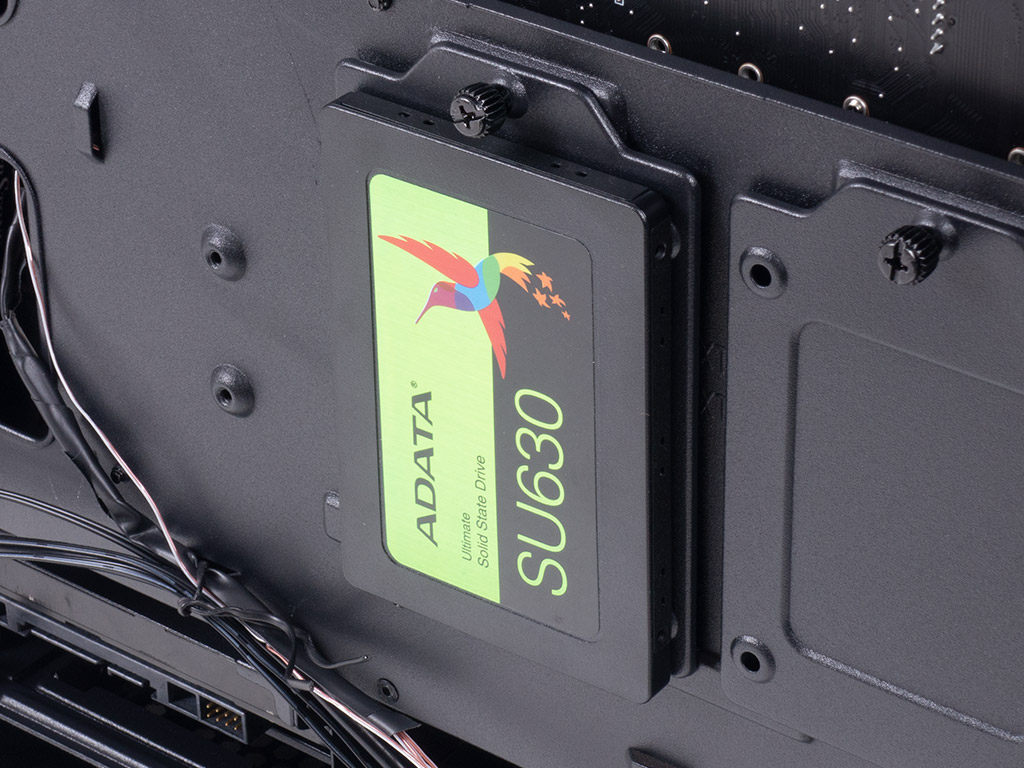
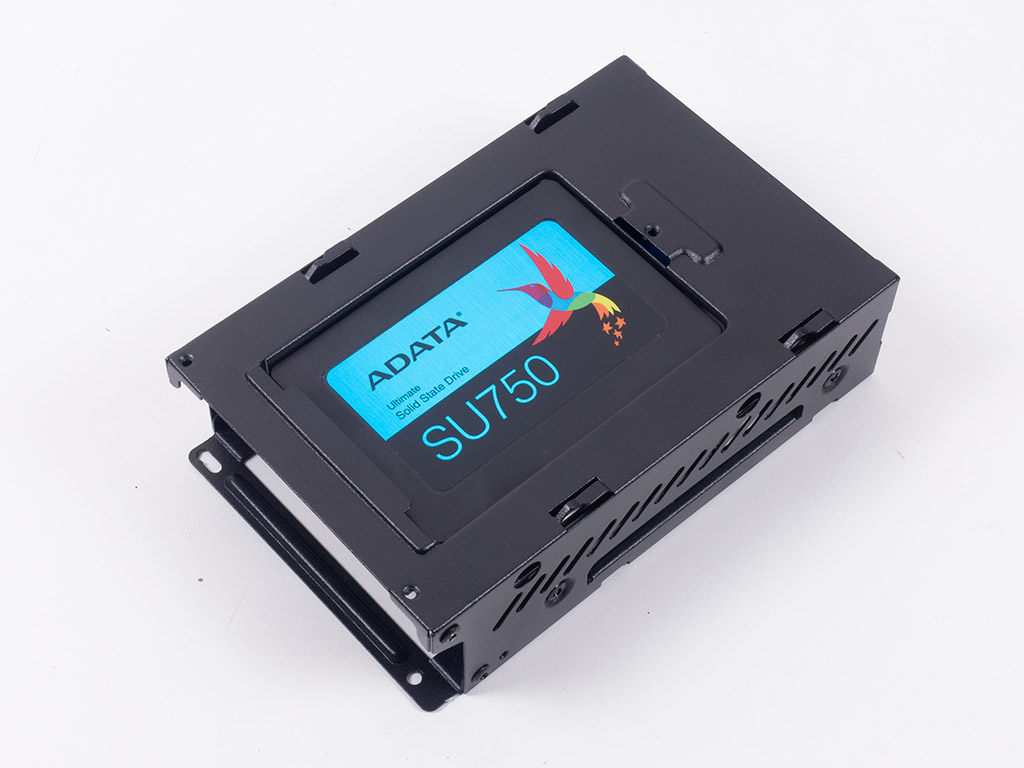
Adding an SSD to the metal tray is something we have seen many times over as you simply remove the thumb screw and use traditional methods to secure the drive. Once screwed down, simply put the whole contraption back in its place.
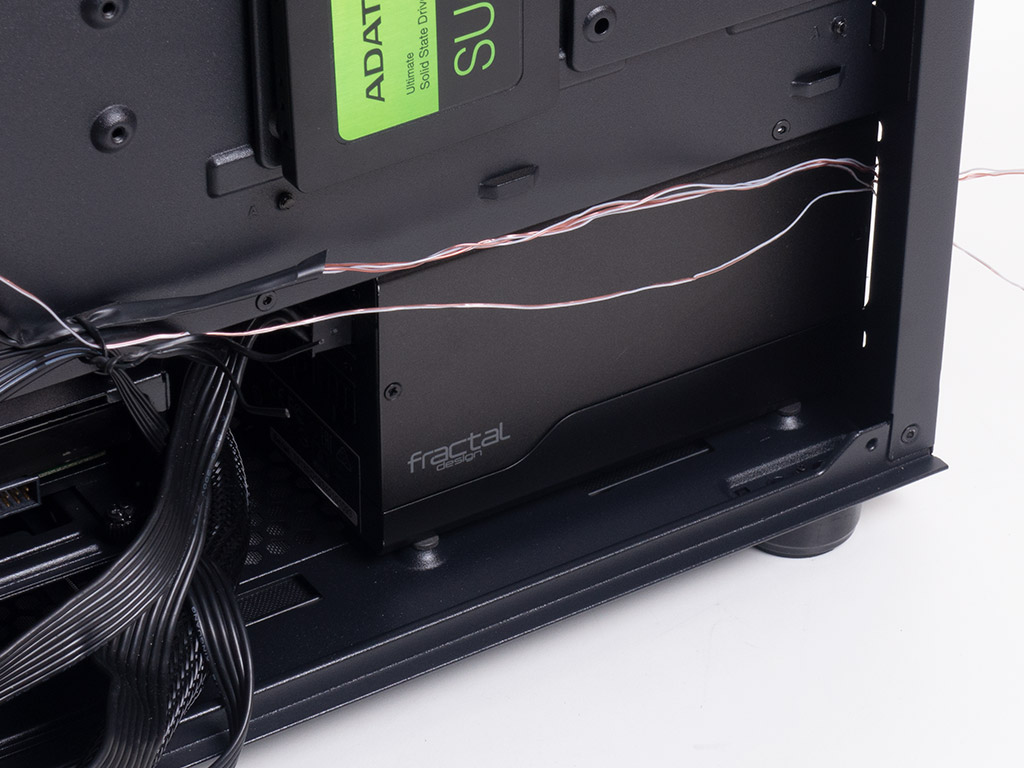
As with GPU and CPU cooler compatibility, PSU compatibility is great as well. Silverstone advertises up to 180 mm for PSUs, which means you can throw most of what the market offers into the SETA A1 without having to worry about fit.
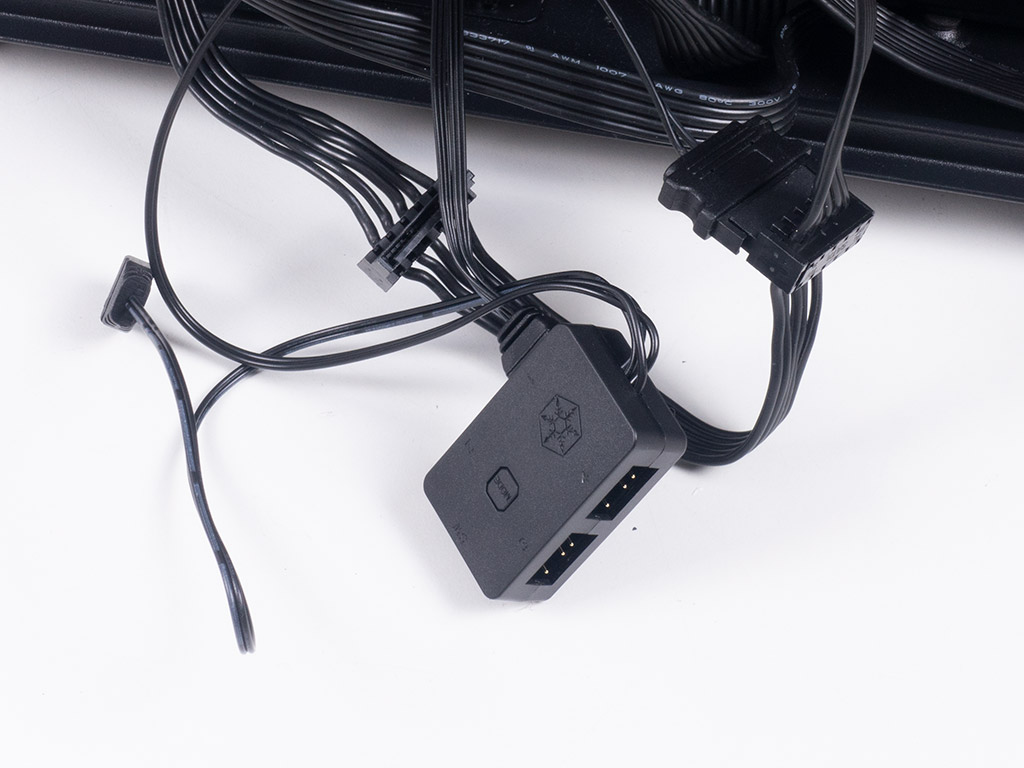
Last but definitely not least, the RGB controller may be installed by connecting the SATA cable and RGB connector. It may be placed wherever you like to ensure you can reach the button if you opt not to re-purpose your reset switch instead. It has magnets inside its housing, so it should stay in place nicely.

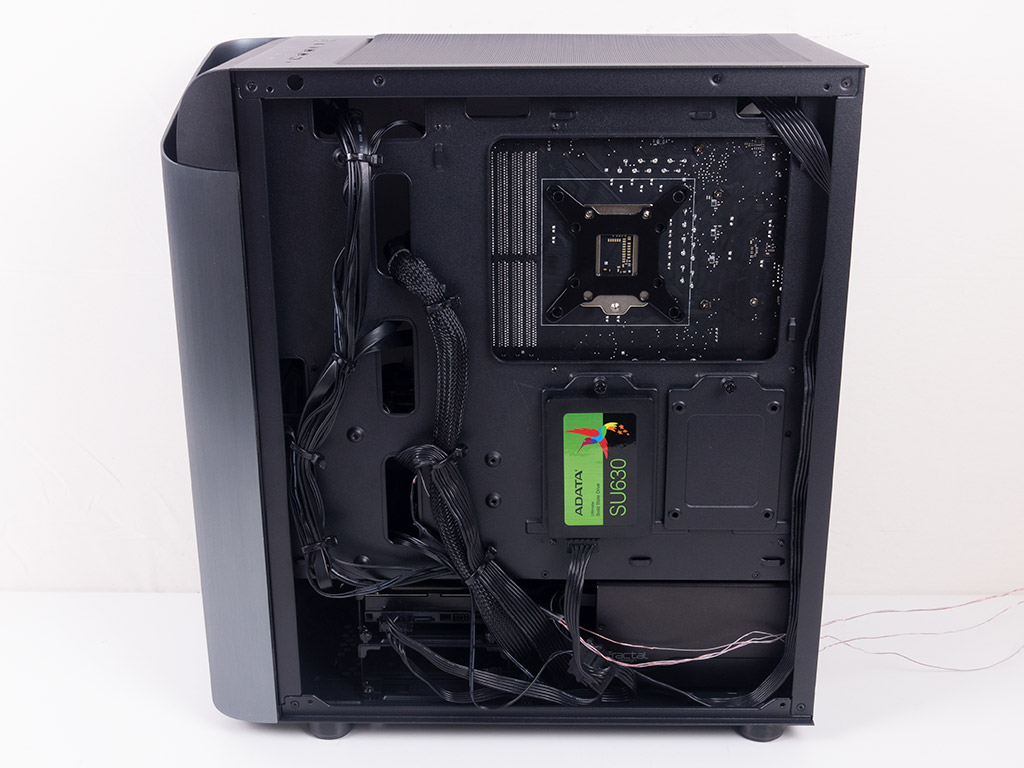
With everything installed, the cable management is clean considering the well-placed routing holes. As you can see, I have placed the RGB controller on top of the shroud at the bottom-right corner of the motherboard. In the rear, it quickly becomes apparent that the well-placed zip-tie mounting hooks allow you to keep all the cables away from the grommet-less openings, which really helps keep things tidy.
Finished Looks
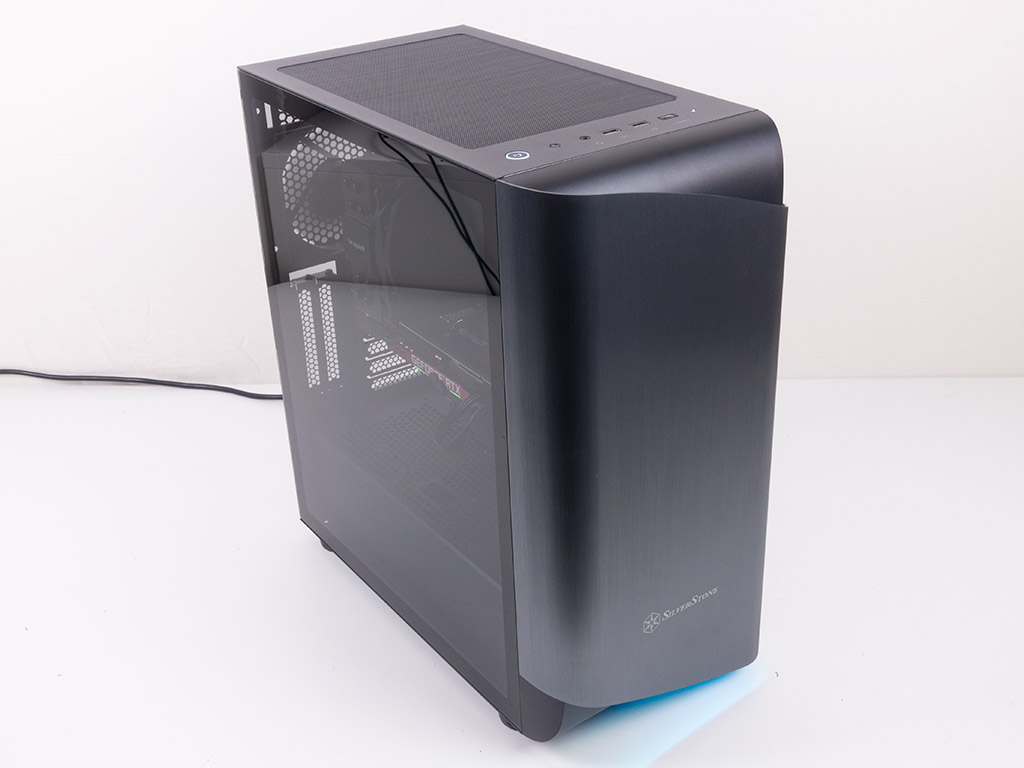
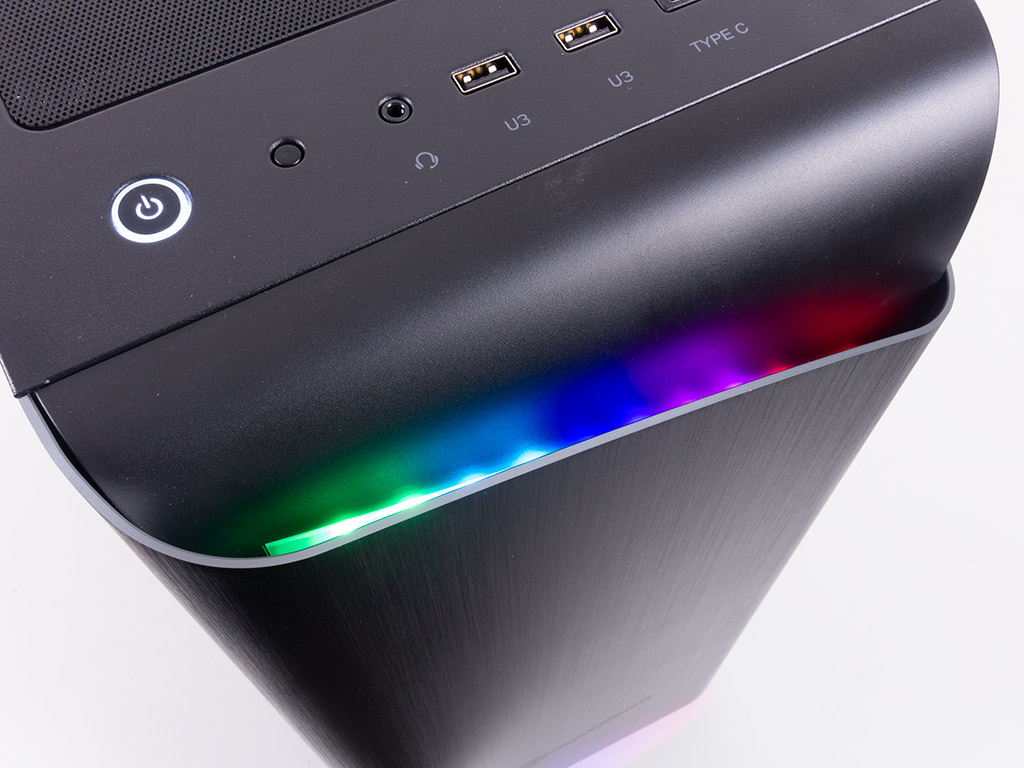
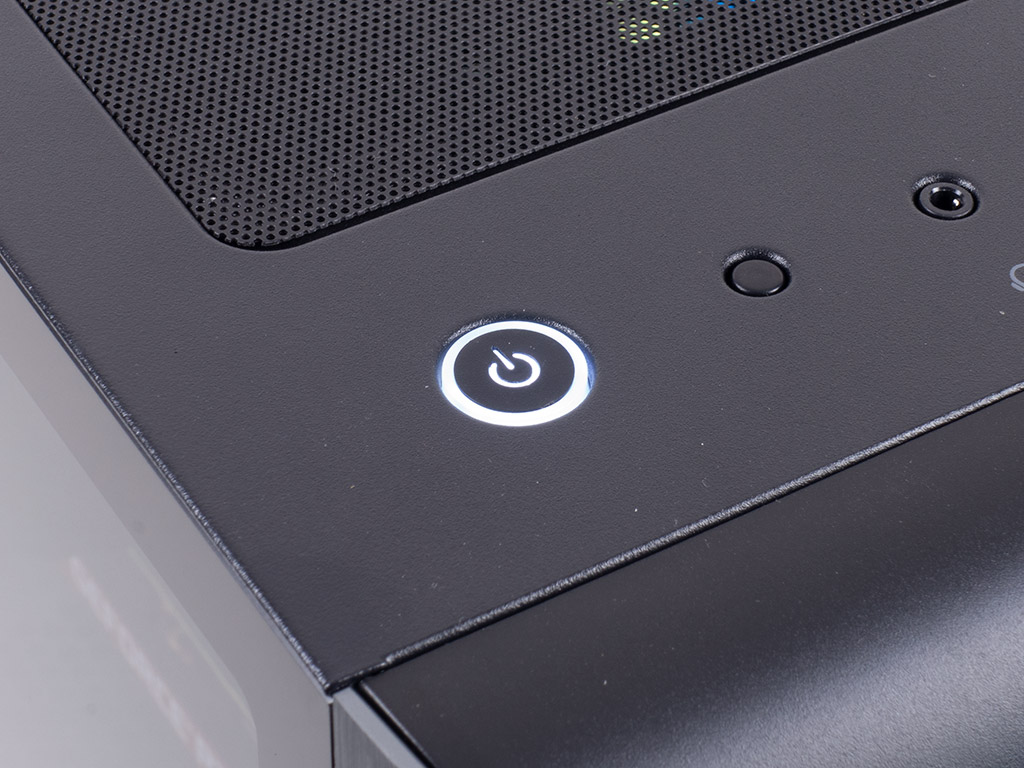
With the system turned on, I was expecting to see the visible glow of the RGB strips, but the studio lighting was unfortunately too bright to really capture the glow properly. There is a bit you can see from the bottom strip, as its illumination bounces off the white table. A power button lights up white to let you know that the system is up and running.
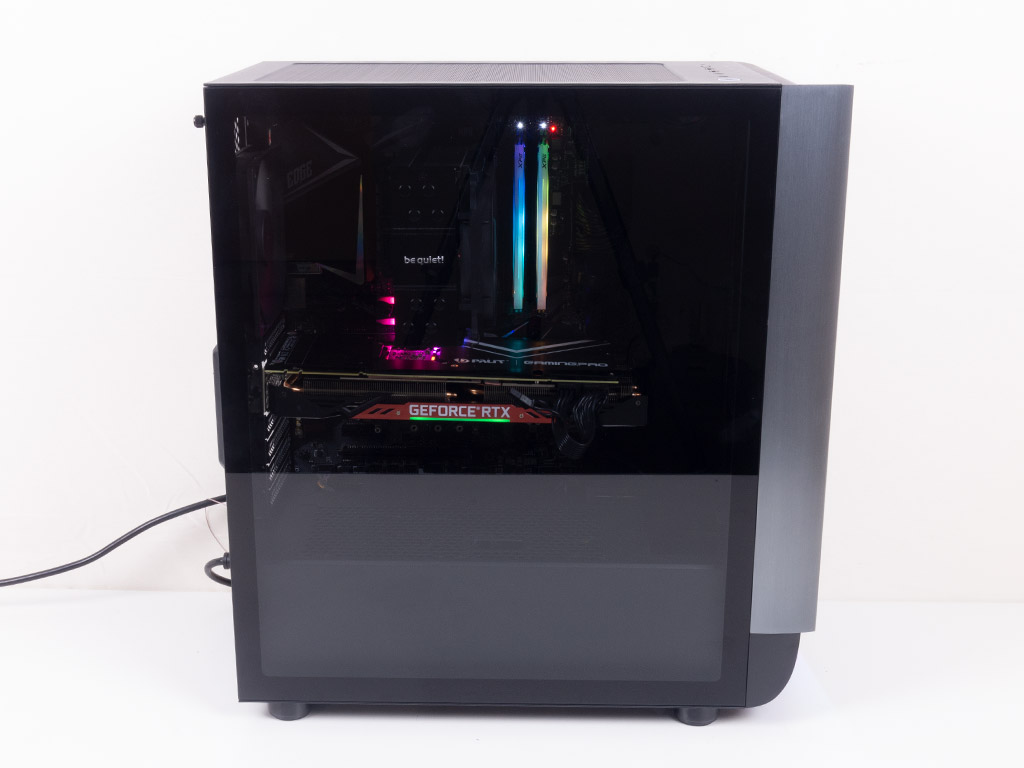
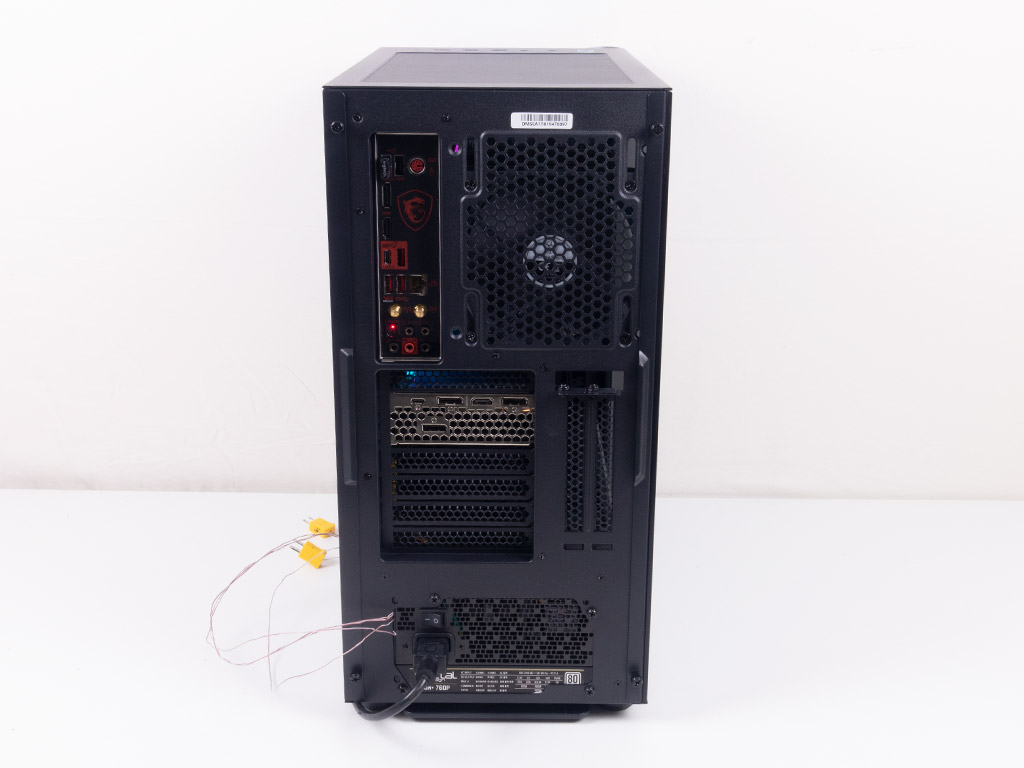
Thanks to the clear glass side panel, you can clearly see all the parts within the system, which looks great because of the well-framed panel without any mounting screws sticking out of it. In the rear, everything looks pretty traditional with all the cables properly attachable.
Mar 5th, 2025 13:05 EST
change timezone
Latest GPU Drivers
New Forum Posts
- B550 phantom Gaming ITX/AX bios problem. (16)
- sapphire nitro+ 5700 xt BIOS (0)
- Will I benefit from changing the thermal pad? (11)
- AMD E9260 MXM TYPEA - Trying to flash / confirm original GPU (1)
- Original VBIOS "RX 590 GME" requested (12)
- Cryptocoin Value and Market Trend Discussion (1642)
- Any plans on adding E Core undervolt support for 13th+ gen? (2)
- Windows 11 General Discussion (5815)
- The future of RDNA on Desktop. (82)
- Have you got pie today? (16621)
Popular Reviews
- Sapphire Radeon RX 9070 XT Nitro+ Review - Beating NVIDIA
- NVIDIA GeForce RTX 5070 Founders Edition Review
- AMD Radeon RX 9070 Series Technical Deep Dive
- ASUS Radeon RX 9070 TUF OC Review
- EIZO FlexScan EV4340X Review - A Multitasking Powerhouse
- RAWM ES21M Review
- ASUS GeForce RTX 5070 Ti TUF OC Review
- AMD Ryzen 7 9800X3D Review - The Best Gaming Processor
- MSI GeForce RTX 5070 Ti Vanguard SOC Review
- MSI GeForce RTX 5070 Ti Ventus 3X OC Review
Controversial News Posts
- NVIDIA GeForce RTX 50 Cards Spotted with Missing ROPs, NVIDIA Confirms the Issue, Multiple Vendors Affected (513)
- AMD Plans Aggressive Price Competition with Radeon RX 9000 Series (277)
- AMD Radeon RX 9070 and 9070 XT Listed On Amazon - One Buyer Snags a Unit (261)
- AMD Mentions Sub-$700 Pricing for Radeon RX 9070 GPU Series, Looks Like NV Minus $50 Again (248)
- NVIDIA Investigates GeForce RTX 50 Series "Blackwell" Black Screen and BSOD Issues (244)
- AMD RDNA 4 and Radeon RX 9070 Series Unveiled: $549 & $599 (241)
- AMD Radeon RX 9070 and 9070 XT Official Performance Metrics Leaked, +42% 4K Performance Over Radeon RX 7900 GRE (195)
- AMD Radeon RX 9070-series Pricing Leaks Courtesy of MicroCenter (158)