 0
0
Sunbeam 3D Storm Review
Assembly »A Closer Look
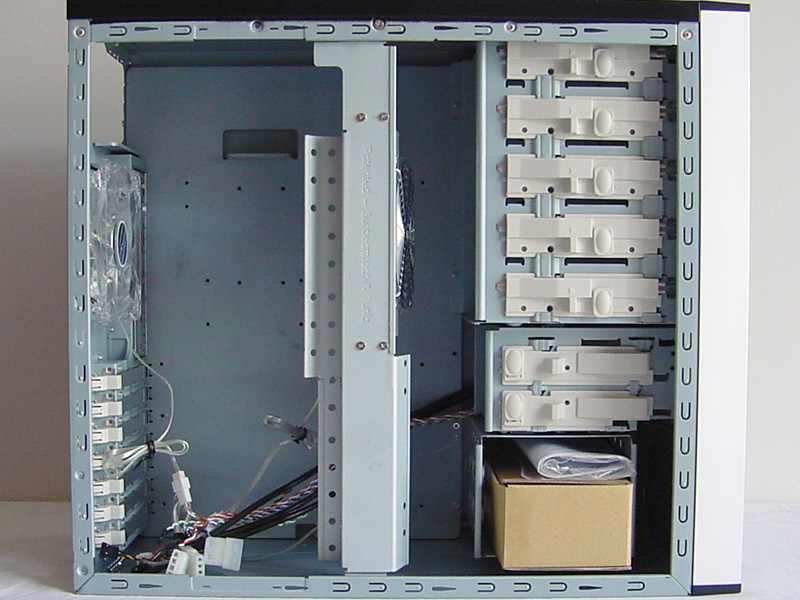
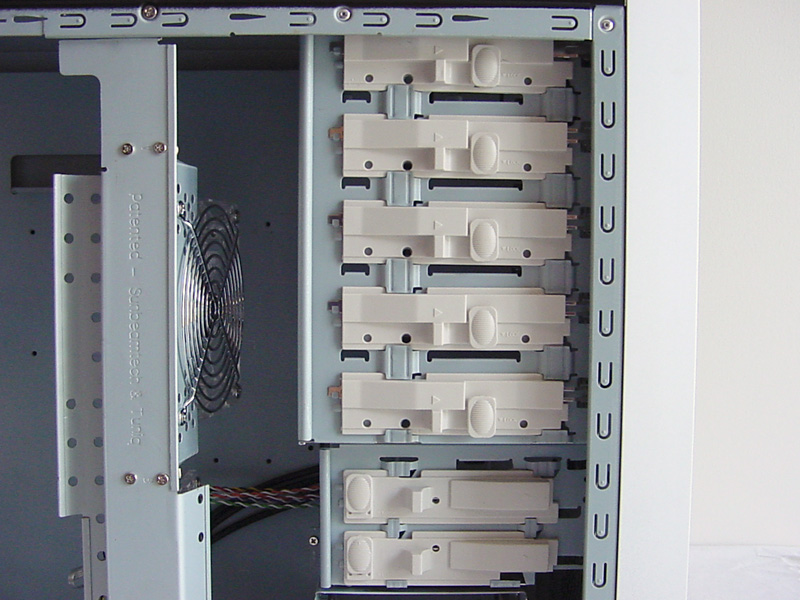
With the side panel removed the 3D Core Fan assembly can be seen. Also noticeable are the tool-less features of the case, as well as the sideways-mounted HDD cage. For all of the 5.25” and the FDD bays there are sliders that hold the drives in place. After the drive is installed and lined up with the front panel, the latch is slid forward to secure the drive, and the clip is pushed down to hold the latch in place.
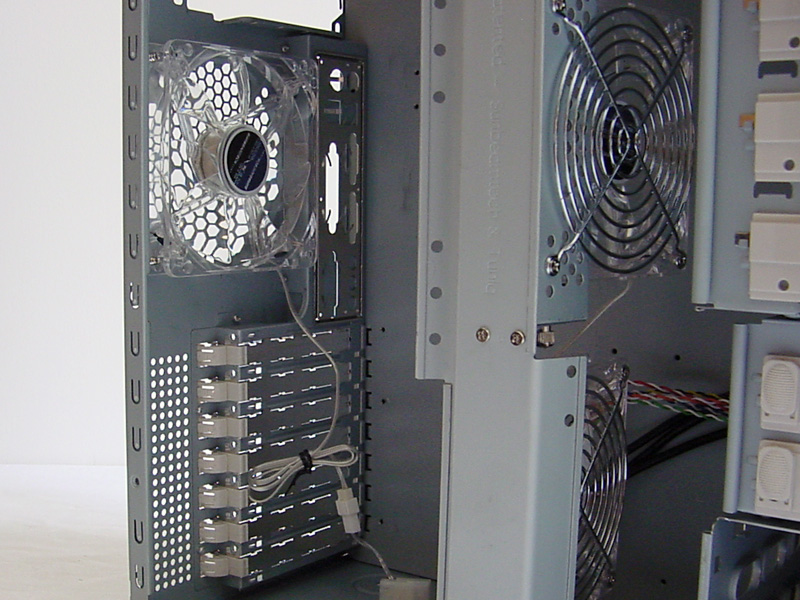
Here you can see the layout of the case: five 5.25" bays on top, then two 3.5" bays in the middle, and three 3.5" bays mounted perpendicularly on the bottom. The HDD cage is removable, but requires taking out four screws in difficult to reach places that need to be removed before the cage will slide out. Two screws connect the back of the cage to the motherboard tray, and there are two more screws located on the bottom of the case. However, with the inclusion of rails for tool-less HDD installation the HDD cage should not have to be removed for any reason other than installing a fan in the lower front location. The rear of the case has one 120mm clear blue LED fan installed.

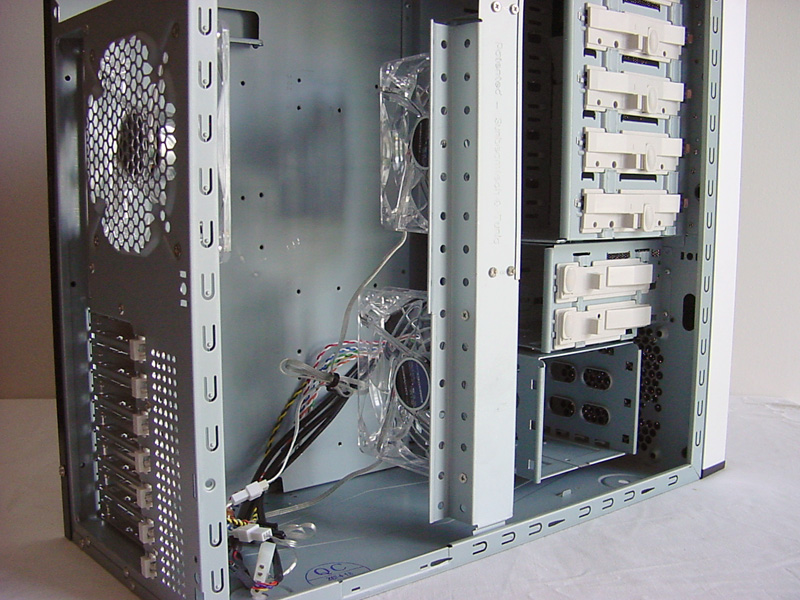
For the PCI slots Sunbeam has implemented the popular plastic latches to hold the PCI backplates in place. There is a tab on the clip that gets pushed in, allowing the user to swing the clip open. The expansion card is installed in the system, then the clip is snapped back into place. This should be enough to hold most cards, but for those with larger graphics cards or those that transport their systems often, screws can be added (although not included) to hold the cards in place. It would have been nice to see two extra thumbscrews included into the package for this purpose.


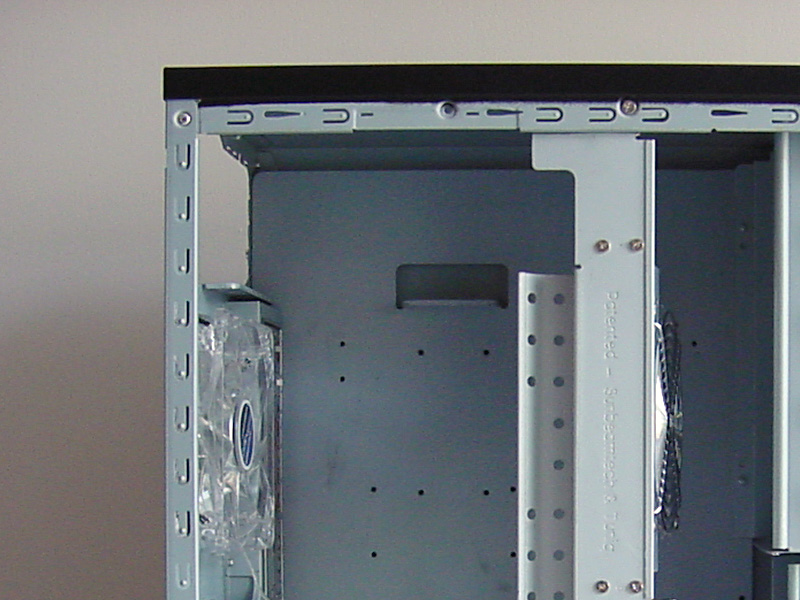
With the 3D Core Fan removed the interior looks a lot bigger.
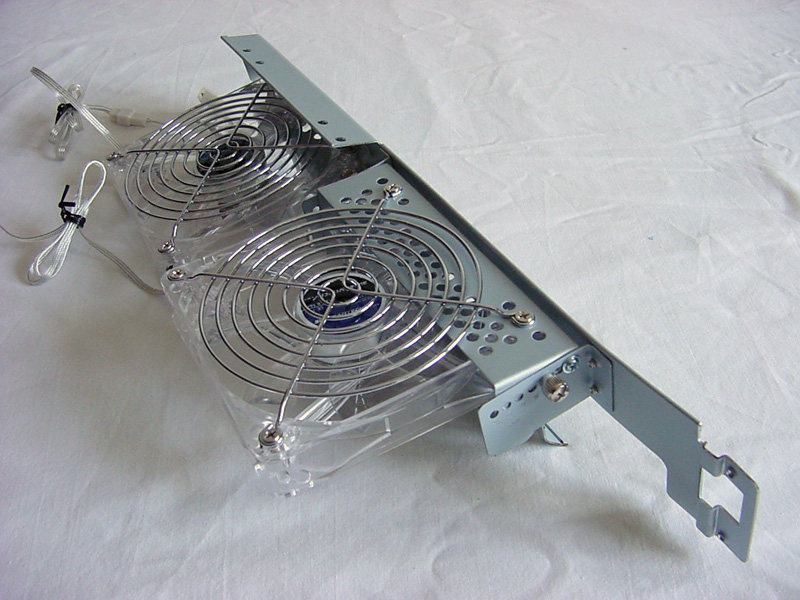
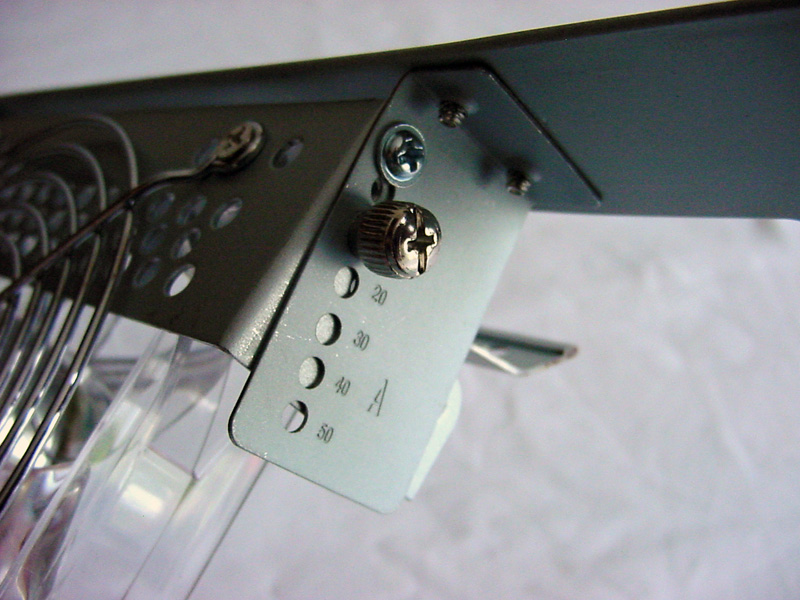
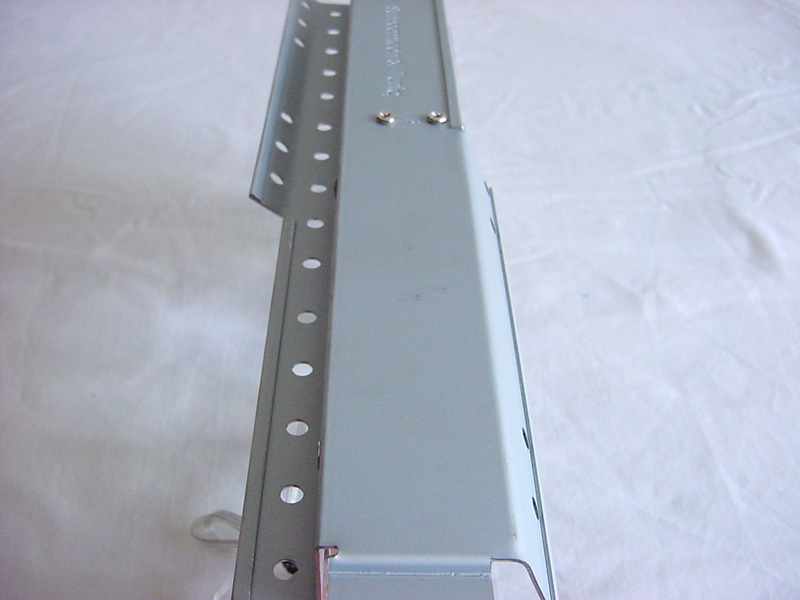
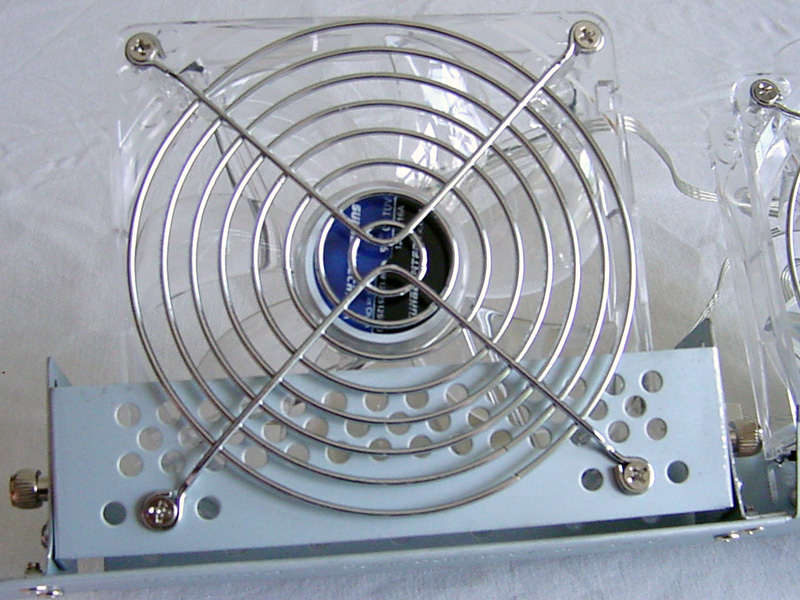
The 3D Core Fan assembly is very similar to the regular Core Fan, but the 3D Core Fan has a lot more mounting options and flexibility than the regular system. Part of that flexibility comes from the top fan being mounted on a bracket that can rotate from 45 to 90 degrees. More importantly, the main support bracket for the 3D Core Fan has extra mounting holes located on different bends. This allows fans to be mounted parallel, perpendicular or at a 45 degree angle to the motherboard. Also, there is plenty of room to add extra fans - up to four 120mm fans total. The included fans do come with standard chrome wire grills to help keep fingers and stray wires out of the blades.


The front bezel can be removed in typical fashion by pulling forward the bottom of the bezel. The front required more force to remove than any other bezel I've seen, which means it has a tighter fit and will not cause any rattling. Also the front panel comes completely apart from the case, as there are no wires attached to it. All wires go to the front switch & I/O panel, which is attached to the front of the case. I like this a lot more than the Quarterback and other cases like it where the wires are attached to the front panel. In those cases, removing the front means balancing it next to the case so it doesn't go crashing down and scratch the front panel or the case. The only drawback I see to this method is that the switch & I/O panel slightly blocks the 120mm fan opening behind it, but not by much.
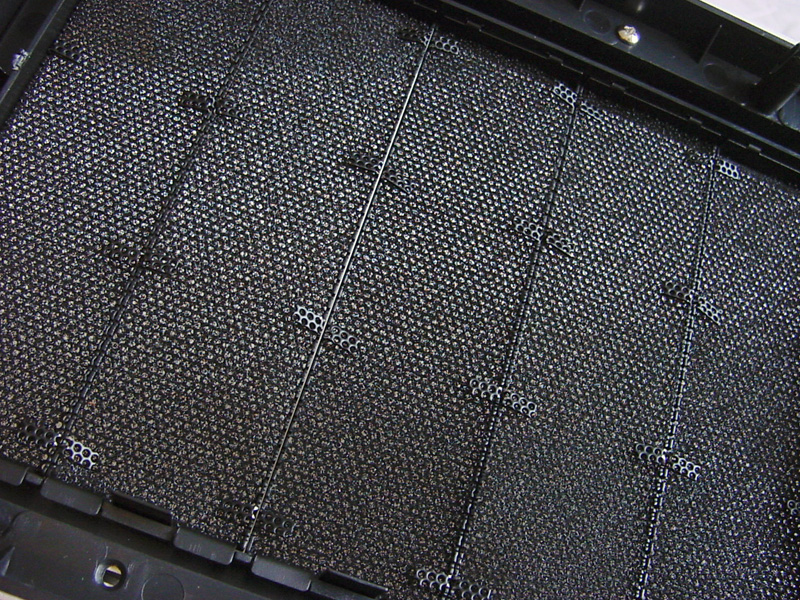

From the back of the front panel, the mesh can be more easily seen. Behind the mesh Sunbeam has placed open-cell foam to help filter out dust particles. Each of the bay covers and the lower fan area hold the foam on with tabs bent over from the metal mesh, so the tabs can be loosened up and the foam removed if the user needs to wash the filters out. To remove the bay covers the entire front panel must be removed, as the covers are locked in with a stiff metal tab that must be pushed over to loosen the cover. This may seem a little inconvenient, but it allows the bay covers to remain tight and avoid rattles.
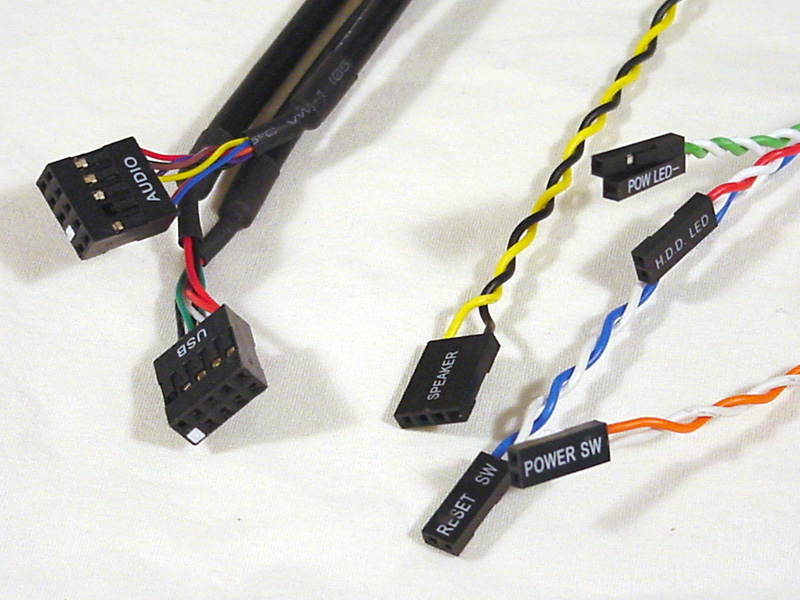
Two final items to mention inside the case are the wiring connectors for the front panel, and the two small brackets to help support the power supply.
Feb 24th, 2025 07:42 EST
change timezone
Latest GPU Drivers
New Forum Posts
- can i connect a sata3 ssd 120GB to dell latitude c600 (15)
- Throw Noctua alternatives at me pls (14)
- Help choose M.2 Key E Wifi card (2)
- RDNA4 Prediction Time Part Deux!!! (44)
- Free Games Thread (4486)
- It's happening again, melting 12v high pwr connectors (909)
- [Testers-Needed] Converting Any Realtek Ethernet to Intel Killer Ethernet chip (87)
- [Intel AX1xx/AX2xx/AX4xx/AX16xx/BE2xx/BE17xx] Intel Modded Wi-Fi Driver with Intel® Killer™ Features (277)
- Monitor Battle! Help me choose between two contenders (42)
- Warning about DOCP (18)
Popular Reviews
- ASUS GeForce RTX 5070 Ti TUF OC Review
- MSI GeForce RTX 5070 Ti Ventus 3X OC Review
- darkFlash DY470 Review
- MSI GeForce RTX 5070 Ti Vanguard SOC Review
- MSI GeForce RTX 5070 Ti Gaming Trio OC+ Review
- Galax GeForce RTX 5070 Ti 1-Click OC White Review
- Palit GeForce RTX 5070 Ti GameRock OC Review
- Fantech Aria II Pro Review
- Gigabyte GeForce RTX 5090 Gaming OC Review
- AMD Ryzen 7 9800X3D Review - The Best Gaming Processor
Controversial News Posts
- NVIDIA GeForce RTX 5090 Spotted with Missing ROPs, NVIDIA Confirms the Issue, Multiple Vendors Affected, RTX 5070 Ti, Too (458)
- AMD Radeon 9070 XT Rumored to Outpace RTX 5070 Ti by Almost 15% (304)
- AMD Plans Aggressive Price Competition with Radeon RX 9000 Series (271)
- AMD Radeon RX 9070 and 9070 XT Listed On Amazon - One Buyer Snags a Unit (247)
- Edward Snowden Lashes Out at NVIDIA Over GeForce RTX 50 Pricing And Value (241)
- AMD Denies Radeon RX 9070 XT $899 USD Starting Price Point Rumors (239)
- NVIDIA Investigates GeForce RTX 50 Series "Blackwell" Black Screen and BSOD Issues (238)
- New Leak Reveals NVIDIA RTX 5080 Is Slower Than RTX 4090 (215)