 18
18
Swiftech H240 X3 AIO Review
Finished Looks »Installation
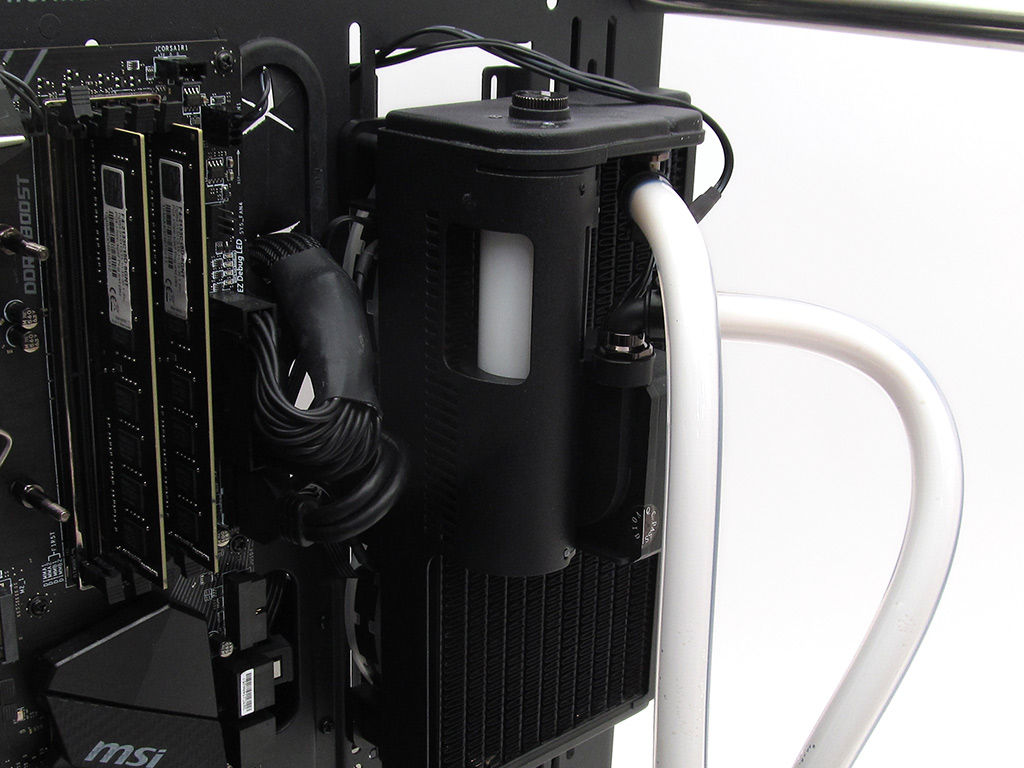
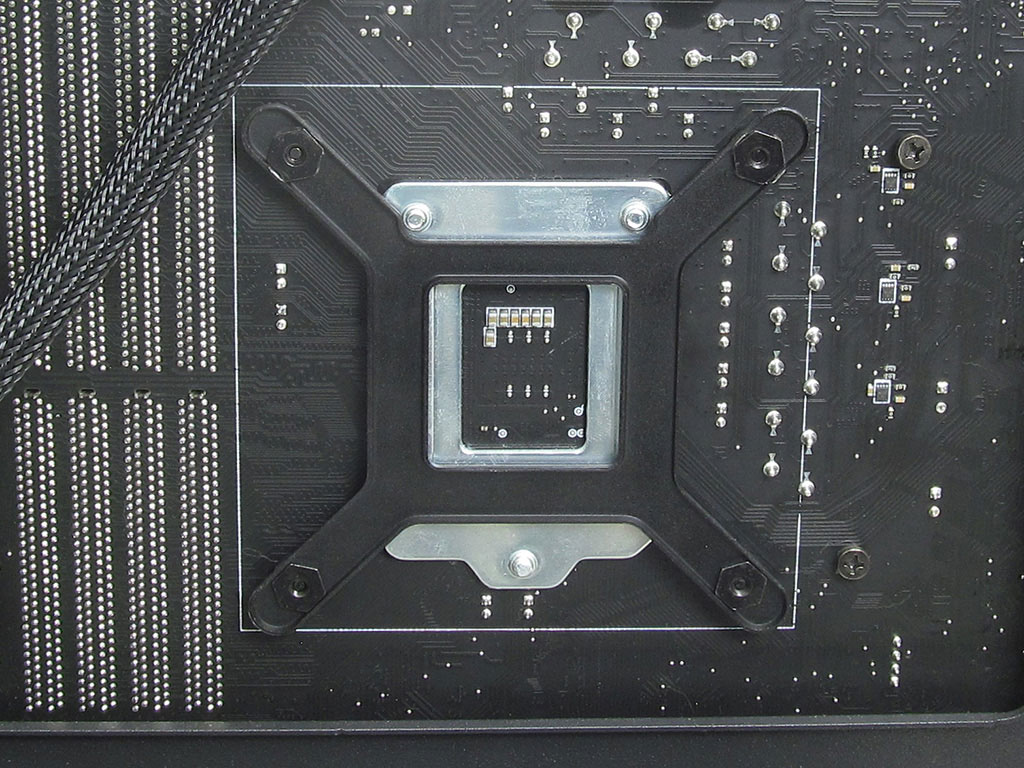
I started off by installing the backplate and securing it to the motherboard. Once the backplate is installed, I secured the fans and radiator to the case.
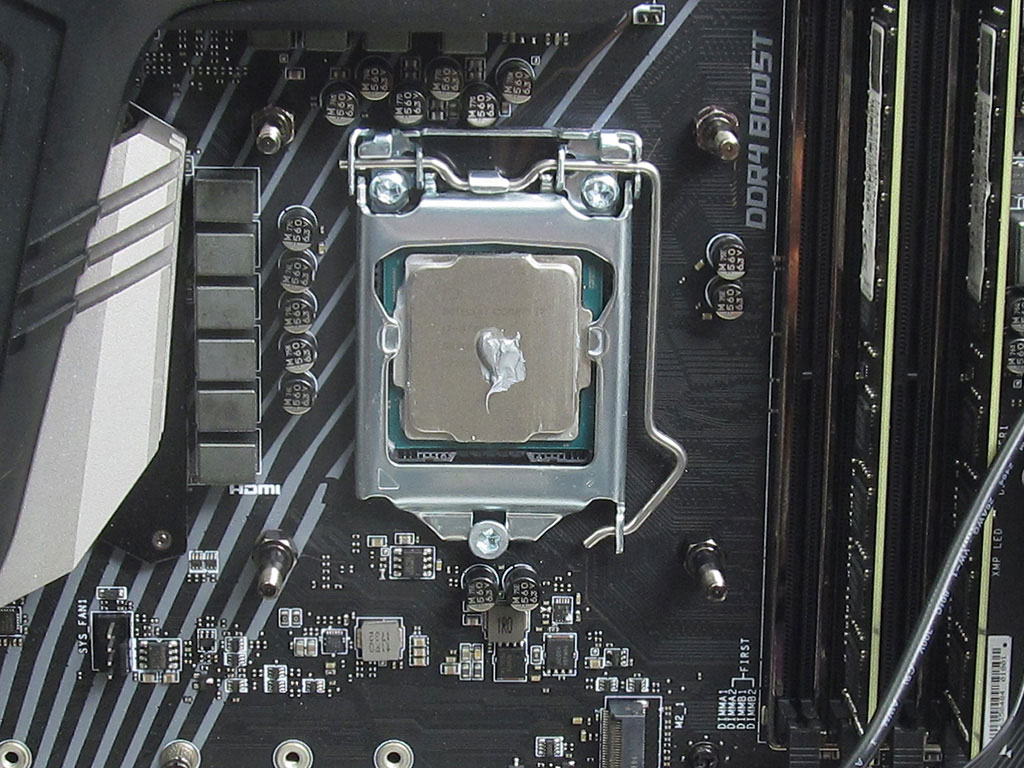
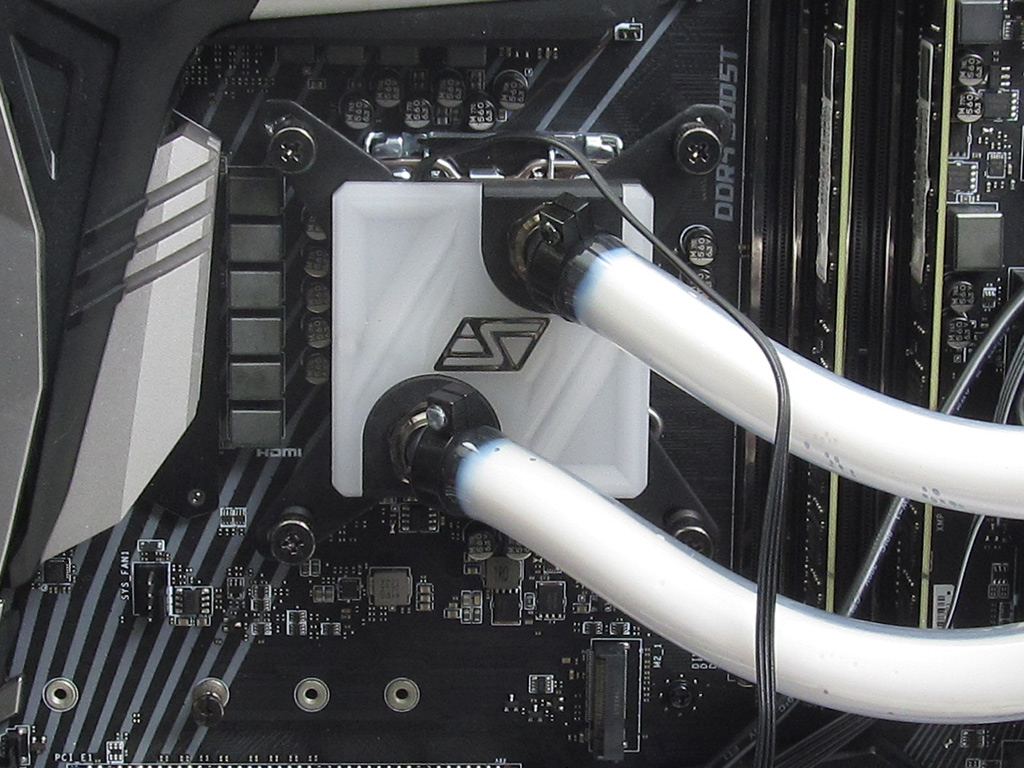
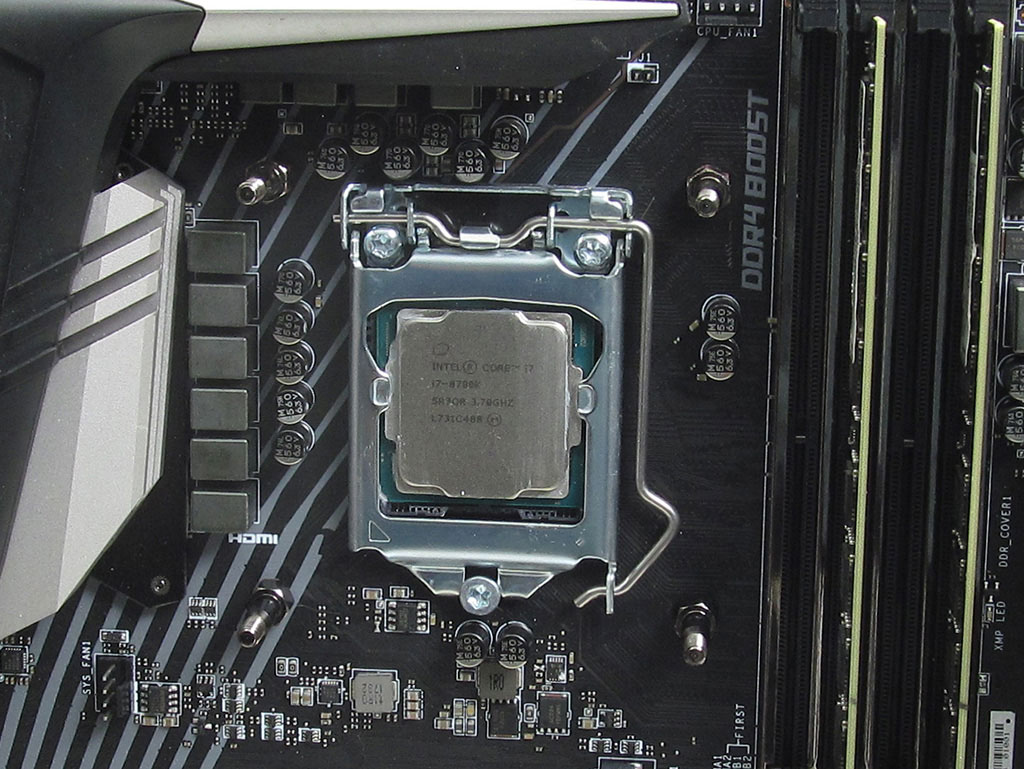
With that done, apply whatever thermal compound you wish, be it the included paste from Swiftech or something else you prefer. With the paste applied all that needs to be done is to slide the CPU block into place and secure it.
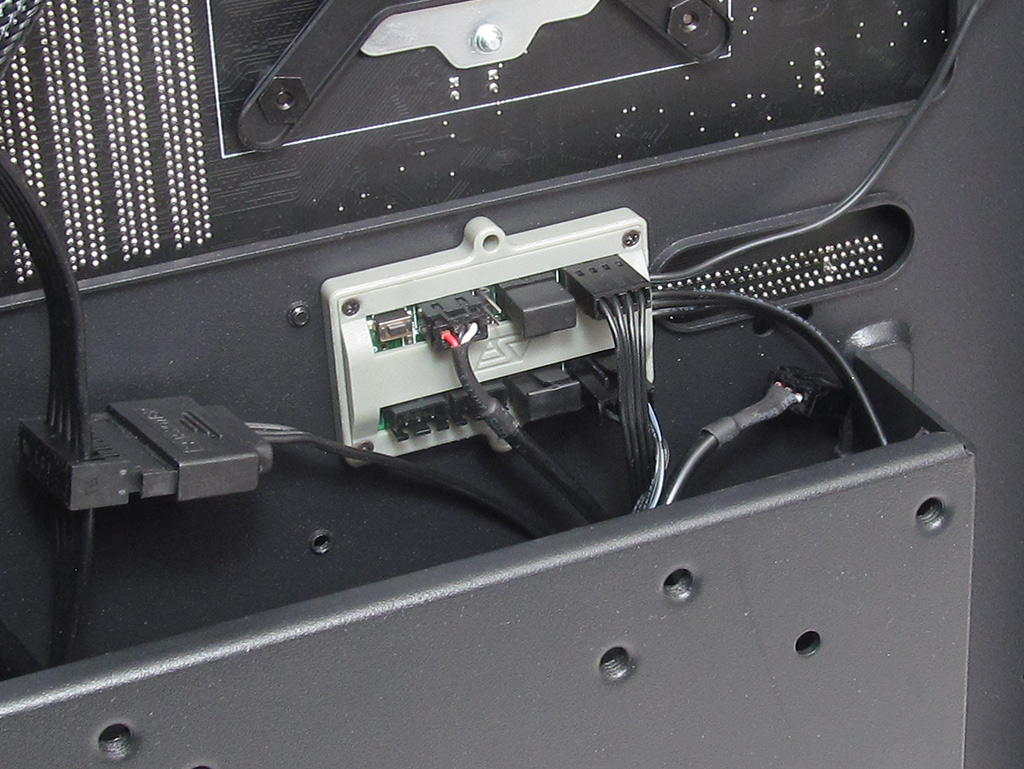
The final step requires plugging everything in. First, find a good spot to position the IRIS RGB controller; somewhere all the various plugs can reach. Then, plug the fans and RGB LED power plugs into the controller. Finally, hook up SATA power for the pump and controller. With everything plugged in, you are ready to go.
Swiftech's H240 X3 is relatively easy to install, and I would rate it an 8 on a scale of 1 (hardest) to 10 (easiest) in terms of installation. The process is easy enough overall for first-time builders not to run into any problems, which is due to the clear and concise instructions Swiftech includes.
Feb 24th, 2025 13:02 EST
change timezone
Latest GPU Drivers
New Forum Posts
- Nvidia's GPU market share hits 90% in Q4 2024 (gets closer to full monopoly) (548)
- What are you playing? (22997)
- help me find the right bios for my his RX580 Iceq2 X 8Gb (10)
- Throw Noctua alternatives at me pls (35)
- It's happening again, melting 12v high pwr connectors (913)
- mV boost option greyed out/ CPU Cache isn't separated by P and E/Cinebench Crashing even with no undervolt (5)
- Opinions on the drive config for new build please (9)
- Solidigm NVMe Custom Modded Driver for All NVMe Brands SSDs & Any NVMe SSDs (207)
- Die identification (2)
- 572.42 Drivers, Screen Blacking Out? (14)
Popular Reviews
- ASUS GeForce RTX 5070 Ti TUF OC Review
- MSI GeForce RTX 5070 Ti Ventus 3X OC Review
- darkFlash DY470 Review
- MSI GeForce RTX 5070 Ti Vanguard SOC Review
- MSI GeForce RTX 5070 Ti Gaming Trio OC+ Review
- Galax GeForce RTX 5070 Ti 1-Click OC White Review
- Palit GeForce RTX 5070 Ti GameRock OC Review
- Fantech Aria II Pro Review
- Gigabyte GeForce RTX 5090 Gaming OC Review
- AMD Ryzen 7 9800X3D Review - The Best Gaming Processor
Controversial News Posts
- NVIDIA GeForce RTX 5090 Spotted with Missing ROPs, NVIDIA Confirms the Issue, Multiple Vendors Affected, RTX 5070 Ti, Too (460)
- AMD Radeon 9070 XT Rumored to Outpace RTX 5070 Ti by Almost 15% (304)
- AMD Plans Aggressive Price Competition with Radeon RX 9000 Series (271)
- AMD Radeon RX 9070 and 9070 XT Listed On Amazon - One Buyer Snags a Unit (247)
- Edward Snowden Lashes Out at NVIDIA Over GeForce RTX 50 Pricing And Value (241)
- AMD Denies Radeon RX 9070 XT $899 USD Starting Price Point Rumors (239)
- NVIDIA Investigates GeForce RTX 50 Series "Blackwell" Black Screen and BSOD Issues (239)
- New Leak Reveals NVIDIA RTX 5080 Is Slower Than RTX 4090 (215)