 10
10
Synology DS1815+ Review
DSM Important Settings »Software

Synology didn't include a software disc in the bundle to make sure you download the latest versions of all compatible software packages off their Download Center. The latter hosts all with the DS1815+ compatible software packages, and we recommend you download and install all of them since they provide a host of useful features.
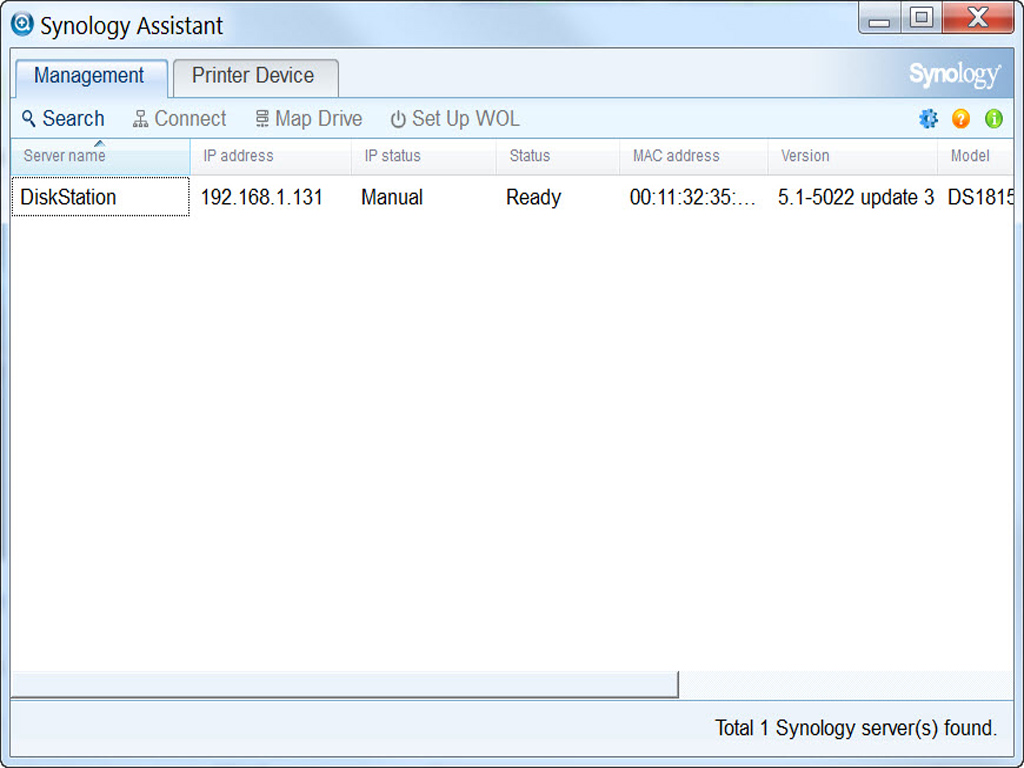

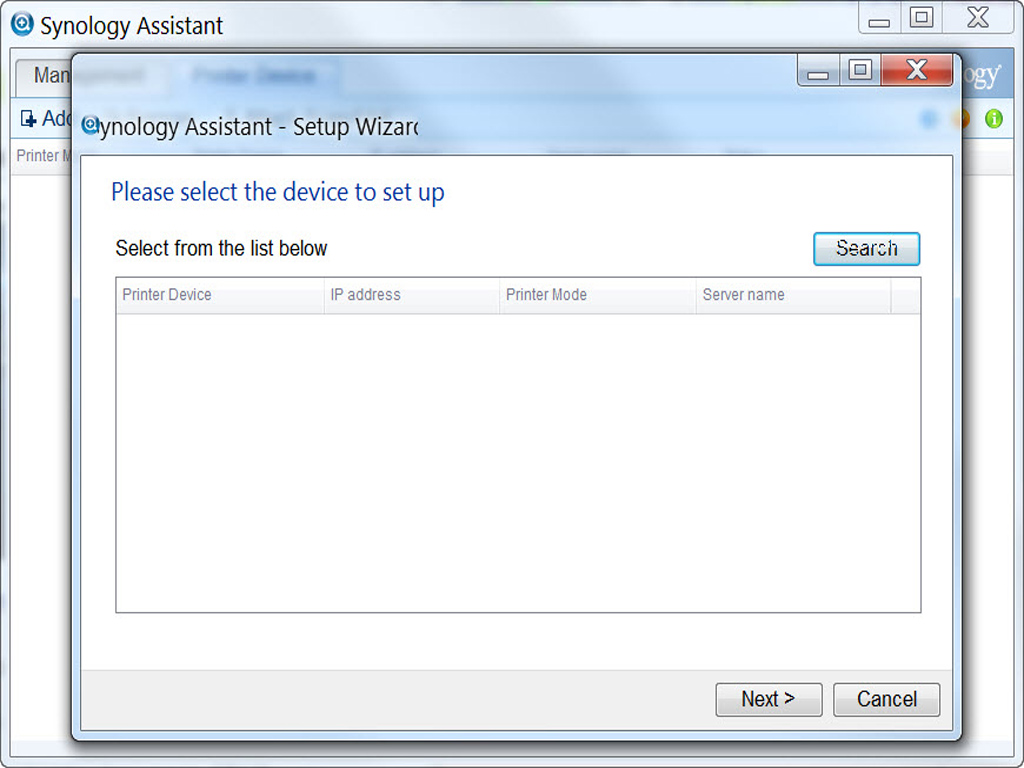
The Synology Assistant will allow to easily find the NAS' IP address on your network. This app will also assist you in configuring everything if need be.
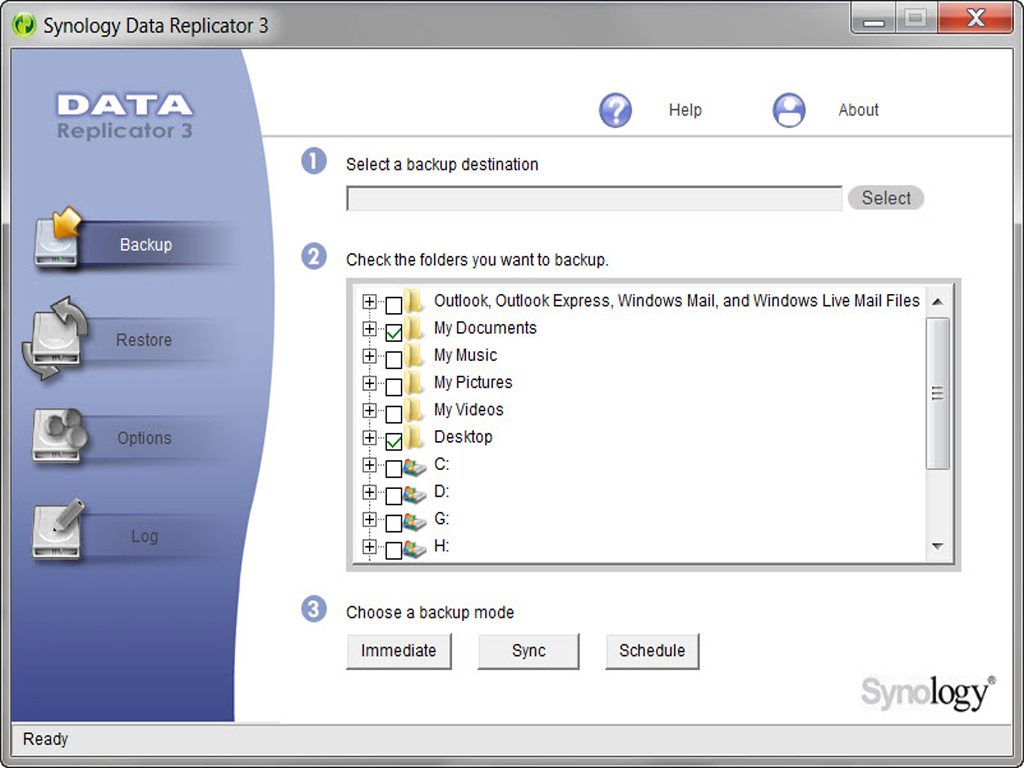

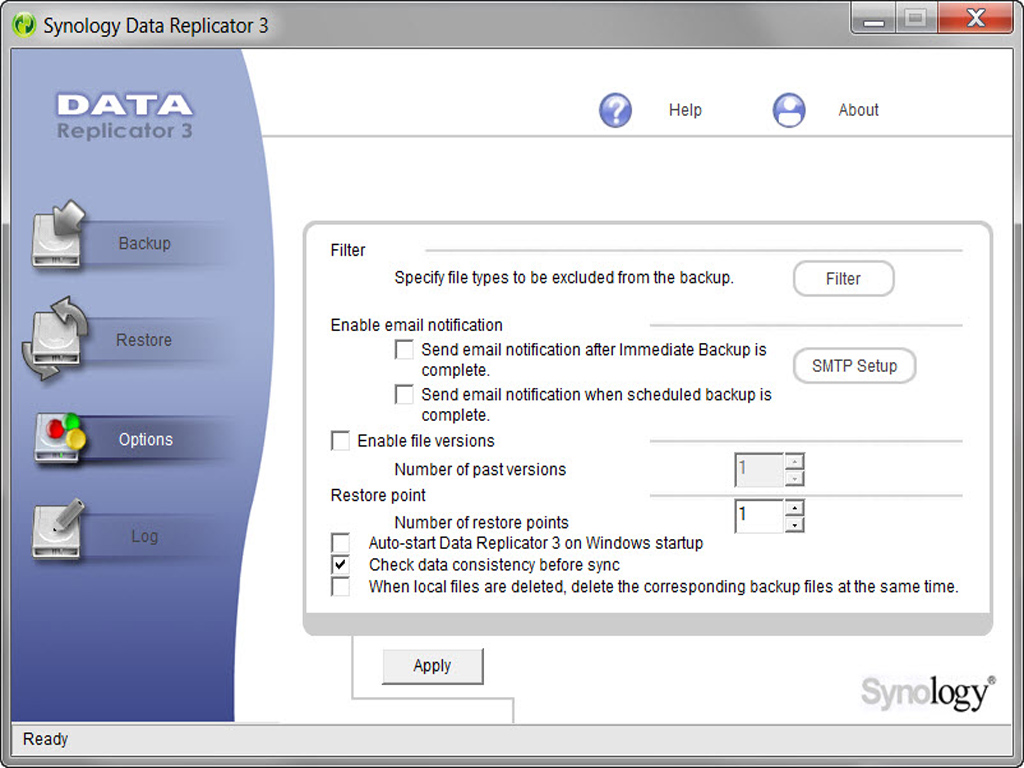
The Data Replication application allows you to easily and quickly backup and restore files.
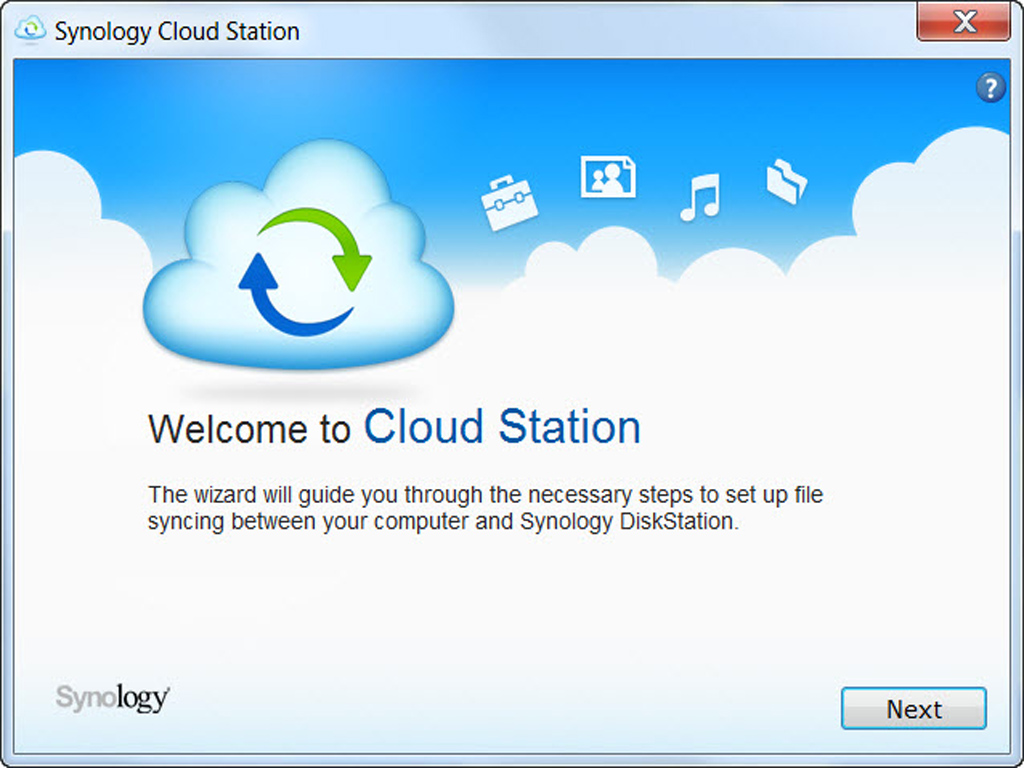
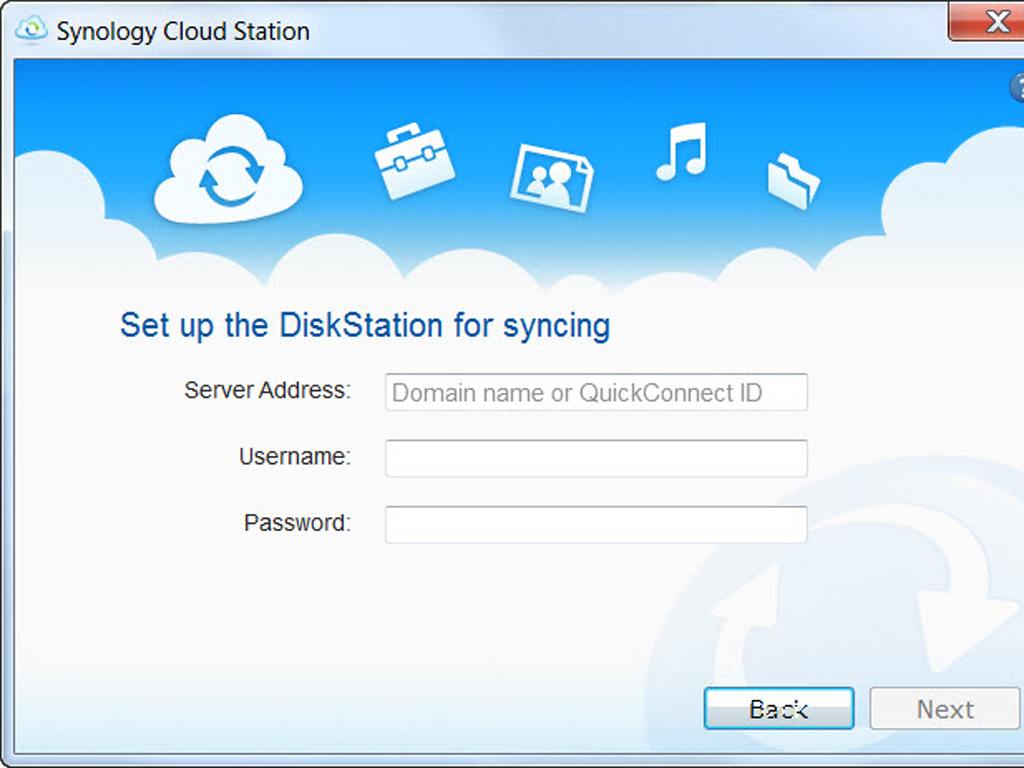
The Synology Cloud Station software allows you to synchronize files between your NAS and your workstation, or all client PCs.
Initial Setup
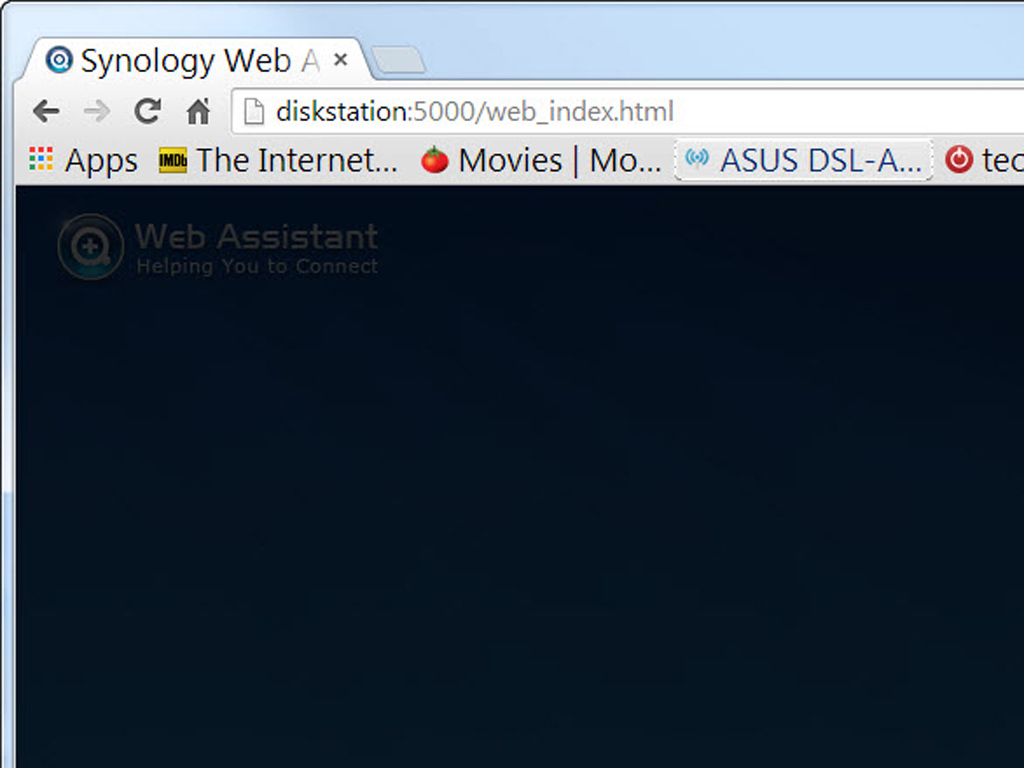
If you don't want to install Synology Assistant, but need to start the initial setup procedure, you will only have to open "find.synology.com" on a client PC after you have installed the hardware (HDDs) and connected all the cables (power and LAN). Type in "diskstation:5000" instead if your PC isn't connected to the Internet.


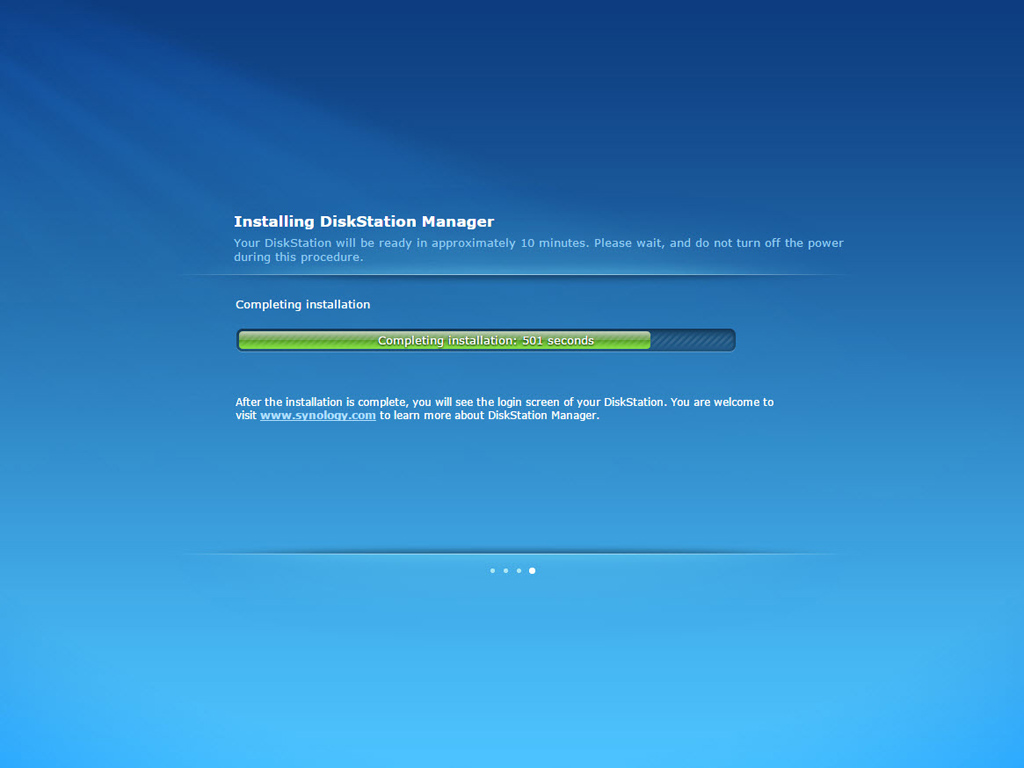
The Web Assistant in action—the whole procedure can take a while, but after a certain point, everything is fully automated.

And here is the DSM login page—it looks plain, but provides the date and a weather forecast based on your location. You will have to enter your credentials to log into the administrative interface.
Web Interface

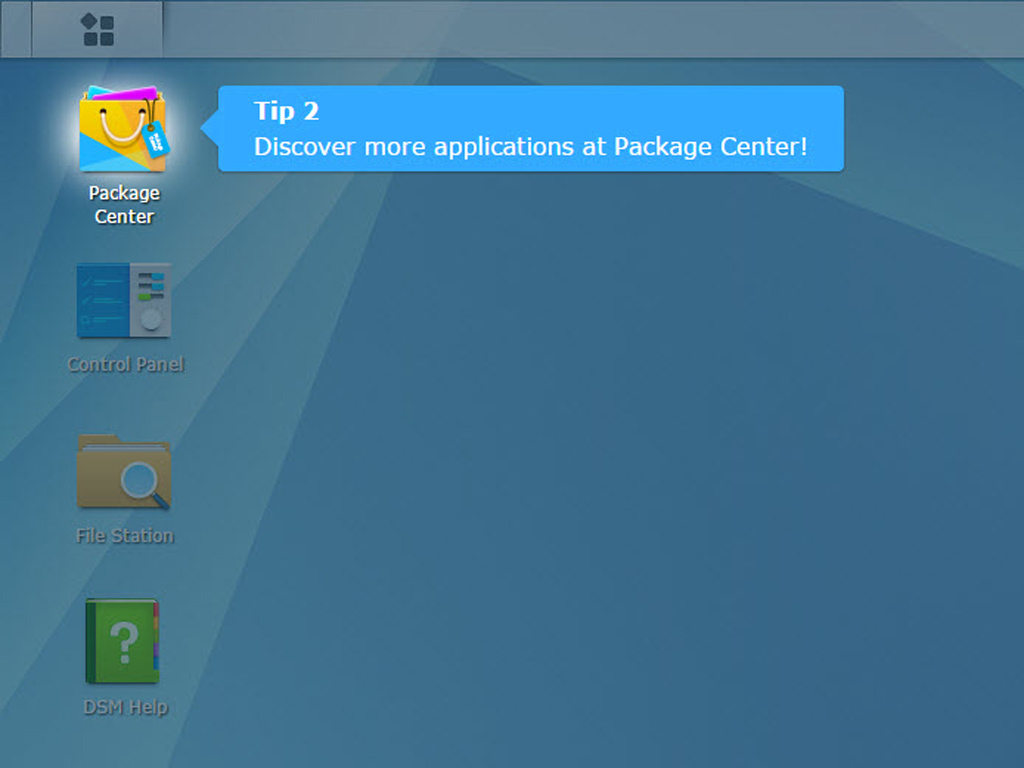
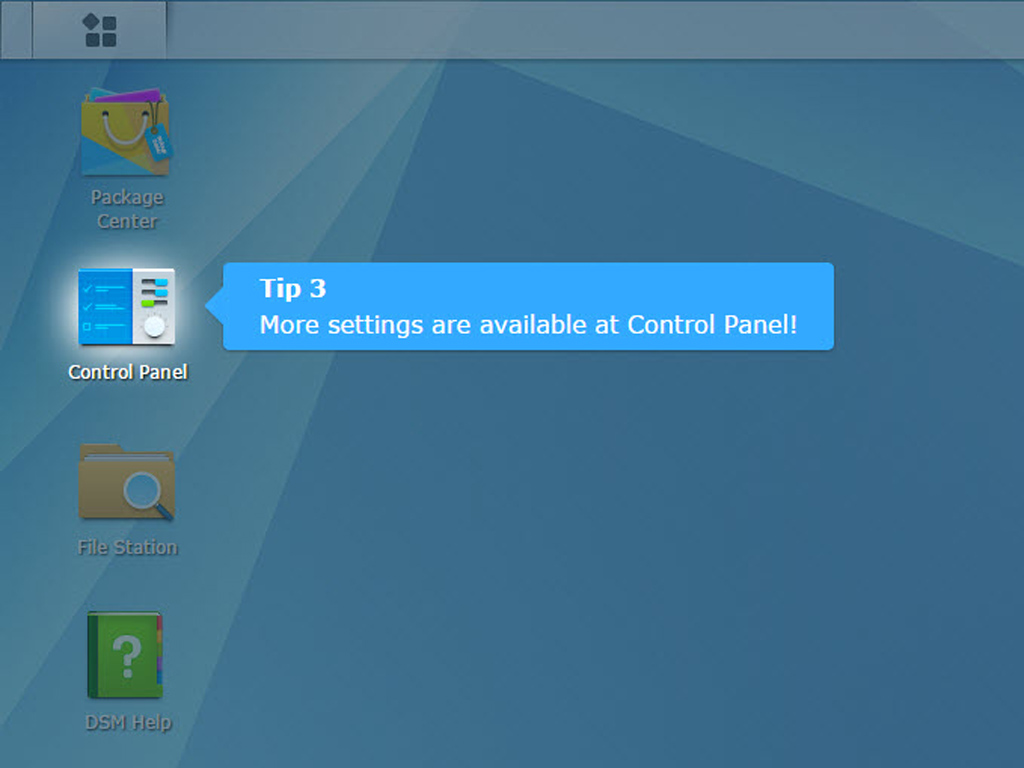

DSM is a windowed operation system, so it includes icons, widgets, and a taskbar.

The DSM taskbar hides a lot of functionality:
1) Show Desktop: Minimizes all open applications and packages.
2) Main Menu: View and open applications and packages installed on the NAS. You can also click and drag to create desktop shortcuts.
3) Open applications:
- Click an icon to show or hide its window on the desktop.
- Right-click the icon and pick from the menu to manage the application's window (Maximize, Minimize, Restore, and Close) or its taskbar icon (Pin to Taskbar and Unpin from Taskbar).
5) Notifications: Displays notifications, like errors, status updates, and package installation notifications.
6) Options: Shutdown, restart, logout, or Modify Personal Account options can be found here.
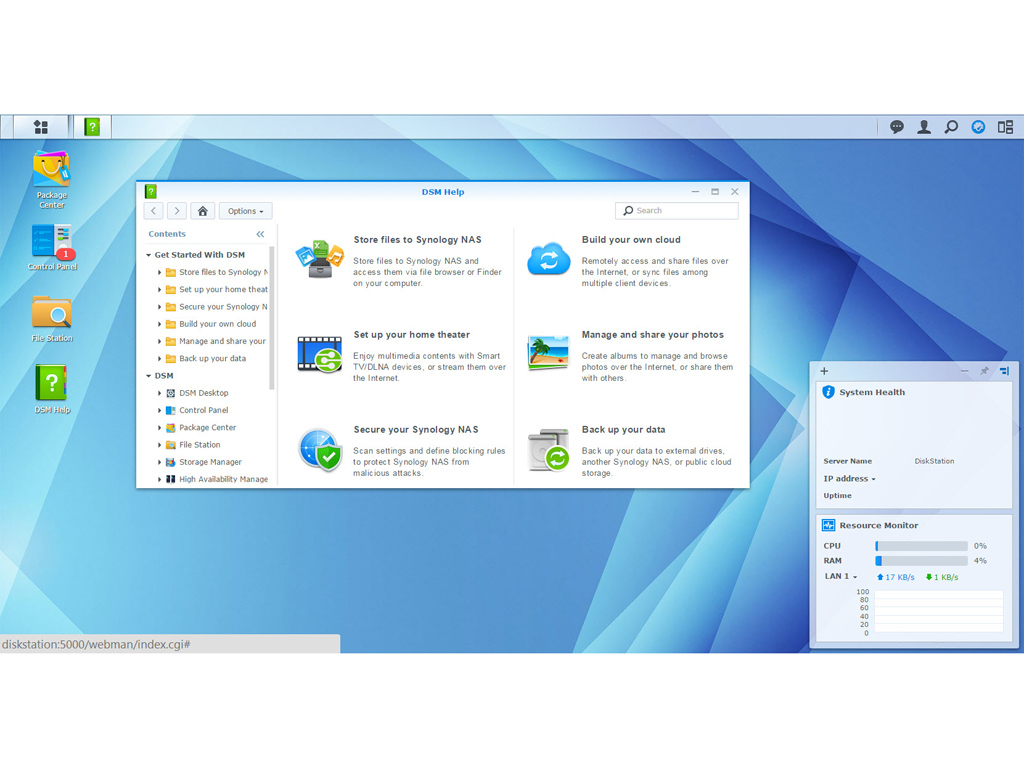
7) Search: Quickly find specific applications, packages, or DSM Help articles.
8) Widgets: Show or hide widgets.
9) Pilot View: See a preview of all open applications and packages.

You can also select which widget to show or hide.
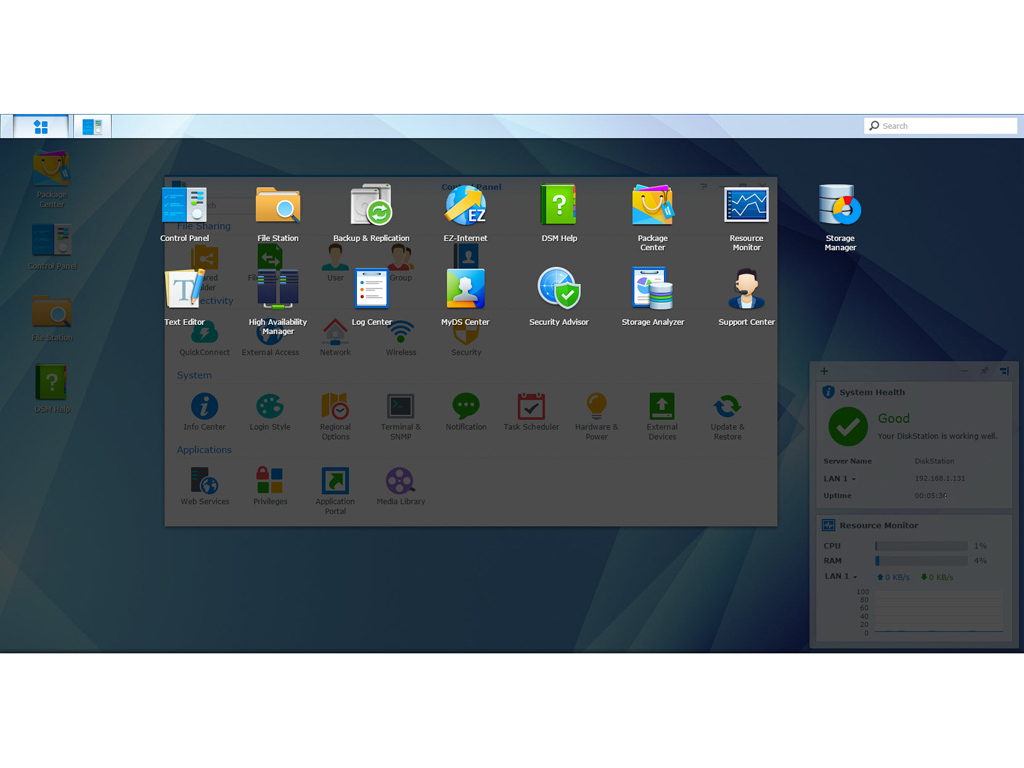

The "start" button reveals the main menu and is in the top-right corner, on the taskbar. Next to it is an icon for each open application. You can add shortcuts of your favorite applications to the desktop by dragging their icons from the main menu to the desktop. You can also remove shortcuts by right-clicking on them and picking the Remove Shortcut option. The Notification button and all notifications are on the right (you will recognize this button by its exclamation mark).
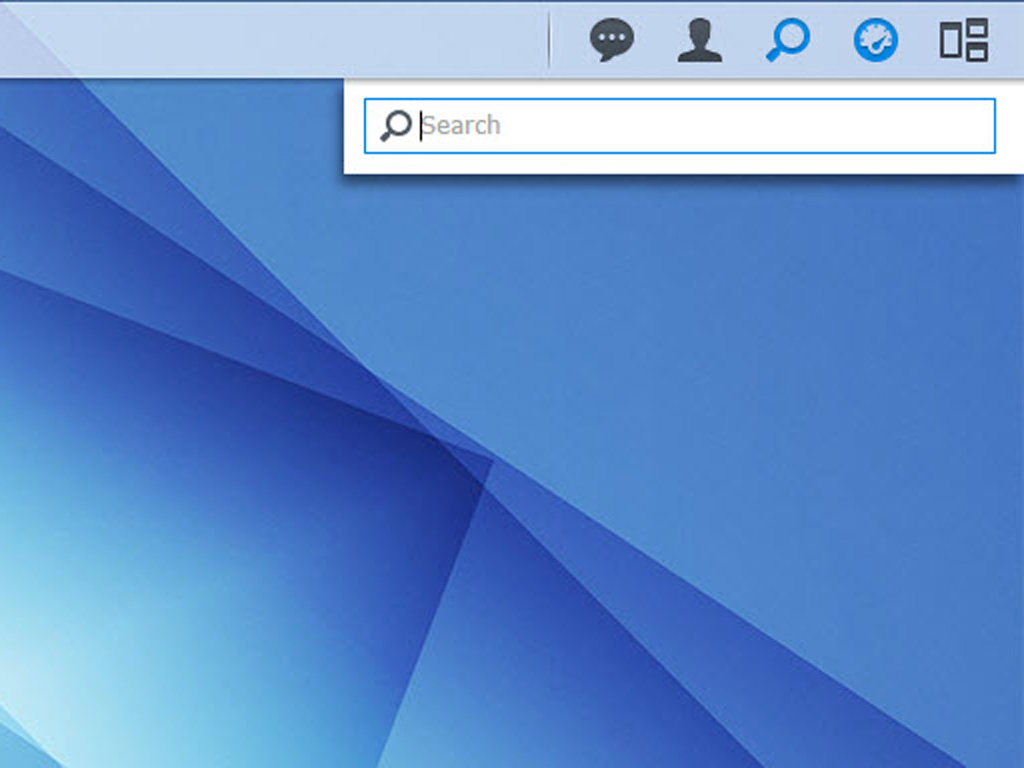
There is also a search field; it will help you find an OS option or function.
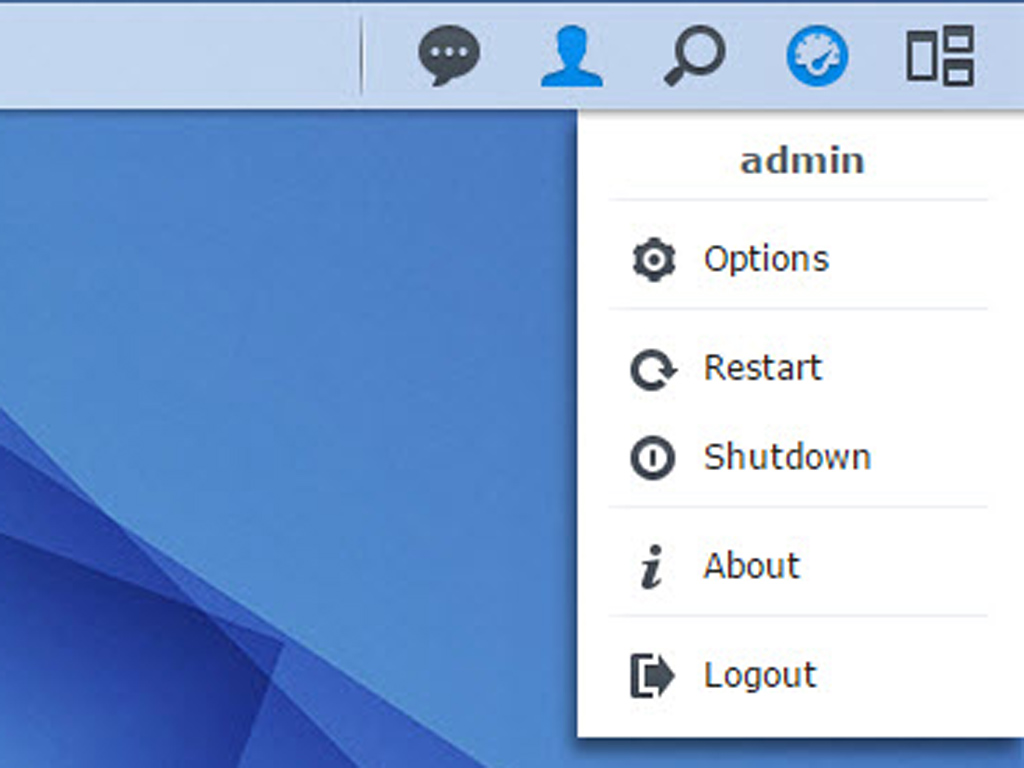
The Admin options allow you to manage personal account options, like changing the password, enabling 2-step verification, checking on account activity, etc.


You will be asked to choose an update option after logging into DSM for the first time. As you can see in the screenshot above, we picked the first option and advice you to do the same. There was an available DSM update we also made a point of installing—its installation was fast and easy.
Apr 7th, 2025 22:39 EDT
change timezone
Latest GPU Drivers
New Forum Posts
- is it worth using ssd with usb2? (10)
- Question about Intel Optane SSDs (70)
- USB case with dual USB-C and dual USB-A (6)
- The TPU UK Clubhouse (26058)
- Help me pick a UPS (88)
- Anyone with true HDDs still around here? (336)
- 12v lines 0 reads occansionally (2)
- Someone run games on AMD BC-250 under Linux * Cut down PS5 die to 6 CPU cores 24 GPU cores for use in crypto mining (79)
- RX 9000 series GPU Owners Club (236)
- The coffee and tea drinkers club. (246)
Popular Reviews
- The Last Of Us Part 2 Performance Benchmark Review - 30 GPUs Compared
- UPERFECT UStation Delta Max Review - Two Screens In One
- ASUS Prime X870-P Wi-Fi Review
- PowerColor Radeon RX 9070 Hellhound Review
- Upcoming Hardware Launches 2025 (Updated Apr 2025)
- Sapphire Radeon RX 9070 XT Pulse Review
- MCHOSE L7 Pro Review
- Corsair RM750x Shift 750 W Review
- Sapphire Radeon RX 9070 XT Nitro+ Review - Beating NVIDIA
- DDR5 CUDIMM Explained & Benched - The New Memory Standard
Controversial News Posts
- NVIDIA GeForce RTX 5060 Ti 16 GB SKU Likely Launching at $499, According to Supply Chain Leak (159)
- MSI Doesn't Plan Radeon RX 9000 Series GPUs, Skips AMD RDNA 4 Generation Entirely (146)
- Microsoft Introduces Copilot for Gaming (124)
- AMD Radeon RX 9070 XT Reportedly Outperforms RTX 5080 Through Undervolting (119)
- NVIDIA Reportedly Prepares GeForce RTX 5060 and RTX 5060 Ti Unveil Tomorrow (115)
- Over 200,000 Sold Radeon RX 9070 and RX 9070 XT GPUs? AMD Says No Number was Given (100)
- NVIDIA GeForce RTX 5050, RTX 5060, and RTX 5060 Ti Specifications Leak (97)
- Nintendo Switch 2 Launches June 5 at $449.99 with New Hardware and Games (92)