 3
3
Synology DS214se & DSM 5.0 Overview Review
Synology DiskStation Manager 5.0 Tour. Control Panel - Application, Storage Manager, Backup & Replication »Control Panel - Connectivity
These settings allow you to make the NAS accessible over the Internet, while protecting it with such security measures as a firewall and auto block.
Useful to novice users that don't want to change any router settings by setting up post-forwaring rules, QuickConnect is an easy-to-use solution for client applications that want to connect to your NAS over the Internet.
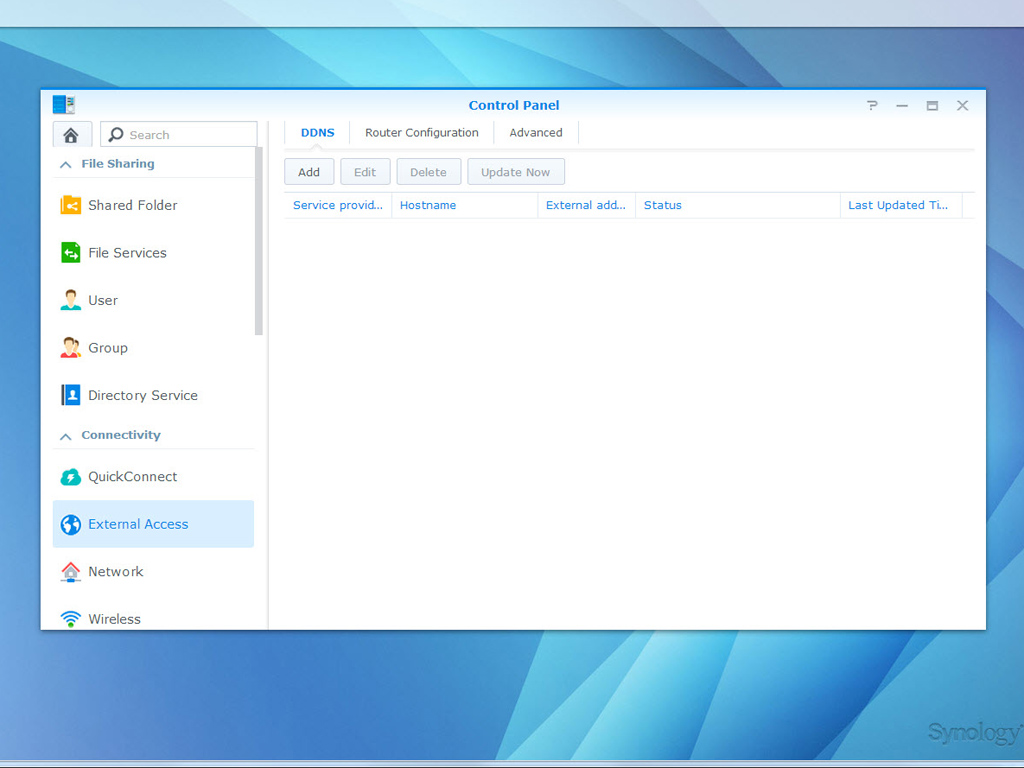
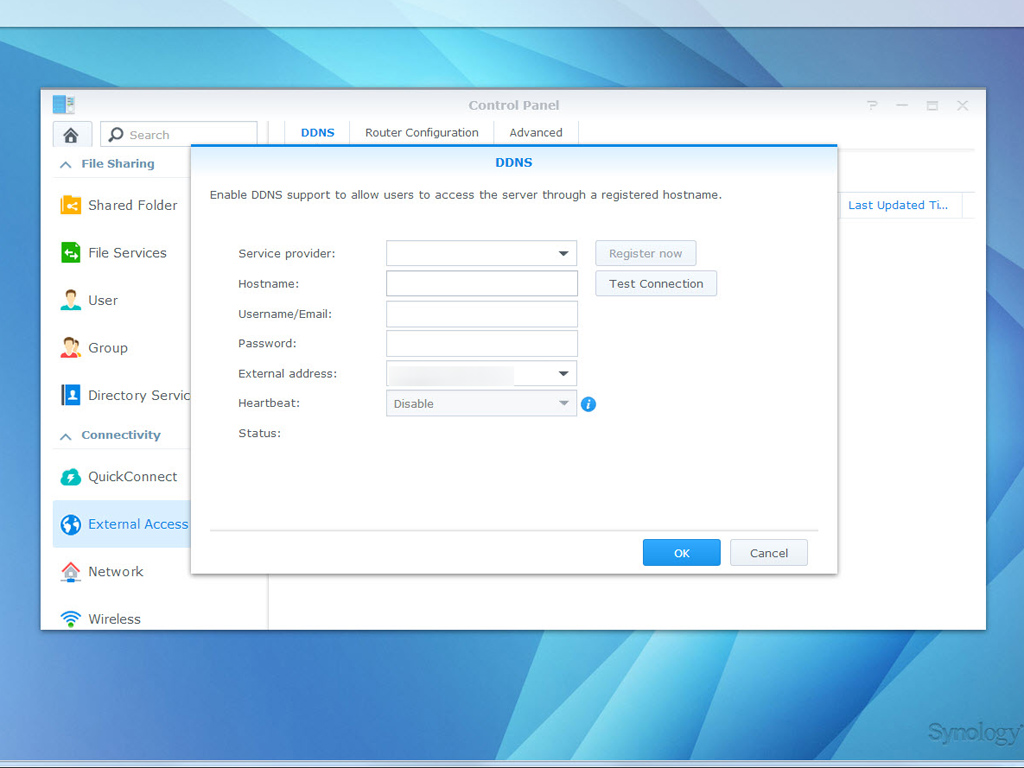
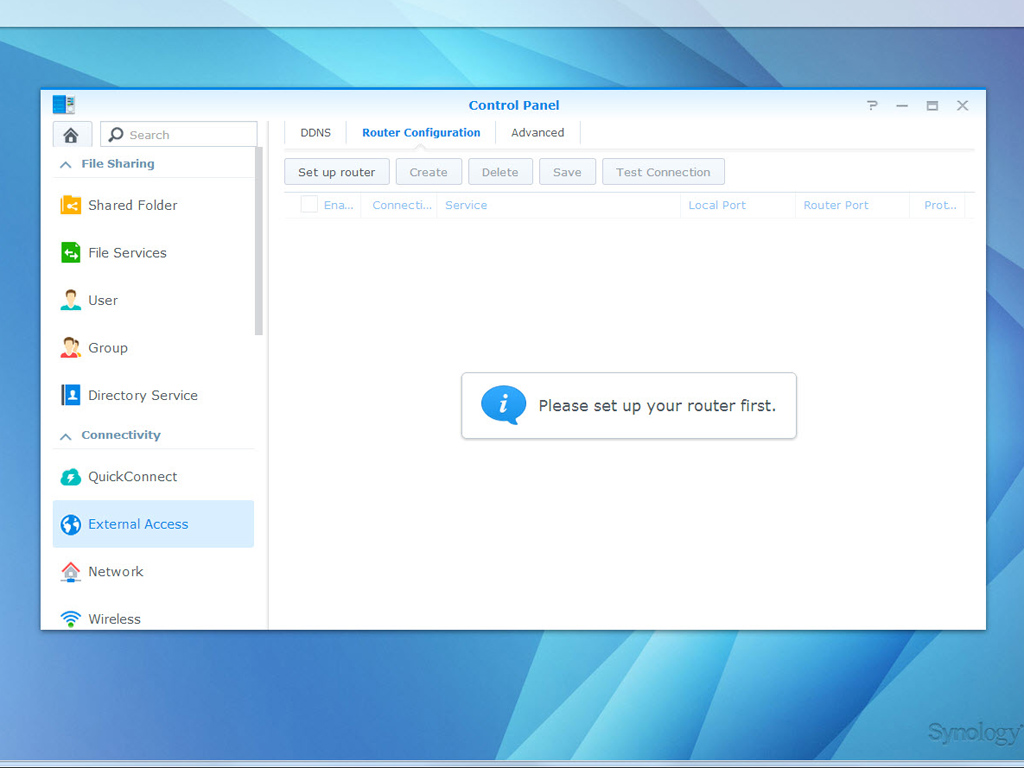
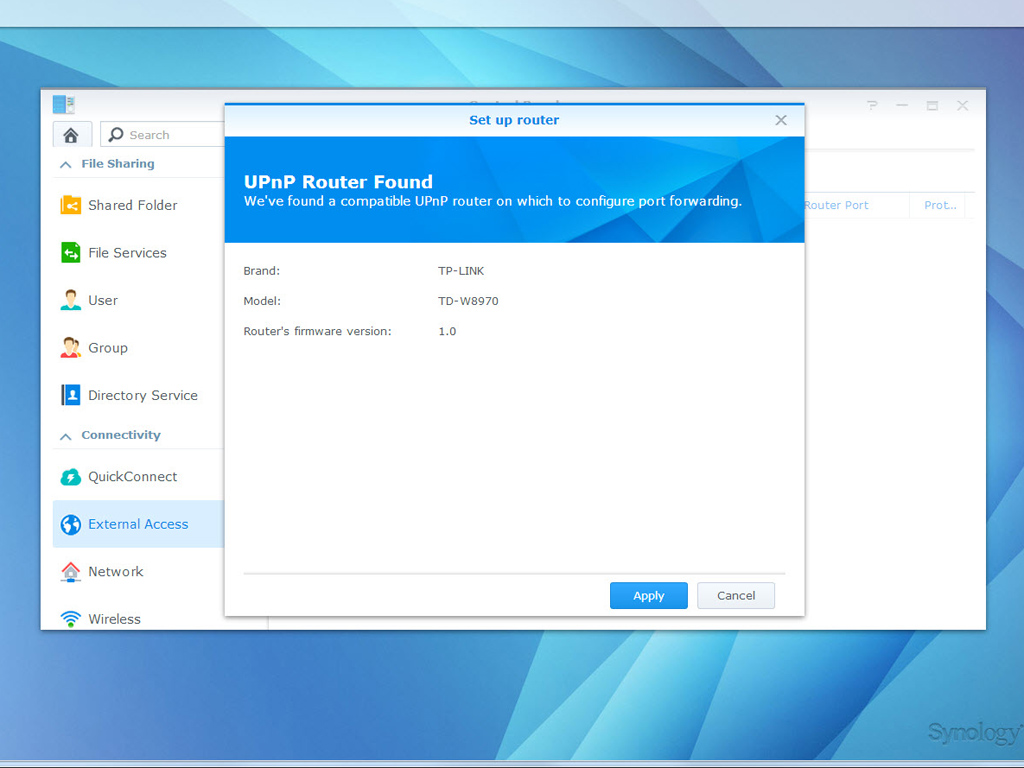
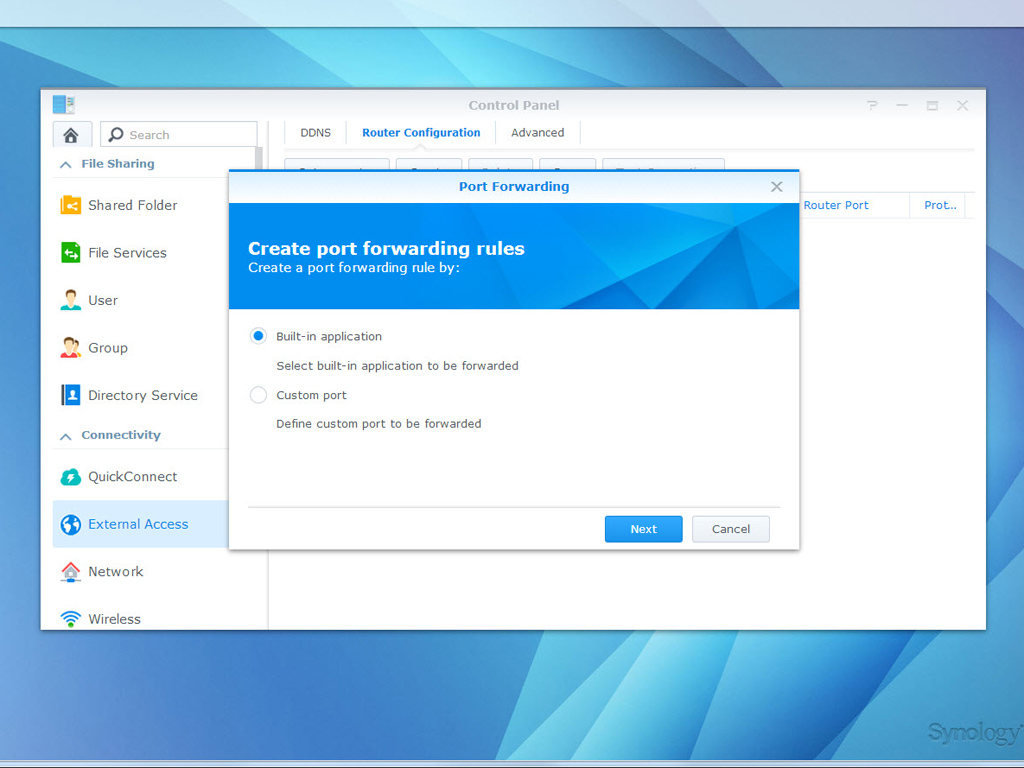

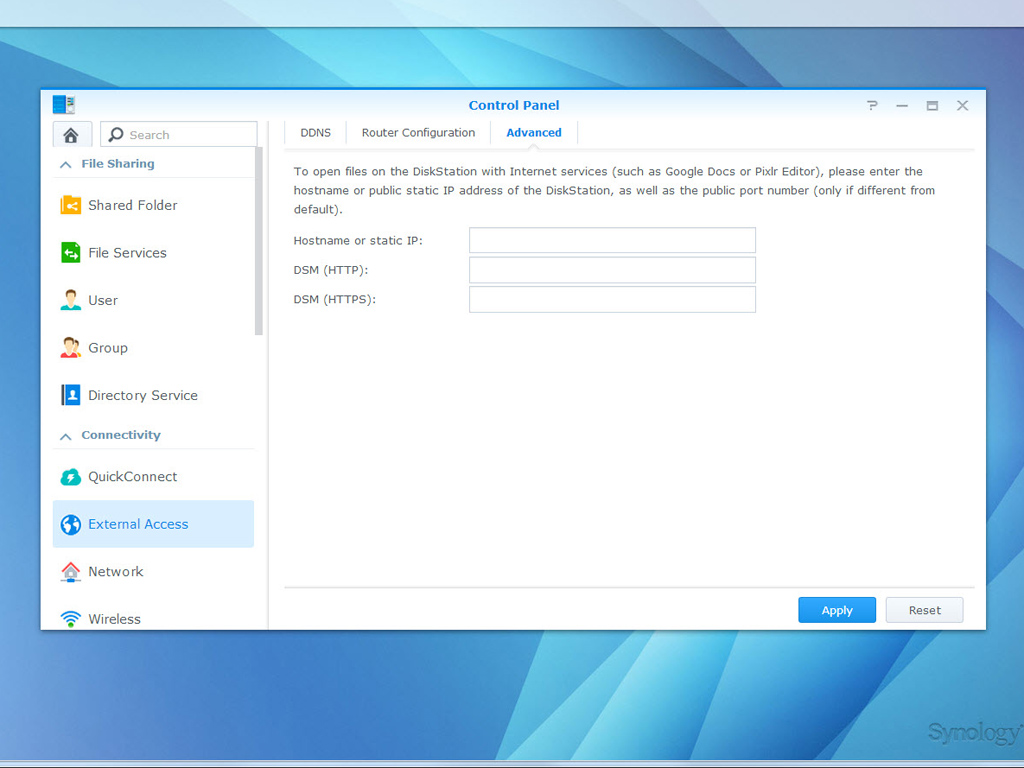
This menu allows you to add a Dynamic DNS (DDNS) service, set up your router, and set port-forwarding rules. Note that configuring port-forwarding rules requires you to assign a static IP address to the router, which takes administrative rights.


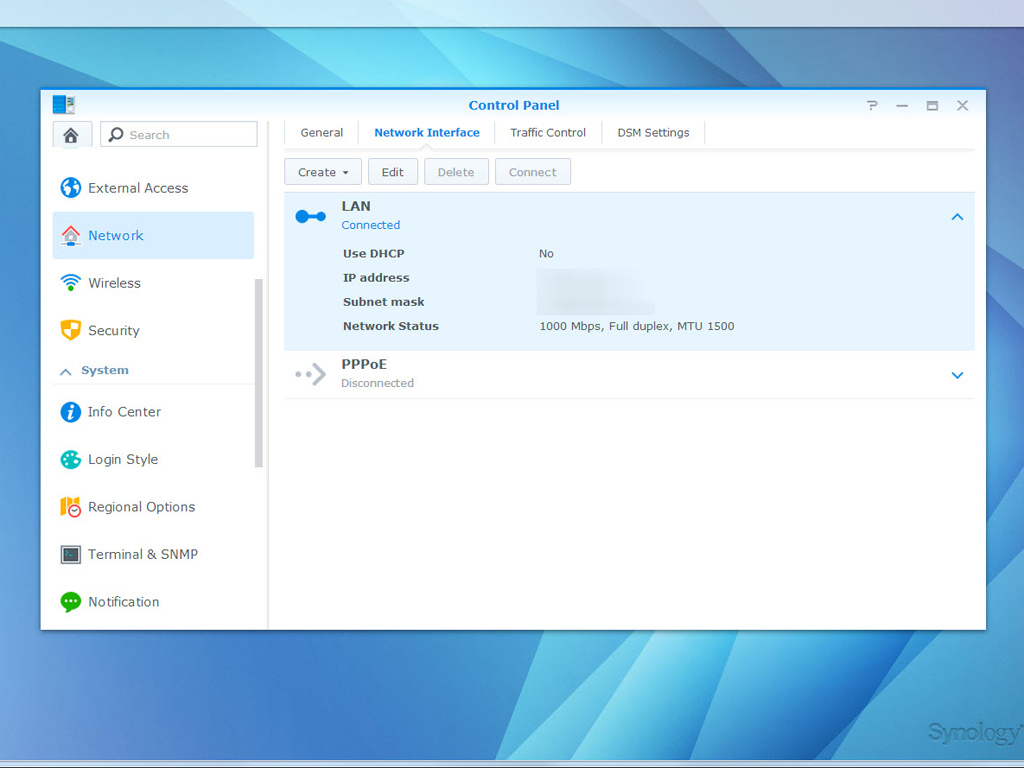
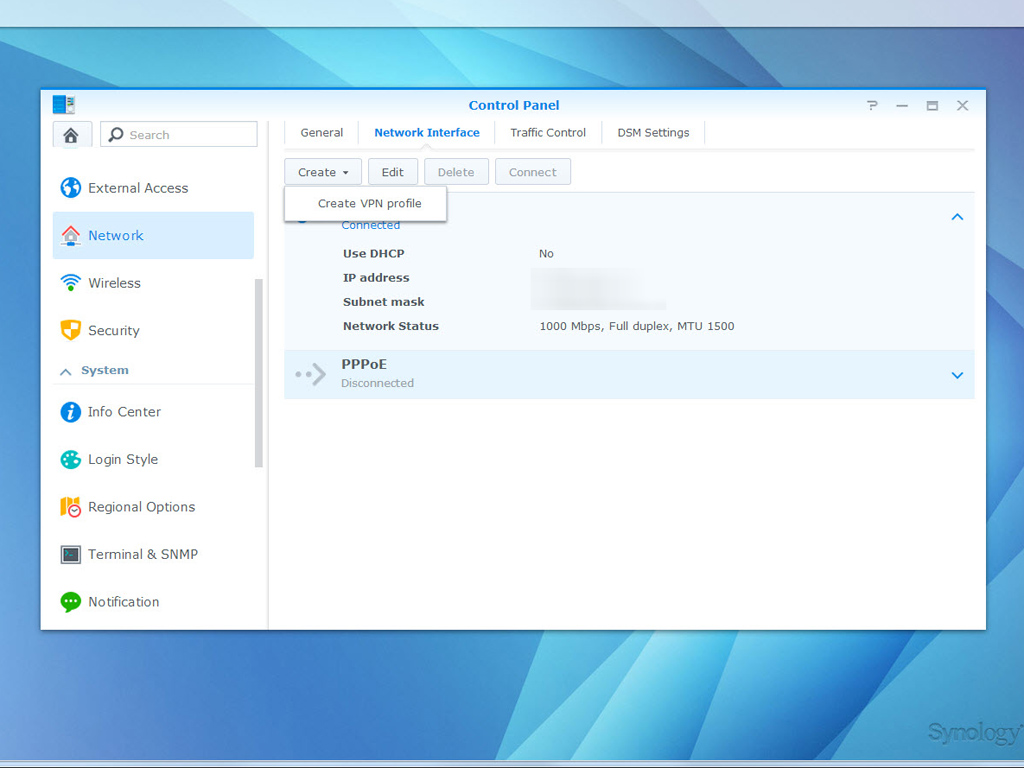
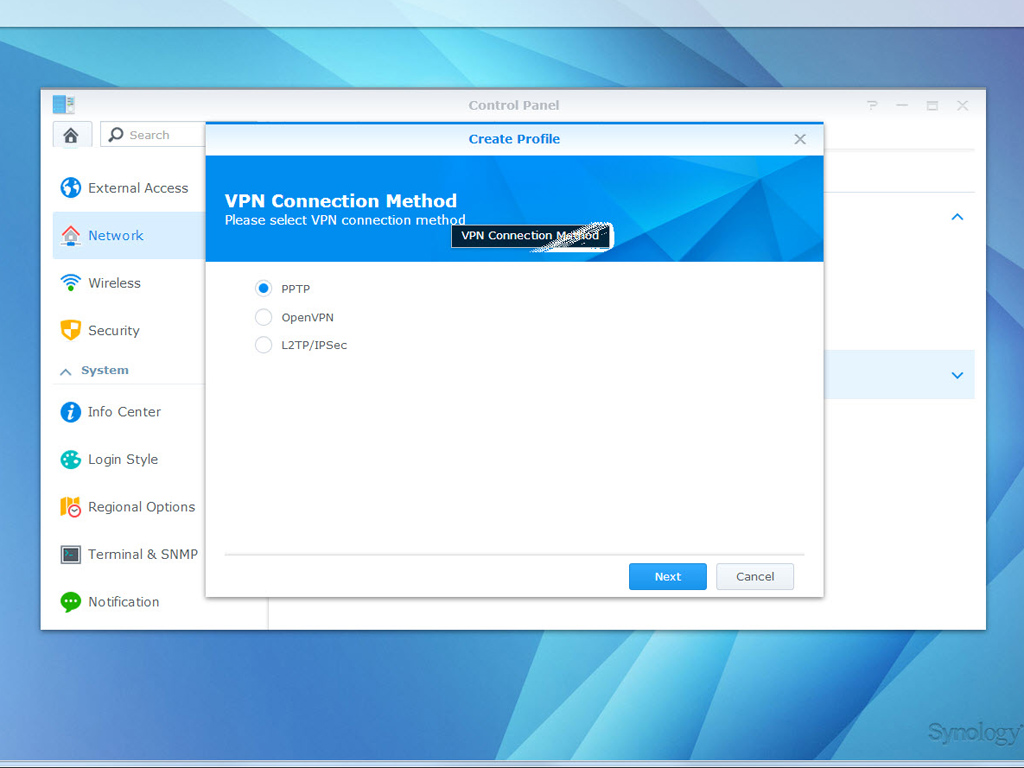
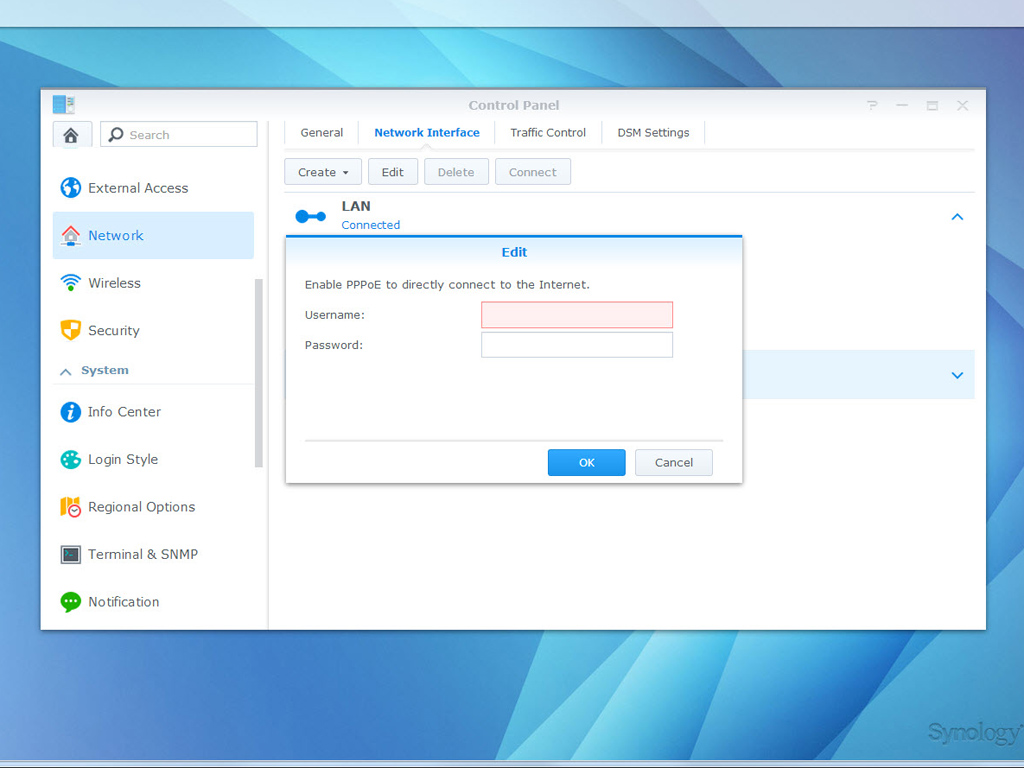
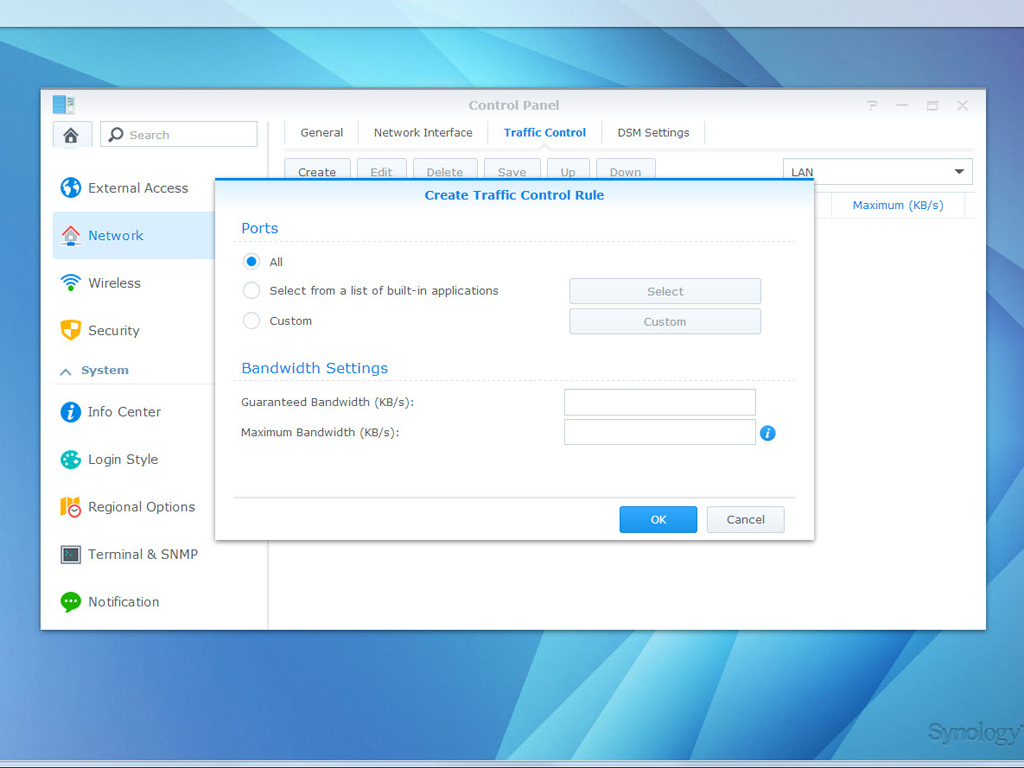
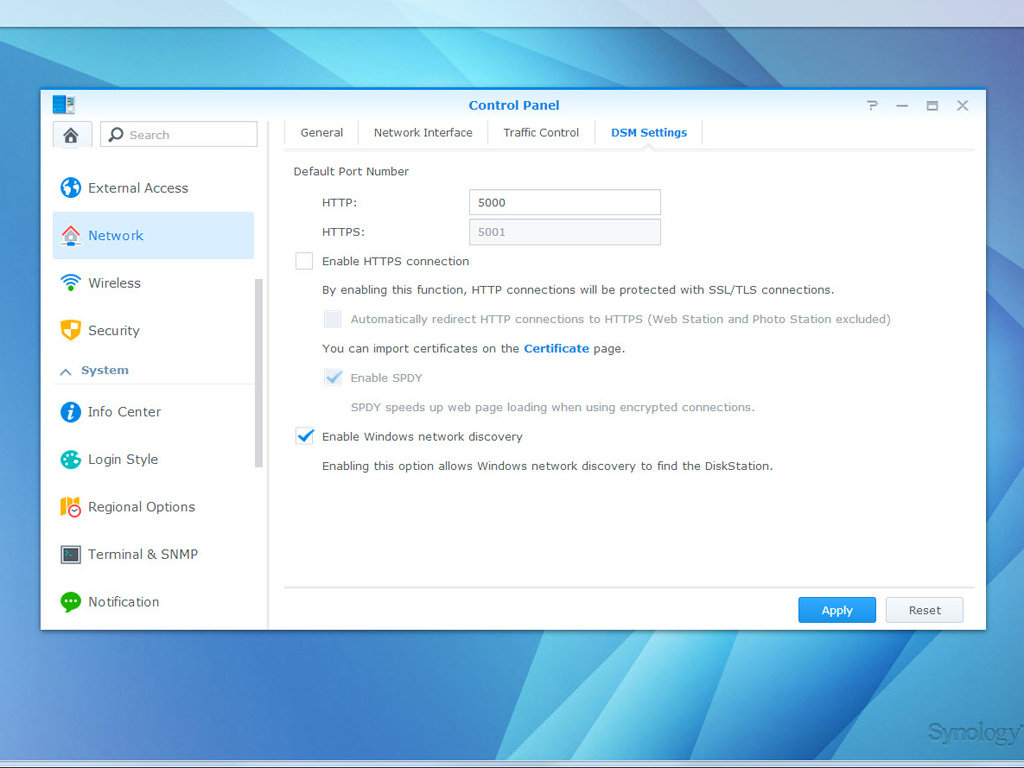
You can modify all network settings through these options. You can, for instance, automatically let the NAS obtain an IP address via DHCP if it is connected to a LAN, or manually set an IP address, which is the preferred approach. DSM 5.0 also supports the IPv4/IPv6 dual-stack scheme and PPPoE (Point to Point Protocol over Ethernet) if your NAS is connected to a DSL or cable modem. ISPs (Internet Service Providers) use the same protocol and the Tunnel technique, which encapsulates IPv6 packets within IPv4 ones to create IPv6 compatibility with an IPv4 network backbone. You can also manage traffic control rules to pre-determine which outgoing traffic is allowed when clients access services on your Synology NAS, change the port number(s) for DSM access, or configure HTTPS settings.
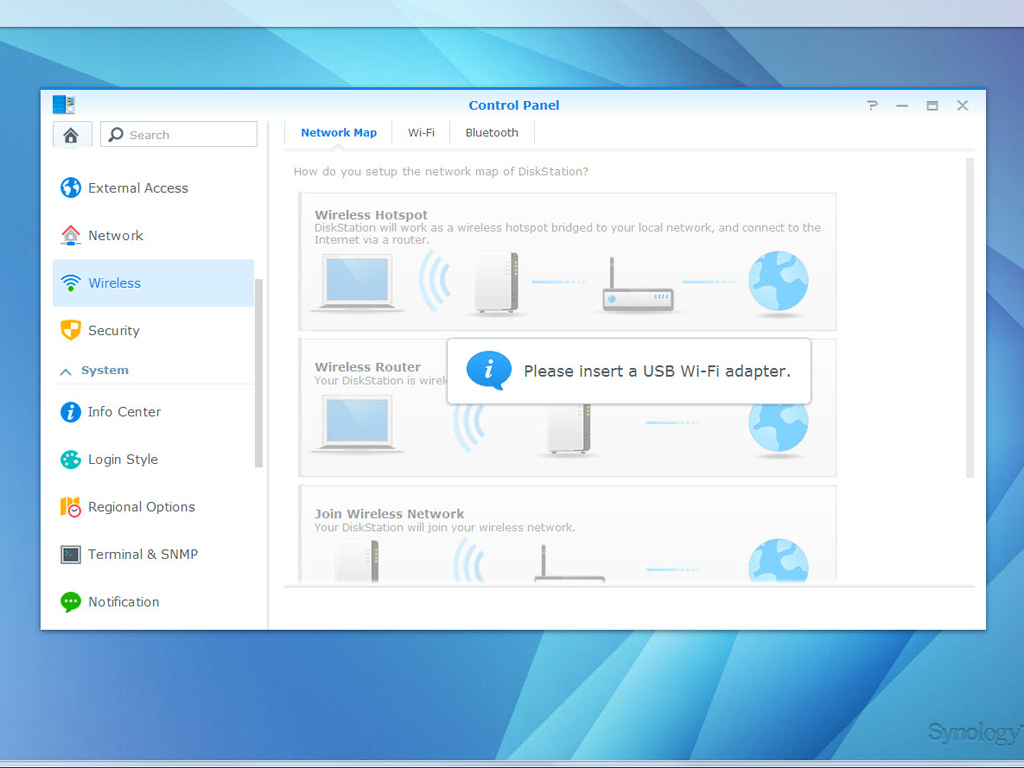
Use the Wireless tab to connect the NAS to a wireless network, or create a wireless hotspot to share its Internet connection with other devices. You can also manage Bluetooth adapters and connect Bluetooth devices to the NAS, although you have to connected dongles to activate such settings.
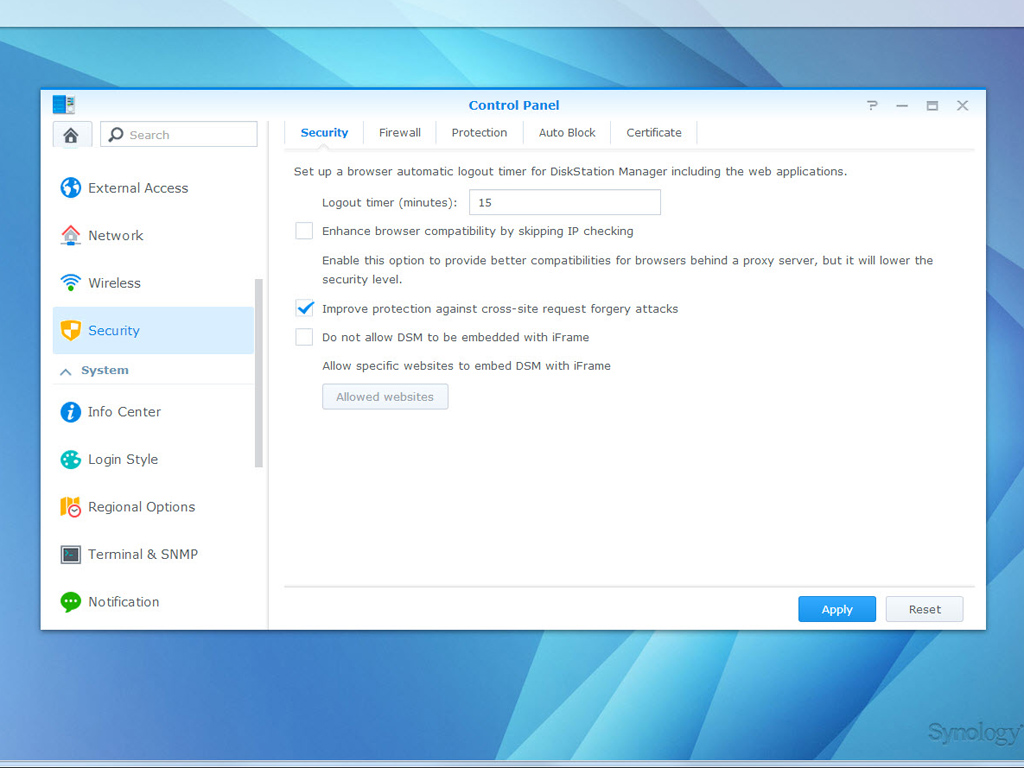

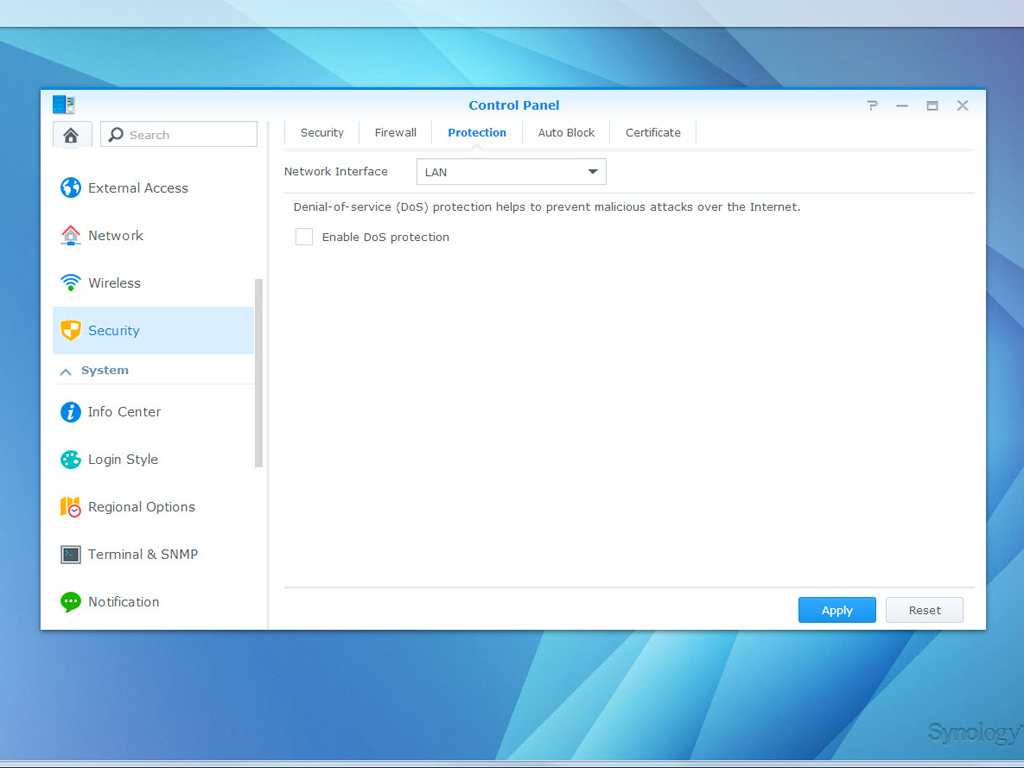

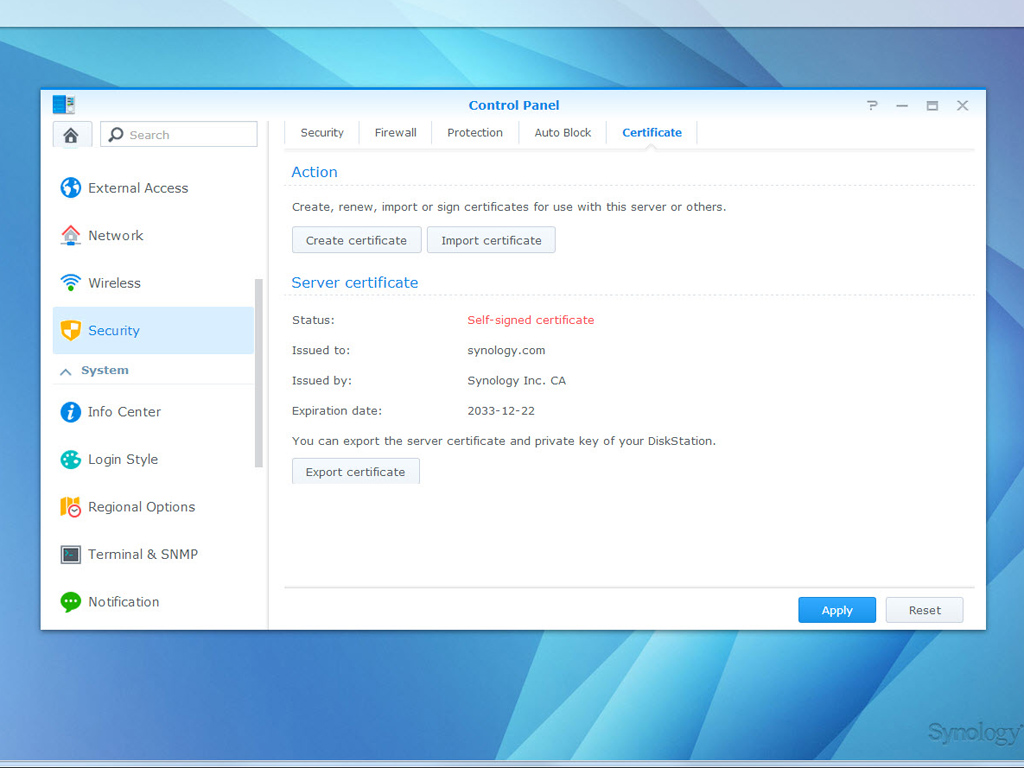
The Security menu will be of interest to users that store sensitive data on their Synology NAS servers. Set the logout timer, skip IP checking, improve protection against scripting attacks, and disable iFrame embedding in this menu. There is also a Firewall tab should you want to deny access to certain network ports by specific IP addresses. The Protection menu provides options to enhance each network interface's network security, while Auto Block can be used to block IP addresses with too many failed login attempts.
Control Panel - System
Manage all NAS system settings here.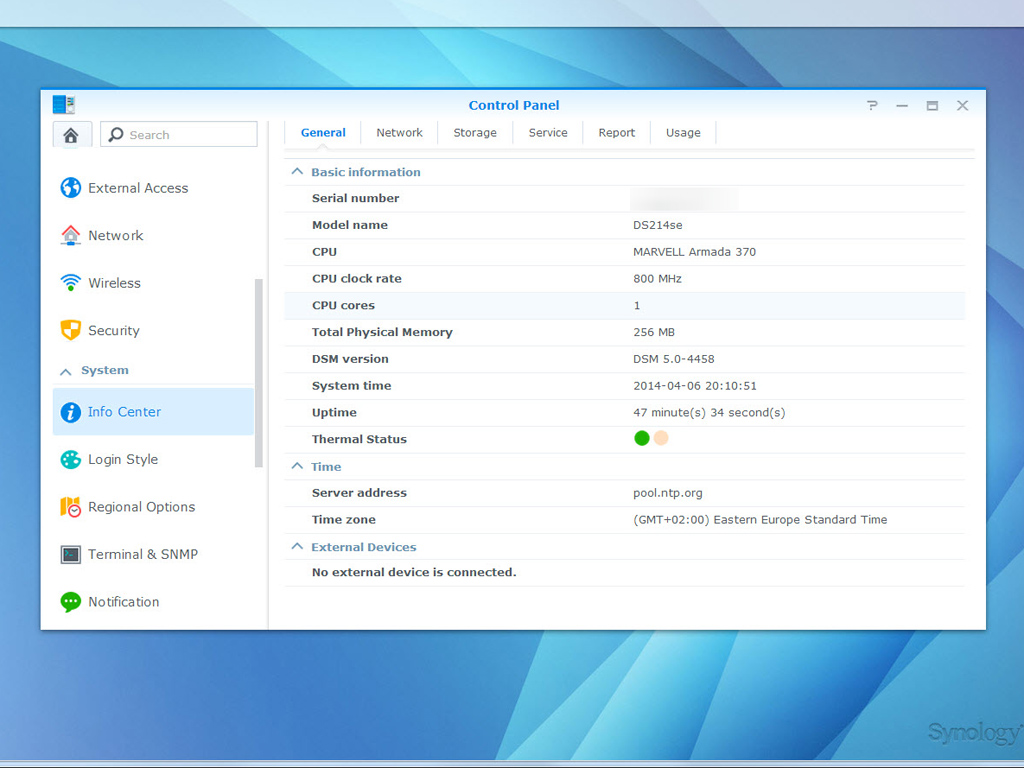
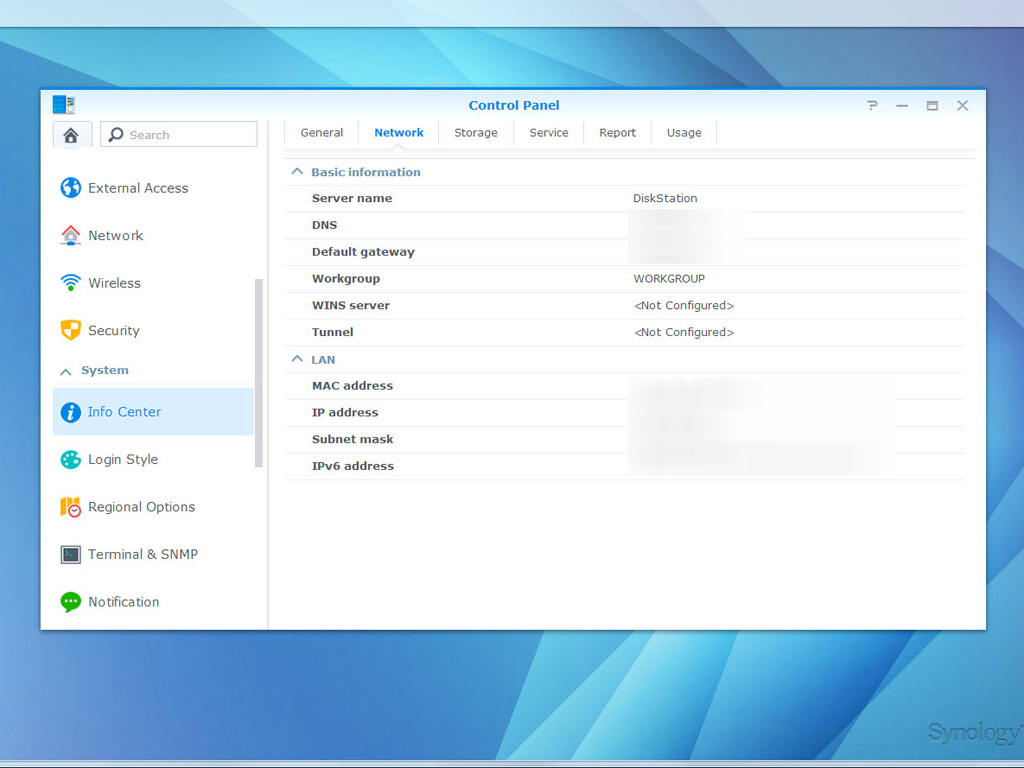
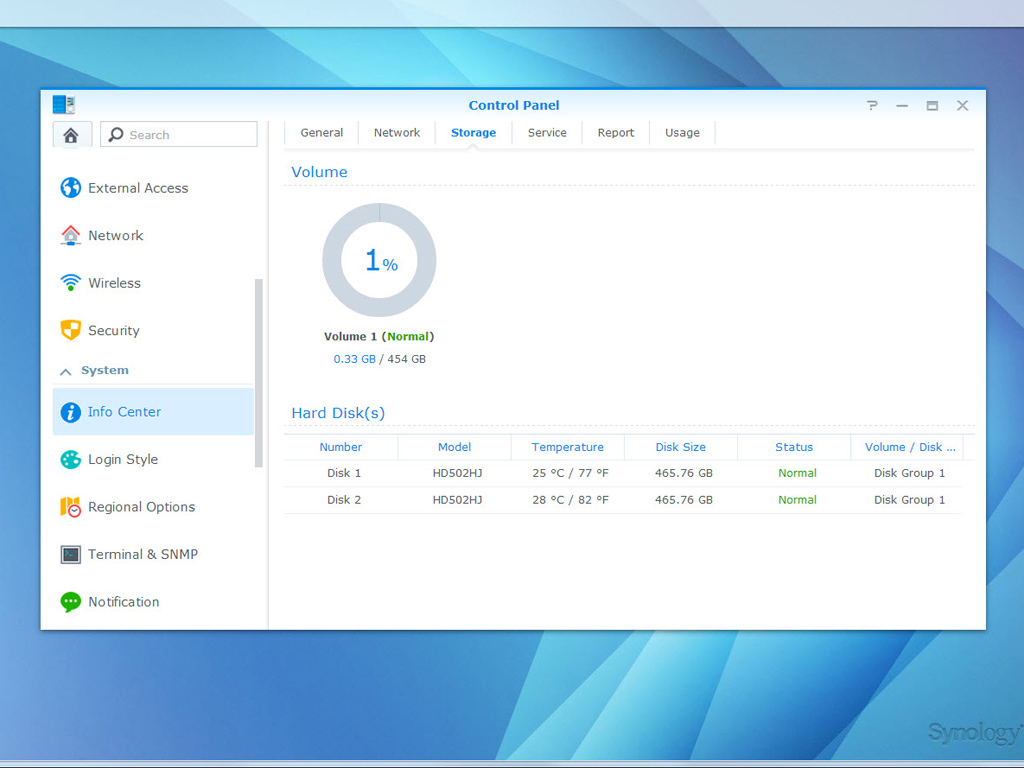
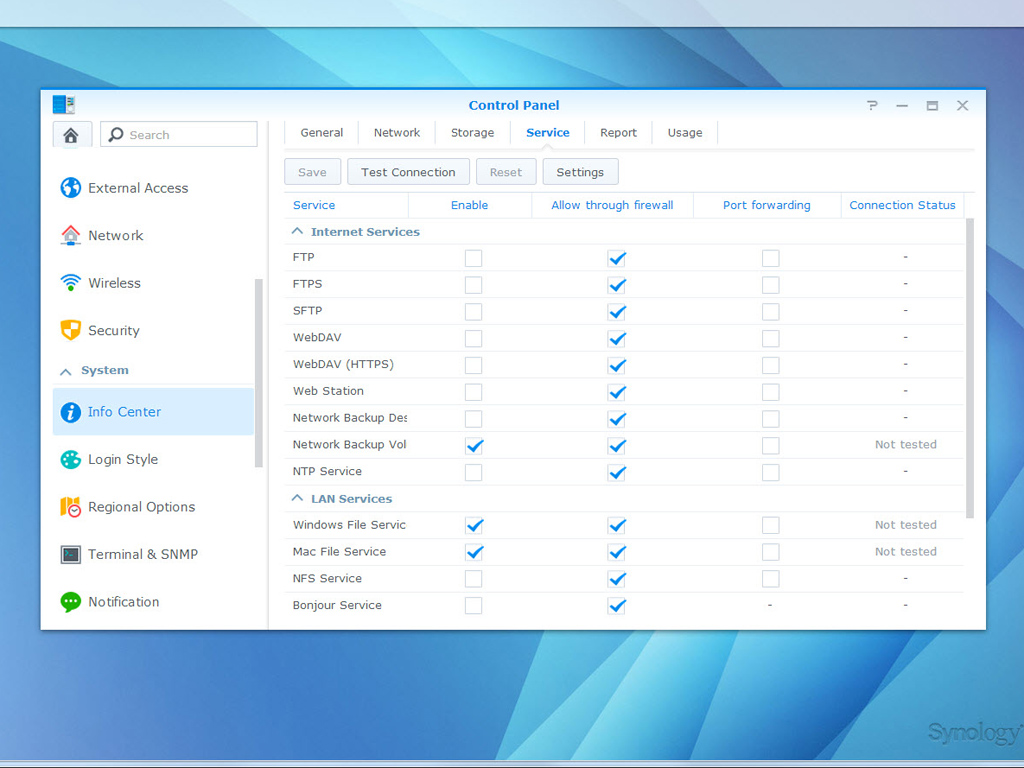
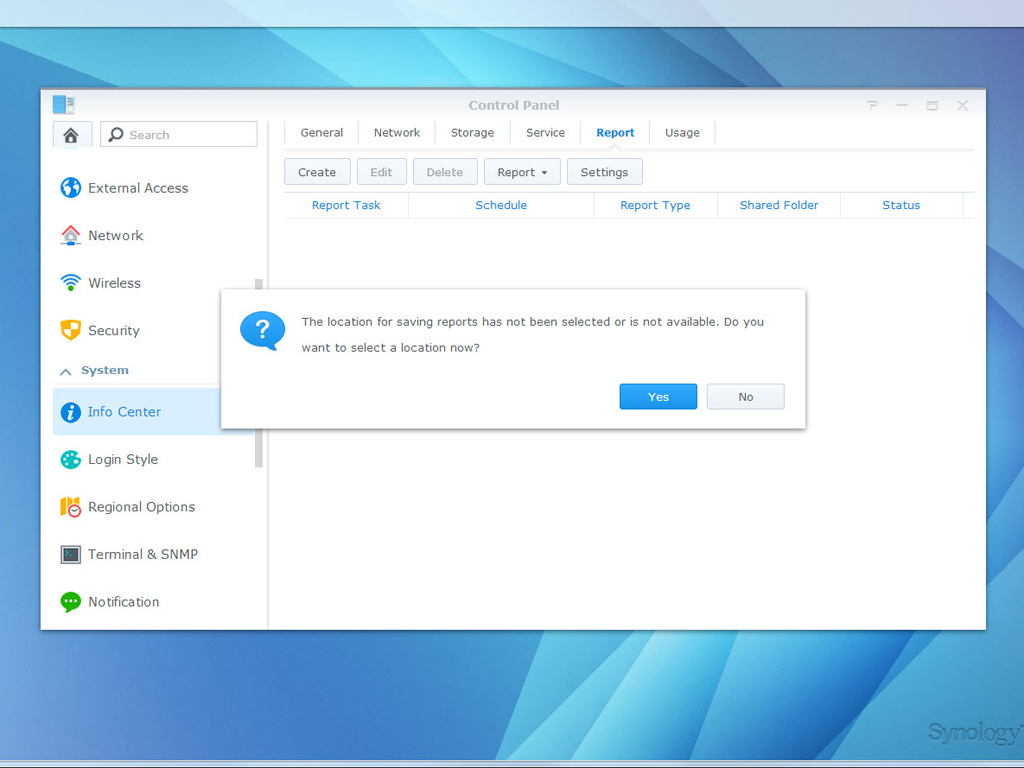
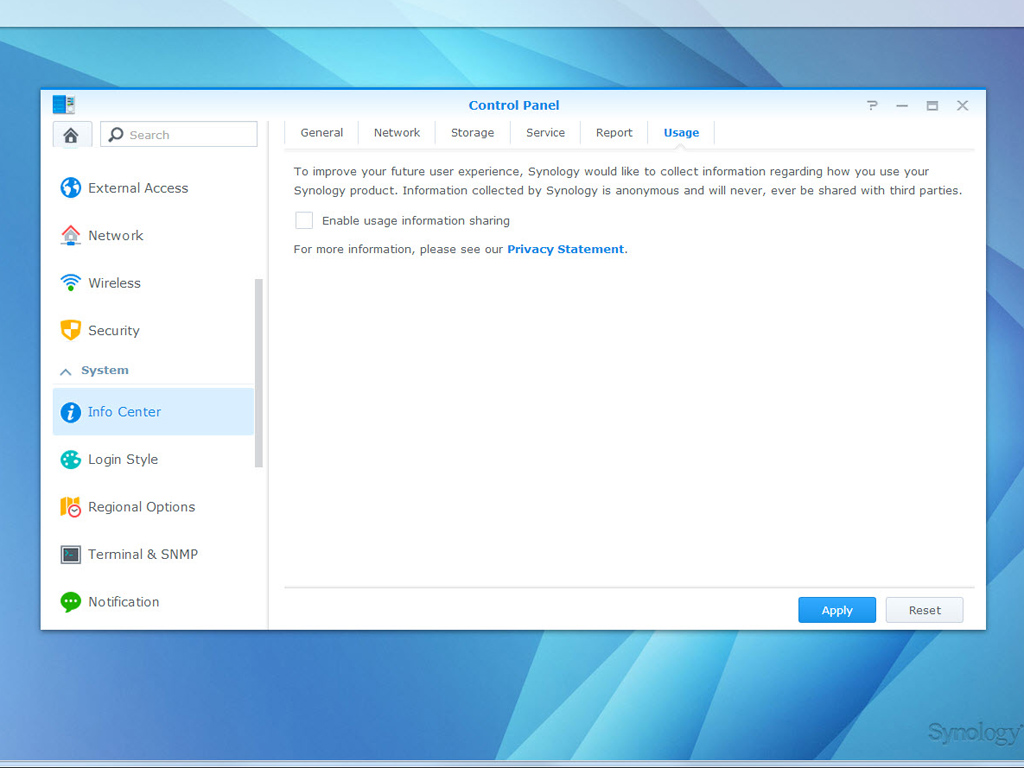
Info Center lists the NAS's hardware specifications and comes with an overview of its services, the network, and its storage devices. A green icon under Thermal Status in the first tab denotes a normal state, while orange stands for high internal temperatures which will have the NAS shut down at any moment to prevent components from overheating. The Report tab allows you to collect data and generate reports that provide information on disk-usage trends.
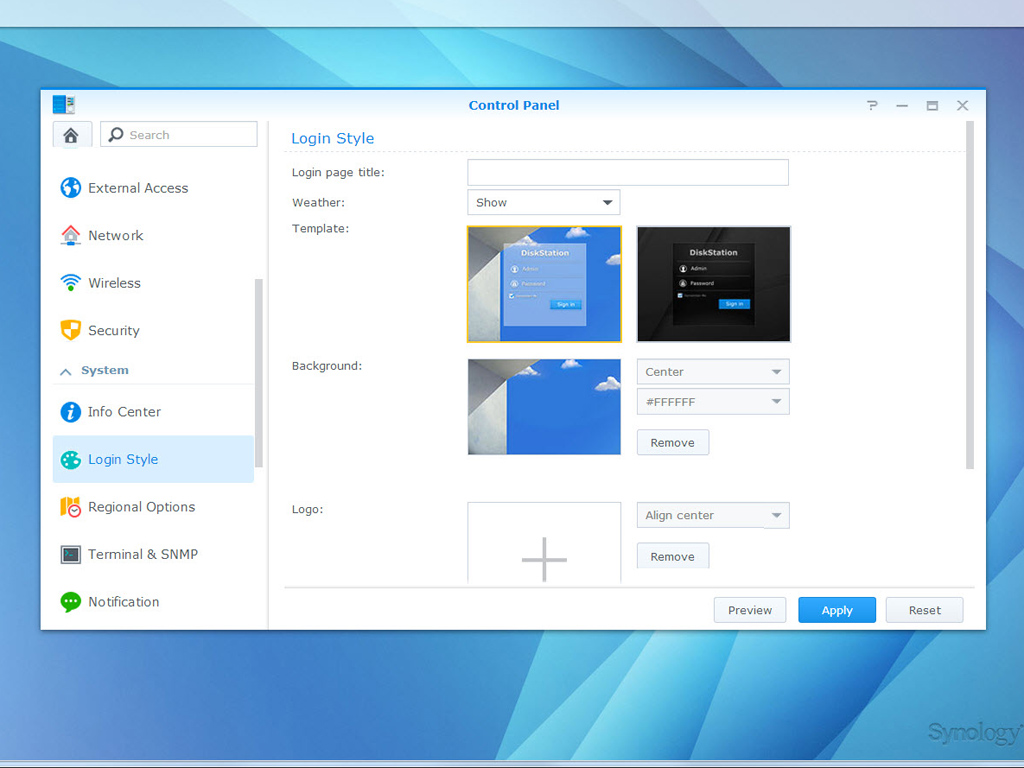
Customize the appearance of the DSM login screen by picking from a variety of templates, changing the background image, or adding a logo.

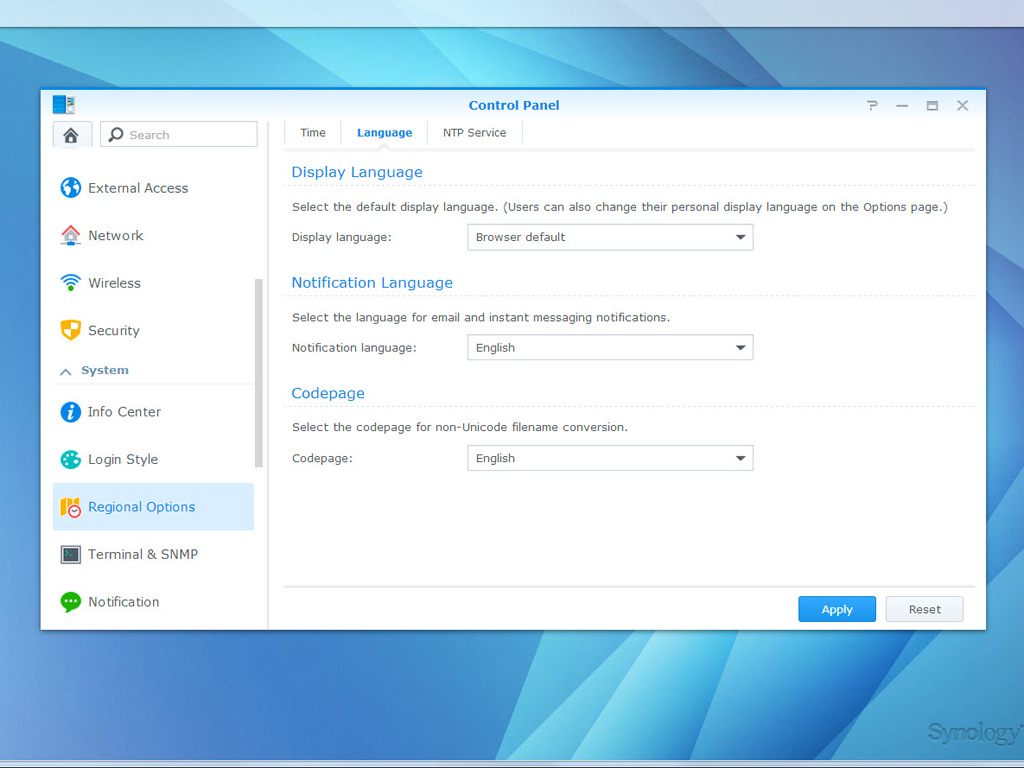

All necessary regional options can be found here.
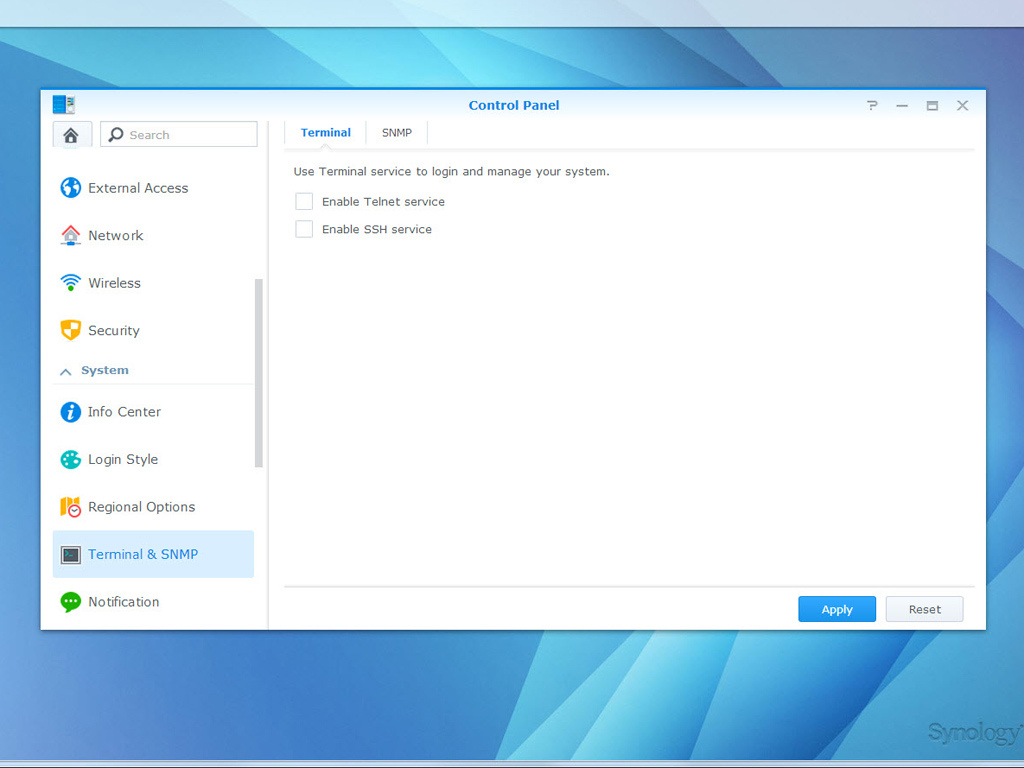
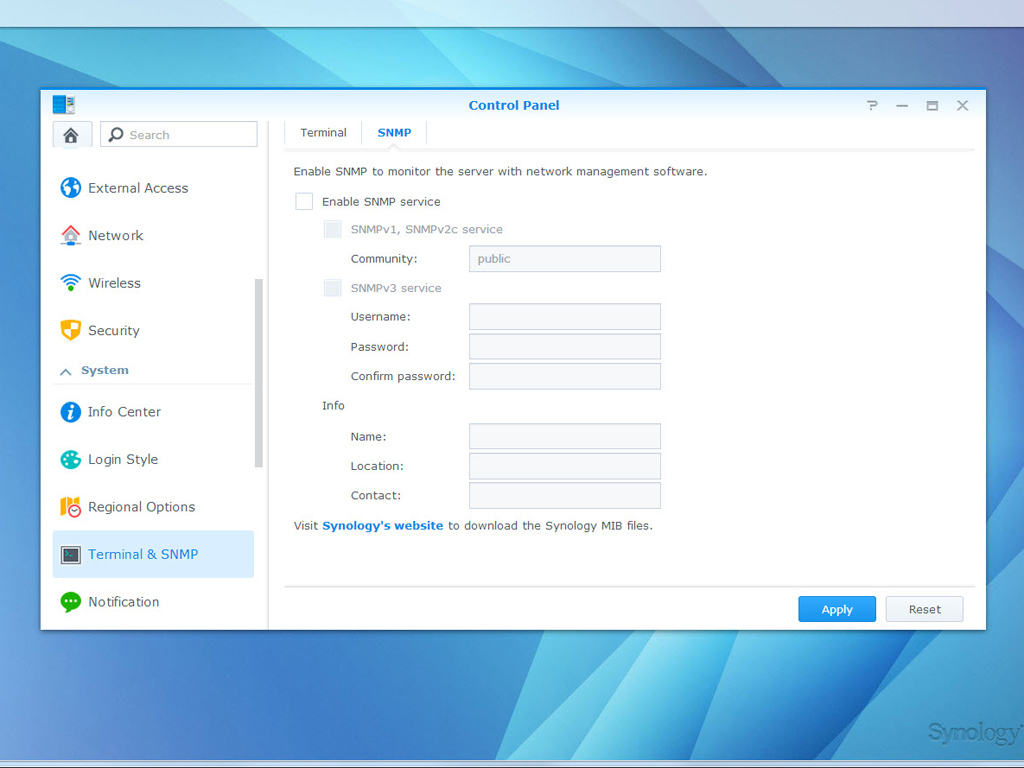
Terminal and SNMP options allow you to log into your Synology NAS via Telnet and SSH command-line interface services, and you can monitor the server's network flow through the appropriate managerial software.
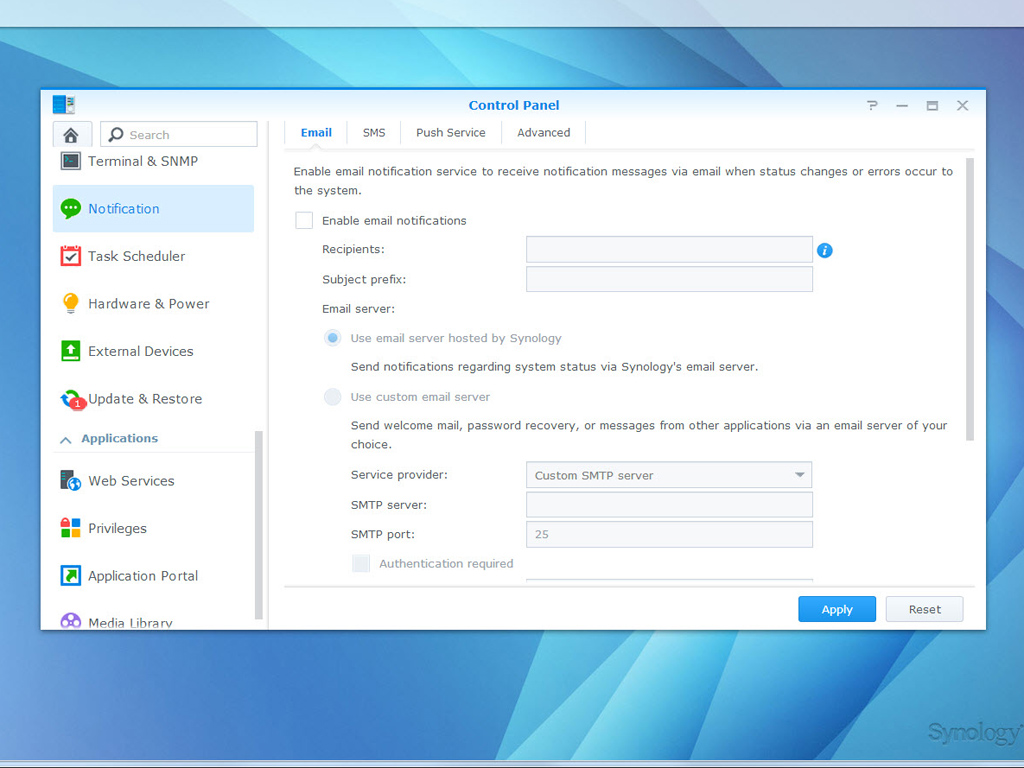
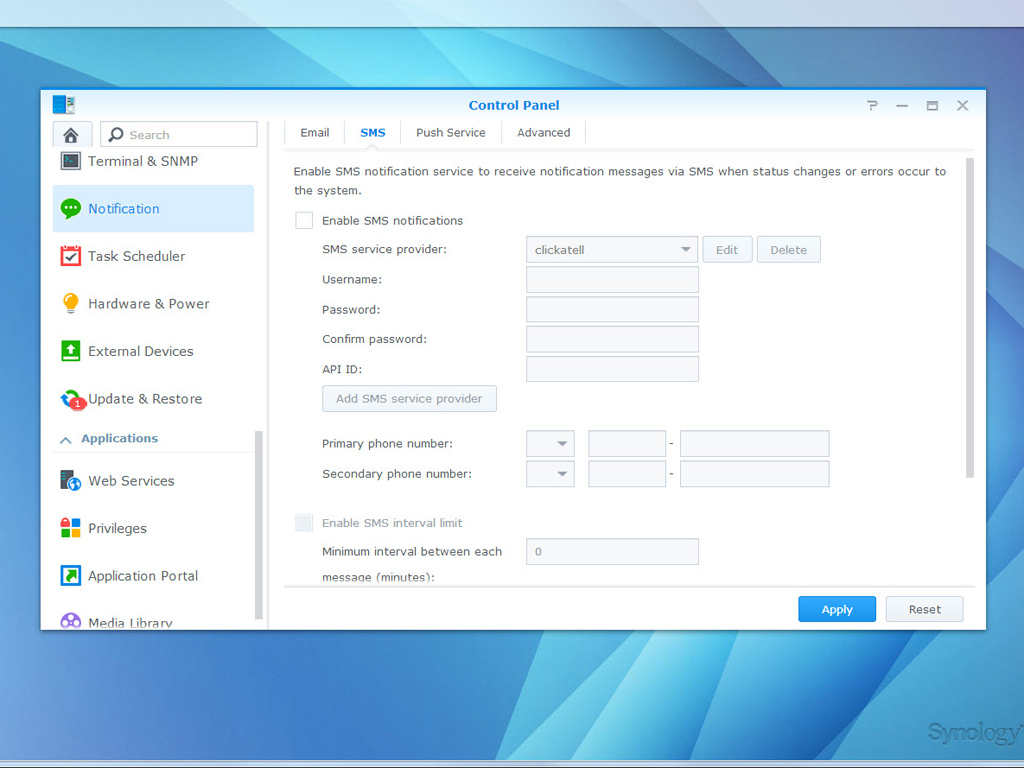
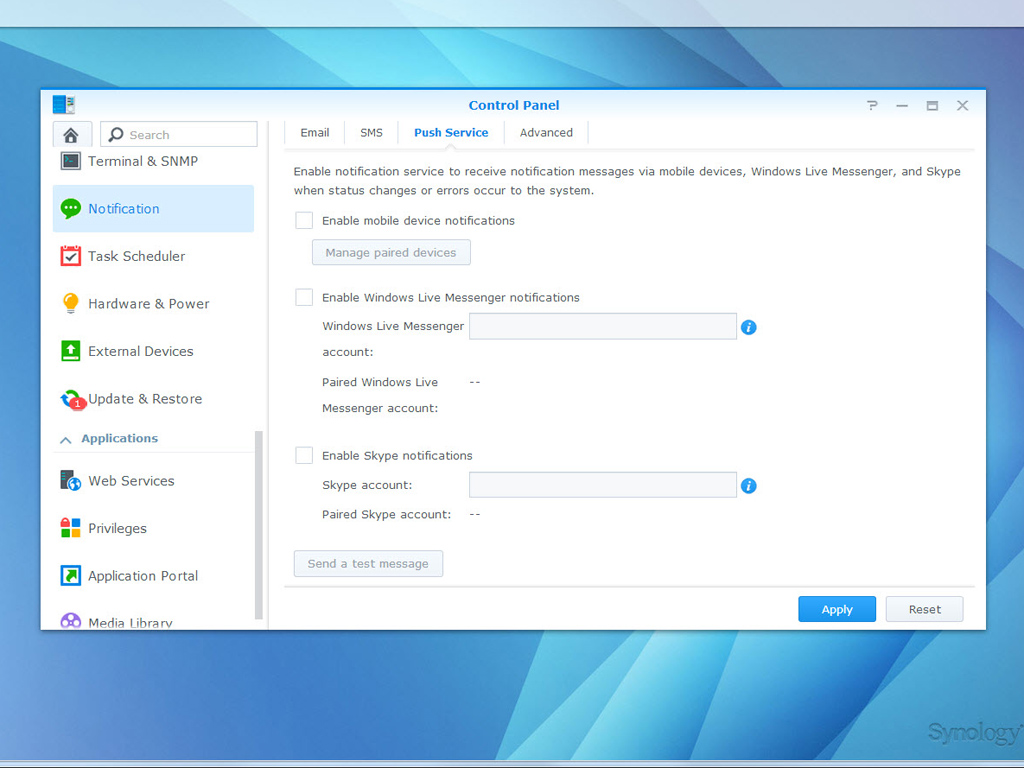
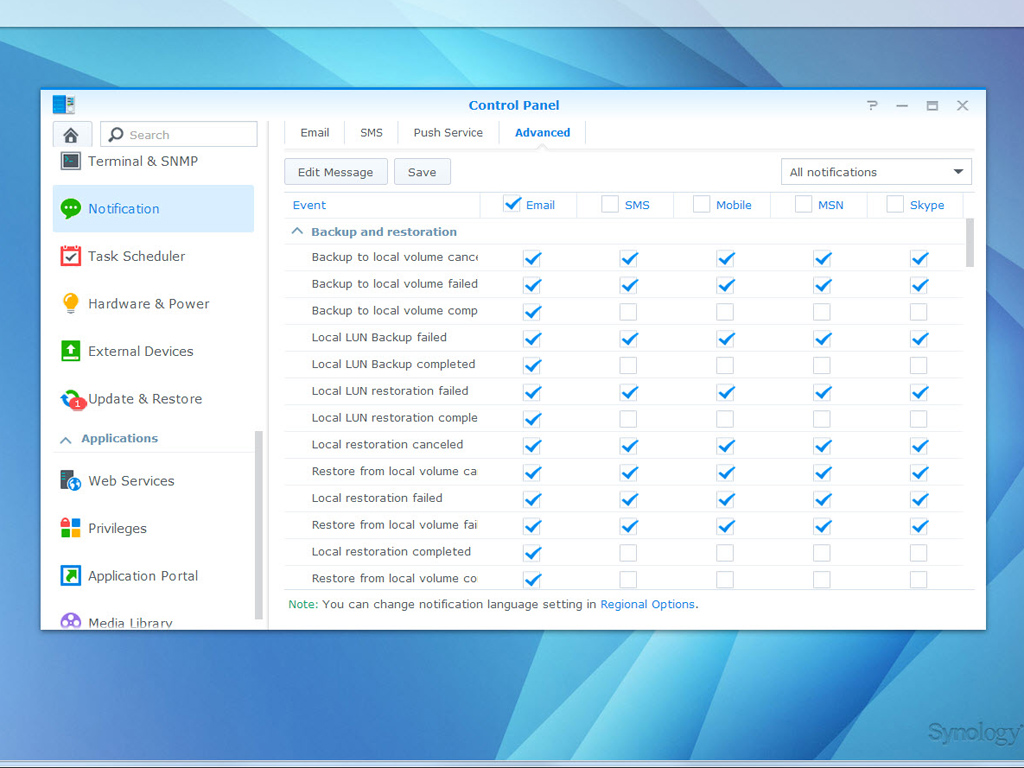
You can have the NAS send notifications when specific events or errors occur, notifying you via email, SMS, mobile devices, Skype, or Windows Live Messenger. These events could, for example, include a connection loss, behavioral fan change(s), a power failure, a storage volume running out of space, and backup and restoration failure.
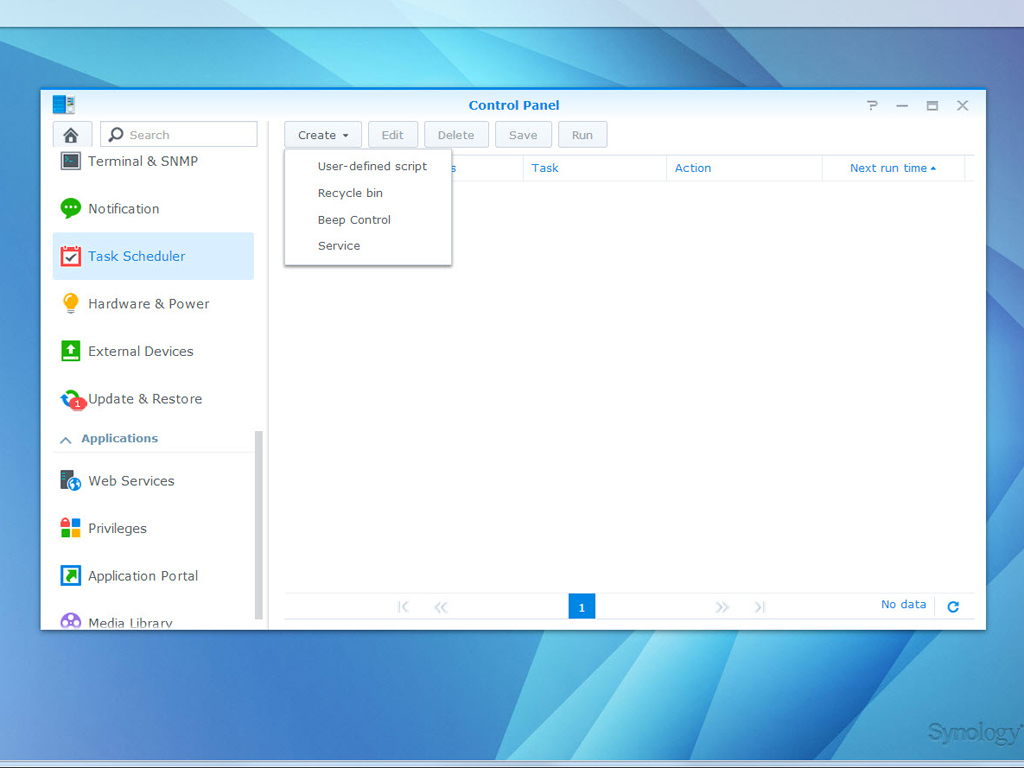
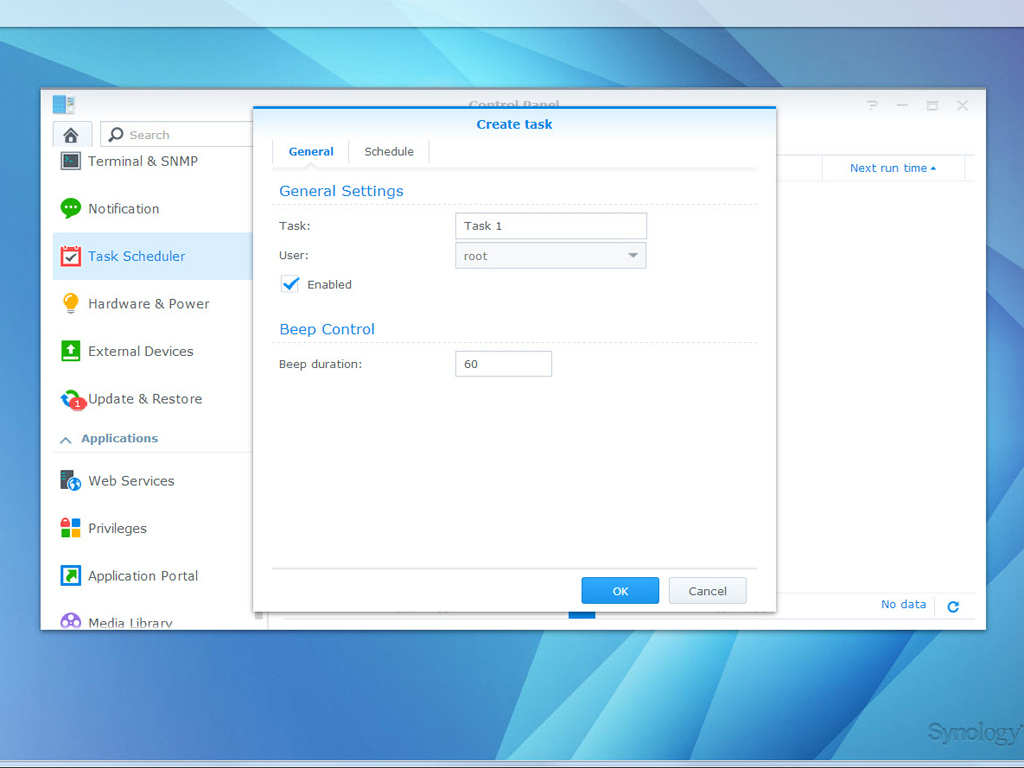
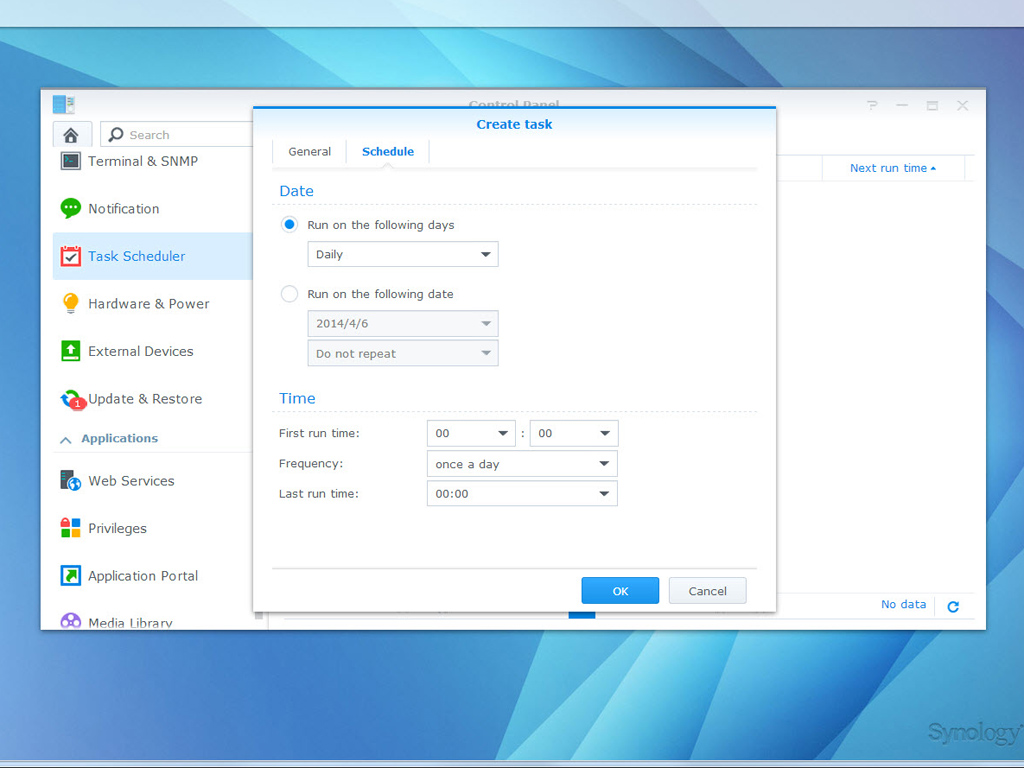
Task Scheduler allows you to run schedules and services or scripts at pre-defined times.
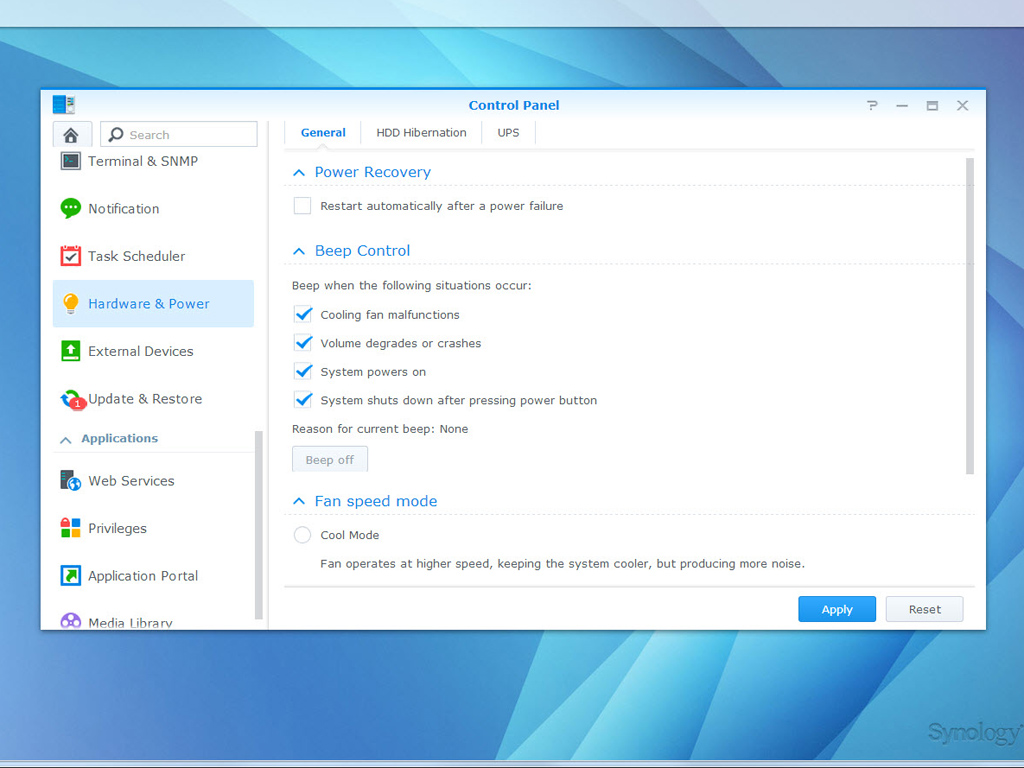
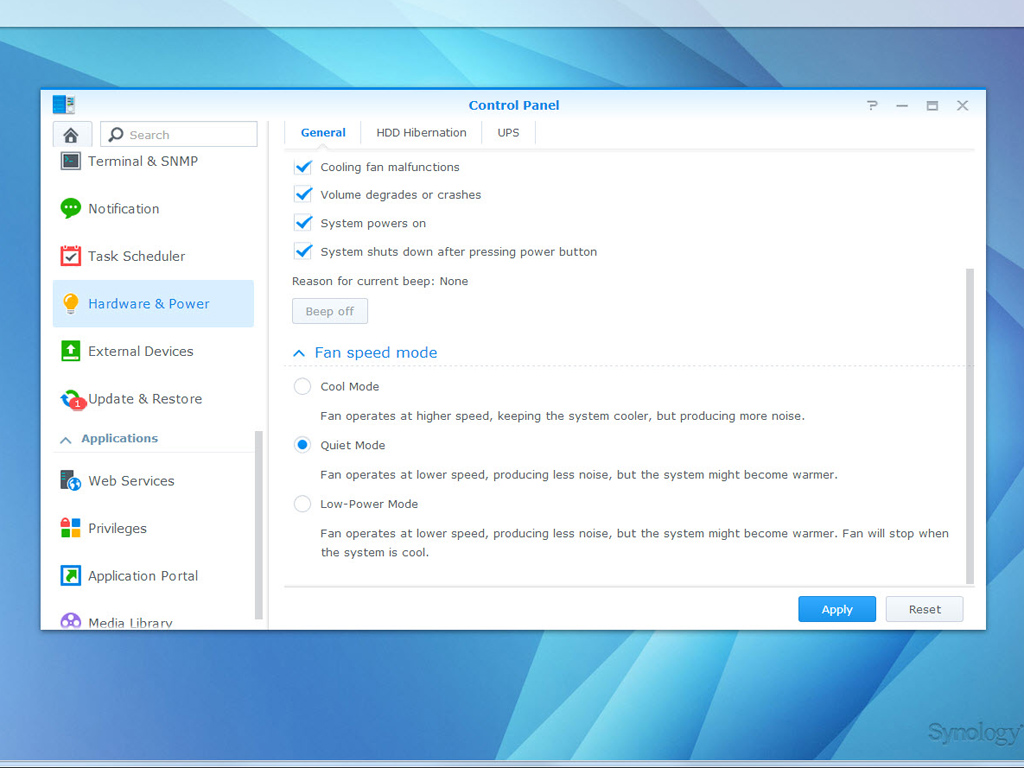


Power recovery, Wake on LAN, beep control, fan speed, and memory compression options are available in this menu. You can also set the system to start up or shut down automatically at a specified time, enable hard-drive hibernation, or connect a backup power device. You can even pick an advanced HDD-hibernation mode that promises to minimize the NAS's power consumption.
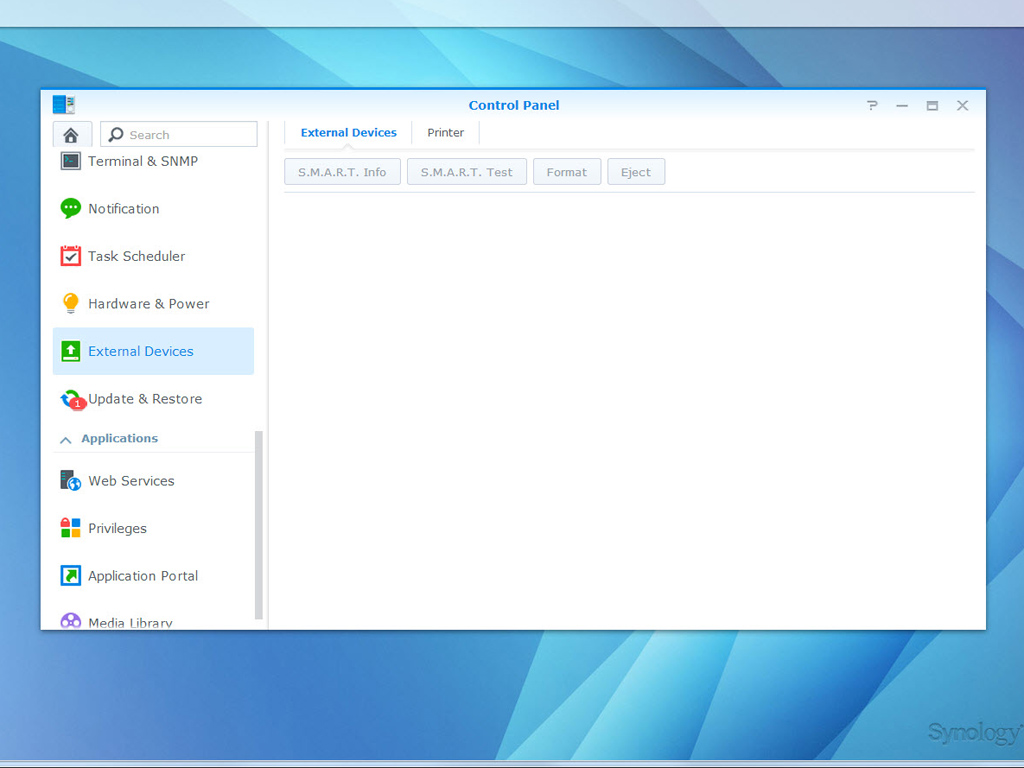
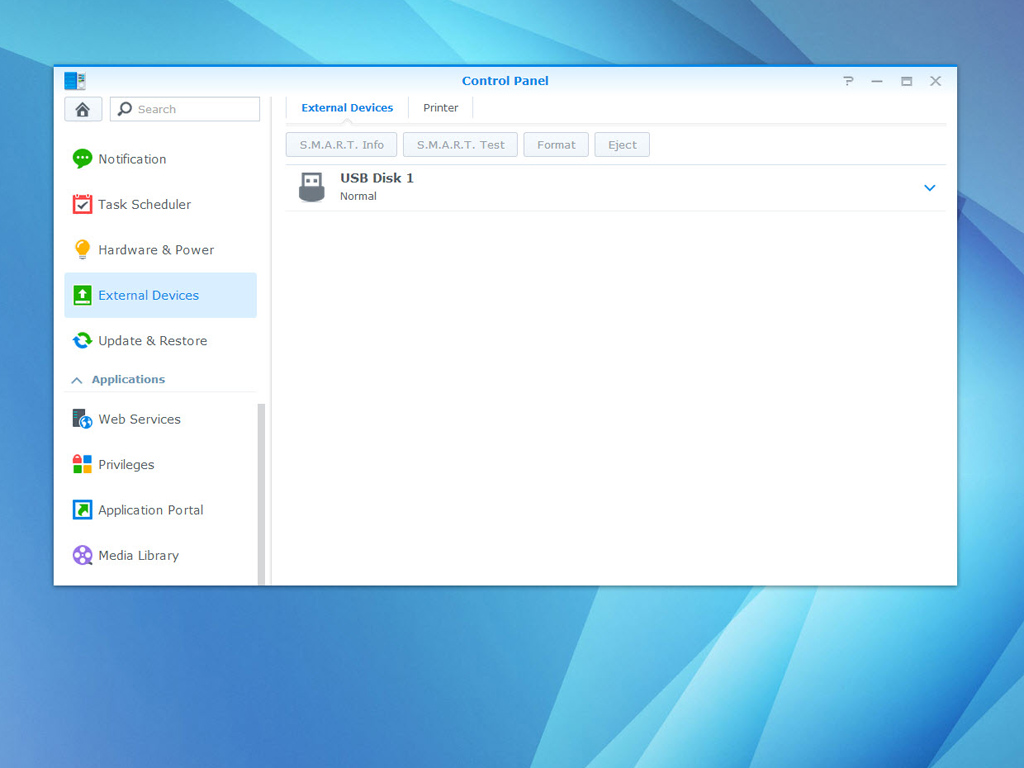
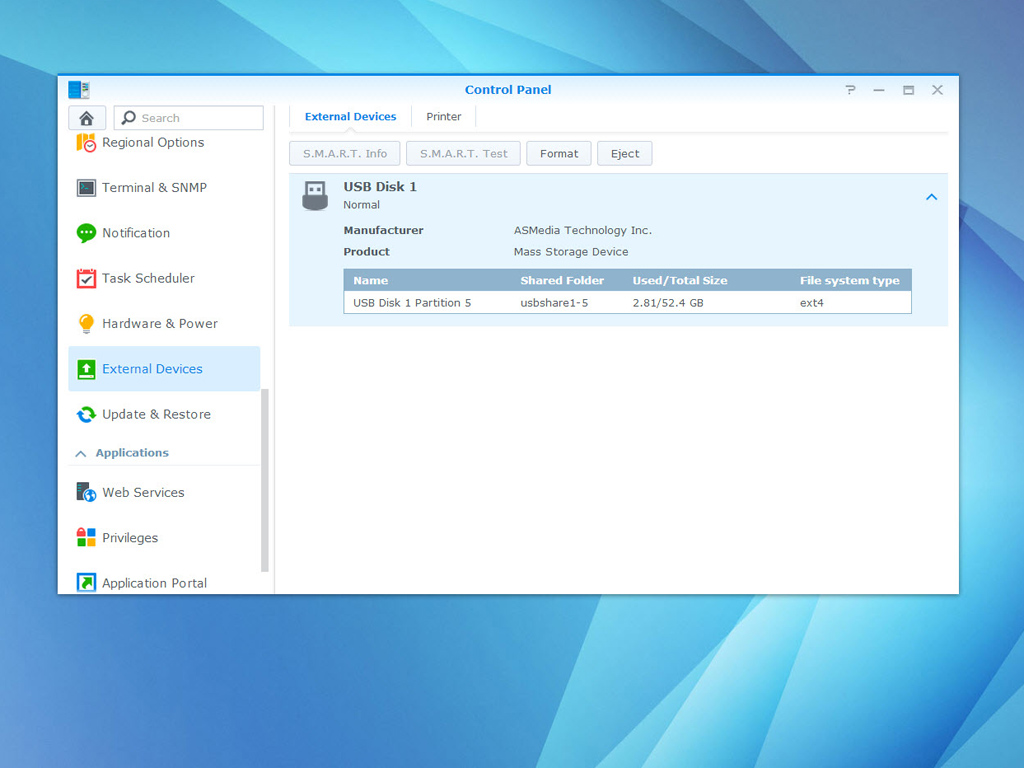
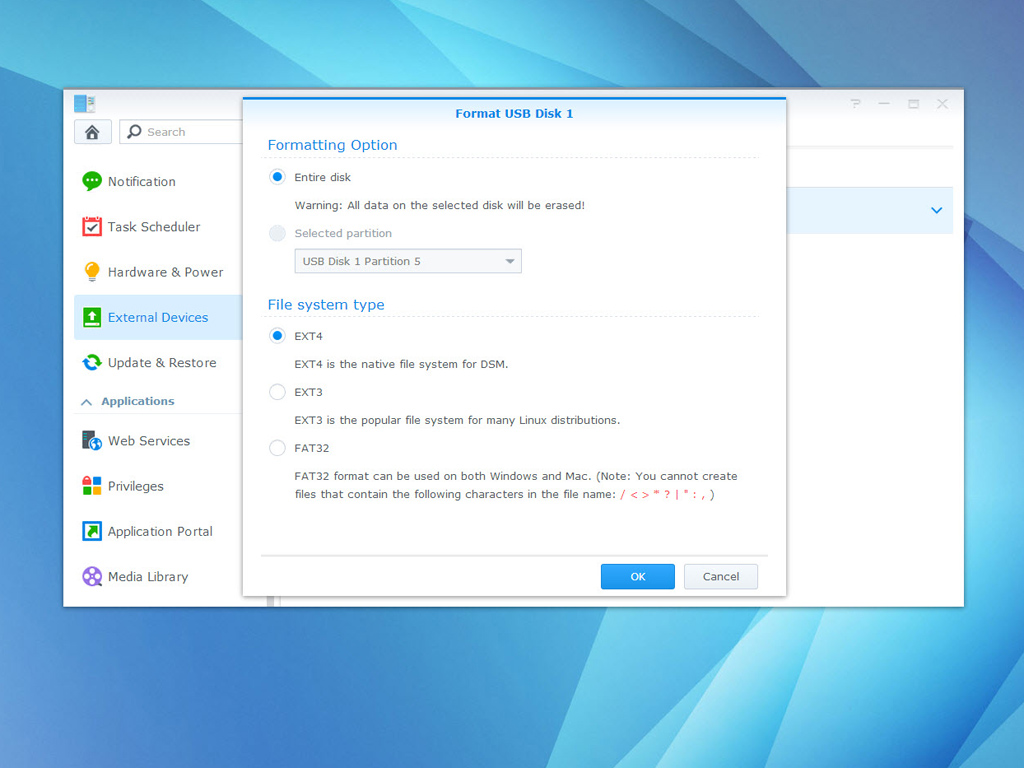
These options allow you to manage external devices connected to the NAS. Examples are external disks, printers, SD cards, and USB devices. There is unfortunately no option to format external storage devices in the NTFS, although such a device is properly recognized if it has already been formatted to NTFS.
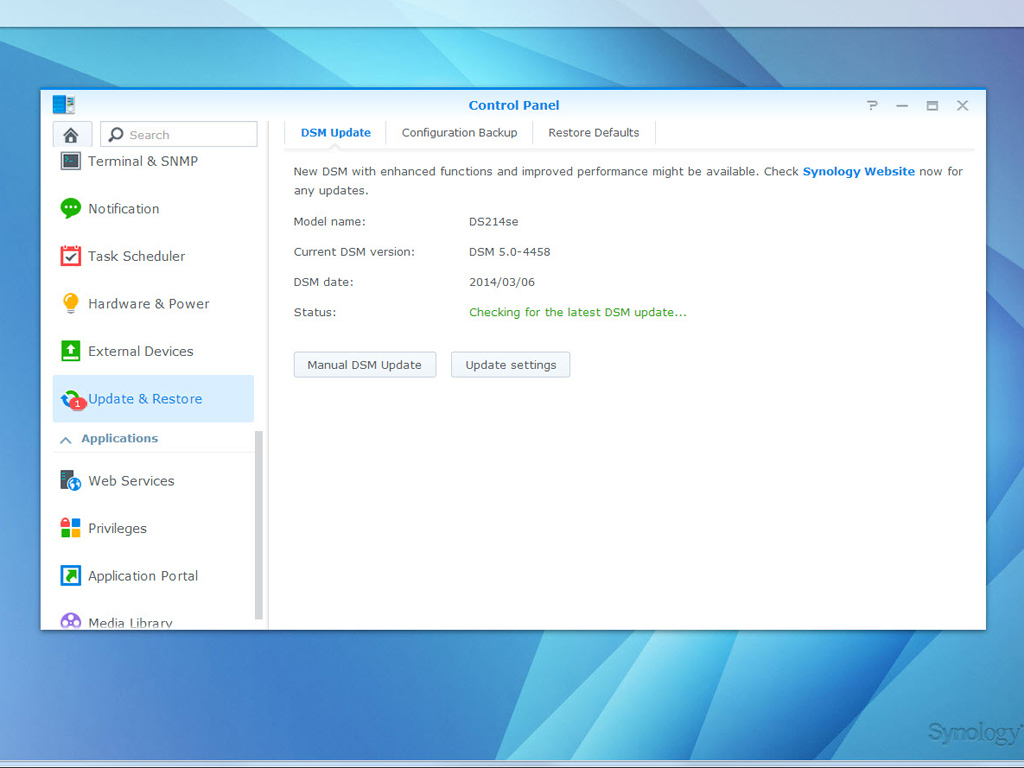
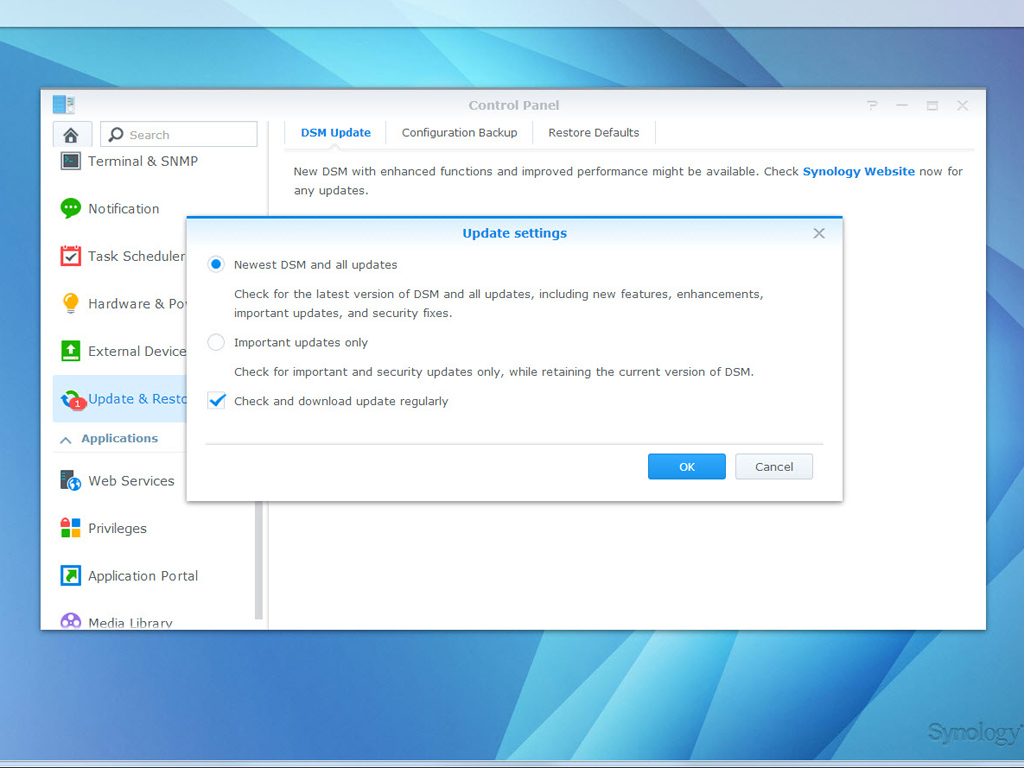
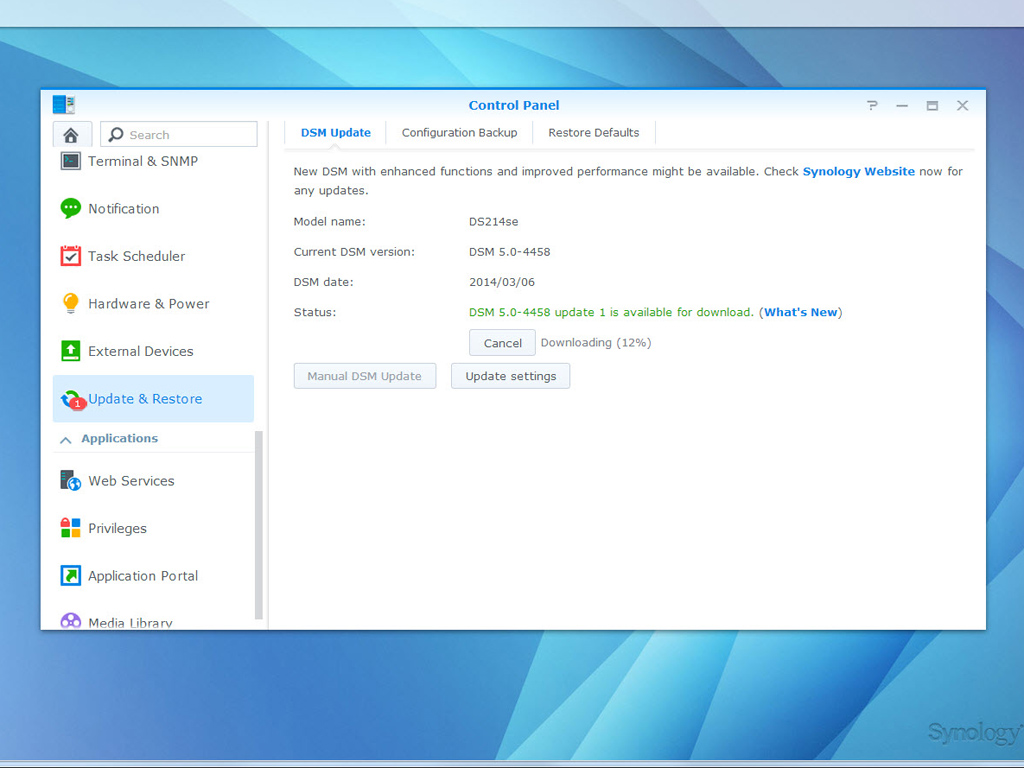
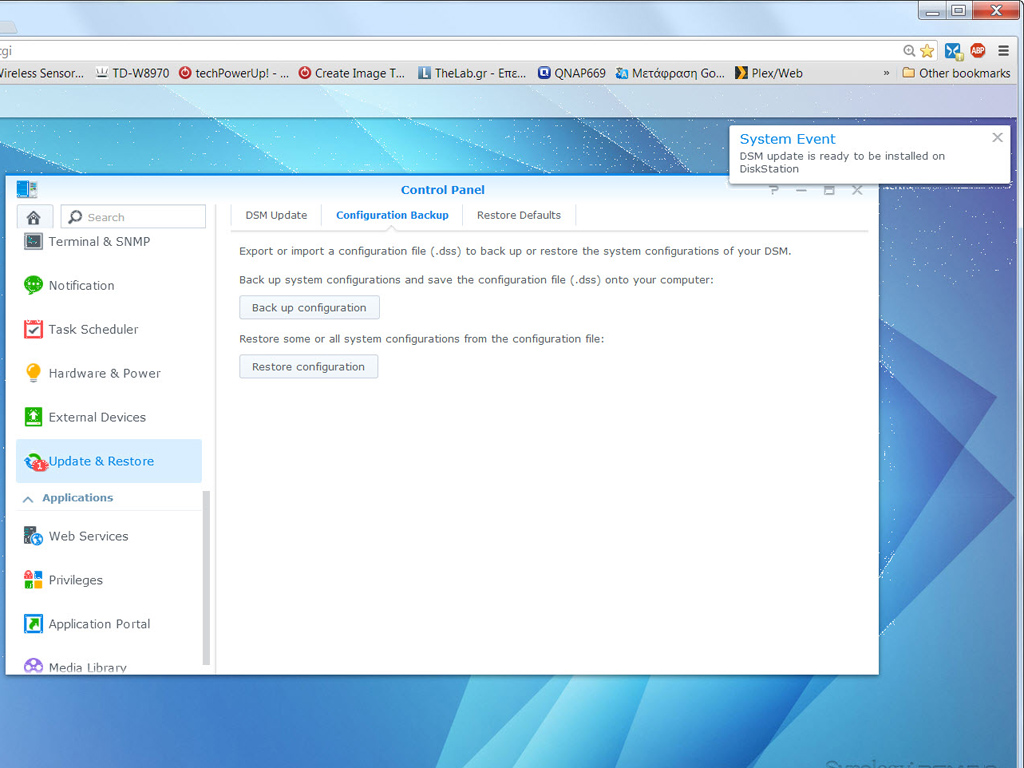
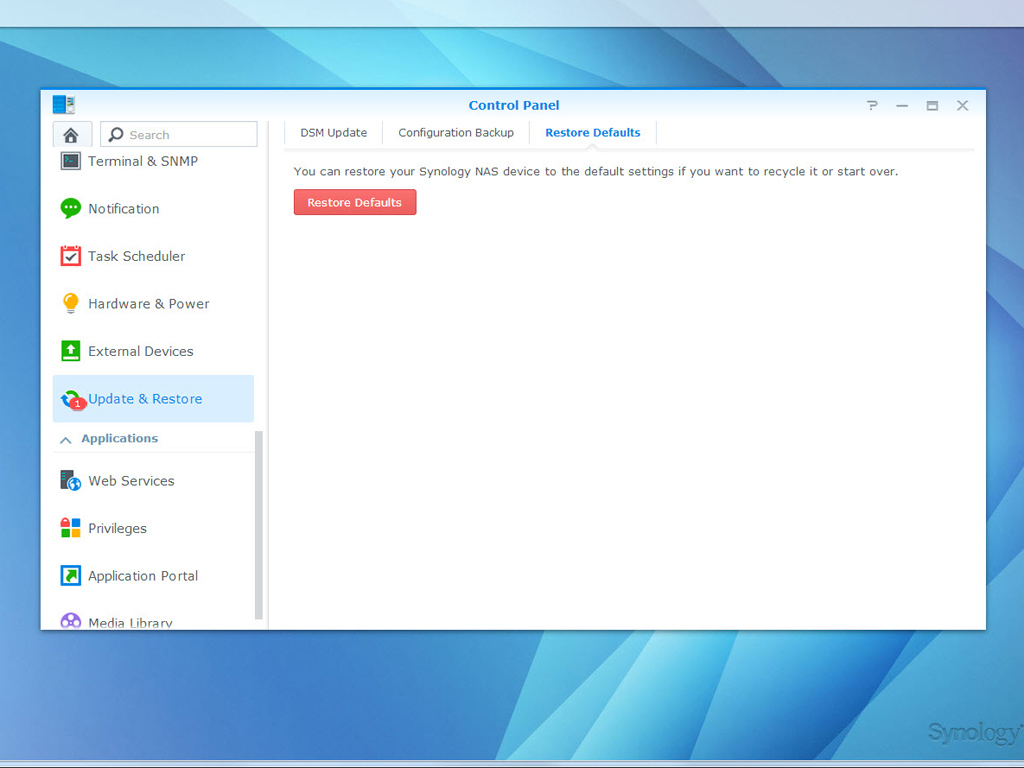
DSM can automatically check for a new update, and you can download and install the update via this panel if one is available. You can also back your NAS configuration up or restore it, and reset the NAS to its default settings, which will erase all data stored on it.
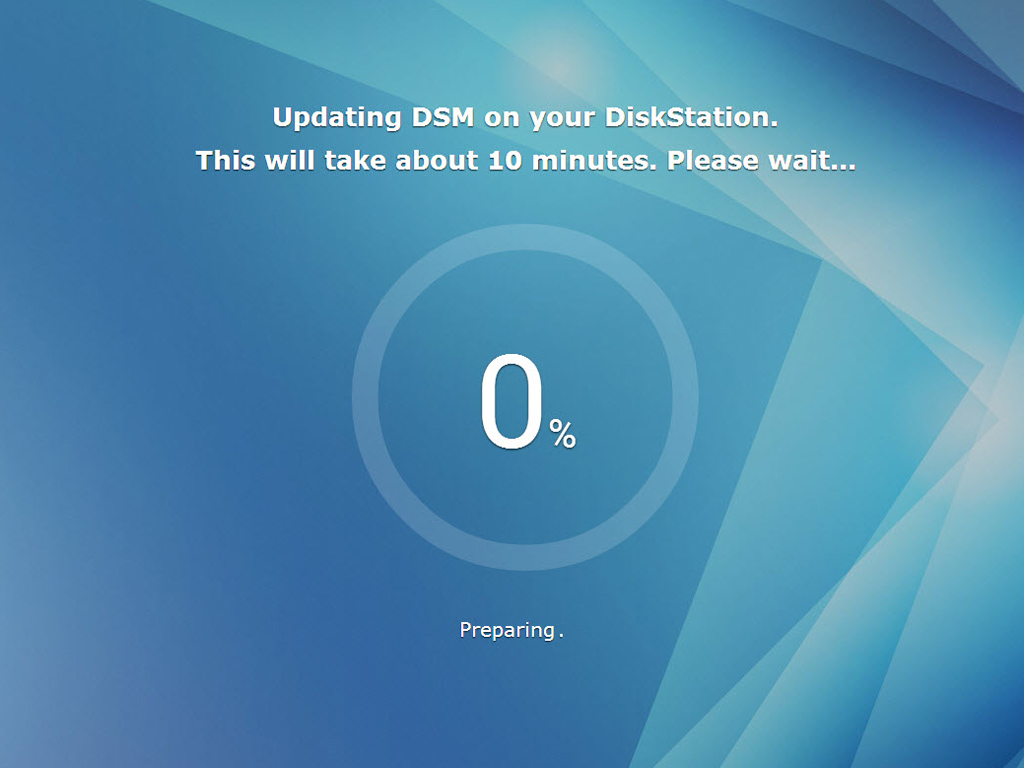
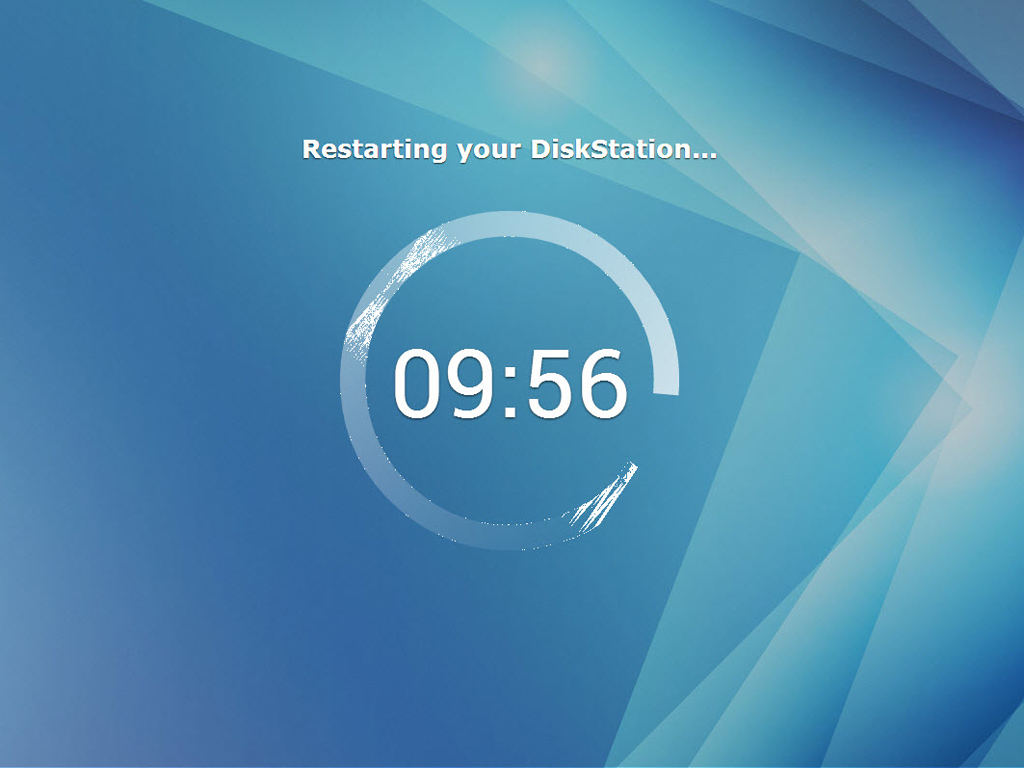
The OS's whole update process is very straightforward and fast, and your data will remain intact; however, it is always advisable to create a backup before you update the OS.
Feb 3rd, 2025 08:51 EST
change timezone
Latest GPU Drivers
New Forum Posts
- Will you buy a RTX 5090? (383)
- DTS DCH Driver for Realtek HDA [DTS:X APO4 + DTS Interactive] (2099)
- Just for lolz, Post your 3DMark2001SE Benchmark scores! (93)
- Cryptocoin Value and Market Trend Discussion (1600)
- RTX5000 Series Owners Club (24)
- Dlss4 + 4090 = lower max oc than with dlss3 (31)
- Microcenter GPU Stock status (6)
- QVL - Myth, Legend, Marketing/Advertising, what is your take? (84)
- Optane performance on AMD vs Intel (40)
- What's your latest tech purchase? (23055)
Popular Reviews
- NVIDIA GeForce RTX 5080 Founders Edition Review
- Spider-Man 2 Performance Benchmark Review - 35 GPUs Tested
- MSI GeForce RTX 5080 Vanguard SOC Review
- ASUS GeForce RTX 5080 Astral OC Review
- Gigabyte GeForce RTX 5080 Gaming OC Review
- MSI GeForce RTX 5080 Suprim SOC Review
- NVIDIA DLSS 4 Transformer Review - Better Image Quality for Everyone
- ASUS GeForce RTX 5090 Astral OC Review - Astronomical Premium
- Galax GeForce RTX 5080 1-Click OC Review
- Palit GeForce RTX 5080 GameRock OC Review
Controversial News Posts
- NVIDIA 2025 International CES Keynote: Liveblog (470)
- AMD Debuts Radeon RX 9070 XT and RX 9070 Powered by RDNA 4, and FSR 4 (349)
- AMD Radeon 9070 XT Rumored to Outpace RTX 5070 Ti by Almost 15% (259)
- AMD is Taking Time with Radeon RX 9000 to Optimize Software and FSR 4 (256)
- AMD Denies Radeon RX 9070 XT $899 USD Starting Price Point Rumors (239)
- AMD Radeon RX 9070 XT & RX 9070 Custom Models In Stock at European Stores (226)
- Edward Snowden Lashes Out at NVIDIA Over GeForce RTX 50 Pricing And Value (221)
- New Leak Reveals NVIDIA RTX 5080 Is Slower Than RTX 4090 (215)