 3
3
Synology DS214se & DSM 5.0 Overview Review
Disk Station Manager 5.0 - What's New »Initial Setup
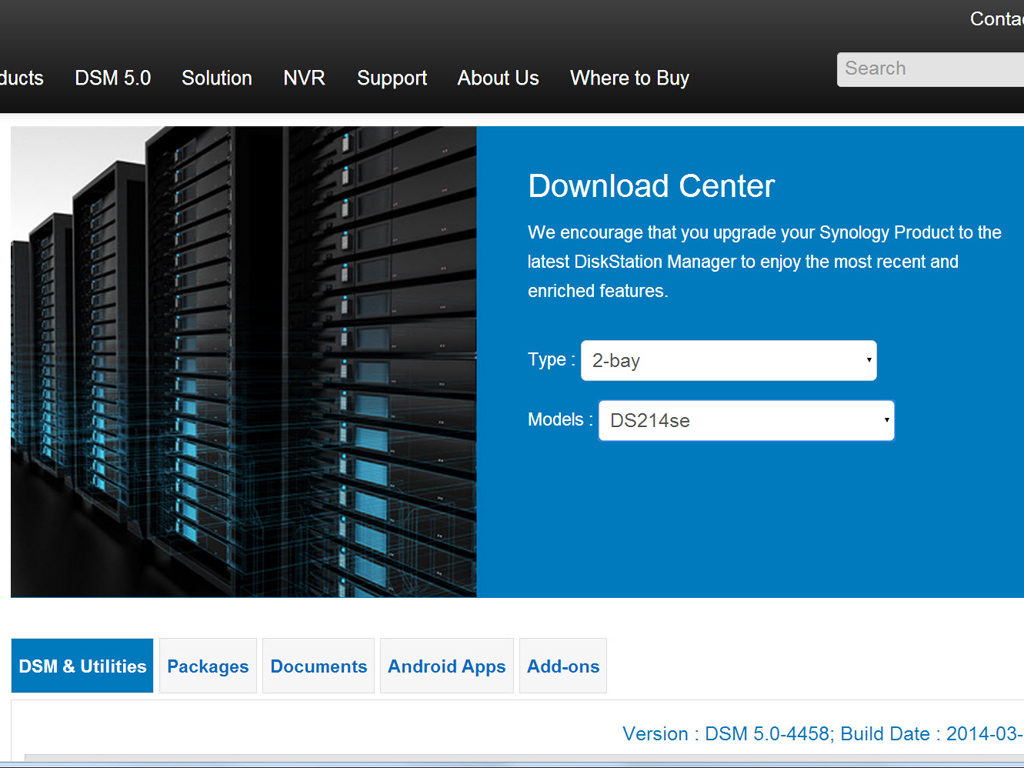
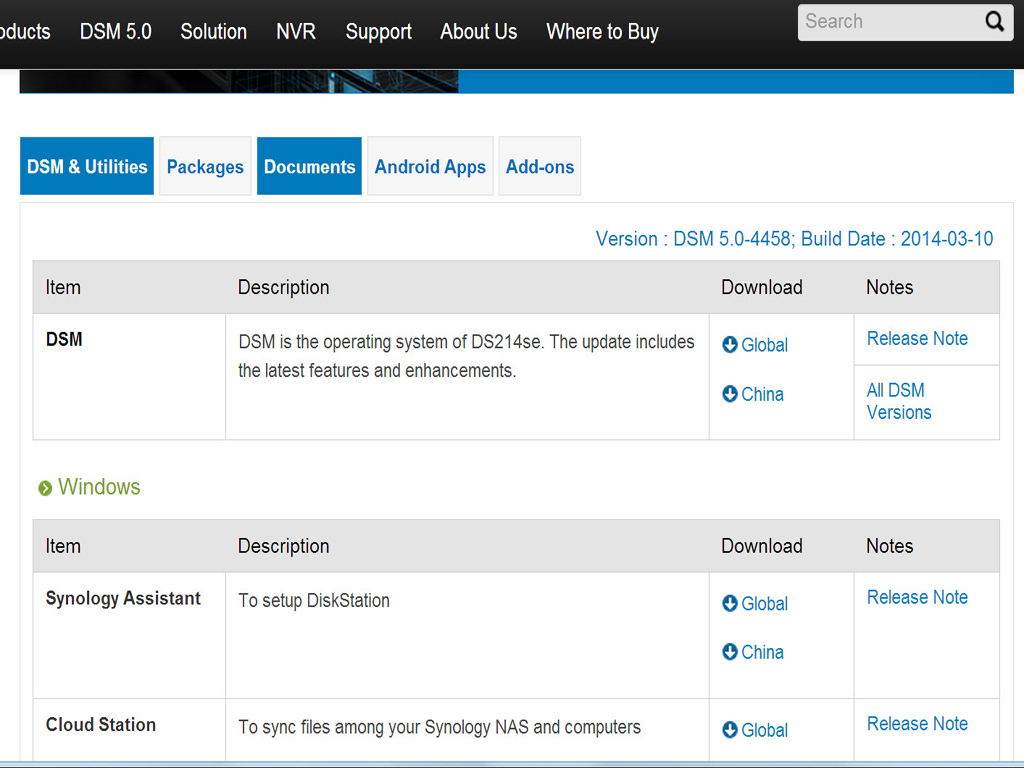
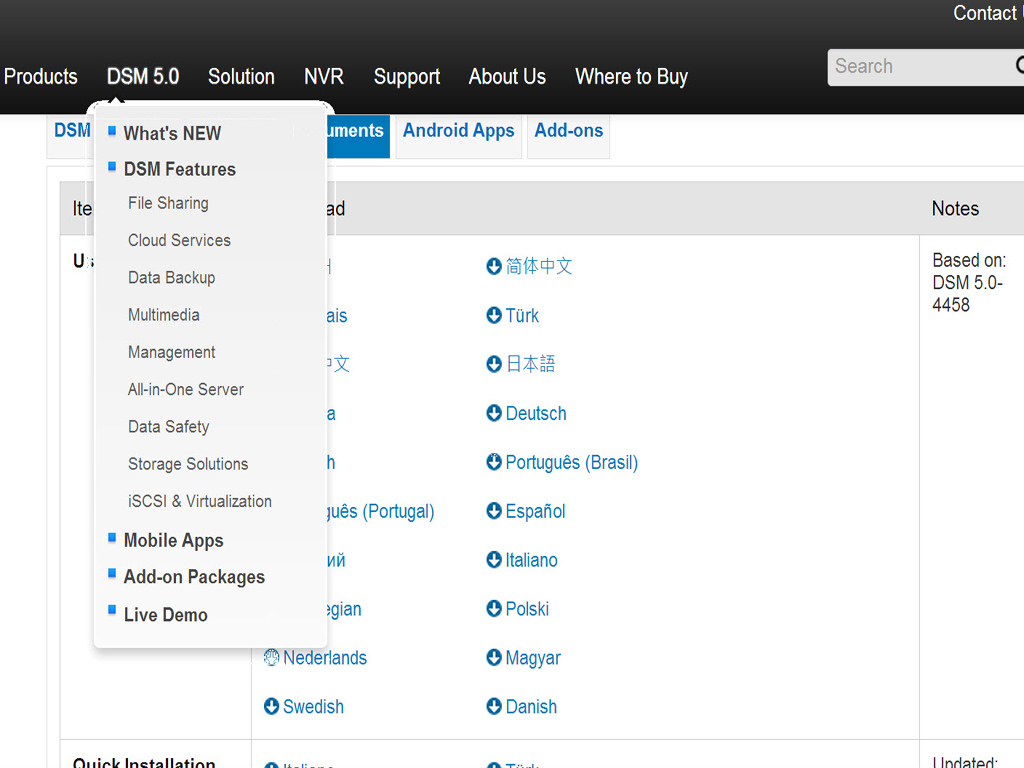
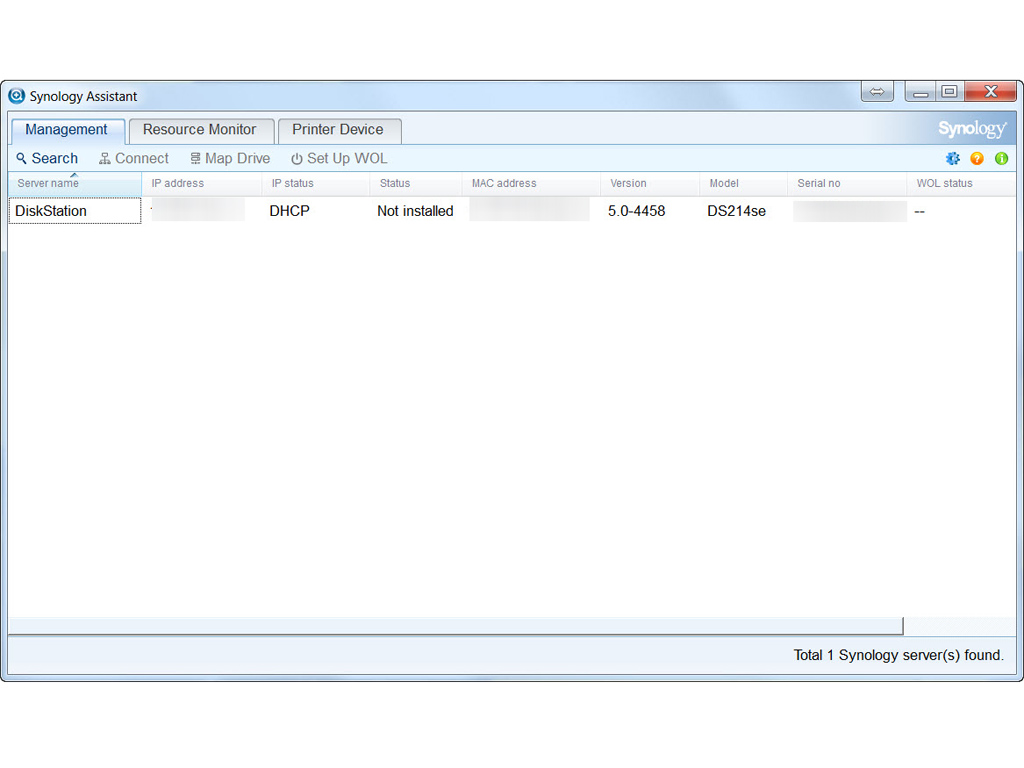
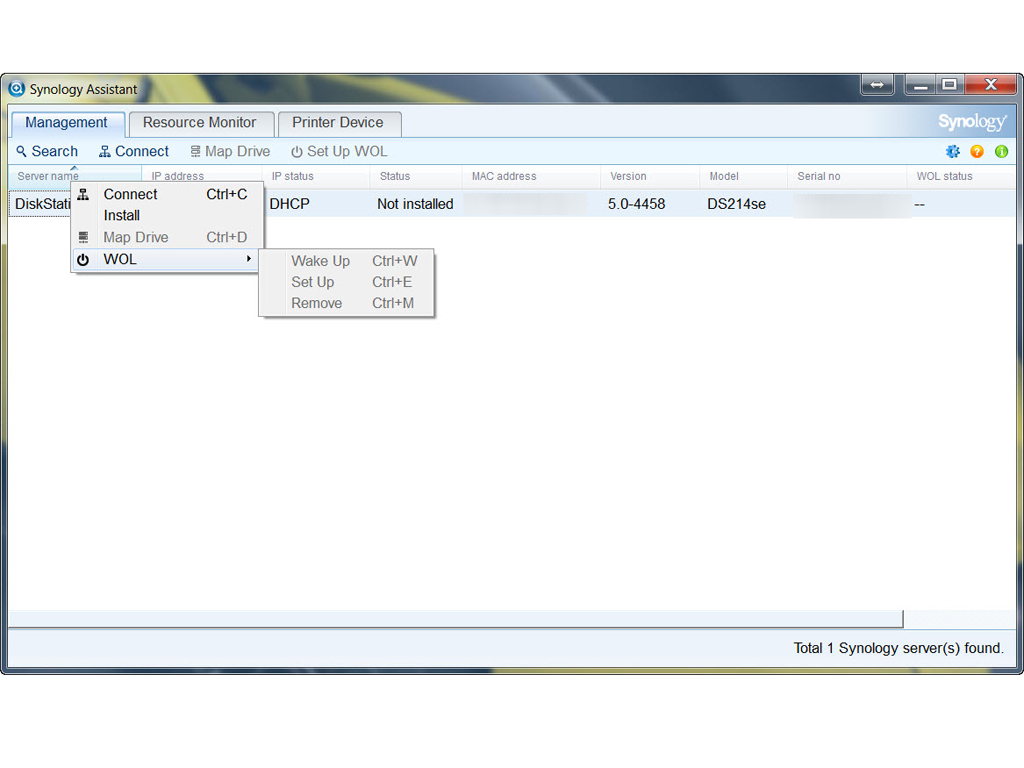

You only have to follow the directions of Synology's Quick Start Guide to quickly and easily set this NAS up. It will prompt you to turn the DS214se 2200 on after connecting Ethernet and power cables. You will now visit Synology's Download Center to download Synology Assistant. The application will find and identify the NAS on your network, with its model and serial number, to take you through the initialization process. Synology didn't include a software disc in the bundle to make sure users download the latest versions of all compatible software packages through Download Center.
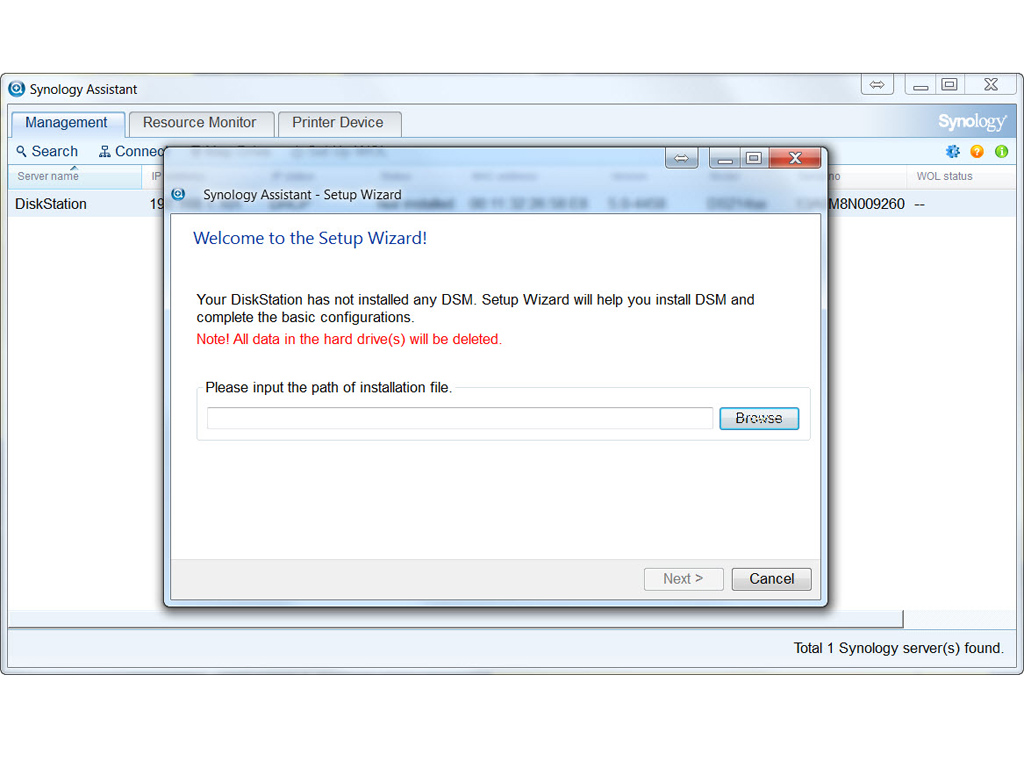
This step will prompt you to define the file path for DSM (Disk Station Manager), the OS you downloaded.
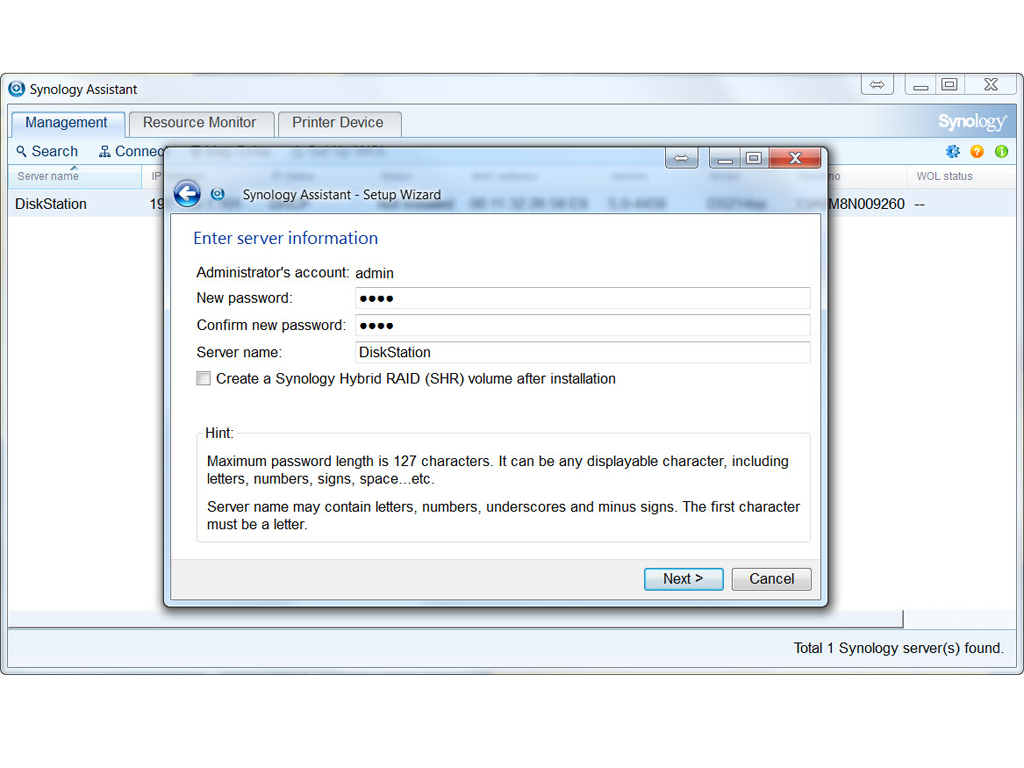

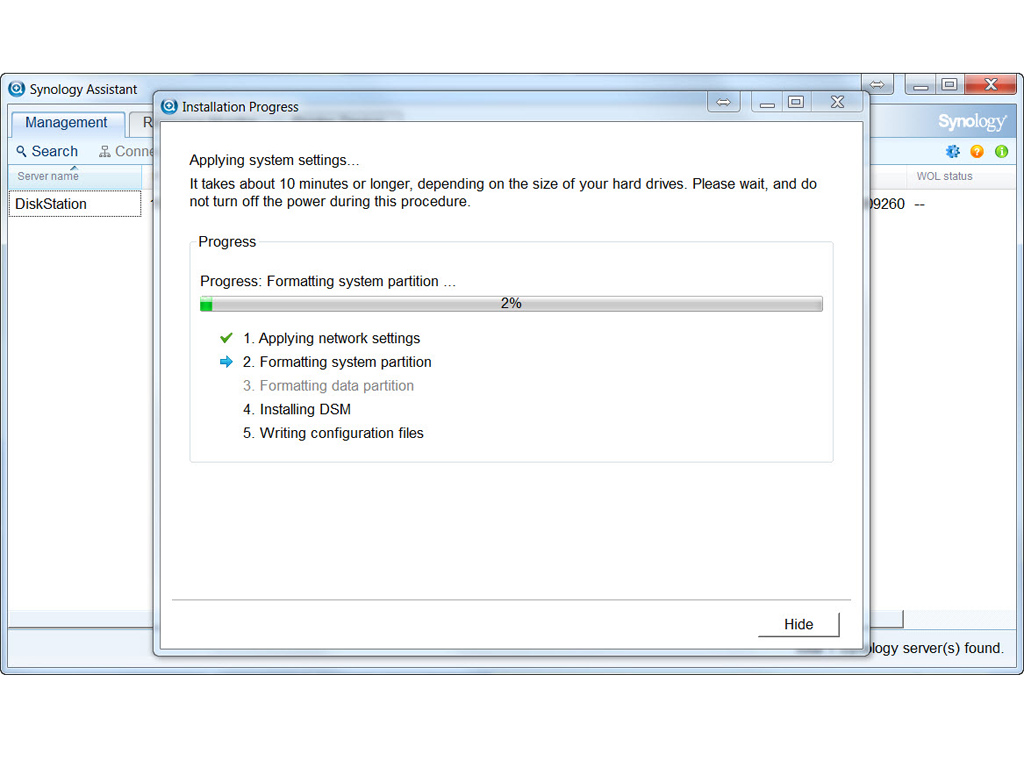

The set-up phase continues with the steps above, where you set an administrator's password and configure your network settings. You can also pick to automatically create a Synology Hybrid Raid (SHR) volume after installation is complete.

The DSM 5.0 login page looks very nice and even provides, based on your location, a weather forecast. You will have to enter your credentials to log into the administrative interface.
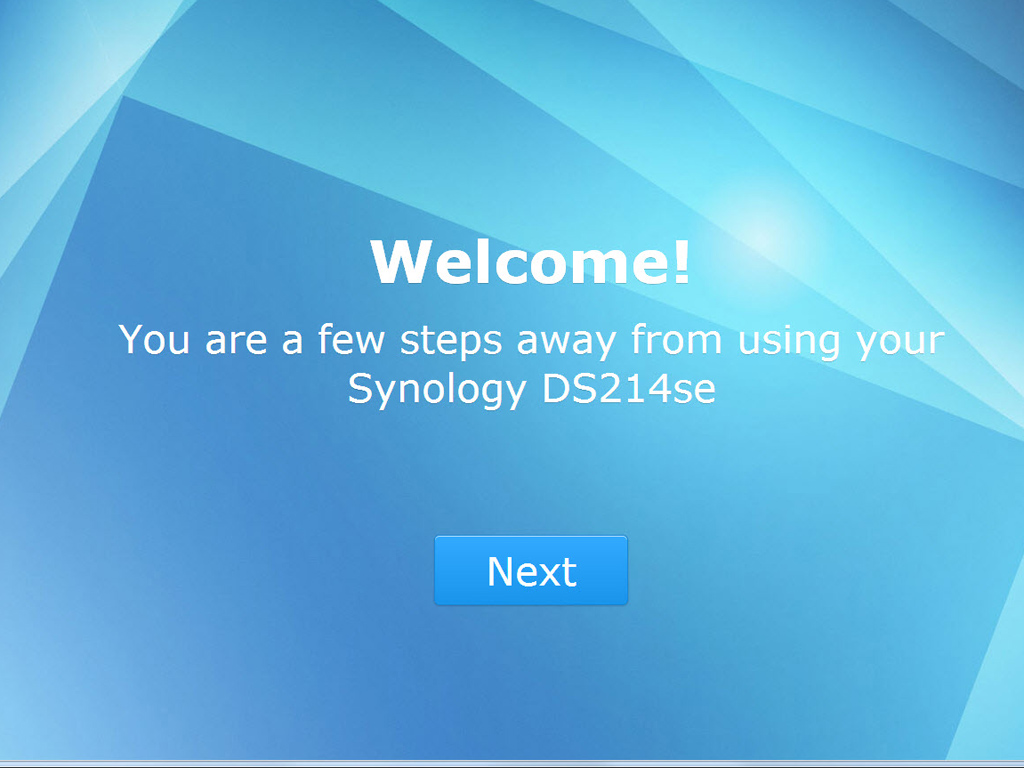
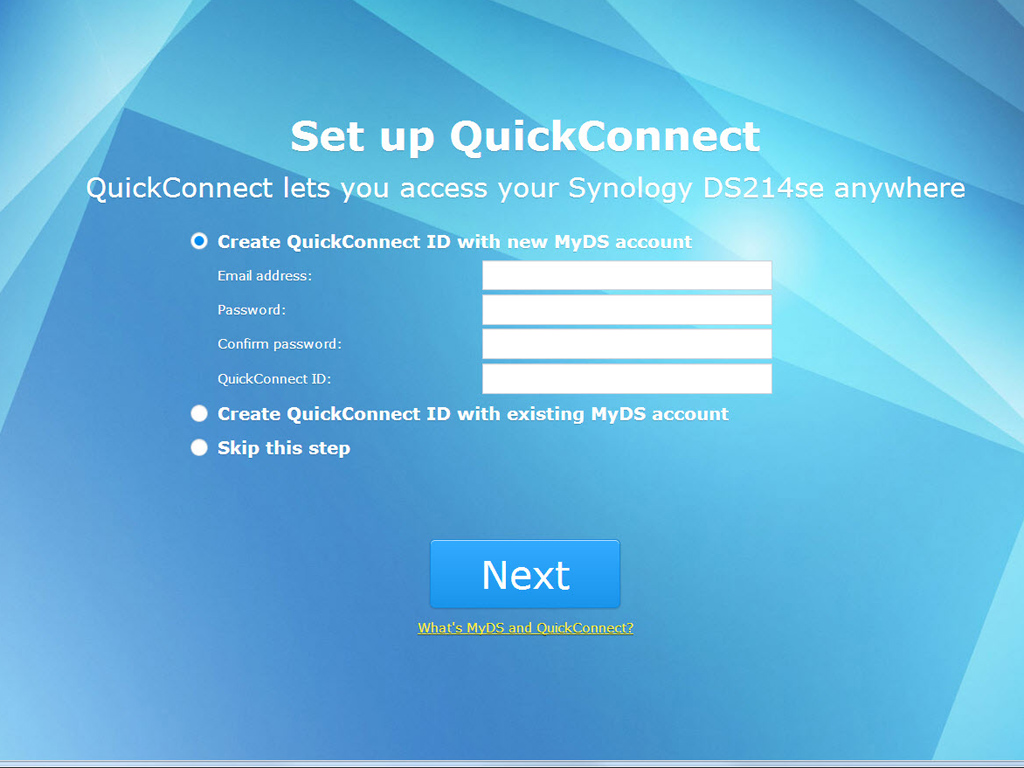
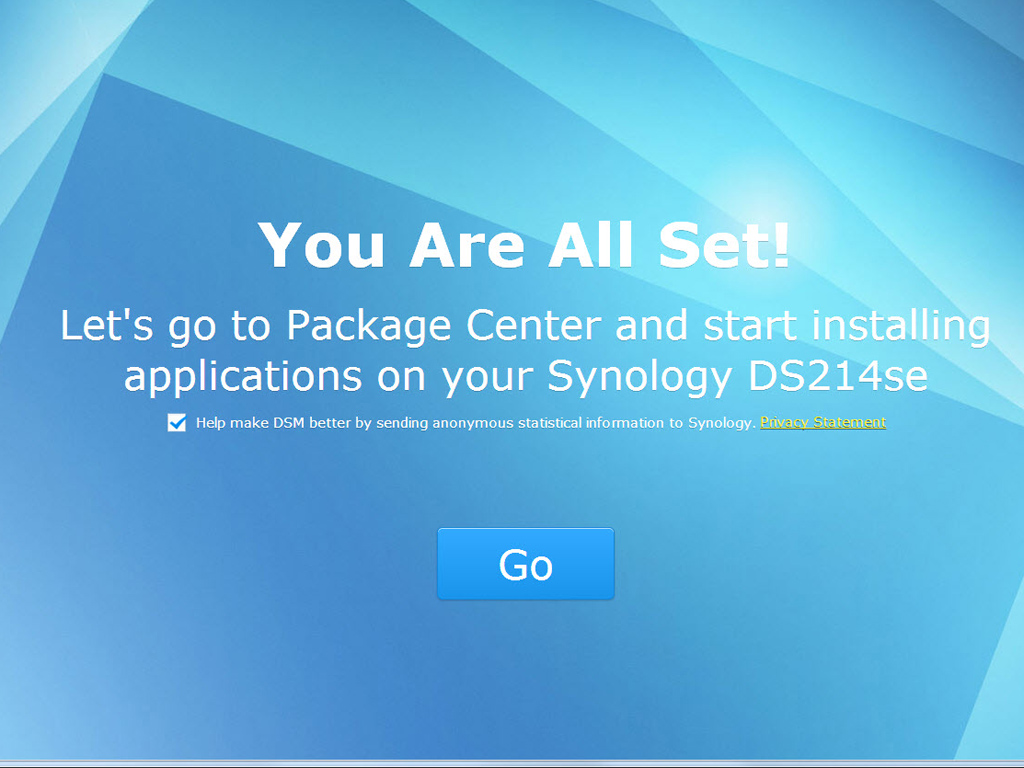
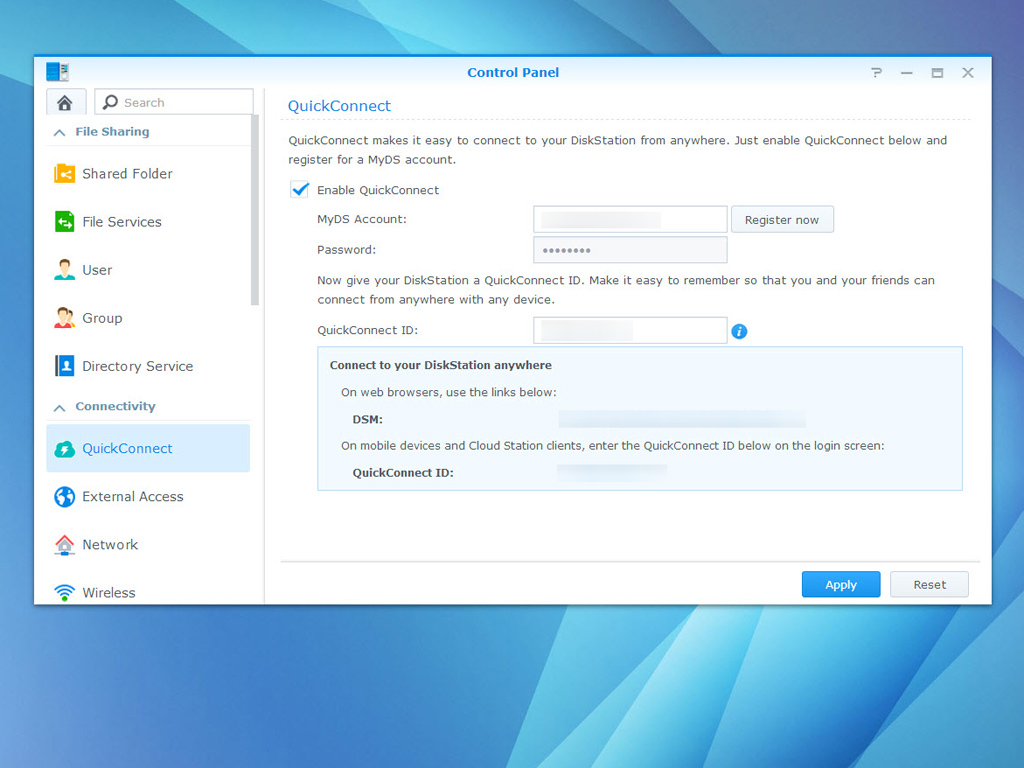
You will be greeted by the pages above upon first logging into DSM 5.0., where you will be asked to quickly set up a QuickConnect account if you don't have one already. QuickConnect is a service that allows a user to easily host his private cloud, which removes the need for sophisticated network-specific know-how and results in relative ease-of-use when it comes to Synology's apps. This service also easily allows you to find and log into your NAS from anywhere as long as you have Internet access to use such popular services as Cloud Station, DS cloud, DS audio, DS photo+, and DS file; that is, with your custom "myNAS" ID instead of a long IP address. You can read up on QuickConnect in detail here.

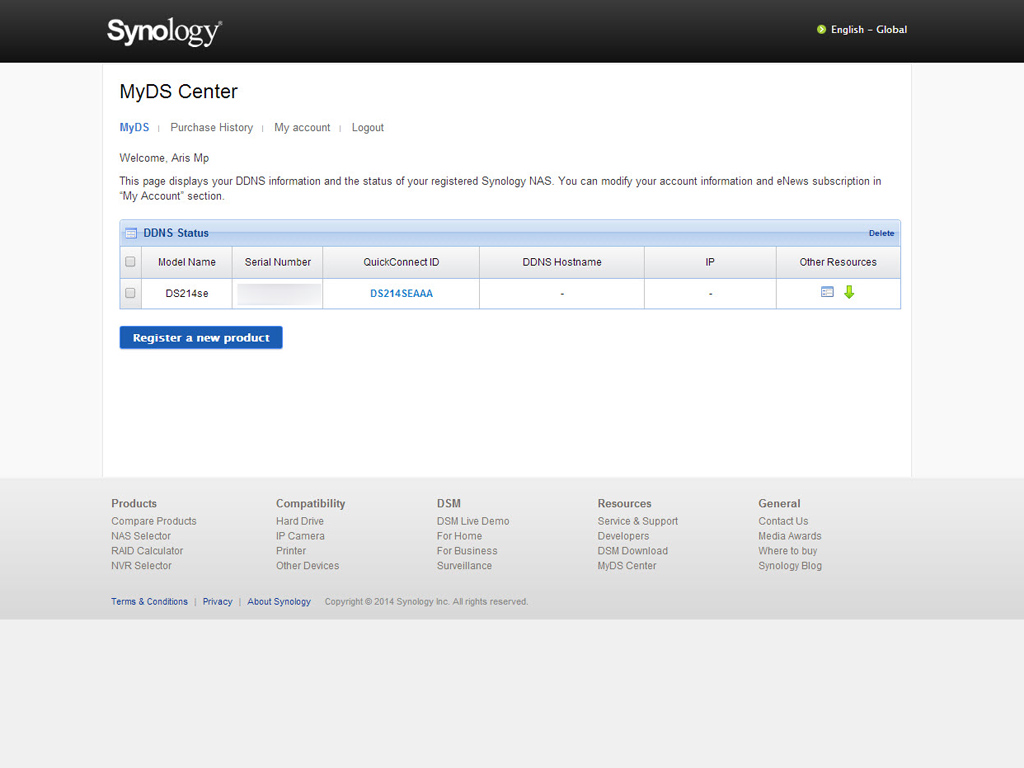
QuickConnect allows you to access your NAS from everywhere through the Internet.
If you don't want to install Synology Assistant, you can set the NAS up by following the method we covered in our DS214play review. Just type "find.synology.com" or "diskstation:5000" into your browser and both of the aforementioned URLs will fire up an easy-to-follow set-up process.
Software
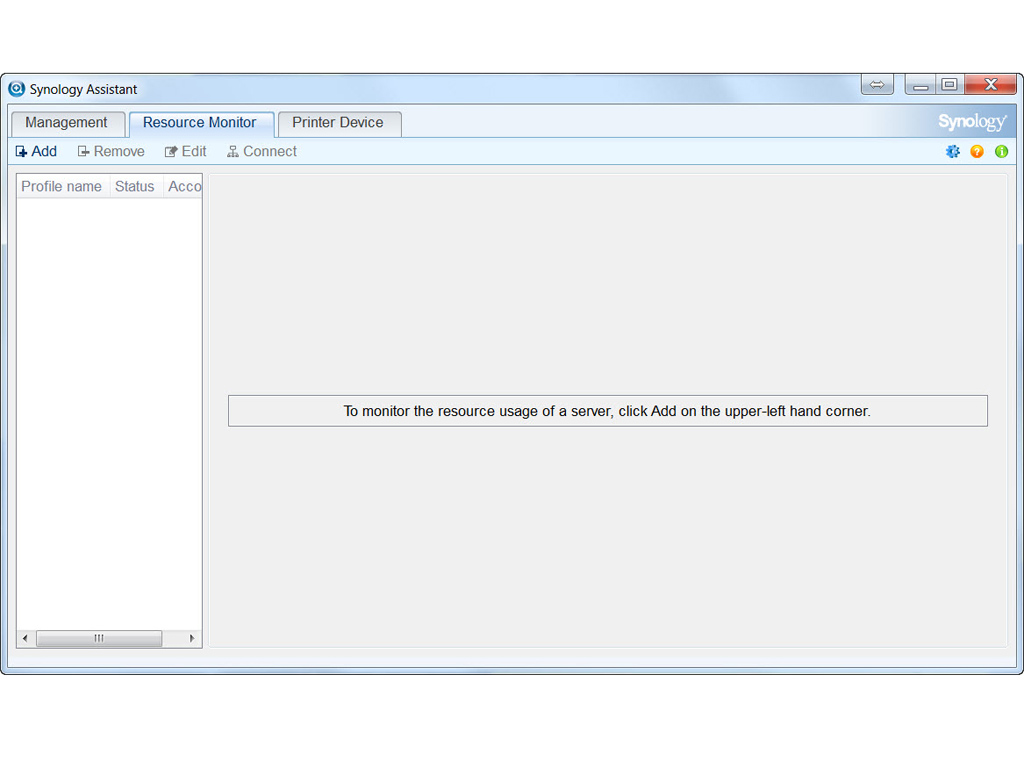
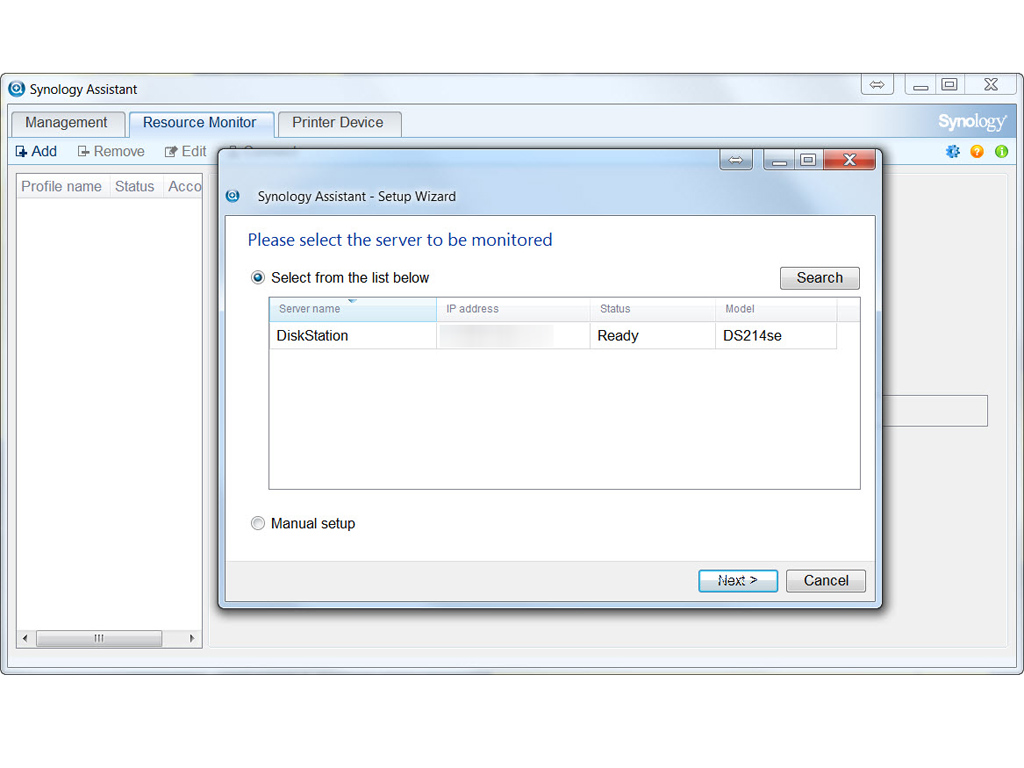
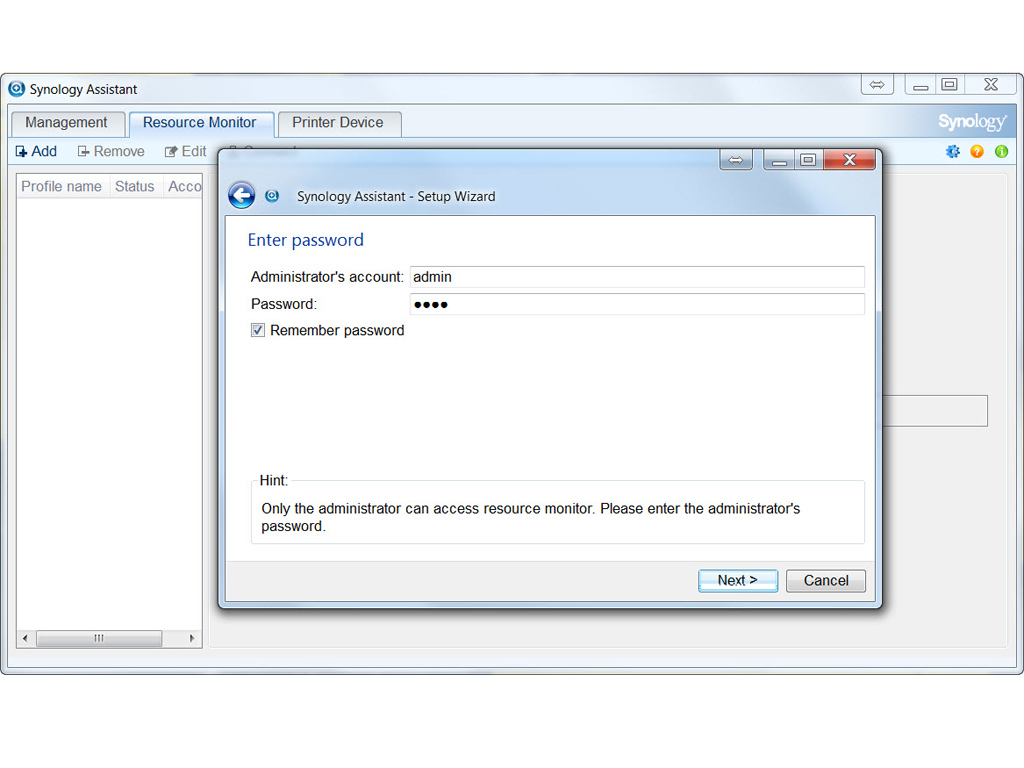
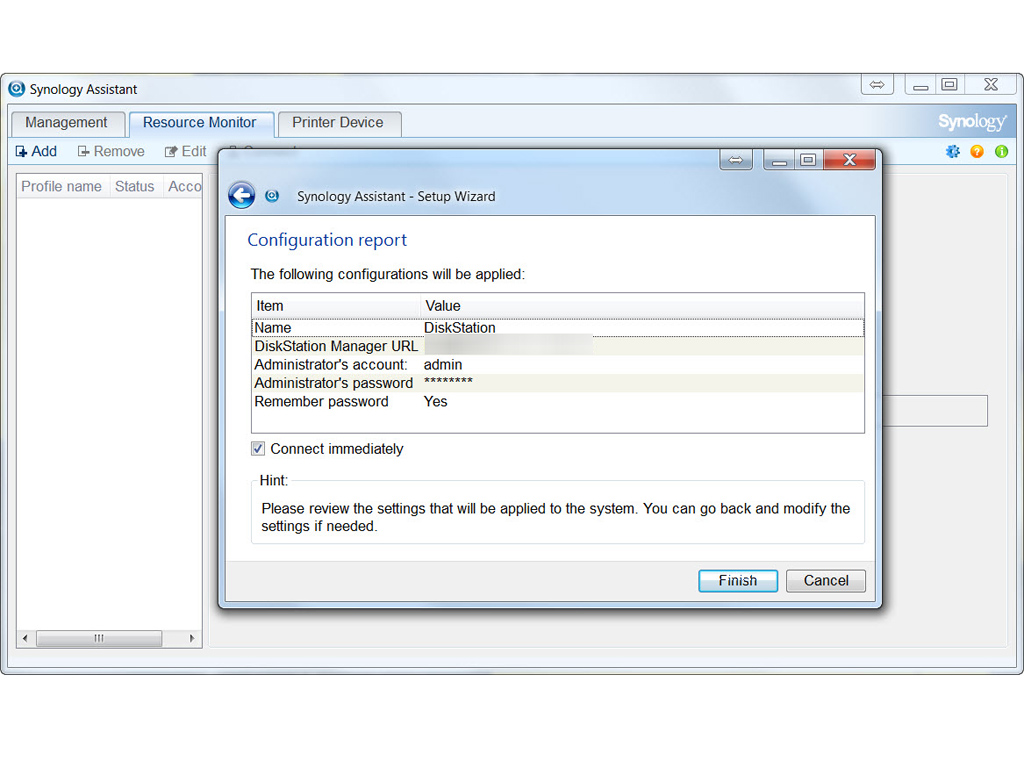
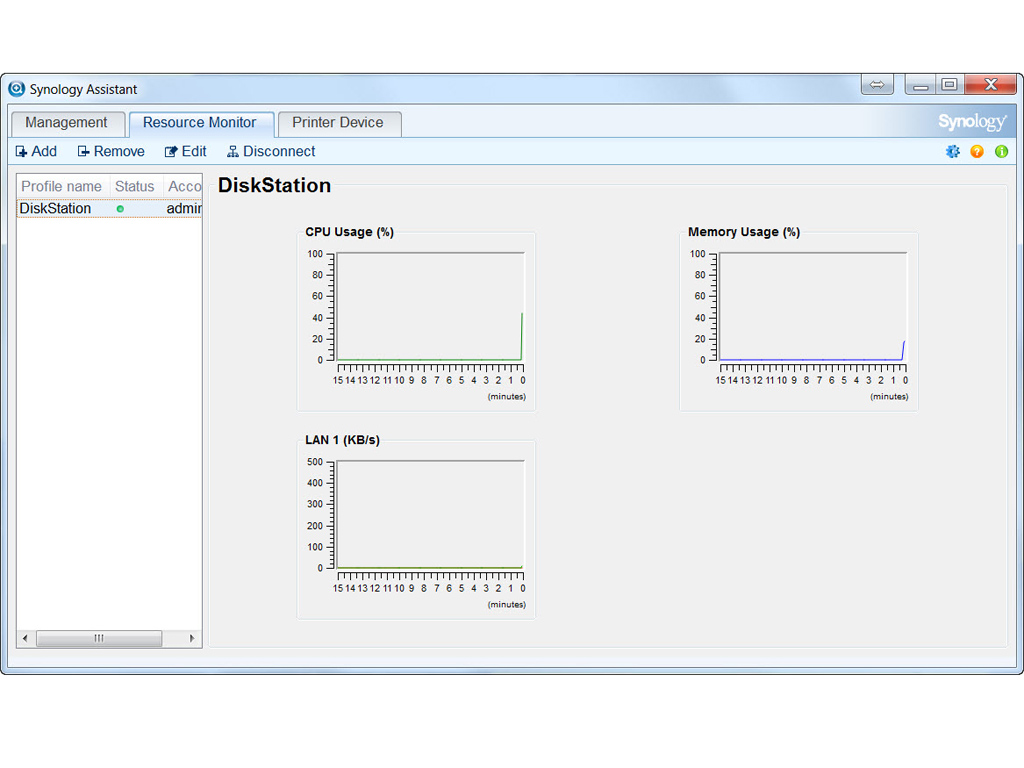
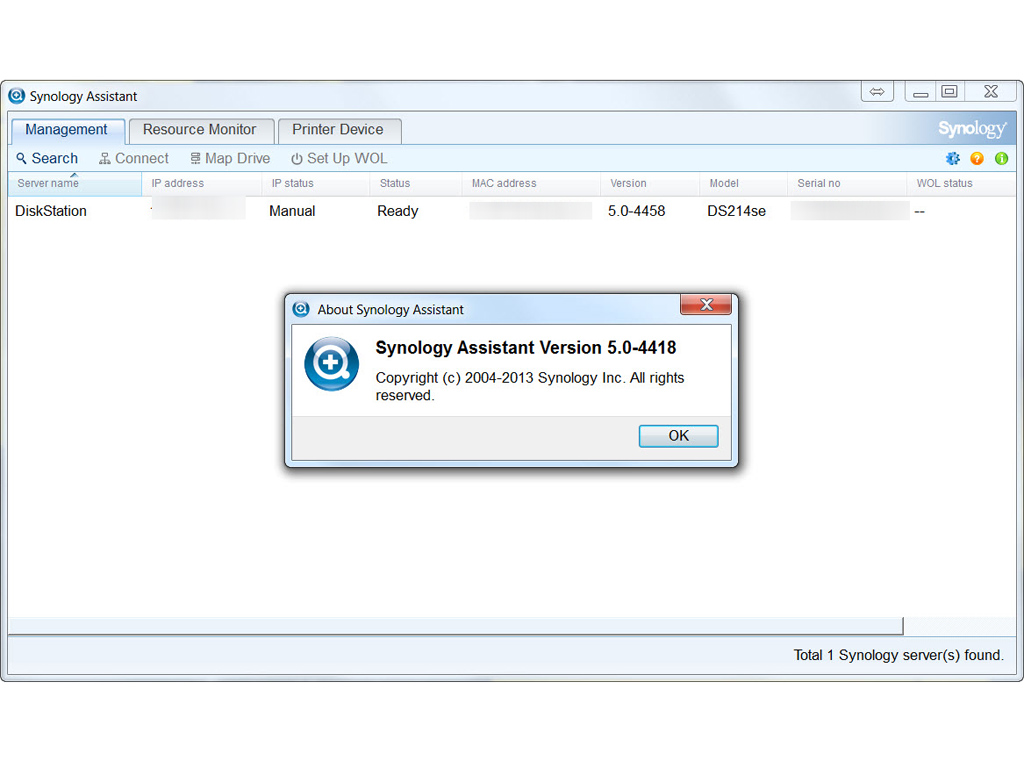
The Synology Assistant not only finds the NAS's IP address on your network and assists in configuring it as it also has several other interesting functions. It, for example, has a resource monitor through which you can track the NAS's resources in real time, and its most important feature is probably the ability to elect which Synology NAS to monitor should you have more than one available to you on the same network.
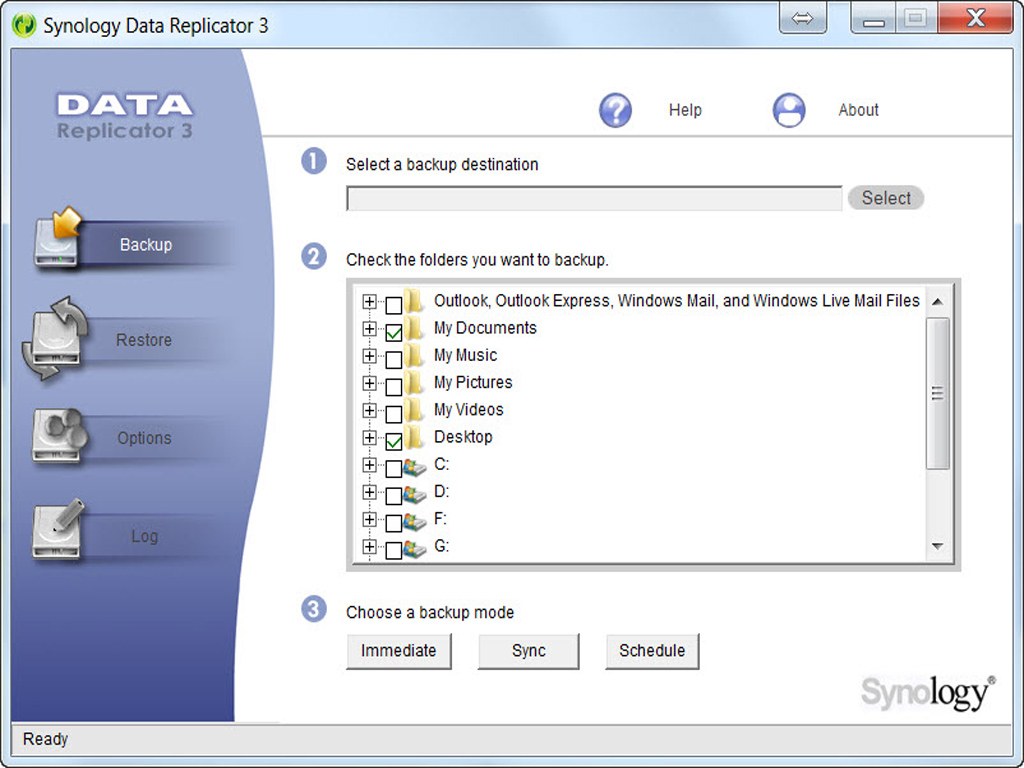
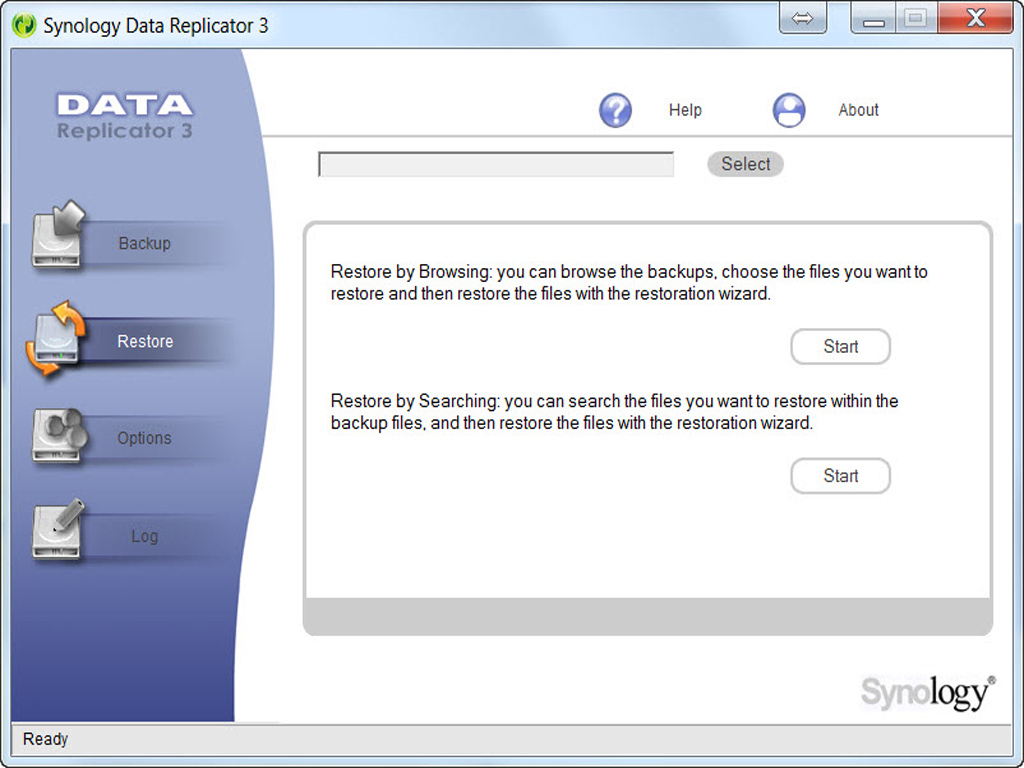
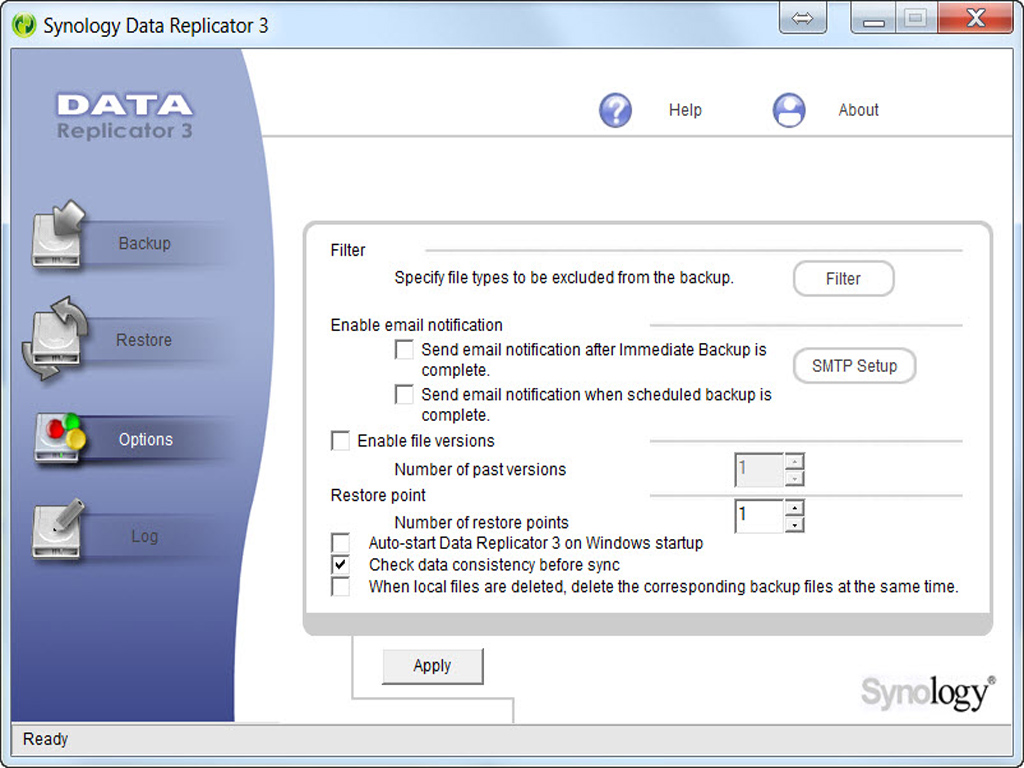
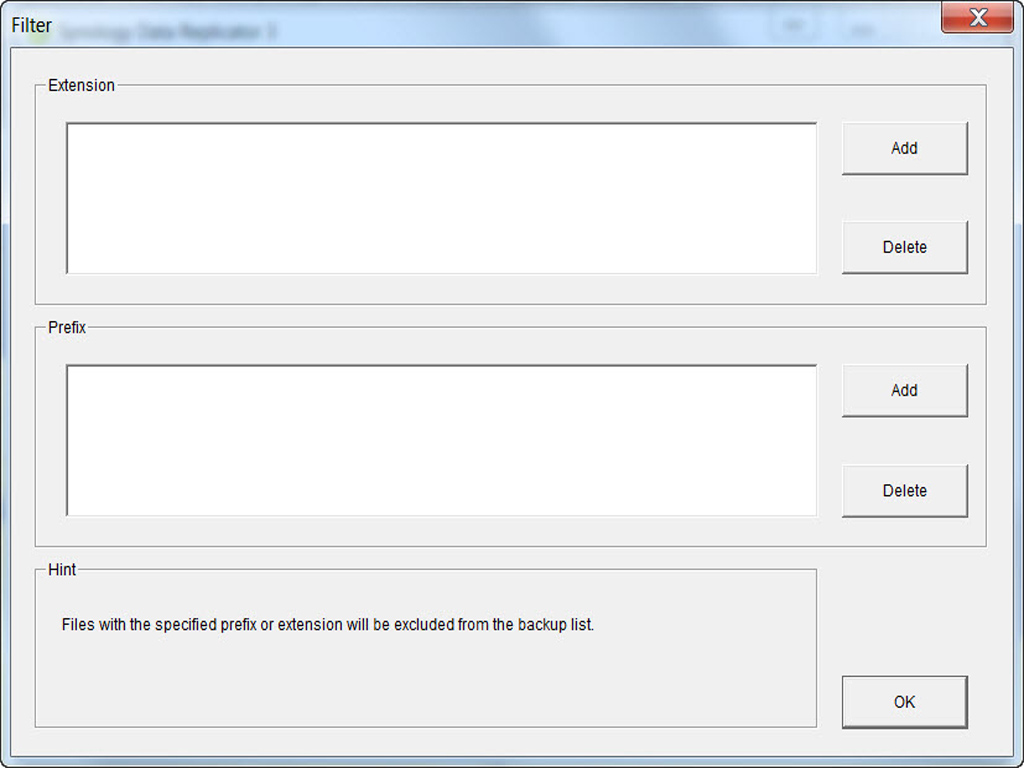
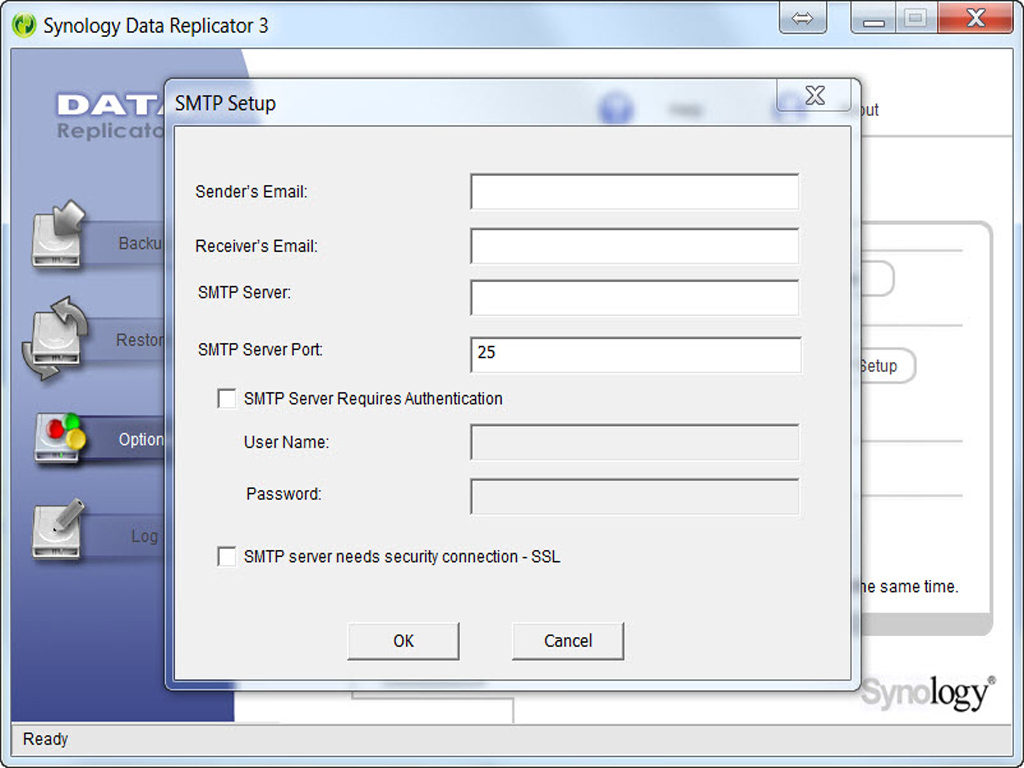
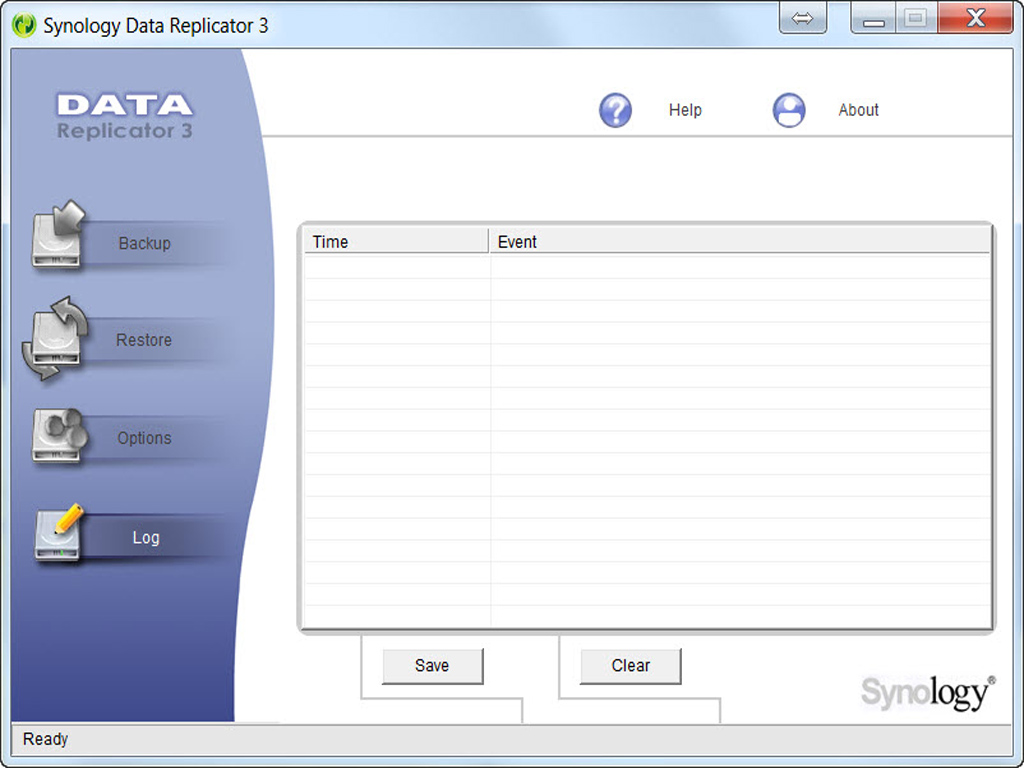
The Data Replication application allows you to easily and quickly backup and restore files.
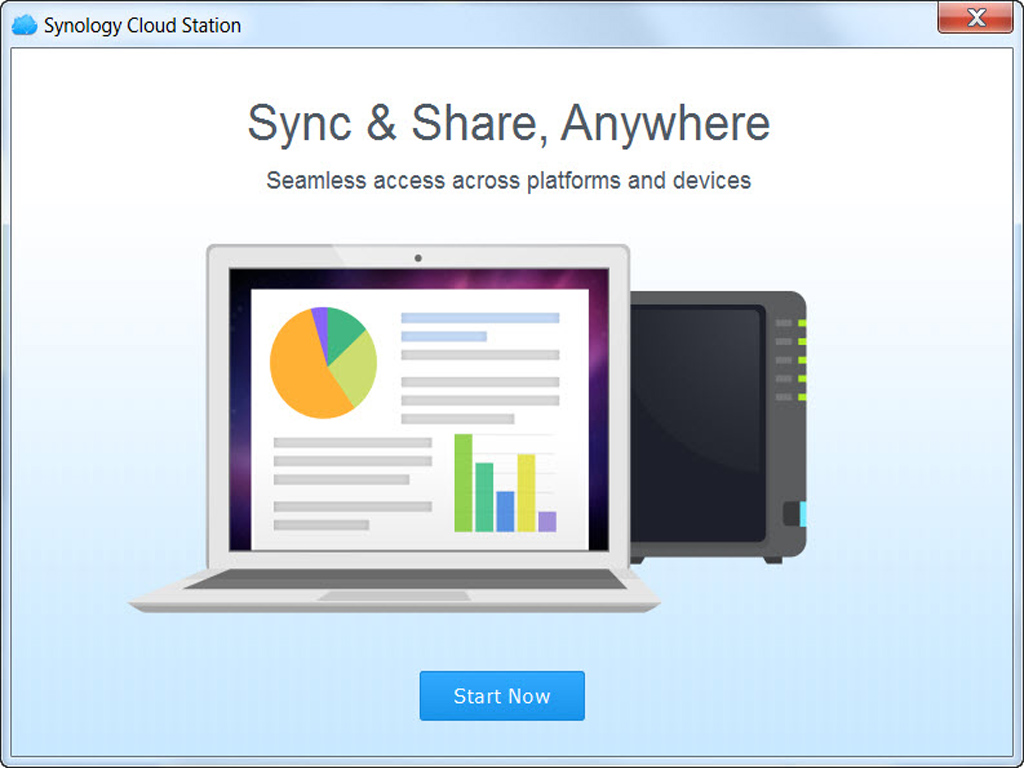
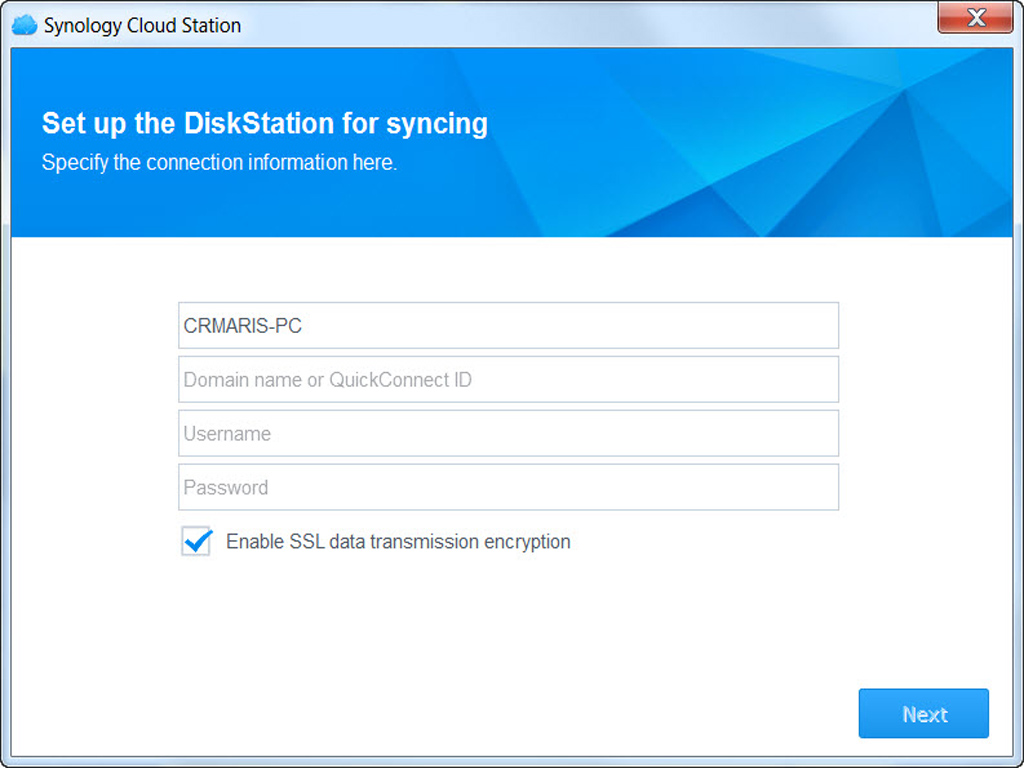
The Synology Cloud Station software allows you to synchronize files between your NAS and your workstation, or all client PCs.
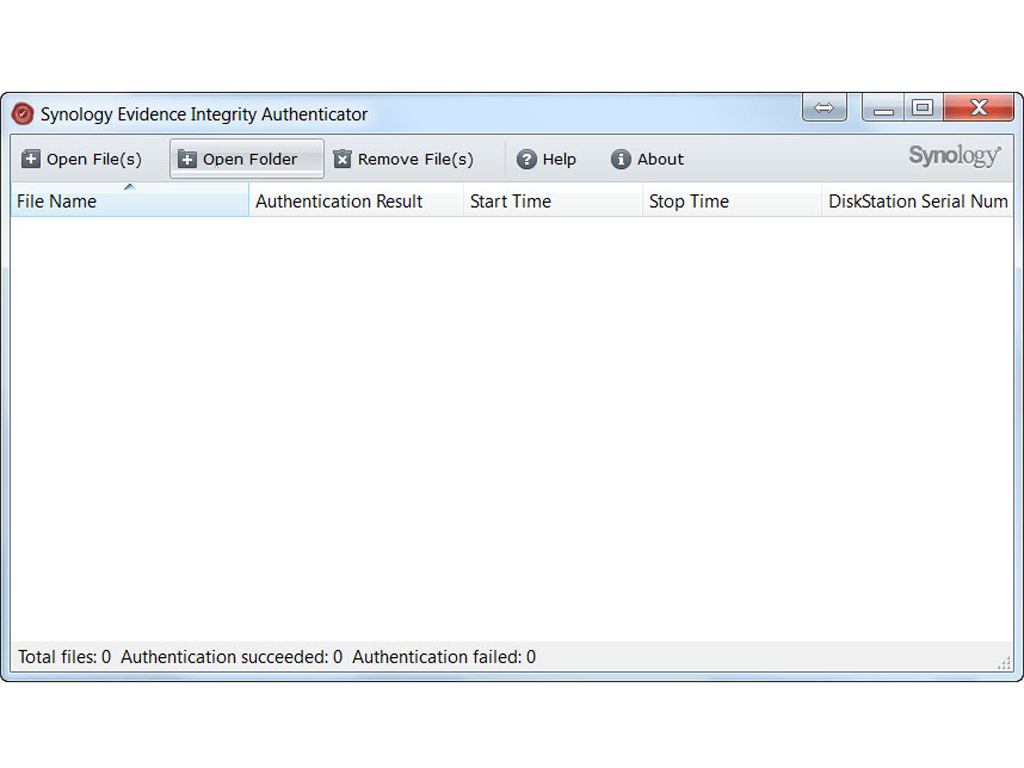
Synology says the Evidence Integrity Authenticator to allow third-party investigators or law enforcement authorities to validate and review videos captured by the Synology Surveillance Station. Videos which have not been tampered with will be verified as original recordings via an authentication procedure since all recorded videos and Live View snapshots by Surveillance Station include an invisible watermark.
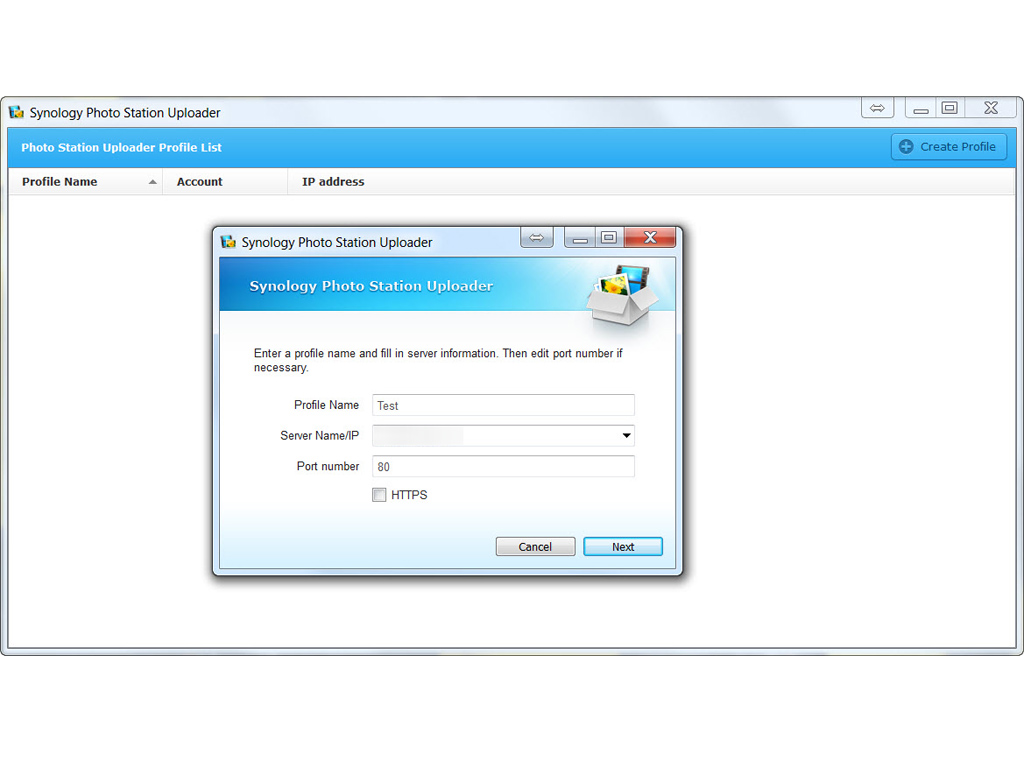
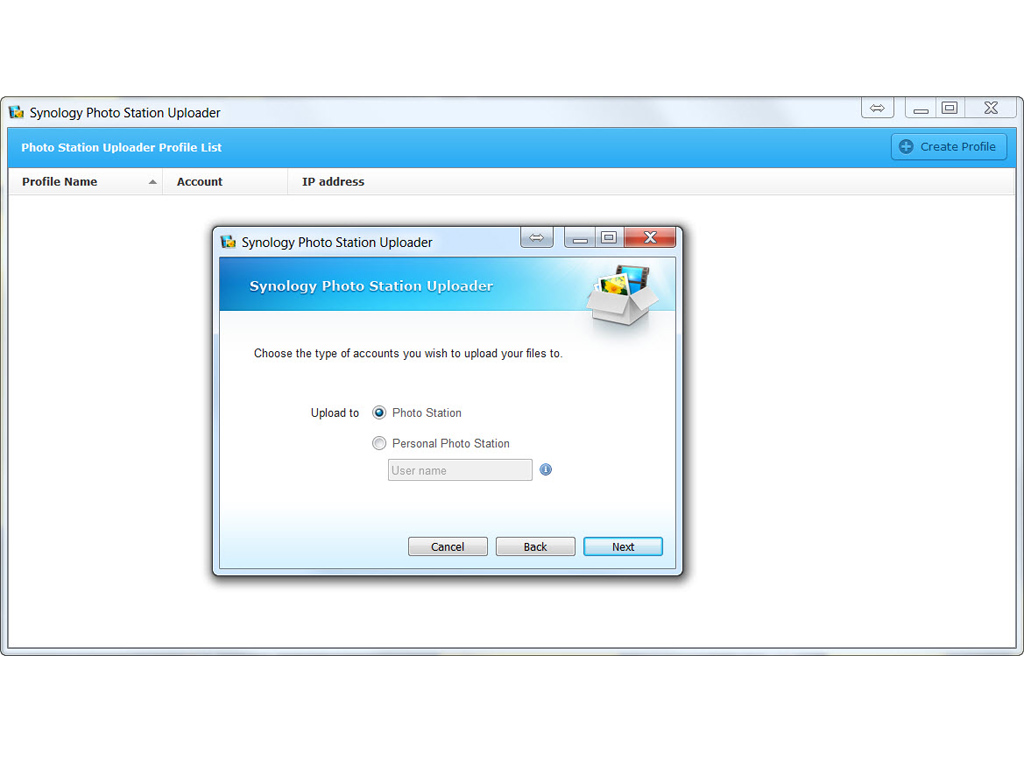
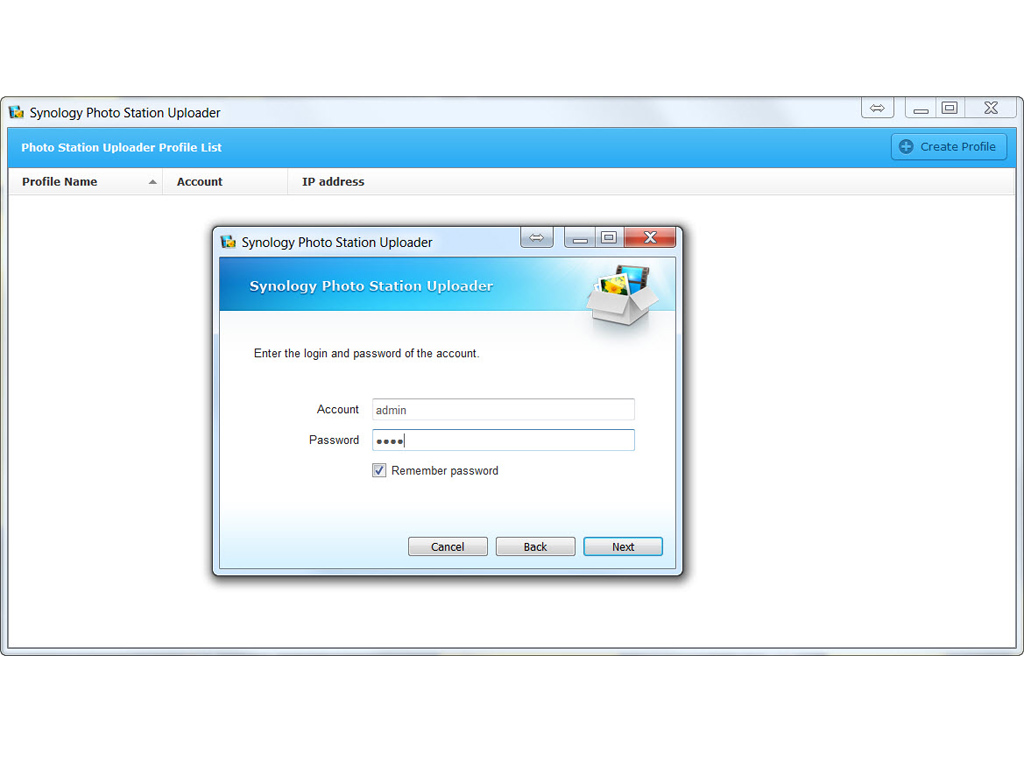
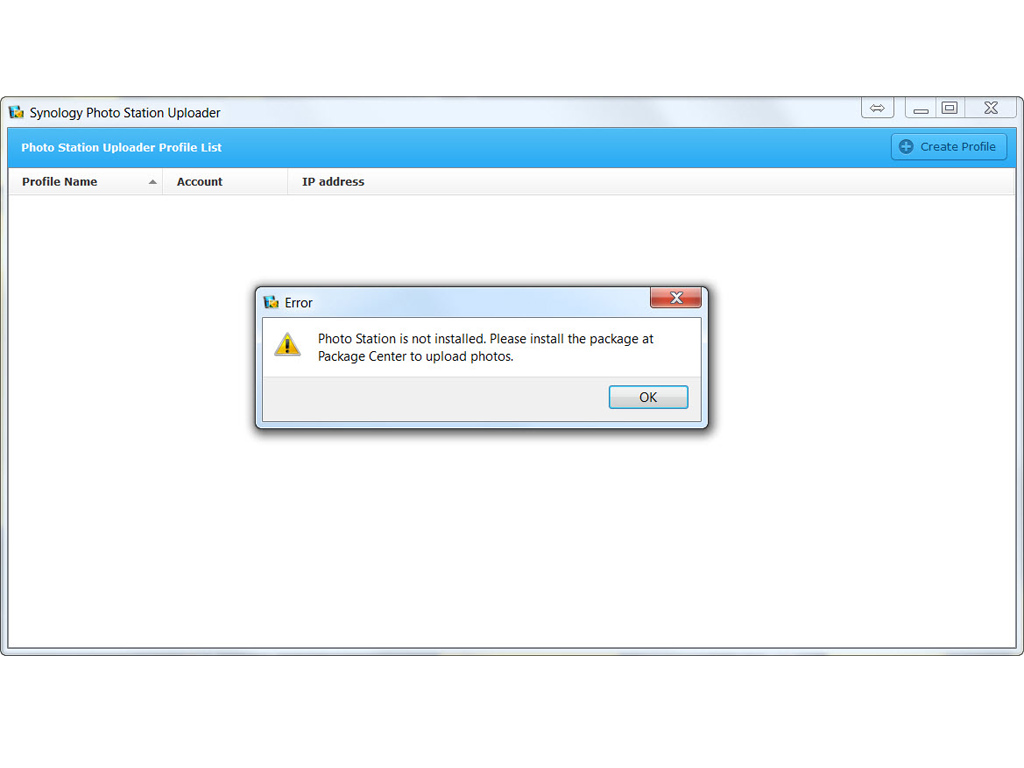
Photo Station Uploader allows you to upload a bunch of photos to your photo album.
Feb 2nd, 2025 20:59 EST
change timezone
Latest GPU Drivers
New Forum Posts
- RTX 5080 - premature review - it sucks (231)
- RTX 5090 ridiculous price! (128)
- 140mm Fan Question (25)
- Testing max ram overclock pn Ryzen 1700 (41)
- Wow YouTube is a Hog (14)
- What are you playing? (22737)
- Optane performance on AMD vs Intel (34)
- Using NvCleaninstall to download nvidia drivers possible? Where files saved? (0)
- Free Games Thread (4421)
- TPU's Nostalgic Hardware Club (19922)
Popular Reviews
- NVIDIA GeForce RTX 5080 Founders Edition Review
- Spider-Man 2 Performance Benchmark Review - 35 GPUs Tested
- MSI GeForce RTX 5080 Vanguard SOC Review
- ASUS GeForce RTX 5080 Astral OC Review
- Gigabyte GeForce RTX 5080 Gaming OC Review
- MSI GeForce RTX 5080 Suprim SOC Review
- NVIDIA DLSS 4 Transformer Review - Better Image Quality for Everyone
- Galax GeForce RTX 5080 1-Click OC Review
- ASUS GeForce RTX 5090 Astral OC Review - Astronomical Premium
- Palit GeForce RTX 5080 GameRock OC Review
Controversial News Posts
- NVIDIA 2025 International CES Keynote: Liveblog (470)
- AMD Debuts Radeon RX 9070 XT and RX 9070 Powered by RDNA 4, and FSR 4 (349)
- AMD Radeon 9070 XT Rumored to Outpace RTX 5070 Ti by Almost 15% (255)
- AMD is Taking Time with Radeon RX 9000 to Optimize Software and FSR 4 (251)
- AMD Denies Radeon RX 9070 XT $899 USD Starting Price Point Rumors (239)
- AMD Radeon RX 9070 XT & RX 9070 Custom Models In Stock at European Stores (226)
- NVIDIA GeForce RTX 5090 Features 575 W TDP, RTX 5080 Carries 360 W TDP (217)
- New Leak Reveals NVIDIA RTX 5080 Is Slower Than RTX 4090 (215)