 0
0
Thecus N2310 Review
Administration Interface Part#2 »Administration Interface Part#1
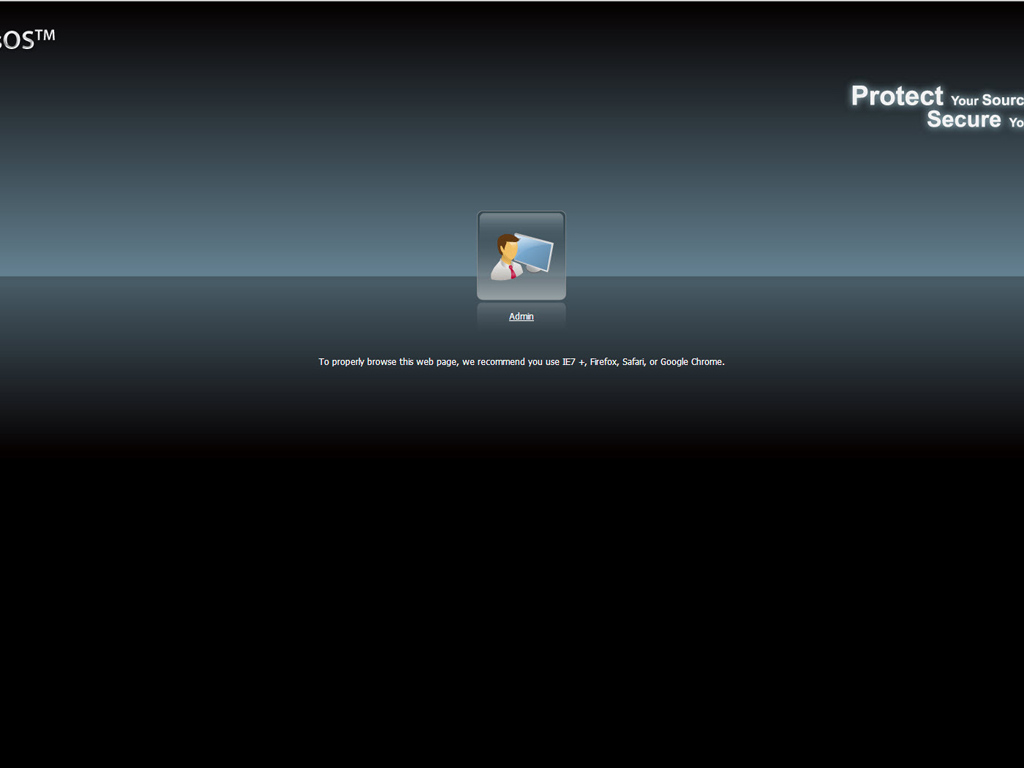
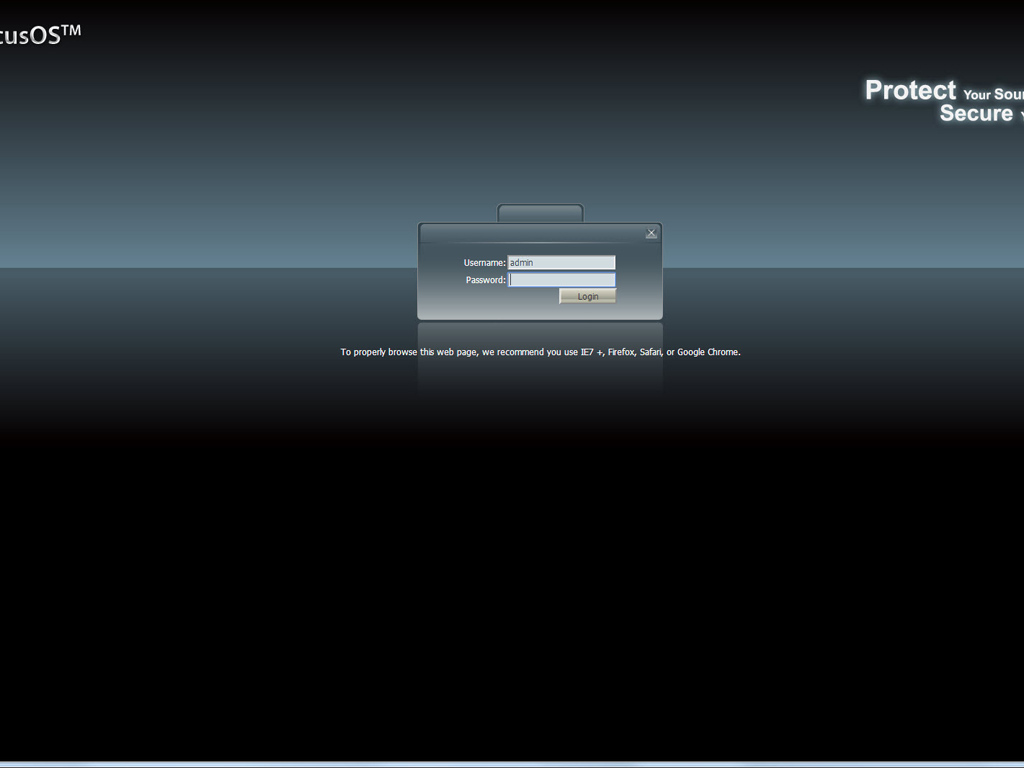
You will be taken to the login page after the initial configuration. Log into the administration interface here. Your default password is "admin", so you must change it if you want your NAS and the data stored on it to be safe. The login page is in HTML and Thecus recommends the use of IE7 +, Firefox, Safari, or Google Chrome.


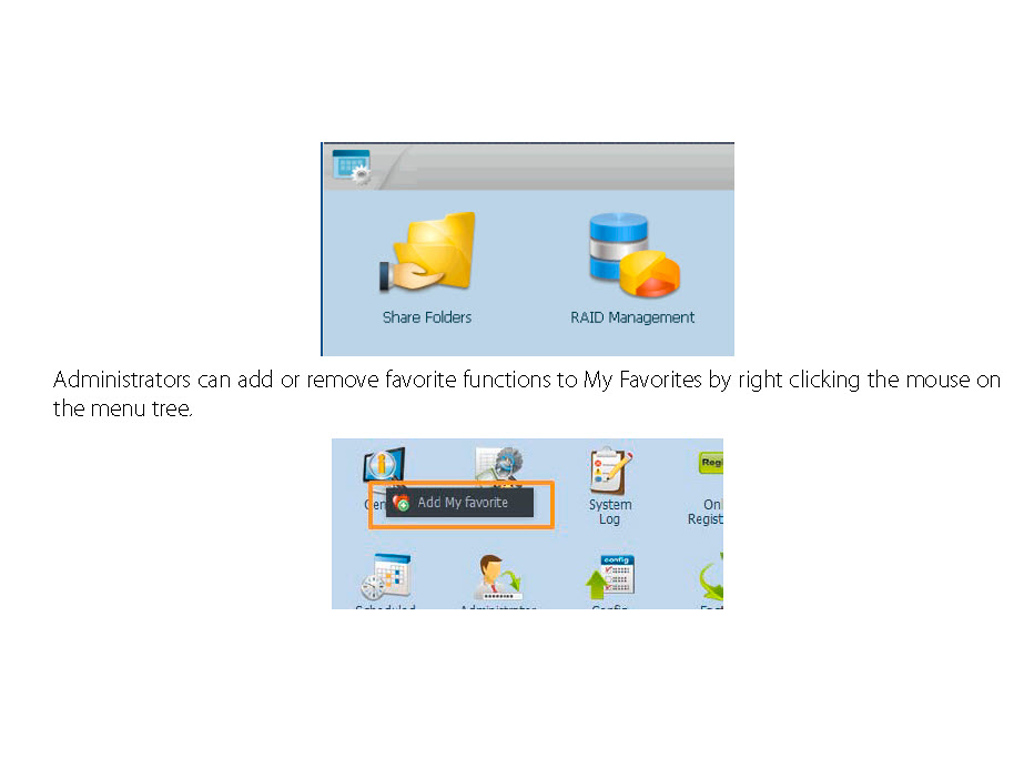
Thecus's fresh OS6 operating system doesn't use the old-fashioned, menu-driven interface we met in the Thecus N5550. It comes with a much better windowed interface instead, which, however, still isn't as practical as QNAP's or Synology's solutions. But Thecus's programmers are on the right track now, and we believe that their next updates will make sure this OS is up to par. Initially, only the Shared Folder and RAID Managment shortcuts appear on the desktop, but you can easily add more.
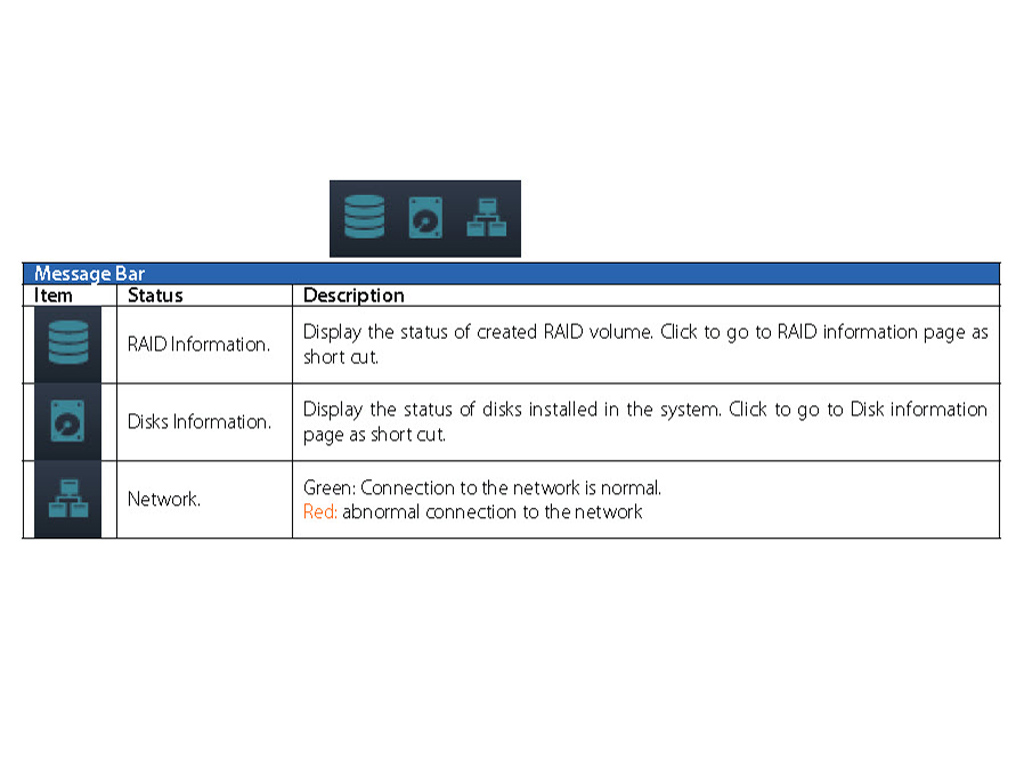
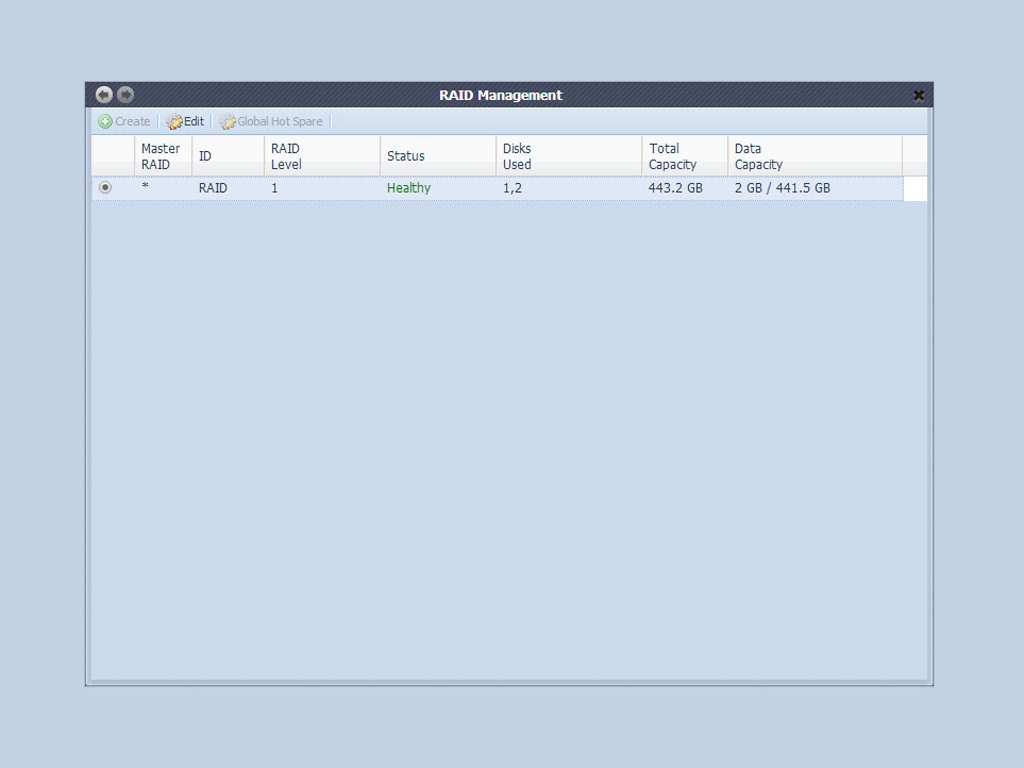
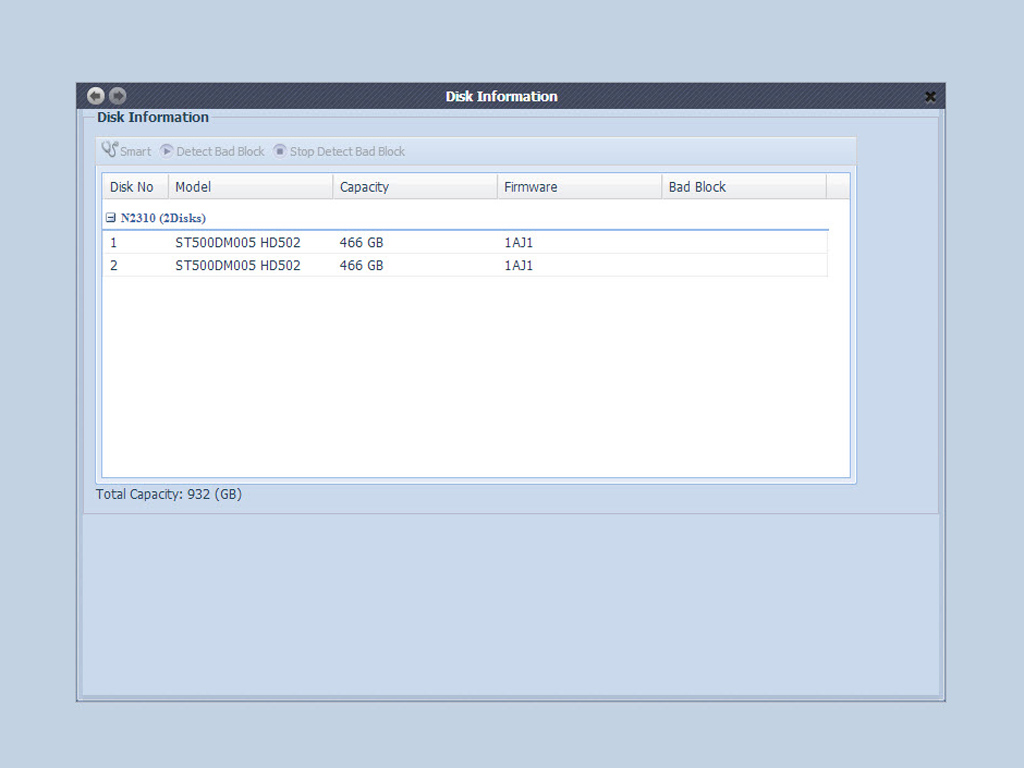
You will find the Control Panel icon in the top-left corner of the desktop. All screens and your system settings can be found here. The Message Bar in the bottom-right corner gives you a quick overview of your system's status and keeps track of specific RAID-, disk-, and networking information. Clicking on the first two icons will also open up the RAID Management and Disk Information windows.
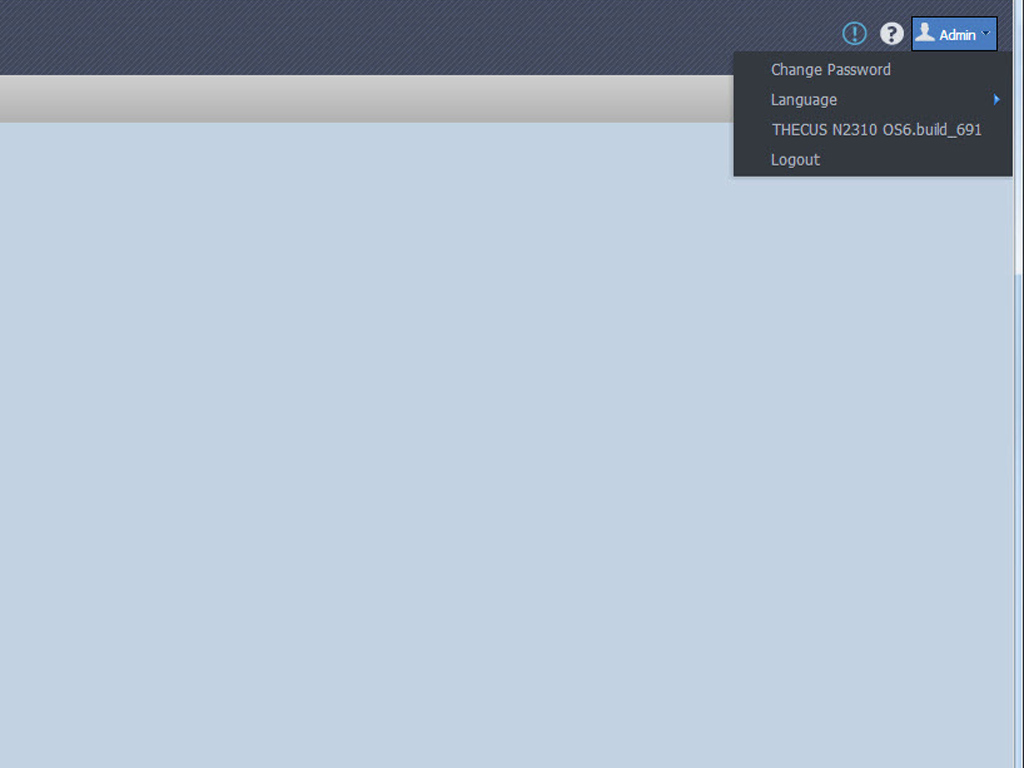
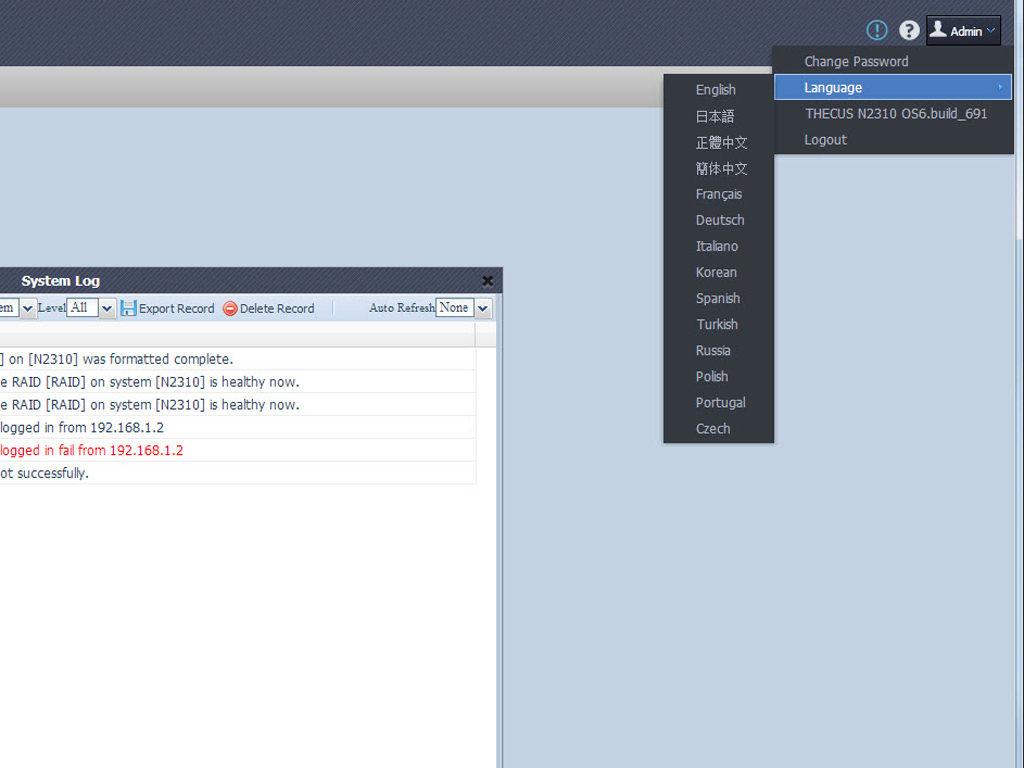
Use the Admin drop-down menu to change the admin password, pick the language of the OS, and log out.
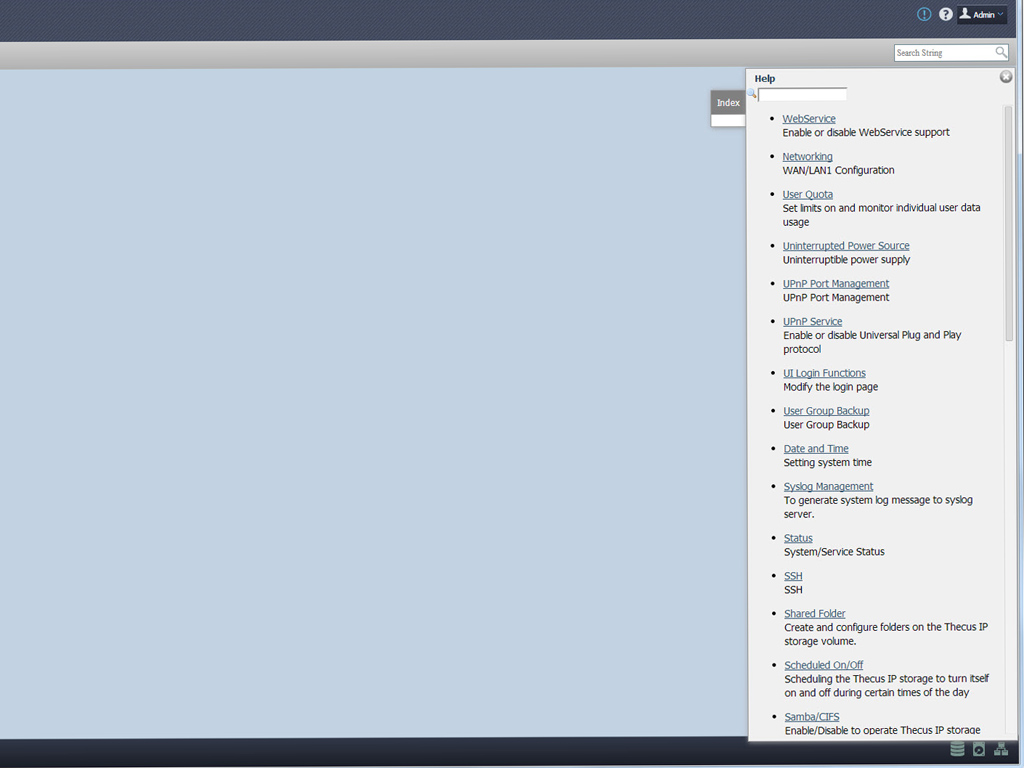

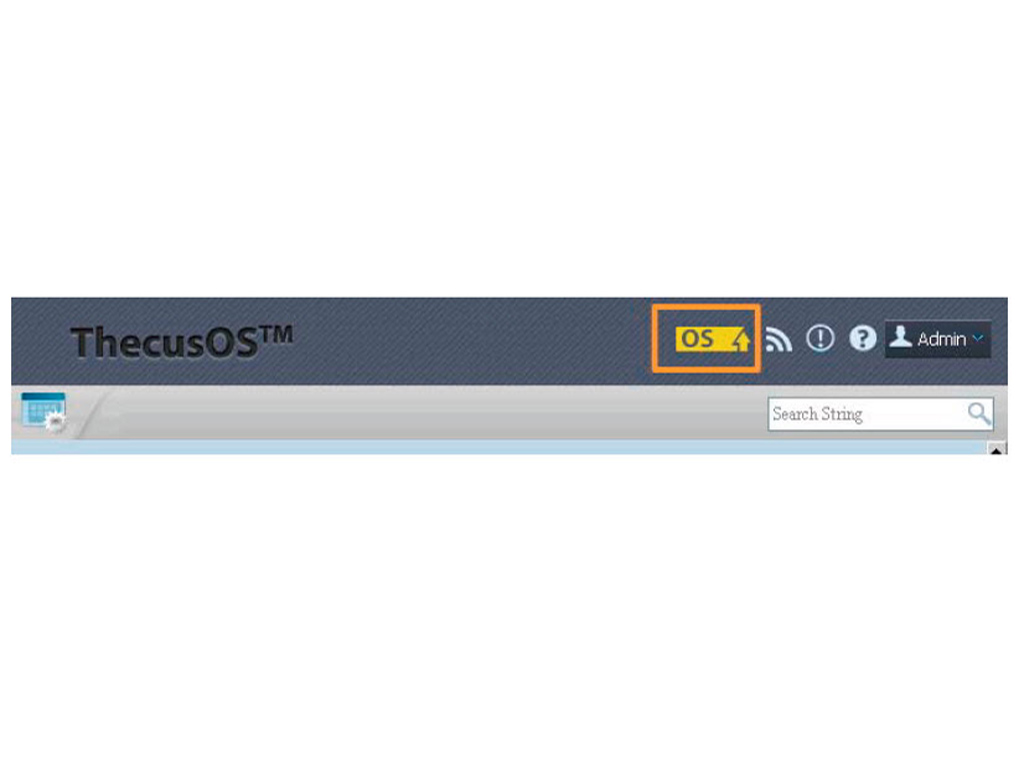
The question mark right next to the Admin drop-down menu activates the Help panel, with explanations for everything you don't understand. Next to it is the exclamation mark - clicking on it will give you the history log. A flashing firmware update icon will appear on top of the task bar should one be available, but you will also be notified by email.
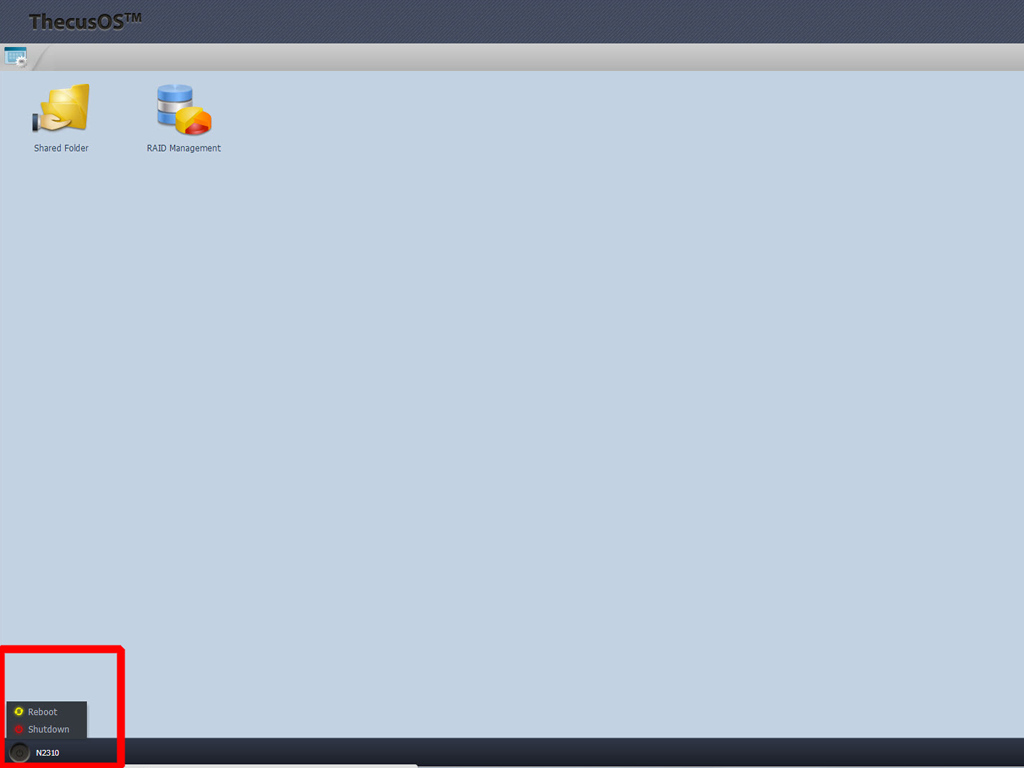
Use the menu in the bottom-left corner to completely shut down or restart the NAS.
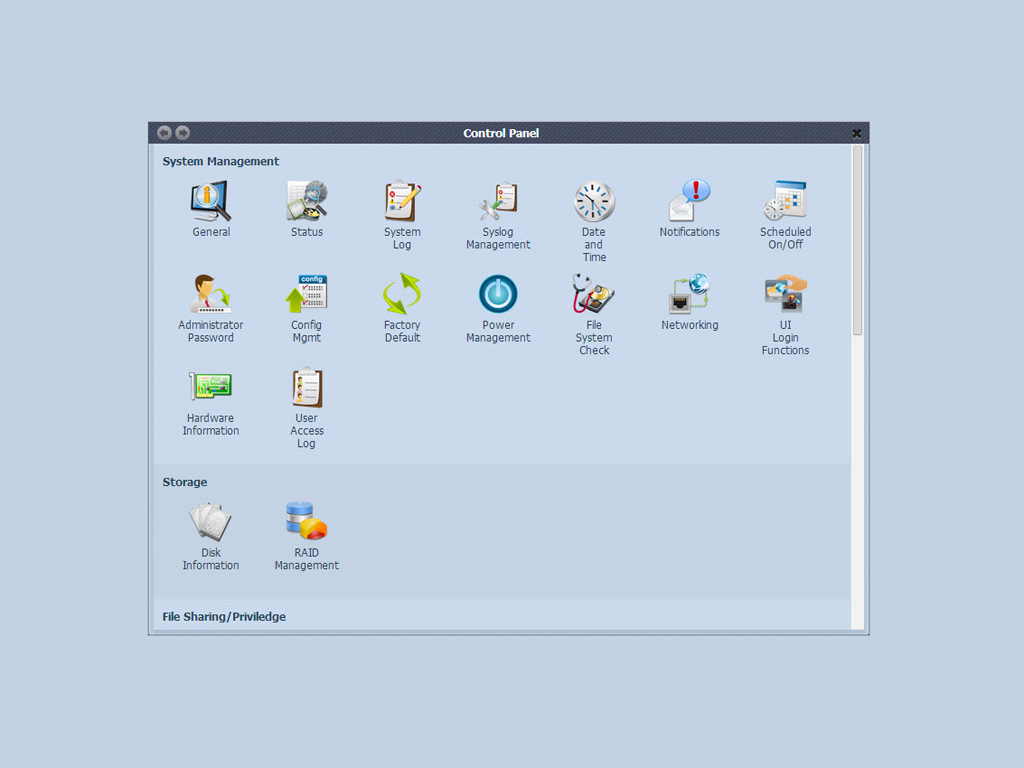
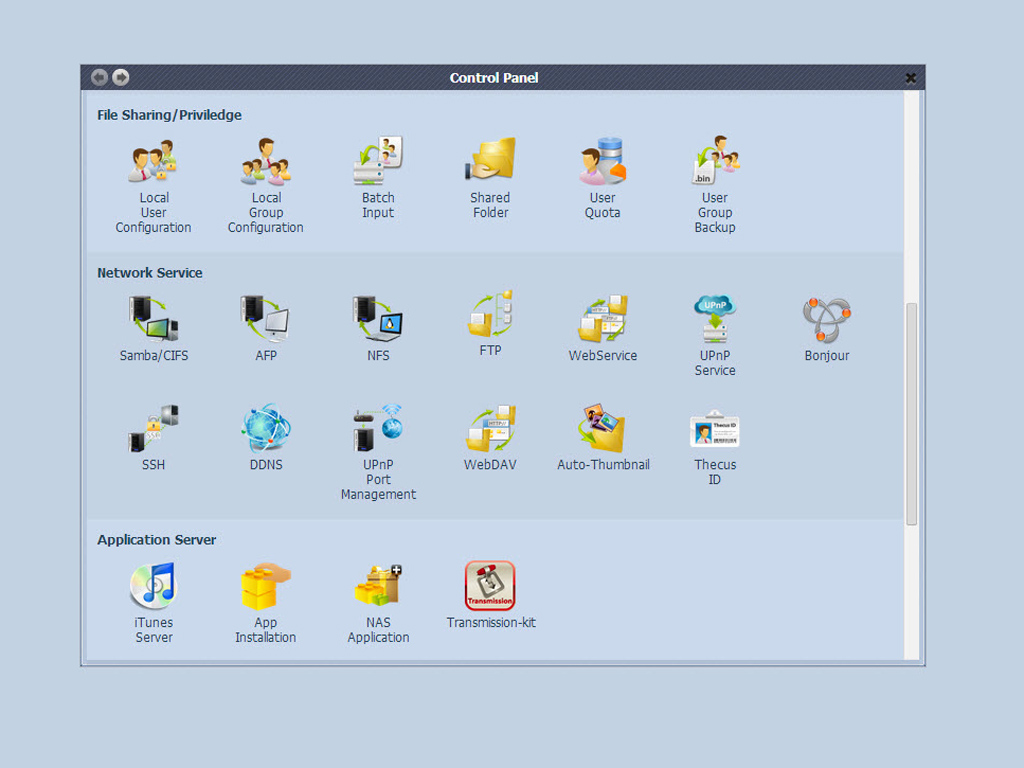
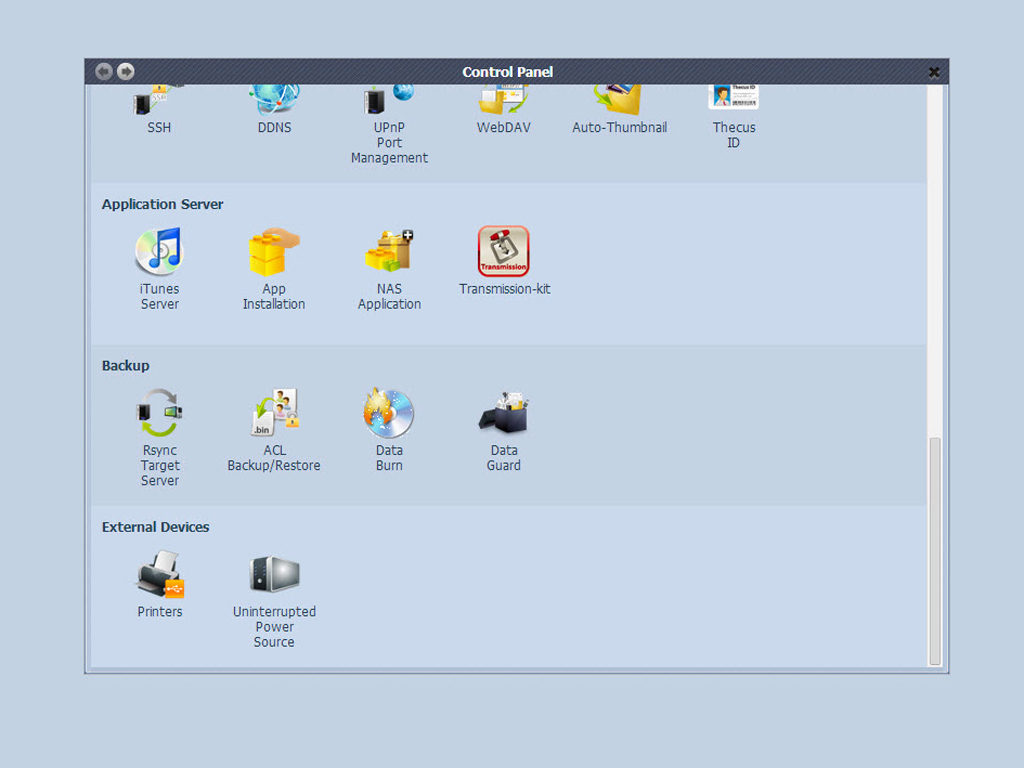
All NAS features and functions are part of the Control Panel and are categorized into System Management, Storage, File Sharing/Privilege, Network Sharing, Application Sharing, Backup and External Devices options. We will examine all of them in the following paragraphs, so stay tuned.
System Management
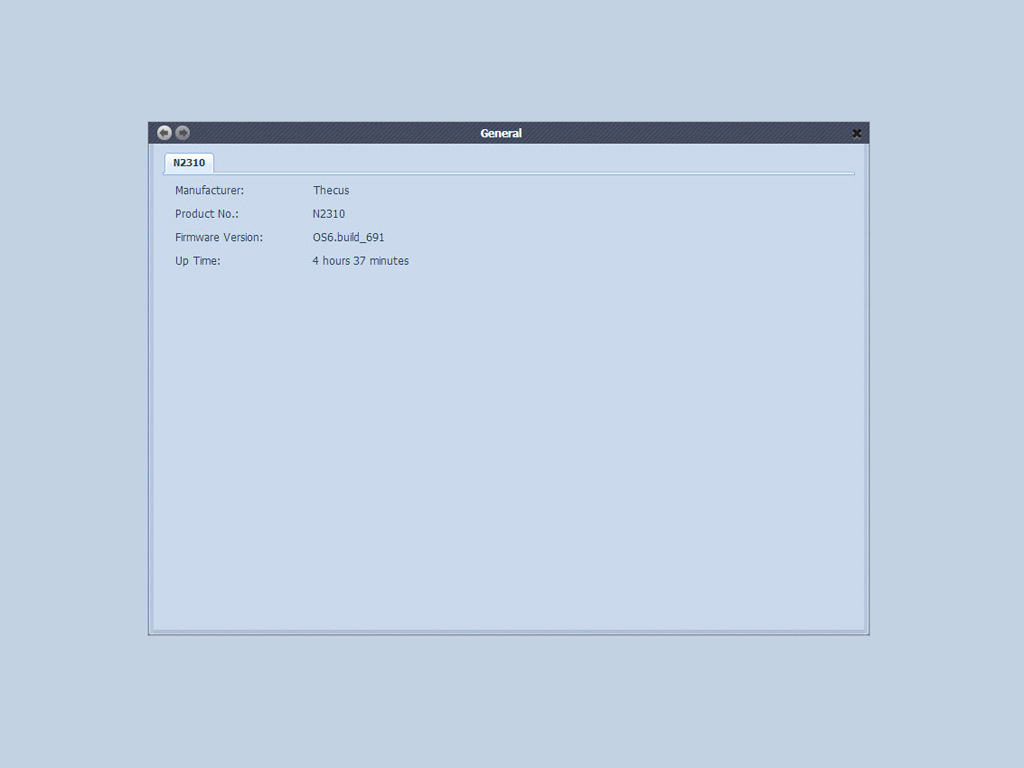
The NAS server's model number and firmware version can be found in the General tab, along with its up-time.
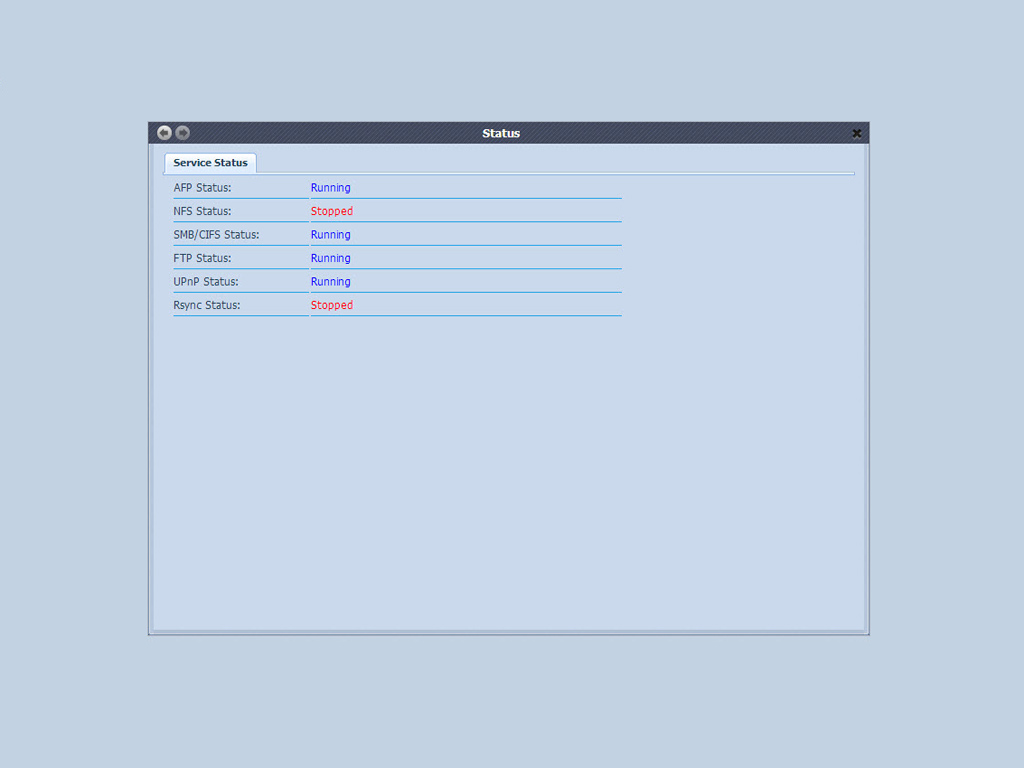
Use the Service Status tab to check on the state of various services and whether they are up and running or paused.

The System Log keeps a history of system usage and tracks all important disk status, network information, and system-booting events. The Syslog Management menu will generate a system log that can be stored locally or on a remote server. It can also act as a Syslog server to other devices, a useful function for a network with a lot of clients.
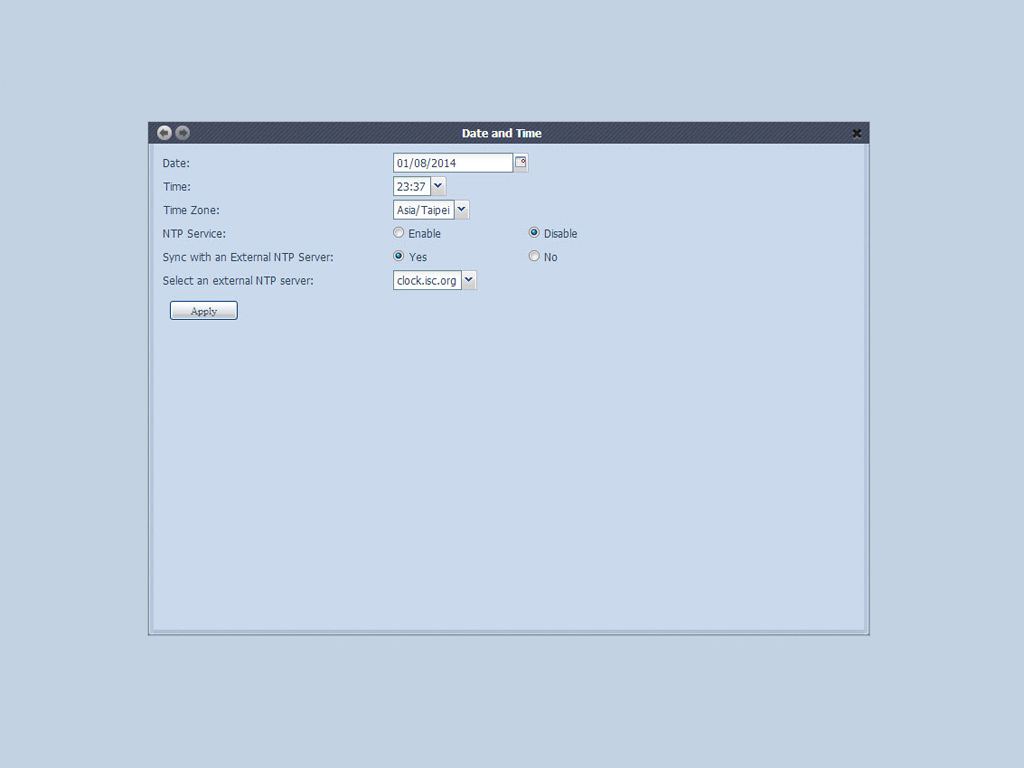
Set the desired date, time, and time zone, and synchronize your NAS server's system time with that of an NTP (Network Time Protocol) Server.

Use these settings if you want your NAS to notify you in case of a system malfunction.
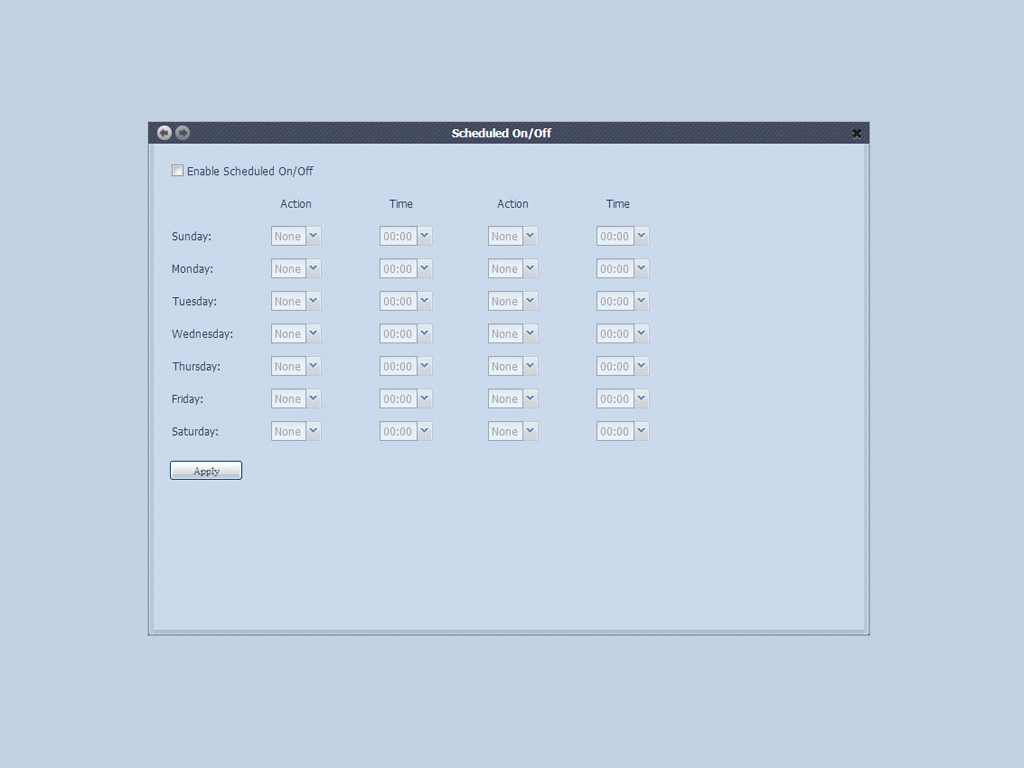
You can create and implement your own operations schedule in this menu, which would keep energy usage at a minimum.
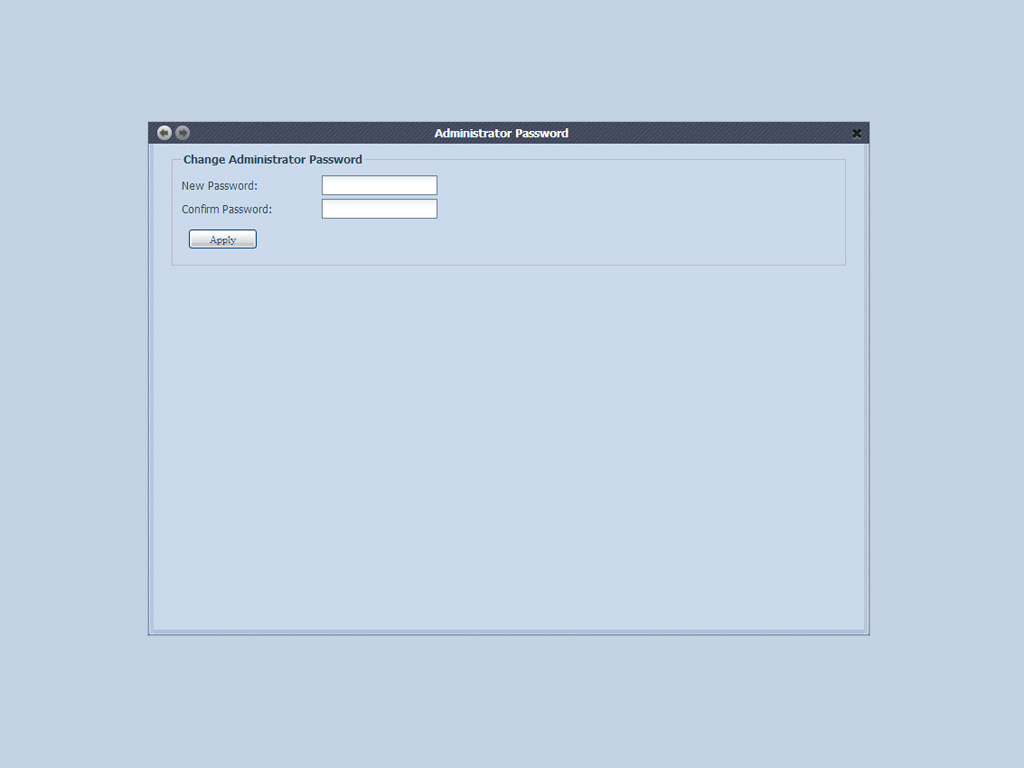
There is a dedicated option for changing the admin password here. I strongly advise you to change Thecus's default password.
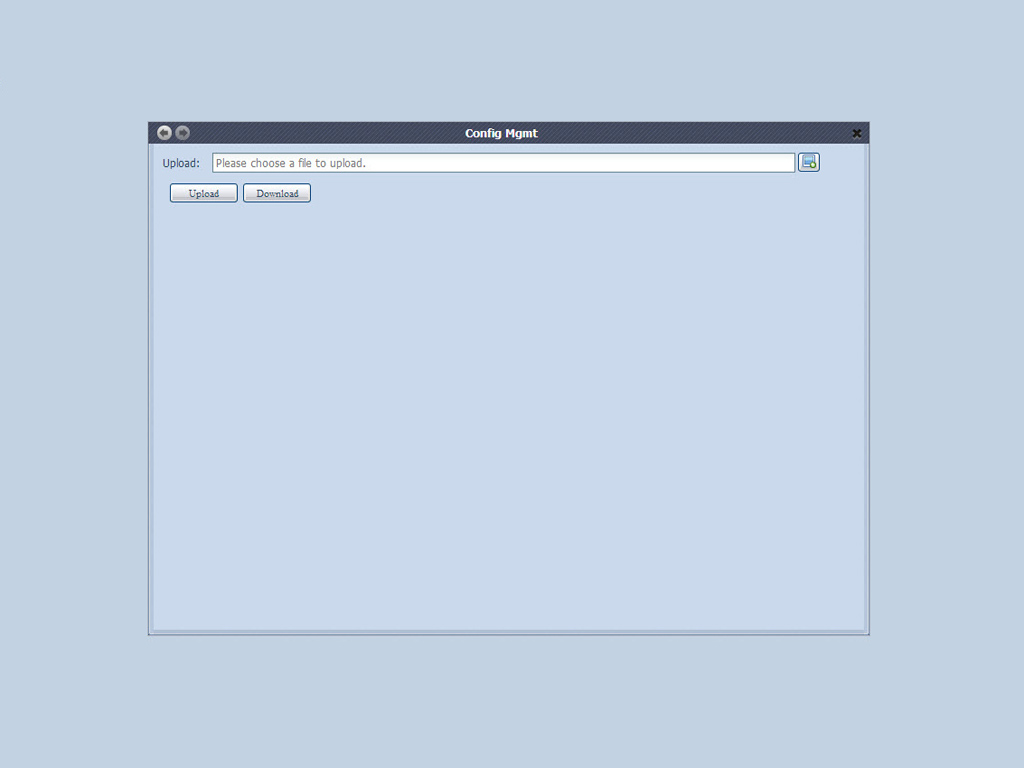
Download or upload stored system configurations with this option.
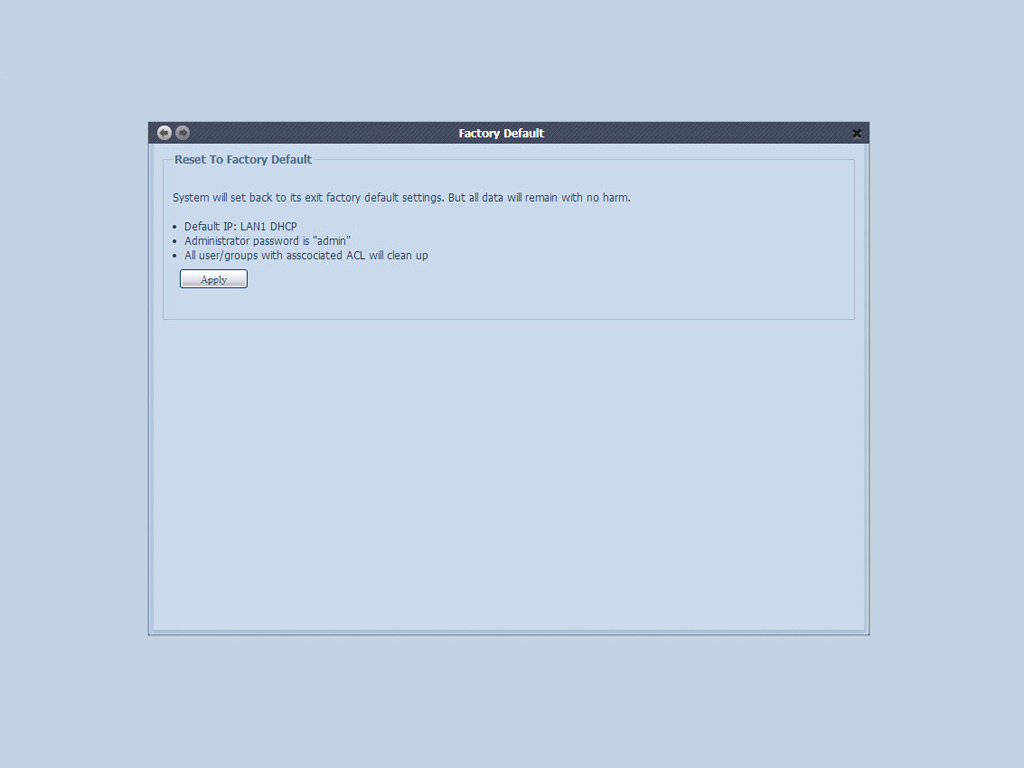
This option allows you to reset your NAS to its default settings. Note that resetting to factory defaults won't erase the data stored on the disk(s), but will revert all settings to factory values. Remove and format the RAID array if you want to wipe the data on your disks.
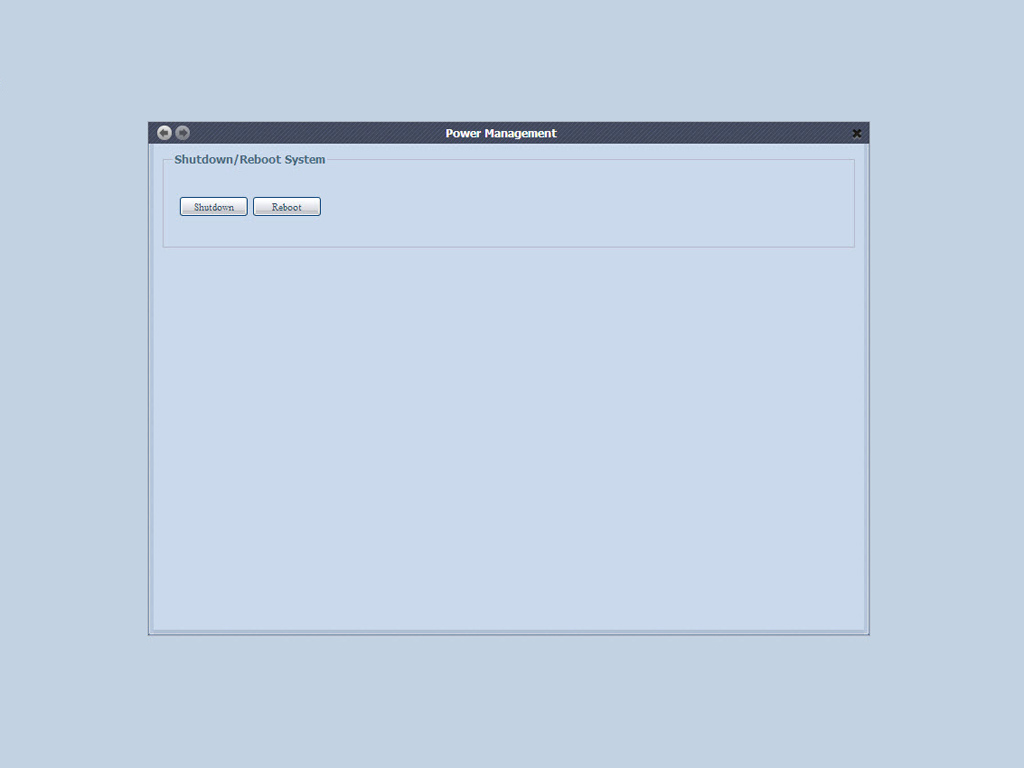
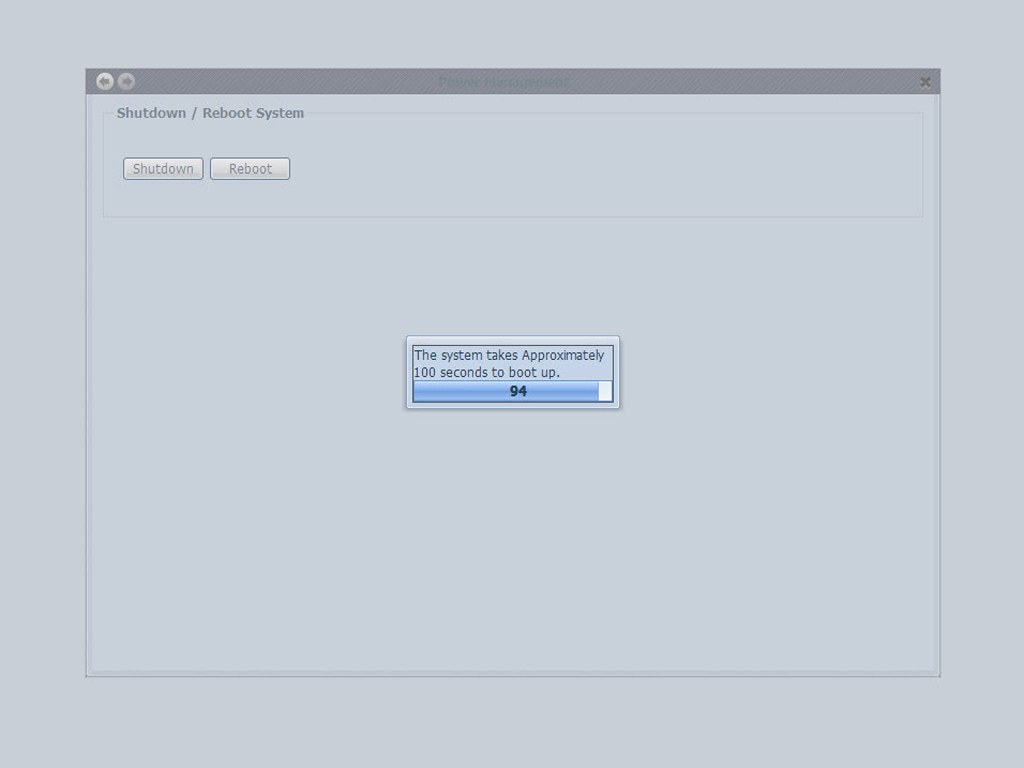
Shutdown and Reboot options can be found here.

Schedule a File System Check for the next reboot with this option.

This screen covers all global network parameters and available network connections. You can change any of these items and simply have to click Apply once done to implement them. Remember to set a static IP to then set the NAT settings of your router and the firewall accordingly. What we didn't like here is that any change to these network options required a reboot.
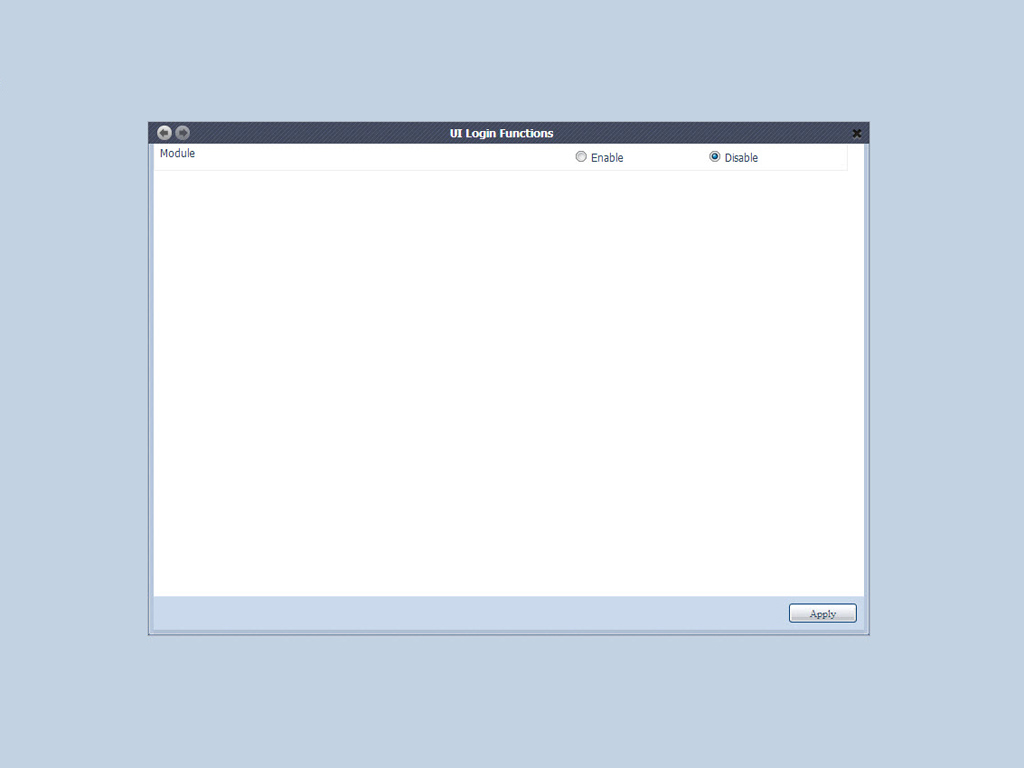
Enable or disable all installed modules via the UI Login screen.
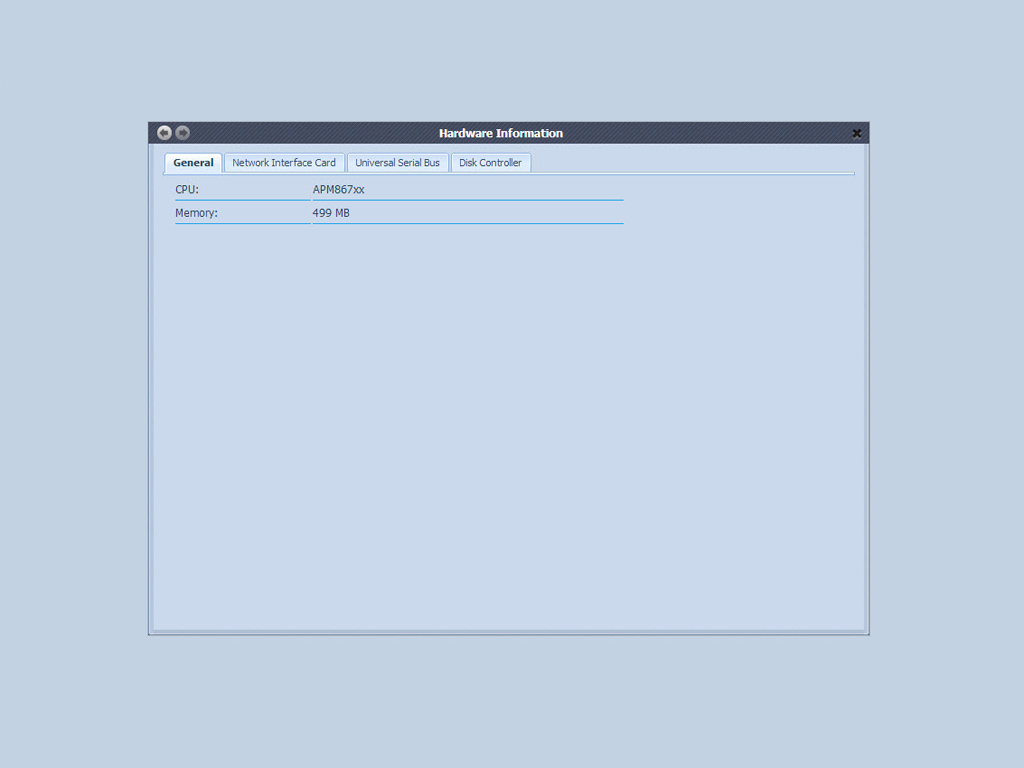
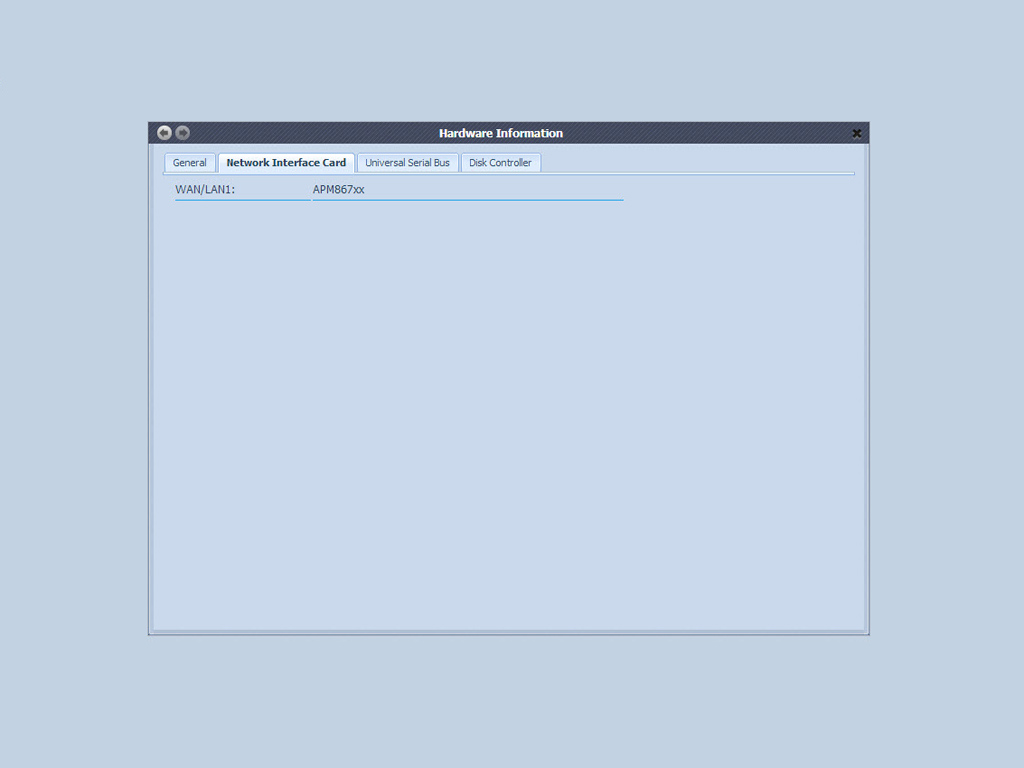
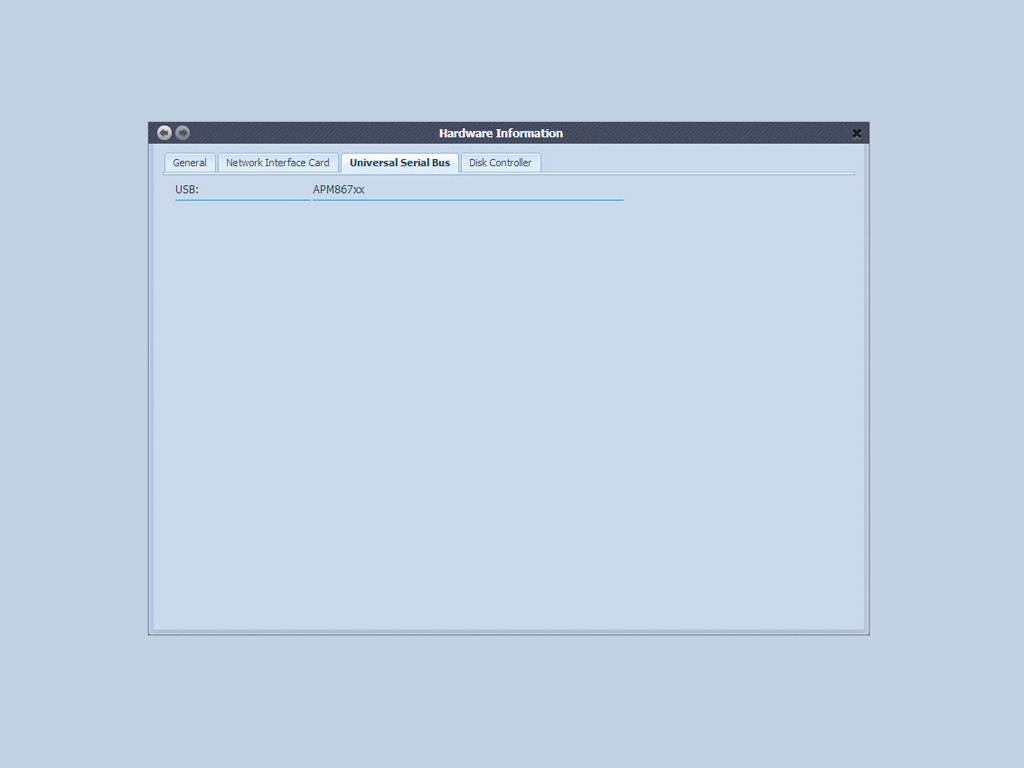
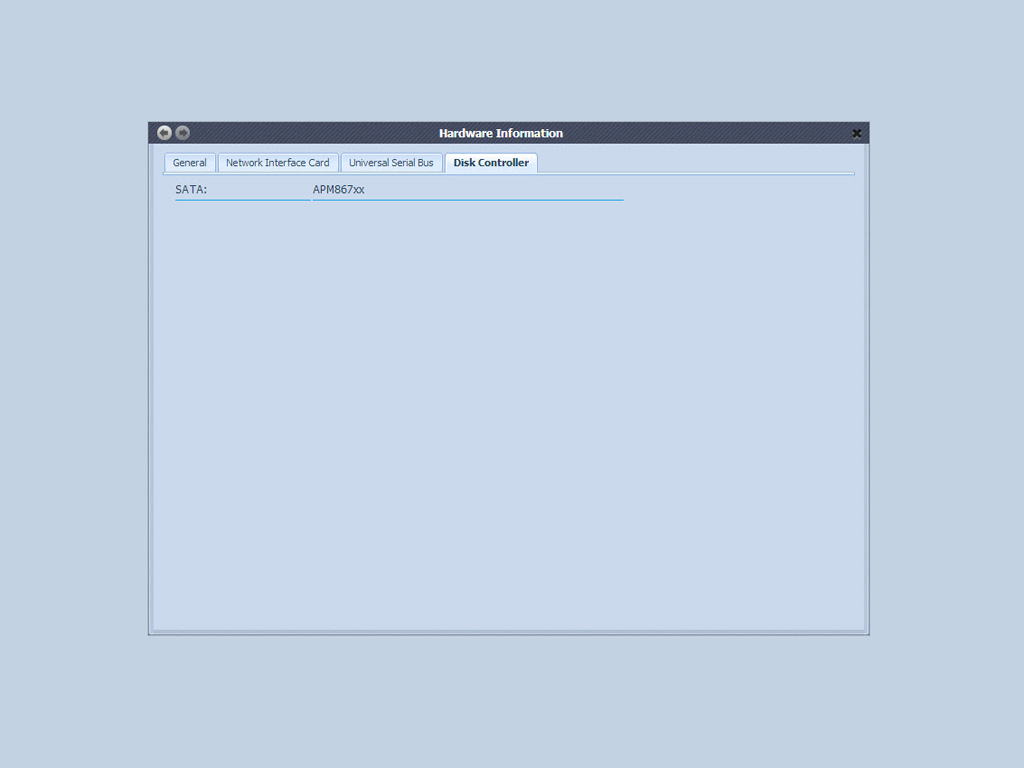
The Hardware Information option has the same function as the Device Manager in Windows: It covers every piece of hardware in detail, including CPU model, the amount of installed RAM, and which USB-, Network-, and Disk controllers are installed.

Enable the User Access Log here if you want to monitor various user activities closely.
Feb 27th, 2025 20:57 EST
change timezone
Latest GPU Drivers
New Forum Posts
- It's happening again, melting 12v high pwr connectors (946)
- Nvidia's GPU market share hits 90% in Q4 2024 (gets closer to full monopoly) (678)
- GameTechBench GPU benchmark is already out! (283)
- What local LLM-s you use? (82)
- Free Games Thread (4495)
- Nvidia dropped 32-bit CUDA support with the 5000 series, not just 32-bit PhysX (1)
- RTX5000 Series Owners Club (141)
- modding cables - PSU (3)
- 9800 x3d overheating what is the stock voltage (30)
- RX 6600 R5 5600. Getting a 144hz monitor soon, what games could run well on it? (0)
Popular Reviews
- Montech HyperFlow Silent 360 Review
- ASUS GeForce RTX 5070 Ti TUF OC Review
- Gigabyte X870 Aorus Elite WiFi 7 Review
- Corsair Xeneon 34WQHD240-C Review - Pretty In White
- AMD Ryzen 7 9800X3D Review - The Best Gaming Processor
- MSI GeForce RTX 5070 Ti Ventus 3X OC Review
- MSI GeForce RTX 5070 Ti Vanguard SOC Review
- Corsair Virtuoso MAX Wireless Review
- Montech TITAN PLA 1000 W Review
- MSI GeForce RTX 5070 Ti Gaming Trio OC+ Review
Controversial News Posts
- NVIDIA GeForce RTX 50 Cards Spotted with Missing ROPs, NVIDIA Confirms the Issue, Multiple Vendors Affected (497)
- AMD Radeon 9070 XT Rumored to Outpace RTX 5070 Ti by Almost 15% (304)
- AMD Plans Aggressive Price Competition with Radeon RX 9000 Series (274)
- AMD Radeon RX 9070 and 9070 XT Listed On Amazon - One Buyer Snags a Unit (255)
- NVIDIA Investigates GeForce RTX 50 Series "Blackwell" Black Screen and BSOD Issues (244)
- Edward Snowden Lashes Out at NVIDIA Over GeForce RTX 50 Pricing And Value (241)
- AMD Denies Radeon RX 9070 XT $899 USD Starting Price Point Rumors (239)
- AMD Mentions Sub-$700 Pricing for Radeon RX 9070 GPU Series, Looks Like NV Minus $50 Again (226)