We will now take a look at some of the more important settings of the Control Panel. You will definitely come across these if you purchase the NAS. We will break these settings down into seven categories and will present them in the same order as in the Control Panel.
System Management
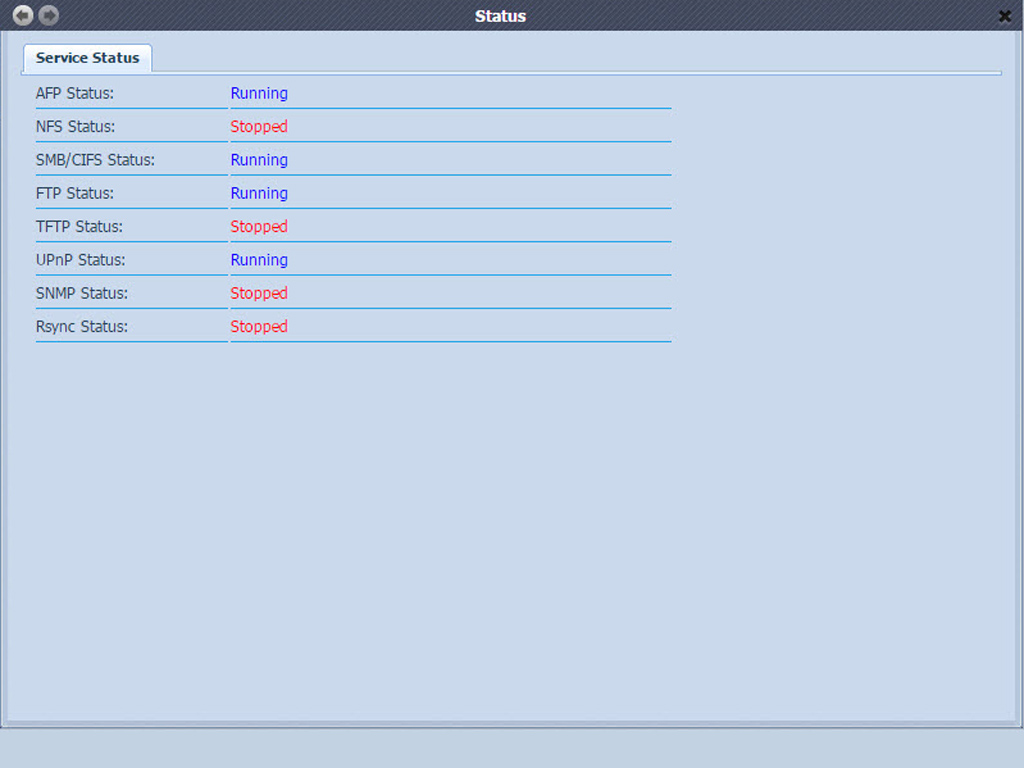
Use the Service Status tab to check on the state of various services and whether they are up and running or paused.
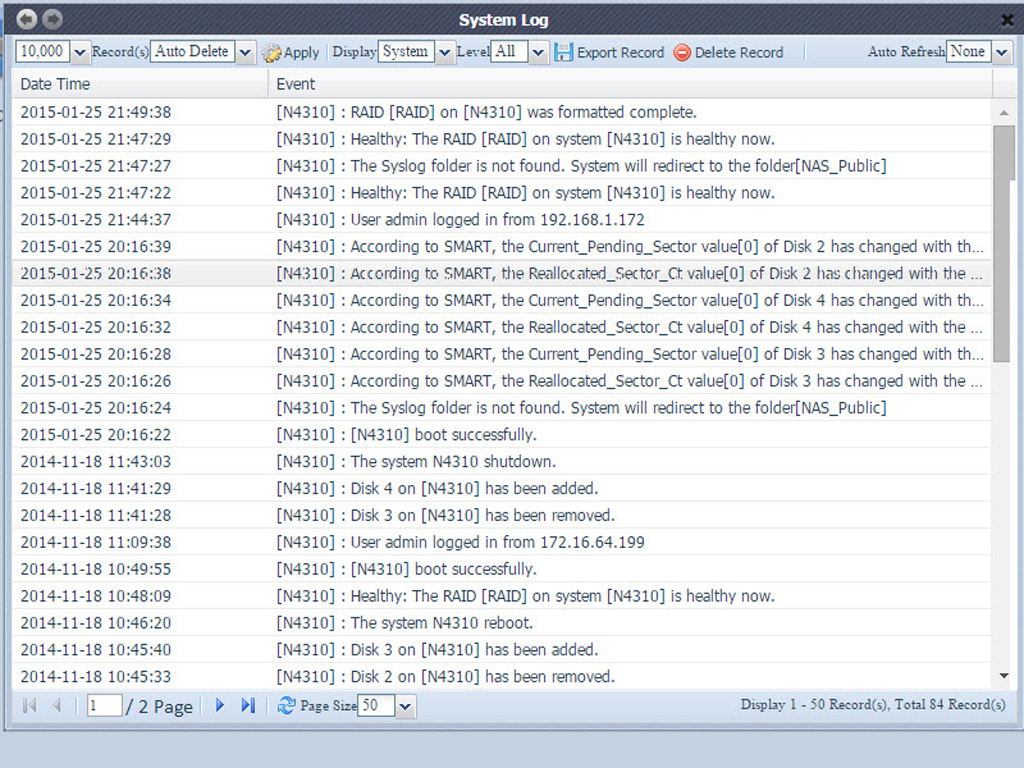
The System Log keeps a history of system usage and tracks all important disk status-, network information-, and system-booting events. The Syslog Management menu will generate a system log that can be stored locally or on a remote server. It can also act as a Syslog server to other devices, which is a useful function for a network with lots of clients.
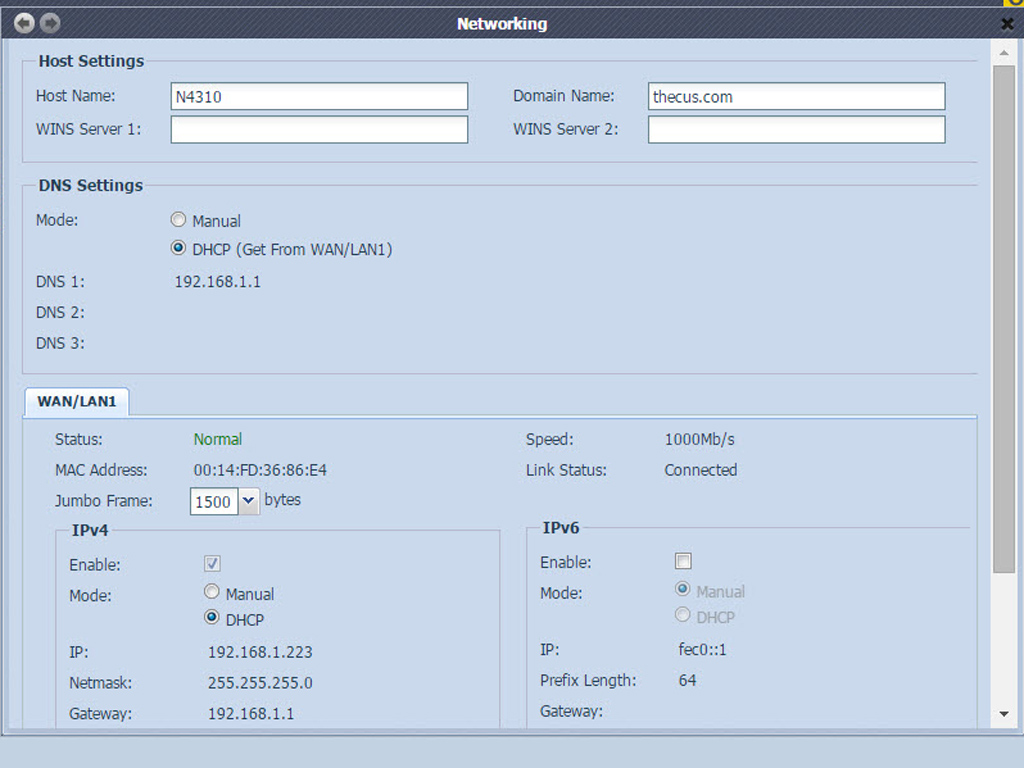
This screen covers all global network parameters and available network connections. You can change any of these items by simply clicking on Apply once to implement them. You need to set a static IP to the NAS to set your router's and firewall's NAT settings accordingly. Every change to these network options unfortunately requires a reboot, which can be annoying.
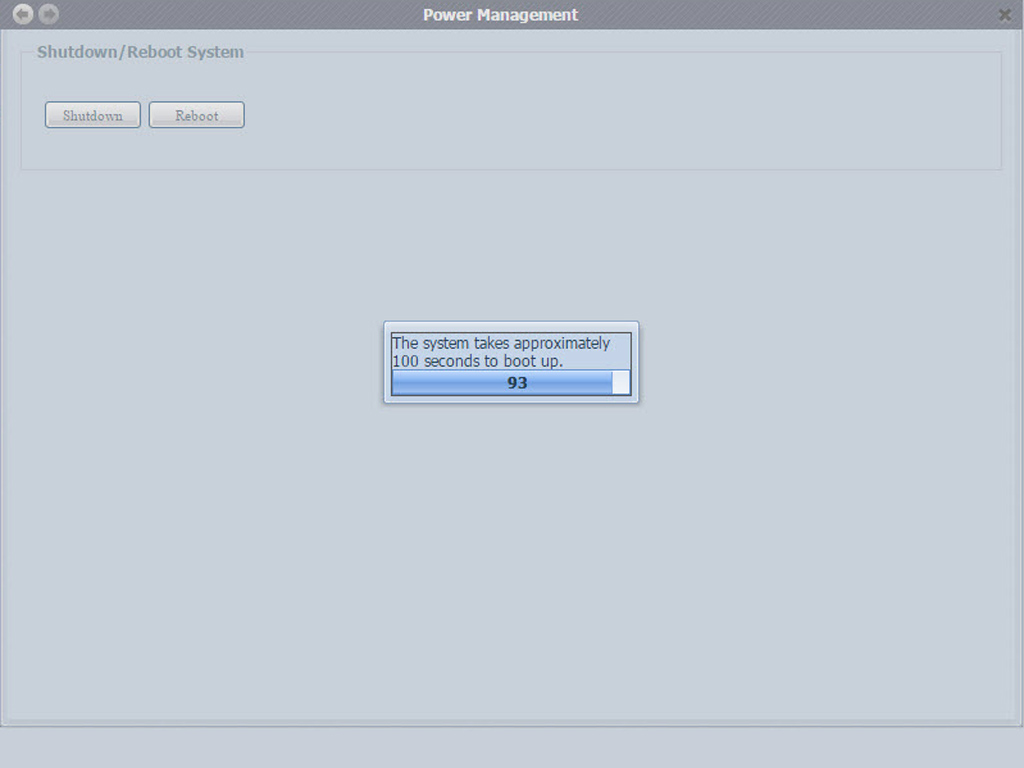
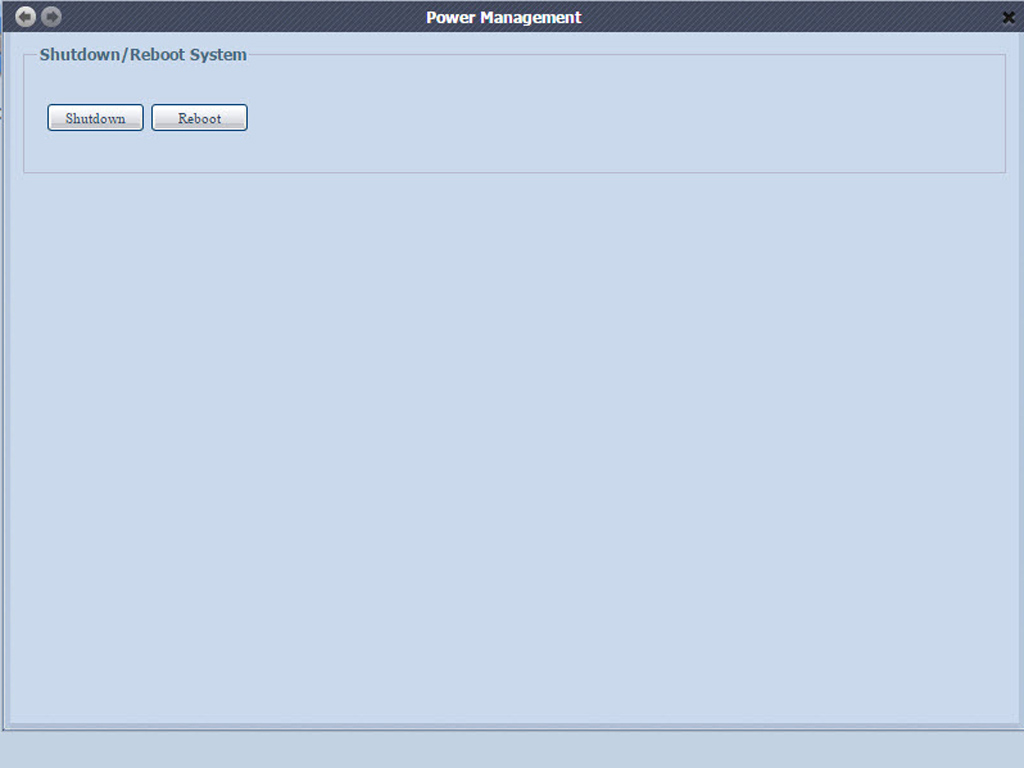
This simple menu allows you to shut-down or restart the NAS. It is much more convenient to use a similar menu located in the bottom-left corner of the administration interface.
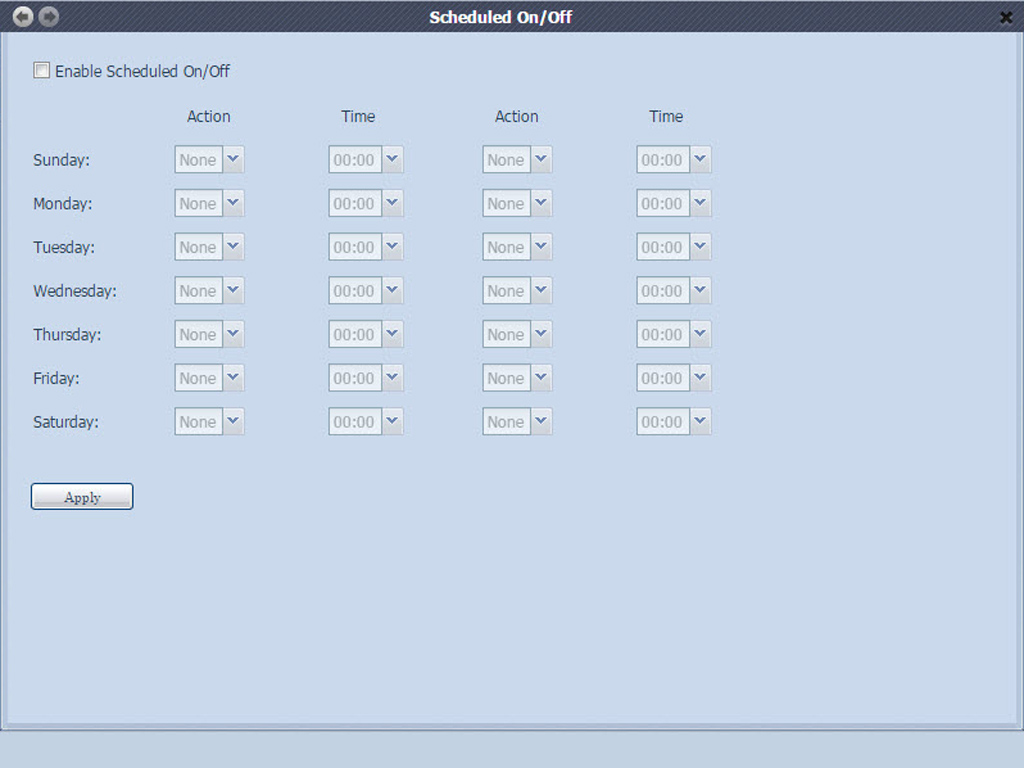
You can create and implement your own operations schedule through this menu, which would keep energy usage at a minimum.
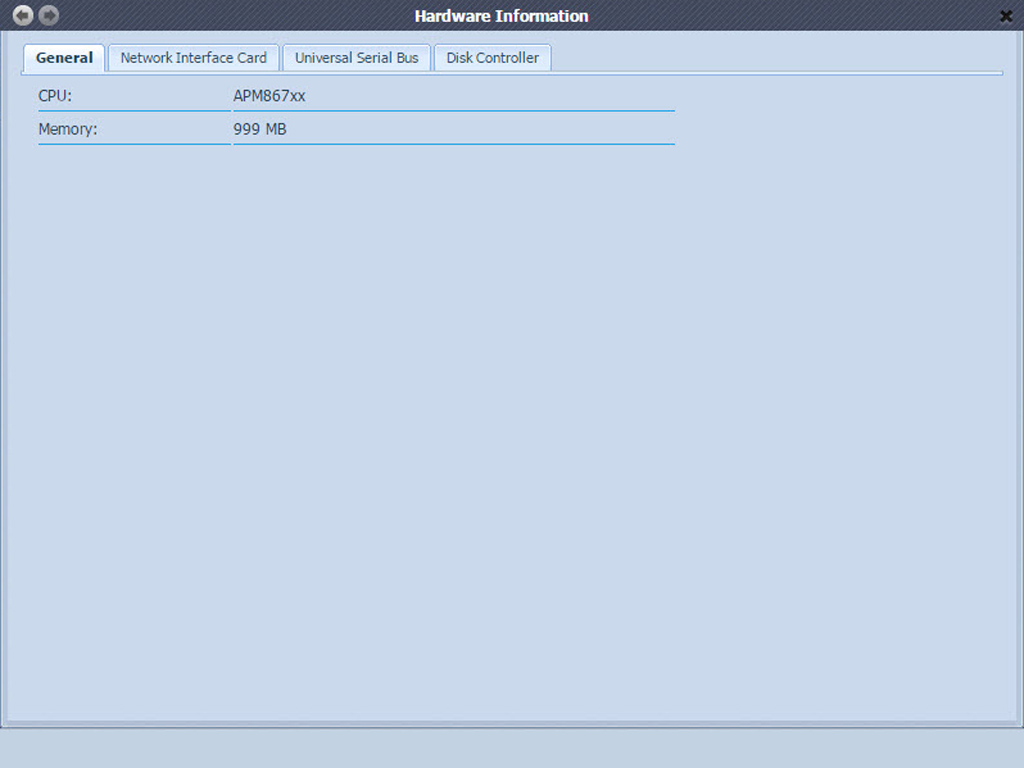
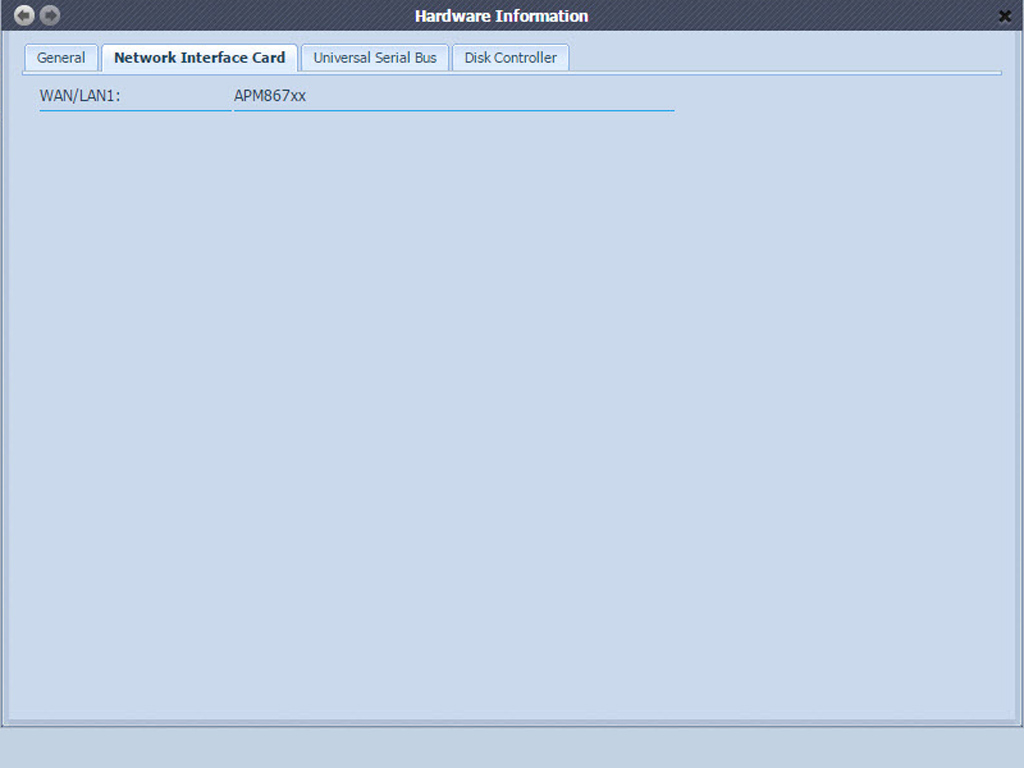
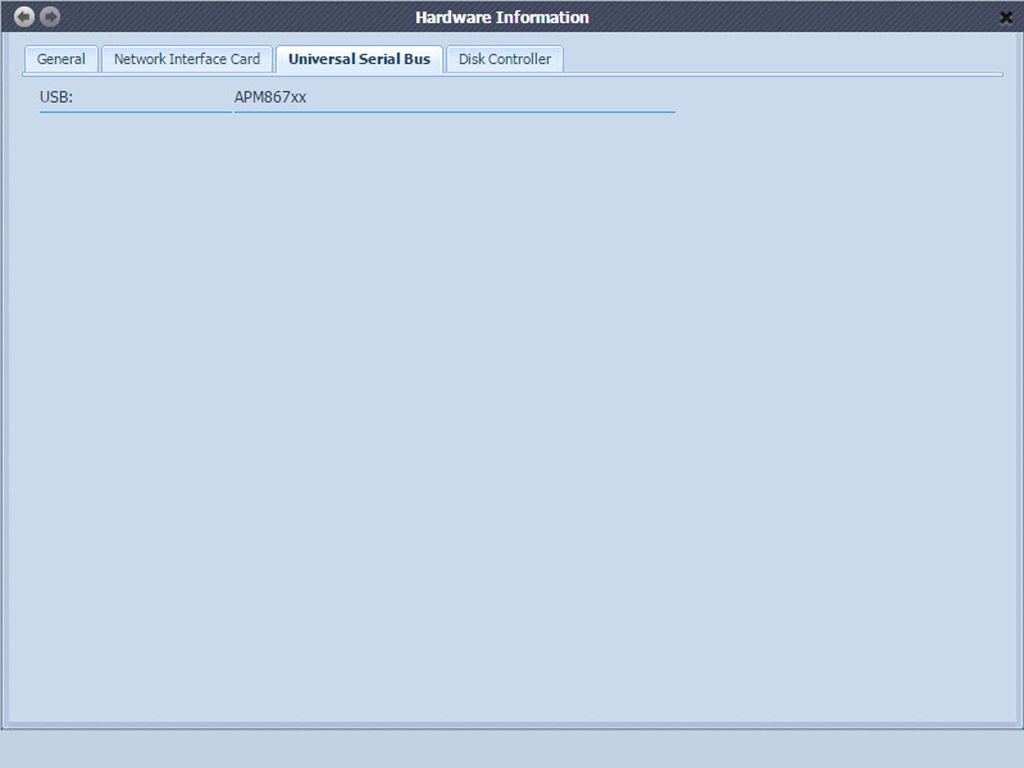
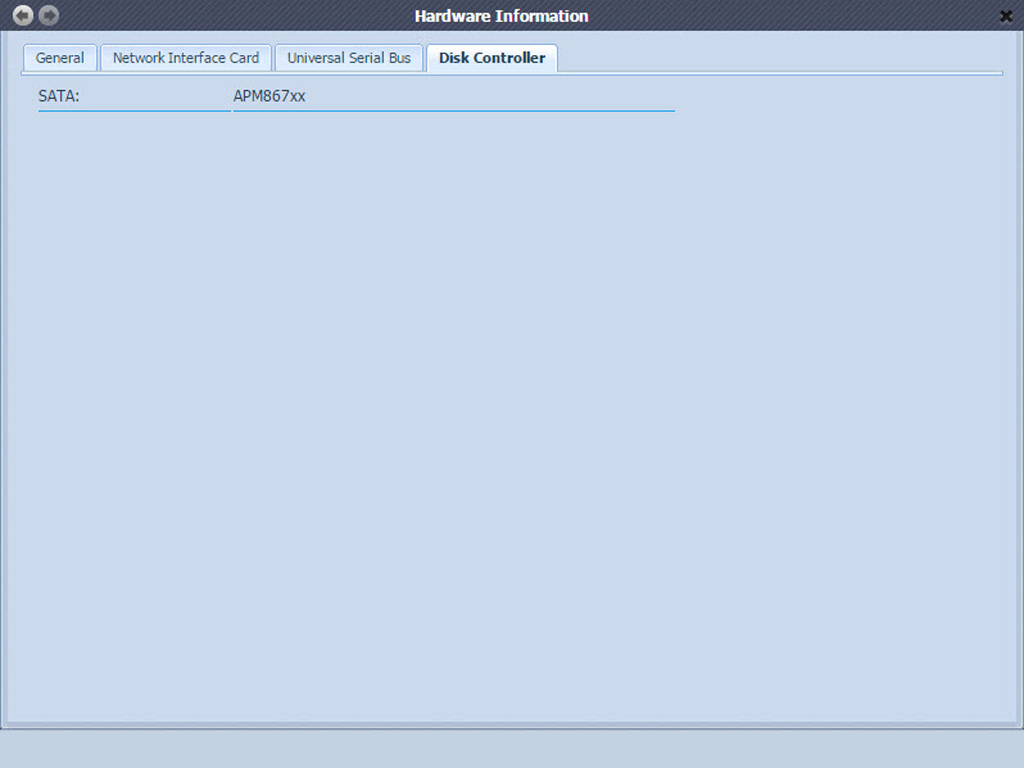
The hardware information page doesn't include any details on the N4310's hardware as it only lists the SoC model and the available RAM total.
As has already been stated, the N4310 supports dual power inputs. Enable this function and the NAS will check on whether both power jacks are connected properly to figure out whether they are supplying the correct voltage. You will obviously need a second power brick to utilize this function.
Storage
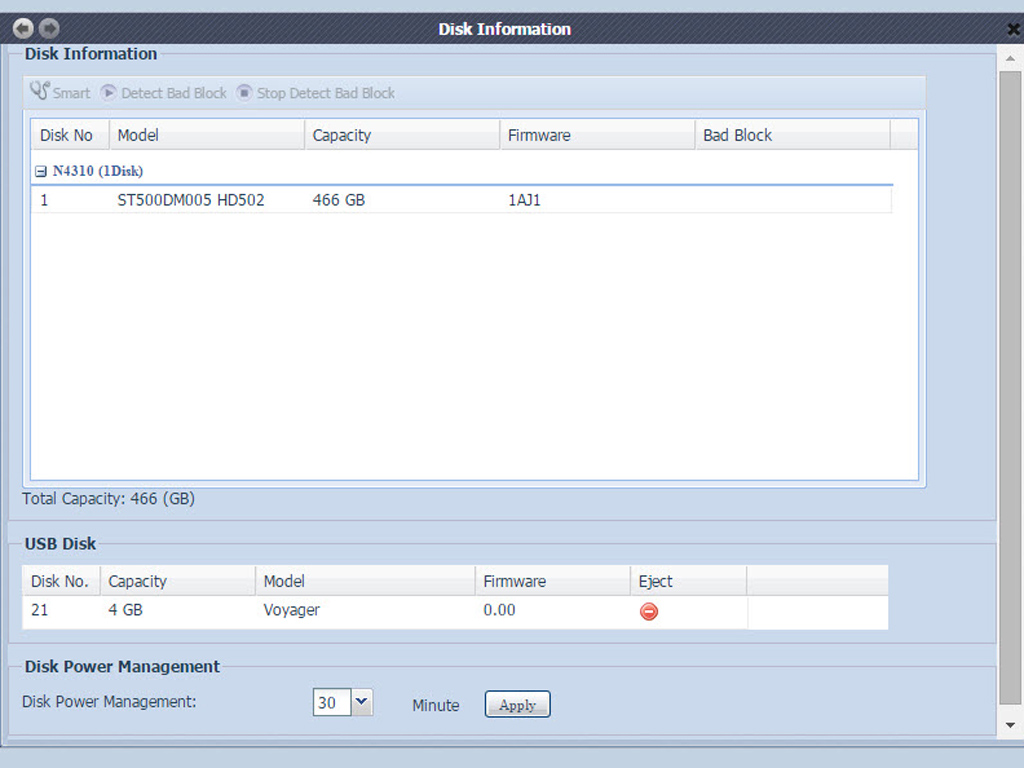
The Disk Information tab allows you to monitor all installed disks, see their S.M.A.R.T information, and perform a bad block scan. The Disk Power Management menu allows you to set a time window after which the disks will go to sleep. All attached external disks will also be displayed on this page.
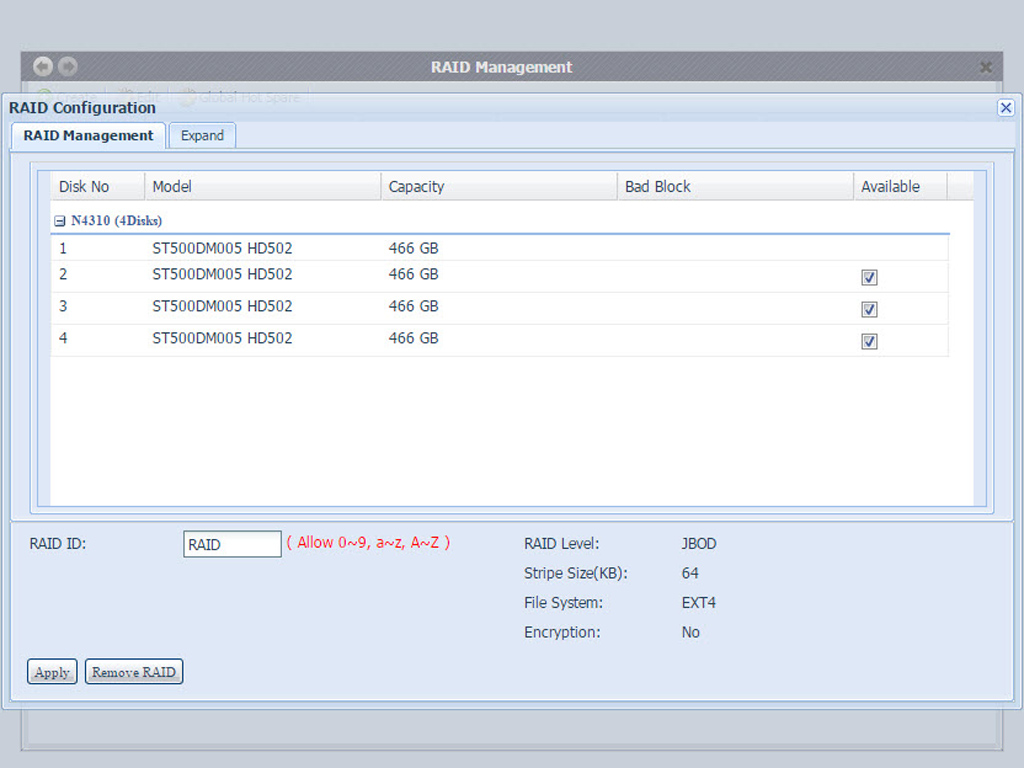
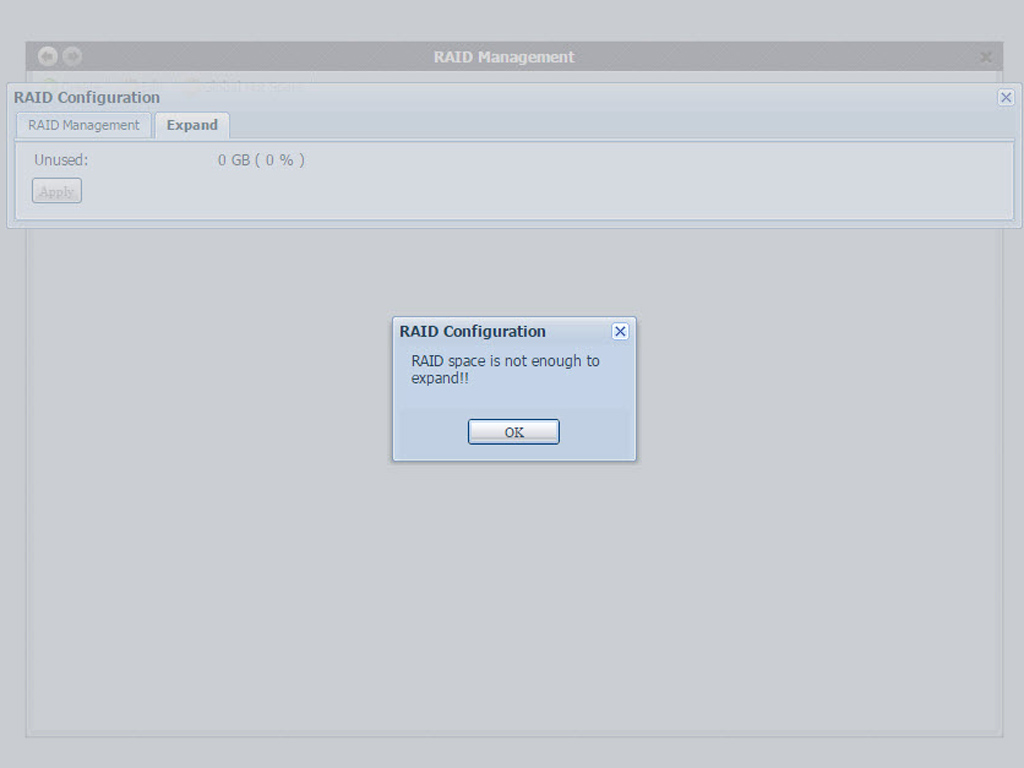
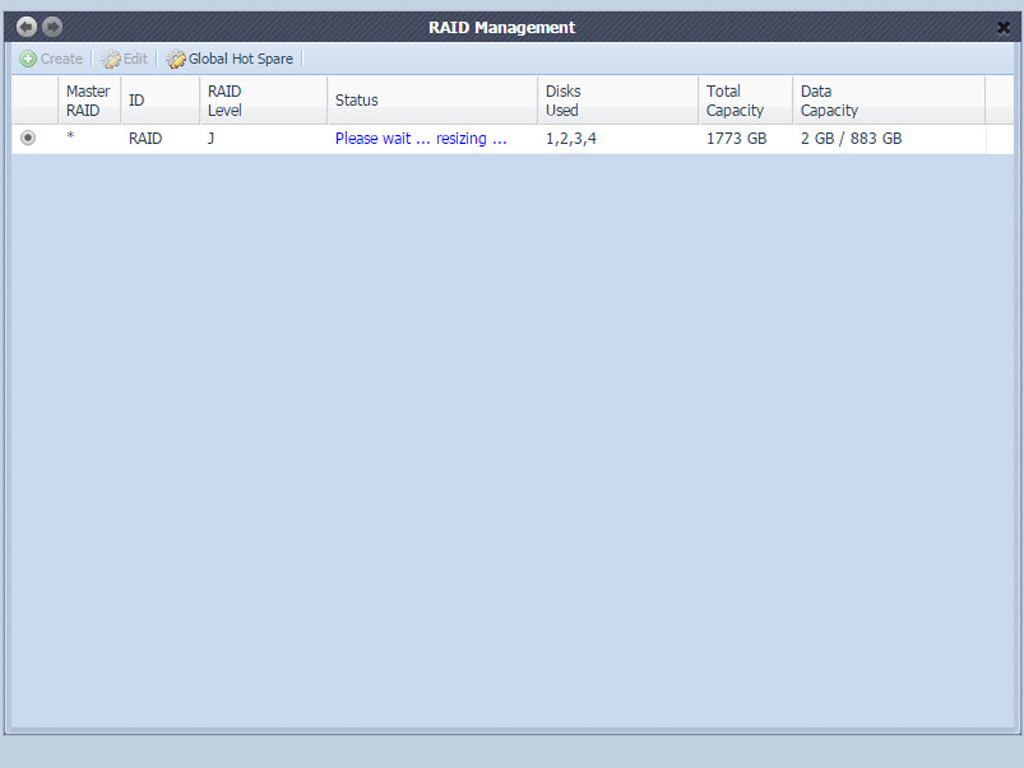
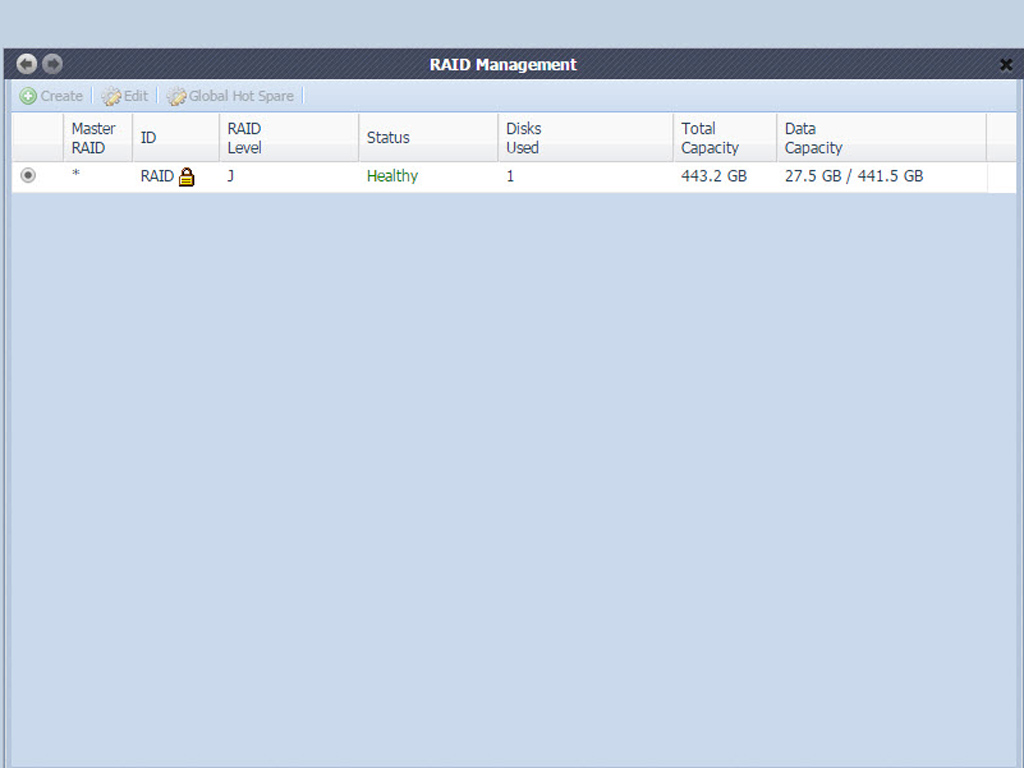
Everyone who buys the N4310 will use the RAID management menu at least once since this is where all installed HDDs are configured into a supported RAID level or JBOD (Just a Bunch of Disks). It is fairly easy to use and provides a fast RAID-build option, which will speeds things up significantly. However, we found it to be flawed as you can't migrate to another RAID level if you opt to initially install one disk and add another after the initial procedure. Nor can you expand the capacity of an existing JBOD volume in such a situation. The only option you are left with is to back the data up somewhere else to delete the volume and start from scratch. We noticed the same problem with the N2310, and although many months have passed since our N2310 review, Thecus still hasn't provided a fix, which is unfortunate. There is, oddly enough, no issue at all in expanding a volume if you initially install two HDDs instead.
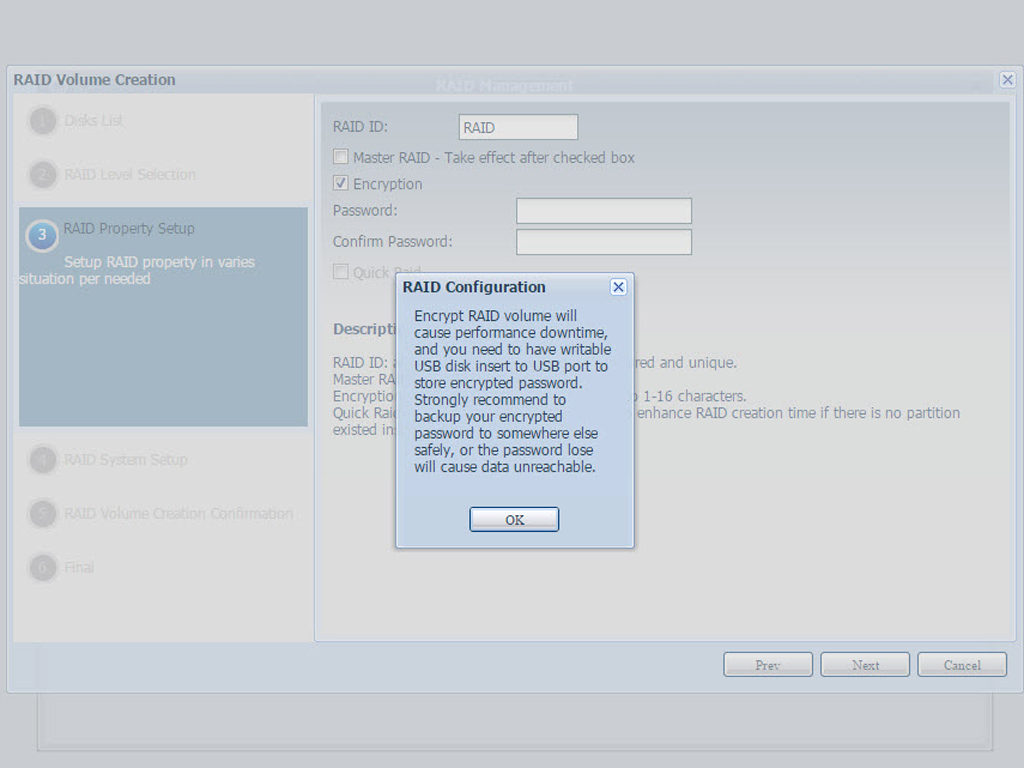
To encrypt a volume, you have to connect a USB stick/disk to one of the two USB 3.0 ports.
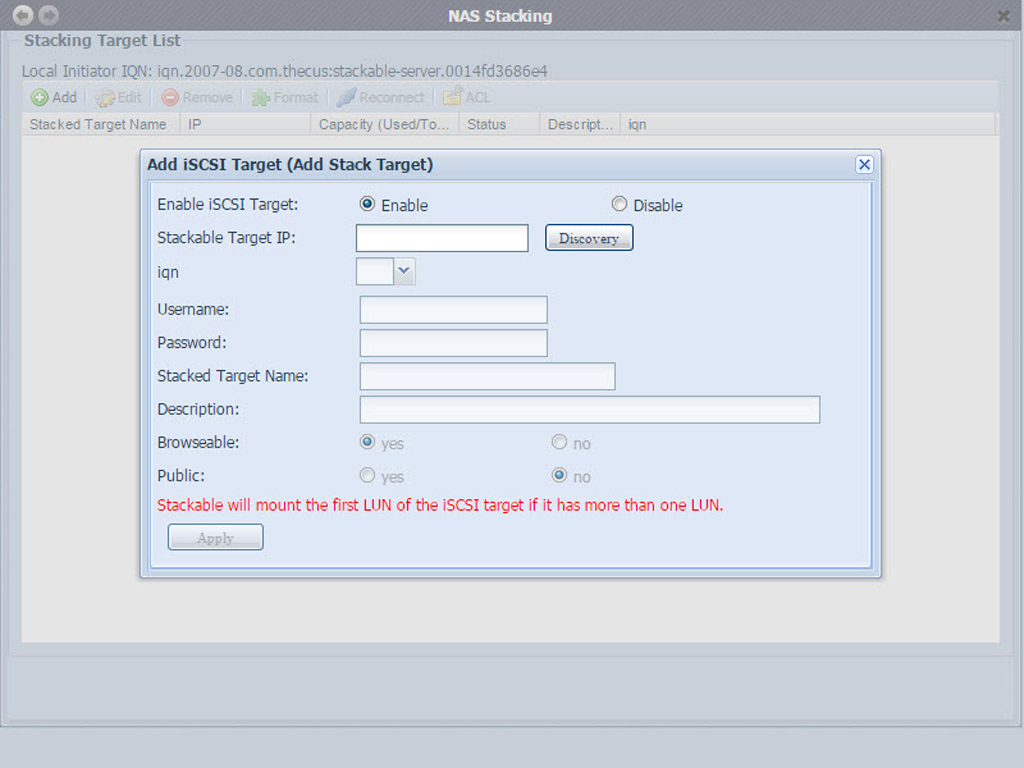
The N4310's storage capacity can be expanded upon even further with the stackable function. It allows you to expand the network storage's capacity with up to five other stack target volumes on different systems. These can be stacked through such single-network-access solutions as SMB, or AFP so long as it acts as a shared folder.
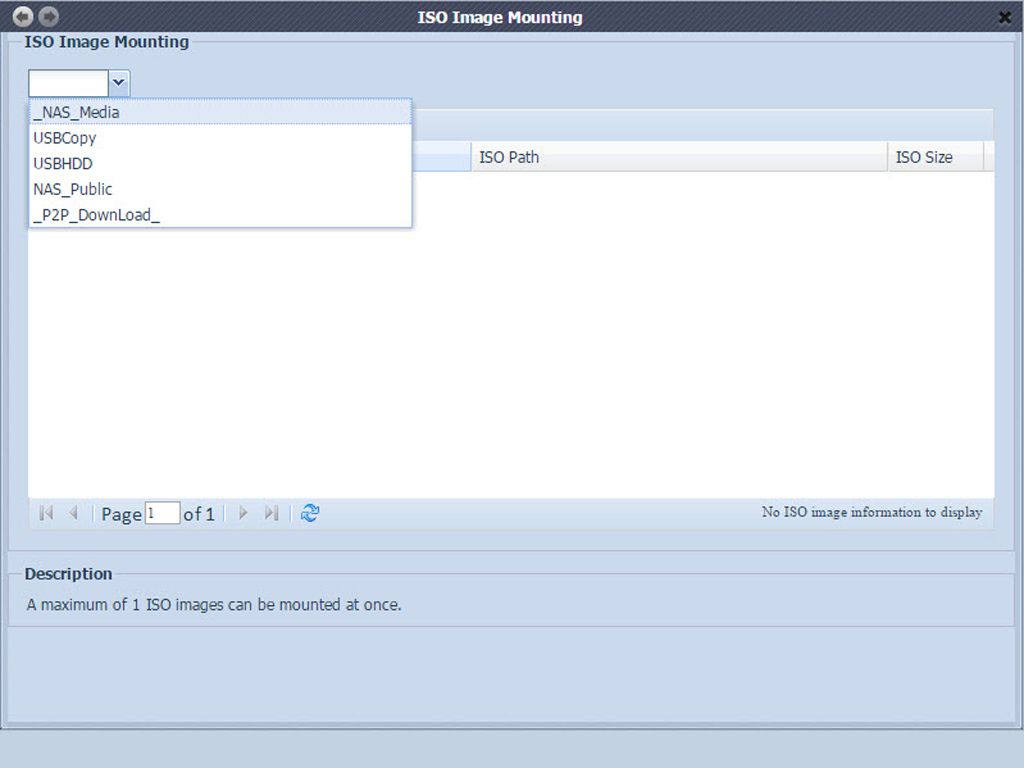
The ISO image mounting feature allows you to mount an ISO file and check on all the details of the mounted ISO file.
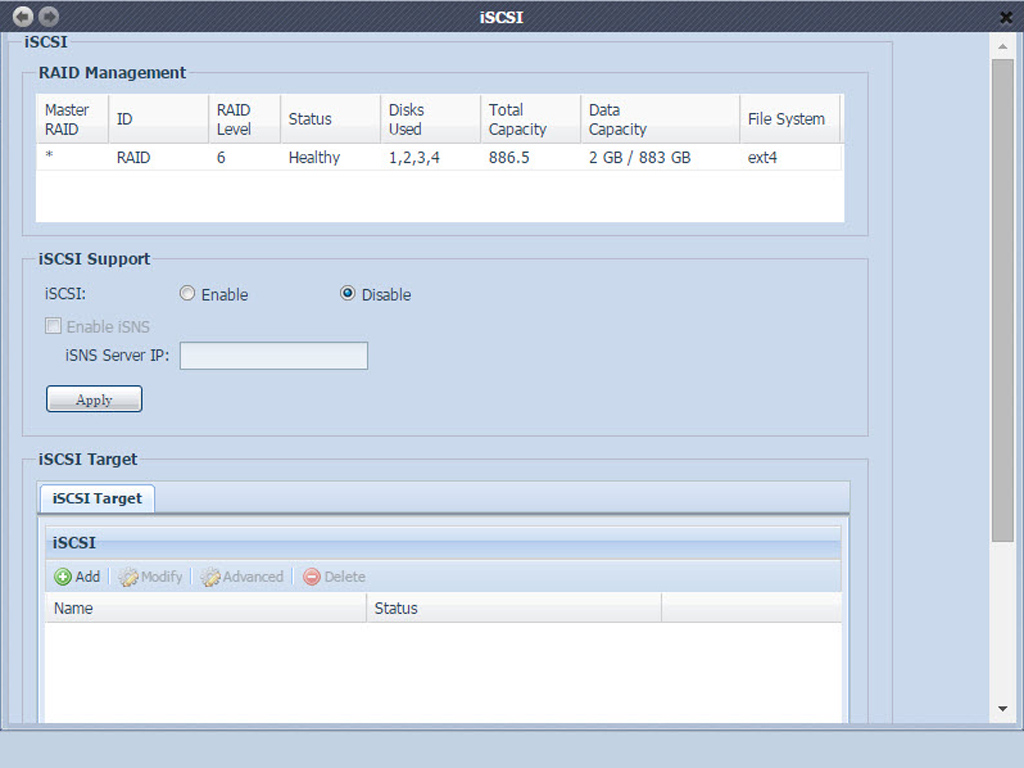
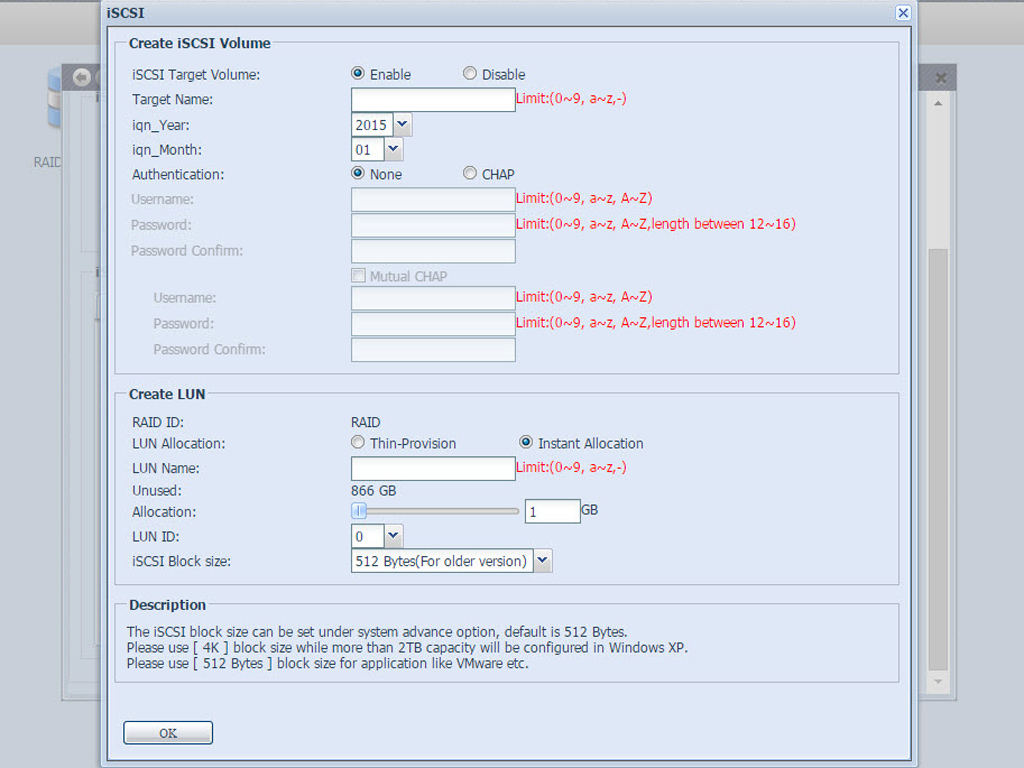
This menu allows you to add and create iSCSI target volumes. The N4310 supports up to fifteen iSCSI volumes. These options also allow you to allocate storage space to an iSCSI volume.
File Sharing
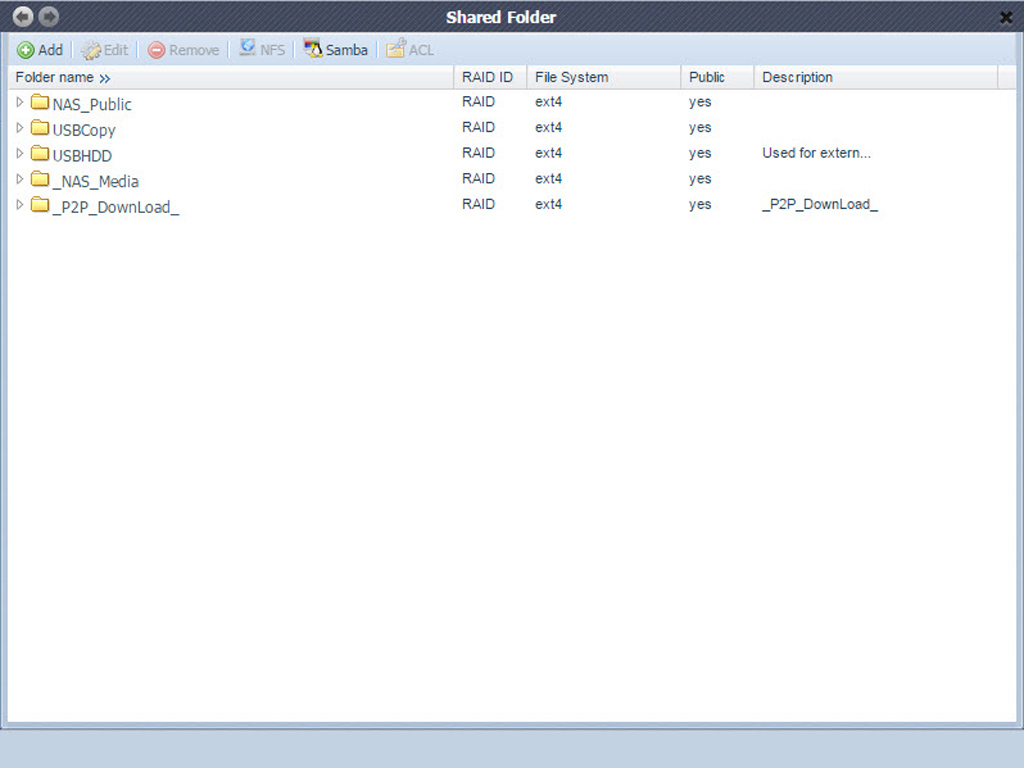
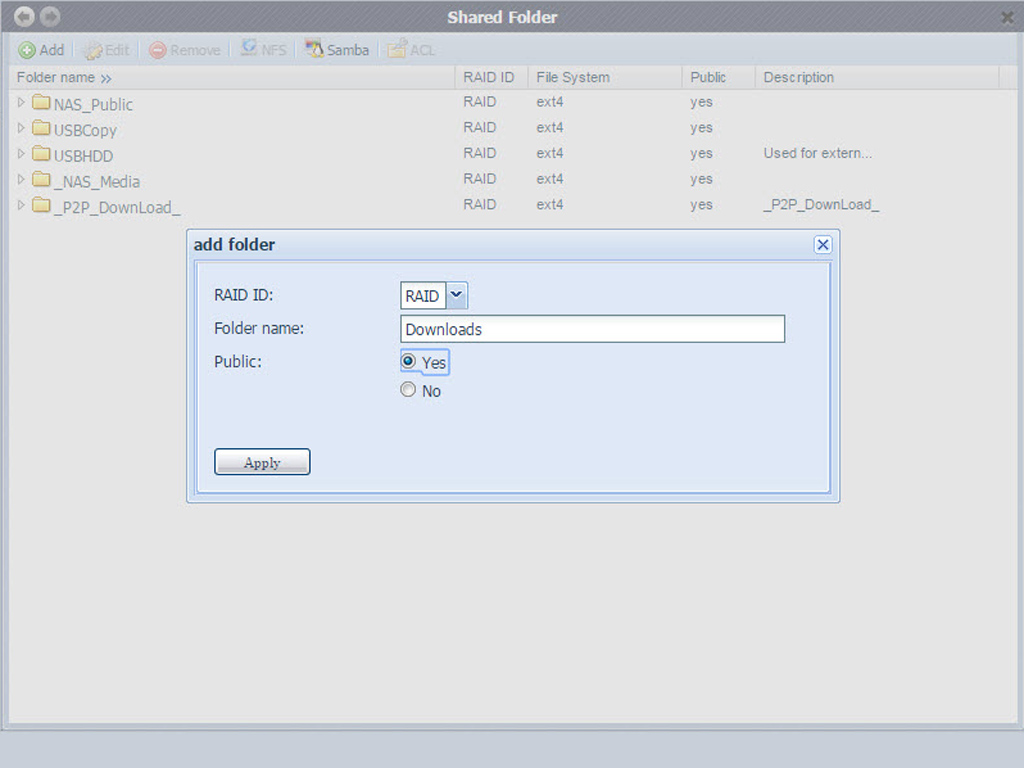
This menu allows you to create and configure folders on your NAS storage volume. You can also delete shared folders, set Samba and NFS share options, and configure the folder and subfolder Access Control List through the ACL menu.
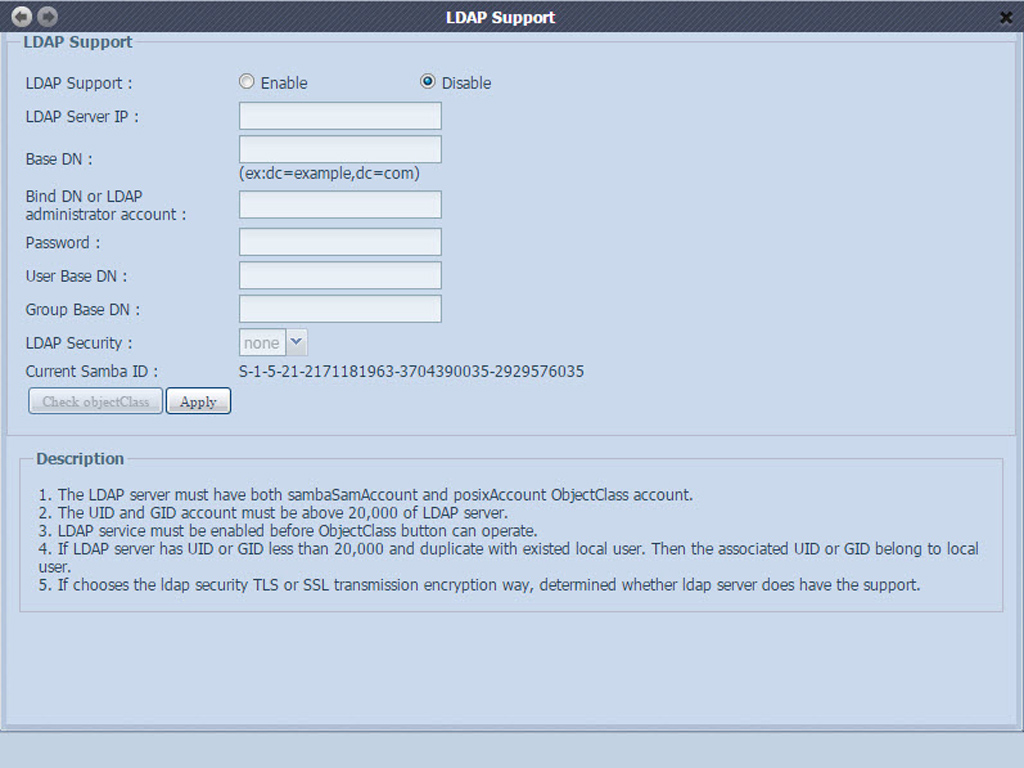
LDAP is another way to authenticate users who have joined the LDAP server. You will, however, have to fill in the LDAP server's information to enable LDAP authentication.
Network Service
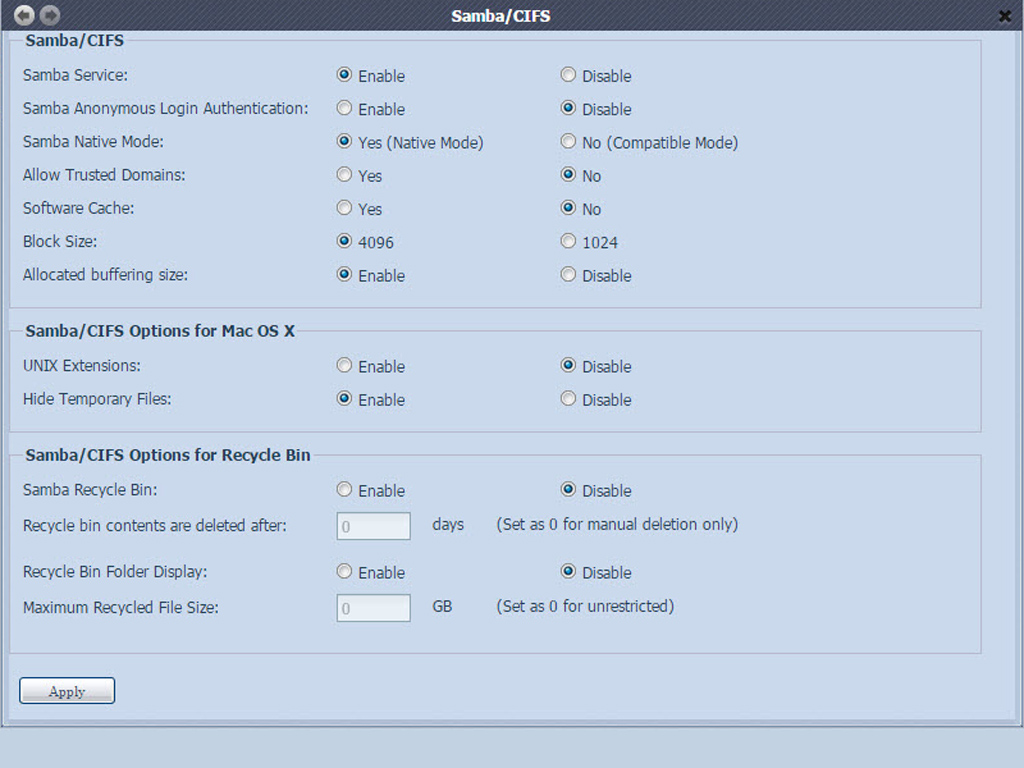
Samba needs to be enabled if you want to access the sever's folders through a Windows client. You will find all the Samba options in this menu.
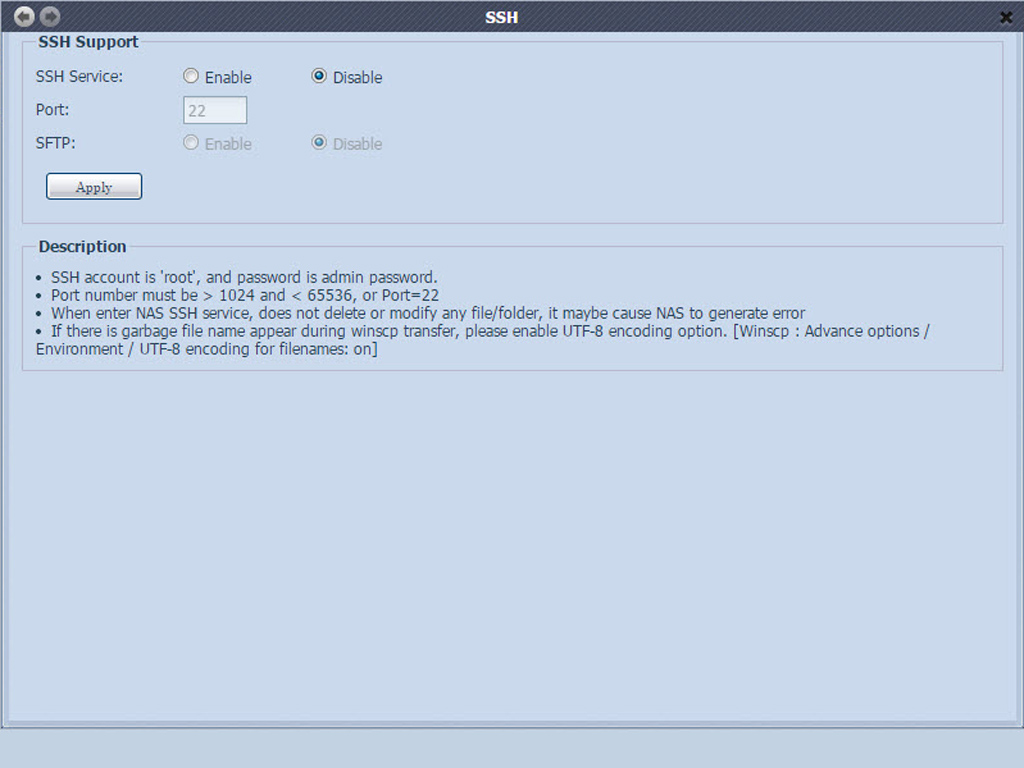
The SSH protocol is supported, and it gives you access to the console of the N4310's operating system. The default login name is "root", and the password is the one you set for the admin's account.
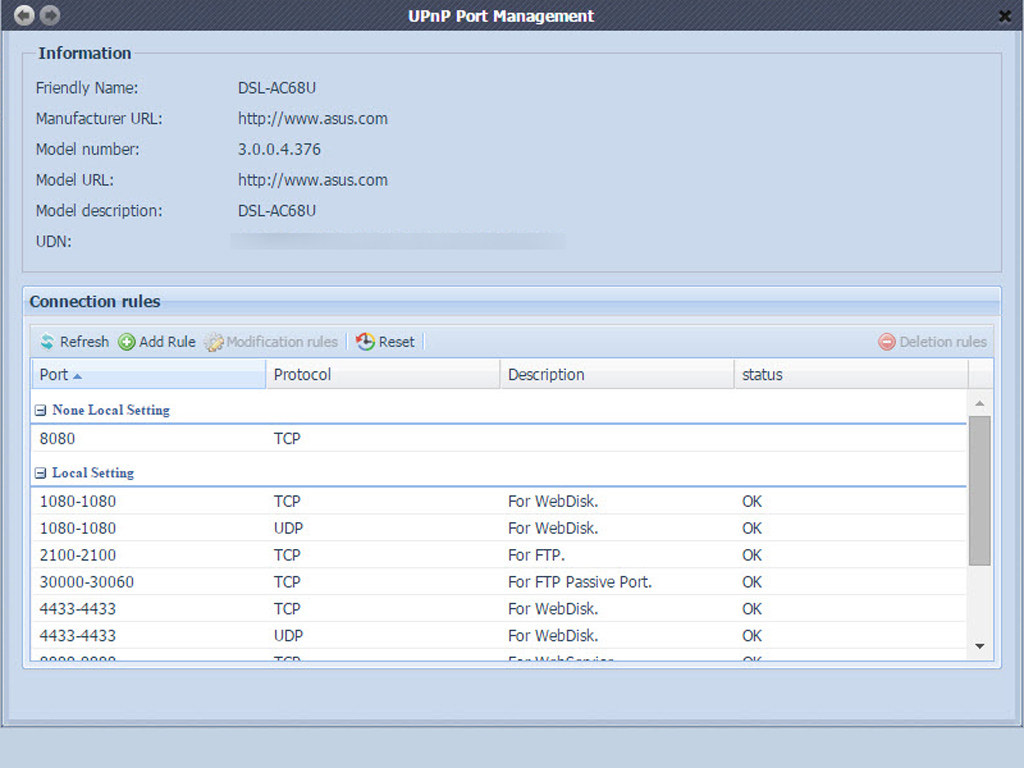
One of the most convenient ways to give users access to such required services as FTP, SSH, web disk, and http through the Internet is by enabling UPnP port management. You must confirm whether your router supports UPnP to set up this UPnP port-forwarding feature, but make sure your router has the service enabled.
Application Server
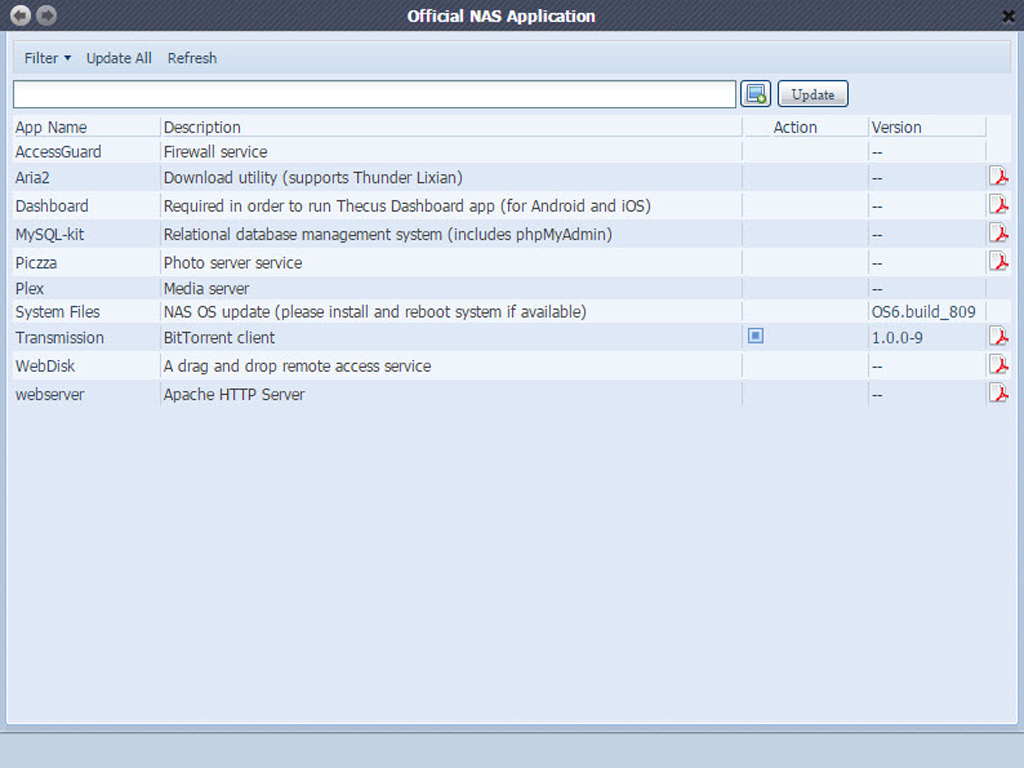
The NAS Application menu lists every piece of system software currently installed and mentions its application status. The third party App menu allows you to see and install all available third party user modules. The main problem is that Thecus's App center isn't as advanced as QNAP's or Synology's, which they should fix promptly. We recommend merging the above apps into one and making the interface nicer and simpler to use.
Backup
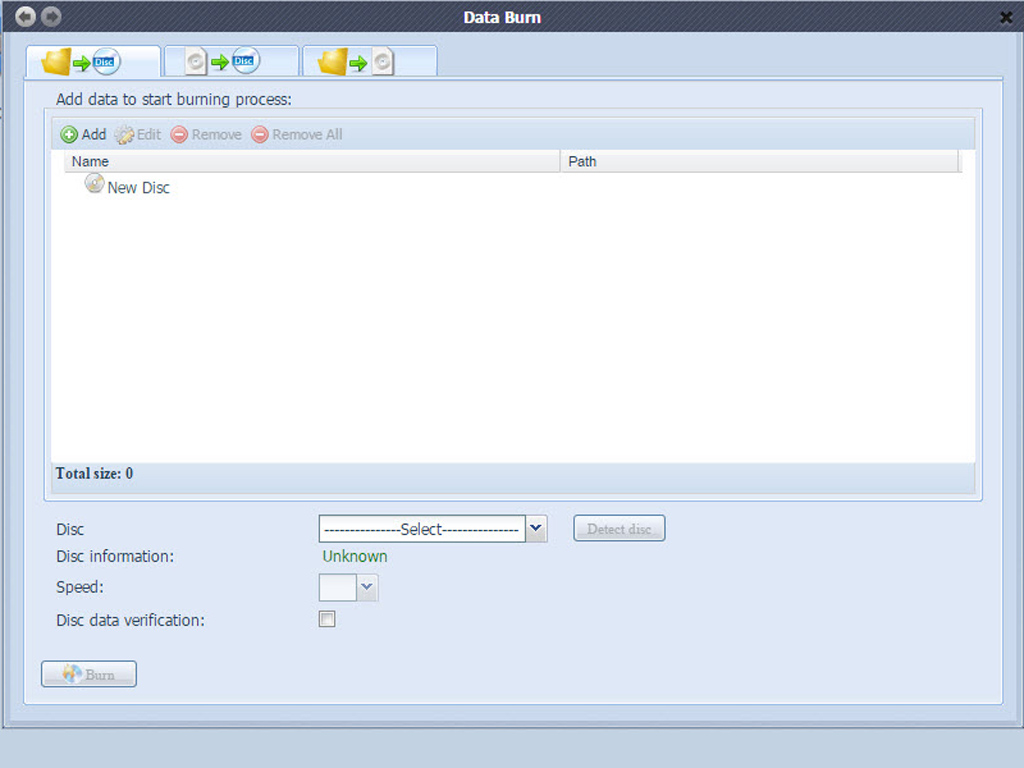
Data Burn allows you to write files and folders to an optical disc, write an image to a disc, or write files and folders to an image. You must install a USB burning device to use this feature with the N4310.
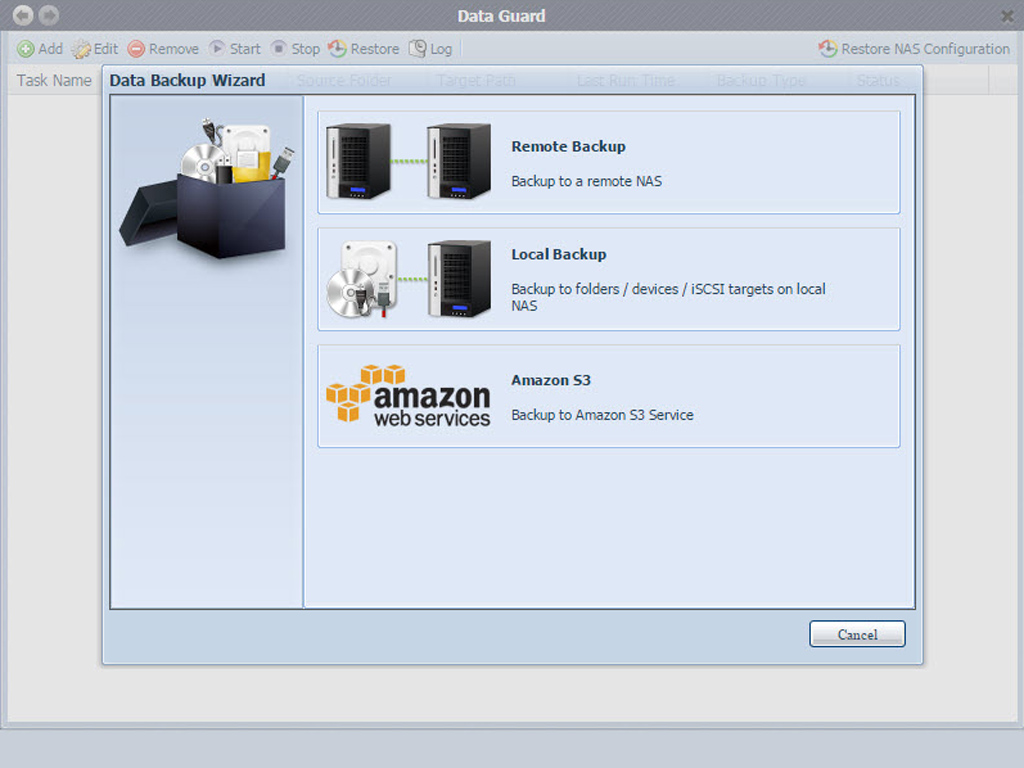
Data Guard provides you with the ability to create backup tasks for easy and automatic data backups.
External Devices
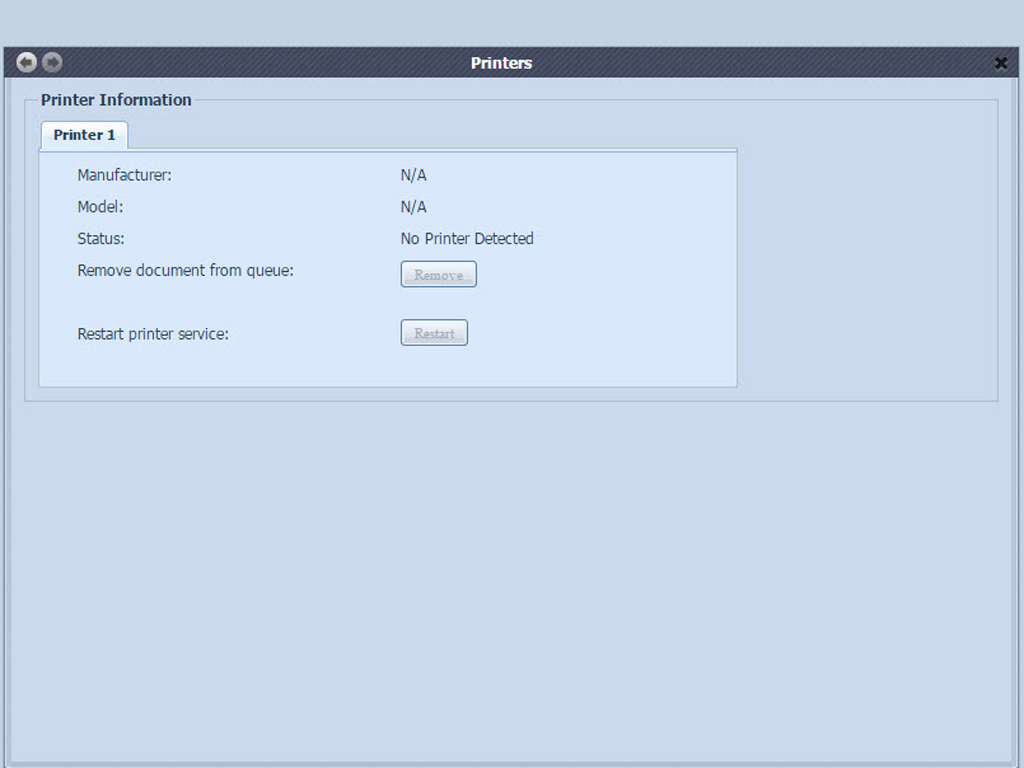
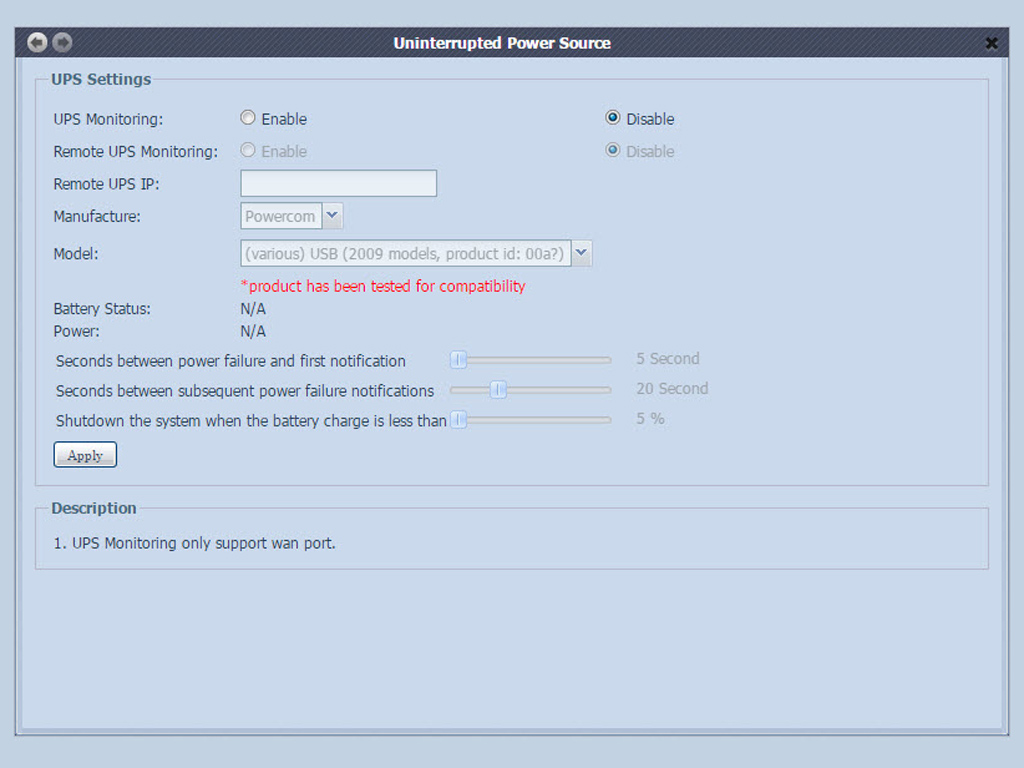
The unit's External Device Options tab only includes options for UPS- and USB printers, so we hope Thecus will include external storage options in this menu soon. They should at least add an option that allows you to format external disks since you currently have to format them over a PC before hooking them up to the NAS. You will find all attached external (USB) storage devices in the Disk Information window; however, you can't interact with any of the information there.
 0
0