 4
4
Thermaltake Armor A90 Review
Assembly & Finished Looks »A Closer Look - Inside
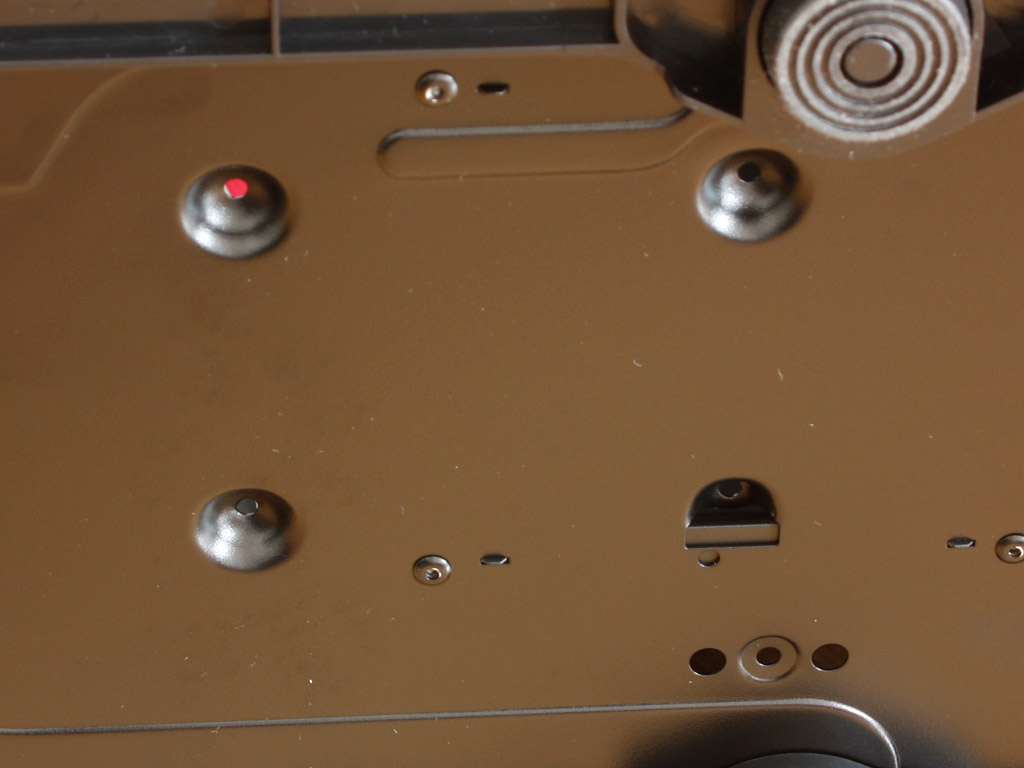
To gain access to the interior, simply remove the thumb screws holding each panel in place. Thermaltake has kept the layout quite simple but also has one big drawback. The interior only allows for graphics cards with up to 260 mm length. That leaves people with a Radeon HD 5870 or GTX 480 out of luck, which are 270 and 267 mm in length. Also, instead of traditional spacers, Thermaltake has placed bumps on the tray for mainboard installation. While this saves you the step of placing spacers in the appropriate locations, it may also short your board out if leads on the underside touch these bumps. I would suggest taping them down before installing your mainboard. Turning the chassis around, one can clearly see the opening below the mainboard area. It looks rather compact and I have my doubts if it is large enough to expose the entire backplate of a CPU cooler.
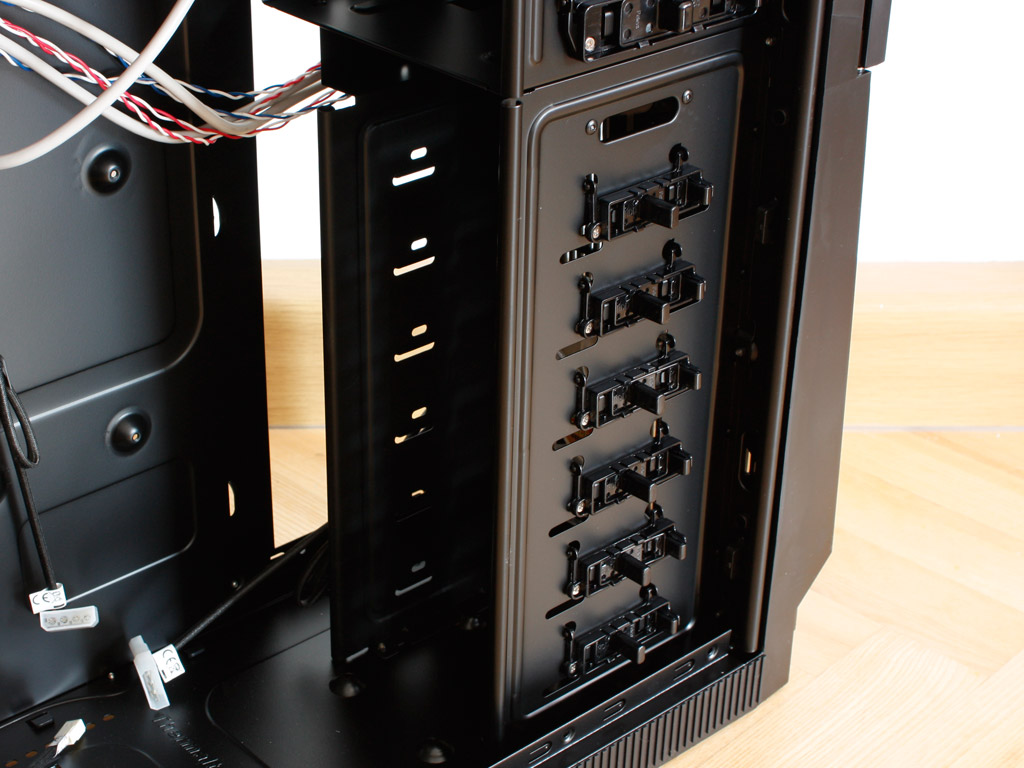
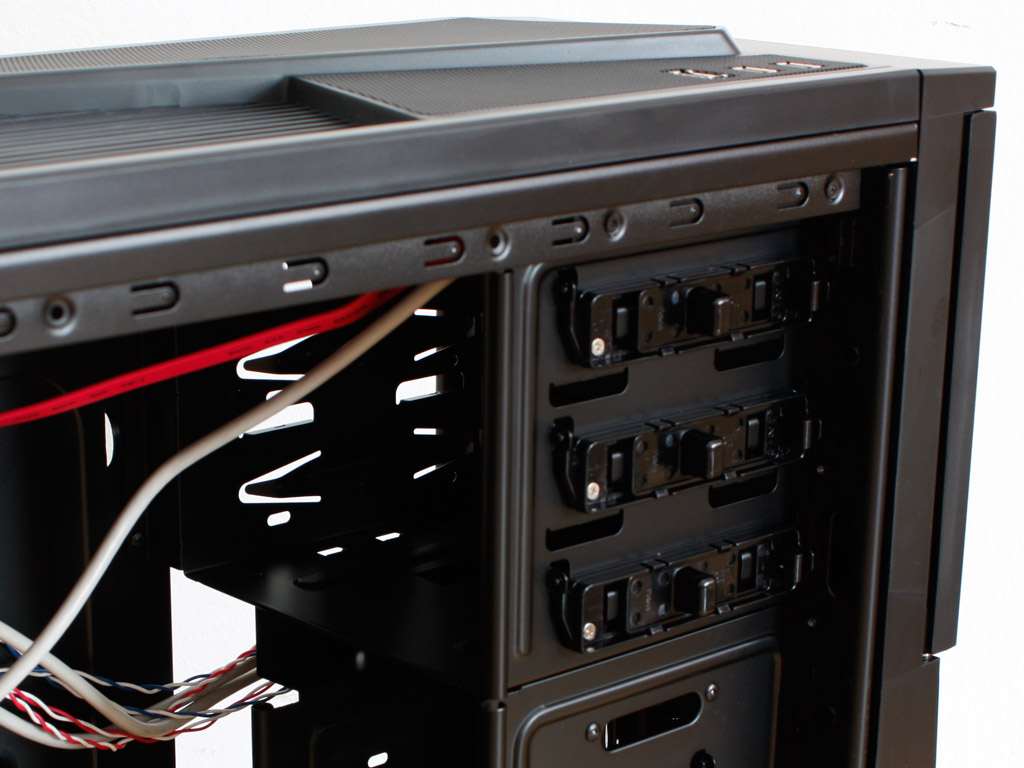
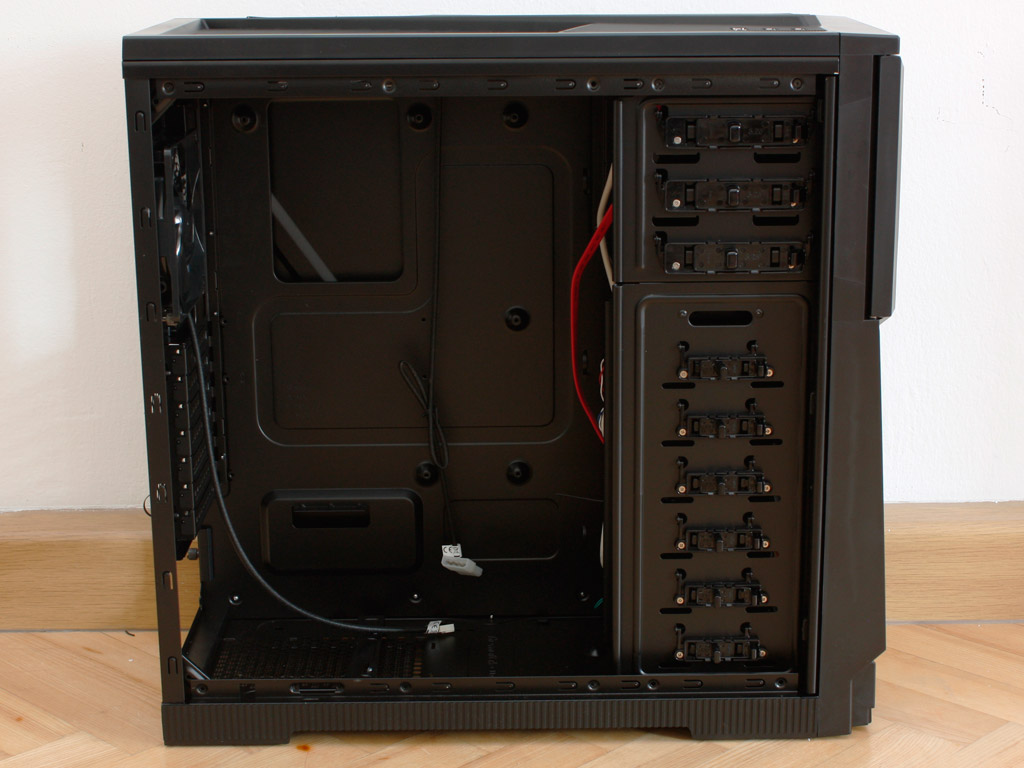
Turning our focus to the inner front, let me start from the bottom. Here is a 2.5 inch bay intended for SSDs. You can only access the screws from the underside of the case. Doing so with a full chassis may be a bit of a pain. Above that are the six hard drive bays with plenty of spacing inbetween each other to let air pass through freely. The very top area is taken by the external drive bays. All of the bays, with the exception of the external 3.5 inch one, come with plastic locks on one side and the option to screw them down on the other.
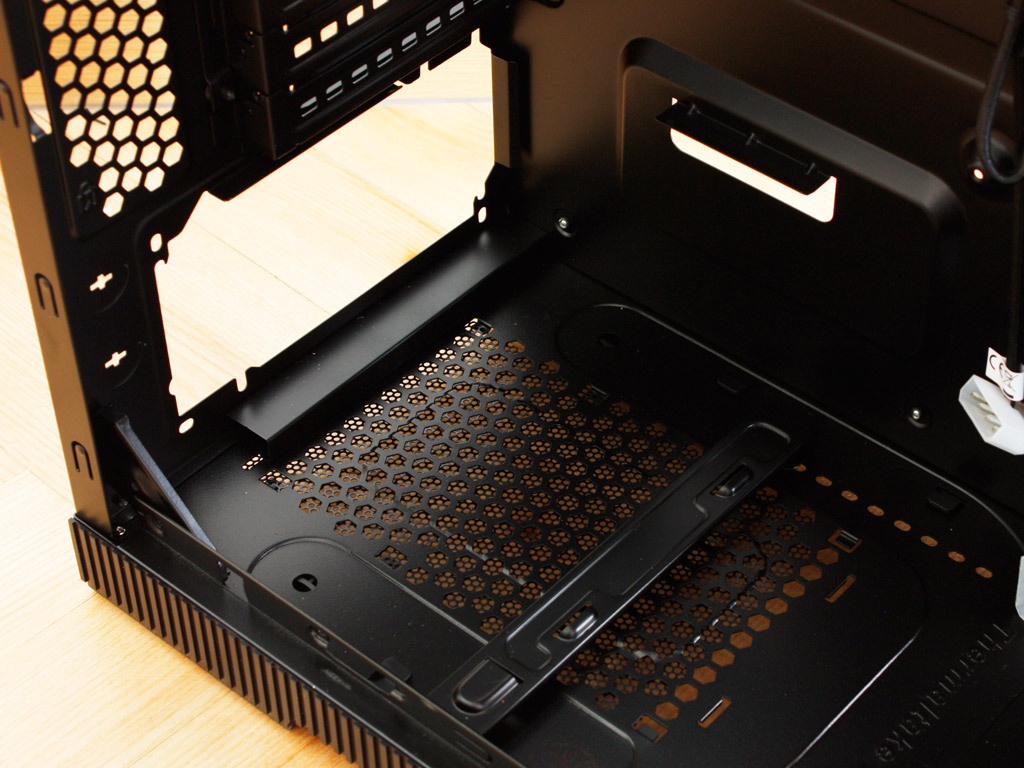
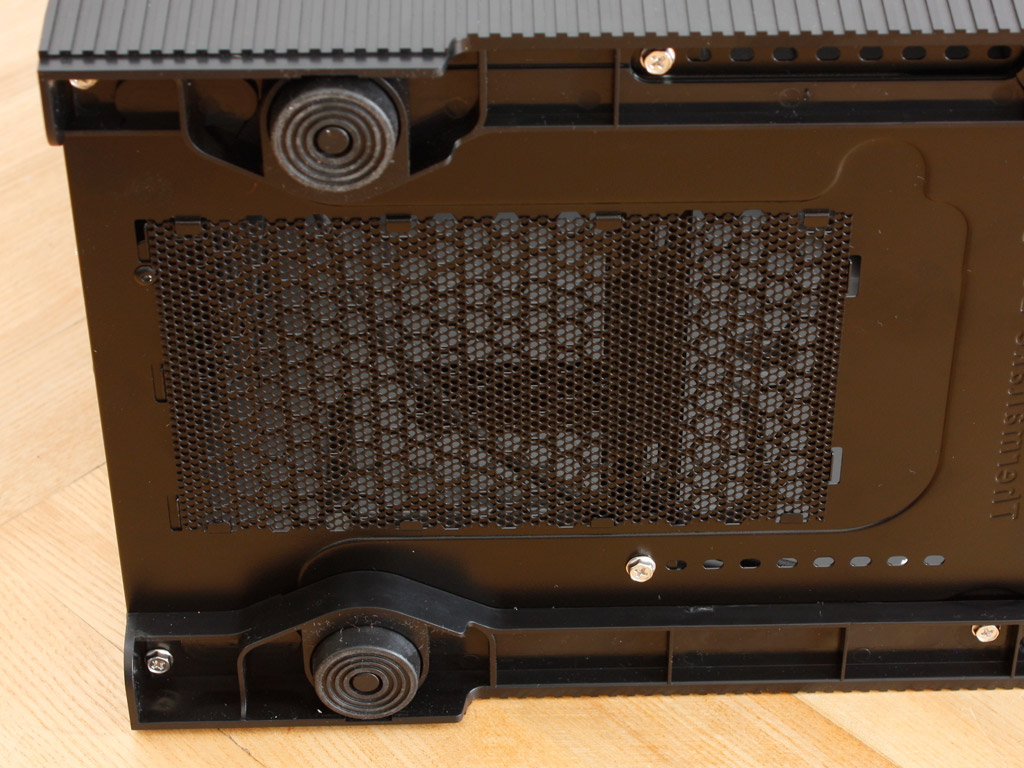
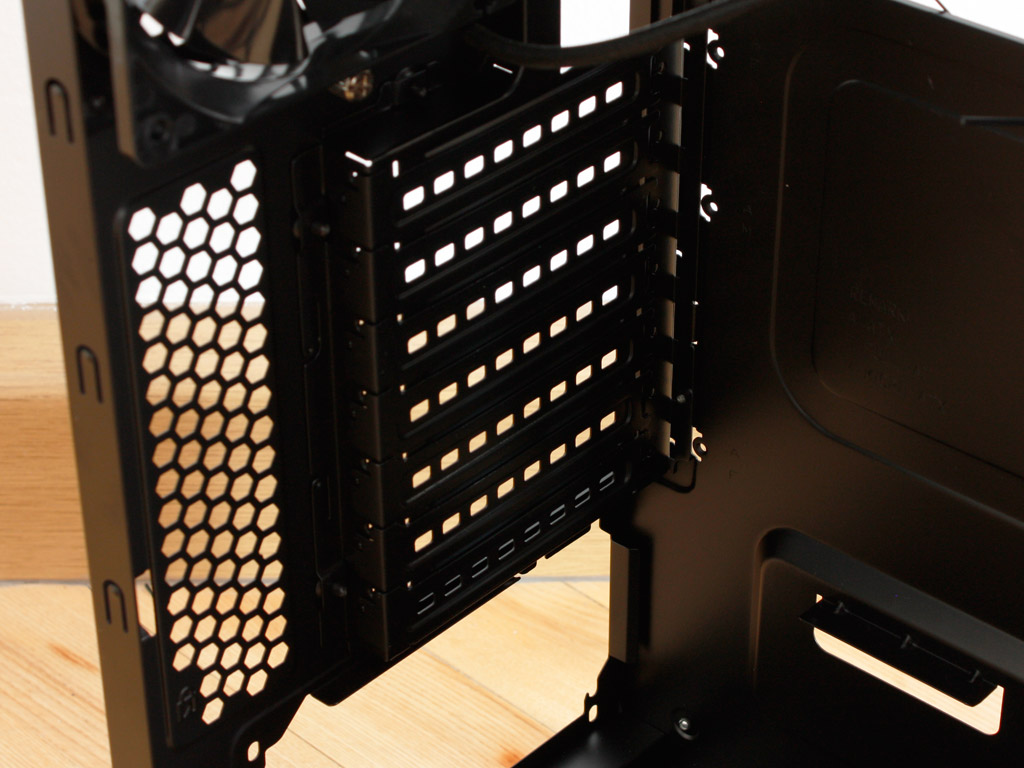

Taking a closer look at the PSU bay, one can clearly see that annoying metal bar we have seen in so many Thermaltake cases. This is intended to clamp down on the rear edge of the PSU, but also makes installation of the device a bit more complicated. I see no reason for such a clamp unless one is worried that the case structure cannot carry the weight of a power supply. A large air vent covered by a metal mesh piece allows for fresh air to be drawn into the PSU from the bottom. This mesh is not a dust filter by any means. Sure, it will hold back larger parts, but all the fine particles will easily pass on into your precious power supply. Moving up, the seven expansion bay covers are not secured by any screws. They are simply clipped on but seem to hold well enough as all of them are still in place after quite a long shipping process. On the very top you will find one of the newer, quieter type of fans which Thermaltake usually employs in HTPC enclosures.
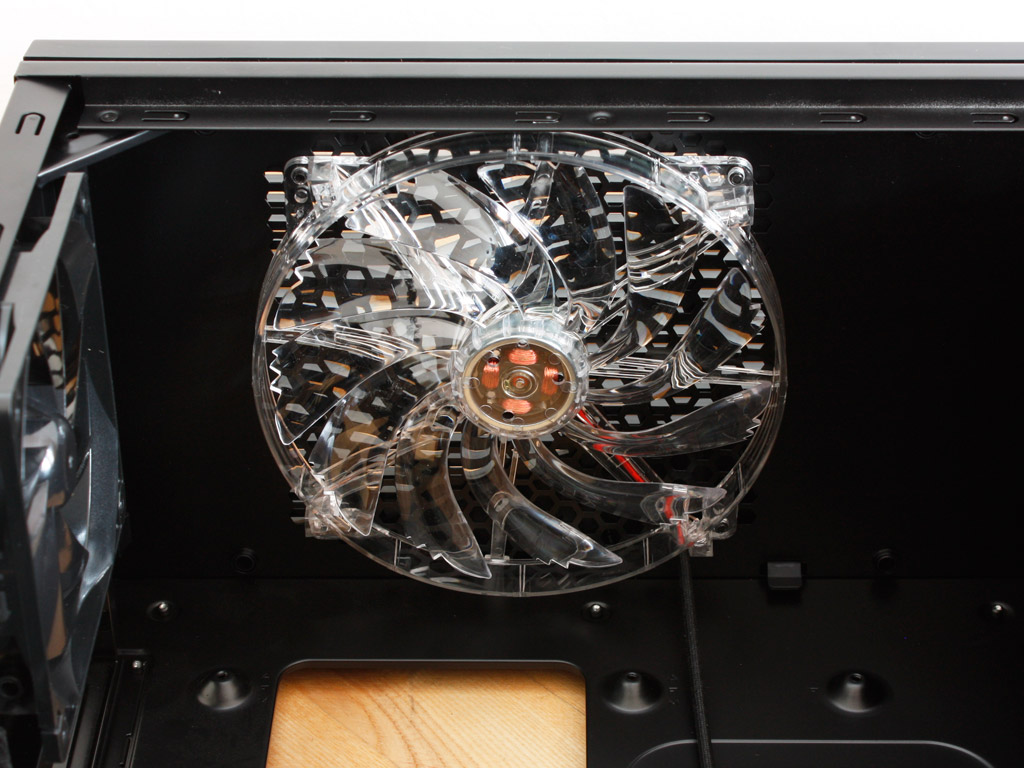
There is also a 200 mm LED equipped exhaust fan in the ceiling. This unit - just like the front intake fan - can only be powered by the PSU with the use of one Molex connector. This means that both units will run full speed no matter if your system is loaded or idle.
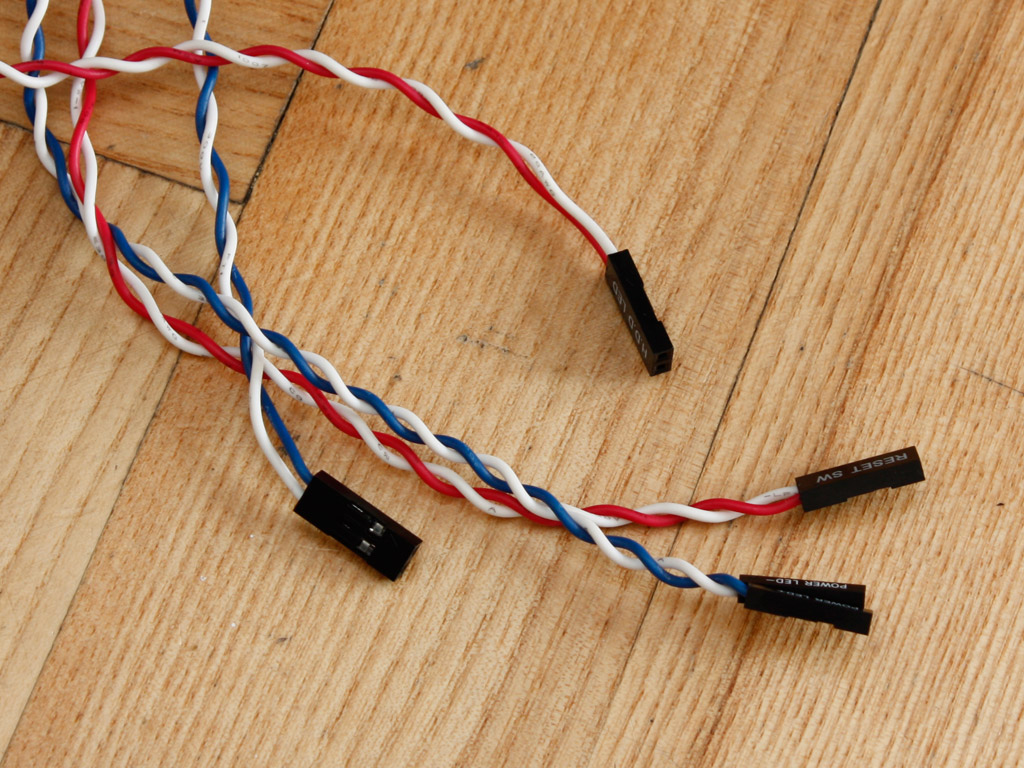
Before we dive into assembly, the I/O and case connectors are of the standard kind. Nothing here to see - move along.
Feb 23rd, 2025 21:41 EST
change timezone
Latest GPU Drivers
New Forum Posts
- First ever PC build (20)
- Gigabyte AORUS RTX5080 Missing 16 ROP's (30)
- Keep a 4080s or take a 5070ti? (49)
- 9800 x3d overheating what is the stock voltage (2)
- Retired AM4 Workstation Case Swap - 1st Post (1)
- Free Games Thread (4484)
- RTX 50 Series silently removed 32-bit PhysX support. (50)
- eXtreme Outer Vision PSU Calculator Shutting Down :( (23)
- Dell Studio XPS 1640 CPU Upgrade (0)
- Will undervolting a 4090 keep the connector from melting? A discussion about electrical theory. (37)
Popular Reviews
- ASUS GeForce RTX 5070 Ti TUF OC Review
- MSI GeForce RTX 5070 Ti Ventus 3X OC Review
- darkFlash DY470 Review
- MSI GeForce RTX 5070 Ti Vanguard SOC Review
- MSI GeForce RTX 5070 Ti Gaming Trio OC+ Review
- Galax GeForce RTX 5070 Ti 1-Click OC White Review
- Palit GeForce RTX 5070 Ti GameRock OC Review
- Fantech Aria II Pro Review
- Gigabyte GeForce RTX 5090 Gaming OC Review
- AMD Ryzen 7 9800X3D Review - The Best Gaming Processor
Controversial News Posts
- NVIDIA GeForce RTX 5090 Spotted with Missing ROPs, NVIDIA Confirms the Issue, Multiple Vendors Affected, RTX 5070 Ti, Too (449)
- AMD Radeon 9070 XT Rumored to Outpace RTX 5070 Ti by Almost 15% (304)
- AMD Plans Aggressive Price Competition with Radeon RX 9000 Series (271)
- AMD Radeon RX 9070 and 9070 XT Listed On Amazon - One Buyer Snags a Unit (247)
- Edward Snowden Lashes Out at NVIDIA Over GeForce RTX 50 Pricing And Value (241)
- AMD Denies Radeon RX 9070 XT $899 USD Starting Price Point Rumors (239)
- NVIDIA Investigates GeForce RTX 50 Series "Blackwell" Black Screen and BSOD Issues (226)
- New Leak Reveals NVIDIA RTX 5080 Is Slower Than RTX 4090 (215)