 20
20
Thermaltake Core P3 TG Pro Review
Assembly & Finished Looks »A Closer Look
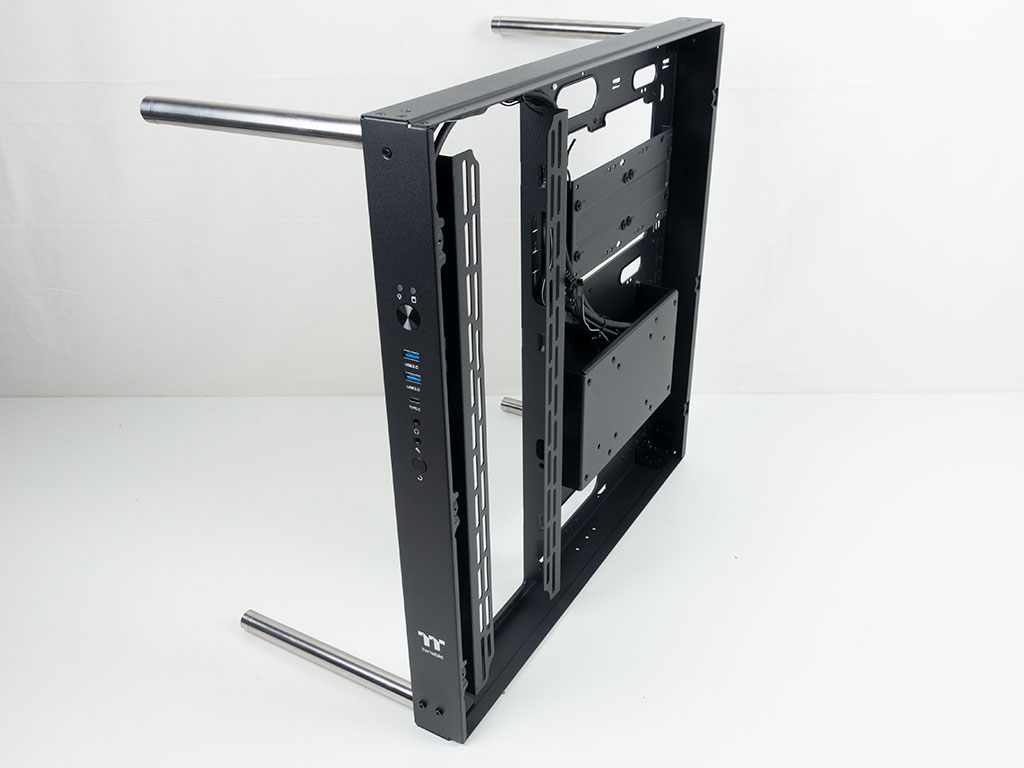
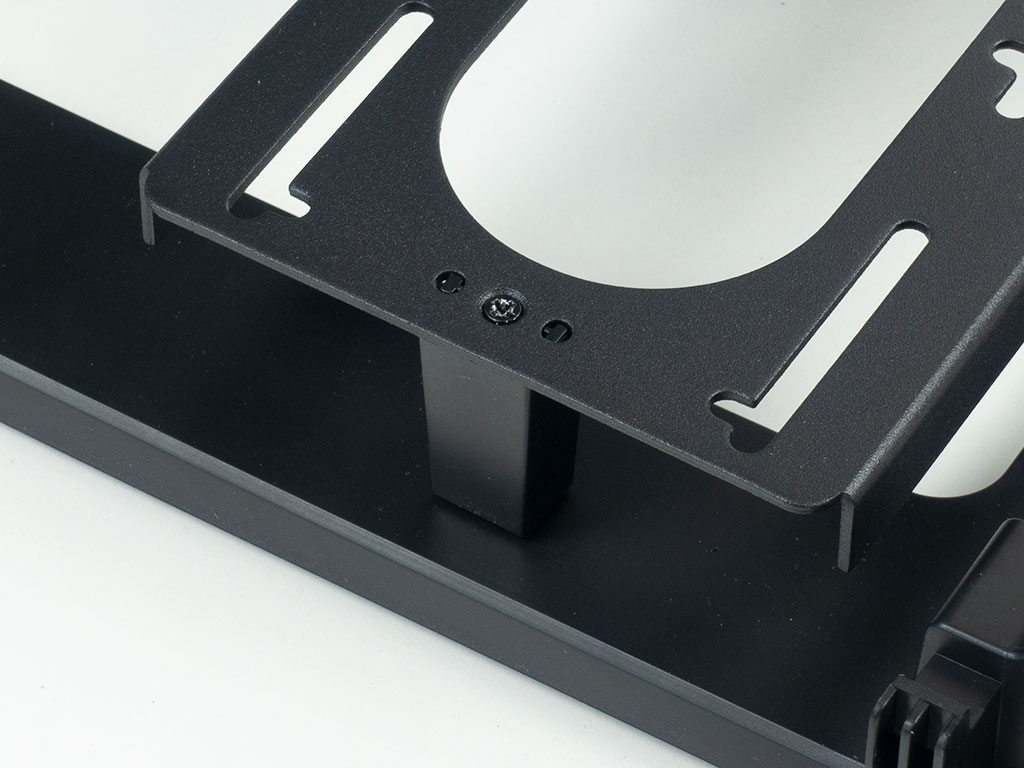
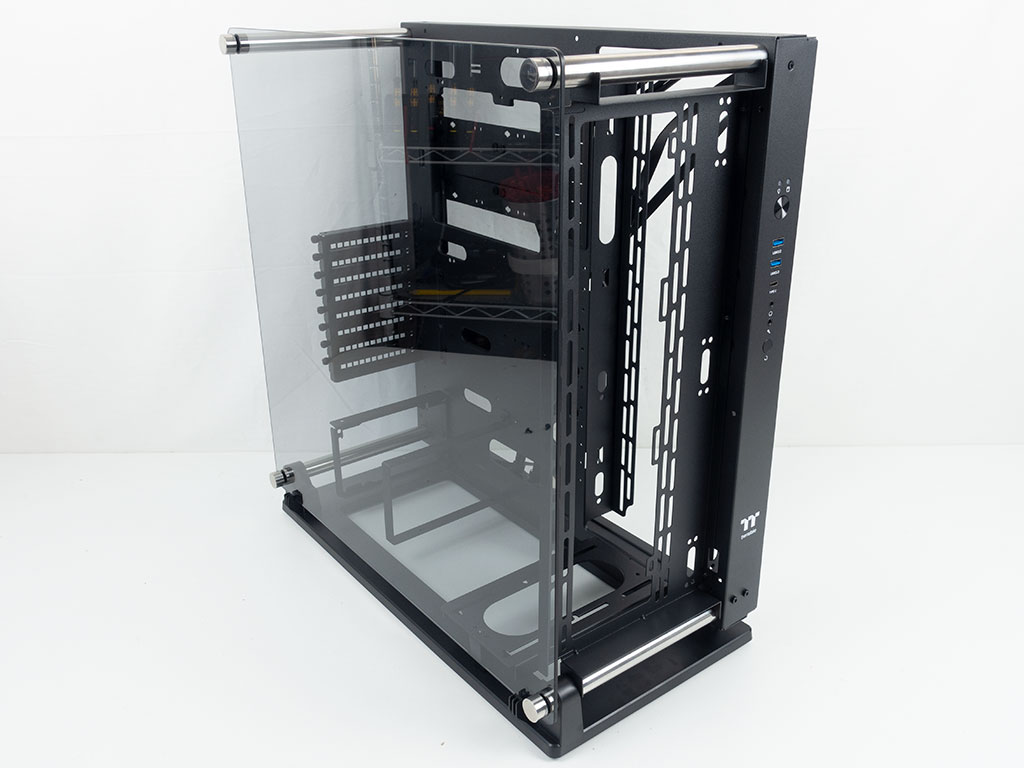
As you need to secure the separate parts to the large central element, which we will just call thekbone in this review, for simplicity, you first have to loosen six thumb screws to pop off the rear panel. This allows you to screw in the four metal crossbars and slide on the stand and secure it to the that backbone. The stand is very different to what the Core P3 offers and one of the main differentiating factors of the Pro. While it works well, the plastic surface doesn't feel premium and the little hooks on which the glass panel will rest are a bit of an eye sore from a design perspective unfortunately.
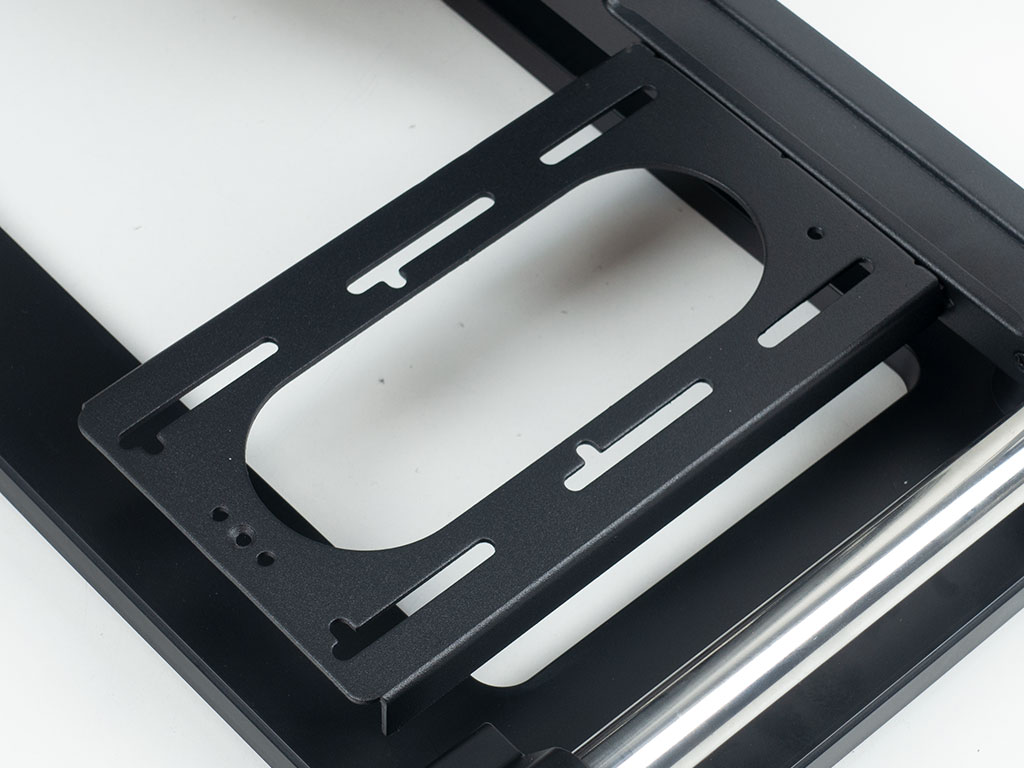
Then there is the pump/reservoir base which is held in place with two screws and supported by a plastic stand. Thanks to the sheer size of the plate, you should have ample room for all your radiator setups that may go on the side position within the Core P3 TG Pro.

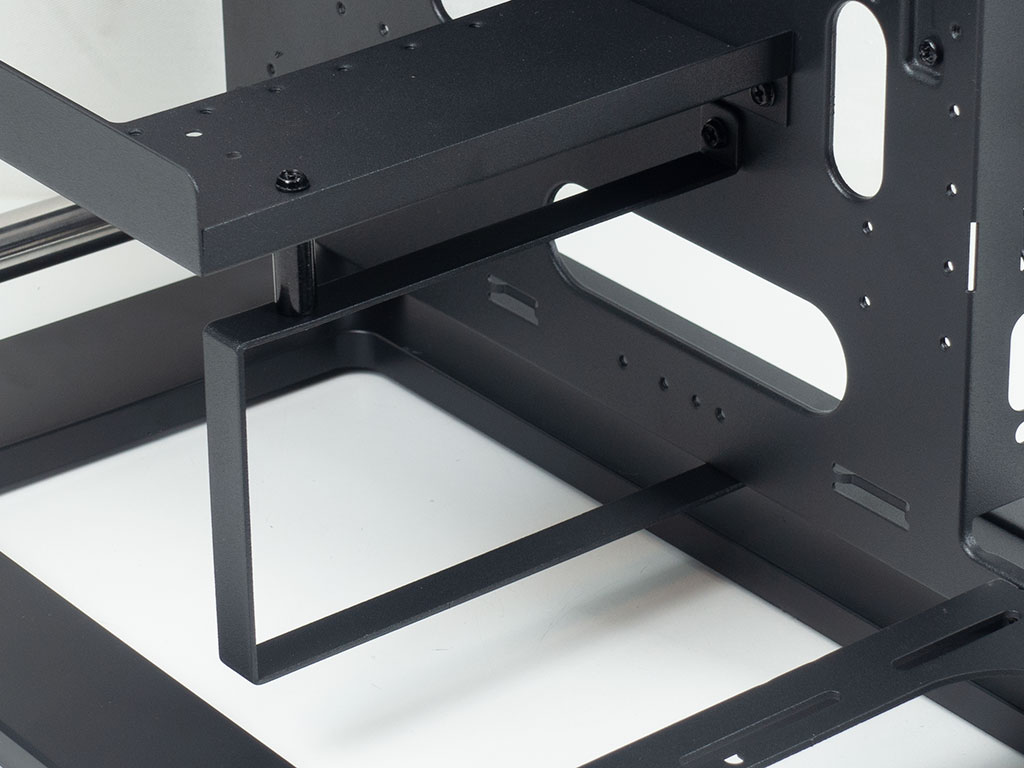
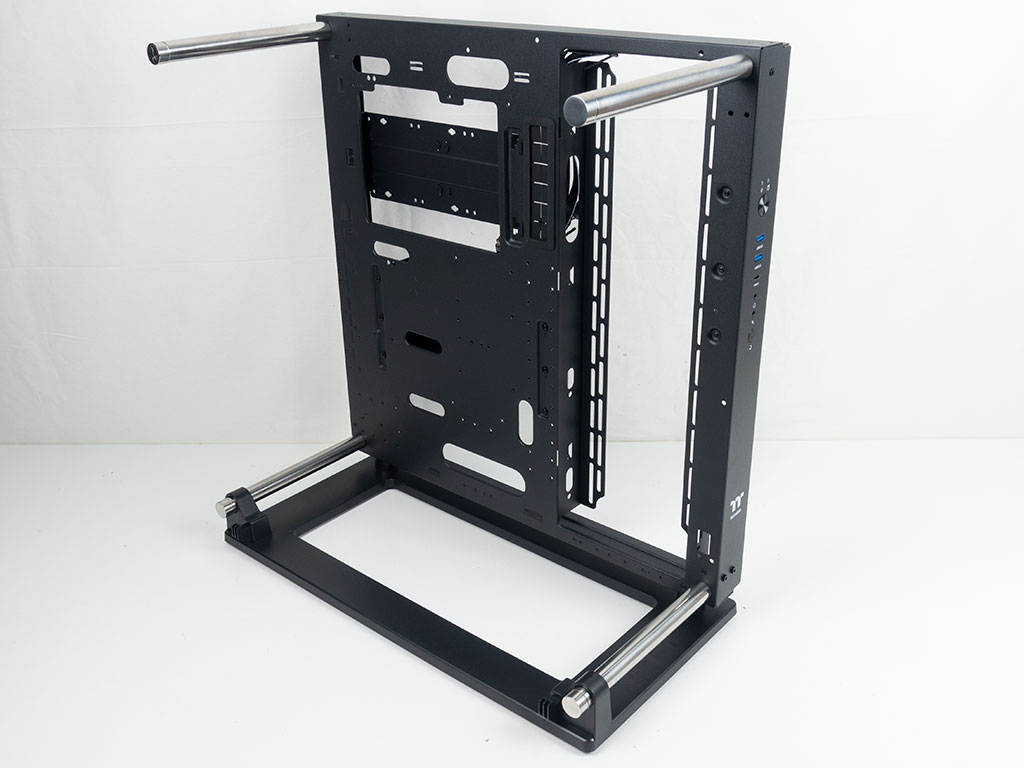
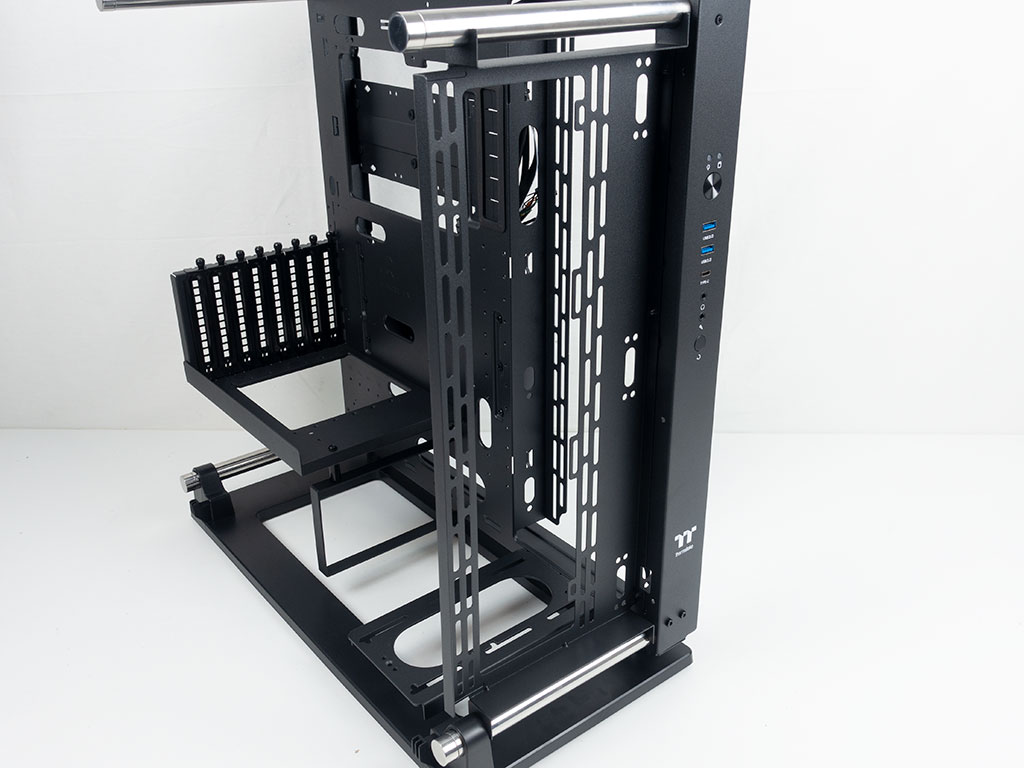
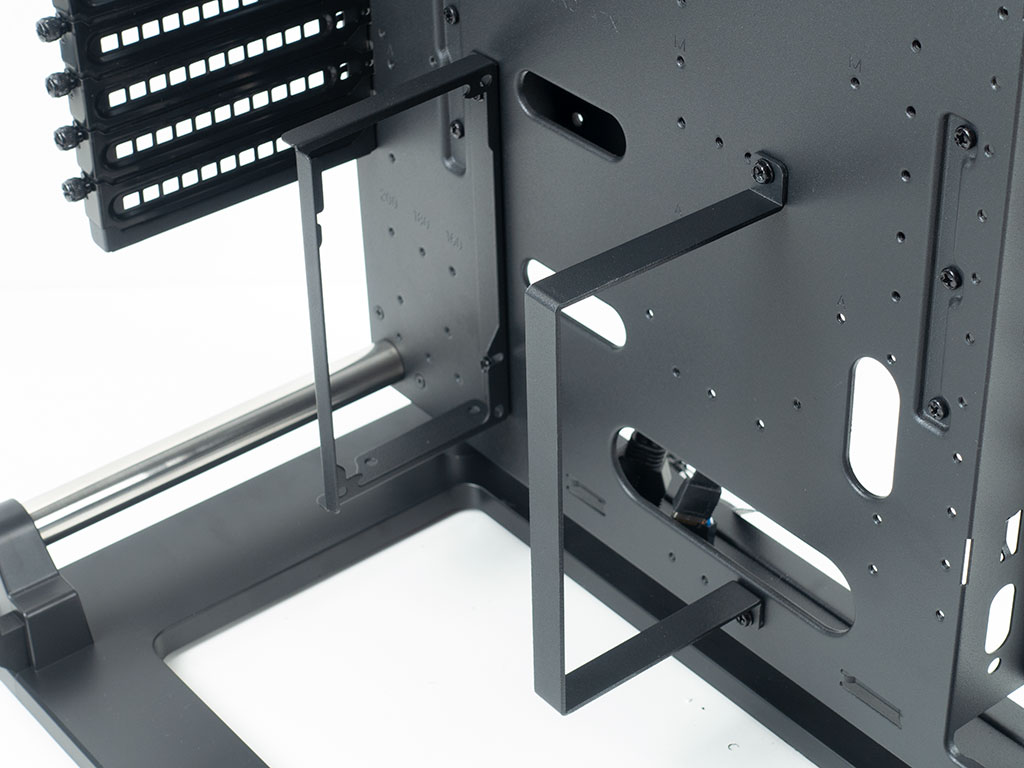
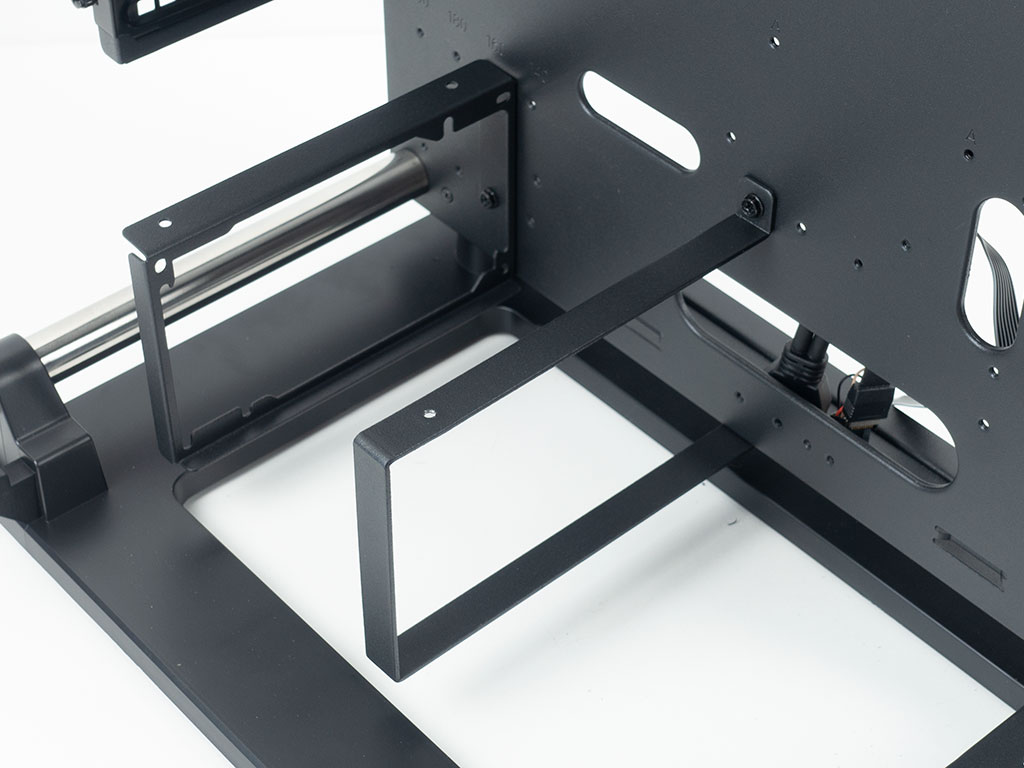
Just like the Core P6, you may install your GPU and expansion slots horizontally if you so choose, The expansion bracket with its eight slots can be secured unto a mounting surface for this to be achieved. Below that, there are two mounting frames for the PSU and a small support beam for added rigidity. You may also configure the Thermaltake Core P3 Pro in a more traditional manner for your motherboard, as we will see later on.

The included fan/radiator bracket may be used either in the front or the top. In addition to that, it is reversible, so you can make the most of the given space. To install it in the front, you have to remove one of the silver spacers, which in turn means having to remove the rear cover of the backbone.
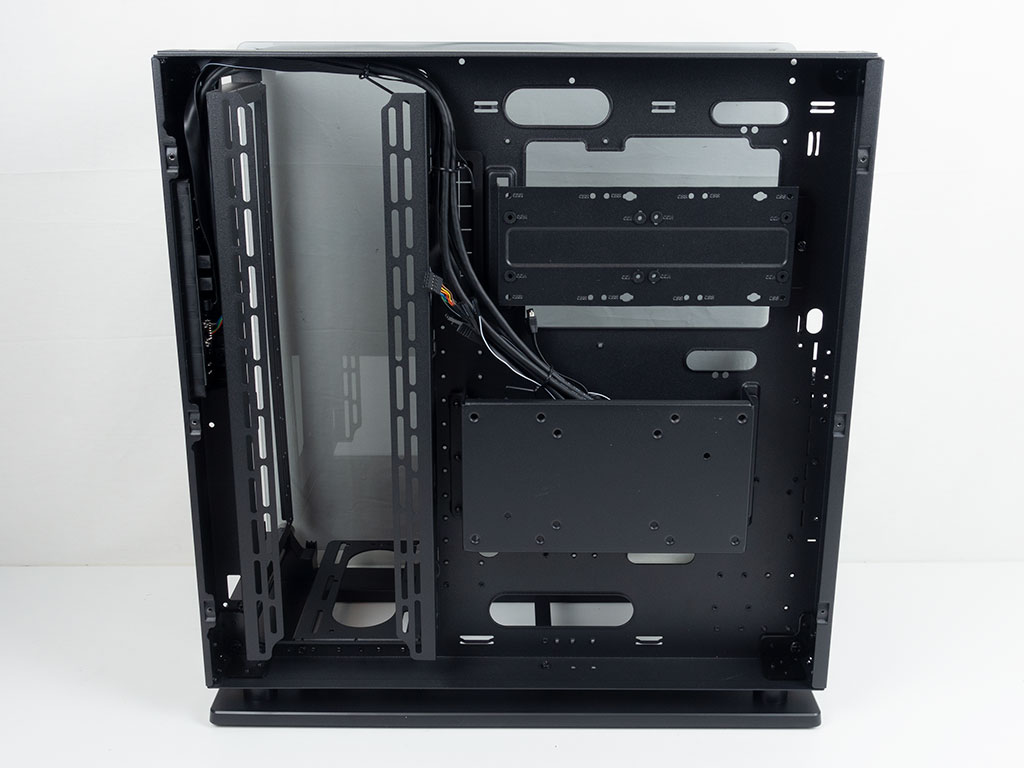
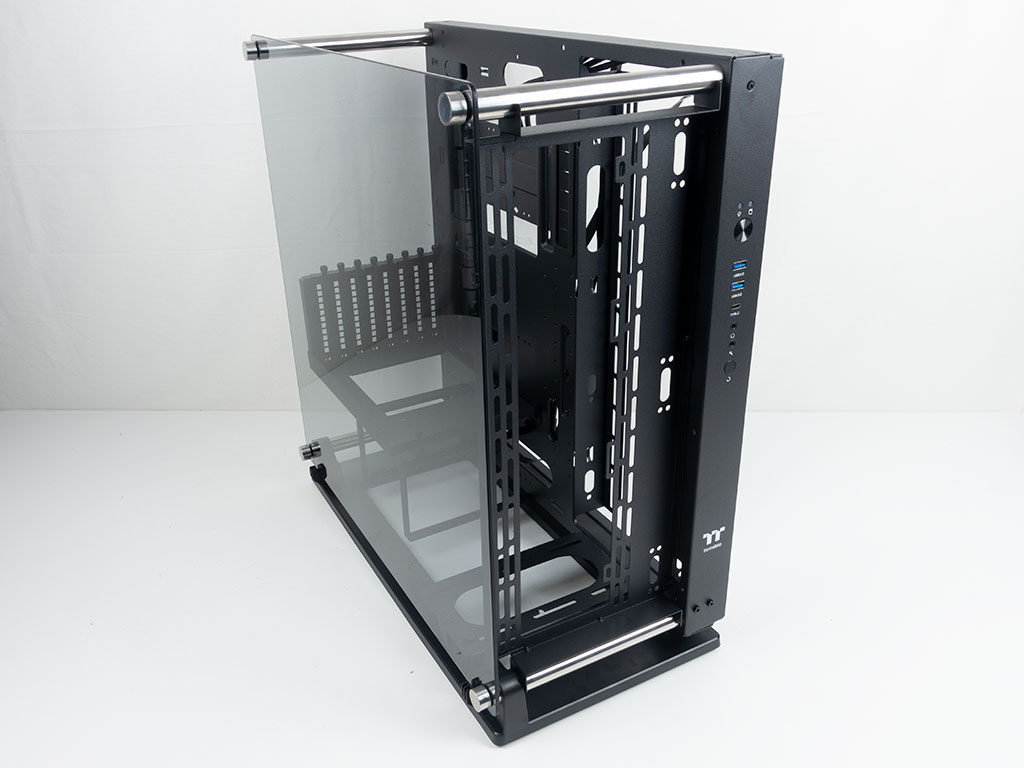
On the interior of that black slab, you can see plenty of cable management holes and a whole bunch of hooks for zip ties. As the backbone is made of steel, everything feels extremely sturdy.
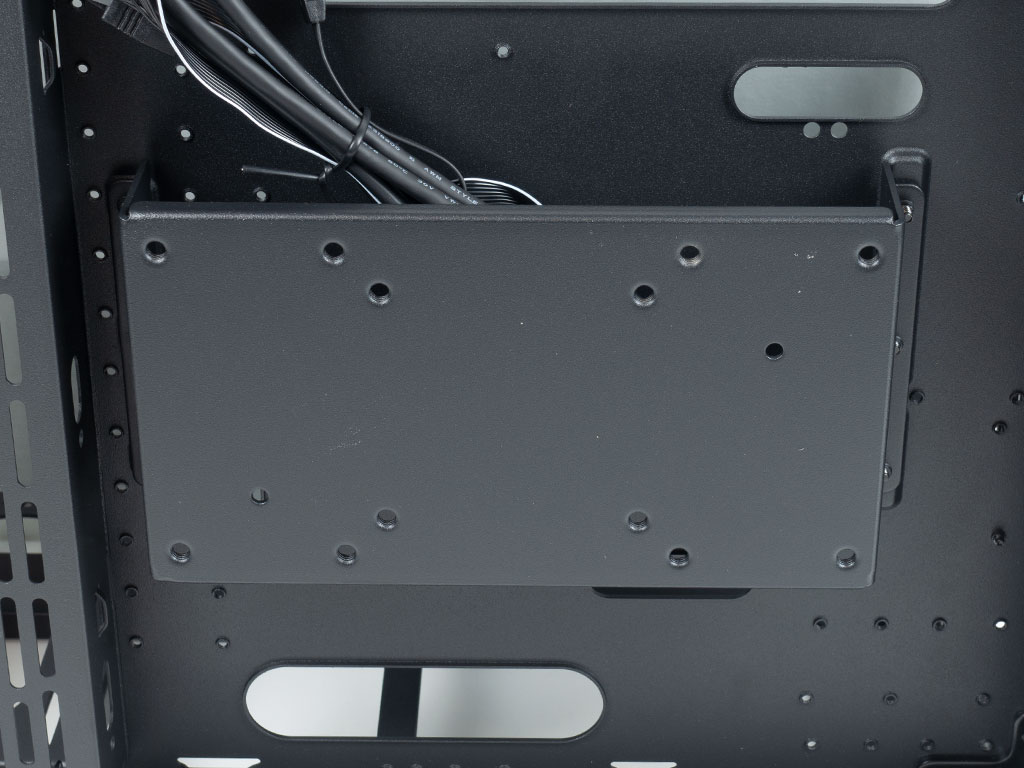
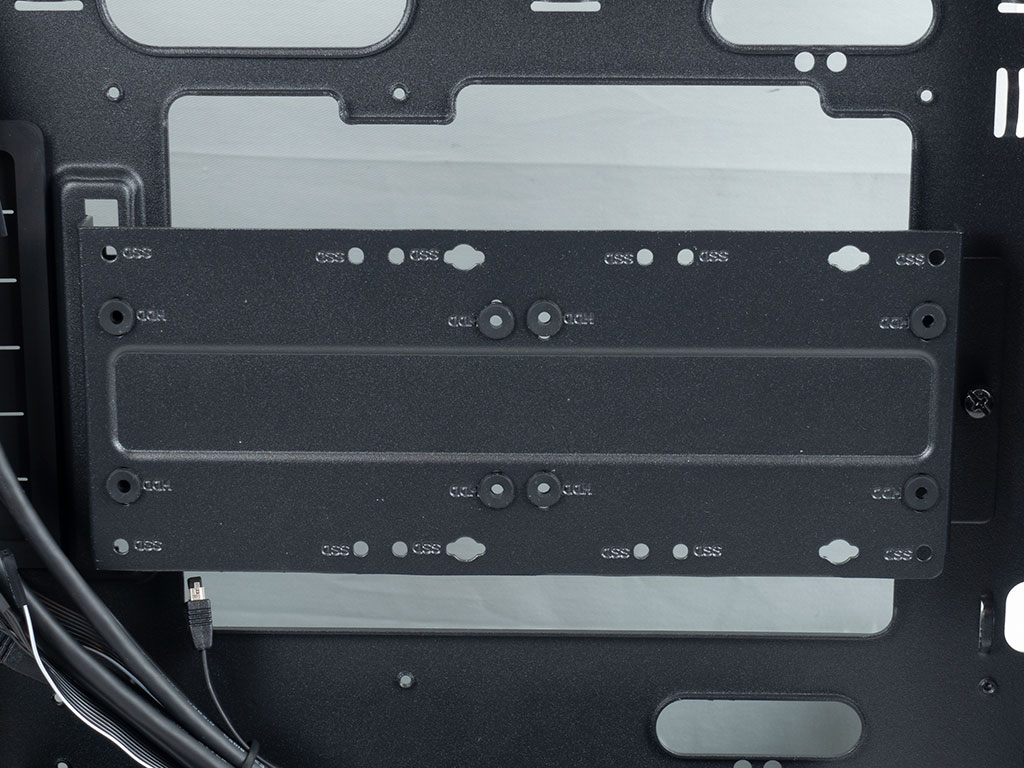
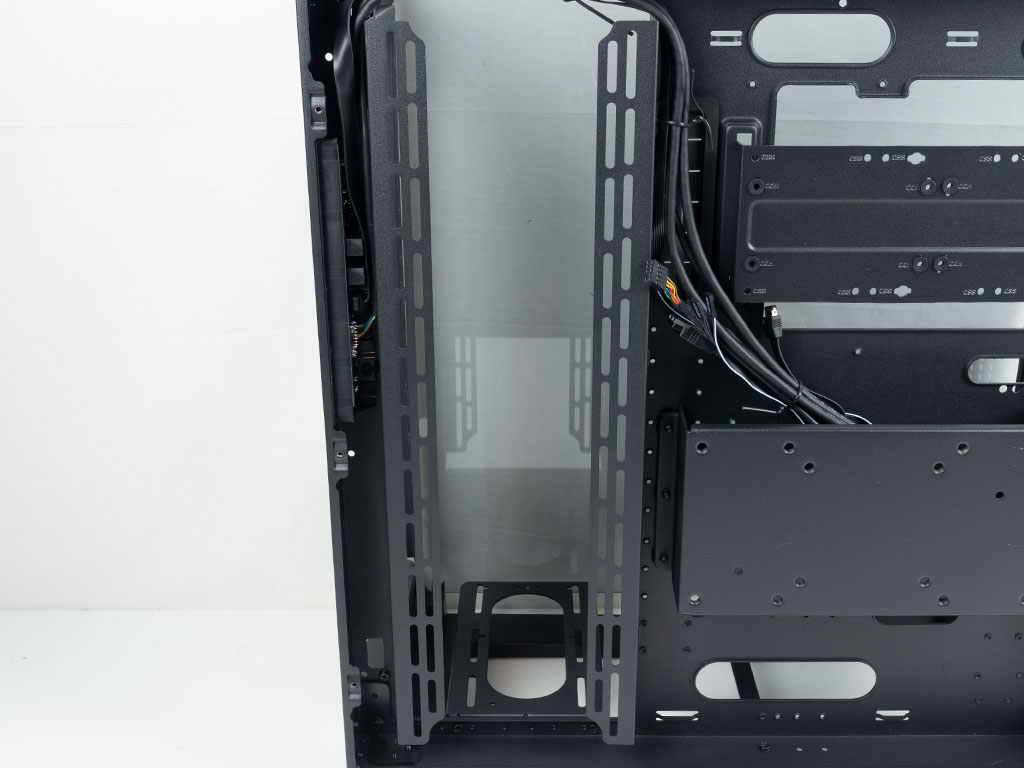
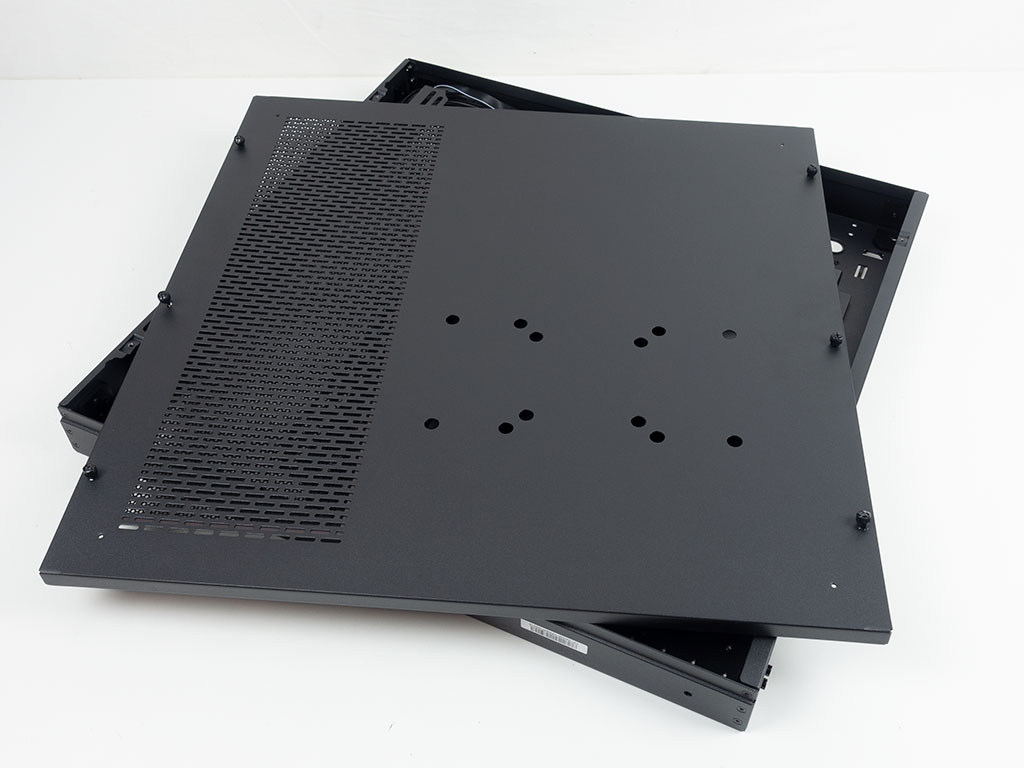
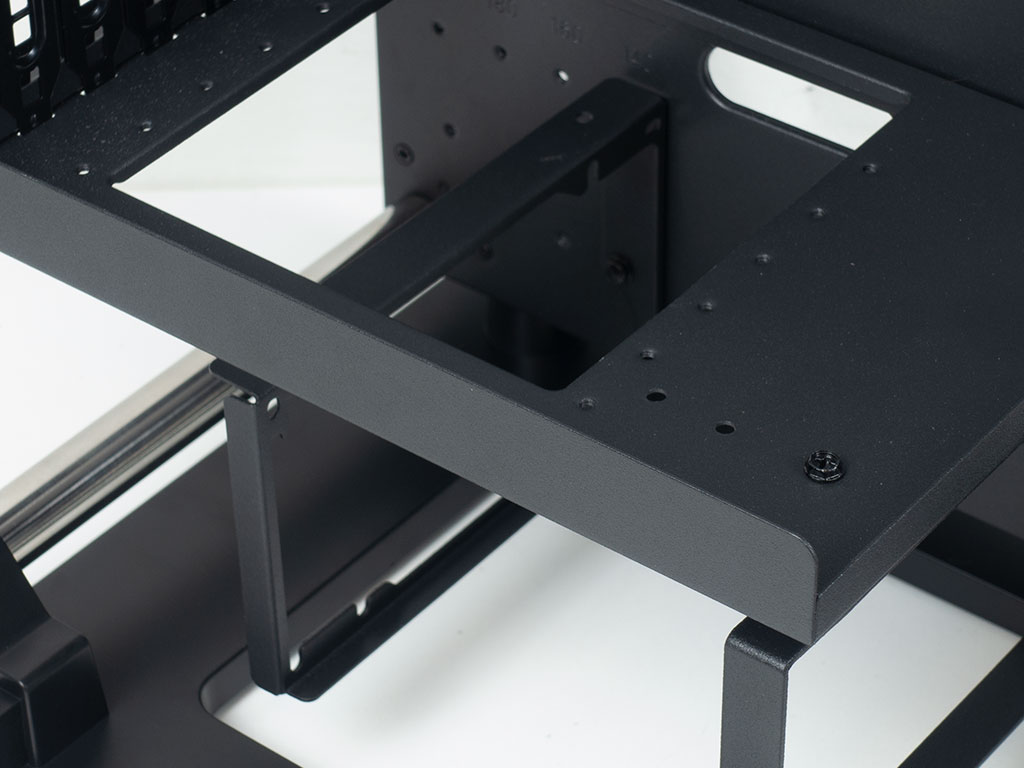
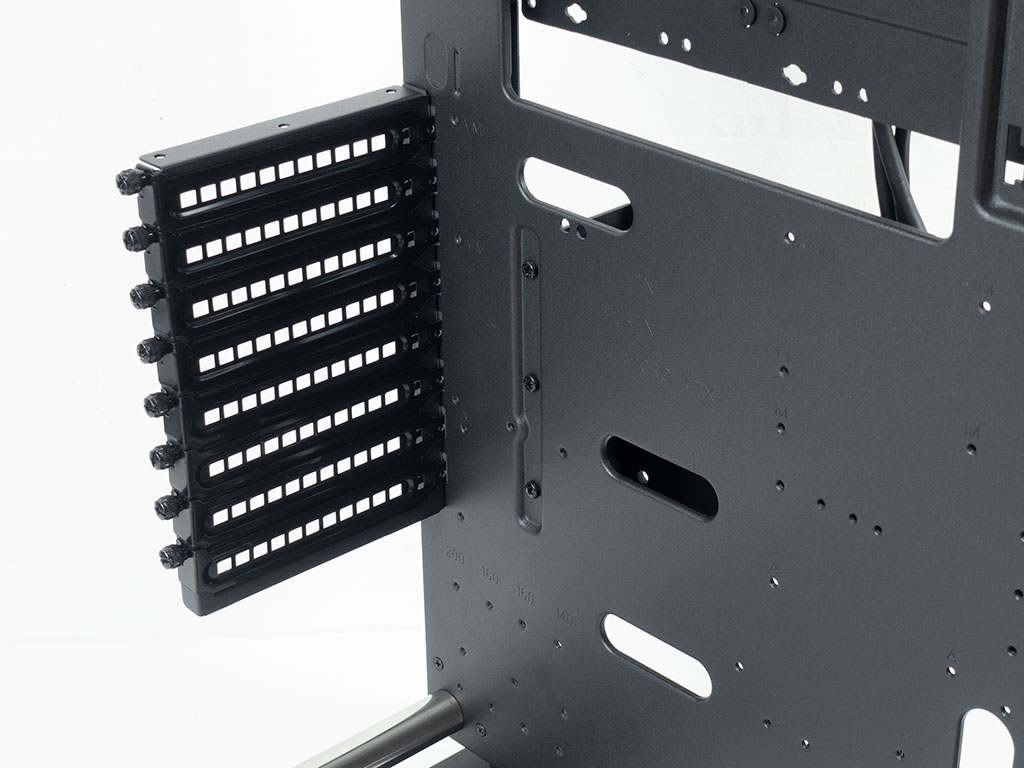
At the center of this space there is the VESA mounting plate which is secured to the body by six screws, and offers VESA 200x100, 100x100, and 75x75 mounting options. Then there is the storage plate, which allows you to install either three 2.5" or two 3.5" drives. For those who need more storage, the Thermaltake also ships two additional mounting plates for drives that can be employed instead of fans on the side of the chassis. Speaking of which, this element of the backbone has been tweaked and can now easily hold three 120 or 140 mm fans. Alternatively a radiator with up to 420 mm size will easily fit as well.
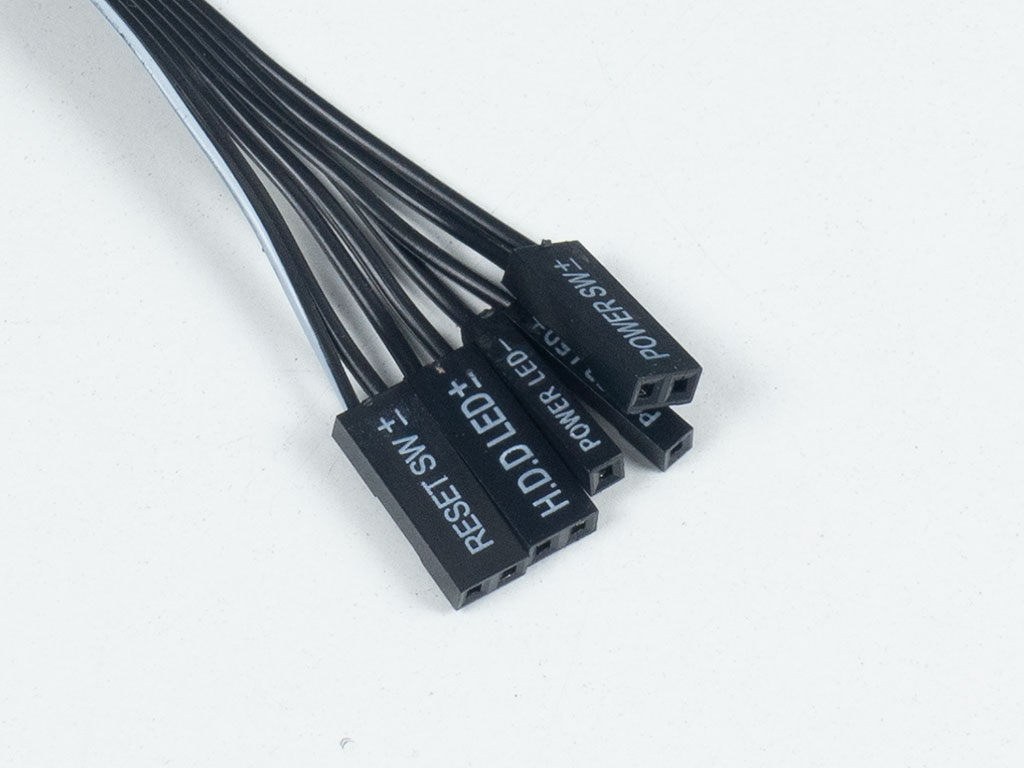
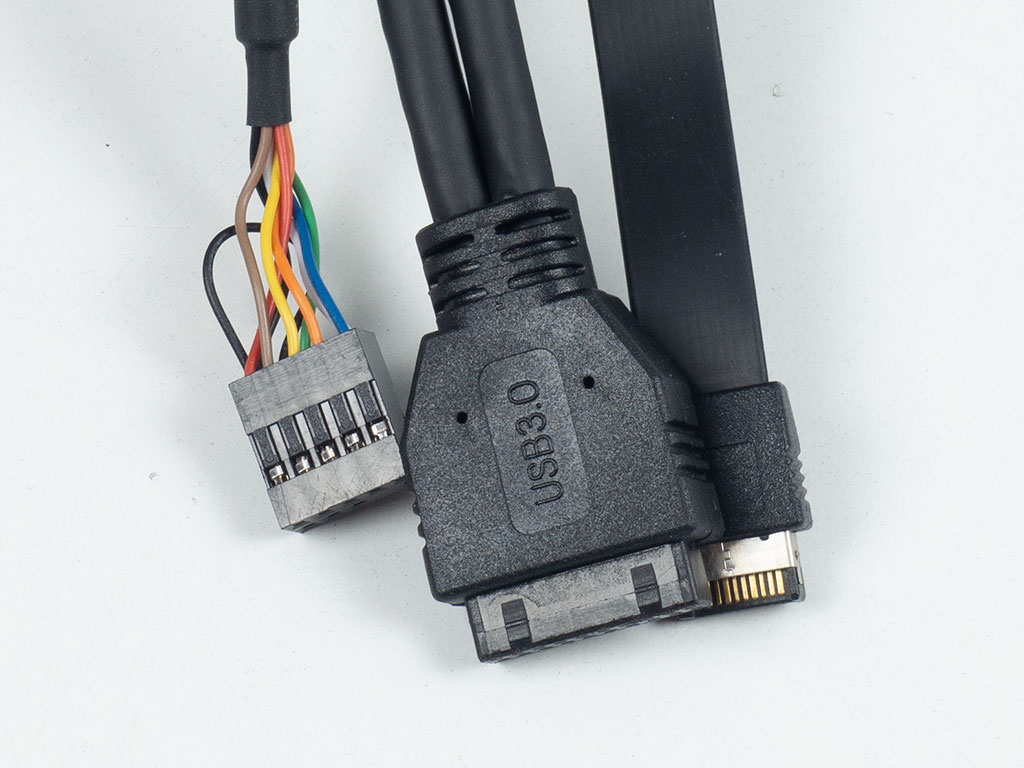
All the cables within the Thermaltake Core P3 Pro are sleeved black, and of the default variety. The USB-C cable is flat, which makes routing it slightly easier. The cabling has good length, so you should have no problems routing cables to the appropriate corners of your build.


Before installing the glass panel on the chassis to finish things off, you have to pop in rubber washers and then secure the panel with the end caps of the metal rods. On the backside, the vent lines up perfectly with the side fan/radiator mounting location. A magnetic mesh filter on the inside also helps to keep any dirt and grime away from any cooling units.
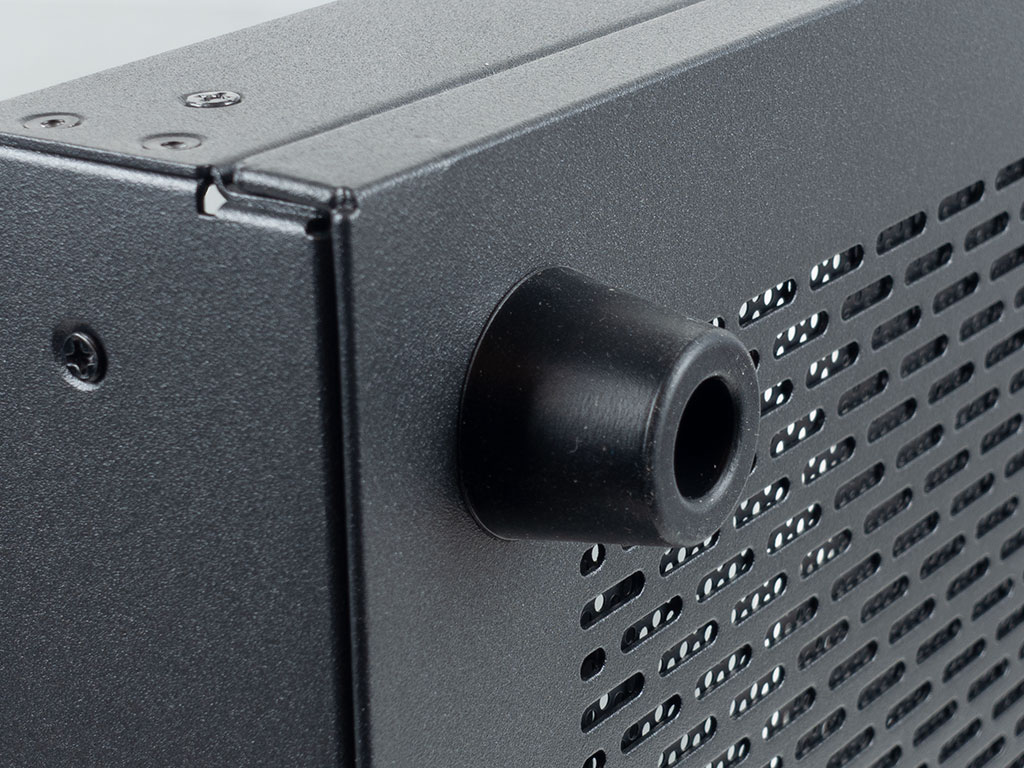

Thermaltake also includes four rubber feet which you may screw into the chassis to protect both the chassis and the surface it rests on. To complete this arrangement, you do have to remove the plastic base of course.
With all these potential ways to use the Thermaltake Core P3 TG Pro, we will use it in the most traditional fashion, with an upright expansion cards setup. Doing so will also allow you to install your PSU sideways, but that will limit your motherboard to a M-ATX variant. By going perpendicular to the backbone, you retain all your board space for anything up to an E-ATX one.
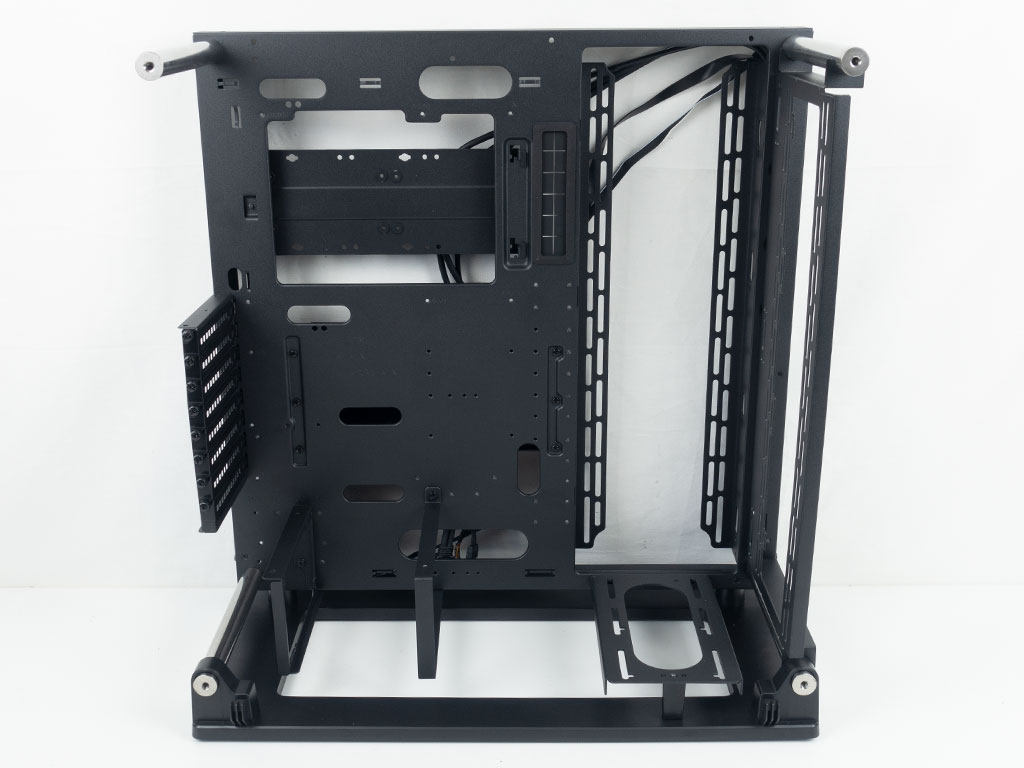

With that set up, when taking a quick look at the openings on the interior of the backbone you can clearly see the one grommet, next to where the motherboard power and IO ports usually reside. As Thermaltake also includes a GPU support bracket, so there are two lines of screw mounting holes below that grommet to mount it to.
Mar 9th, 2025 15:54 EDT
change timezone
Latest GPU Drivers
New Forum Posts
- Have you got pie today? (16626)
- Milestones (14002)
- WCG Daily Numbers (12790)
- TPU's Rosetta Milestones and Daily Pie Thread (2238)
- Company of Heroes 3 (0)
- Folding Pie and Milestones!! (9413)
- Dell Workstation Owners Club (3307)
- What is a good real price for the RTX 5090? (15)
- GameTechBench GPU benchmark is already out! (313)
- What fixed stuttering and random framerate spikes in games for me (31)
Popular Reviews
- Sapphire Radeon RX 9070 XT Nitro+ Review - Beating NVIDIA
- ASUS Radeon RX 9070 TUF OC Review
- XFX Radeon RX 9070 XT Mercury OC Magnetic Air Review
- NVIDIA GeForce RTX 5070 Founders Edition Review
- Corsair Vengeance RGB CUDIMM DDR5-8800 48 GB CL42 Review
- MSI MAG B850 Tomahawk Max Wi-Fi Review
- AMD Ryzen 7 9800X3D Review - The Best Gaming Processor
- AMD Radeon RX 9070 Series Technical Deep Dive
- ASUS GeForce RTX 5070 Ti TUF OC Review
- MSI GeForce RTX 5070 Ti Ventus 3X OC Review
Controversial News Posts
- NVIDIA GeForce RTX 50 Cards Spotted with Missing ROPs, NVIDIA Confirms the Issue, Multiple Vendors Affected (513)
- AMD Plans Aggressive Price Competition with Radeon RX 9000 Series (277)
- AMD Radeon RX 9070 and 9070 XT Listed On Amazon - One Buyer Snags a Unit (261)
- AMD RDNA 4 and Radeon RX 9070 Series Unveiled: $549 & $599 (257)
- AMD Mentions Sub-$700 Pricing for Radeon RX 9070 GPU Series, Looks Like NV Minus $50 Again (248)
- NVIDIA Investigates GeForce RTX 50 Series "Blackwell" Black Screen and BSOD Issues (244)
- AMD Radeon RX 9070 and 9070 XT Official Performance Metrics Leaked, +42% 4K Performance Over Radeon RX 7900 GRE (195)
- AMD Radeon RX 9070-series Pricing Leaks Courtesy of MicroCenter (158)