 7
7
Thermaltake Core P6 TG Snow Review
Thermal Stress Test »Review System
| System Parts for Case Reviews | |
|---|---|
| Processor: | ATX: Intel Core i5-11600K mATX/ITX: Intel Core i5-10600K Provided by: Intel |
| Motherboards: | ATX: Gigabyte Z590 AORUS PRO AX ITX: Gigabyte Z590I Vision D Provided by: Gigabyte mATX: ASRock B560M Steel Legend Provided by: ASRock |
| Graphics Card: | Palit GeForce RTX 2080 Gaming Pro OC Provided by: Palit ZOTAC GAMING GeForce RTX 3060 Ti Twin Edge OC Provided by: Zotac |
| Memory: | 16 GB XPG SPECTRIX D50 3200 MHz 16 GB XPG SPECTRIX D60G DDR4 3000 MHz 16 GB XPG GAMMIX D20 DDR4 3200 MHz Provided by: ADATA |
| HDD: | Toshiba MG08ADA400E 7200 RPM SATA III Provided by: Toshiba |
| SSD: | ATX:XPG SPECTRIX S20G 500 GB mATX: XPG GAMMIX S50 Lite 1 TB ITX: ADATA Falcon 512 GB ADATA Ultimate SU800 512 GB ADATA Ultimate SU720 500 GB Provided by: ADATA |
| Power Supply: | ATX: Fractal Design ION+ 650W 80 Plus Gold SFX: Fractal Design ION SFX-L 650W 80 Plus Gold Provided by: Fractal Design |
| Cooling: | be quiet! Pure Loop 120/240/280/360 Provided by: be quiet! |
Assembly
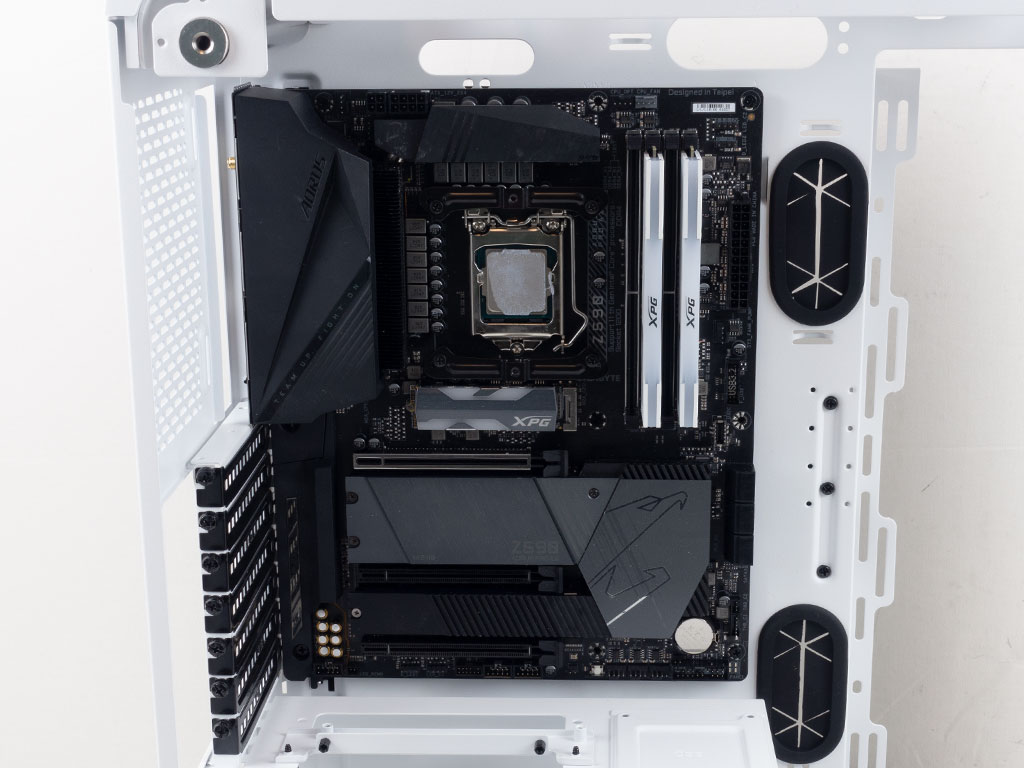
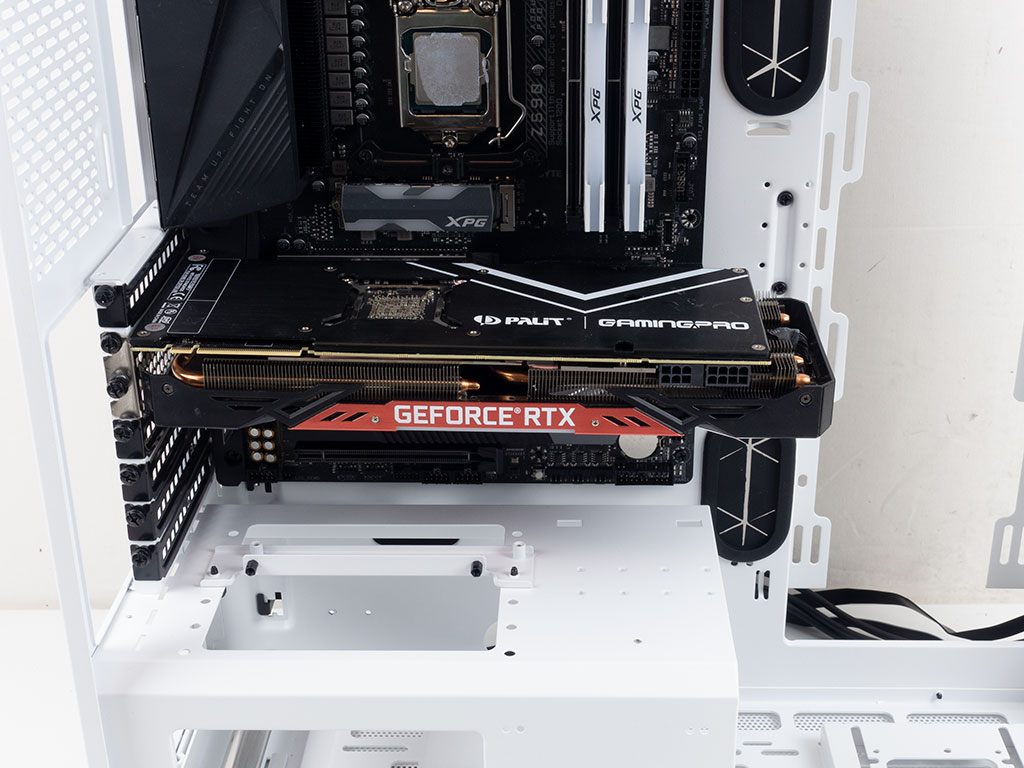
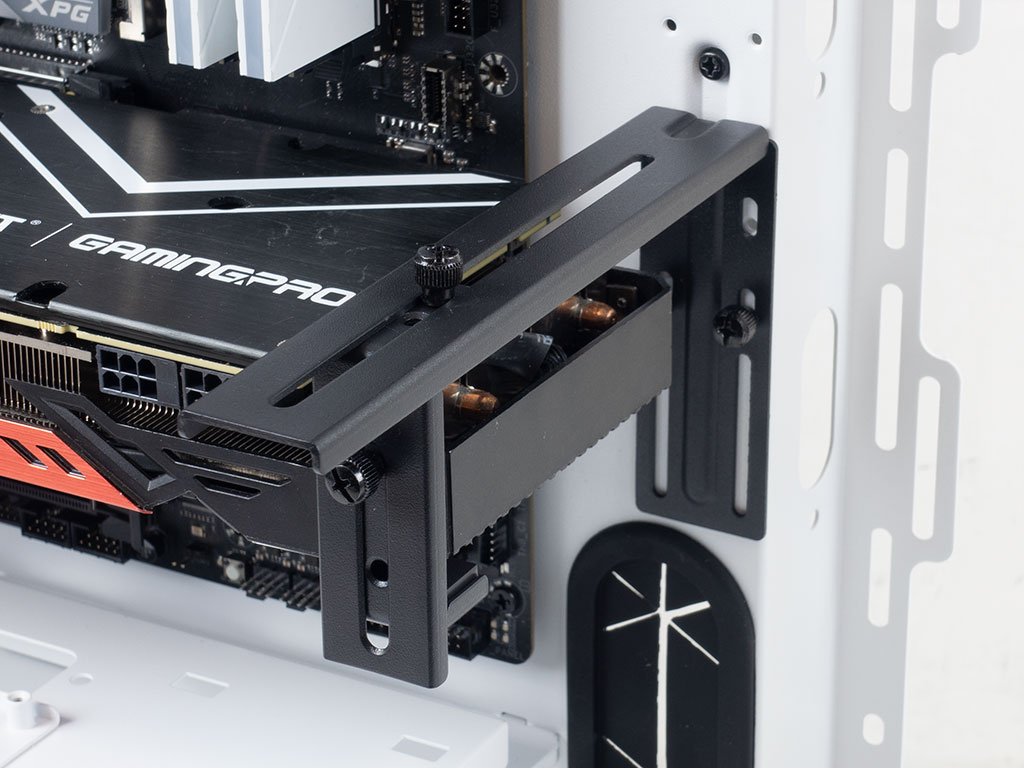
Installing a motherboard is done by traditional means using spacers and screws. As you can see, there is plenty of space above the top edge, so a thin radiator and fan combo should not get in the way of things. Thanks to the dimensions of the Core P6, any GPU you can throw at it should fit, and the GPU bracket holds it in place really nicely too boot. As you can see, we installed the support horizontally so it doesn't interfere with the graphics card fan.
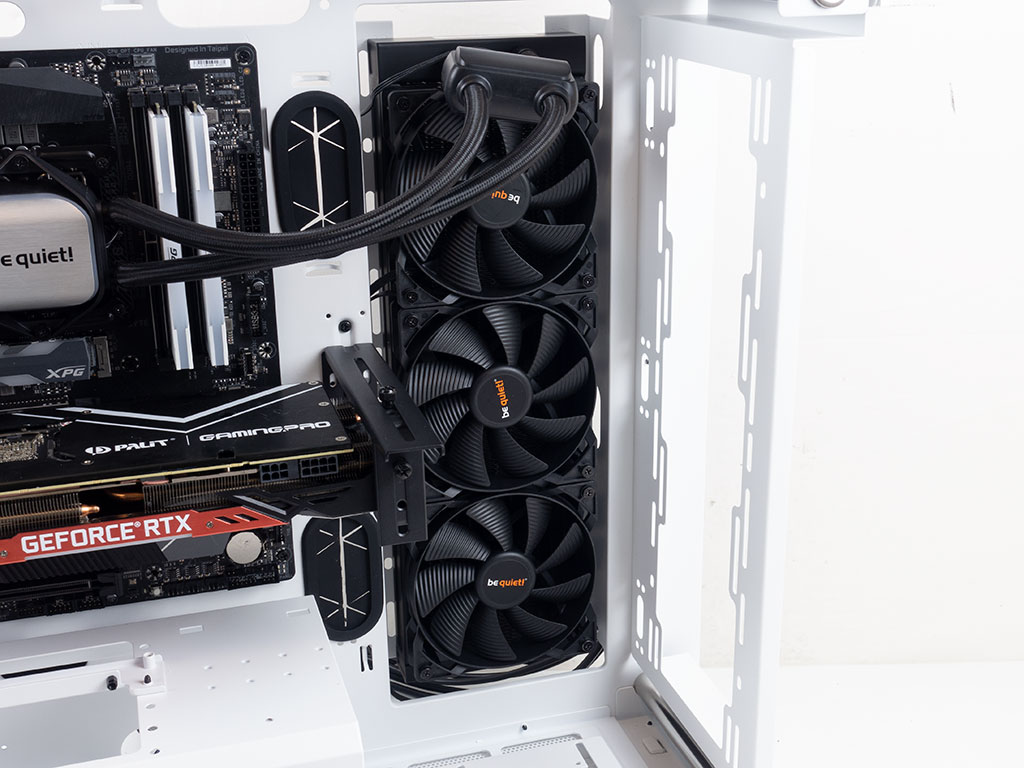
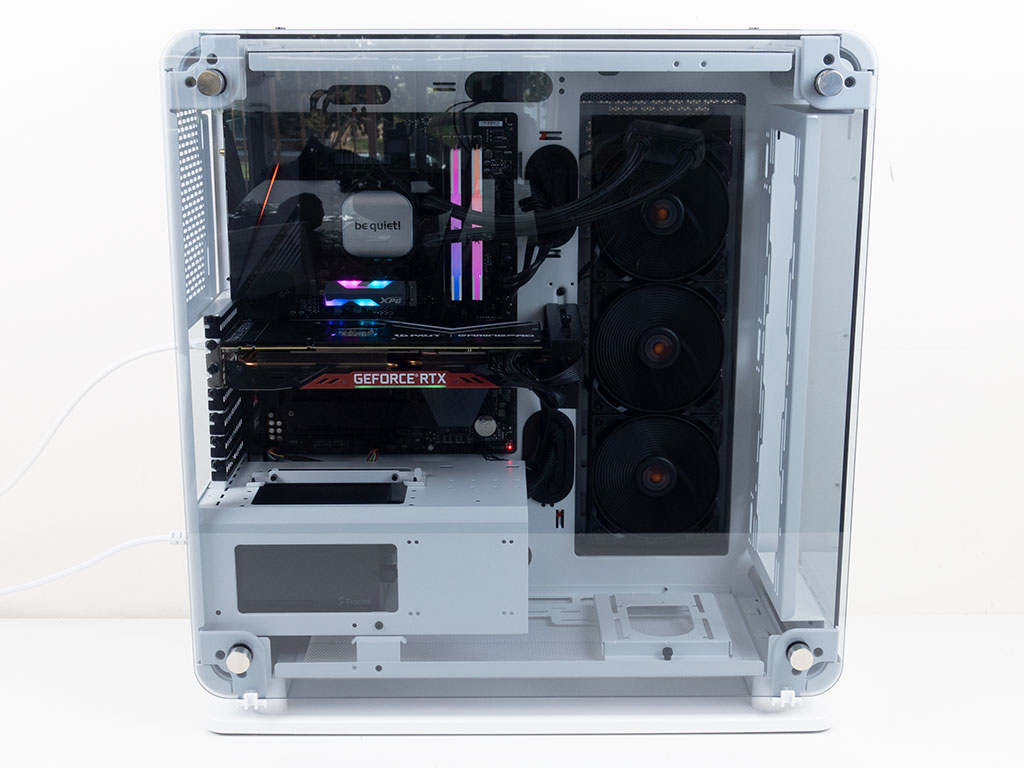
Adding a single 360 mm AIO is quite simple as well. We picked the side as it would allow the hardware to be viewed from all relevant sides without such a cooling unit blocking the view, and if you have ARGB fans, this position would really light things up nicely as well.
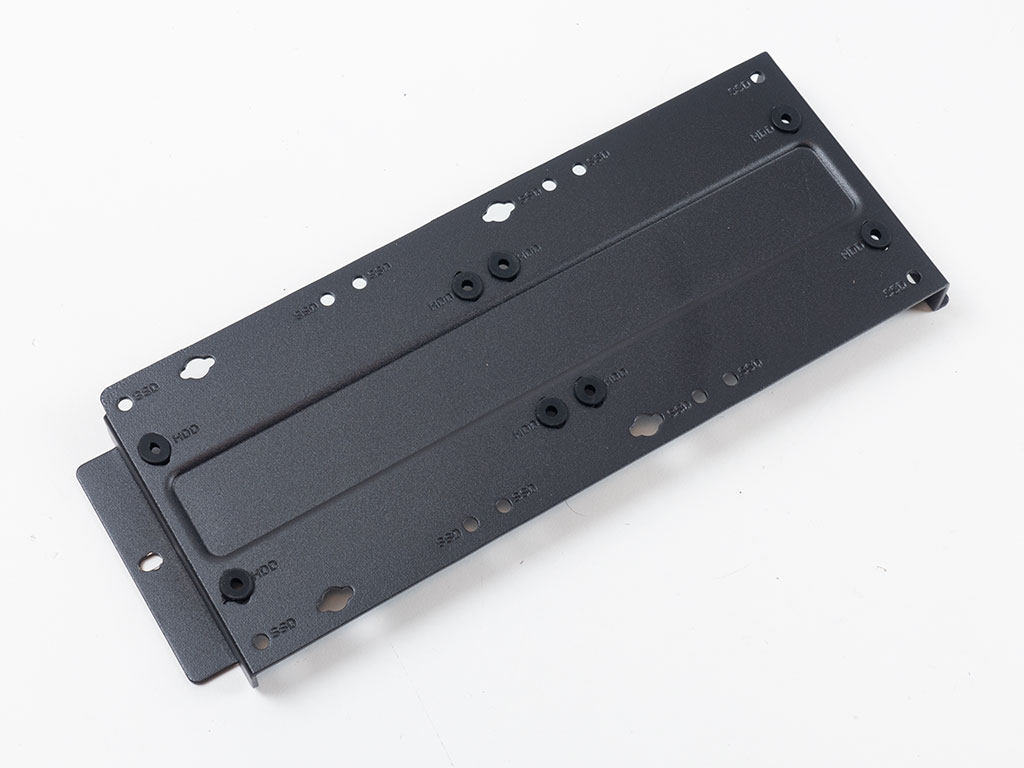
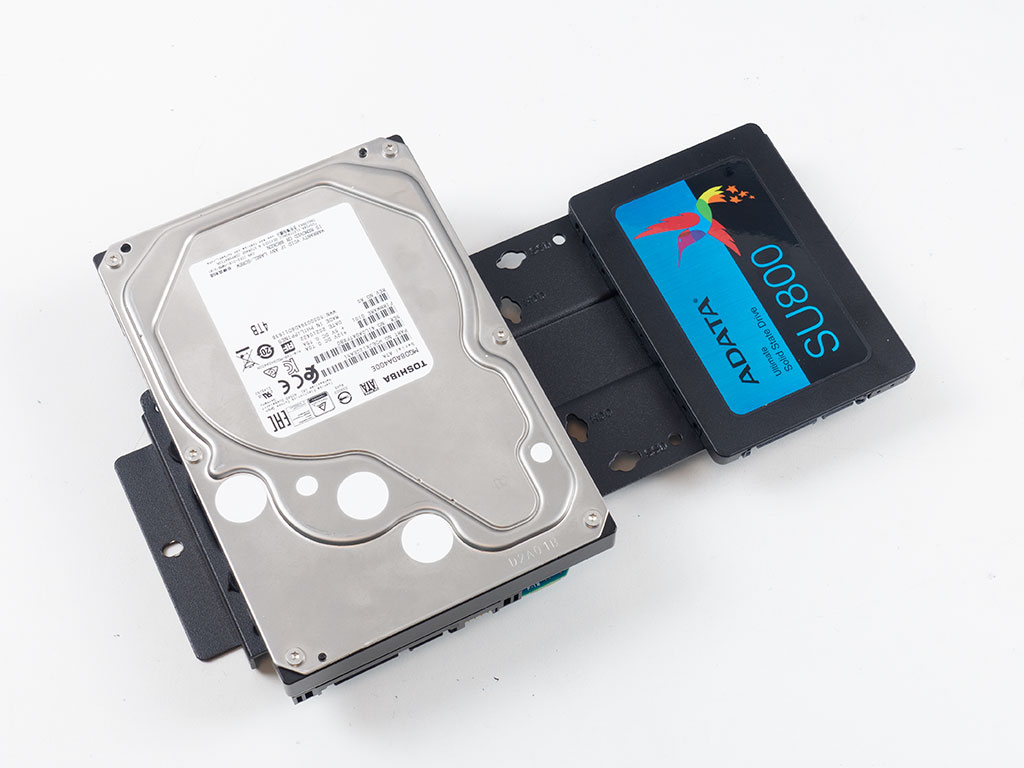
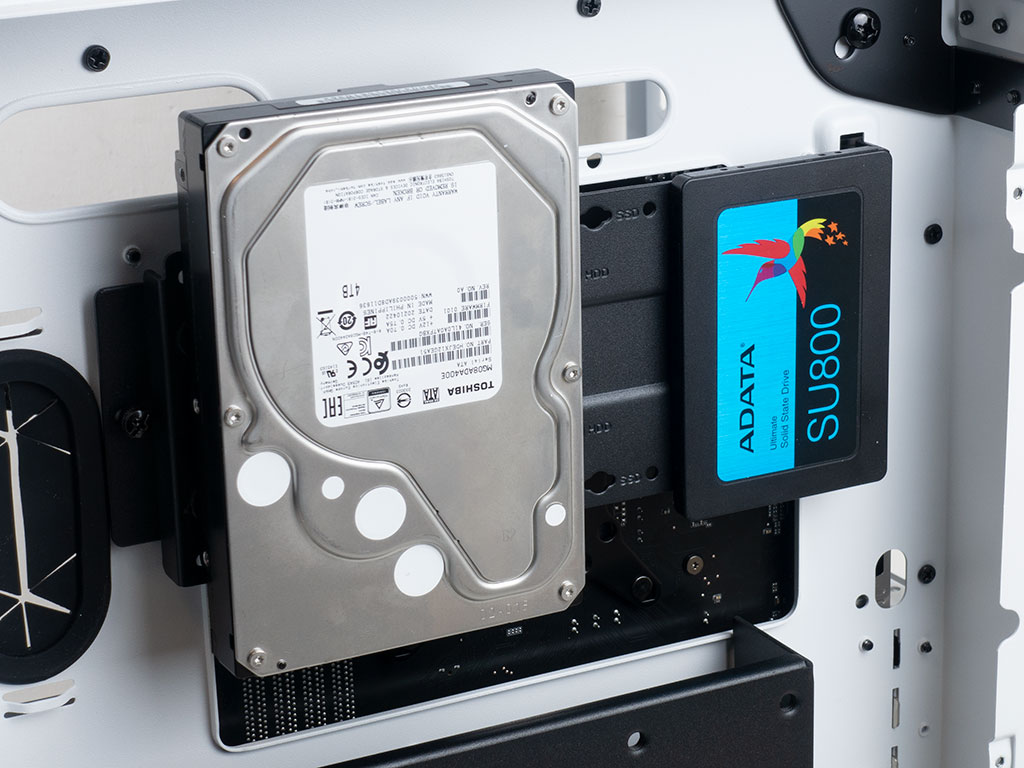
With all the options for hard drive installation, we just opted for the hidden plates behind the motherboard tray. One of the black mountings can hold a combination of two differently sized drives which are just screwed in place. Once these are secured, simply put the plate back and pin it down with one thumb screw.

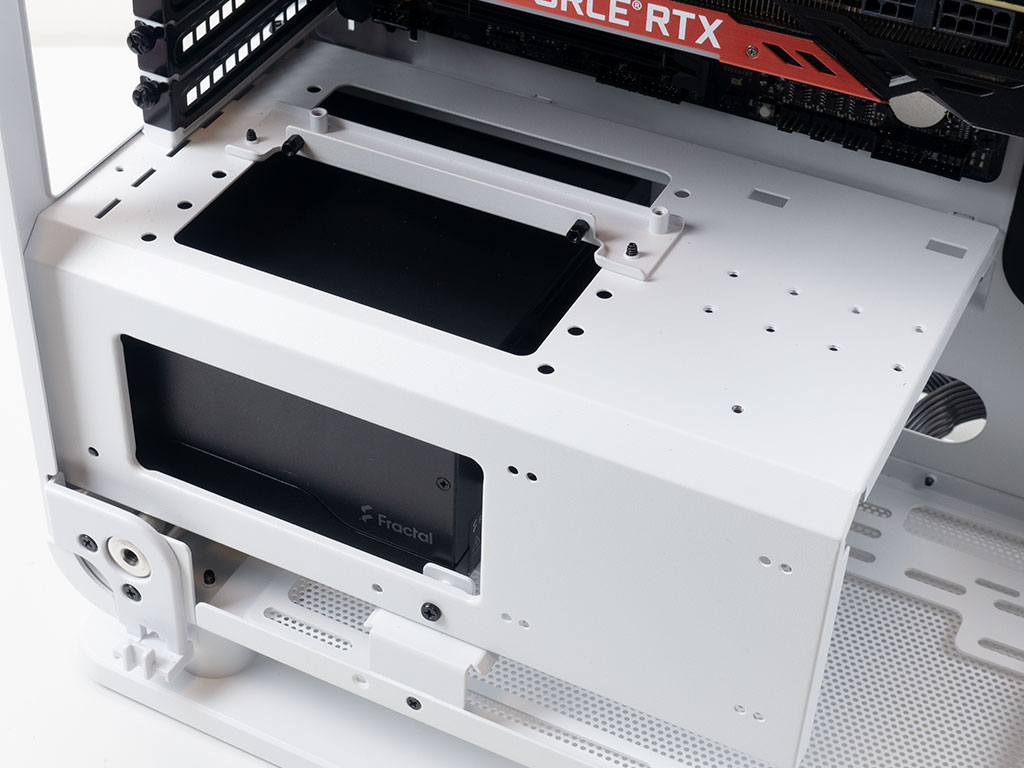
Adding a PSU with the horizontal layout out of the box means you may use the mounting frame and slide the unit in through the rear of the Core P6 frame. Thermaltake has placed cable-routing holes all around the PSU area, so one can hide cables nicely in the process.
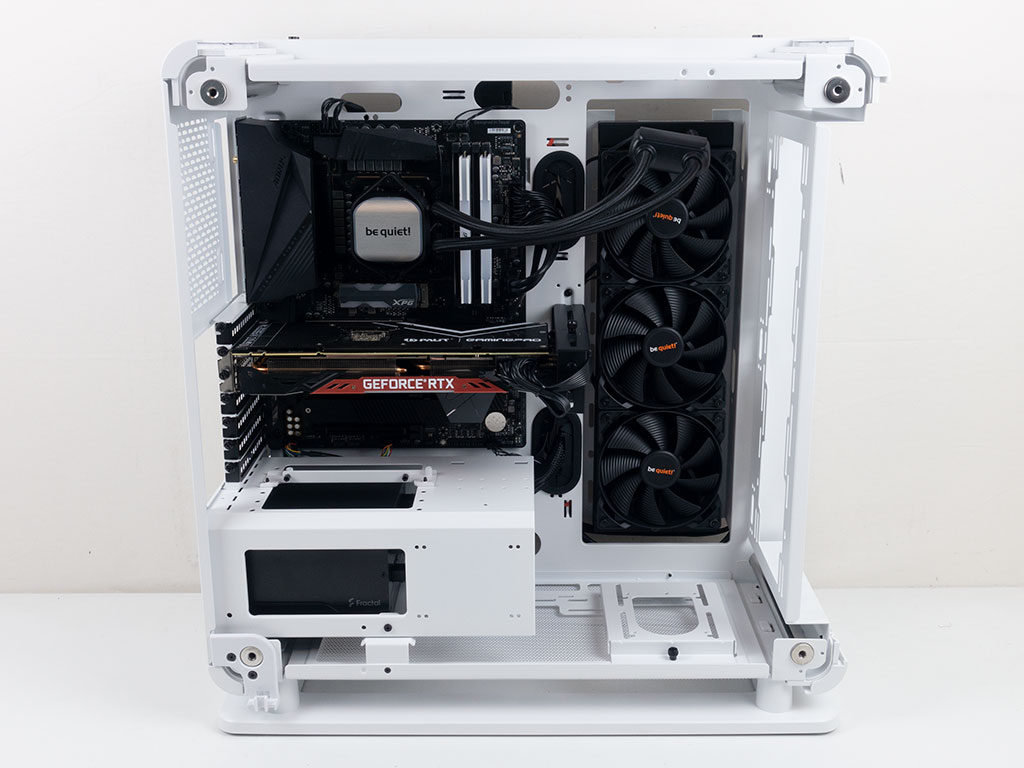
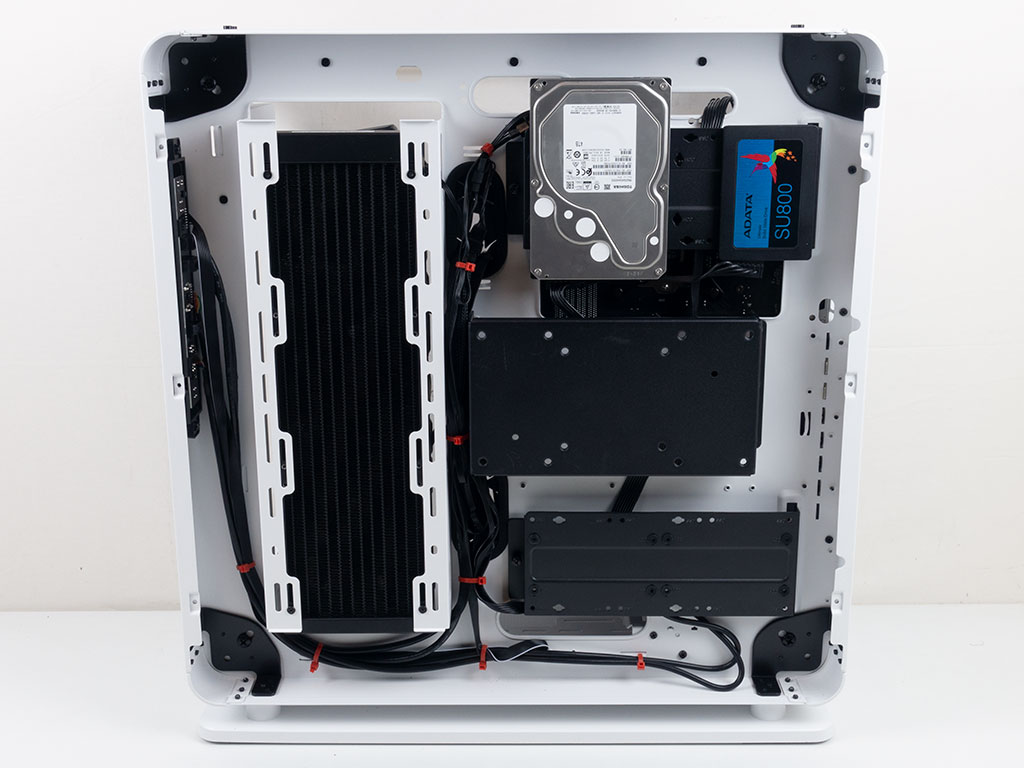
With everything installed, the visible side of the Core P6 looks really clean, which is rather important as everything is really out there in the open to view. It would have been nice to have grommets on the openings around the top edge of the motherboard to really make things cohesive, but this would be way less apparent for the black version of the chassis. In the rear are plenty of hooks for zip ties, making cable management nice and tidy as well even if nobody will see it in the end.
Finished Looks

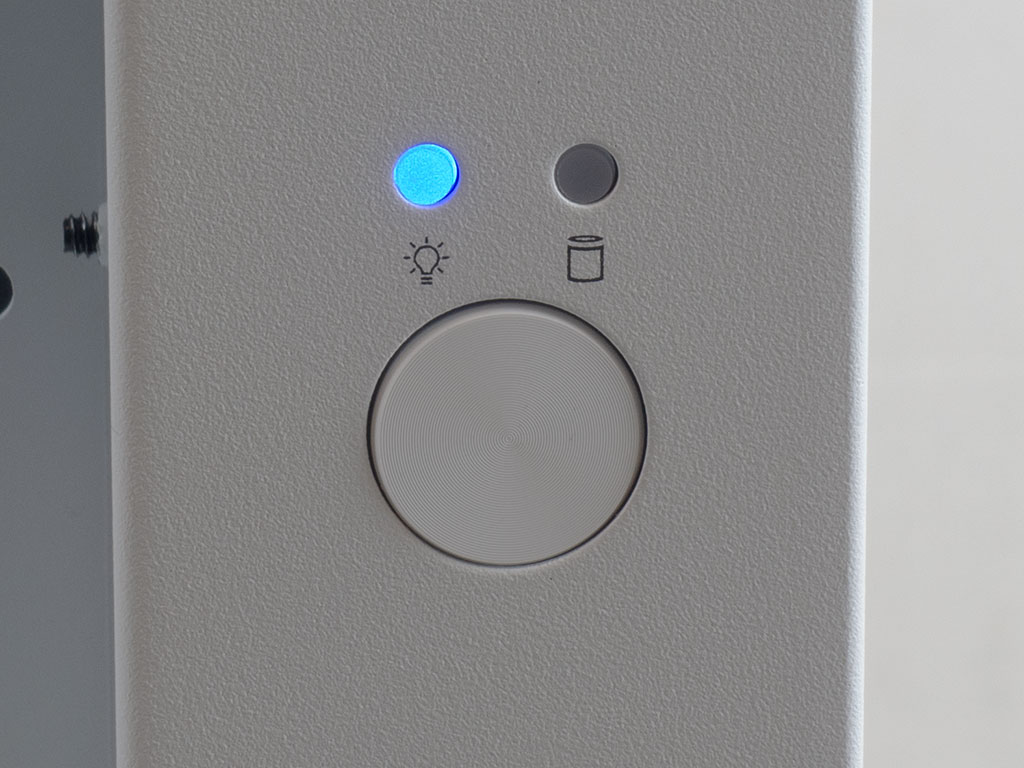
Once everything is assembled and the gently tinted glass panels are put back into place, our build actually looks a little understated with just a few ARGB elements. As expected, everything is visible from all sides as well, so any visuals you built into your rig can take full effect. A blue LED lights up in the solid backbone portion of the Core P6 when the system is turned on.
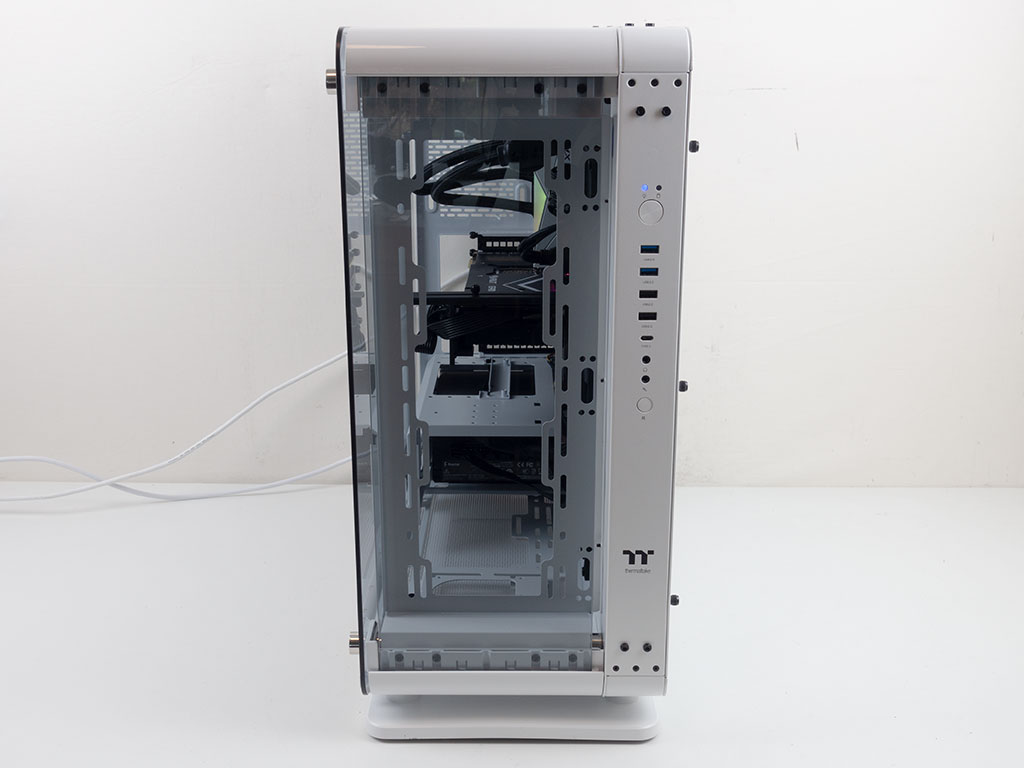
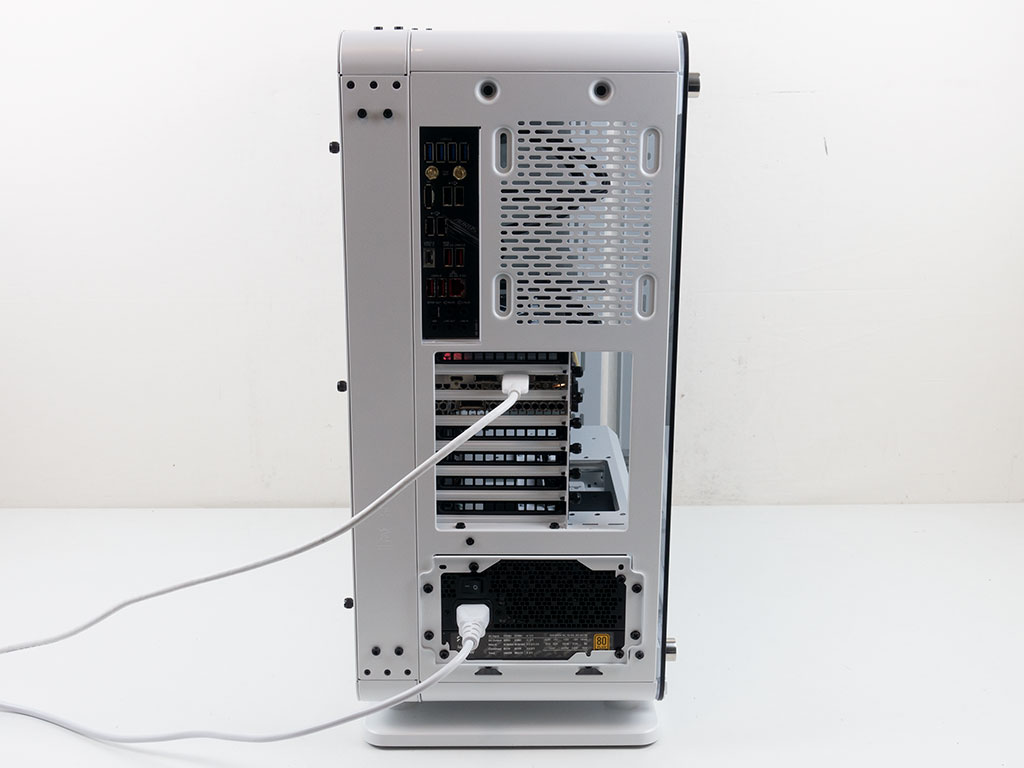
Looking at the front, you can clearly see the backside of the GPU along with the tubing of the AIO, while the rear has a few open elements as well. If you look closely, you will notice that the motherboard I/O cover is actually recessed and only present on the board because it is permanently attached to the board. Then there is the opening next to the expansion slots, which is needed when going vertical.
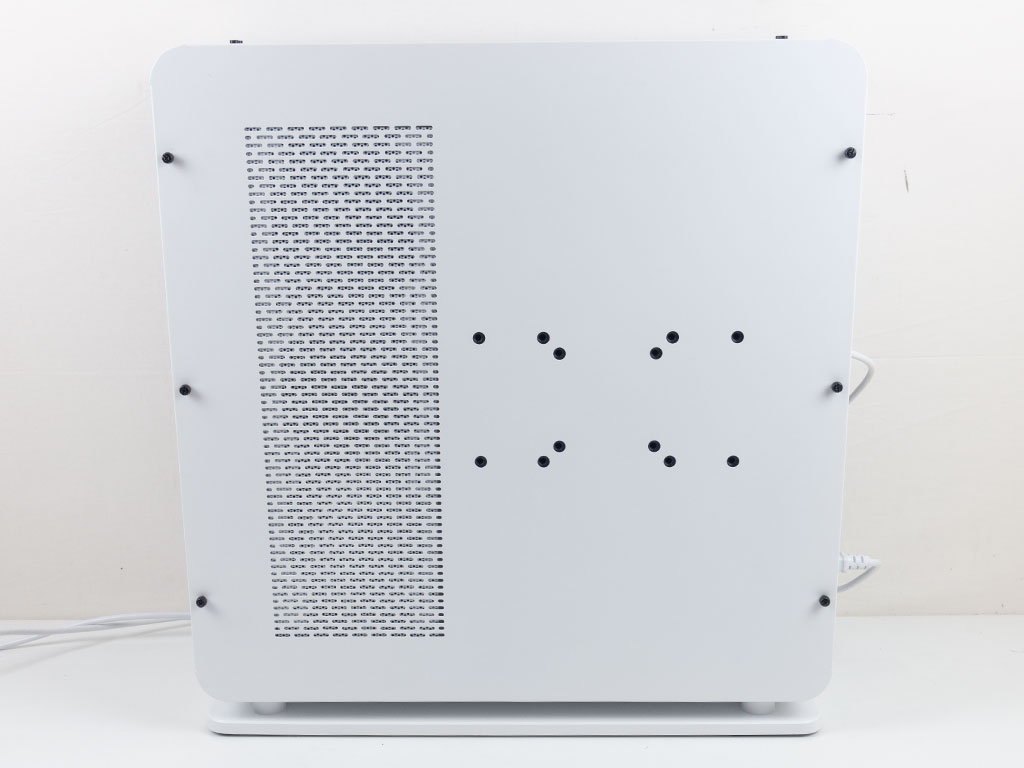
Looking at the case from the side, I am actually quite the fan of the clean, simple looks, but with the case being so versatile, it is essentially just limited by your imagination. On the rear, on the other hand, nothing hints of what is within, which makes sense as this is the angle at which the Core P6 TG is either mounted to the wall or facing away from you.
Feb 27th, 2025 17:19 EST
change timezone
Latest GPU Drivers
New Forum Posts
- OLED monitor only for Windows and Web Browsing makes sense? (14)
- Amd rx570 sapphire nitro 8gb+ not detected (11)
- Nvidia's GPU market share hits 90% in Q4 2024 (gets closer to full monopoly) (666)
- The TPU Darkroom - Digital SLR and Photography Club (4059)
- Be Quiet - 12VHPWR PCI-E Adapter Cable and RTX 5070 Ti (0)
- It's happening again, melting 12v high pwr connectors (945)
- WB actually did it...They closed Monolith. :( (31)
- 3D Printer Club (435)
- 5800X3D CO and RAM - Thoughts? (23)
- Hot 13600kf, current/EDP Limit Throttling,very dissapointed (5)
Popular Reviews
- Corsair Xeneon 34WQHD240-C Review - Pretty In White
- ASUS GeForce RTX 5070 Ti TUF OC Review
- Corsair Virtuoso MAX Wireless Review
- Montech HyperFlow Silent 360 Review
- Gigabyte X870 Aorus Elite WiFi 7 Review
- MSI GeForce RTX 5070 Ti Ventus 3X OC Review
- AMD Ryzen 7 9800X3D Review - The Best Gaming Processor
- MSI GeForce RTX 5070 Ti Vanguard SOC Review
- MSI GeForce RTX 5070 Ti Gaming Trio OC+ Review
- Montech TITAN PLA 1000 W Review
Controversial News Posts
- NVIDIA GeForce RTX 50 Cards Spotted with Missing ROPs, NVIDIA Confirms the Issue, Multiple Vendors Affected (497)
- AMD Radeon 9070 XT Rumored to Outpace RTX 5070 Ti by Almost 15% (304)
- AMD Plans Aggressive Price Competition with Radeon RX 9000 Series (274)
- AMD Radeon RX 9070 and 9070 XT Listed On Amazon - One Buyer Snags a Unit (255)
- NVIDIA Investigates GeForce RTX 50 Series "Blackwell" Black Screen and BSOD Issues (244)
- Edward Snowden Lashes Out at NVIDIA Over GeForce RTX 50 Pricing And Value (241)
- AMD Denies Radeon RX 9070 XT $899 USD Starting Price Point Rumors (239)
- AMD Mentions Sub-$700 Pricing for Radeon RX 9070 GPU Series, Looks Like NV Minus $50 Again (225)