 2
2
Thermaltake Divider 300 TG Air Review
Thermal Stress Test »Review System
| System Parts for Case Reviews | |
|---|---|
| Processor: | ATX: Intel Core i5-11600K mATX/ITX: Intel Core i5-10600K Provided by: Intel |
| Motherboards: | ATX: Gigabyte Z590 AORUS PRO AX ITX: Gigabyte Z590I Vision D Provided by: Gigabyte mATX: ASRock B560M Steel Legend Provided by: ASRock |
| Graphics Card: | Palit GeForce RTX 2080 Gaming Pro OC Provided by: Palit ZOTAC GAMING GeForce RTX 3060 Ti Twin Edge OC Provided by: Zotac |
| Memory: | 16 GB XPG SPECTRIX D50 3200 MHz 16 GB XPG SPECTRIX D60G DDR4 3000 MHz 16 GB XPG GAMMIX D20 DDR4 3200 MHz Provided by: ADATA |
| HDD: | Toshiba MG08ADA400E 7200 RPM SATA III Provided by: Toshiba |
| SSD: | ATX:XPG SPECTRIX S20G 500 GB mATX: XPG GAMMIX S50 Lite 1 TB ITX: ADATA Falcon 512 GB ADATA Ultimate SU800 512 GB ADATA Ultimate SU720 500 GB Provided by: ADATA |
| Power Supply: | ATX: Fractal Design ION+ 650W 80 Plus Gold SFX: Fractal Design ION SFX-L 650W 80 Plus Gold Provided by: Fractal Design |
| Cooling: | be quiet! Pure Loop 120/240/280/360 Provided by: be quiet! |
Assembly
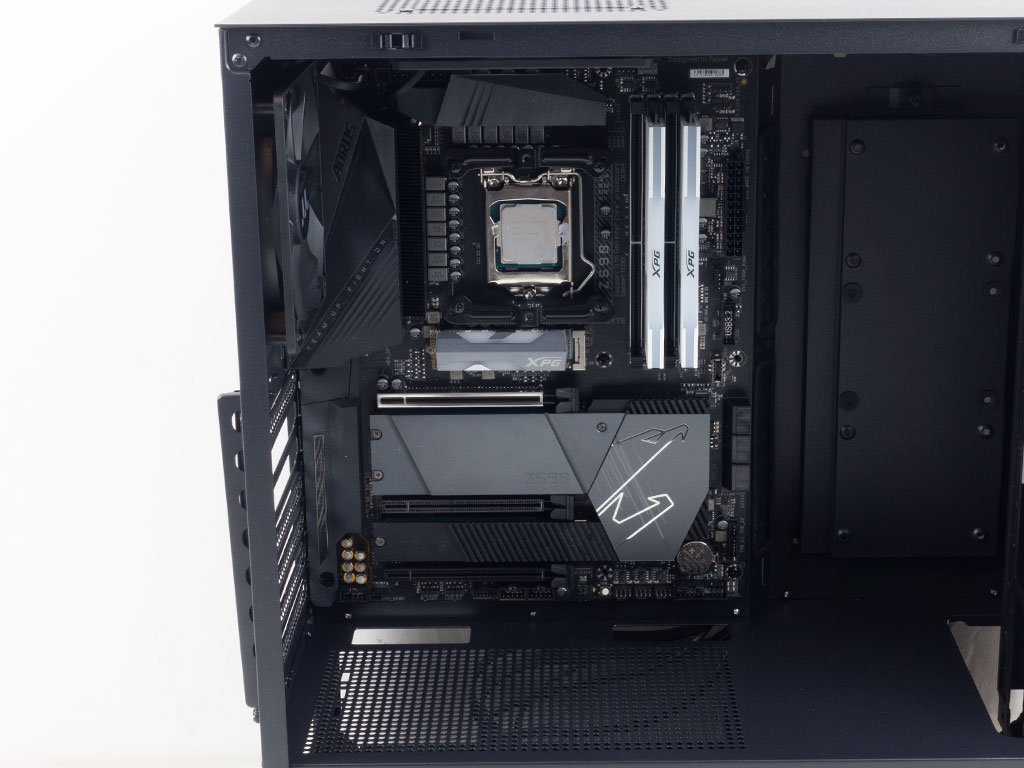
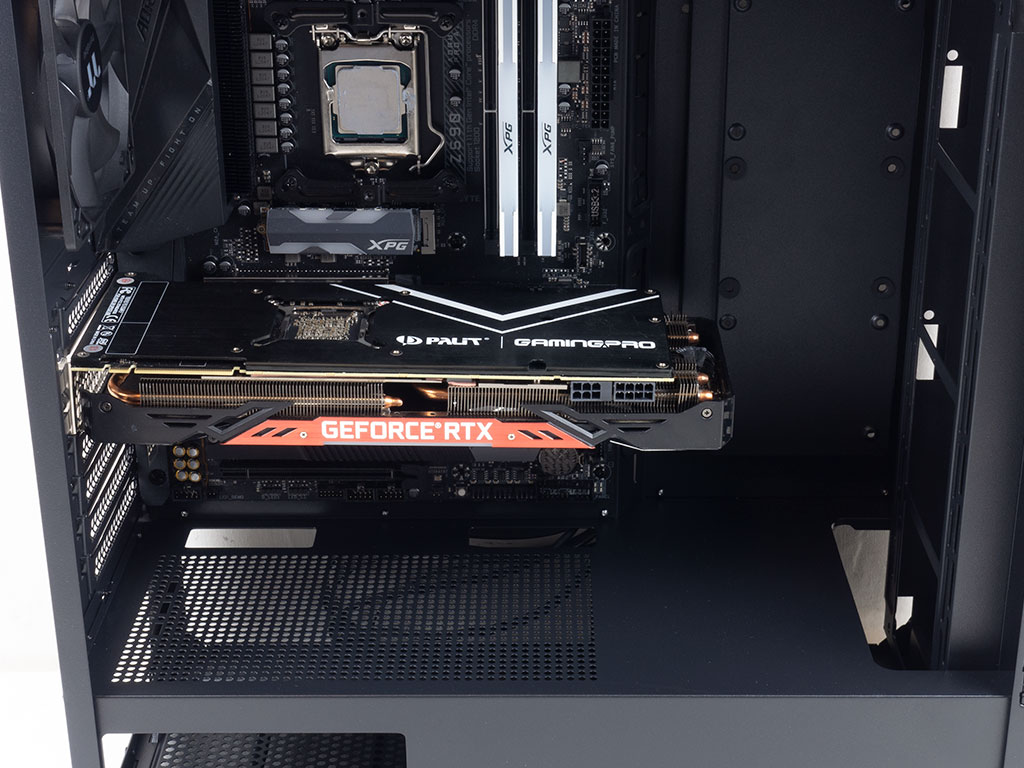
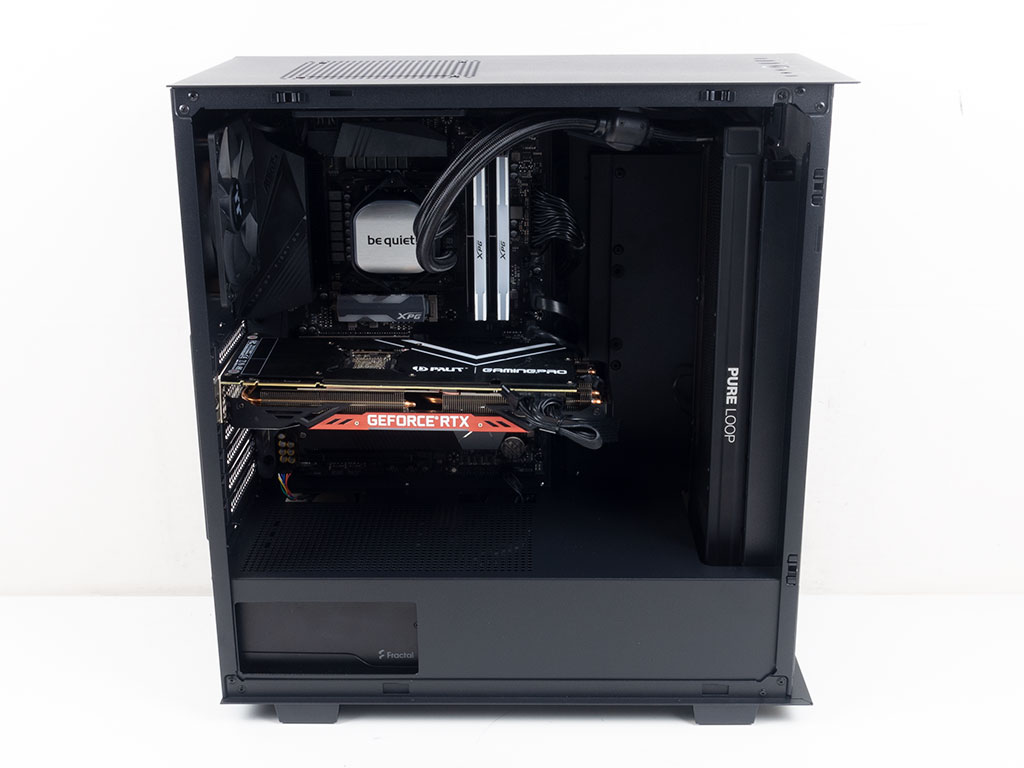
Installing the motherboard within the Divider 300 TG Air is done by using the screws and spacers. The bottom edge of the board has a bit of space to the shroud, and it is here Thermaltake has placed several openings that line up well for cable management. Installing a long GPU is a breeze too, but you should really avoid an AIO on the side in such a scenario. As we have seen in the Divider 300 TG ARGB review, most graphics cards collide with such a configuration.
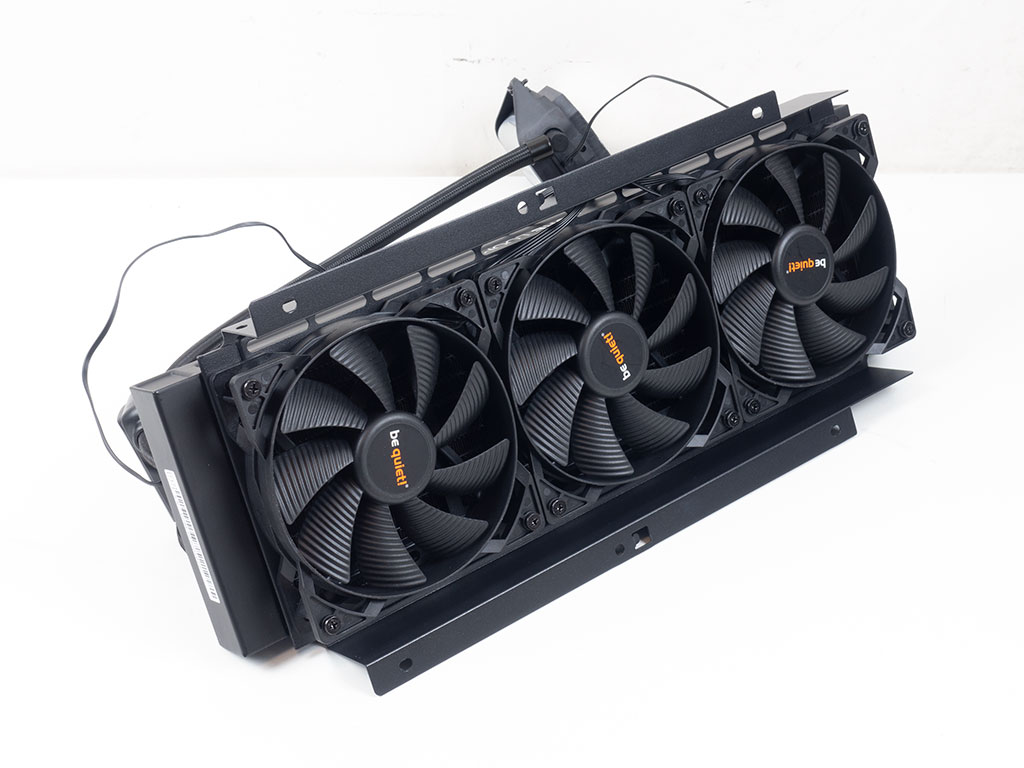
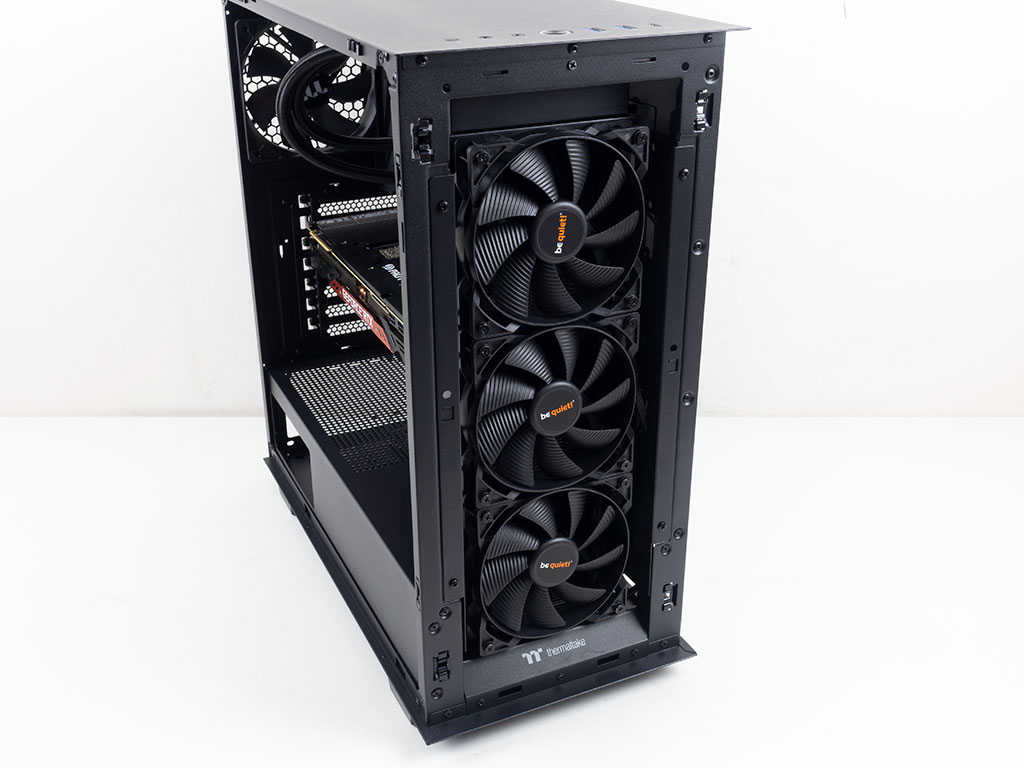
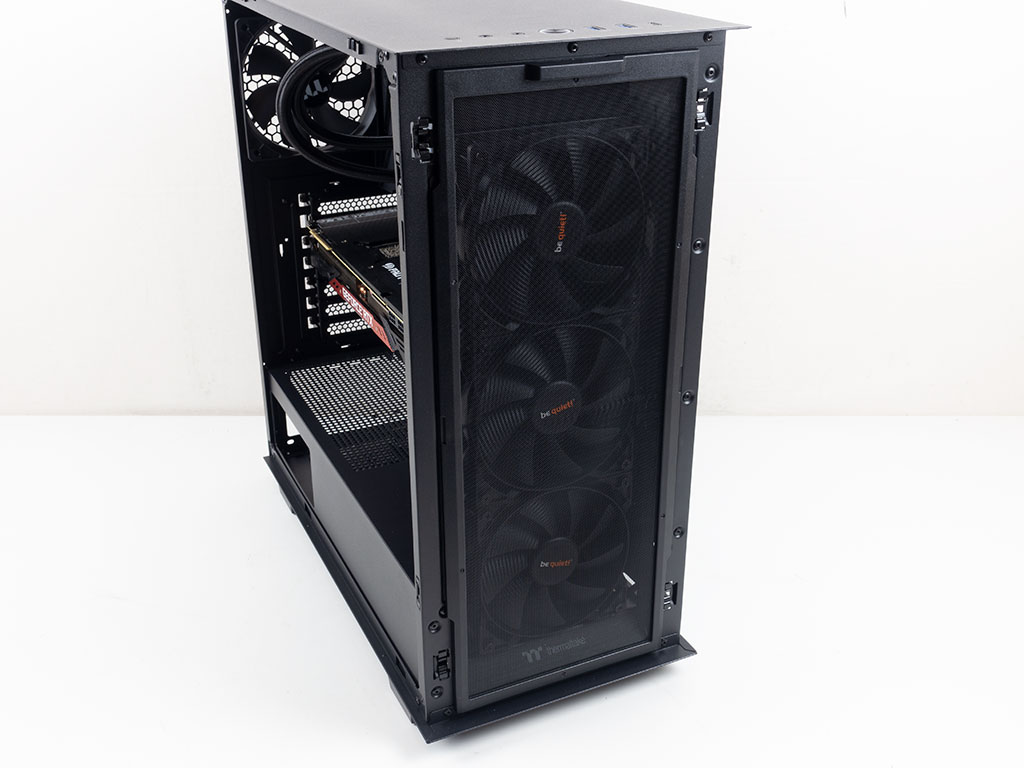
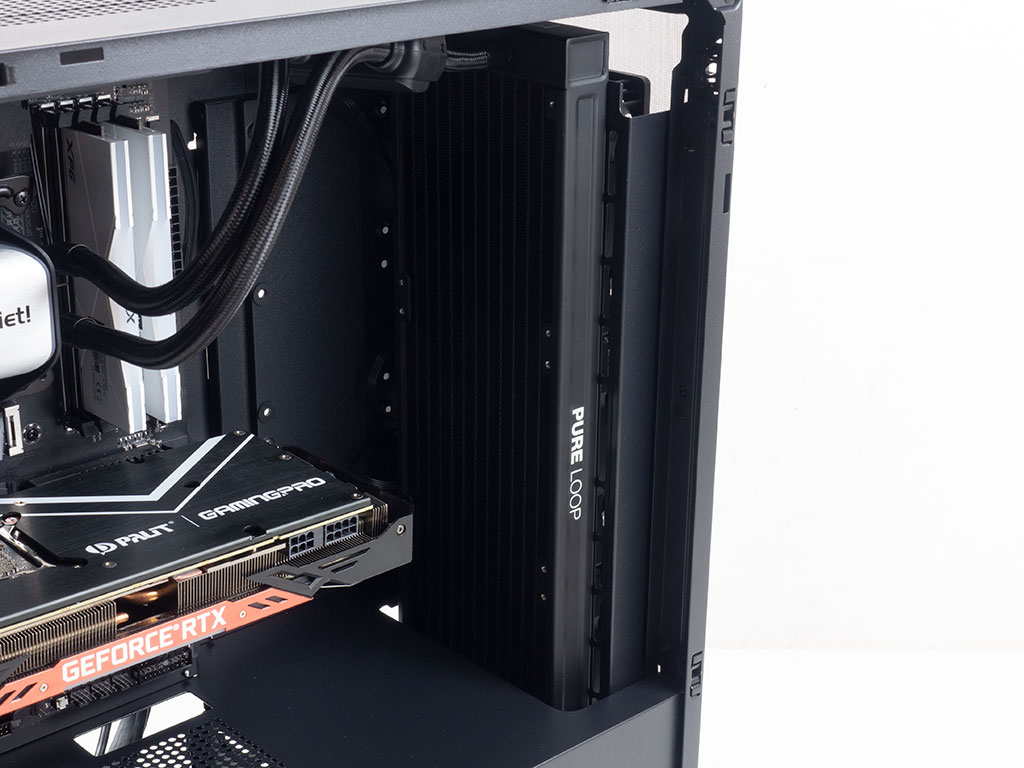
Instead, we installed a 360 mm radiator in the front of the case, as odds are you will want to take advantage of the available airflow. You may do so very easily by removing the front mounting bracket and pre-installing your AIO and its fans first. The 360 mm variant fit inside the front of the case without issue, and there is plenty of space for even long GPUs. We did move the front 120 mm case fan to the ceiling, though.
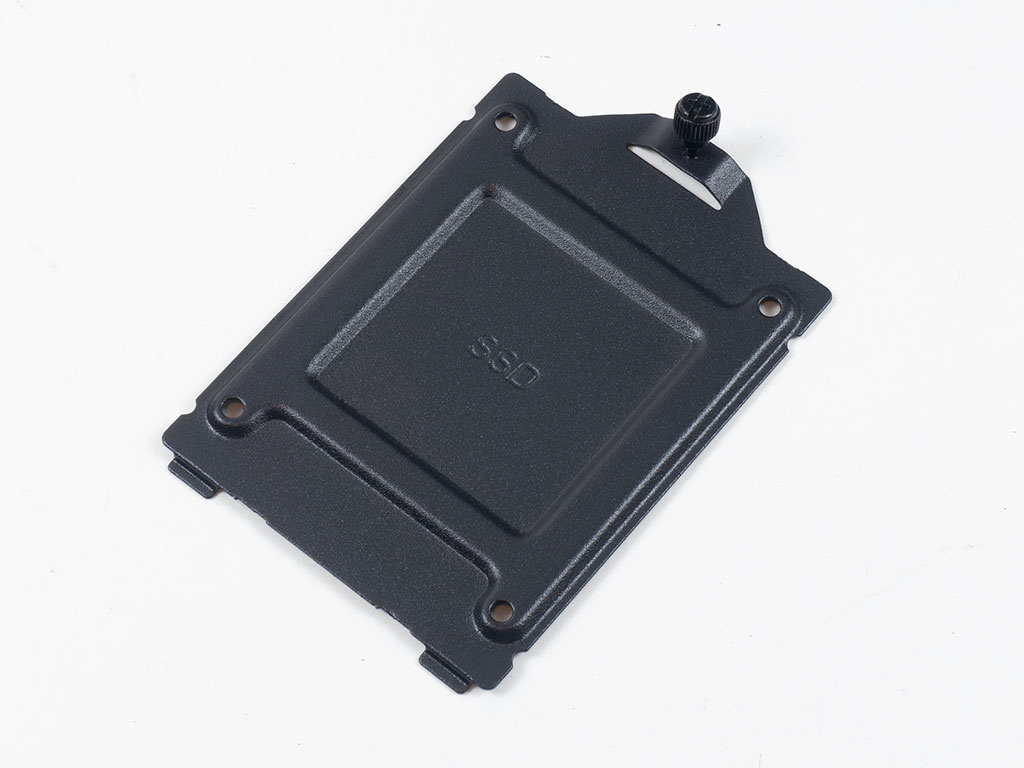
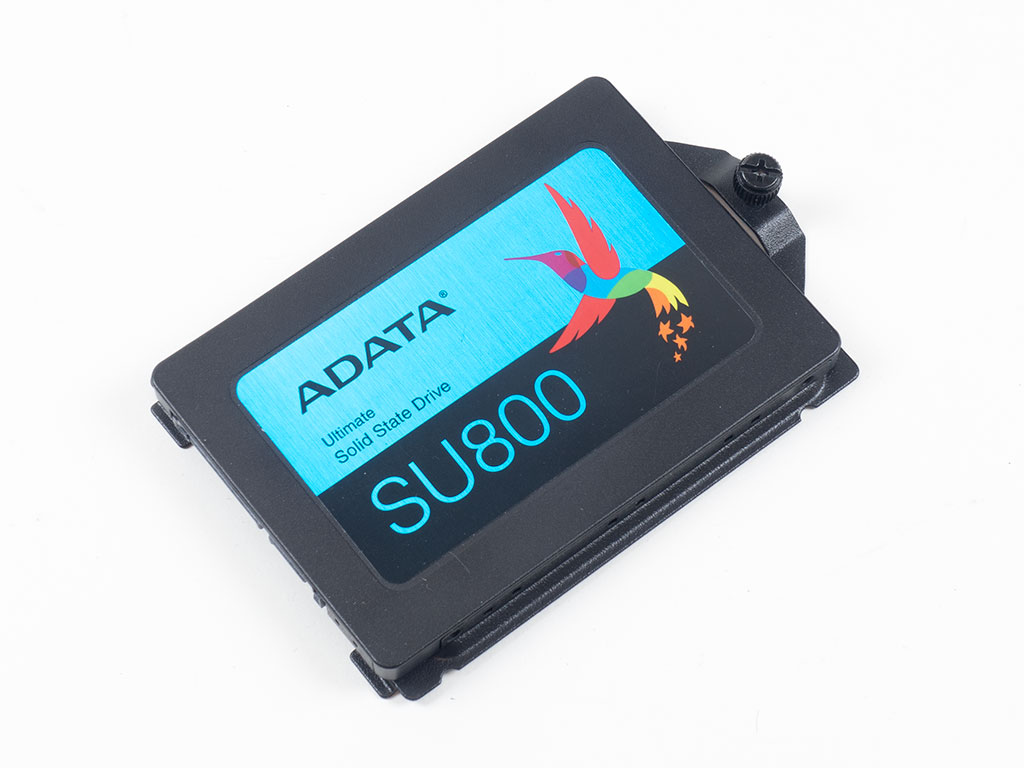
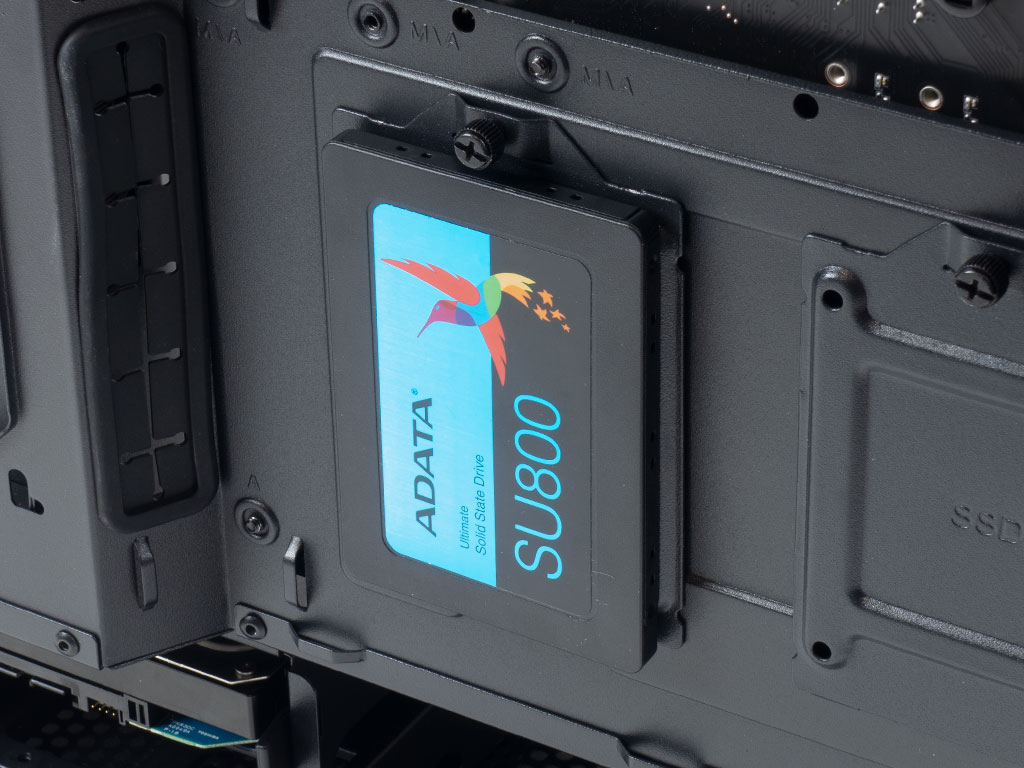
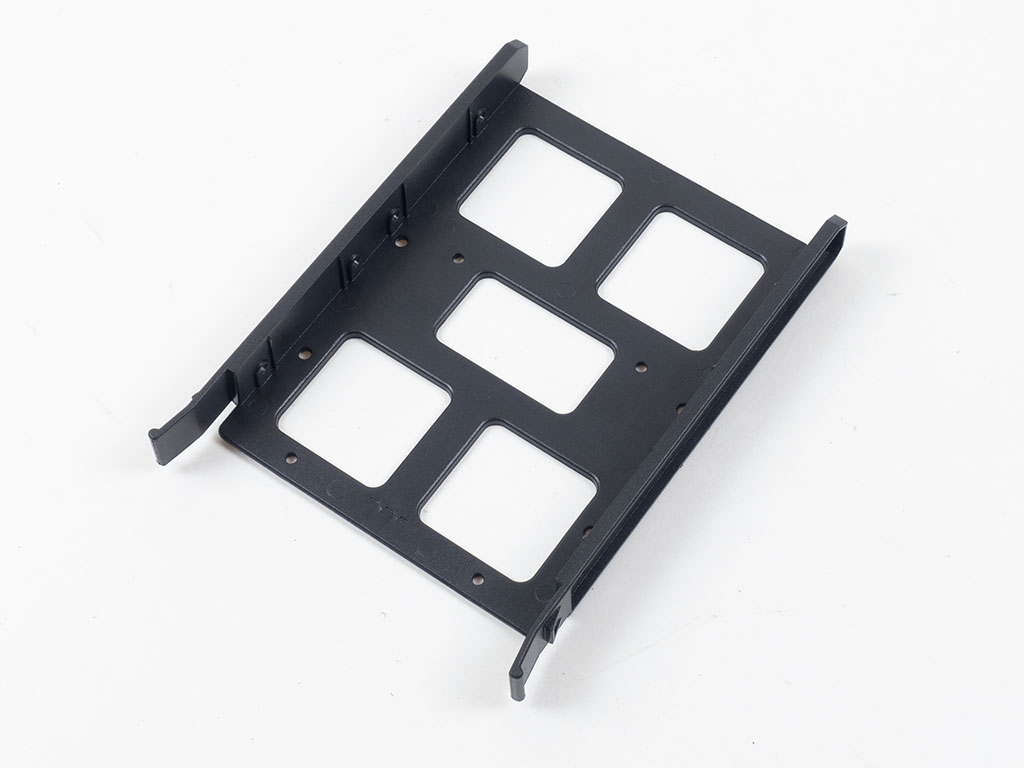
Installing SSDs is easily done by taking one of those trays and securing the drive by traditional means using screws and a screwdriver. Once filled, simply put the whole thing back where you found it and make sure it stays there by screwing down the thumb screw.
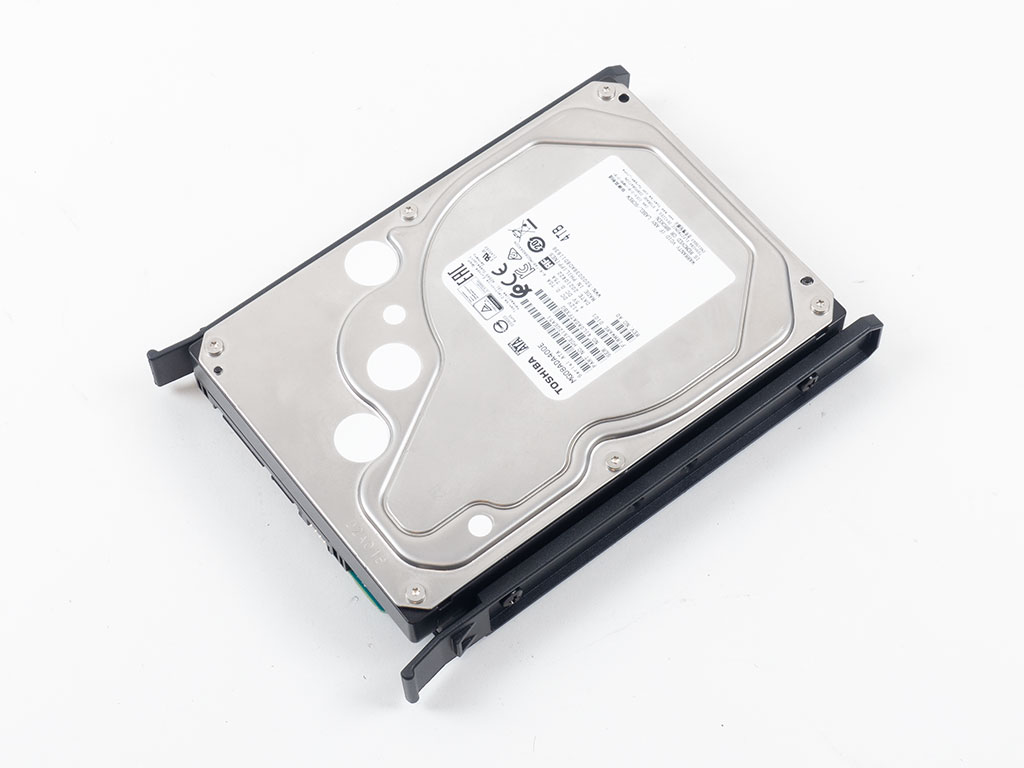
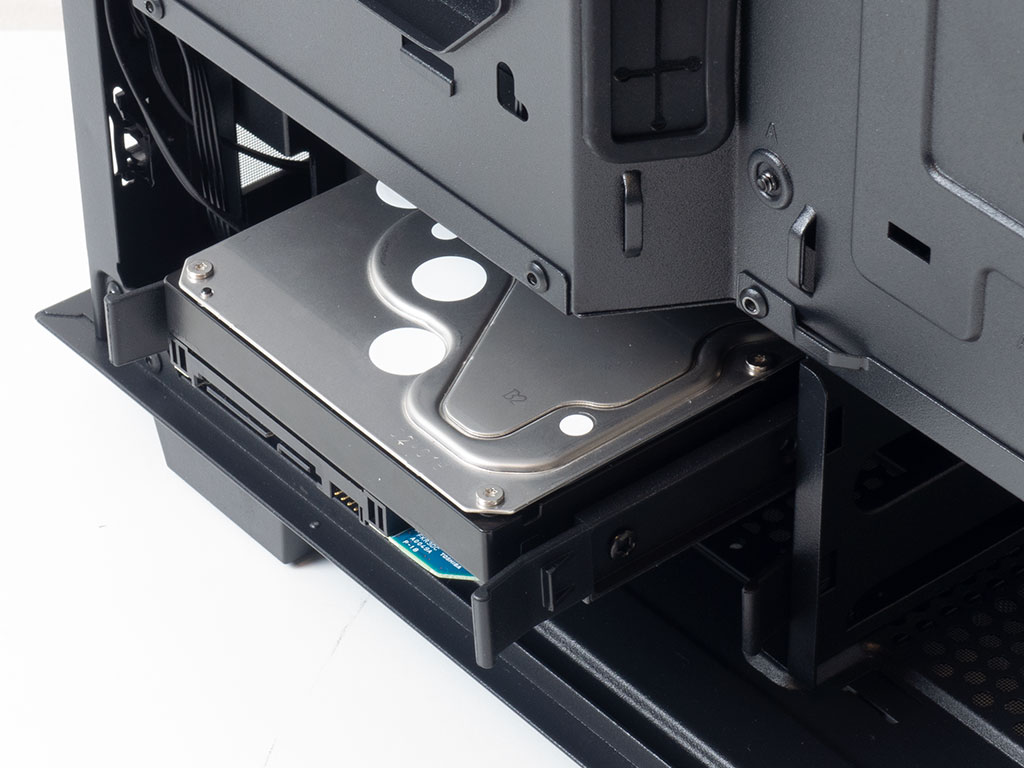
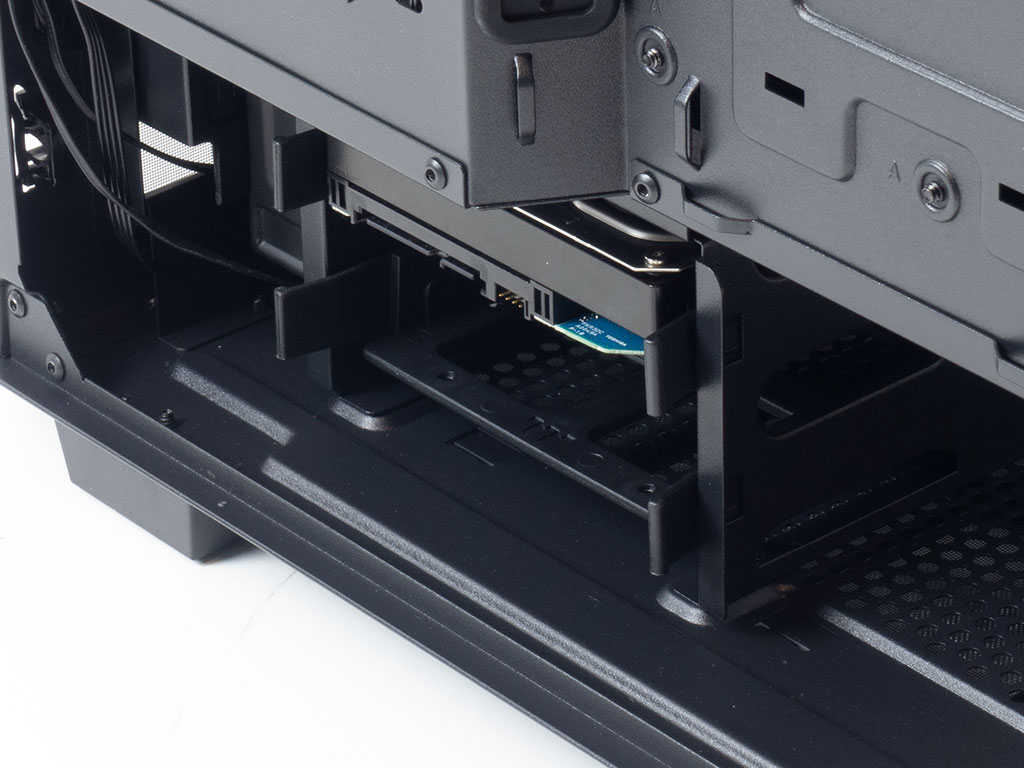
Including 3.5" drives in your build is similar as you simply pull out the plastic tray of your choice and screw down the drive before sliding it back in until it clicks down securely.
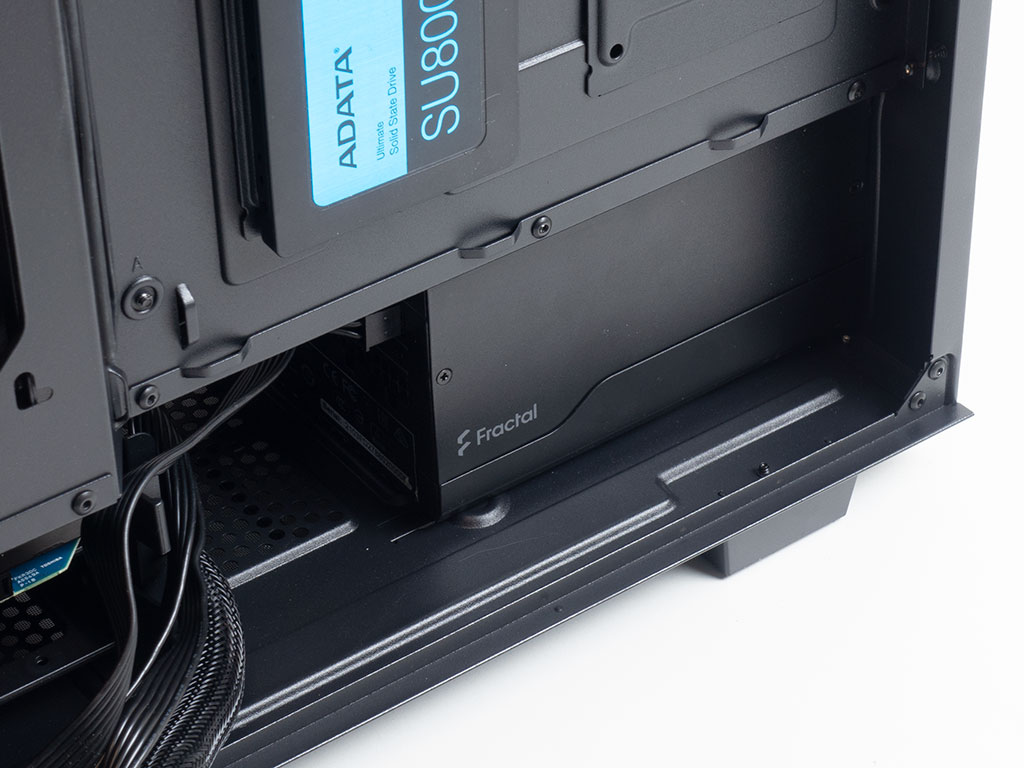
Lastly, adding a power supply is pretty traditional as well. It slides underneath the metal shroud easily—simply screw it down and move on.
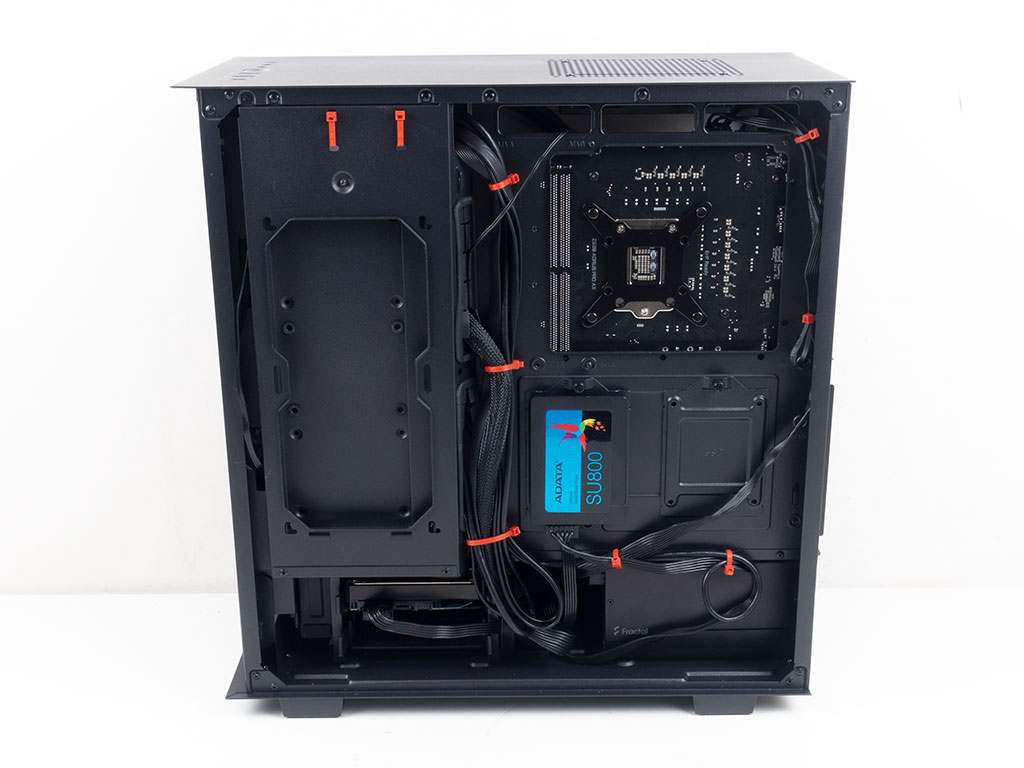
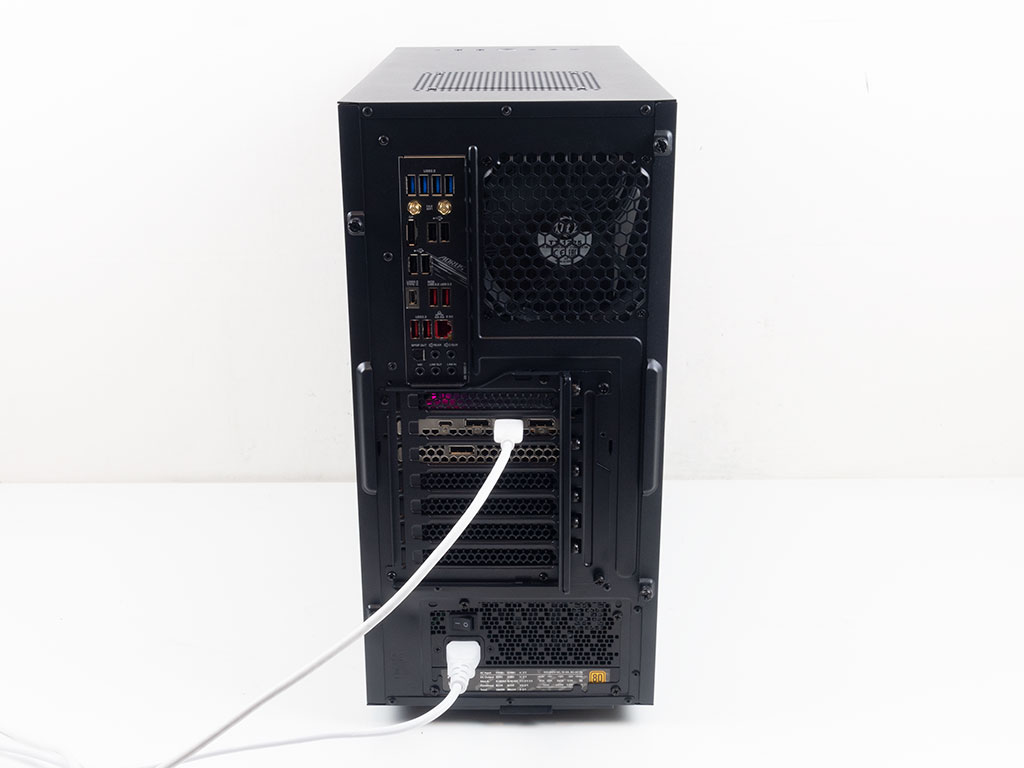
With everything installed, the Thermaltake Divider 300 TG Air looks really clean. Thanks to the numerous cable hooks and holes, you should be able to route your cables nicely behind the motherboard tray.
Finished Looks
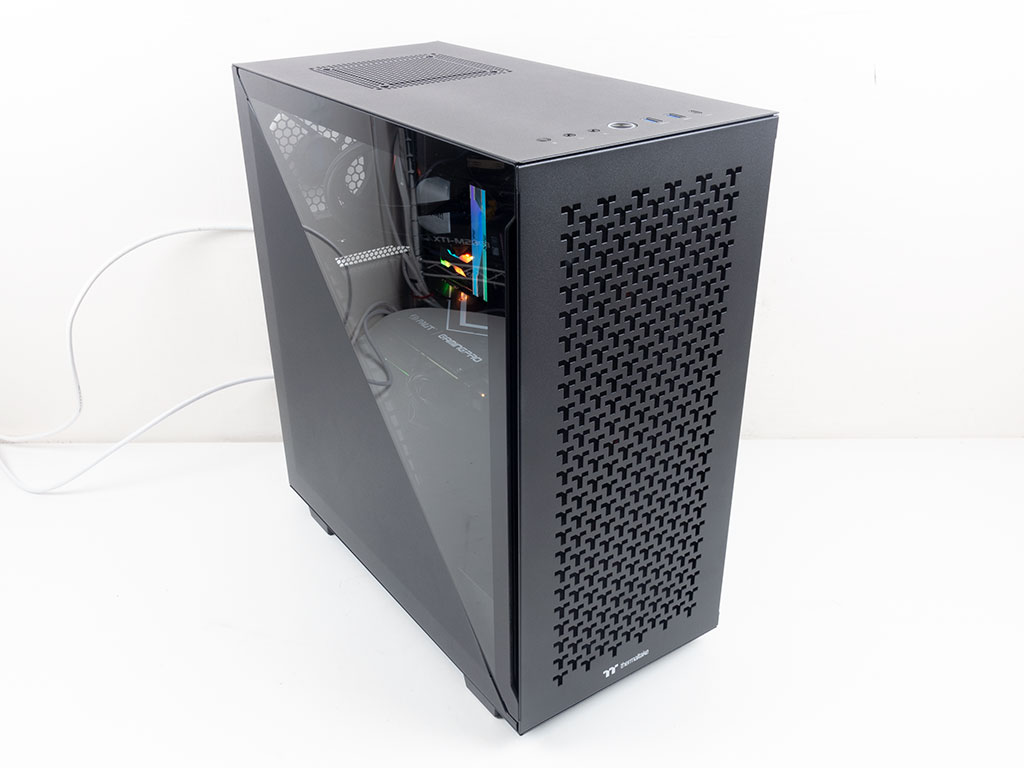
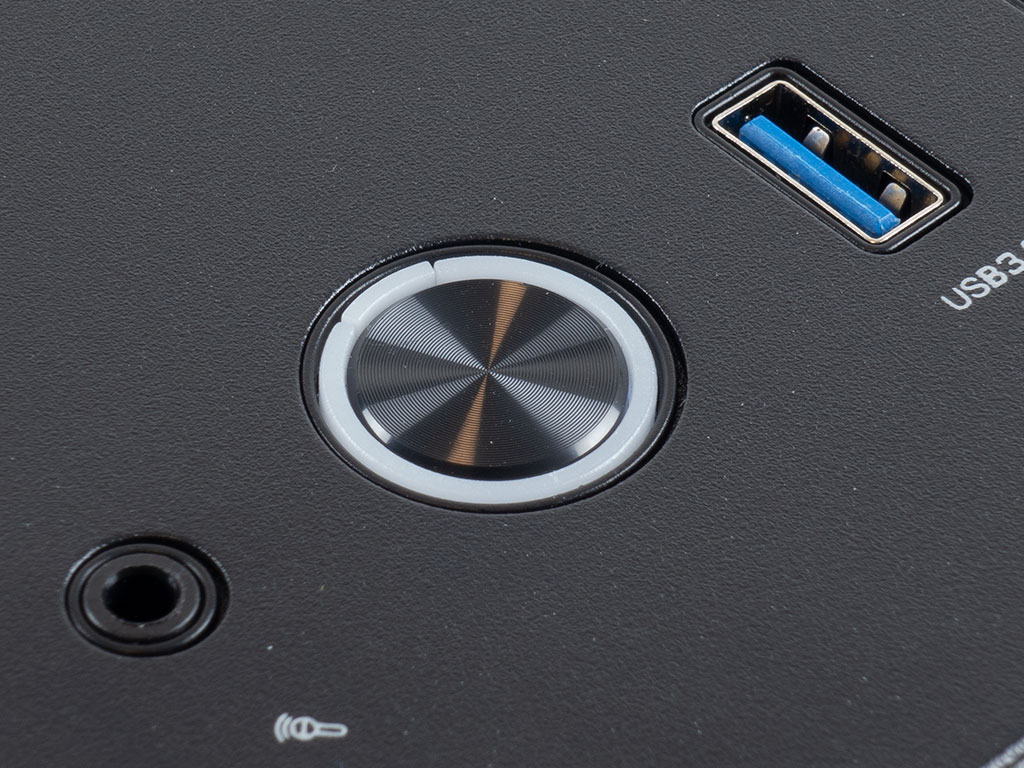
With everything put back together, turning on the Divider 300 TG Air is a far more understated affair than with the ARGB variants. Naturally, with the lack of light and any fans hidden behind the solid panel, it won't be as flashy. A white LED will light up gently around the power button to also let you know the computer is turned on.
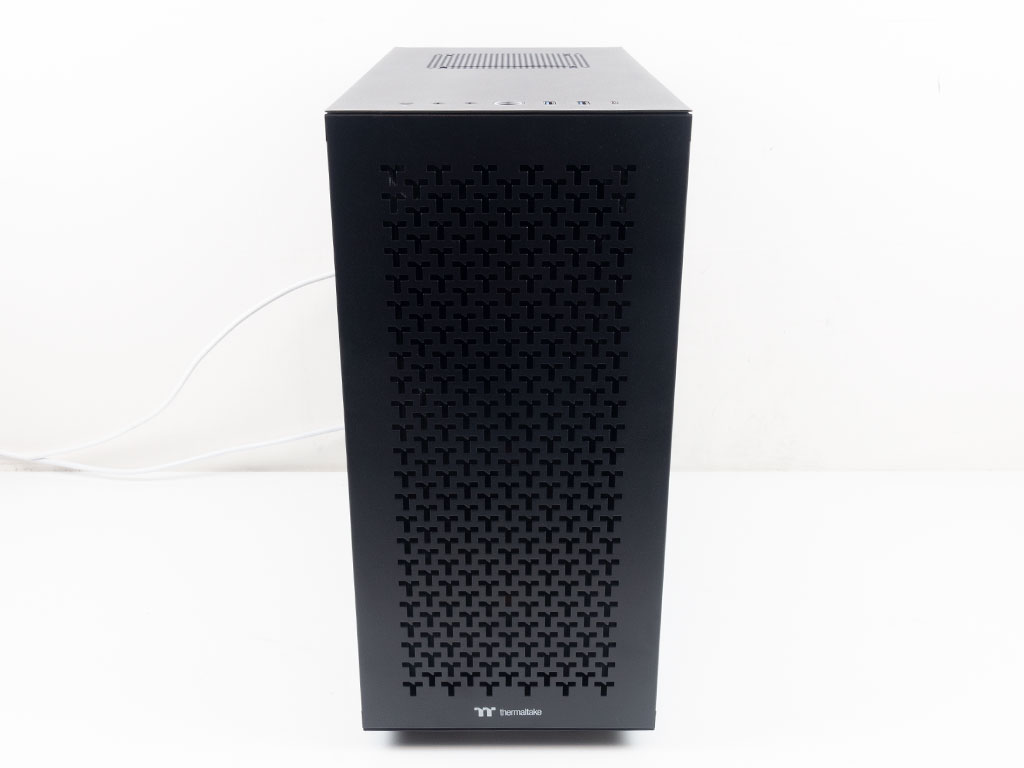
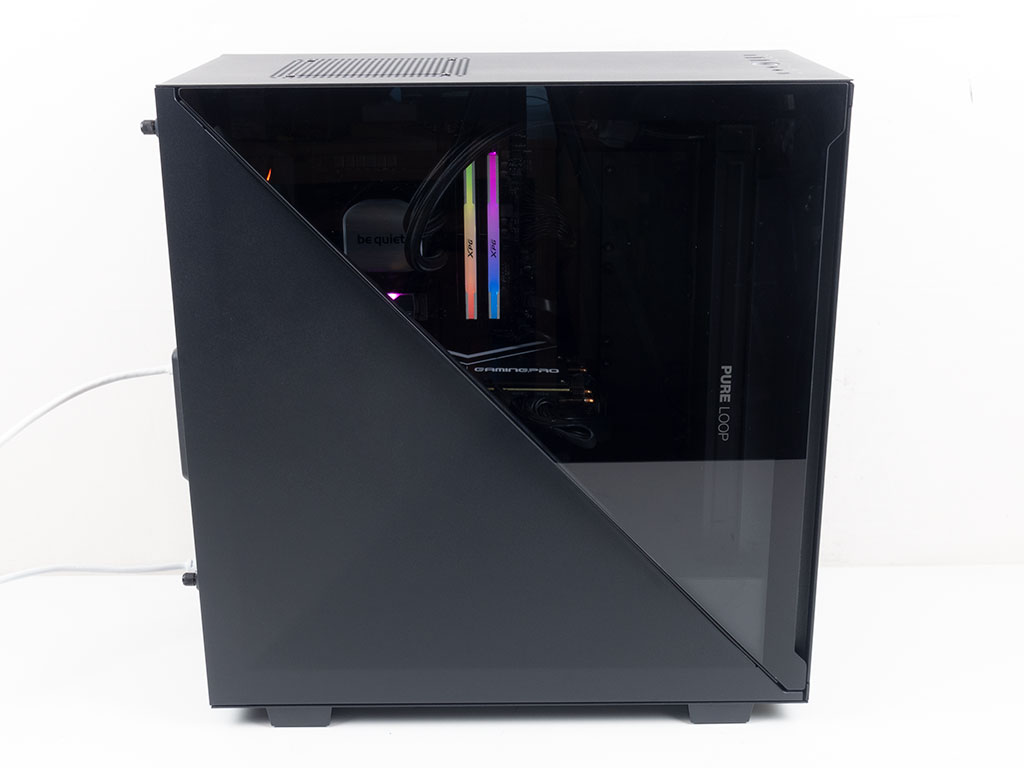
Looking at the front, you can see into the case if you look closely. This means ARGB fans would glow through a bit. The glass half of the window offers a bit of a view around your memory, but most of the GPU is unfortunately hidden. In the rear, everything is where you would expect it as the Divider 300 TG Air comes with a modern mid-tower layout after all.
May 4th, 2025 12:03 EDT
change timezone
Latest GPU Drivers
New Forum Posts
- Request for advice [Big Build] (44)
- 5070 Ti power limit questions (80)
- Are the 8 GB cards worth it? (822)
- Best USB 3 hub chipsets (5)
- PSU chirping sound (7)
- Windows 11 General Discussion (6016)
- Dream Monitor Ideas (168)
- Last game you purchased? (800)
- Free Games Thread (4659)
- Half Life 3 soon ? (4)
Popular Reviews
- Clair Obscur: Expedition 33 Performance Benchmark Review - 33 GPUs Tested
- ASUS ROG Maximus Z890 Hero Review
- ASUS Radeon RX 9070 XT TUF OC Review
- Montech HS02 PRO Review
- NVIDIA GeForce RTX 5060 Ti 8 GB Review - So Many Compromises
- ASUS GeForce RTX 5090 Astral Liquid OC Review - The Most Expensive GPU I've Ever Tested
- Seasonic Vertex GX 850 W Review
- Upcoming Hardware Launches 2025 (Updated Apr 2025)
- ASRock Radeon RX 9070 XT Taichi OC Review - Excellent Cooling
- Team Group GC Pro 2 TB Review
Controversial News Posts
- AMD Radeon RX 9060 XT to Roll Out 8 GB GDDR6 Edition, Despite Rumors (129)
- NVIDIA Sends MSRP Numbers to Partners: GeForce RTX 5060 Ti 8 GB at $379, RTX 5060 Ti 16 GB at $429 (128)
- NVIDIA Launches GeForce RTX 5060 Series, Beginning with RTX 5060 Ti This Week (115)
- Nintendo Confirms That Switch 2 Joy-Cons Will Not Utilize Hall Effect Stick Technology (105)
- NVIDIA PhysX and Flow Made Fully Open-Source (95)
- Sony Increases the PS5 Pricing in EMEA and ANZ by Around 25 Percent (84)
- Parts of NVIDIA GeForce RTX 50 Series GPU PCB Reach Over 100°C: Report (78)
- Intel "Bartlett Lake-S" Gaming CPU is Possible, More Hints Appear for a 12 P-Core SKU (77)