 5
5
Thermaltake Luxa2 LM100 Mini Review
Assembly & Finished Looks »A Closer Look - Inside

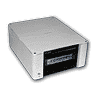
To gain access to the chassis, you need to use the hex tool provided to remove the four screws holding the plate in place. Once done, it can simply be lifted off. It would have been nice to see a normal hex screwdriver included instead of a simple "IKEA" tool, but it does the job nonetheless.
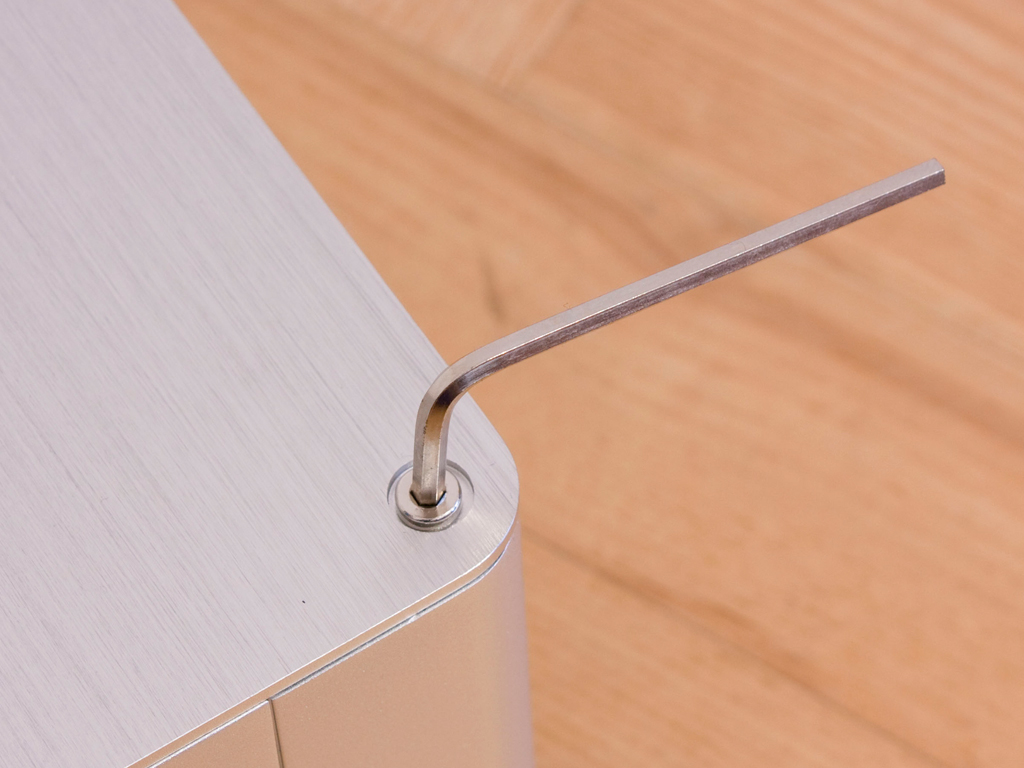
There is very little space to work with inside the chassis, as the power supply just sits there in the front area of the case. There is even some space between the PSU and the front, but this is necessary to reach the screws holding the PSU in place. A metal tray forms the slim line optical drive bay, while a hard drive can be installed under the power cable running along the side of the chassis.

Taking out the ODD tray and hard drive cover, we are left with a bare case. There are no other parts that have to be removed for installation. We will, however, take out the power supply as well. The two fans utilize Molex connectors instead of mainboard headers. This is alright, as most ITX boards do not feature many fan headers - if at all. The best scenario would have been if Thermaltake combined both power cables and form a single 3-pin fan plug for both fans and then use a Molex adapter in case the installed board does not have any headers. With the current configuration, these two small fans will turn at full speed and thus as loud as possible right away.
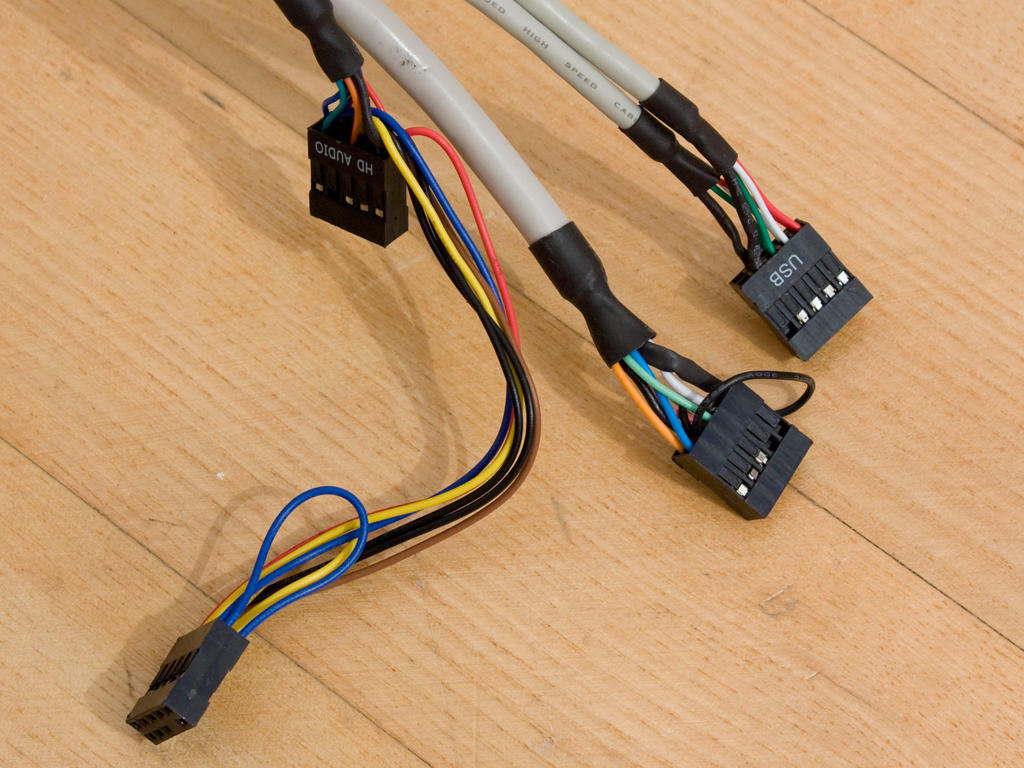
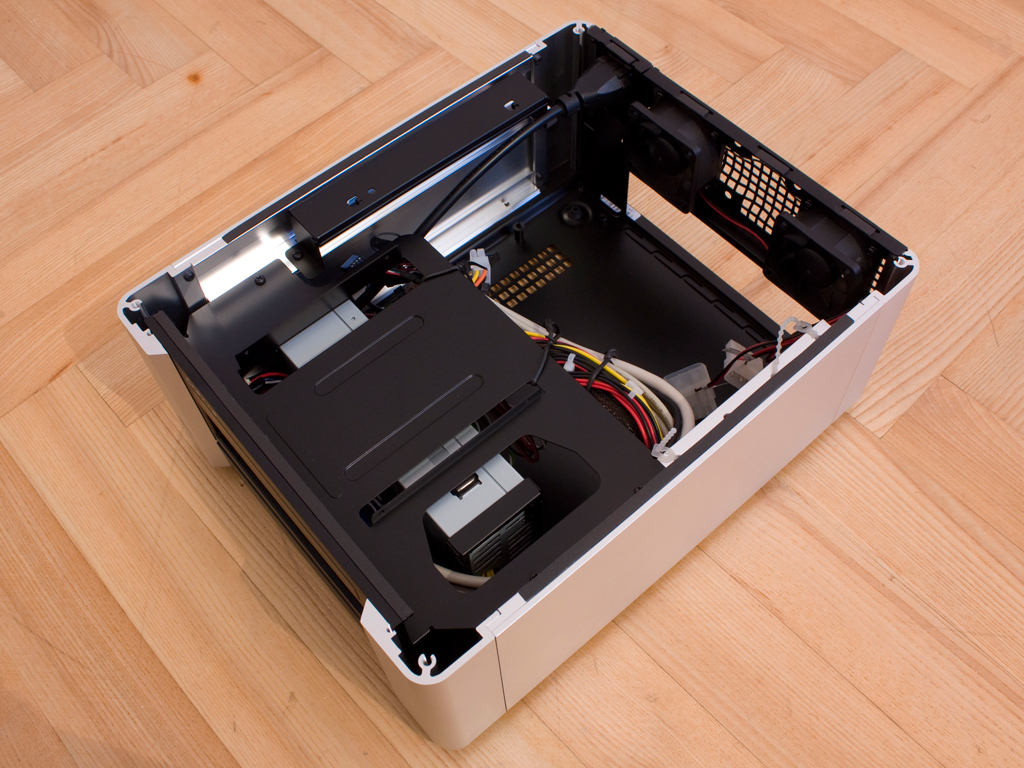
The I/O cables are nothing out of the ordinary and should fit every modern ITX board on the market today. I will be installing a Zotac Geforce 9300 based board in this chassis.
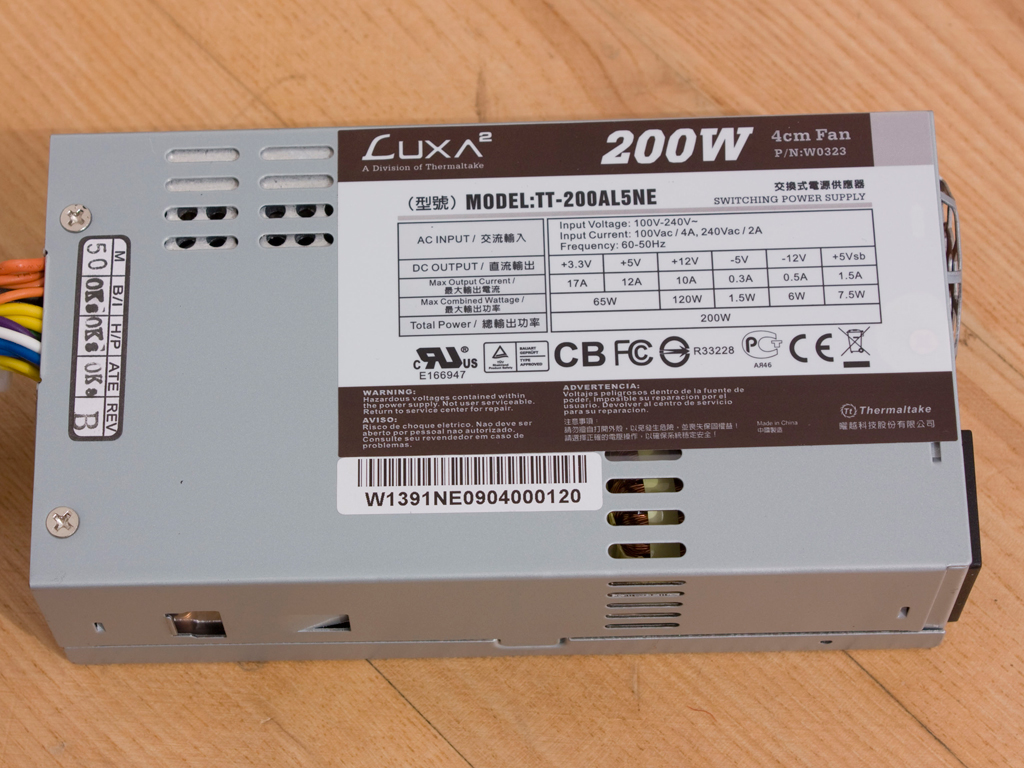
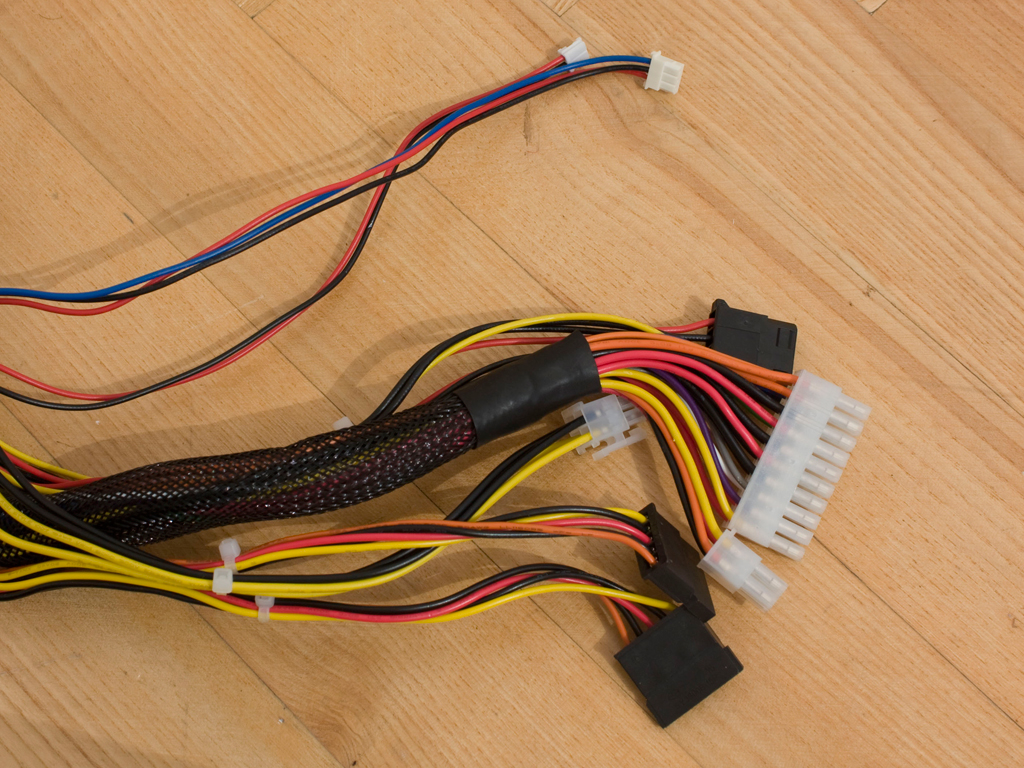
Taking a quick look at the power supply, it is rated for 200W and comes with a single rail. The unit - which is cooled by a 40 mm fan - should be powerful enough for the appropriate components of an HTPC chassis. There is no 80 Plus Certification anywhere on this PSU, which is a bit dissapointing, considering the fact that Thermaltake offers plenty of power supplies with the efficiency certification. The few cables of the power supply should be sufficient to fill the entire case and connect everything. You want to use SATA based drives though, as the Molex connector is needed for the two fans in the rear of the chassis. There are two other cables, one of which powers the VFD, while the other one serves no apparent purpose. That said, if this unit ever dies, any replacement off the shelf part, will not include these, thus some may argue that this power supply does not adhere to the ATX standard. But, after mentioning this to Thermaltake we were told, that they will supply the cable if needed.
Feb 20th, 2025 19:57 EST
change timezone
Latest GPU Drivers
New Forum Posts
- RTX 5090 ridiculous price! (176)
- [PCGamer] Former Sony exec finally says the quiet part out loud: putting PlayStation games on PC is 'almost like printing money' (19)
- DLSS as antialiasing? (12)
- AIO - 120mm cpu cooler? (24)
- It's happening again, melting 12v high pwr connectors (838)
- Windows 11 General Discussion (5678)
- MSI Tomahawk X870 & 9800X3D (1)
- Should I make a thermal maintenance on my GPU? (66)
- What local LLM-s you use? (53)
- Monitor Battle! Help me choose between two contenders (25)
Popular Reviews
- MSI GeForce RTX 5070 Ti Ventus 3X OC Review
- Gigabyte GeForce RTX 5090 Gaming OC Review
- Galax GeForce RTX 5070 Ti 1-Click OC White Review
- Ducky One X Inductive Keyboard Review
- ASUS GeForce RTX 5070 Ti TUF OC Review
- AMD Ryzen 7 9800X3D Review - The Best Gaming Processor
- MSI GeForce RTX 5070 Ti Vanguard SOC Review
- MSI MAG Z890 Tomahawk Wi-Fi Review
- NVIDIA GeForce RTX 5080 Founders Edition Review
- MSI GeForce RTX 5070 Ti Gaming Trio OC+ Review
Controversial News Posts
- AMD Radeon 9070 XT Rumored to Outpace RTX 5070 Ti by Almost 15% (302)
- AMD is Taking Time with Radeon RX 9000 to Optimize Software and FSR 4 (256)
- AMD Plans Aggressive Price Competition with Radeon RX 9000 Series (254)
- AMD Radeon RX 9070 and 9070 XT Listed On Amazon - One Buyer Snags a Unit (242)
- Edward Snowden Lashes Out at NVIDIA Over GeForce RTX 50 Pricing And Value (241)
- AMD Denies Radeon RX 9070 XT $899 USD Starting Price Point Rumors (239)
- New Leak Reveals NVIDIA RTX 5080 Is Slower Than RTX 4090 (215)
- AMD Radeon RX 9070 XT Launch Allegedly Set for March 6 (152)