 8
8
Thermaltake The Tower 100 Review
Temperature & Noise Testing »Test System
| System Parts for Case Reviews | |
|---|---|
| Processor: | Intel Core i5-9600K |
| Motherboards: | ATX: MSI Z390 GAMING EDGE AC MATX: Z370M GAMING EDGE AC Mini-ITX: MSI Z370I GAMING EDGE AC Provided by: MSI |
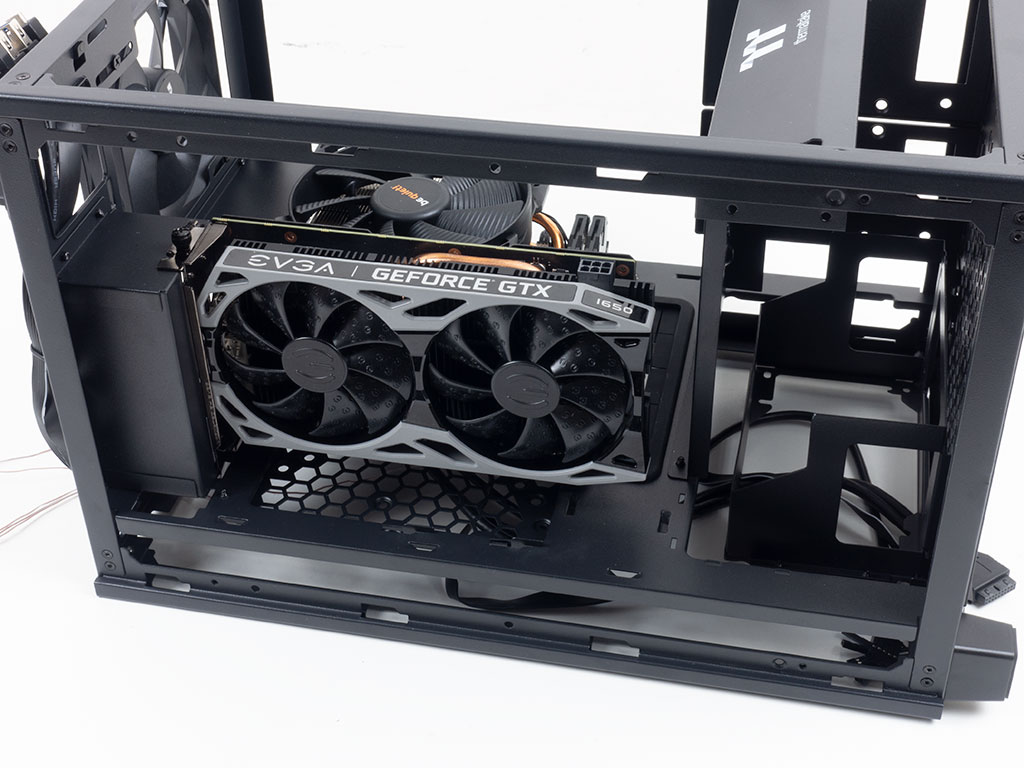
| Graphics Card: | ATX/mATX: Palit GeForce RTX 2080 Gaming Pro OC ITX: EVGA GTX 1650 SC Ultra Black 4 GB |
| Memory: | 16 GB XPG GAMMIX D30 DDR4 2666 MHz CL16-18-18 1.20 V 16 GB XPG SPECTRIX D60G DDR4 3000 MHz CL16-18-18 1.35 V Provided by: ADATA |
| HDD: | Western Digital 320 GB 7200 RPM |
| SSD: | ITX: ADATA SX6000 Pro M.2 256 GB mATX: ADATA GAMMIX S11 Pro M.2 256 GB ATX: ADATA SPECTRIX S40G M.2 256 GB ADATA XPG SX850 256 GB ADATA Ultimate SU630 240 GB ADATA Ultimate SU750 256 GB Provided by: ADATA |
| Power Supply: | Fractal Design ION+ 750W 80 Plus Platinum |
| Cooling: | be quiet! Dark Rock 4 be quiet! Dark Rock Slim be quiet! Shadow Rock LP Provided by: be quiet! |
Assembly

Installing the motherboard is done by traditional means, with spacers and screws. The Tower 100 allows for virtually any air cooler out there with a maximum height of 190 mm, so you really have all the flexibility in that regard as well.
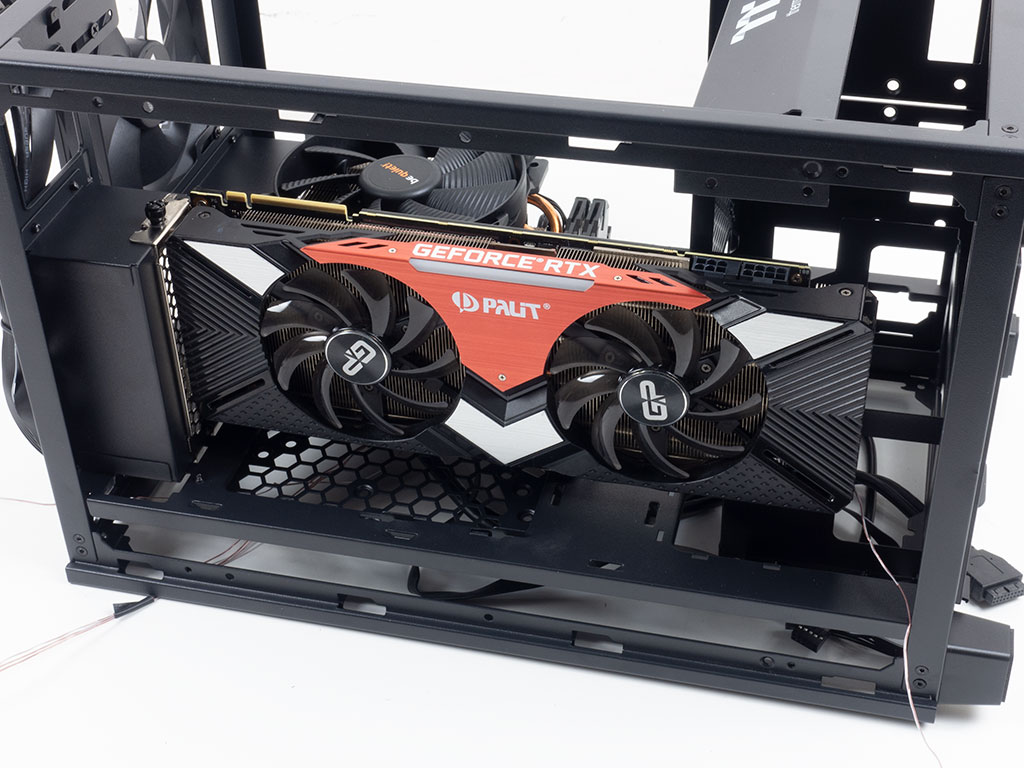
On top of that, the case is able to hold GPUs of up to 330 mm in length, so even the 2080 Ti we use in ATX cases fits easily. With shorter GPUs, you may close off the the gap in the shroud with the two plastic panels which simply clip into place.
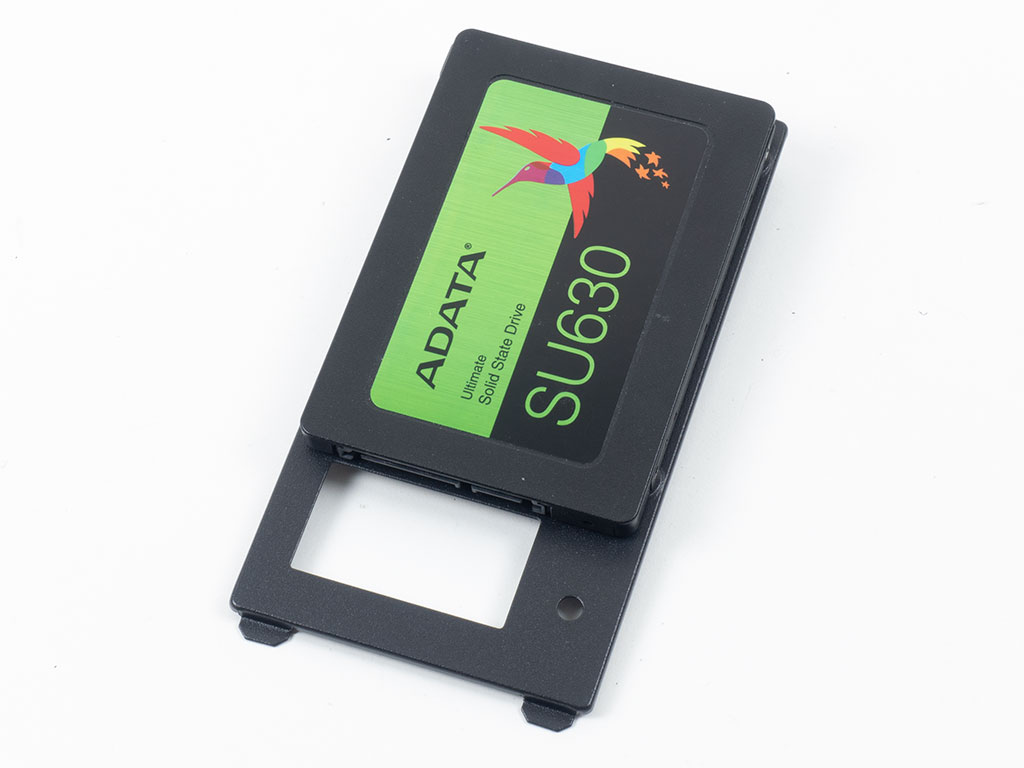

Adding SSDs to the metal brackets means you first have to remove it from the chassis and then screw the drive down. Once secured, you can place it back onto the side of the chassis easily. Openings in the tray allow for easy cable management.
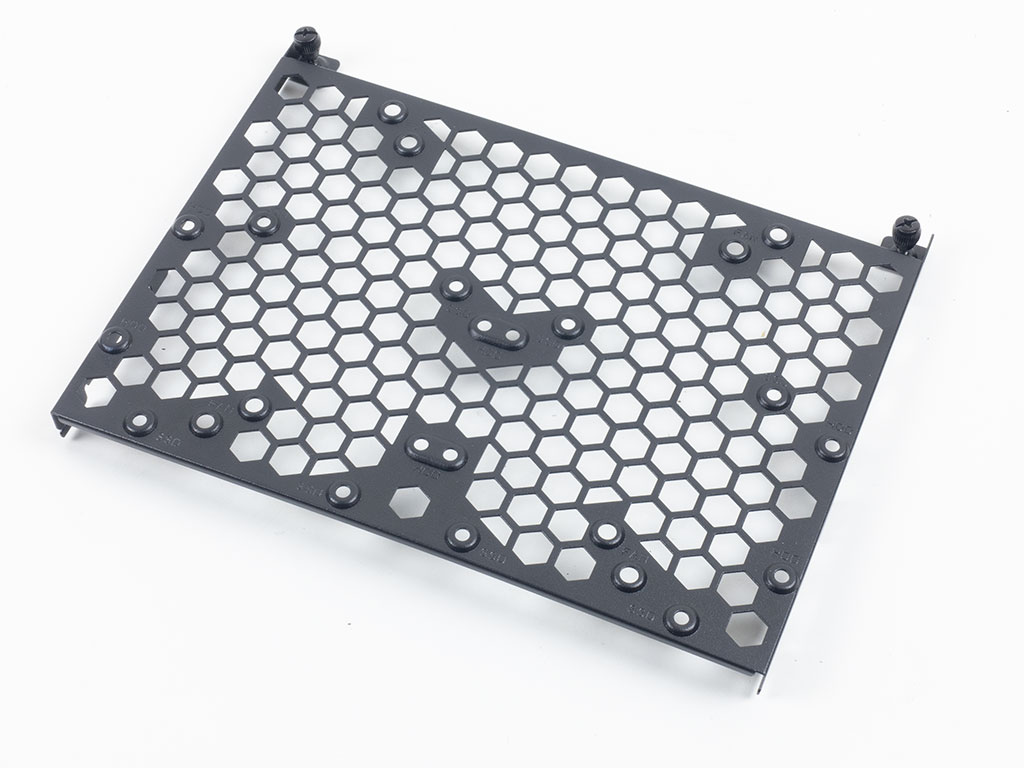
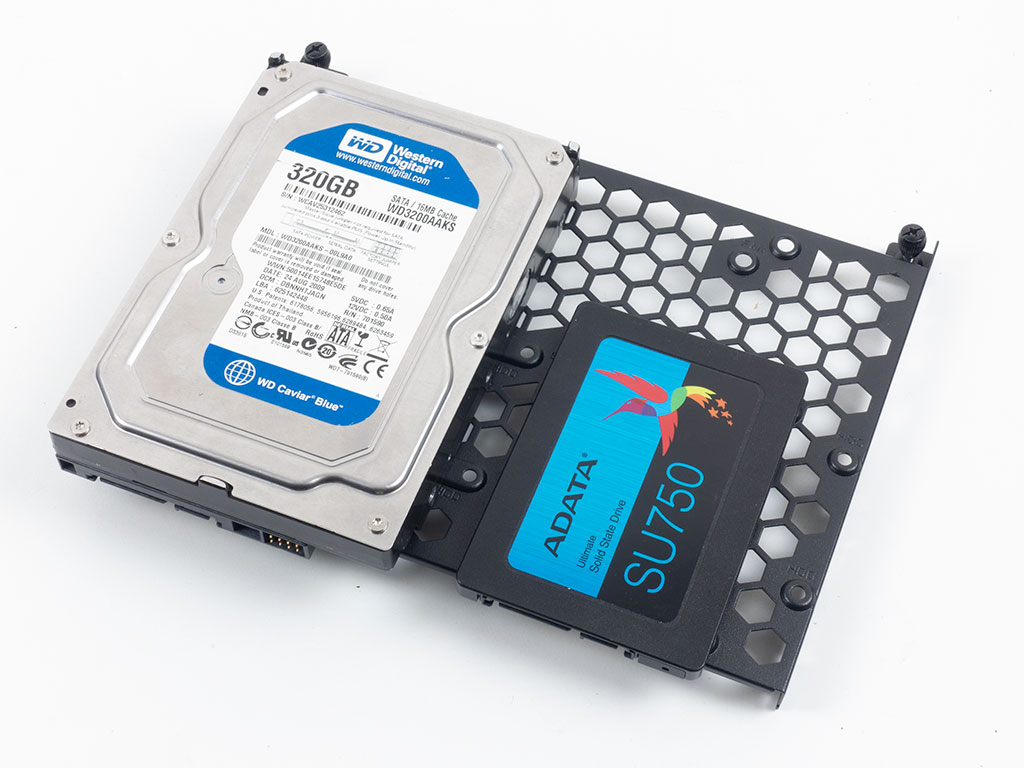
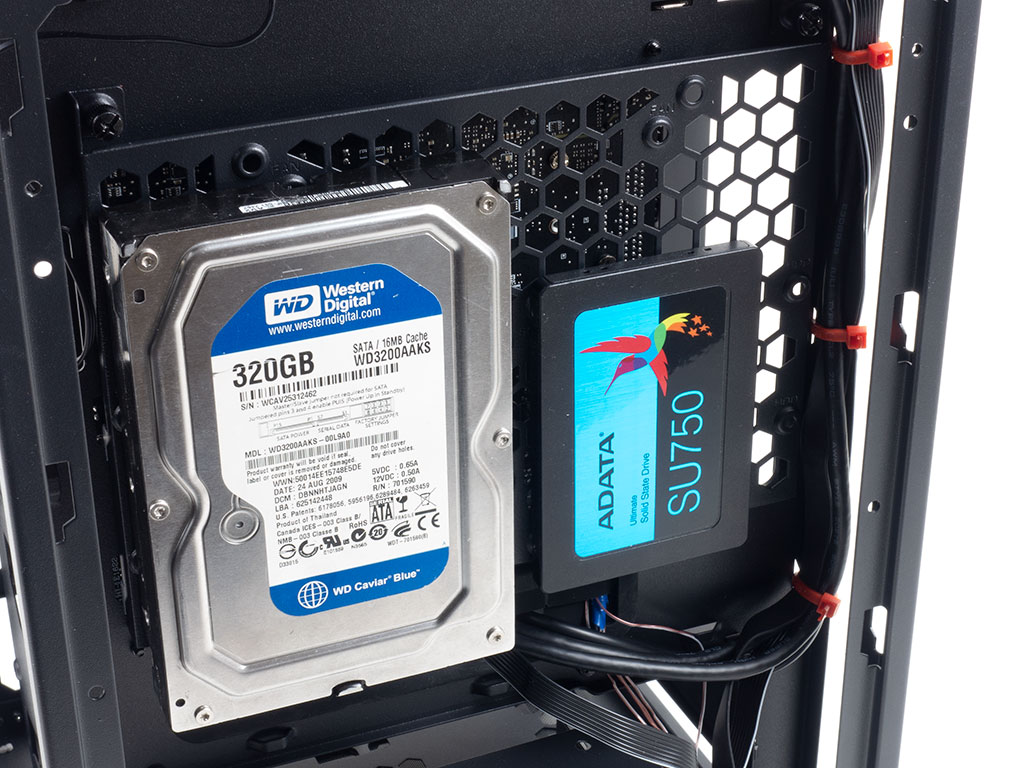
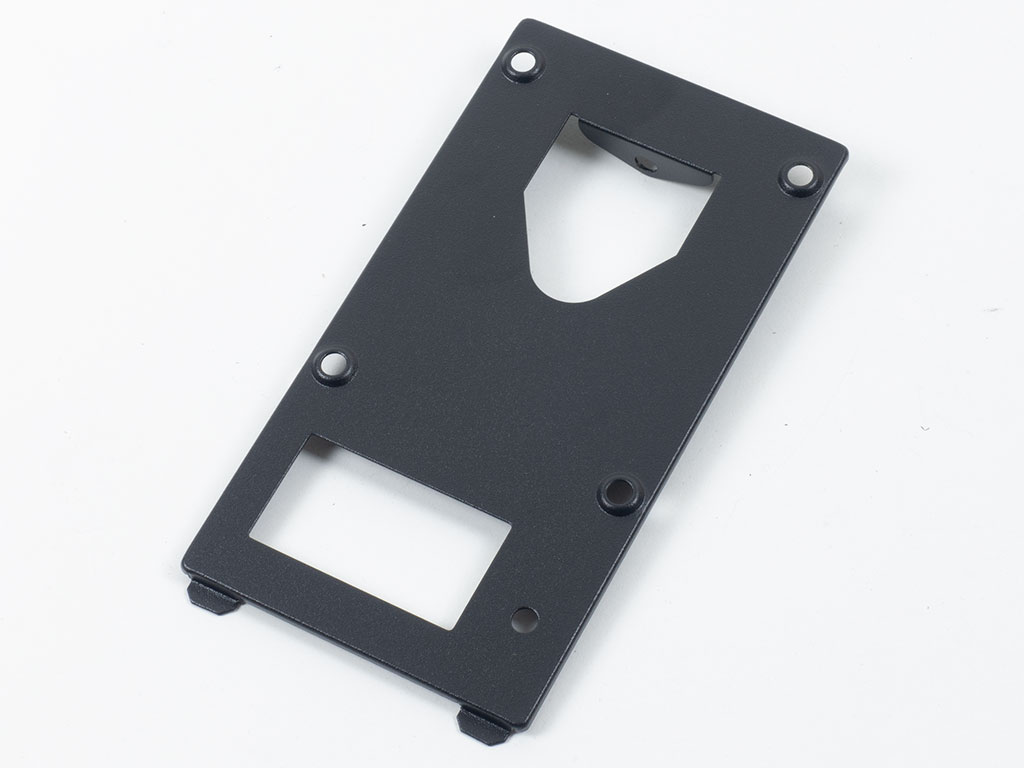
If you have a 3.5" drives, the place to put them is behind the motherboard. To do so, you have to remove the mounting frame and secure the drive to it before putting it back in place.
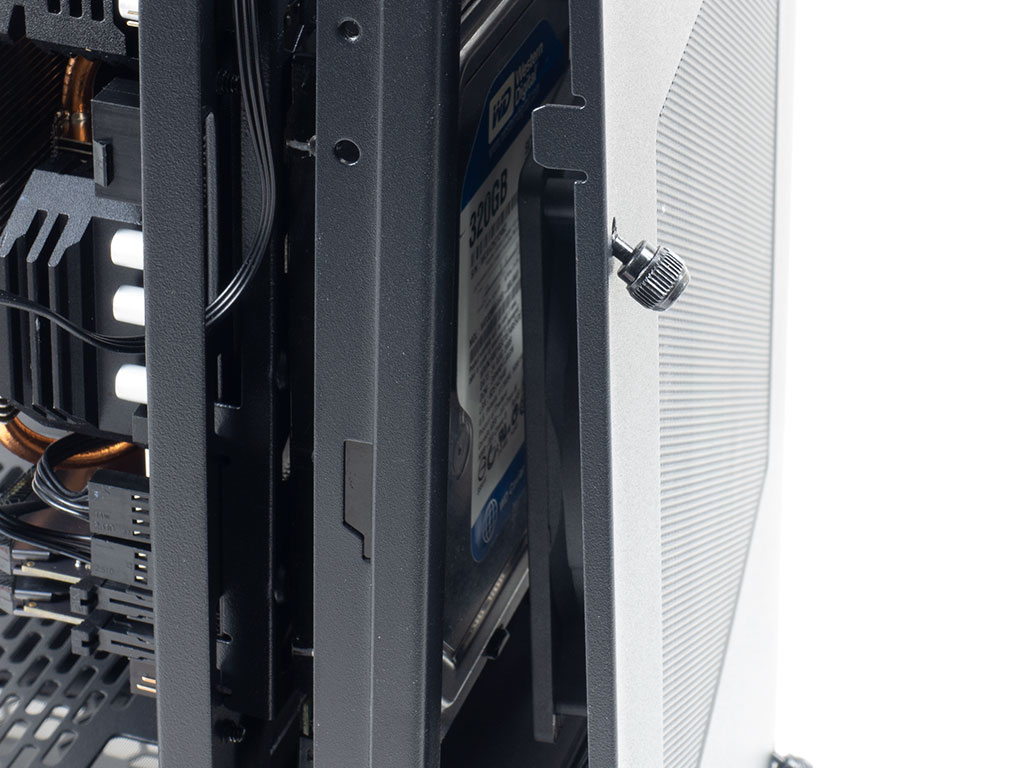
Unfortunately, the pre-installed fan will keep you from using any 3.5" drives here, and for the sake of testing thermals with the case's default configuration, we chose to remove the drive in favor of the right temperature data with our set test configuration.
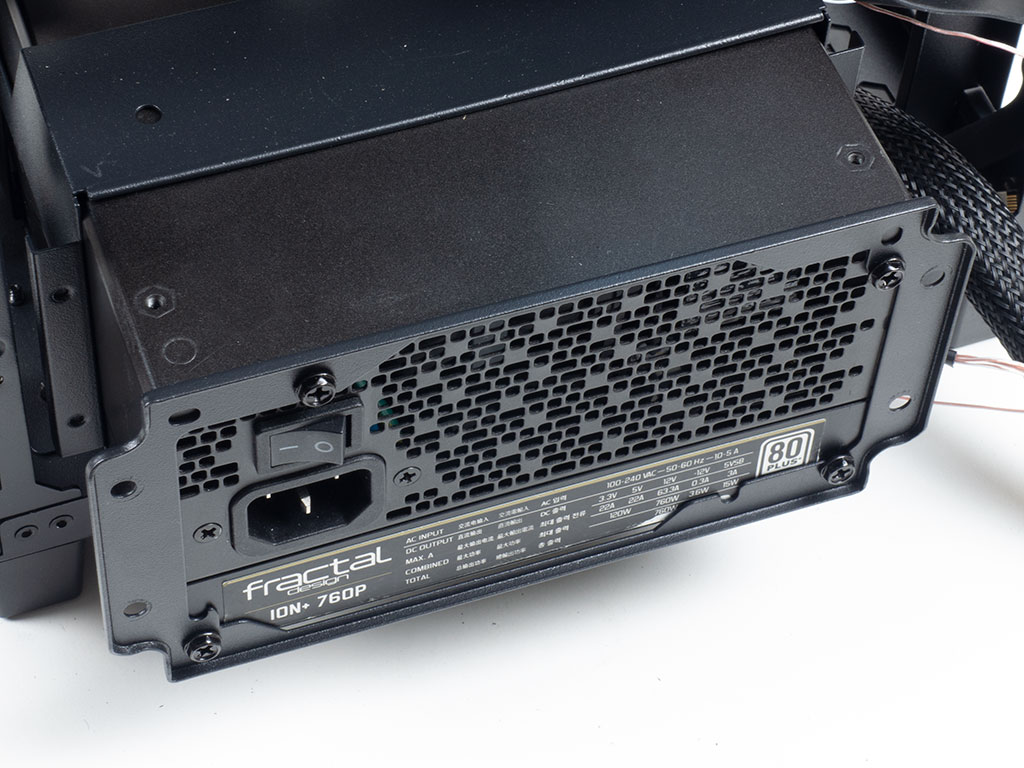
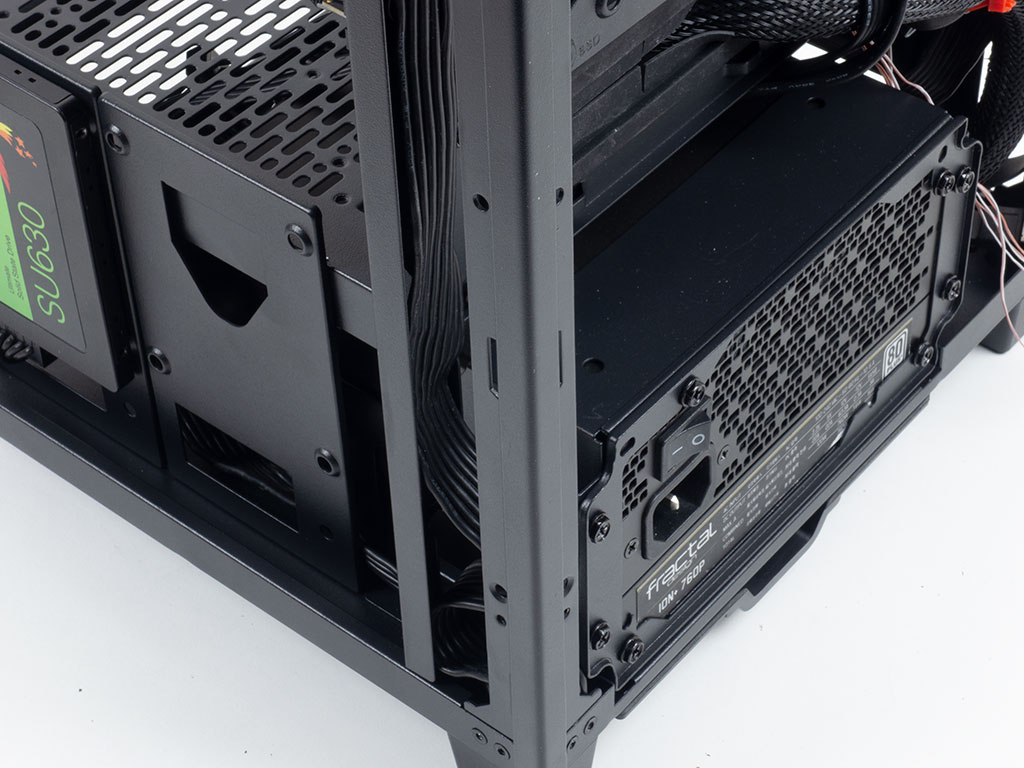
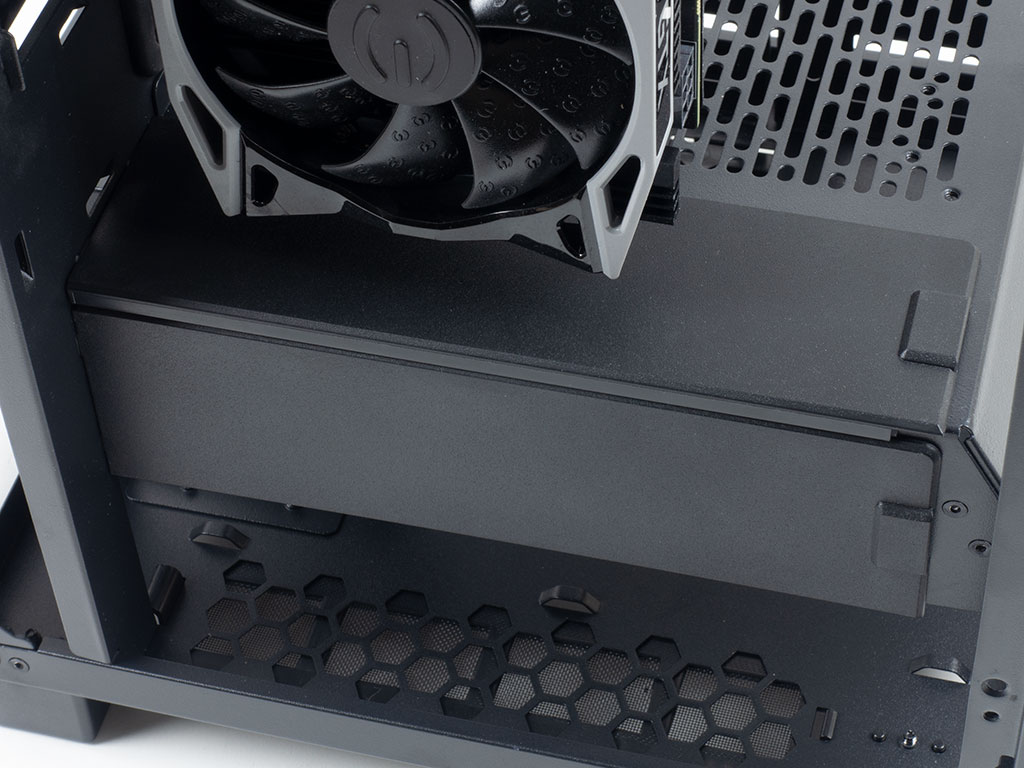
Adding the PSU underneath the shroud is straightforward as well, as you simply mount the frame first and then slide the unit into place. We took the opportunity to route the cables along the right edge while sliding the power supply in to ensure a clean end result.
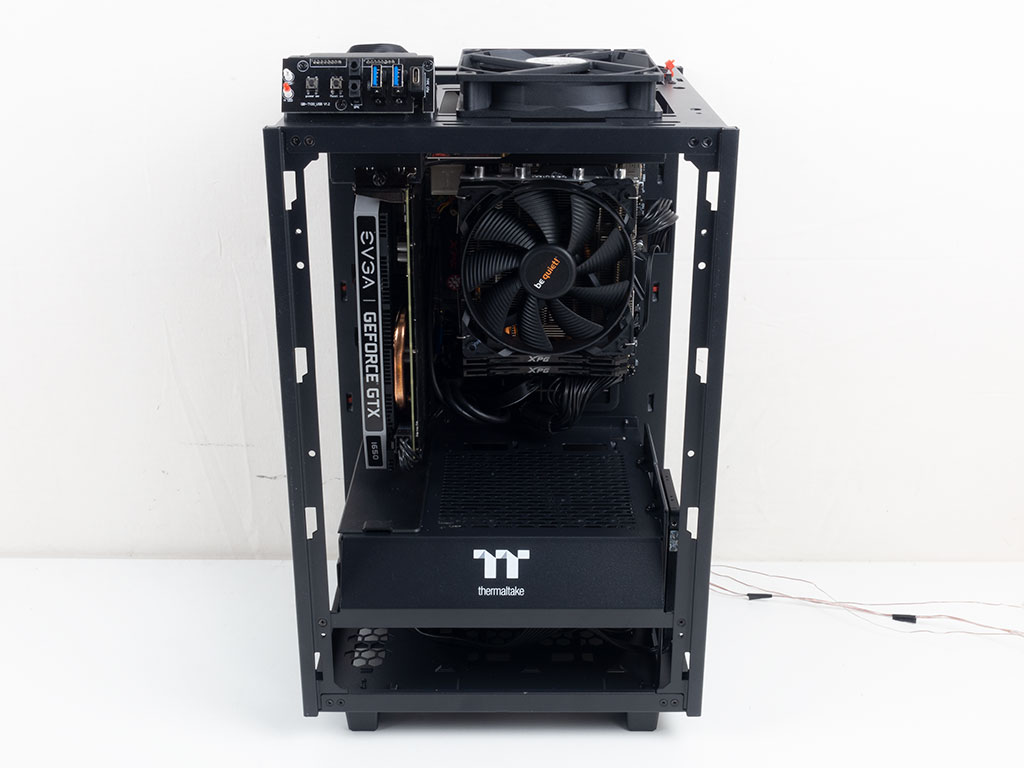
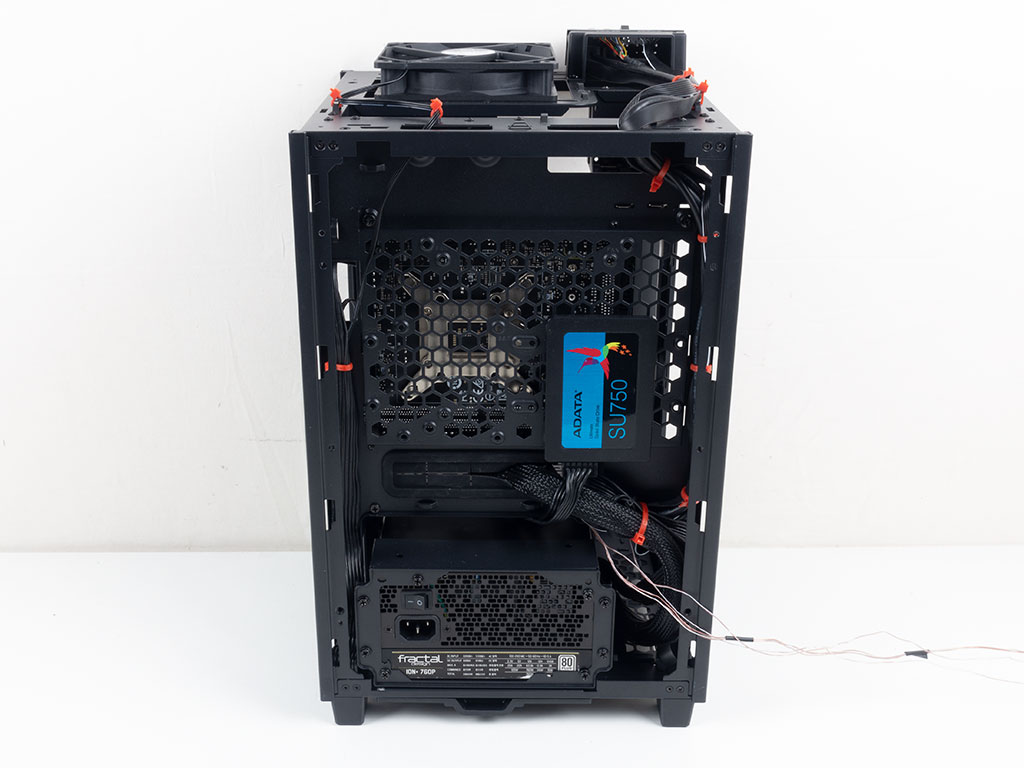
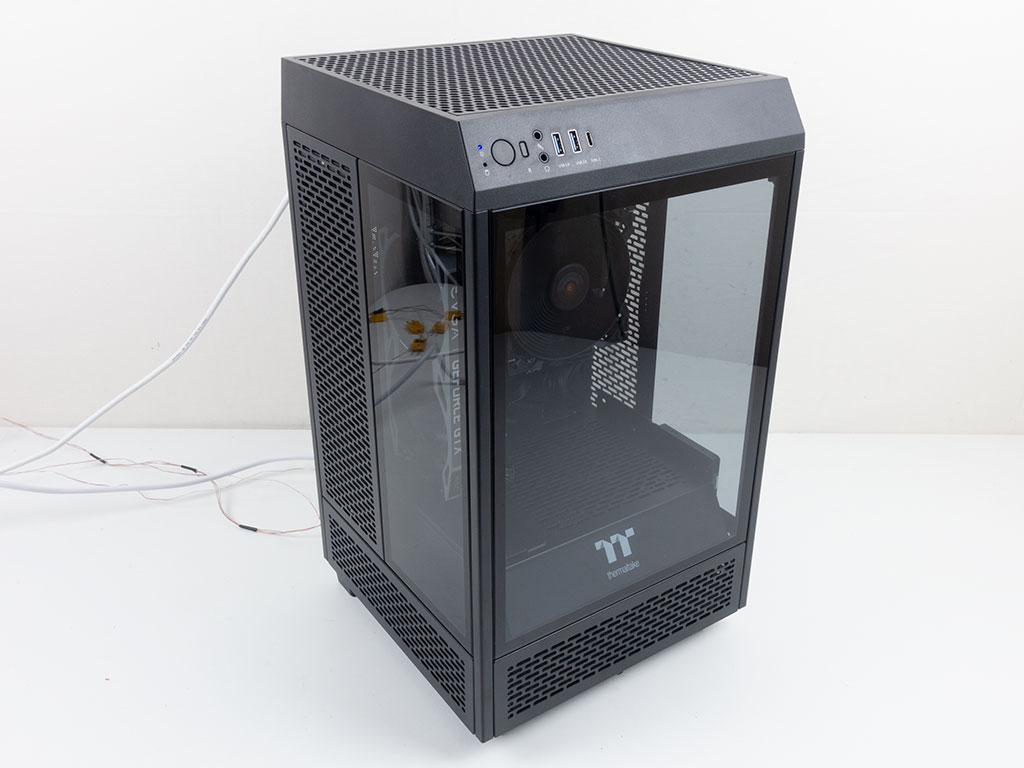
With everything installed, the Tower 100 looks super clean on the inside, with very little effort compared to other ITX cases. As there are plenty of hooks for the zip ties and wires, even the rear looks clean.
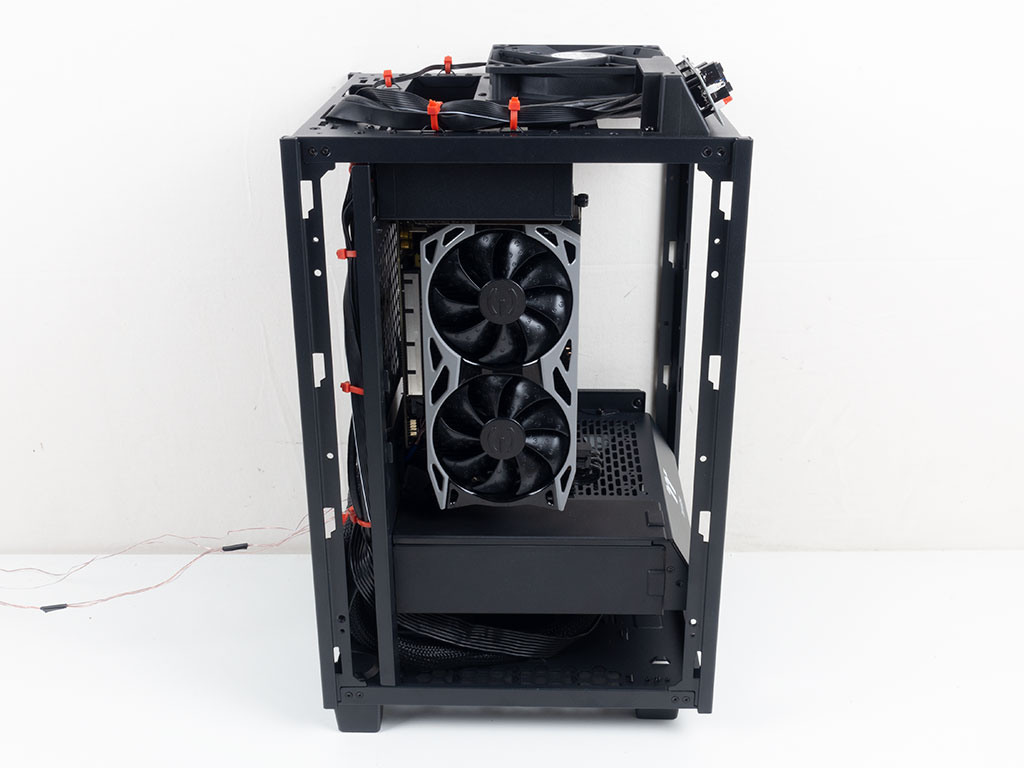
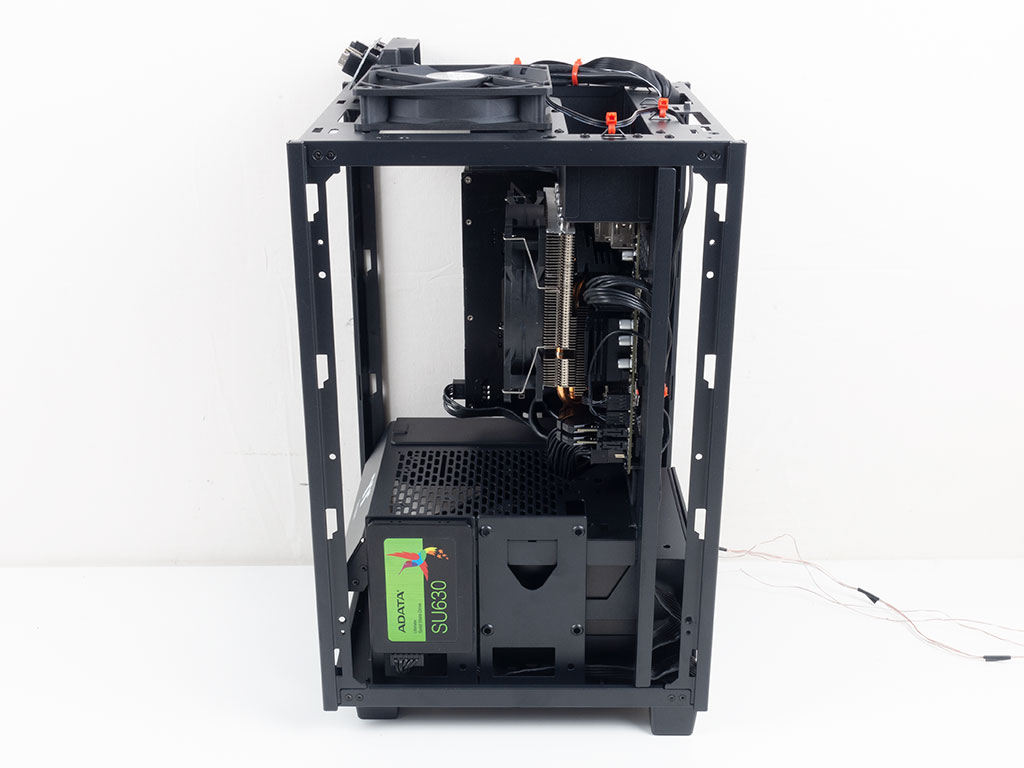
You can clearly see the GPU facing the outside of the chassis on one side, and the motherboard and cooler on the other. Both sides are easily accessible, so upgrading and changing parts within the Tower 100 should prove easy as well.
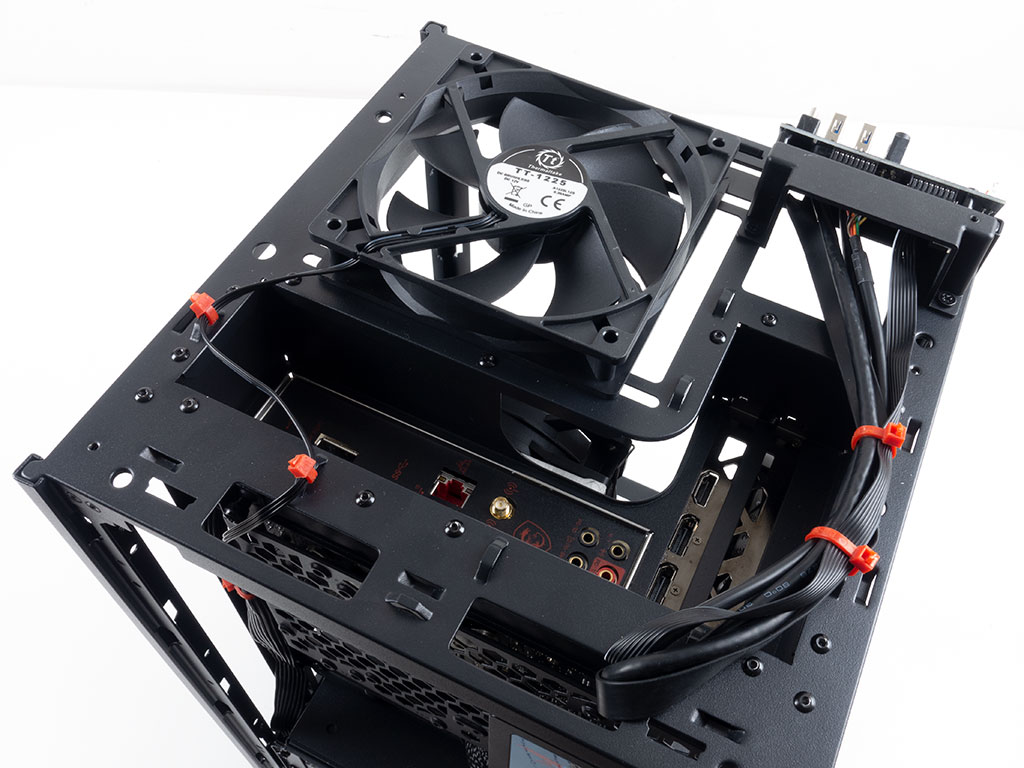
Lastly, even the top has hooks for cable management, so you can keep access to the motherboard backplate and GPU ports as clear as possible; due to the design of the chassis, the ports are all recessed a bit to allow for bulky plugs to be routed out the back of the Tower 100.
Finished Looks
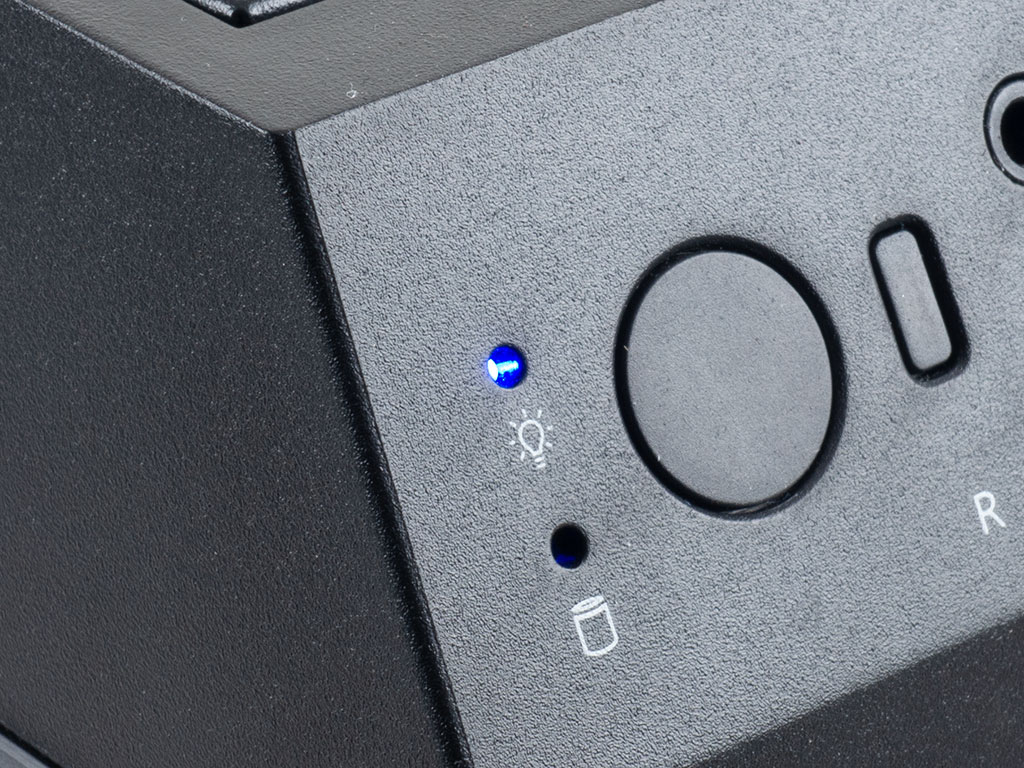
Once turned on, the only case lighting you will see is comes from the power and HDD LEDs.
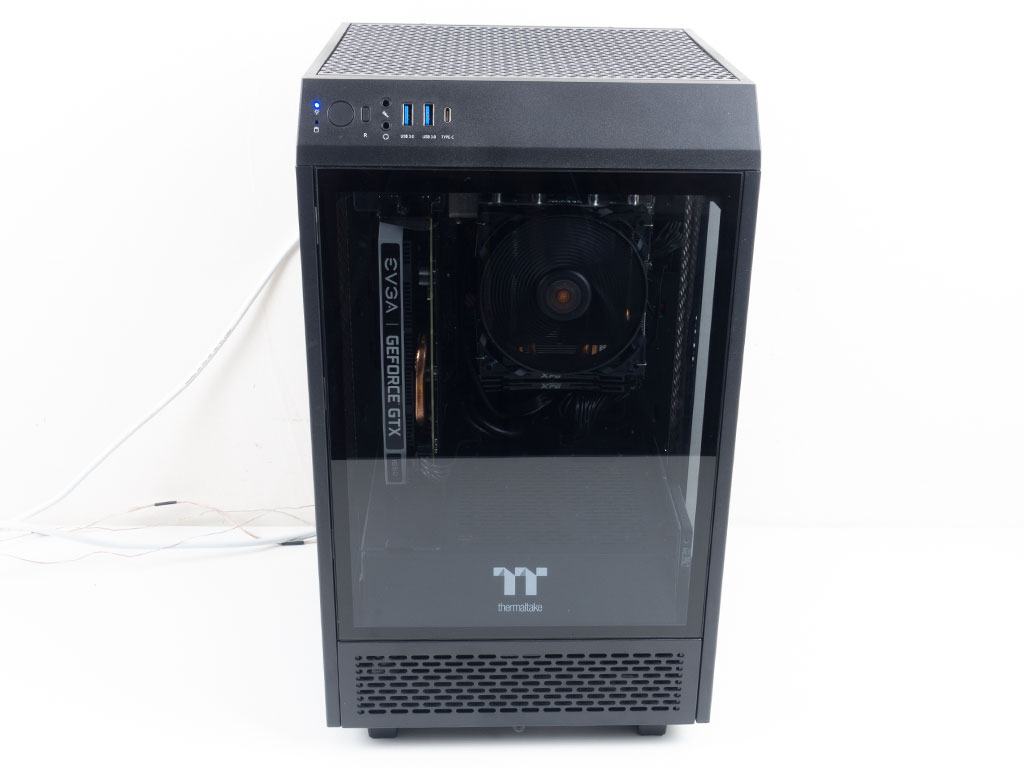
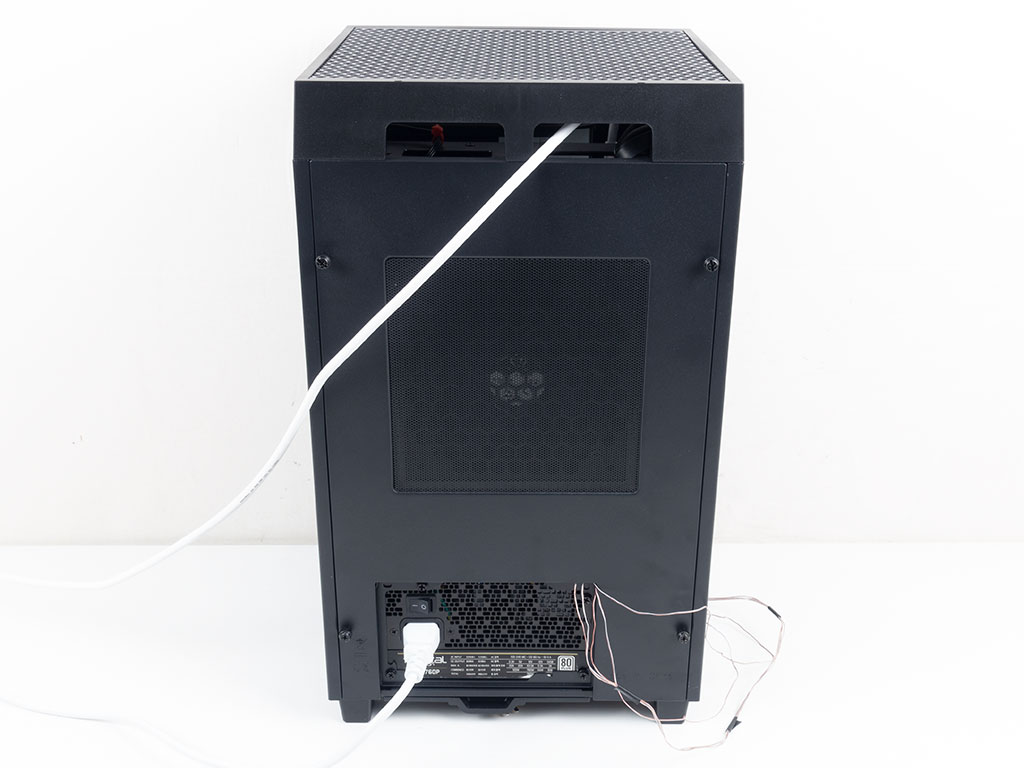
You can clearly see all the hardware in the front nicely, while the rear is clean with all the cables coming out the openings of the top cover. These openings are big enough to route and connect cables without detaching the top cover.

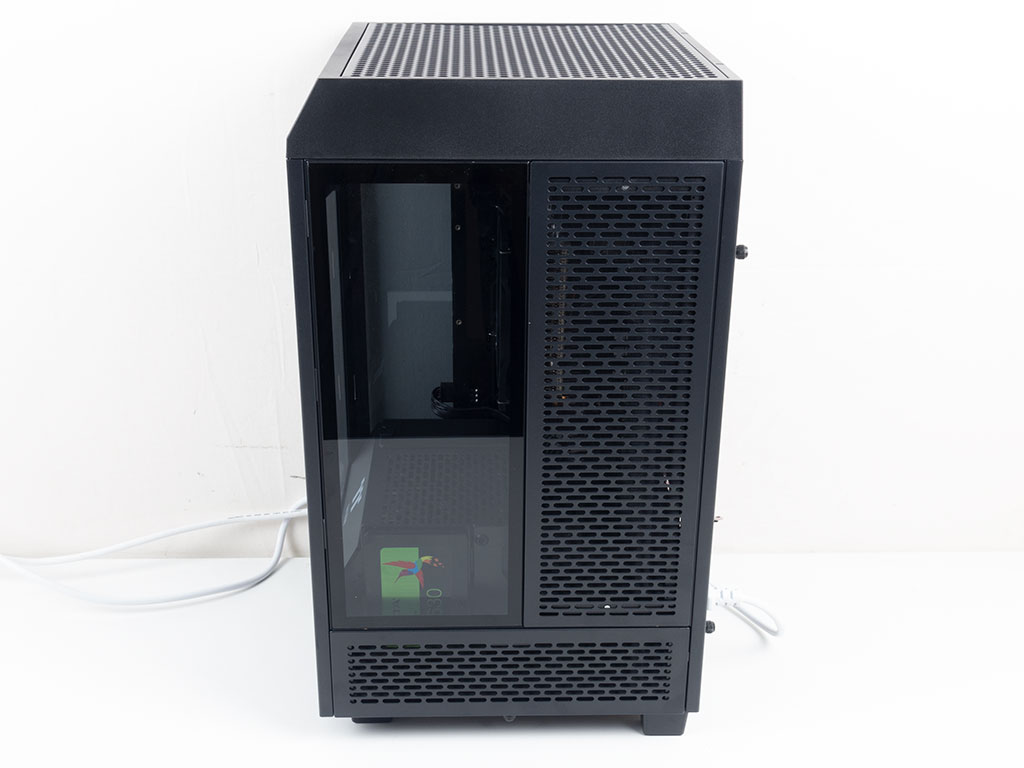
You can see the whole GPU from the left side even though half of it is covered by the metal mesh of the panel. This means any RGB elements will also be visible nicely. On the other side, you can see the SSD poking out its head on the bottom of the case. Once again, if you have any RGB components, memory, for example, you will see it clearly from this angle as well.
Feb 1st, 2025 09:55 EST
change timezone
Latest GPU Drivers
New Forum Posts
- Dlss4 + 4090 = lower max oc than with dlss3 (9)
- Will you buy a RTX 5090? (315)
- New CPU or new MB/DDR5 (11)
- How to watch paid content at full resolution on PC? (5)
- What's your latest tech purchase? (23041)
- NVIDIA RTX owners only - your opinion on DLSS Image quality (450)
- Windows 11 causing random stutters / frame-pacing / frame-time issues? (59)
- Bulid compatibility (19)
- 4090 hotspot temperature > 110C (35)
- TPU's Nostalgic Hardware Club (19917)
Popular Reviews
- NVIDIA GeForce RTX 5080 Founders Edition Review
- NVIDIA DLSS 4 Transformer Review - Better Image Quality for Everyone
- Galax GeForce RTX 5080 1-Click OC Review
- ASUS GeForce RTX 5090 Astral OC Review - Astronomical Premium
- MSI GeForce RTX 5080 Vanguard SOC Review
- ASUS GeForce RTX 5080 Astral OC Review
- NVIDIA GeForce RTX 5090 Founders Edition Review - The New Flagship
- Gigabyte GeForce RTX 5080 Gaming OC Review
- MSI GeForce RTX 5080 Suprim SOC Review
- MSI GeForce RTX 5090 Suprim SOC Review
Controversial News Posts
- NVIDIA 2025 International CES Keynote: Liveblog (470)
- AMD Debuts Radeon RX 9070 XT and RX 9070 Powered by RDNA 4, and FSR 4 (349)
- AMD is Taking Time with Radeon RX 9000 to Optimize Software and FSR 4 (251)
- AMD Denies Radeon RX 9070 XT $899 USD Starting Price Point Rumors (238)
- AMD Radeon RX 9070 XT & RX 9070 Custom Models In Stock at European Stores (226)
- NVIDIA GeForce RTX 5090 Features 575 W TDP, RTX 5080 Carries 360 W TDP (217)
- New Leak Reveals NVIDIA RTX 5080 Is Slower Than RTX 4090 (214)
- AMD Radeon 9070 XT Rumored to Outpace RTX 5070 Ti by Almost 15% (199)