 11
11
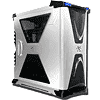
Thermaltake Xaser VI Case Review
Inside the Case »A Closer Look
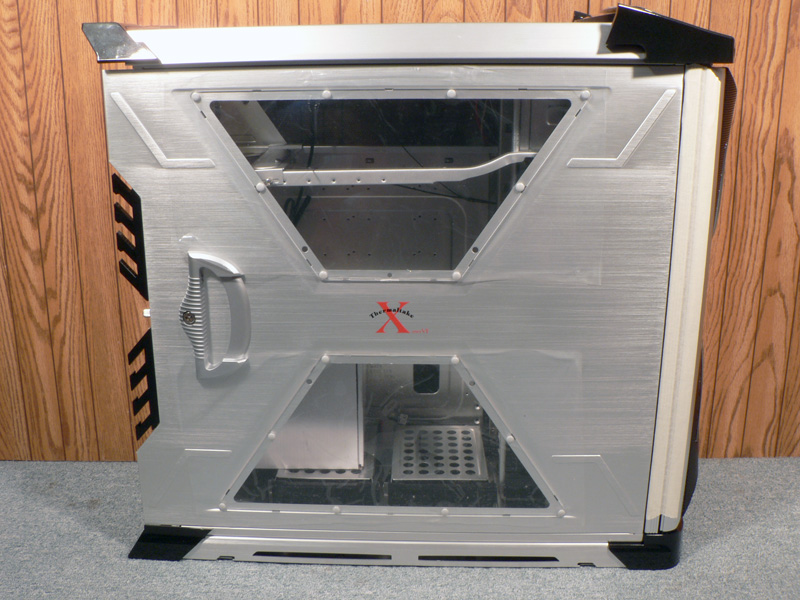
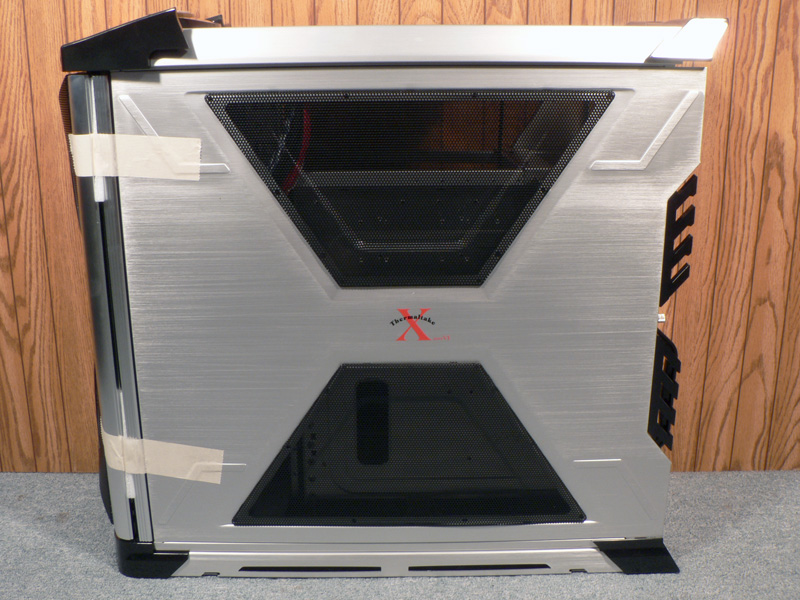
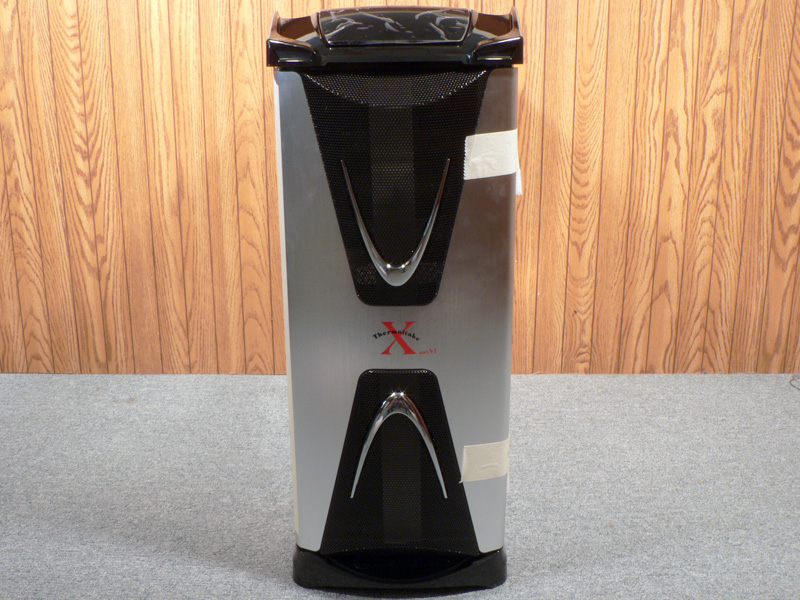
Thermaltake continues to tie in the "X" design of the past Xaser line, but this time more subtly with the lines created by the windows and mesh on the side panels. The left side panel has two windows in it, and on the right the same areas are covered with black mesh. There is another version of this case that has only mesh on both sides. The front has the same black mesh included on the thick extruded aluminum door, but this time there are some chrome accents to give it even more style.
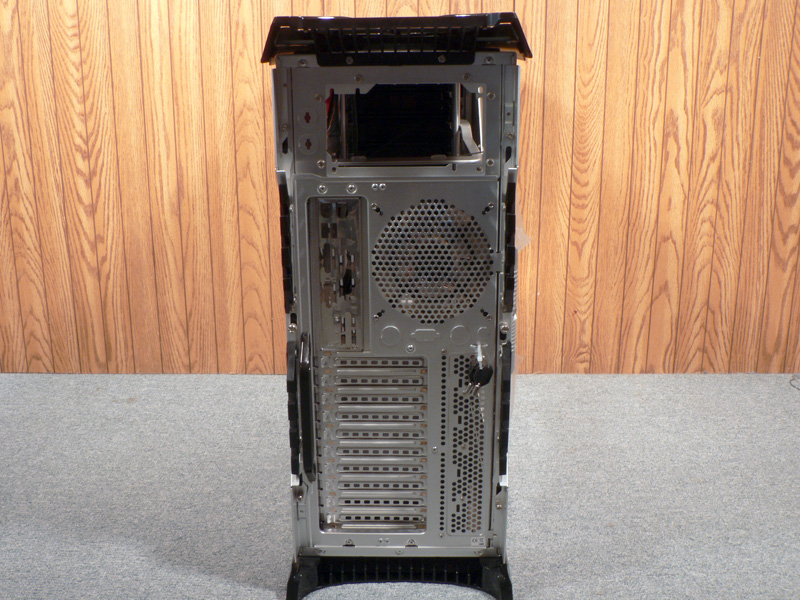
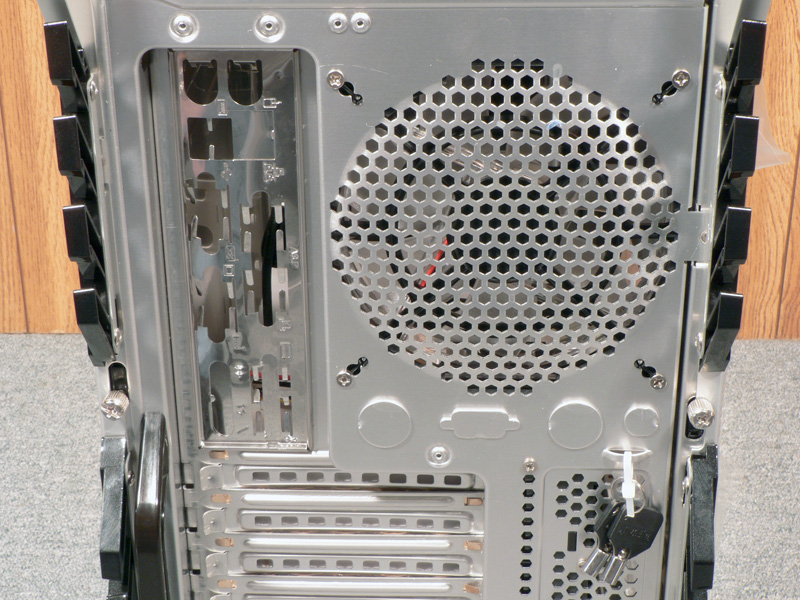

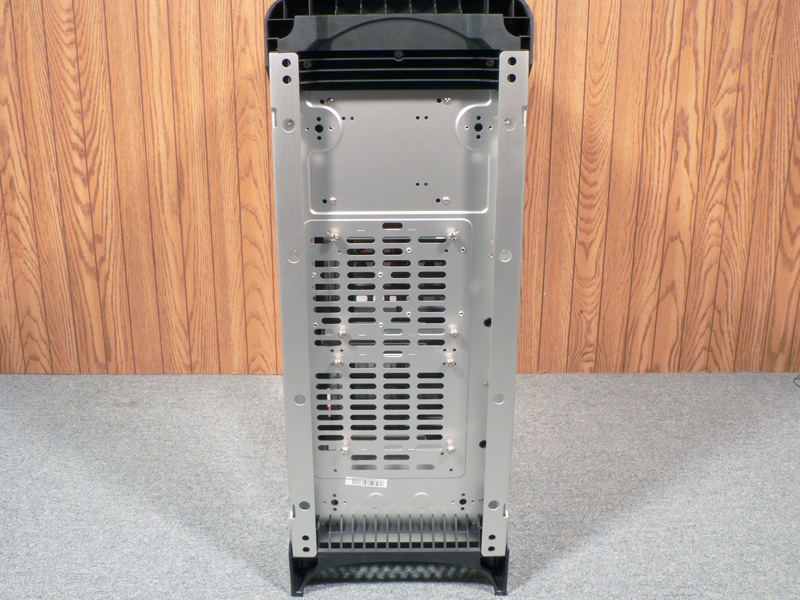
The rear of the case follows the traditional ATX layout. The top PSU area has a removable plate that allows the user to mount the PSU right-side up or upside-down. To the left of the PSU are two knock-outs for water tubing, and there are two more under the 120mm rear case fan. At the bottom of the rear there are ten PCI slots. The extra three slots are perfect for adding in those USB, Firewire or other brackets when all the slots are filled up on the motherboard.
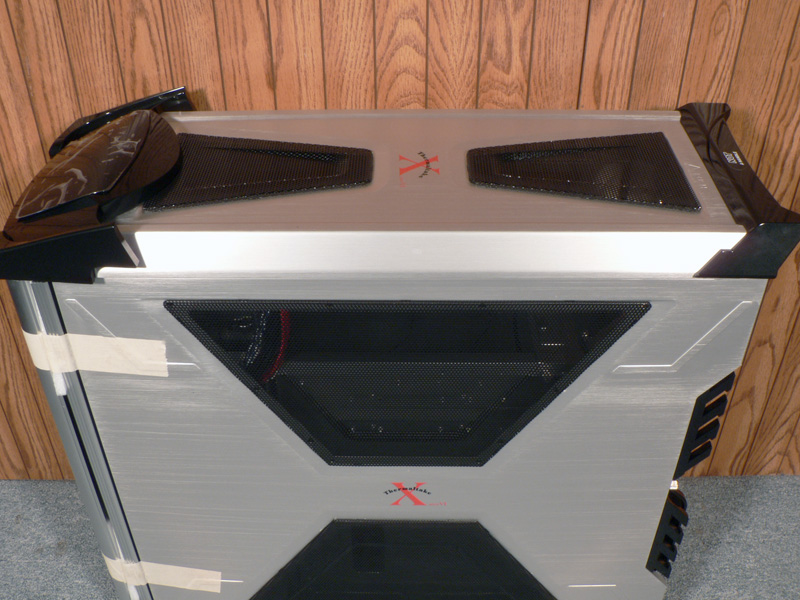

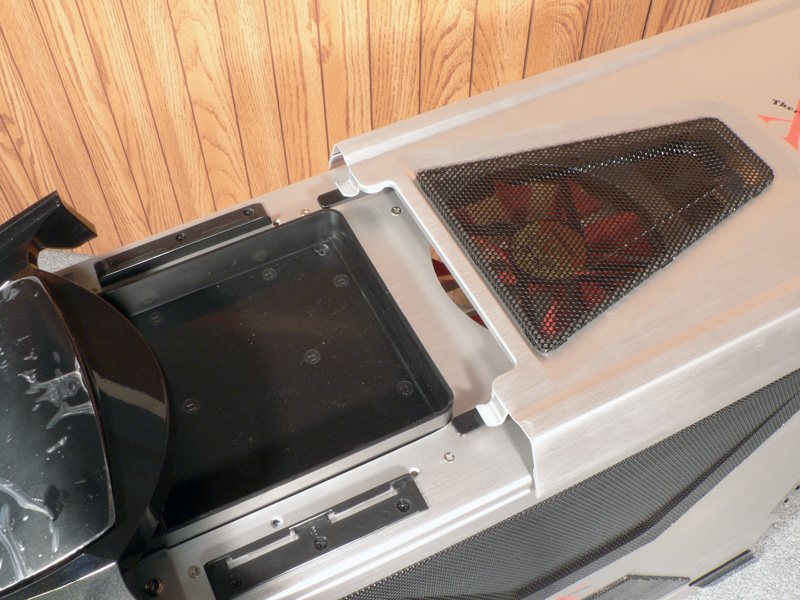
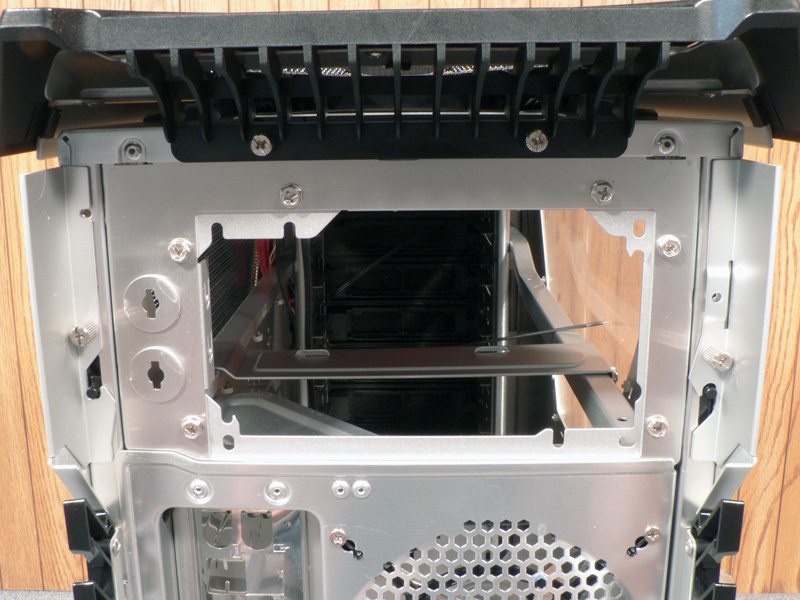
The top of the case has more black mesh, which helps to vent the hot air out the top of the case. An unusual feature here is that the entire top slides backwards to access a small tray that can hold an MP3 player or other similar devices, or be removed and allow access to the reservoir on the optional liquid cooling system.
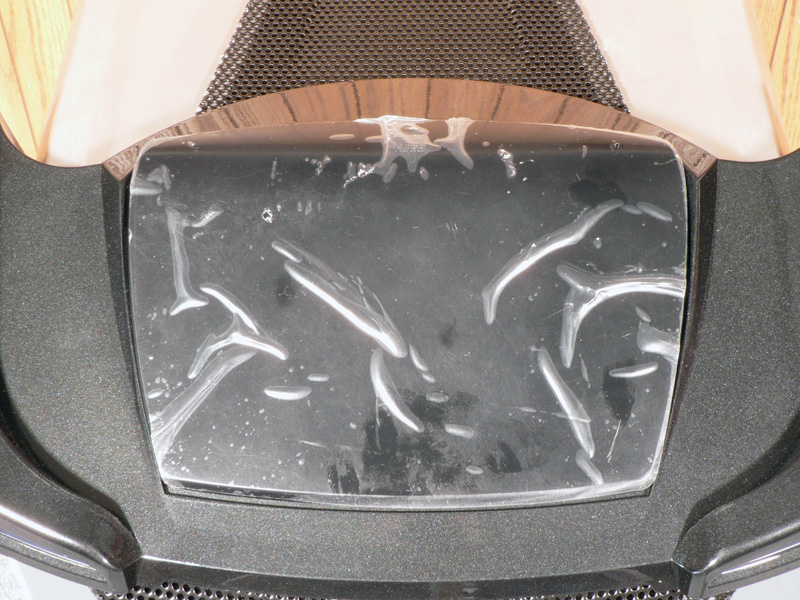

On the top of the case near the front is a dark-tinted plastic cover that is protected during shipping with a clear plastic film. Pushing on the right spot makes the piece lift up and out of the way to reveal the I/O panel. Thermaltake went beyond the normal amount of ports and included four USB 2.0 ports, one Firewire, two audio ports (MIC and Headset), and two eSATA ports. Below them is a large X-shaped power button which is surrounded by three shapes that will light up blue when the system is powered on. There is also a System Reset button on the right and a rather small HDD Activity LED on the left.
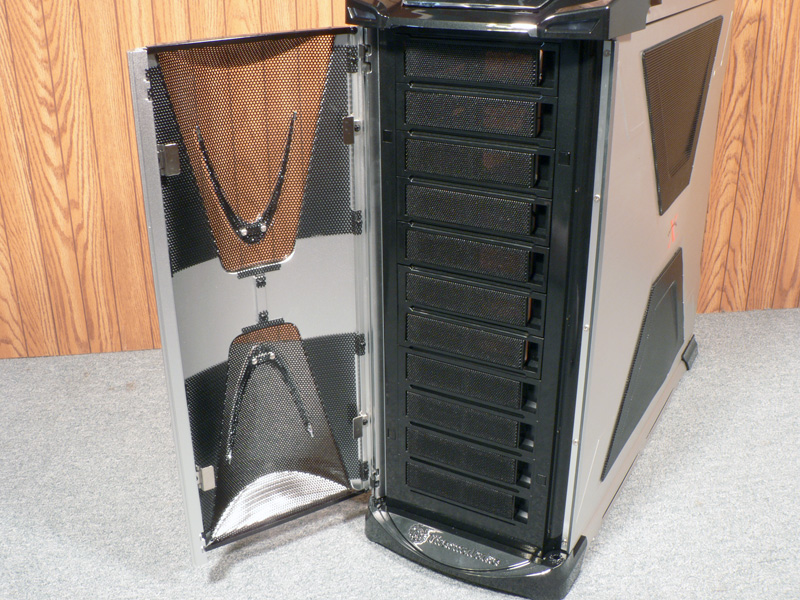
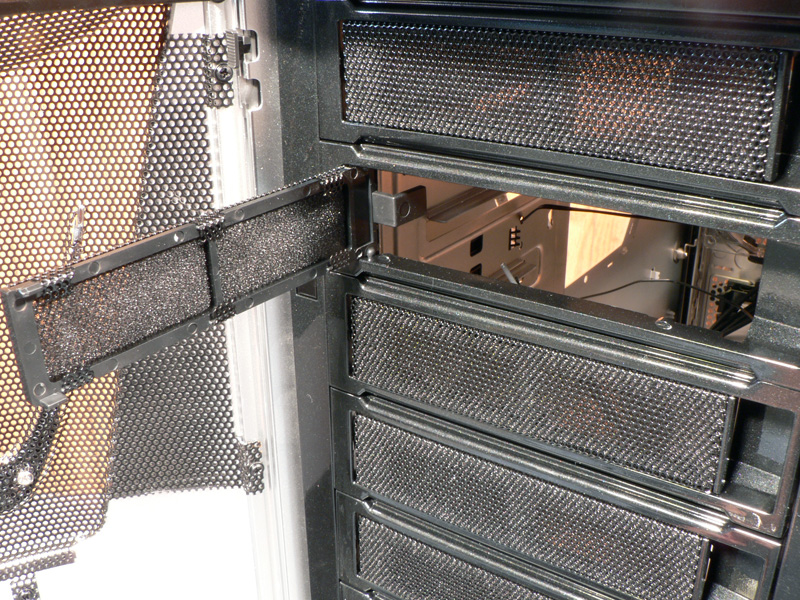
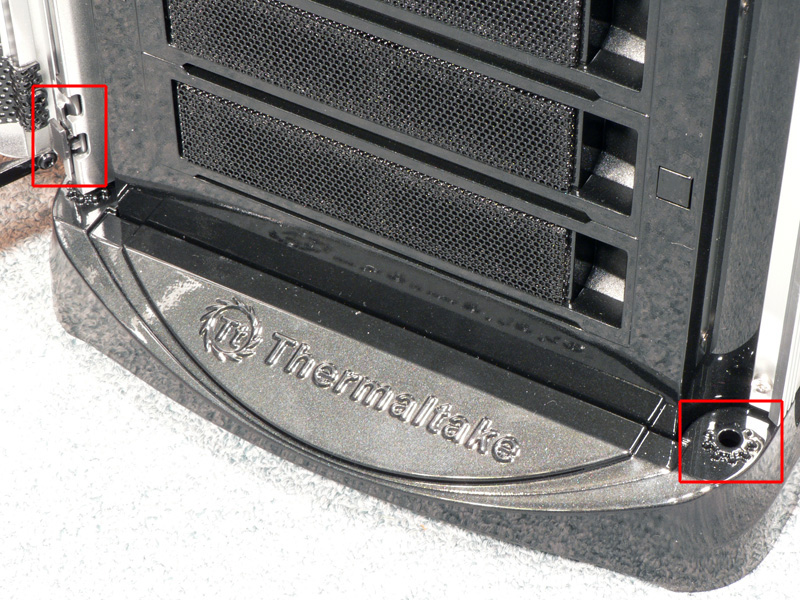
Behind the front door are what appear to be eleven 5.25" bays. However only the top seven are actual bays, while the bottom four are vents for an intake fan. Thermaltake chose to mimic the front bays to have a more consistent look all the way down the front panel. Each one of the removable bay covers has some open-cell foam behind the mesh, and each cover comes off by pulling it forward from the right side. At the bottom the oversized base has the Thermaltake logo on the front, and there are additional holes for changing the front door to open from the left side instead of the right. This can be done without tools, by pushing the tab in (shown in the red box on the left) and pushing it upwards. There is another pin at the top of the door that can be pushed in and down instead. With the door off, the two pins can be removed and inserted into the same place on the right side of the door, then the entire assembly can be installed back on the front of the case.
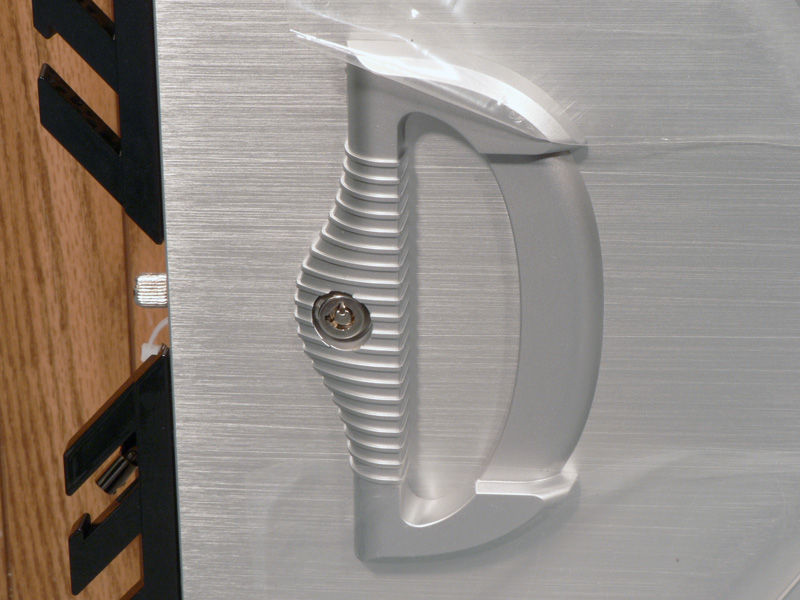
Two final things to note on the outside of the case are the large vented opening on the bottom of the case and the handle on the left side panel which has a lock to secure the hardware inside from being tampered with.
Apr 18th, 2025 04:59 EDT
change timezone
Latest GPU Drivers
New Forum Posts
- Help For XFX RX 590 GME Chinese - Vbios (9)
- Issues with drivers 566.36 and NVCleanstall v1.17 (45)
- NVIDIA GeForce 576.02 WHQL driver (1)
- It's happening again, melting 12v high pwr connectors (1025)
- Will you buy a RTX 5090? (480)
- Subsystem Id of my Asus Strix RTX 4090 OC / Random GPU detection problem (7)
- RX 9000 series GPU Owners Club (373)
- D5400XS Skulltrail (1)
- Random Entire System Stutter when using Throttlestop (7)
- Help needed OC on Intel 285k (3)
Popular Reviews
- ASUS GeForce RTX 5060 Ti TUF OC 16 GB Review
- NVIDIA GeForce RTX 5060 Ti PCI-Express x8 Scaling
- G.SKILL Trident Z5 NEO RGB DDR5-6000 32 GB CL26 Review - AMD EXPO
- Palit GeForce RTX 5060 Ti Infinity 3 16 GB Review
- ASUS GeForce RTX 5060 Ti Prime OC 16 GB Review
- Zotac GeForce RTX 5060 Ti AMP 16 GB Review
- MSI GeForce RTX 5060 Ti Gaming OC 16 GB Review
- MSI GeForce RTX 5060 Ti Gaming Trio OC 16 GB Review
- Teevolution Terra Pro Review
- ASUS GeForce RTX 5080 TUF OC Review
Controversial News Posts
- NVIDIA GeForce RTX 5060 Ti 16 GB SKU Likely Launching at $499, According to Supply Chain Leak (182)
- NVIDIA Sends MSRP Numbers to Partners: GeForce RTX 5060 Ti 8 GB at $379, RTX 5060 Ti 16 GB at $429 (127)
- Nintendo Confirms That Switch 2 Joy-Cons Will Not Utilize Hall Effect Stick Technology (105)
- Over 200,000 Sold Radeon RX 9070 and RX 9070 XT GPUs? AMD Says No Number was Given (100)
- Nintendo Switch 2 Launches June 5 at $449.99 with New Hardware and Games (99)
- NVIDIA Launches GeForce RTX 5060 Series, Beginning with RTX 5060 Ti This Week (97)
- Sony Increases the PS5 Pricing in EMEA and ANZ by Around 25 Percent (85)
- NVIDIA PhysX and Flow Made Fully Open-Source (77)