 11
11
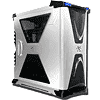
Thermaltake Xaser VI Case Review
Installation »Inside the Case
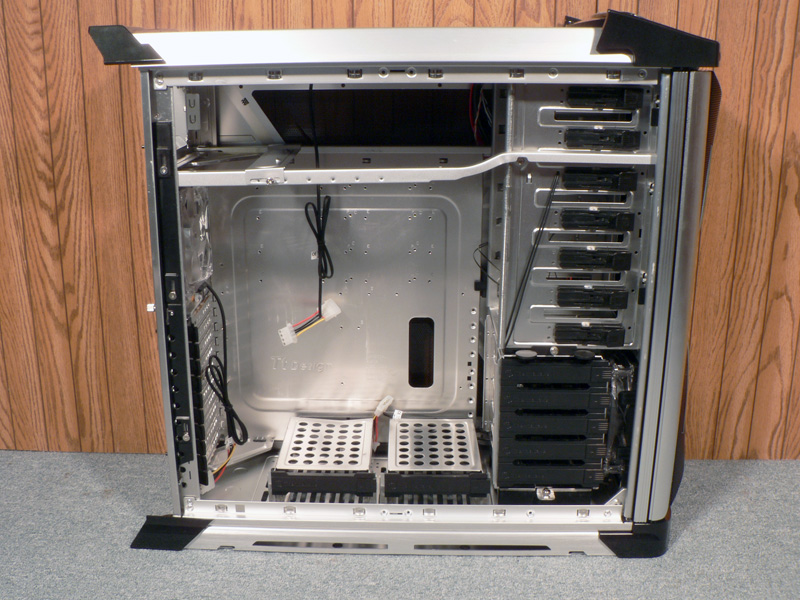
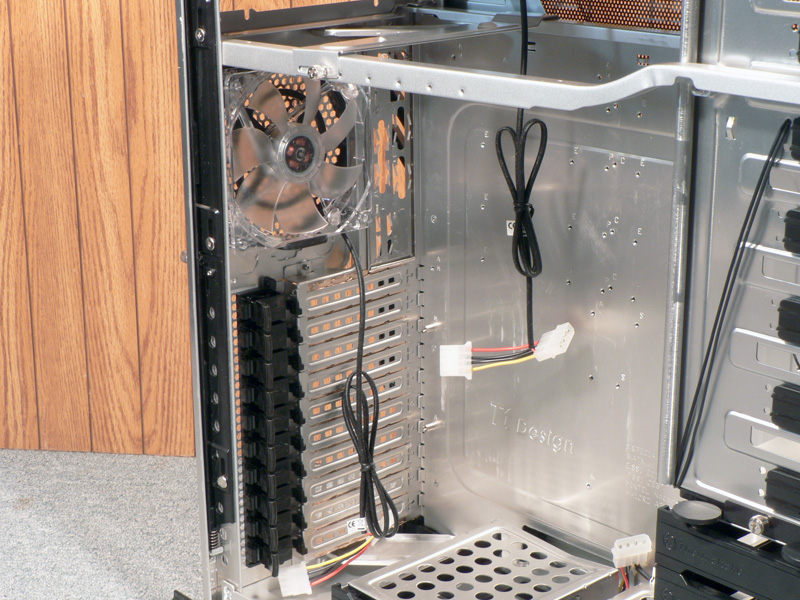
With the left side panel removed, there is plenty of room inside the Thermaltake Xaser VI. The internal layout is fairly traditional, with seven toolless 5.25" bays in the top front and five hard drive bays in the lower front. To help support the power supply at the top of the case, Thermaltake included a bridge that slides under the front end and screws into place. To help remove built-up heat from the system, there is a 140mm exhaust fan located on the top.
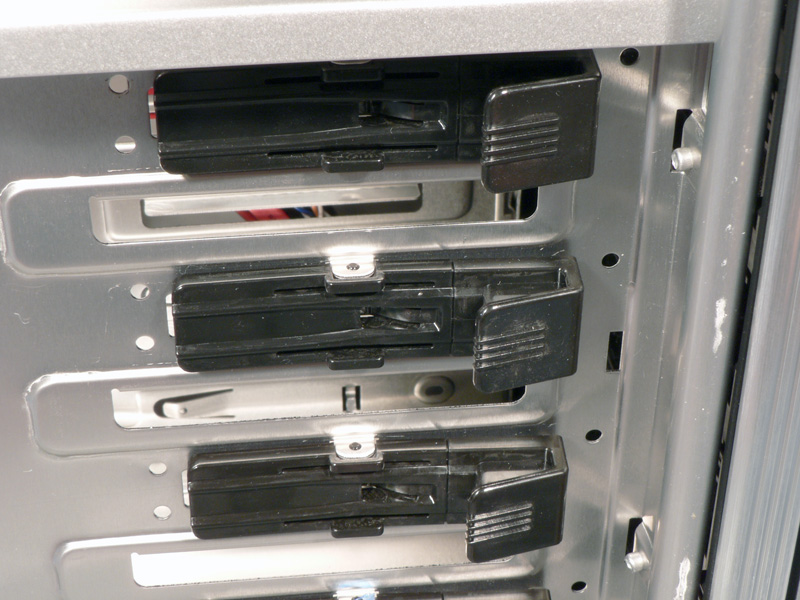
The rear panel is standard except for the three extra PCI slots. Note the toolless clips for securing the add-in cards. There are toolless clips for the 5.25" bay devices also, which allow the drives to just slide in and lock into place.
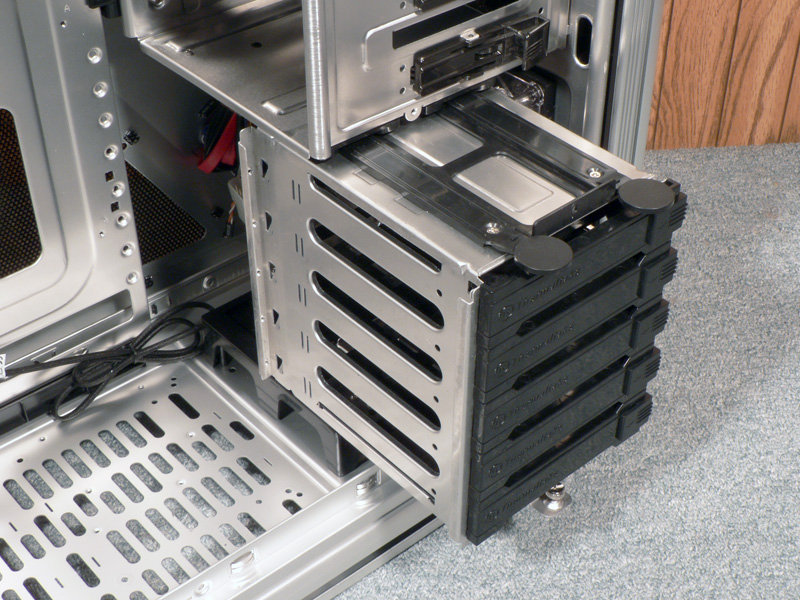
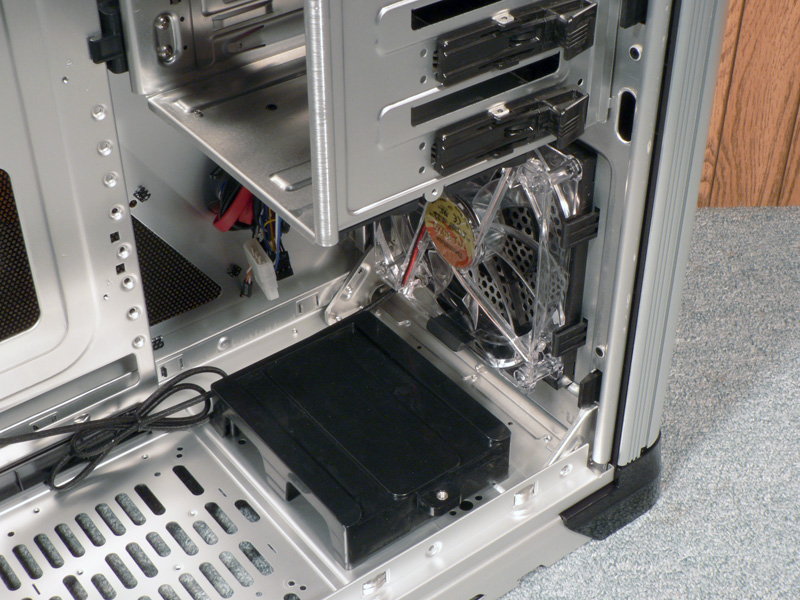
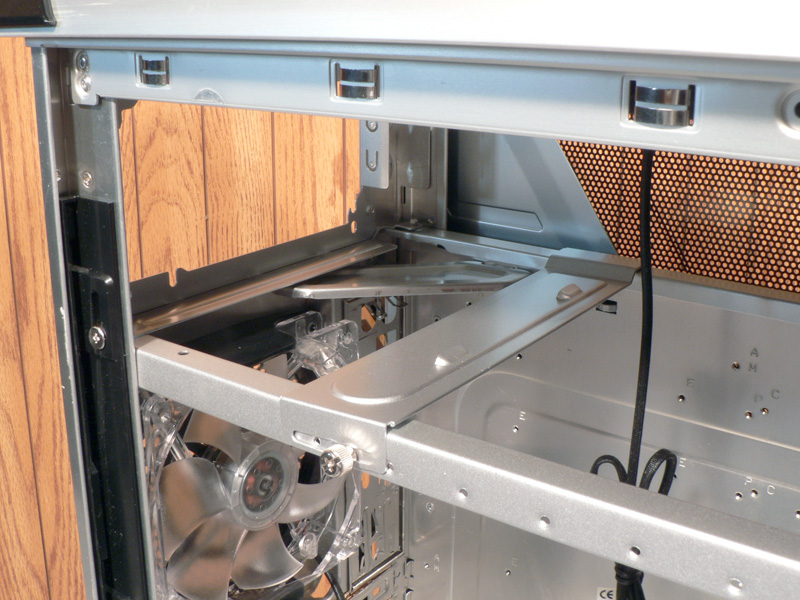
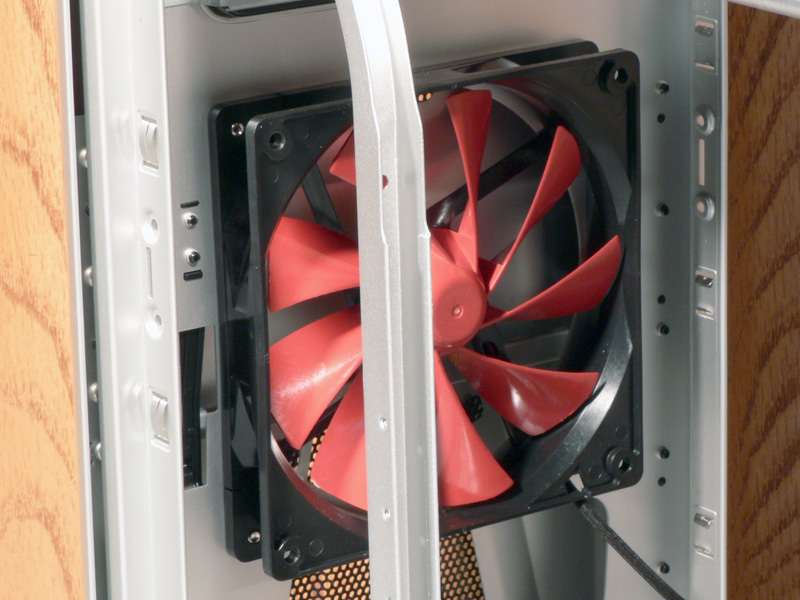
The hard drive cage is rotated 90 degrees to make efficient use of the space and allow easy cable management. There is one attached thumbscrew at the bottom and one removable thumbscrew at the top of the cage. Undoing the screws and pushing down on the two circular tabs allows the entire HDD cage to be removed. In the lower front of the case is a 140mm clear fan with blue LEDs in a mounting frame, which allows the fan to be removed without any sort of tools.
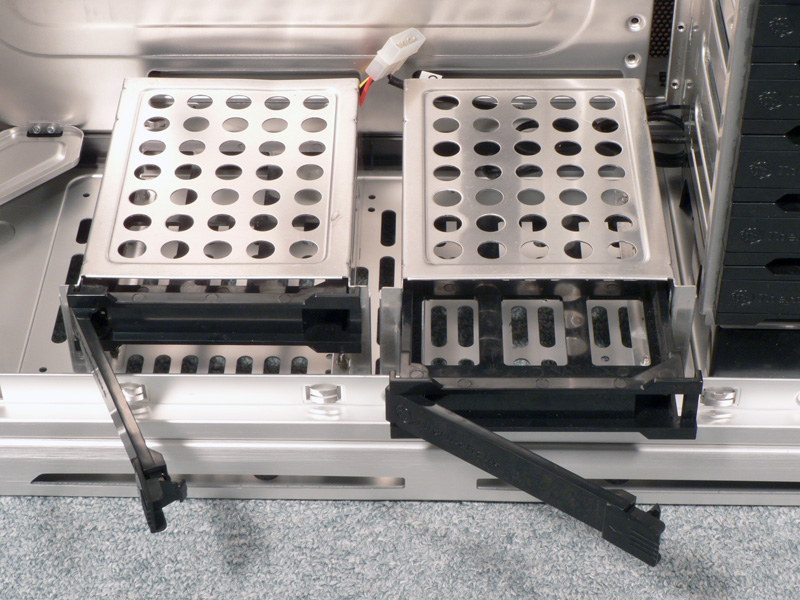
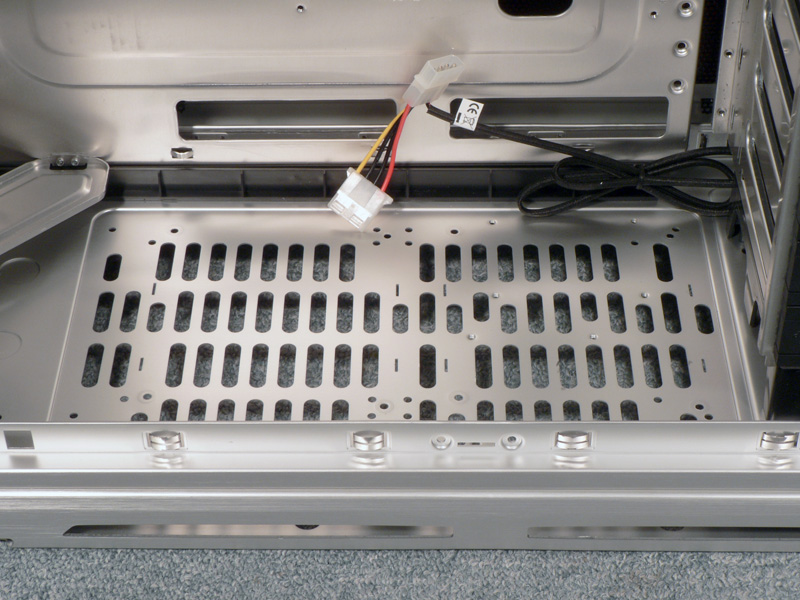
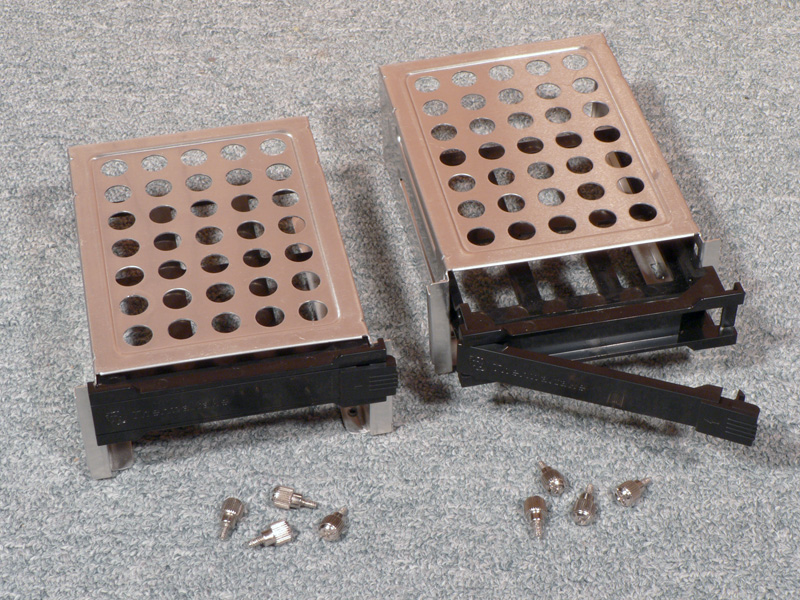
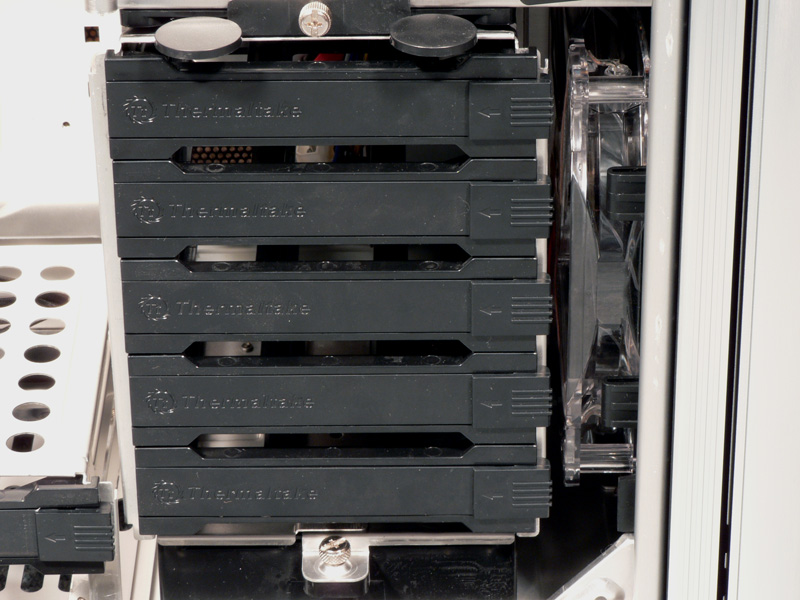
All three of the hard drive cages feature drawers that allow the drives to be easily removed or changed. The two bays located on the bottom of the case are also removable by taking out the eight thumbscrews on the bottom of the case. When removed, the vent at the bottom of the case can be used with optional 120mm or 140mm case fans, or be used to mount a watercooling radiator.
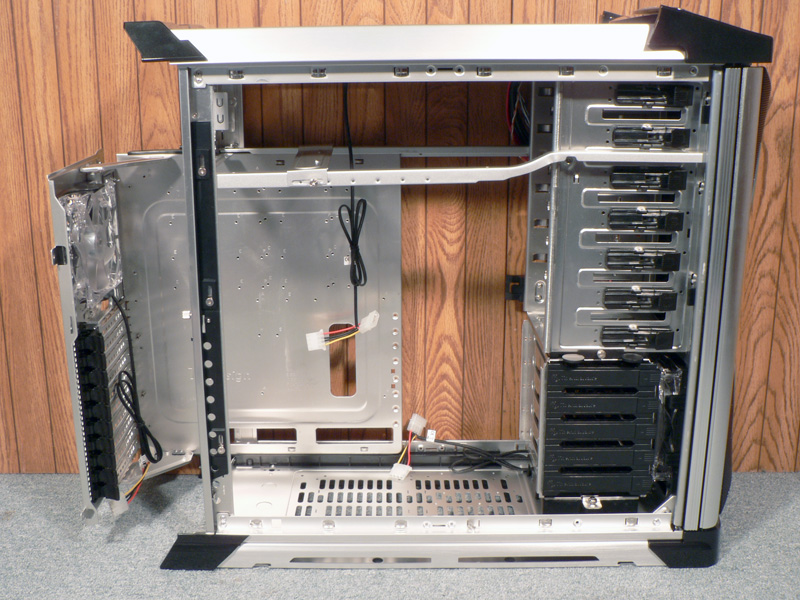

The motherboard tray is removable and slides out after removing four screws. There are three large slots in the tray, which allow cables to be routed neatly behind the tray and out of the way. From the back it is easier to see that there is a black clip that the tray slides into to provide extra support and prevent flexing of the aluminum tray. Also from this side you can see the cables from the top I/O panel, which Thermaltake has tied together and tucked out of the way. Note how the back side of the HDD cage is completely open to allow cables to exit from this side.
Mar 10th, 2025 19:11 EDT
change timezone
Latest GPU Drivers
New Forum Posts
- Post Your TIMESPY, PCMARK10 & FIRESTRIKE SCORES! (2019) (271)
- AMD RX 7000 series GPU Owners' Club (1307)
- I need a BIOS for the "Rx580 8gb" chip 215-0876406 (6)
- Biostar RX 6700 XT OC BIOS (7)
- Nvidia's GPU market share hits 90% in Q4 2024 (gets closer to full monopoly) (774)
- What's your latest tech purchase? (23278)
- Wherein lies the difference (2)
- USB hard disk box capacity limits (14)
- RX 9000 series GPU Owners Club (41)
- Gaming PC instabiliity (22)
Popular Reviews
- Sapphire Radeon RX 9070 XT Nitro+ Review - Beating NVIDIA
- XFX Radeon RX 9070 XT Mercury OC Magnetic Air Review
- ASUS Radeon RX 9070 TUF OC Review
- MSI MAG B850 Tomahawk Max Wi-Fi Review
- NVIDIA GeForce RTX 5080 Founders Edition Review
- NVIDIA GeForce RTX 5070 Founders Edition Review
- Corsair Vengeance RGB CUDIMM DDR5-8800 48 GB CL42 Review
- AMD Ryzen 7 9800X3D Review - The Best Gaming Processor
- ASUS GeForce RTX 5070 Ti TUF OC Review
- MSI GeForce RTX 5070 Ti Gaming Trio OC+ Review
Controversial News Posts
- NVIDIA GeForce RTX 50 Cards Spotted with Missing ROPs, NVIDIA Confirms the Issue, Multiple Vendors Affected (513)
- AMD Plans Aggressive Price Competition with Radeon RX 9000 Series (277)
- AMD Radeon RX 9070 and 9070 XT Listed On Amazon - One Buyer Snags a Unit (261)
- AMD RDNA 4 and Radeon RX 9070 Series Unveiled: $549 & $599 (260)
- AMD Mentions Sub-$700 Pricing for Radeon RX 9070 GPU Series, Looks Like NV Minus $50 Again (248)
- NVIDIA Investigates GeForce RTX 50 Series "Blackwell" Black Screen and BSOD Issues (244)
- AMD Radeon RX 9070 and 9070 XT Official Performance Metrics Leaked, +42% 4K Performance Over Radeon RX 7900 GRE (195)
- AMD Radeon RX 9070-series Pricing Leaks Courtesy of MicroCenter (158)