 6
6
Wooting two HE Keyboard Review - Analog Precision FTW
Disassembly »Closer Examination

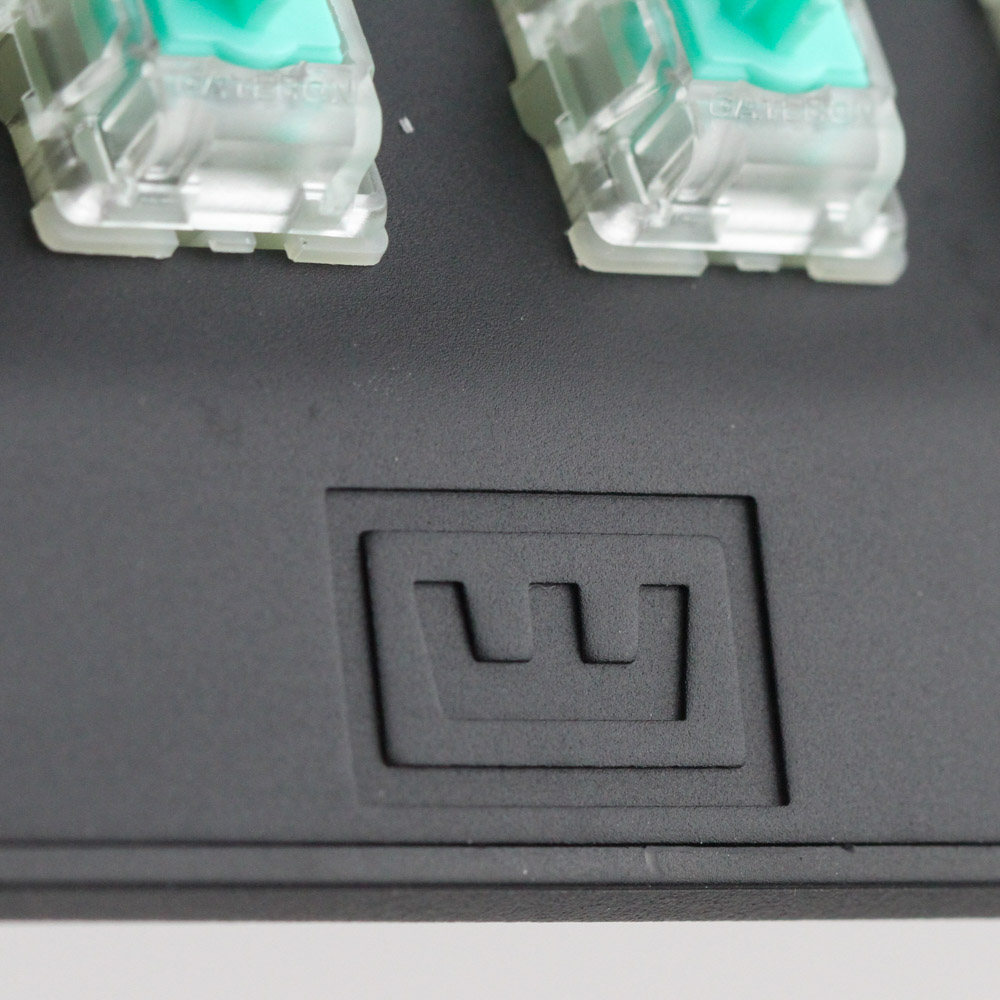
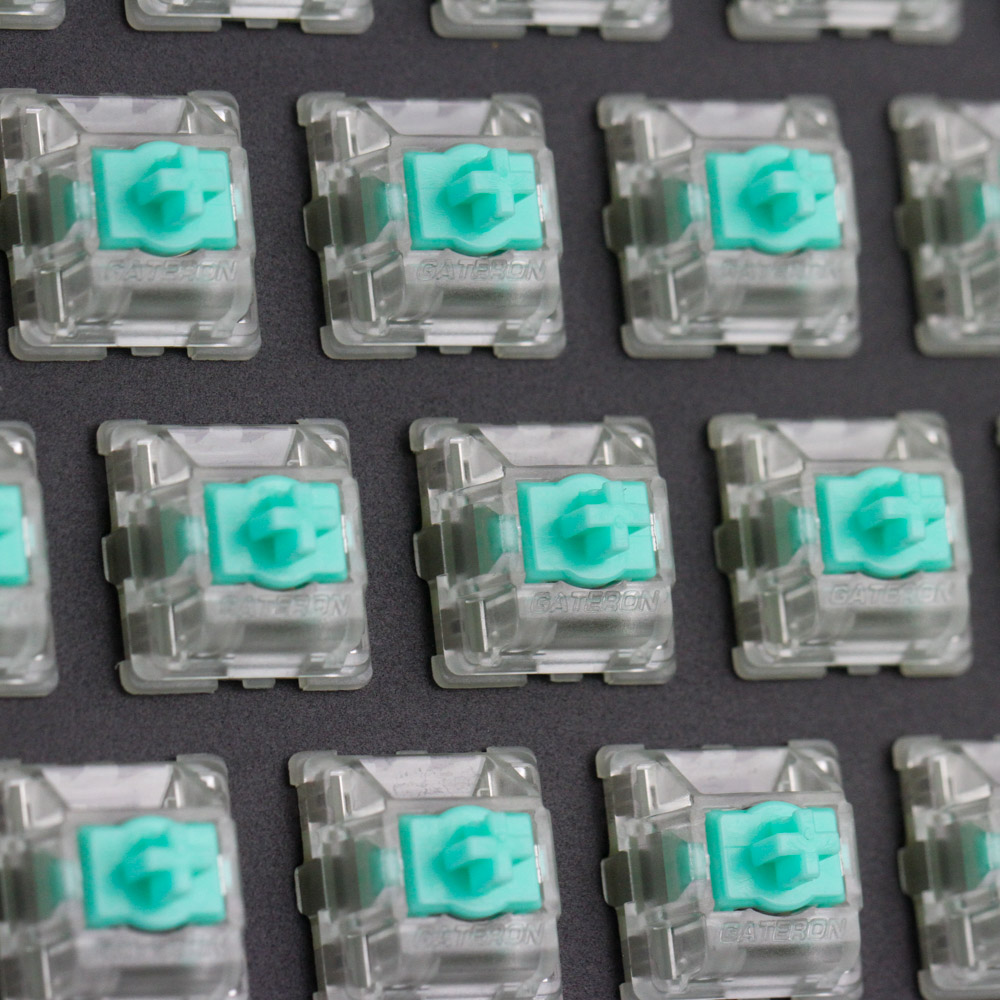
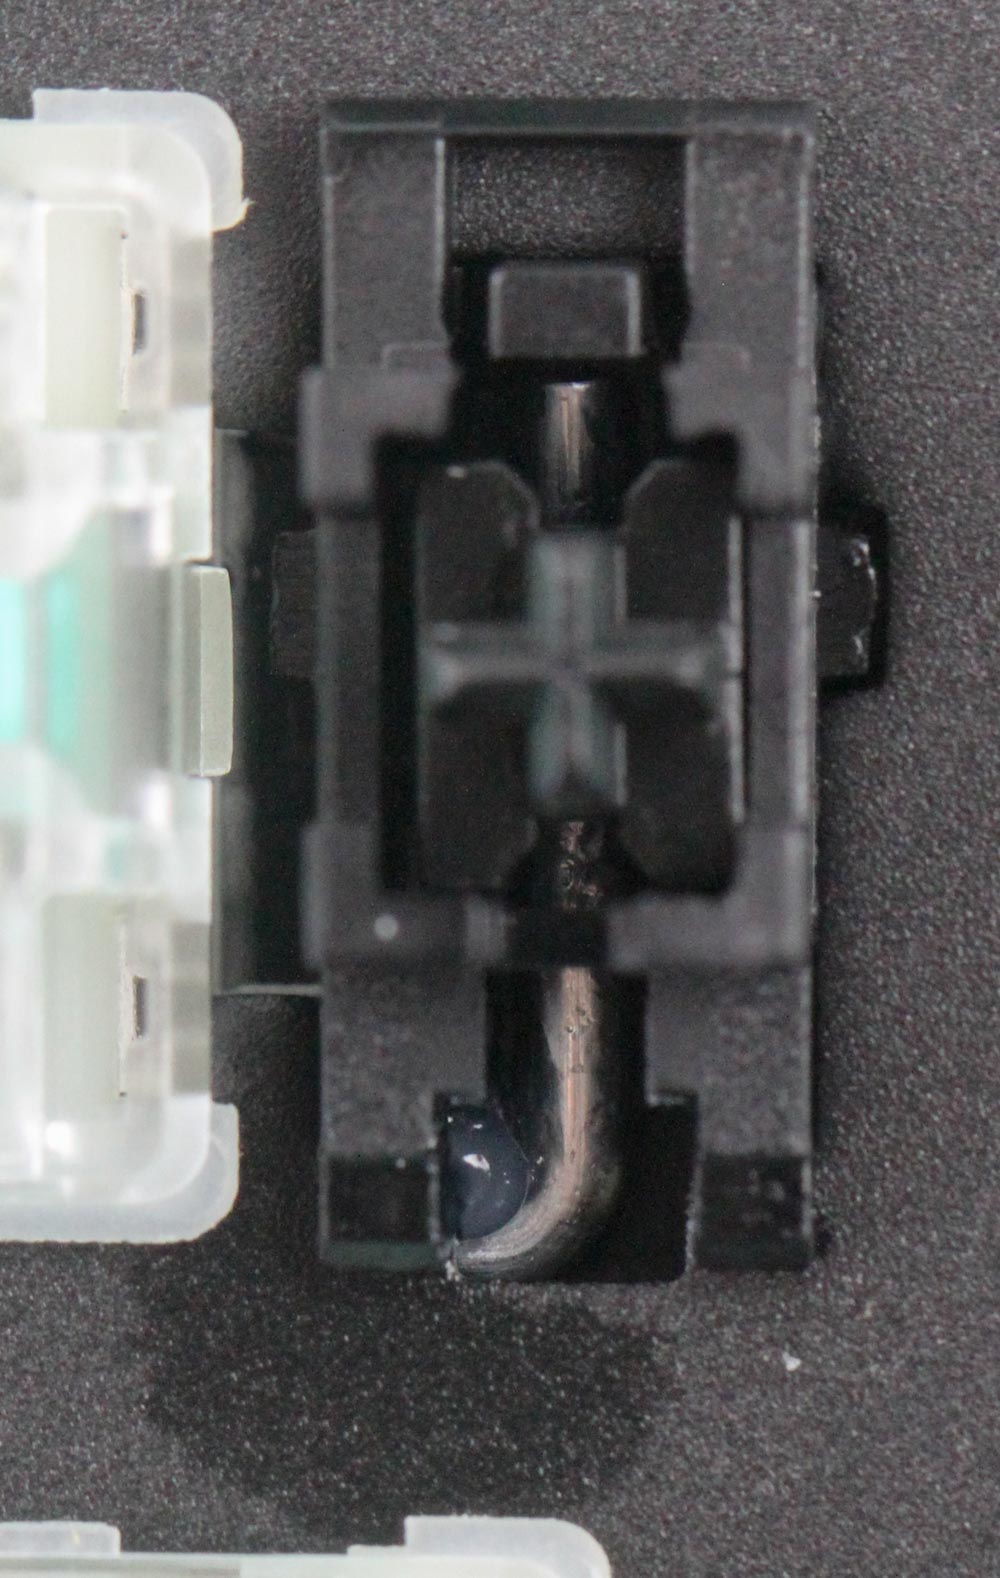
We saw that my review sample of the Wooting two HE shipped without installed keycaps, although retail units will have default keycaps unless you configure yours differently. So this section may be in a different order than your own, though the product itself is exactly the same. The Wooting two HE is a 108/109-key full-size keyboard, and there's no TKL version for a 1:1 replacement of the original Wooting one given the other available keyboard now is the 60% Wooting 60HE. The design language stayed the same, which is good since clean looks coupled with good build quality are never going out of style. The Wooting two HE uses a thin aluminium plate as a frame, and the logo is embossed on the bottom for subtle branding. Bezels are about average in size on the top and sides, and larger at the bottom edge, with a bevel to break up the rectangular slab this would have been. The switches are the new Wooting Lekker Hall effect switches manufactured by Gateron, which explains the Gateron branding on these. Note the screws keeping the keyboard assembled, which will come in handy for the disassembly section on the next page. Other thing of note are the pre-lubed stabilizers, with the lube applied well enough for me.
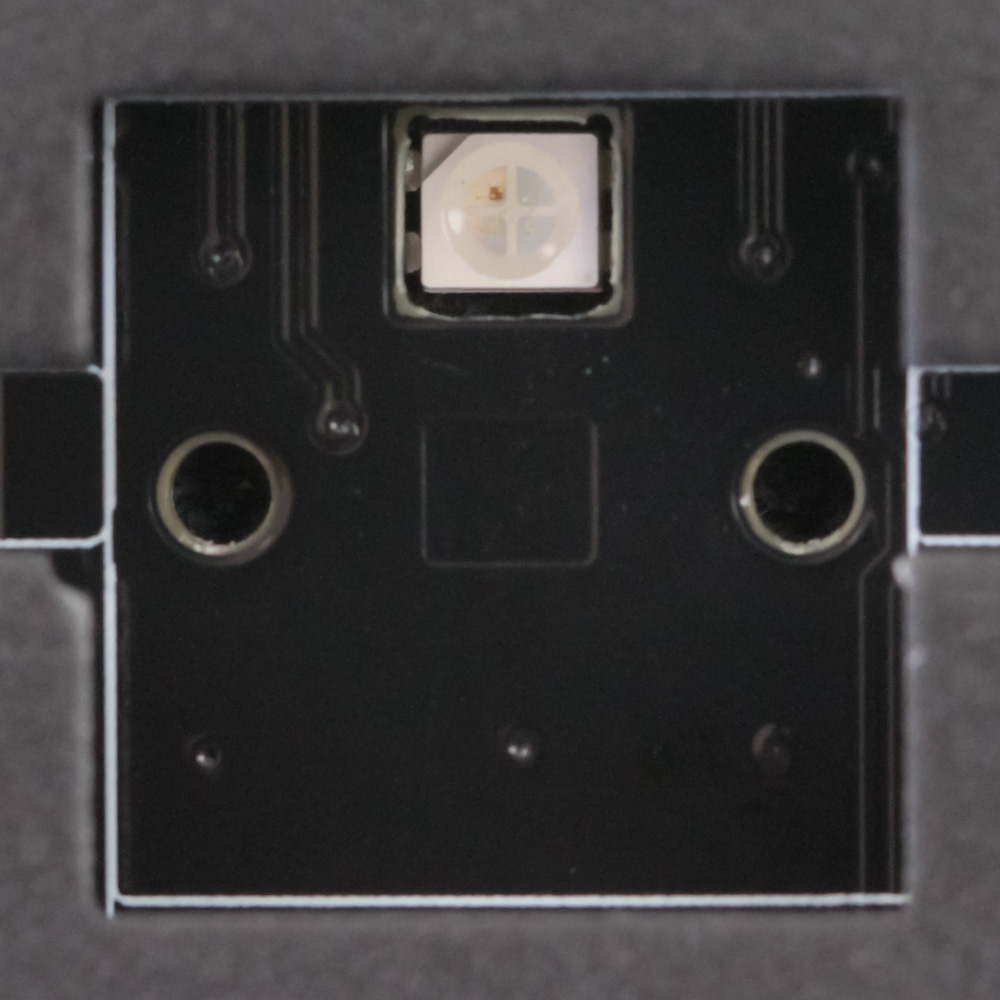
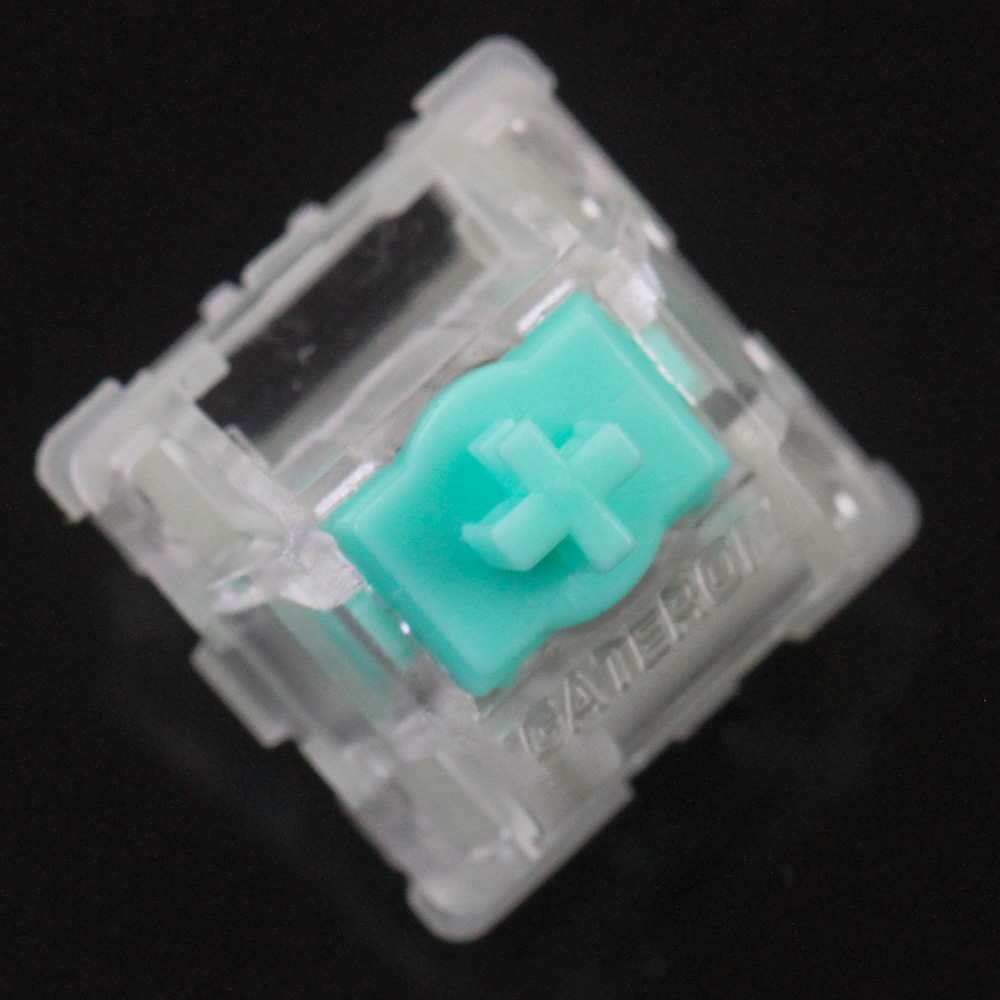


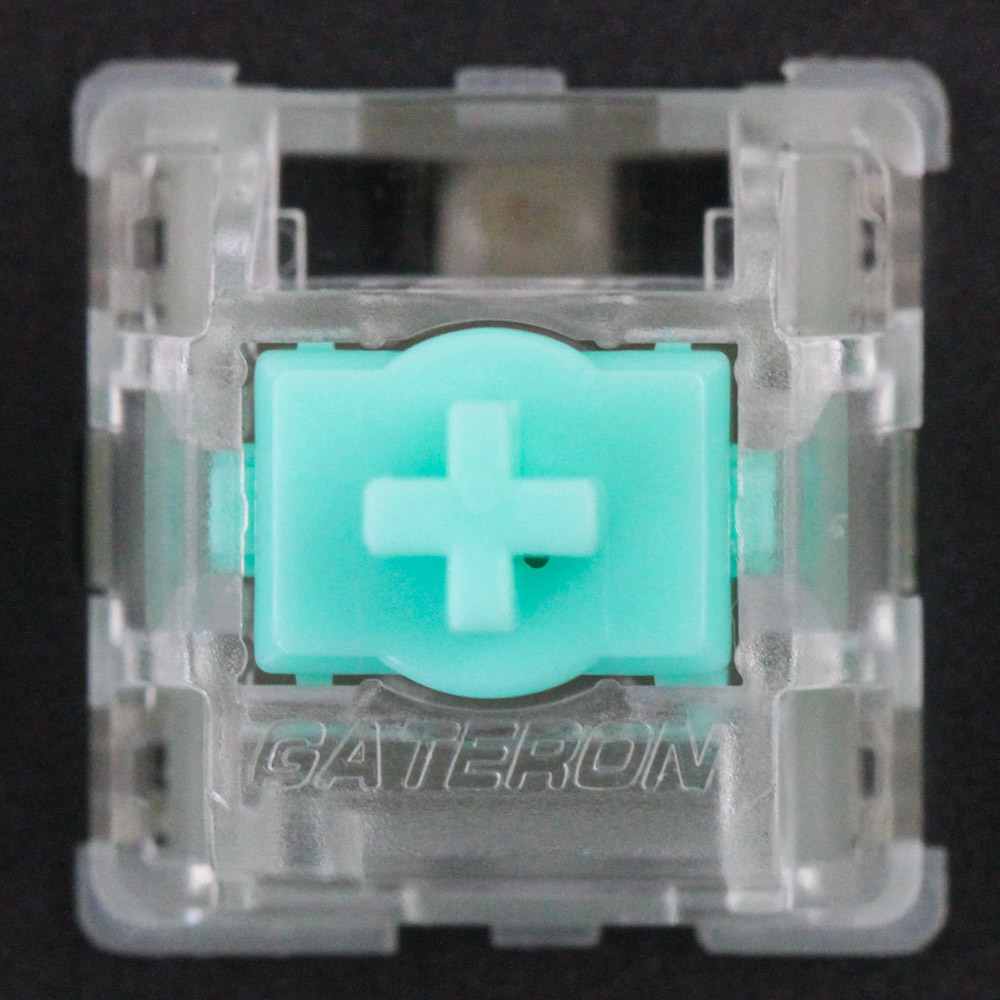
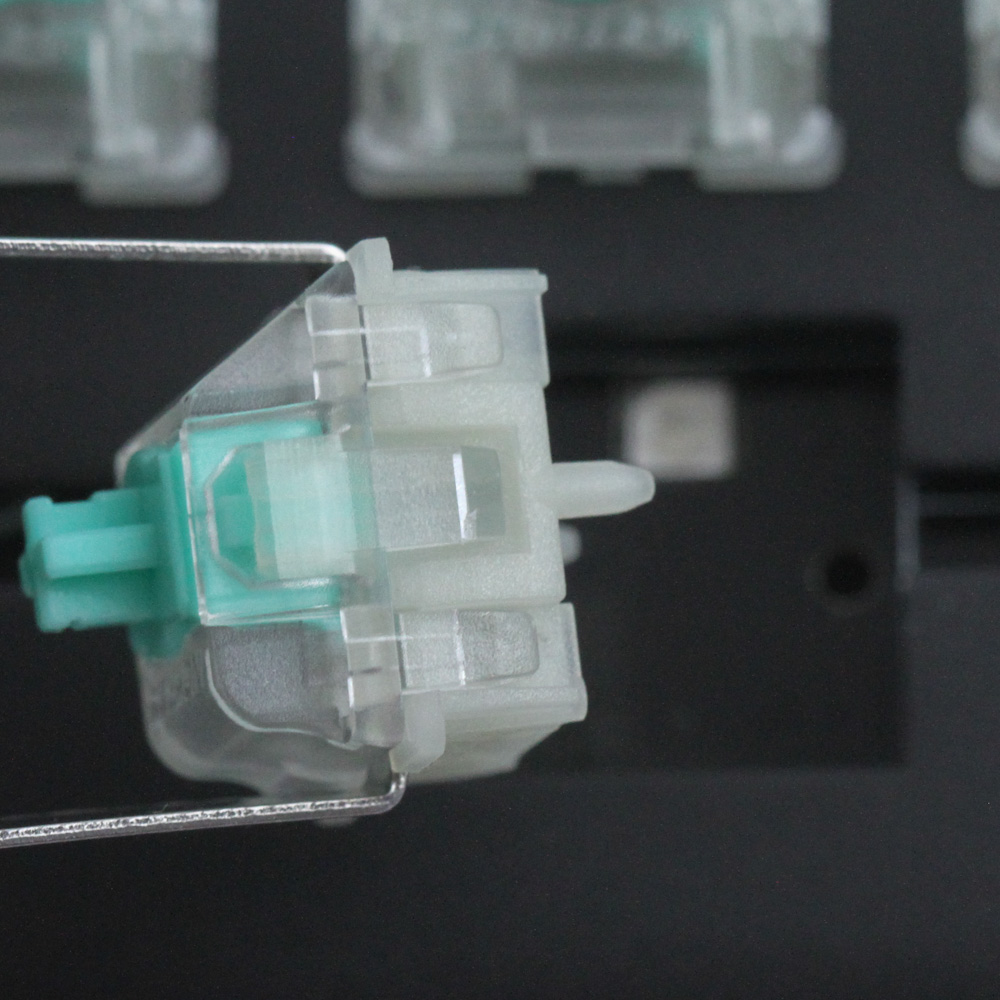
I used my own switch remover tool to extract one of these Lekker switches from the 3-pin hot-swap switch socket, but note that you can't just use any mechanical switch. The hot-swappable nature of these switches is purely there to slot in compatible Lekker switches, be it for RMA or if Wooting comes out with more than one type. As it stands, we only have the Lekker Linear 60 with its contactless linear analog actuation design we will go over in more detail later on. With a translucent housing and cutout to allow light from the SMD RGB LED in the switch socket through, it is clearly RGB compatible. The aqua-colored crosspoint stem design also adds compatibility with a vast number of aftermarket keycap sets.
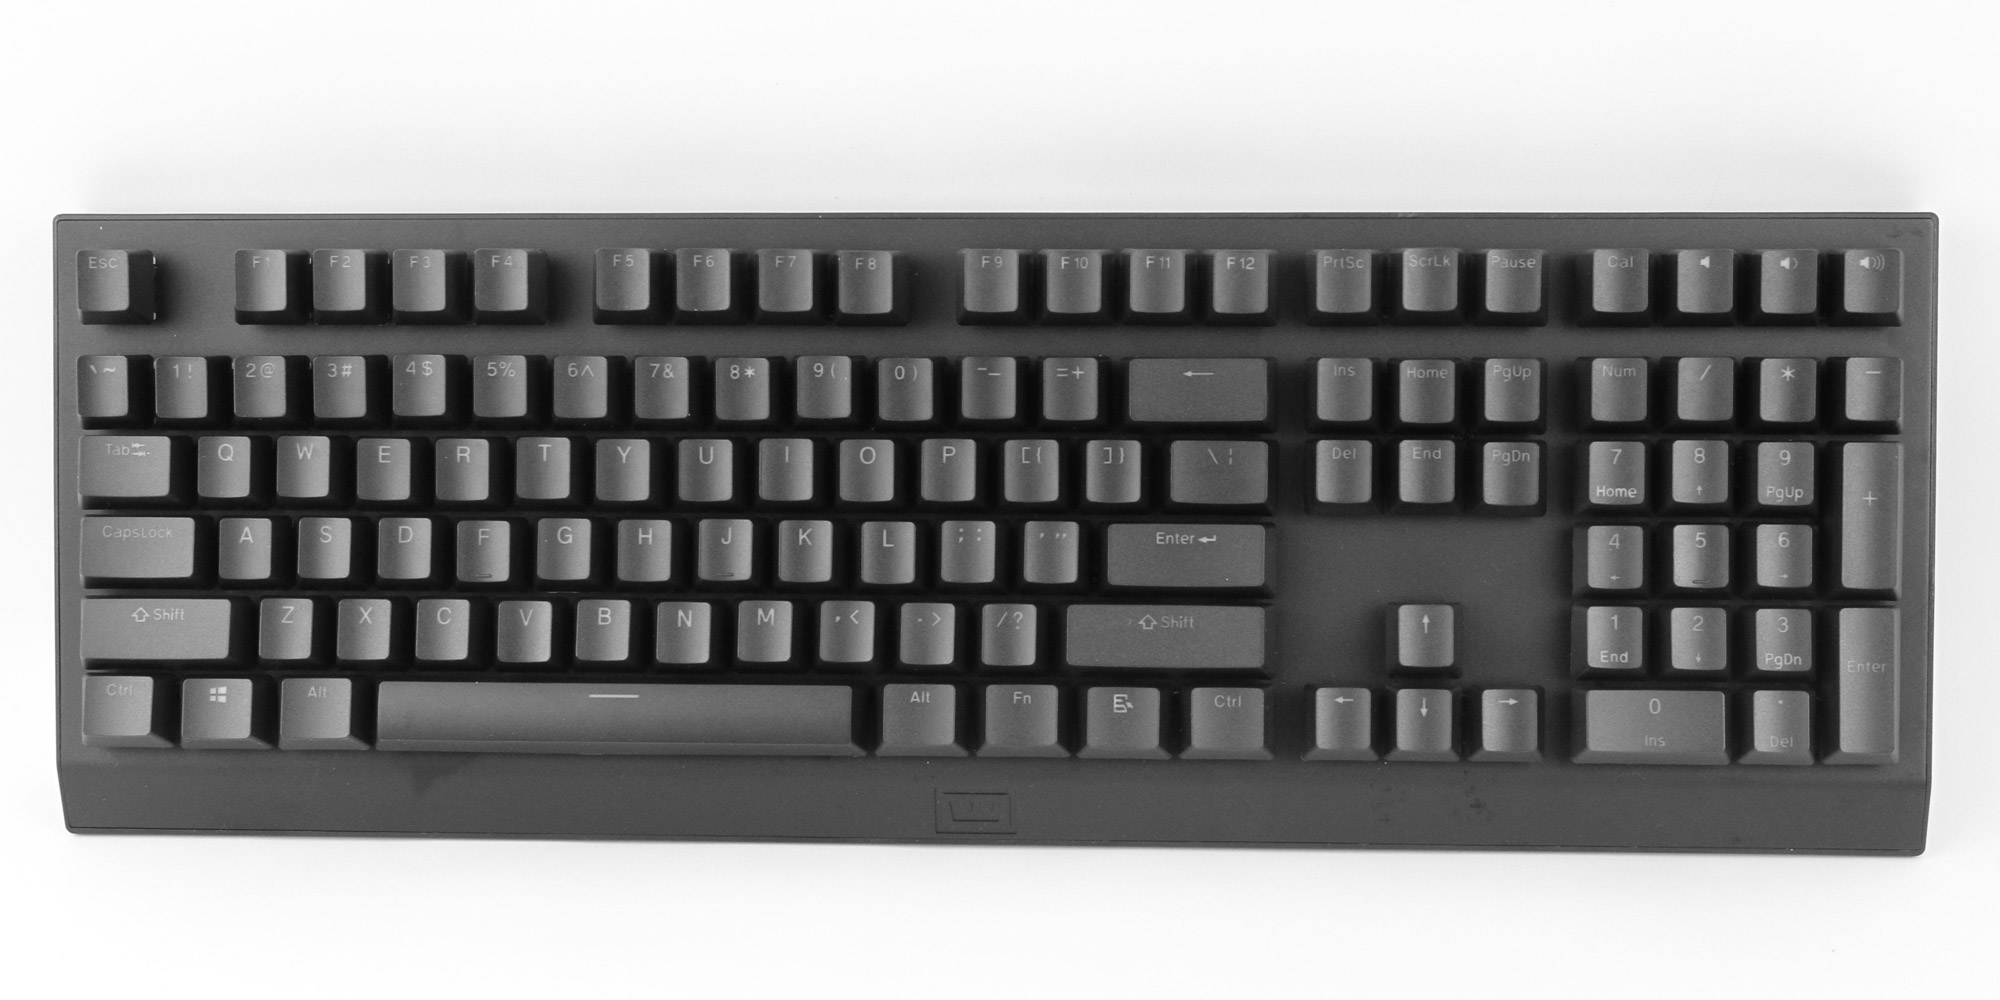
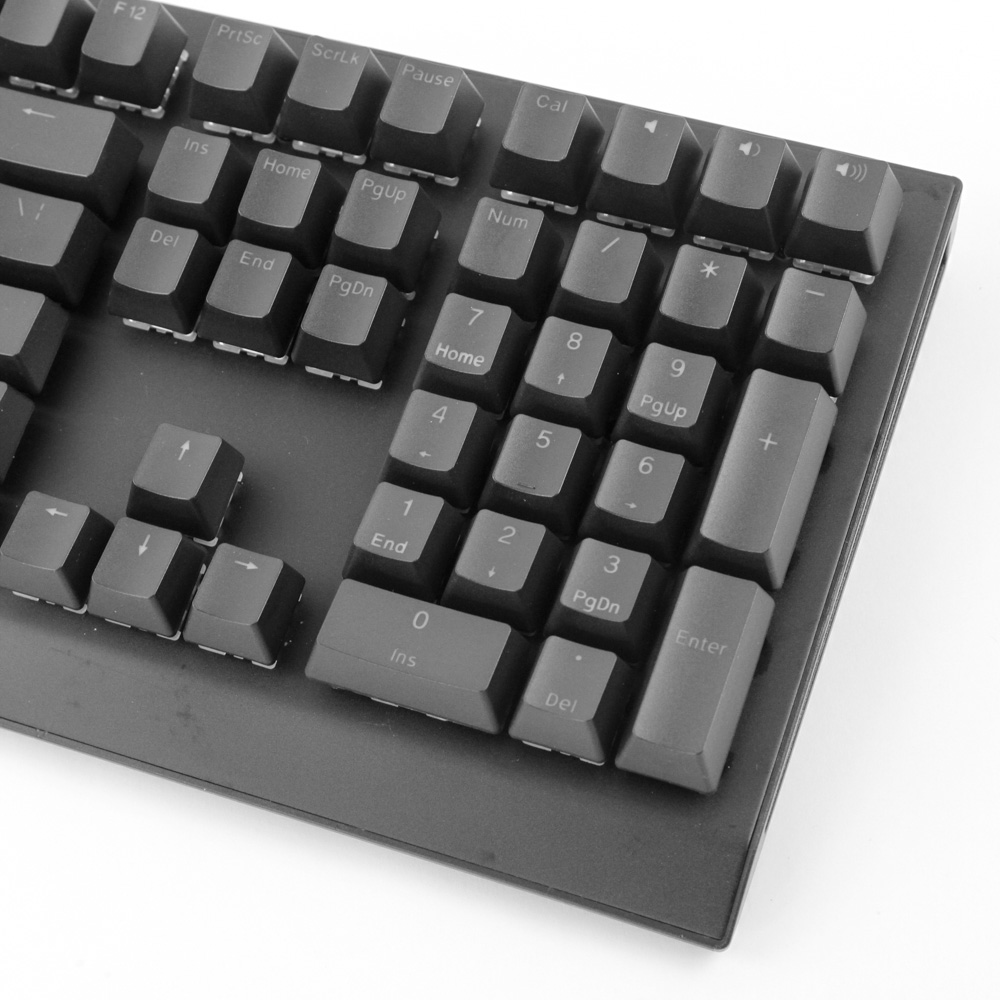
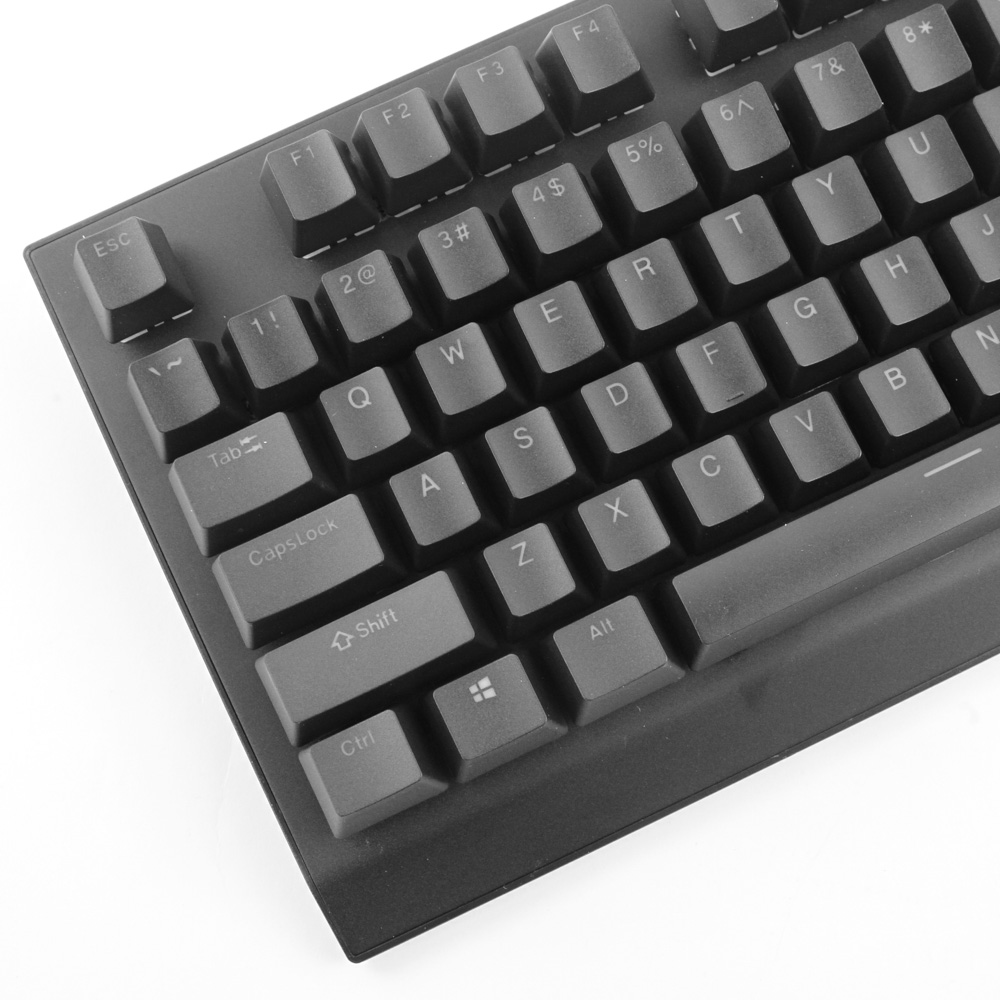
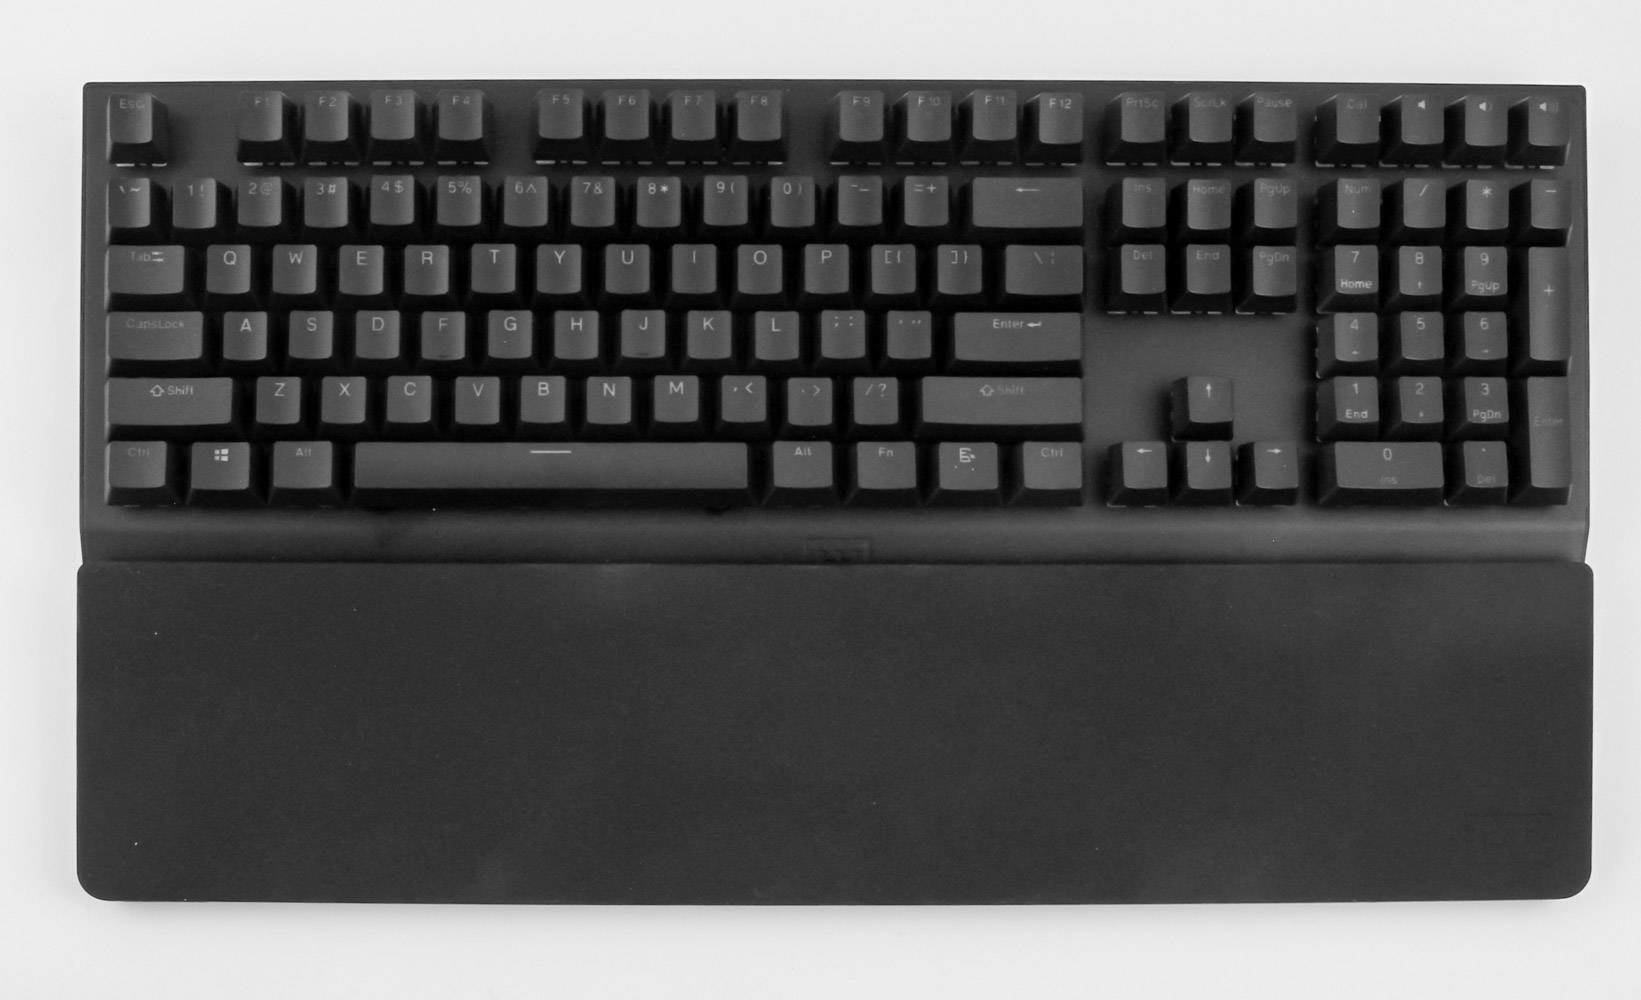
Regular readers of my reviews would not be surprised I went with the PBT keycap set, and now the Wooting two HE is ready to go! This is likely how your own unit will look out of the box, and it makes for a predominantly black keyboard that looks good and doesn't weight a ton for the size. There is no build quality compromise either, and you can always get the keycap set with mint green modifiers for more color if you find this look too boring.
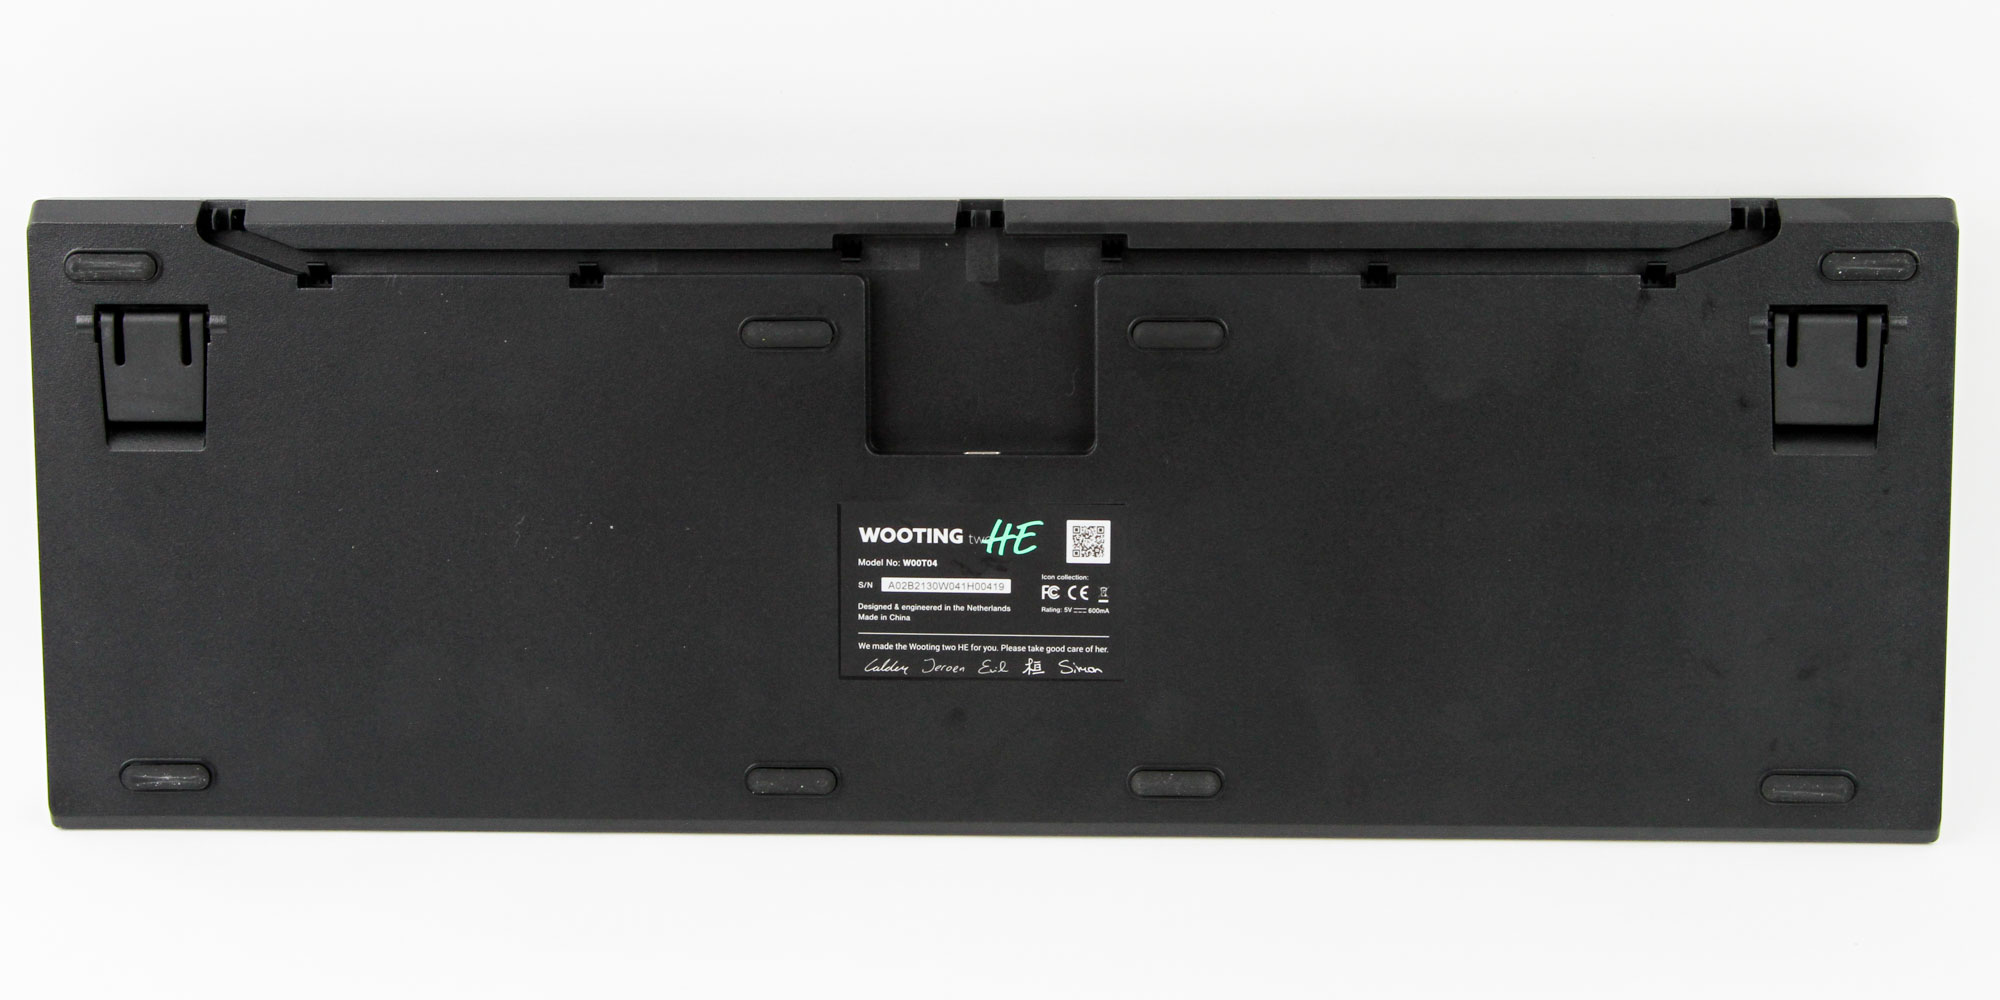

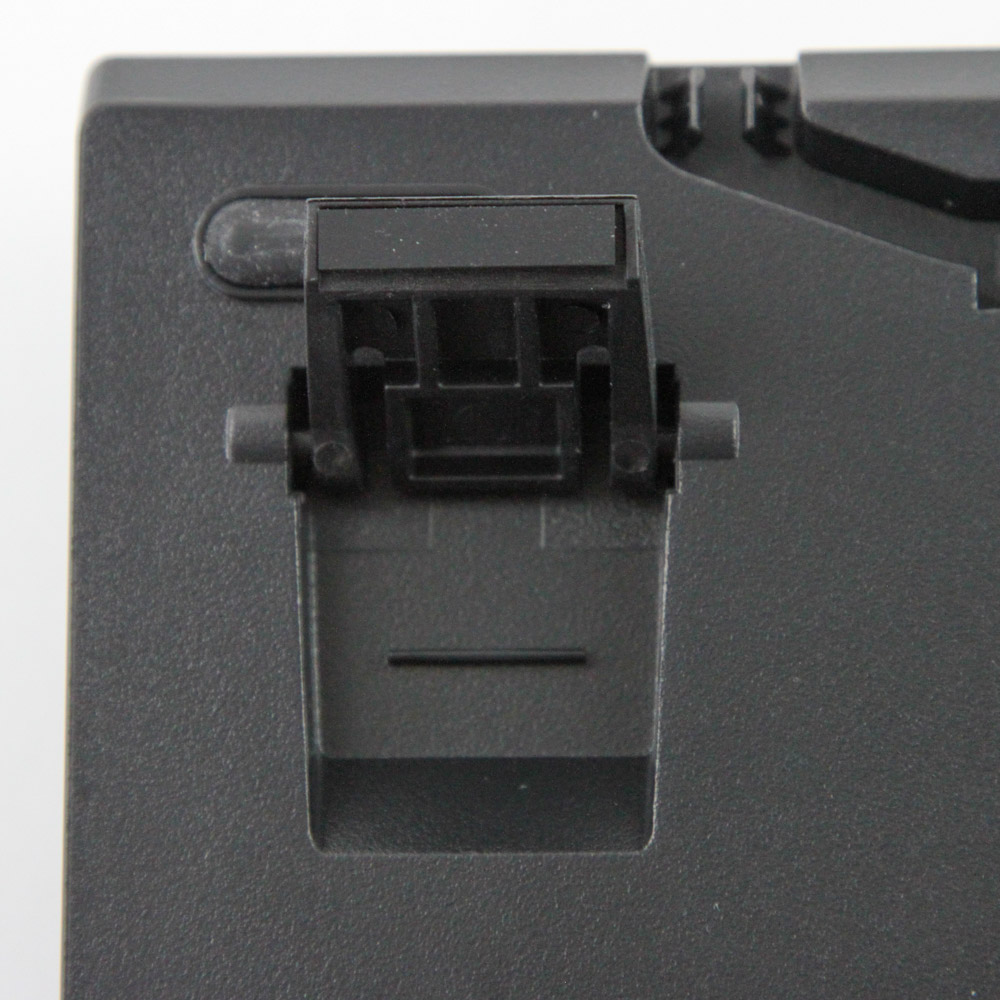
Turning the keyboard around, we see a black ABS plastic case and the usual certification sticker in the middle. Eight medium-sized rubber pads on the top and bottom add friction against the resting surface and prevent the keyboard from sliding around. We also see two feet that can be raised to optionally elevate the keyboard from the base ~4° elevation to ~10°. These feet also have rubber pads at the bottom, which is nice to see.
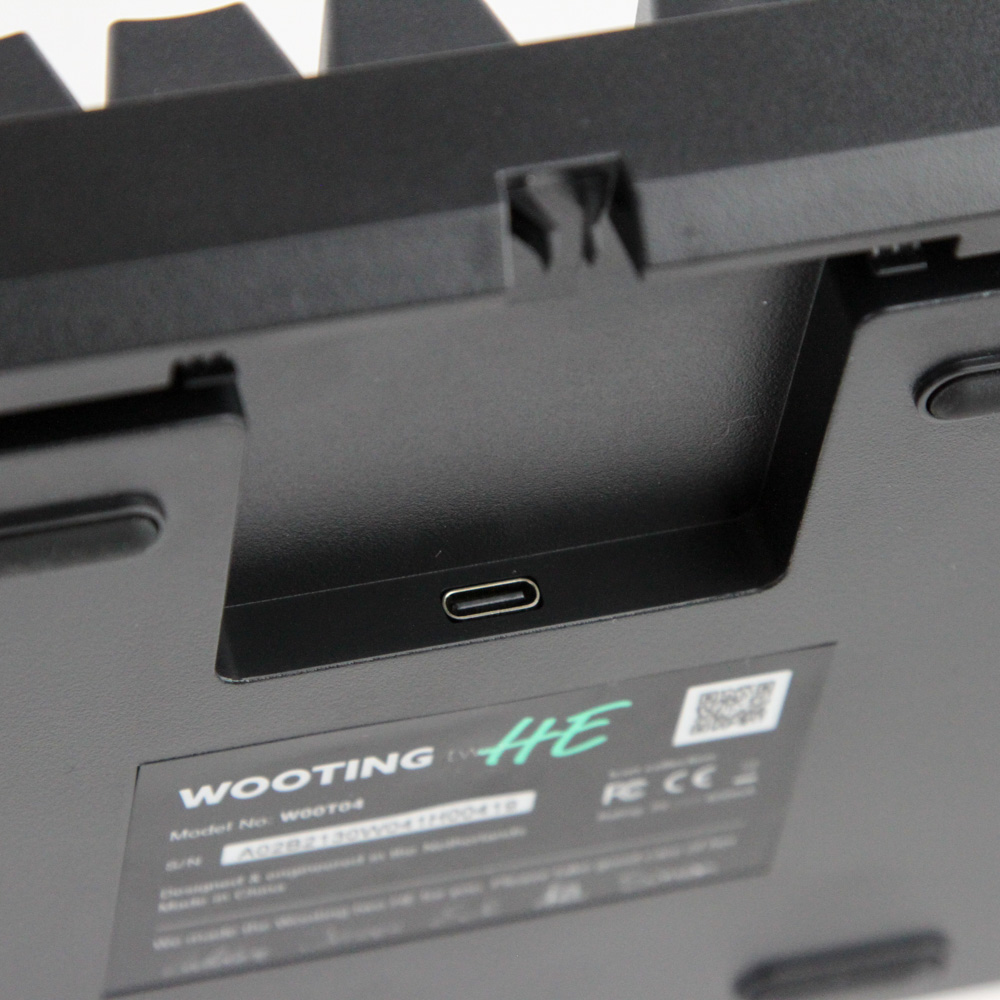

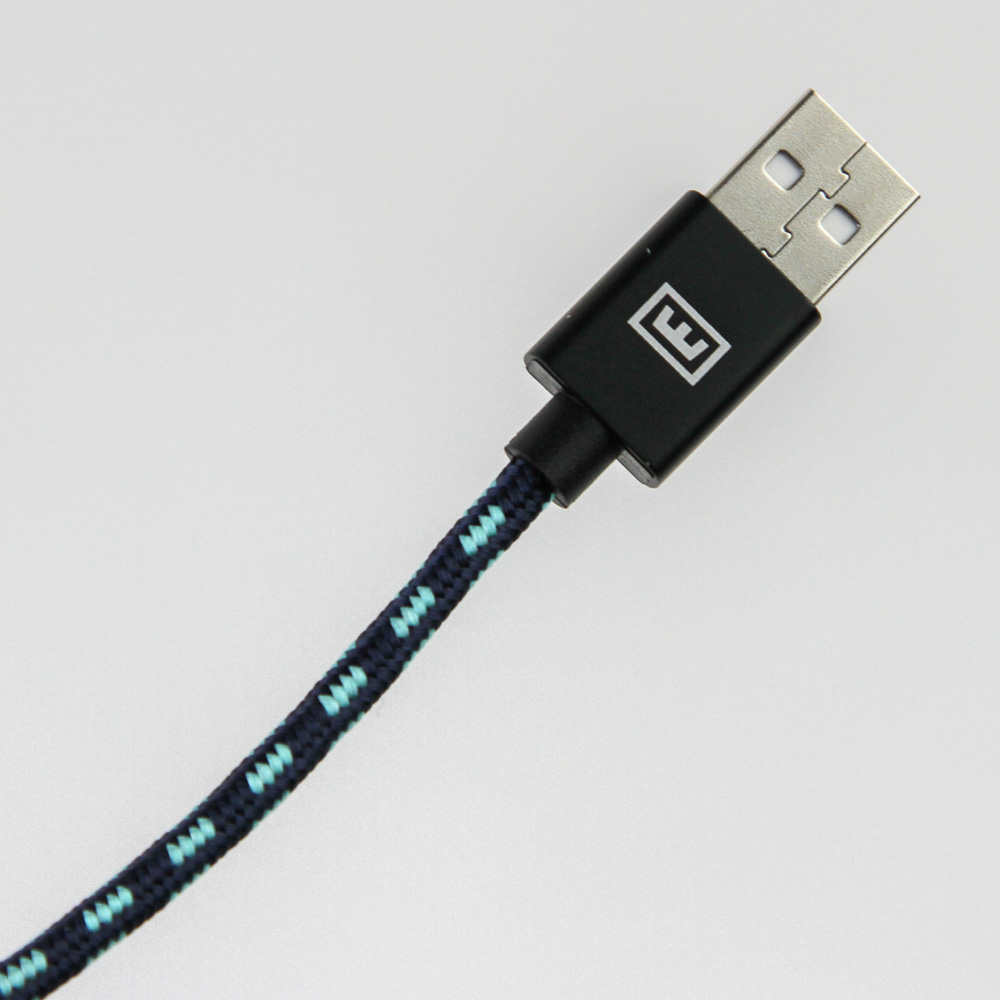
On the back is an inset Type-C connector with enough room around it for most aftermarket cables to work with the keyboard. But then again, we do get a two-tone cable, which I dare say was designed with the Lekker edition in mind, and it still looks nice here. The keyboard has three cable-routing channels to better route the cable with the location of the mouse and PC in mind, and the cable is long enough at the usual 6' for this small luxury. You will need an available USB Type-A port on your PC for the keyboard, and USB 3.2 Gen 1 is recommended.
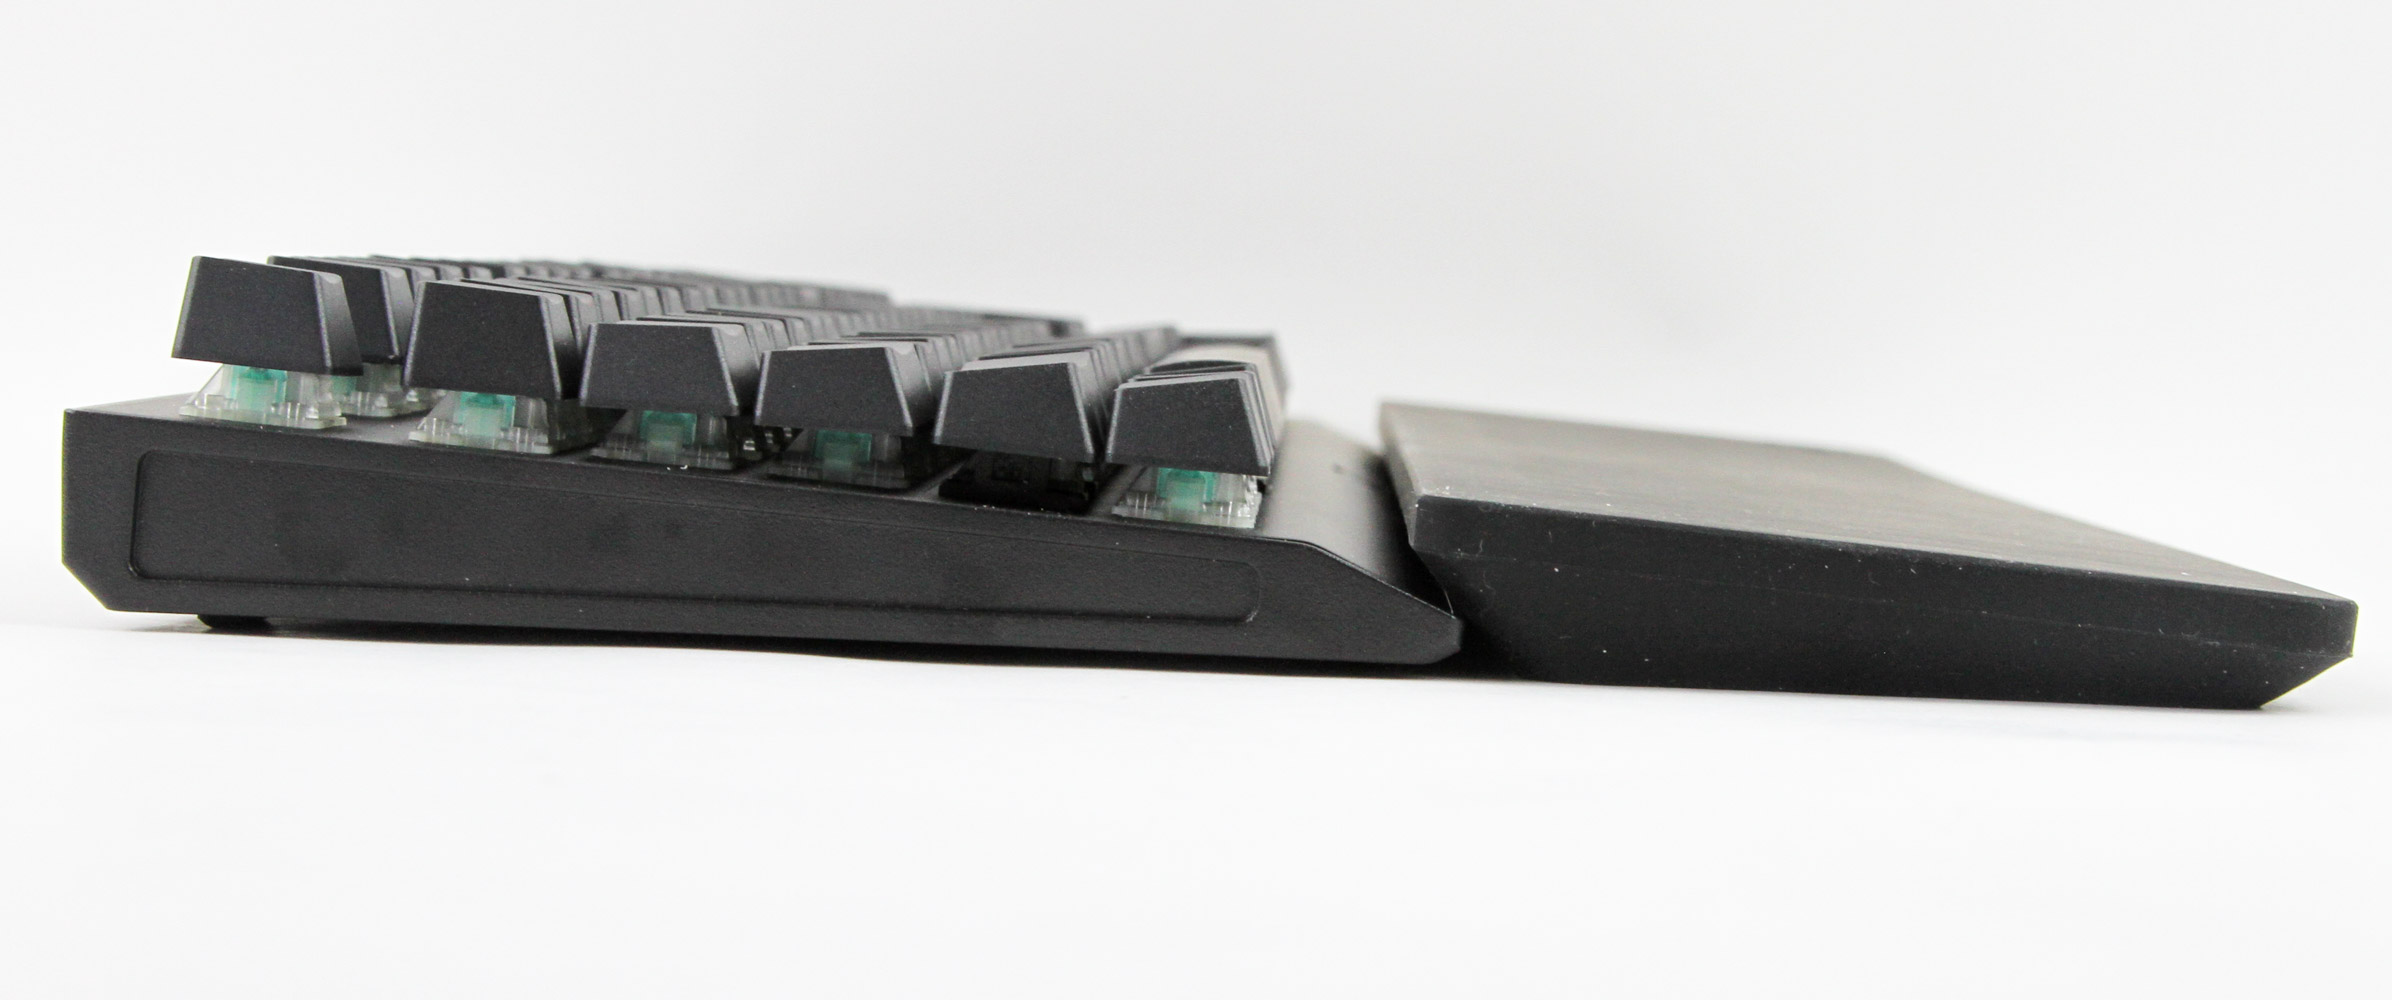
Using the optional wrist rest is as simple as orienting it in place and dropping it down. The lip on the top of the wrist rest goes over the beveled bottom edge on the keyboard, which makes for an angled setup that is quite comfortable in use. In fact, I found this large one-piece wrist rest to be among the better implementations across the board, and it works well with a lot of other full-size keyboards, too.


A look from the side confirms the built-in elevation, and the floating keycap design makes it easier to remove the keycaps and clean the keyboard. The side profile also confirms the OEM profile with the usual contouring on the six keycap rows. The provided keycap puller works quite well here, and I generally prefer such metal wire pullers over the plastic ring-style pullers that can scratch the sides of keycaps.
Jan 31st, 2025 10:58 EST
change timezone
Latest GPU Drivers
New Forum Posts
- Testing max ram overclock pn Ryzen 1700 (34)
- Will you buy a RTX 5090? (293)
- Advice for DDR5 CU-DIMM 2 x 24gb 8400mhz (3)
- Please let me know if the UPS that I want to buy is good or not for my PC. (105)
- What are you playing? (22714)
- Is there a way to improve graphics in an old DX9.0c game? (0)
- TechPowerUp Screenshot Thread (MASSIVE 56K WARNING) (4249)
- TPU's Nostalgic Hardware Club (19914)
- GPU hotspot and Gpu tem differences (8)
- Hogwarts Legacy (15)
Popular Reviews
- NVIDIA GeForce RTX 5080 Founders Edition Review
- NVIDIA DLSS 4 Transformer Review - Better Image Quality for Everyone
- Galax GeForce RTX 5080 1-Click OC Review
- ASUS GeForce RTX 5090 Astral OC Review - Astronomical Premium
- NVIDIA GeForce RTX 5090 Founders Edition Review - The New Flagship
- MSI GeForce RTX 5090 Suprim SOC Review
- MSI GeForce RTX 5080 Vanguard SOC Review
- ASUS GeForce RTX 5080 Astral OC Review
- MSI GeForce RTX 5090 Suprim Liquid SOC Review
- MSI GeForce RTX 5080 Suprim SOC Review
Controversial News Posts
- NVIDIA 2025 International CES Keynote: Liveblog (470)
- AMD Debuts Radeon RX 9070 XT and RX 9070 Powered by RDNA 4, and FSR 4 (349)
- AMD is Taking Time with Radeon RX 9000 to Optimize Software and FSR 4 (251)
- AMD Denies Radeon RX 9070 XT $899 USD Starting Price Point Rumors (238)
- AMD Radeon RX 9070 XT & RX 9070 Custom Models In Stock at European Stores (226)
- NVIDIA GeForce RTX 5090 Features 575 W TDP, RTX 5080 Carries 360 W TDP (217)
- New Leak Reveals NVIDIA RTX 5080 Is Slower Than RTX 4090 (214)
- AMD's Radeon RX 9070 Launch Faces Pricing Hurdles (175)