 6
6
Wooting two HE Keyboard Review - Analog Precision FTW
Software »Disassembly

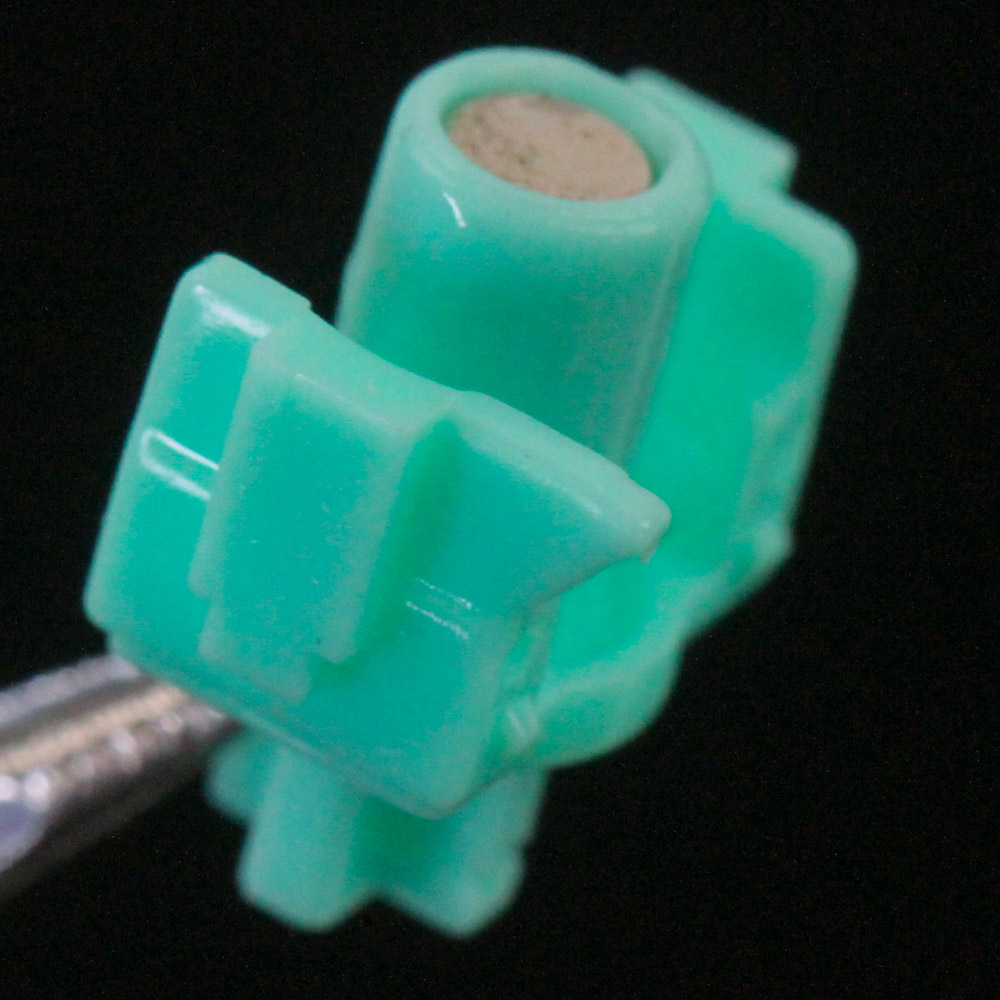
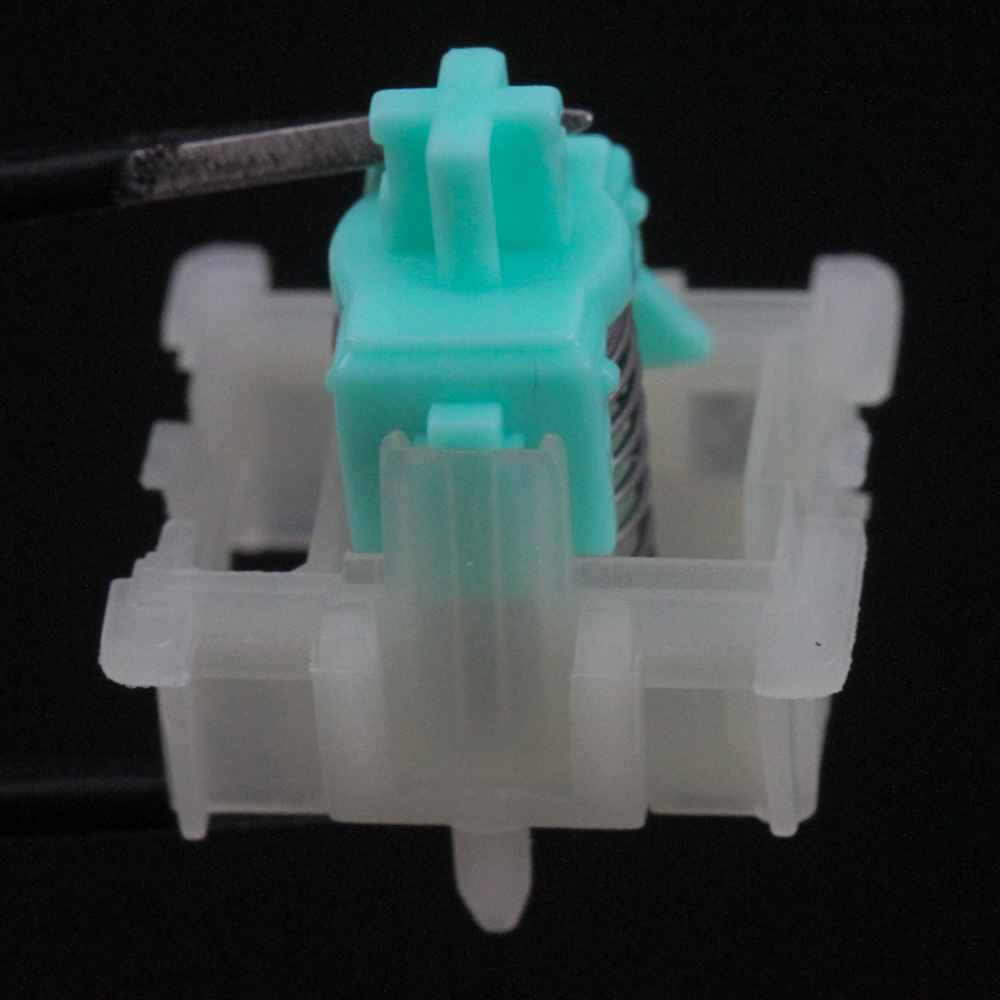
Given the hot-swappable nature of the switches, it only made sense to take one of the new Lekker Linear 60 switches apart. There is not much to see here, with the composition replicating the cross-point Cherry MX stem design as much as possible for keycap compatibility and to avoid re-inventing the wheel for PCB assembly. We see a clear top and translucent housing, and then a short stem and spring, which shows something is different after all. A closer look reveals that the base housing has nothing in it, including the metal contacts that used to actuate mechanical switches. This makes the Lekker Linear 60 a truly contact-free switch with no moving parts to worry about for wear and tear. Actuation instead happens courtesy the small magnet embedded into the stem at the bottom, and we will discuss this process more later on.
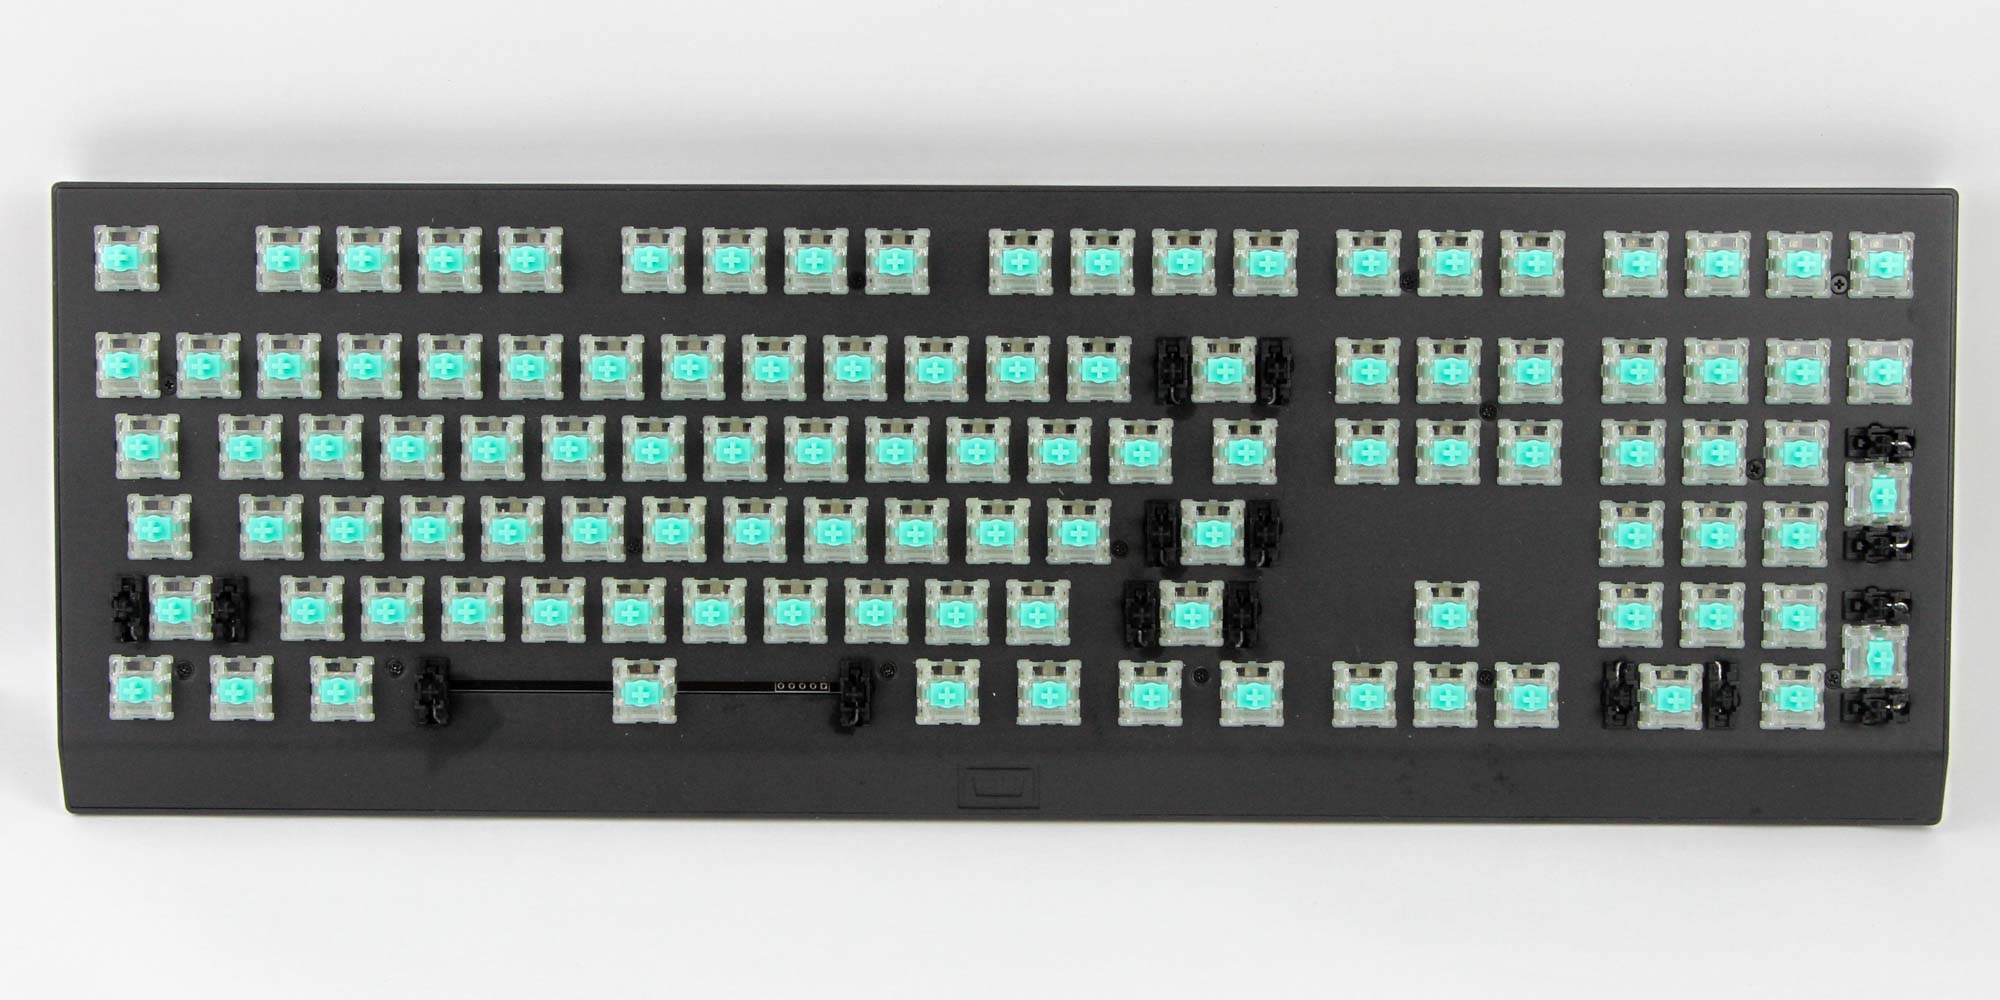
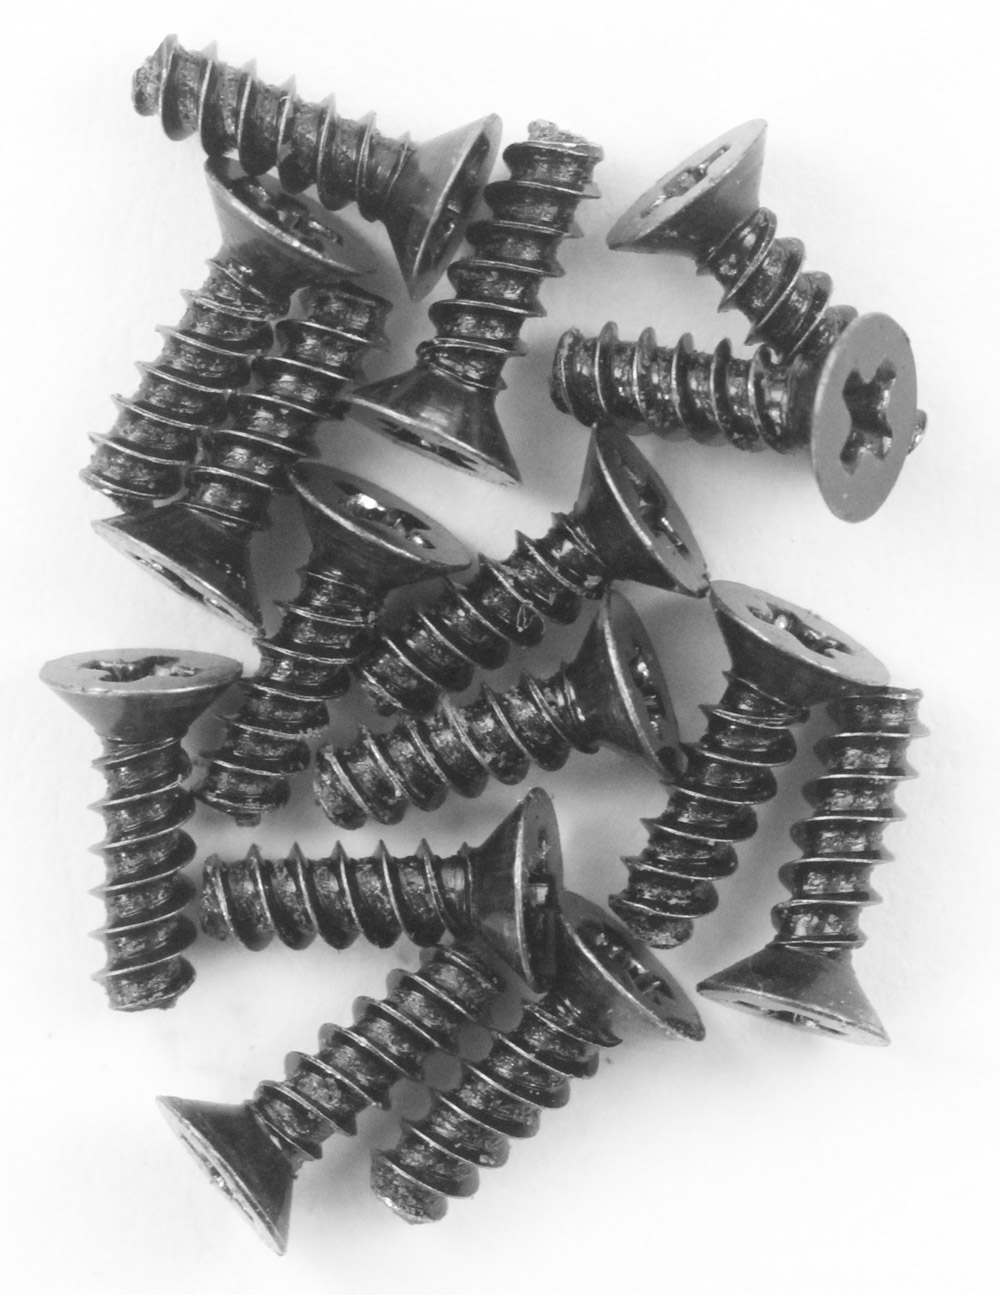
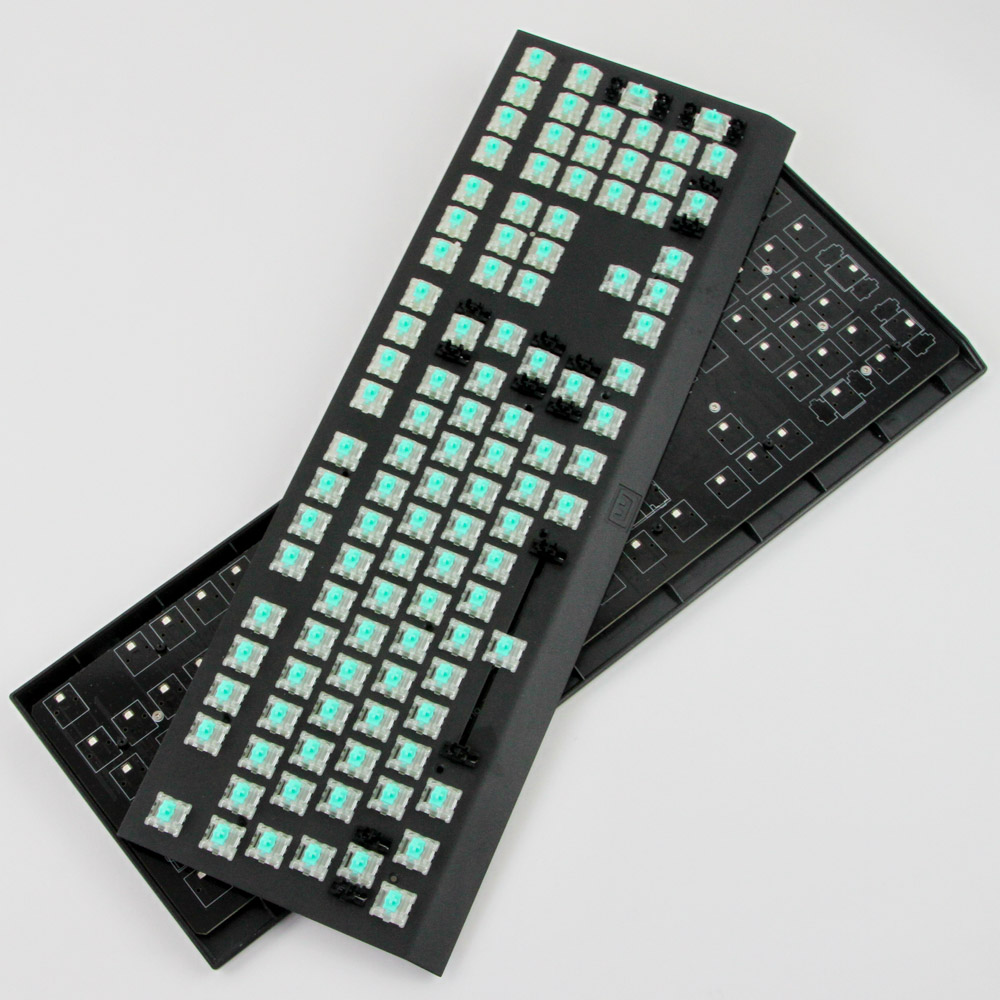
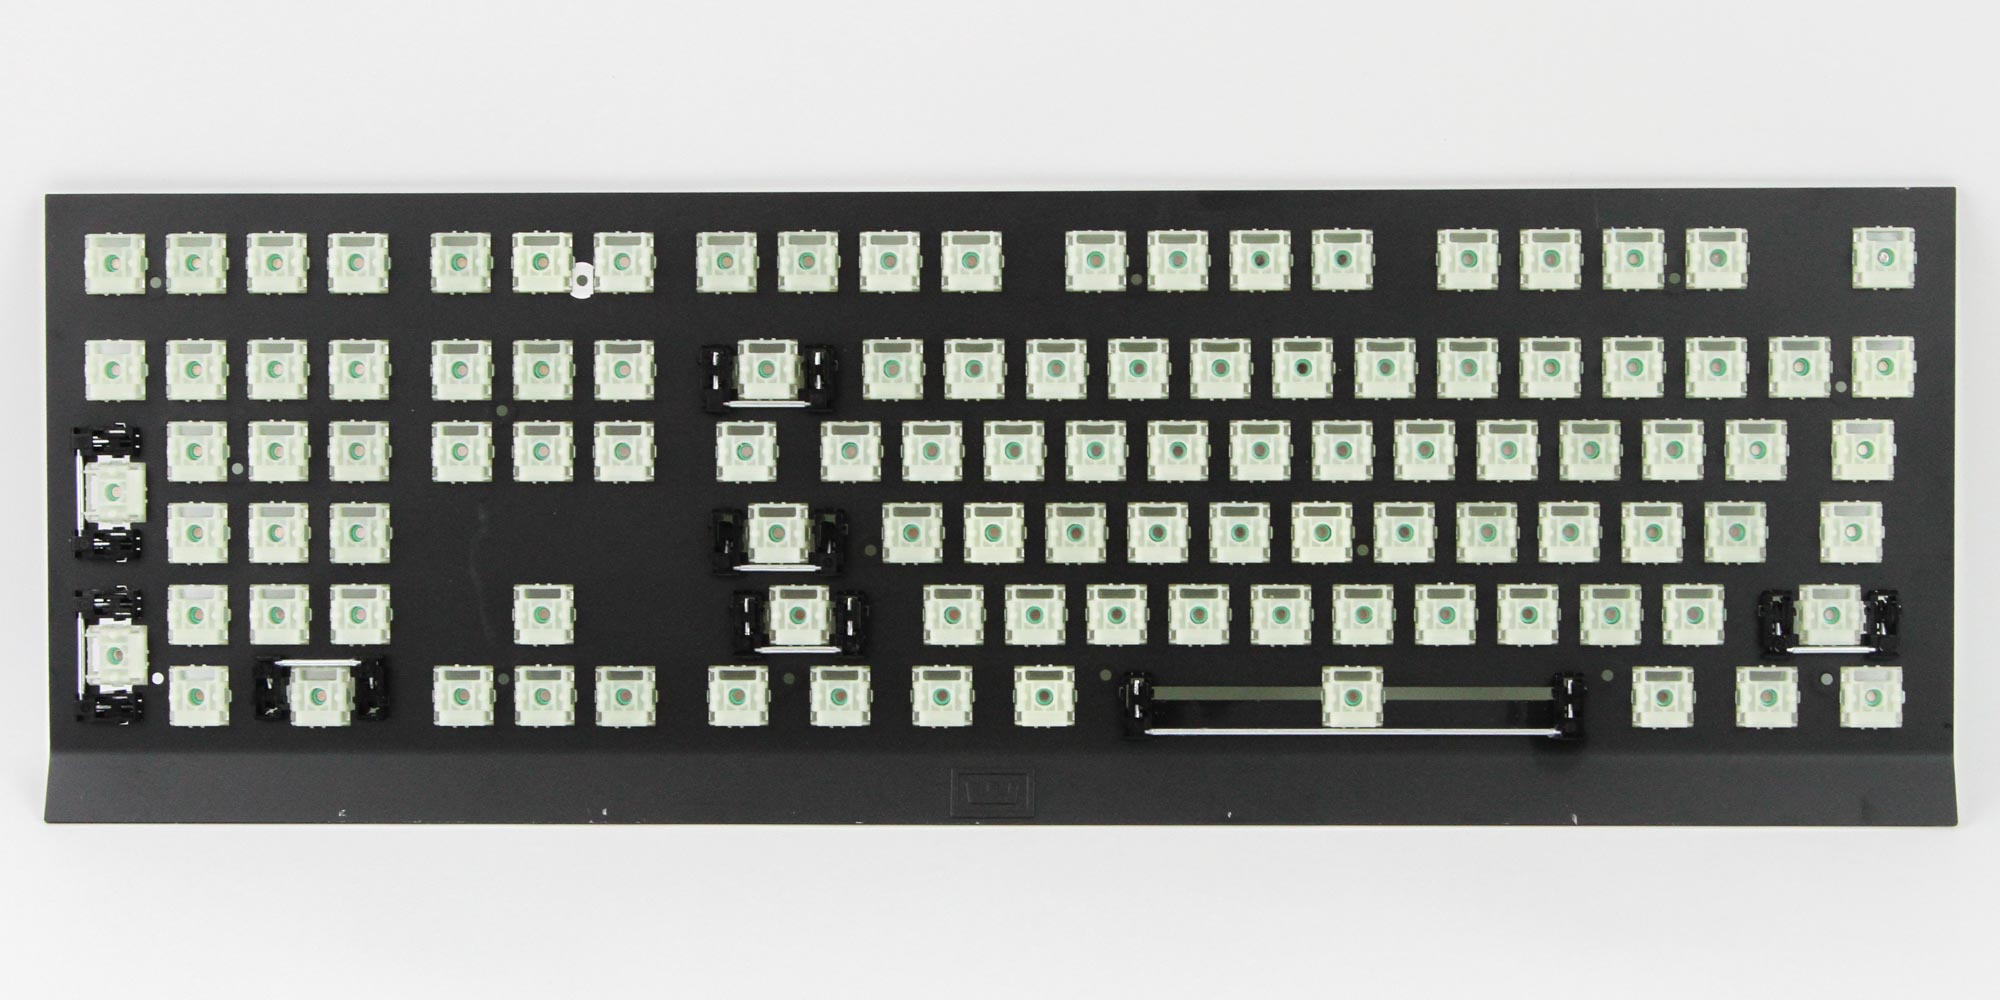
Disassembly of the Wooting two HE is quite simple given the aluminium frame is only screwed in place, and I also had the benefit of having the keyboard without pre-installed keycaps, which made reaching the 15 Phillips head screws easy. Following that, the plate and frame combination came off easily enough for a closer look at the switches from the back, while providing access to the stabilizers should you wish to re-lube or replace them.
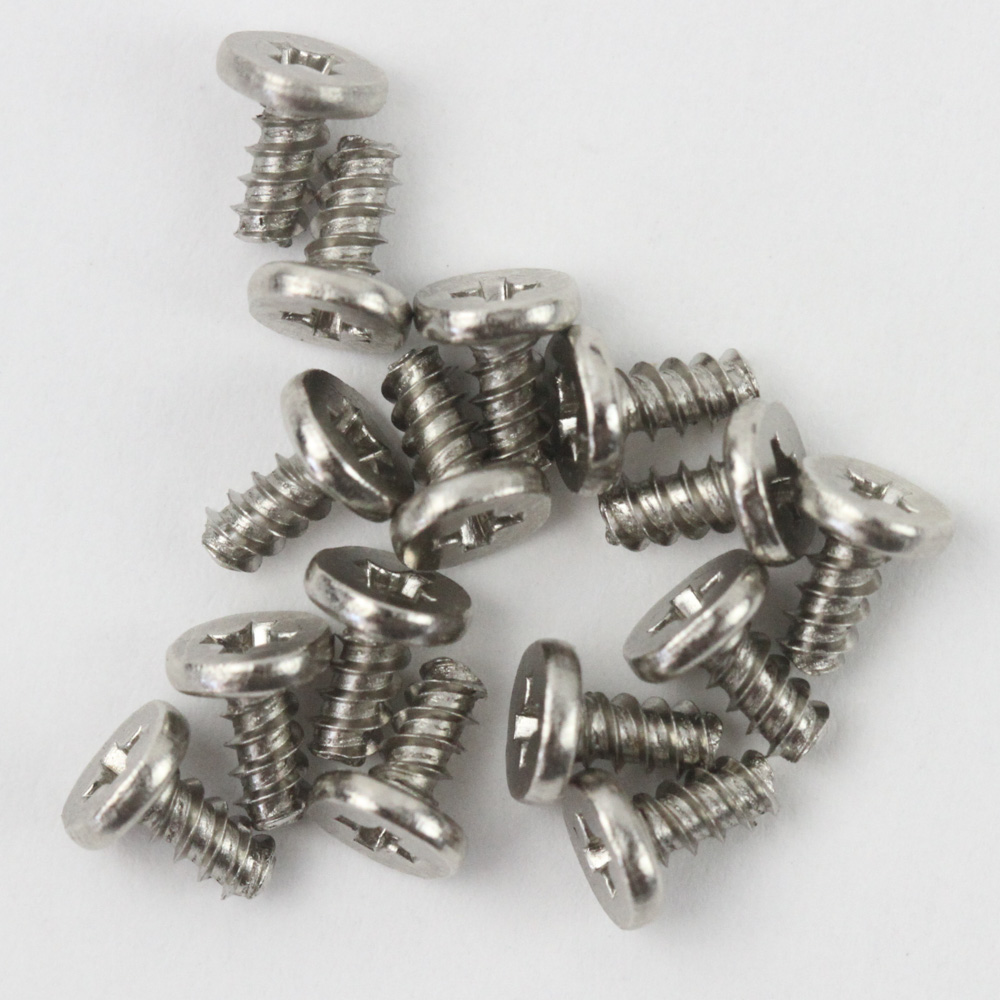
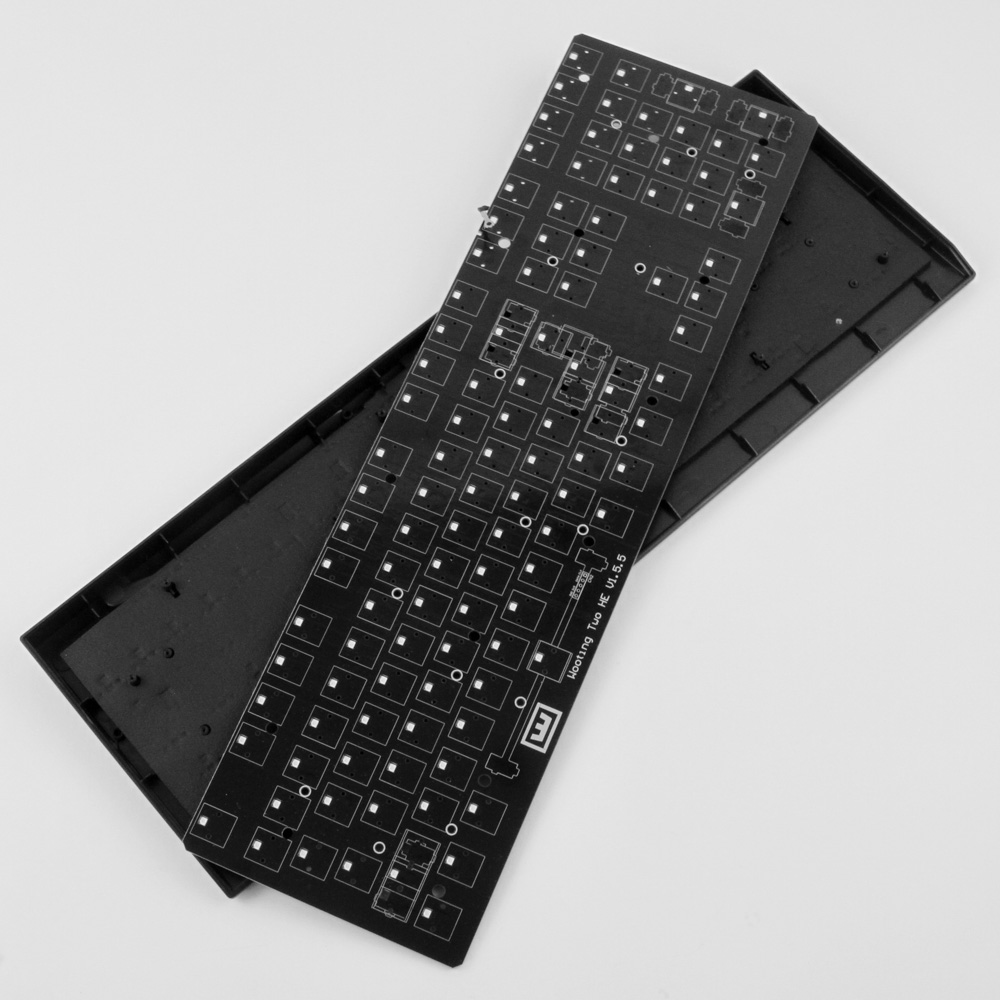
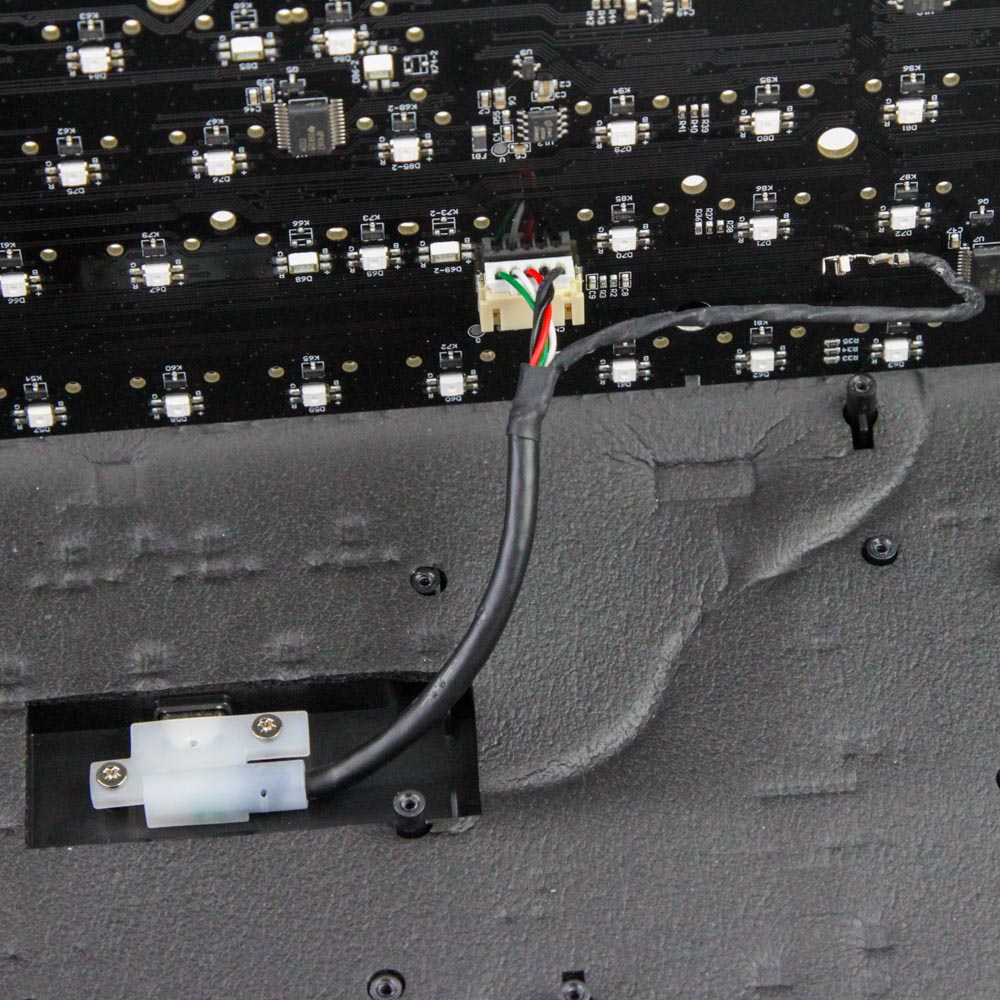
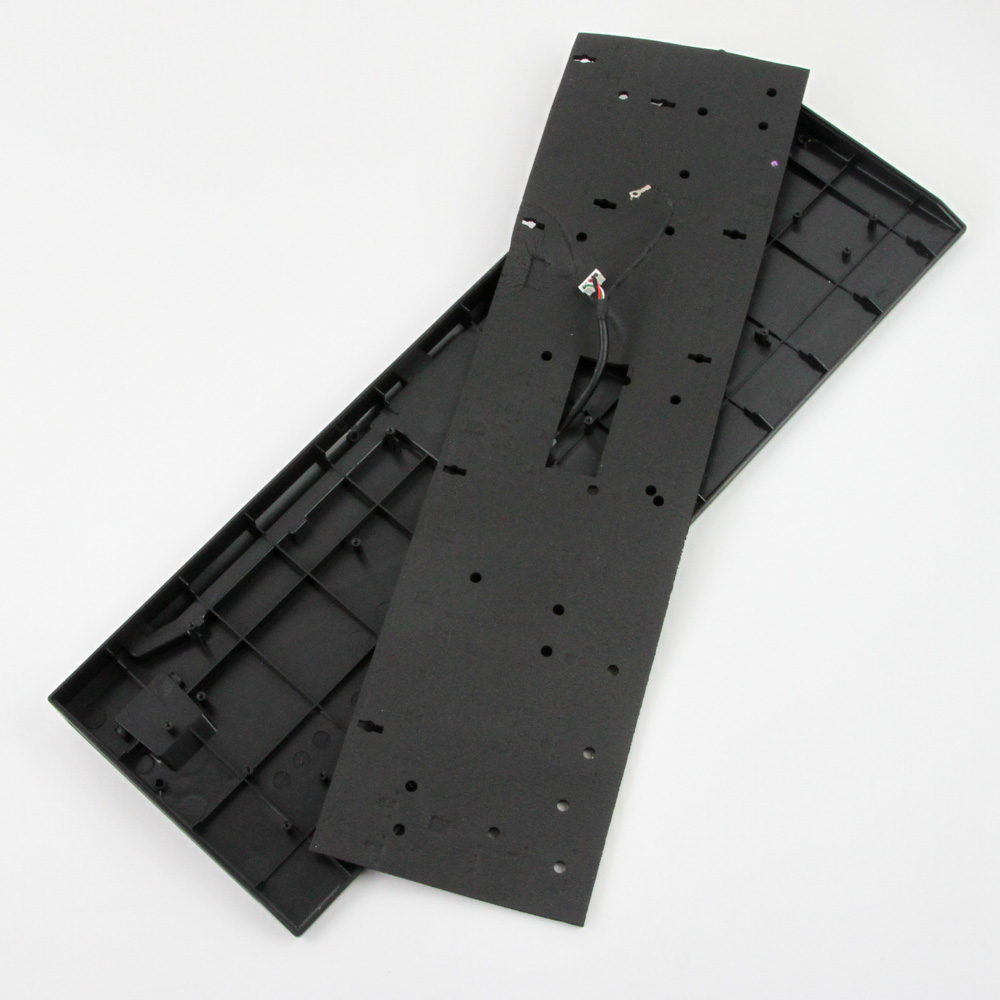

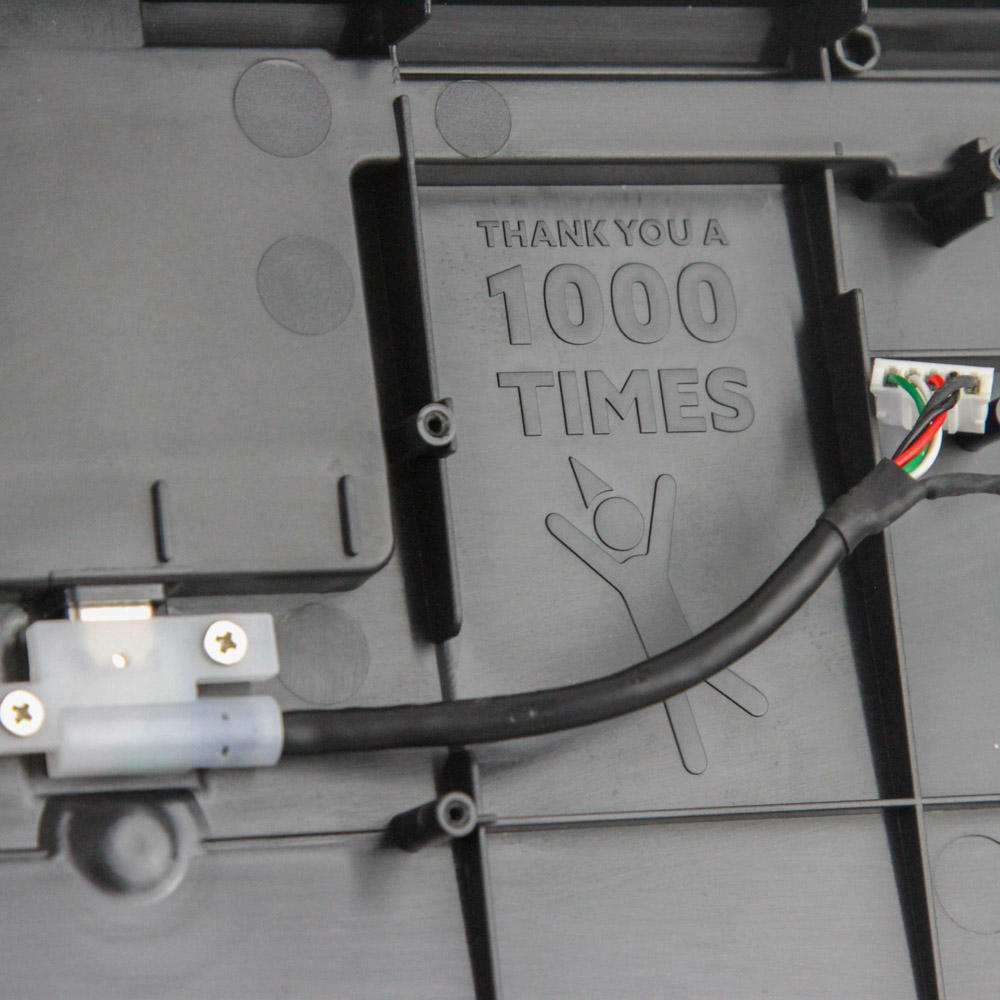
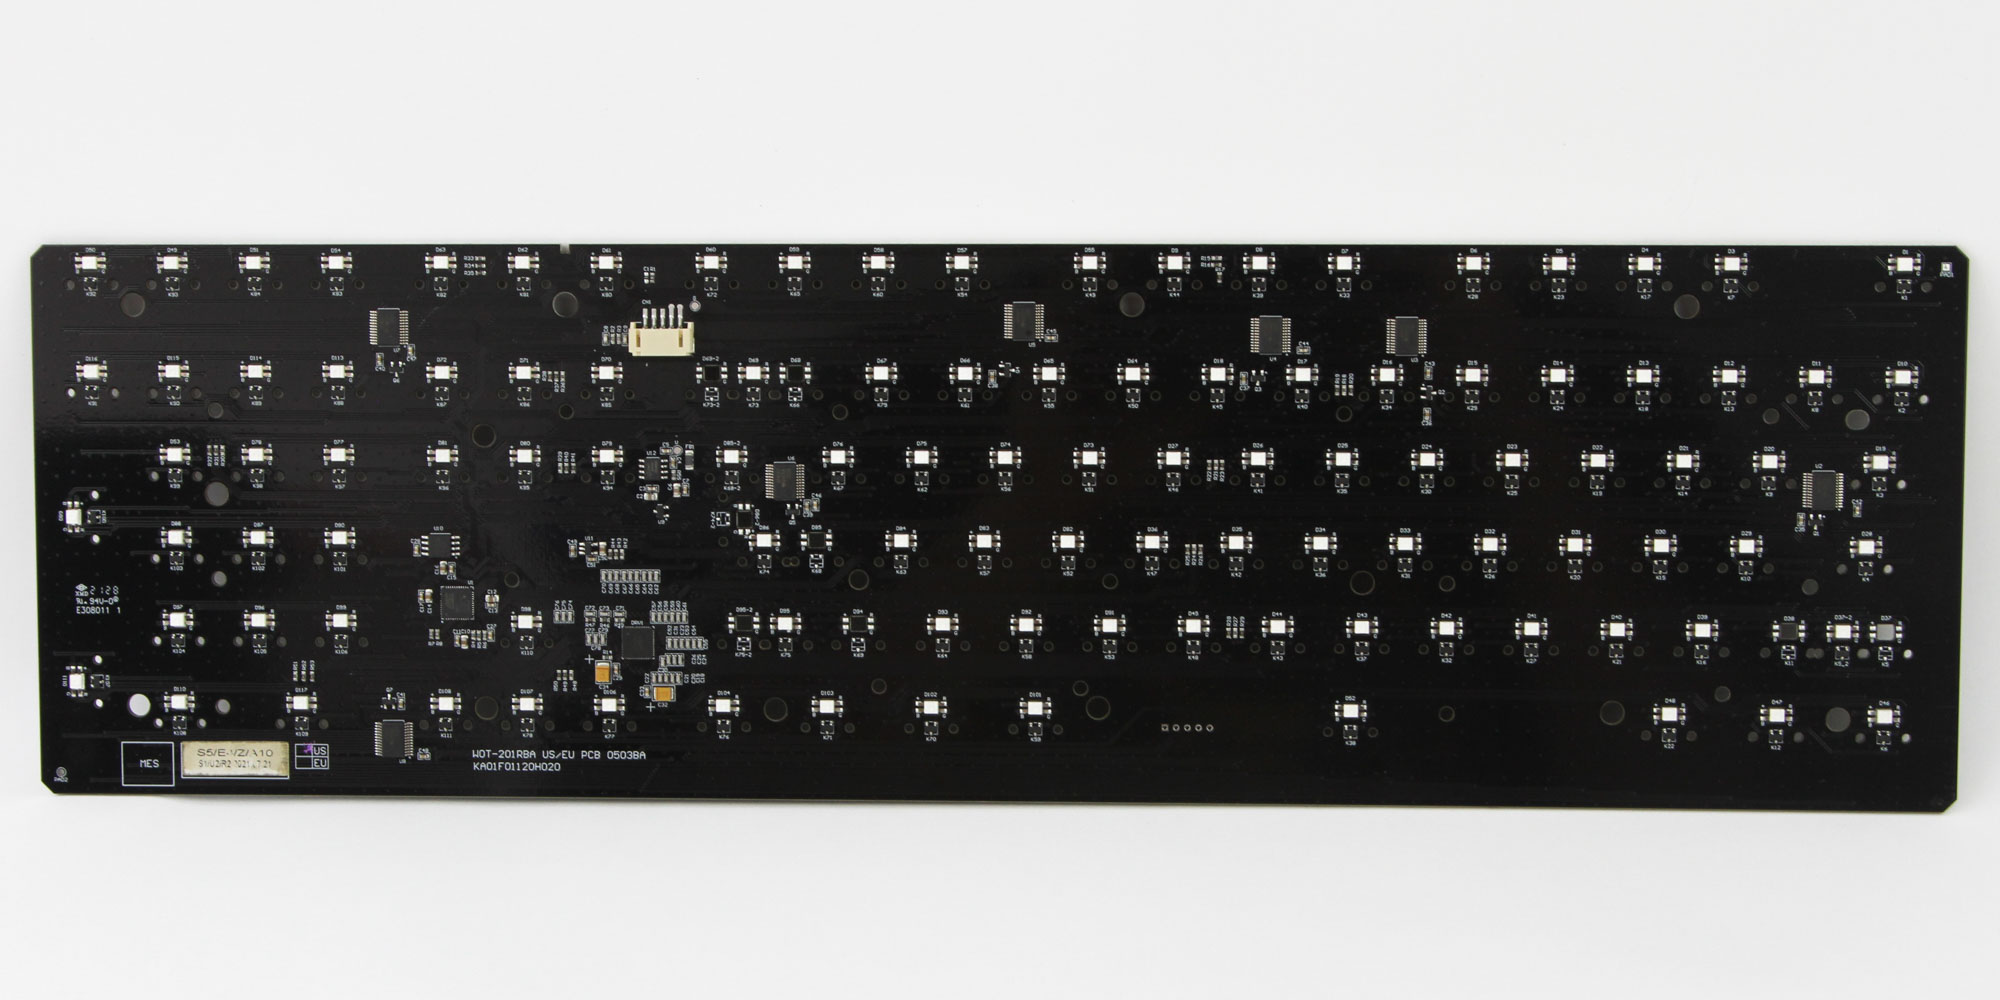
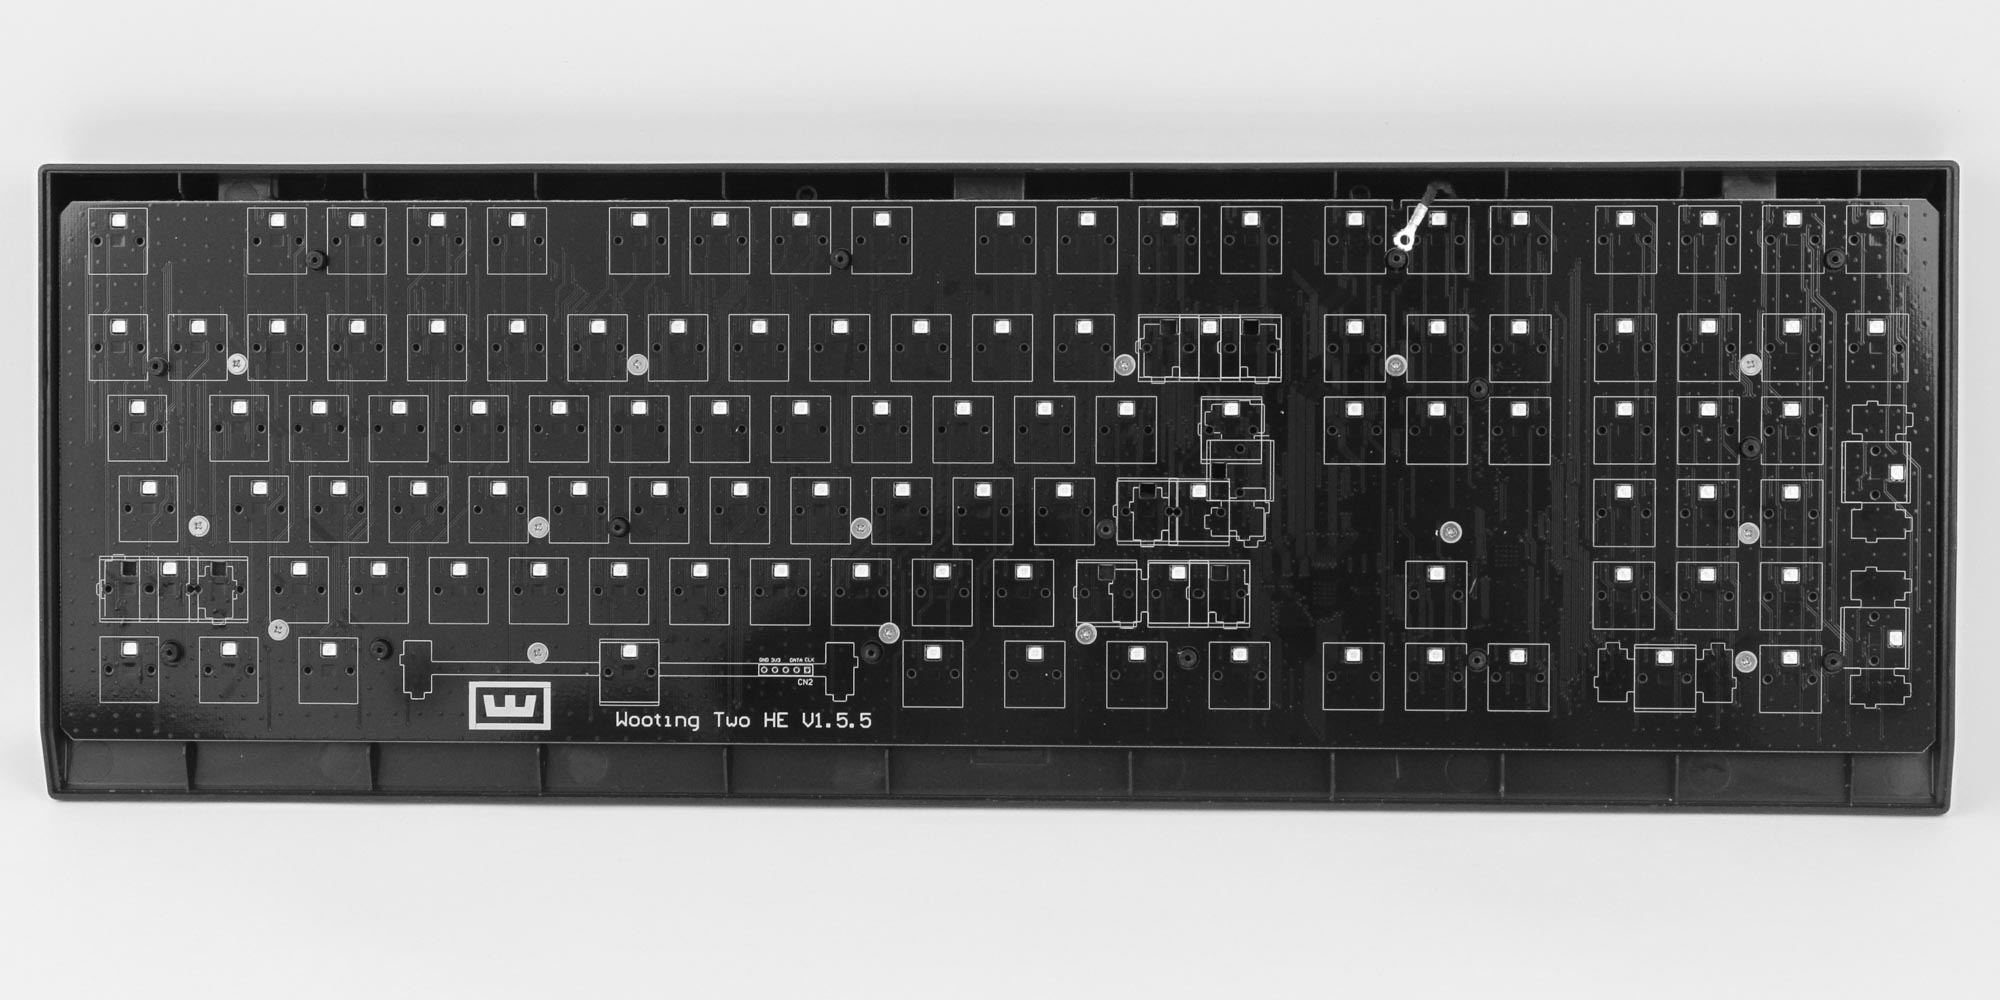
The PCB has screws keeping it securely in place inside the plastic case, and the same precision Phillips screwdriver was used to remove another 15 screws. Without those, the PCB was lifted up by enough to access the internal USB cable on the back connecting a daughter PCB on the case to the primary PCB. Dislodge it carefully to fully separate these pieces and marvel at the thick foam sheet between the PCB and case to absorb typing sounds and remove reverberations from an otherwise empty case. I like that we still get an Easter egg similar to what we saw on the Wooting one. Now to take a closer look at the PCB itself. It is predominantly black to fit the whole aesthetic and has an anti-water coating to add spill resistance to the keyboard.
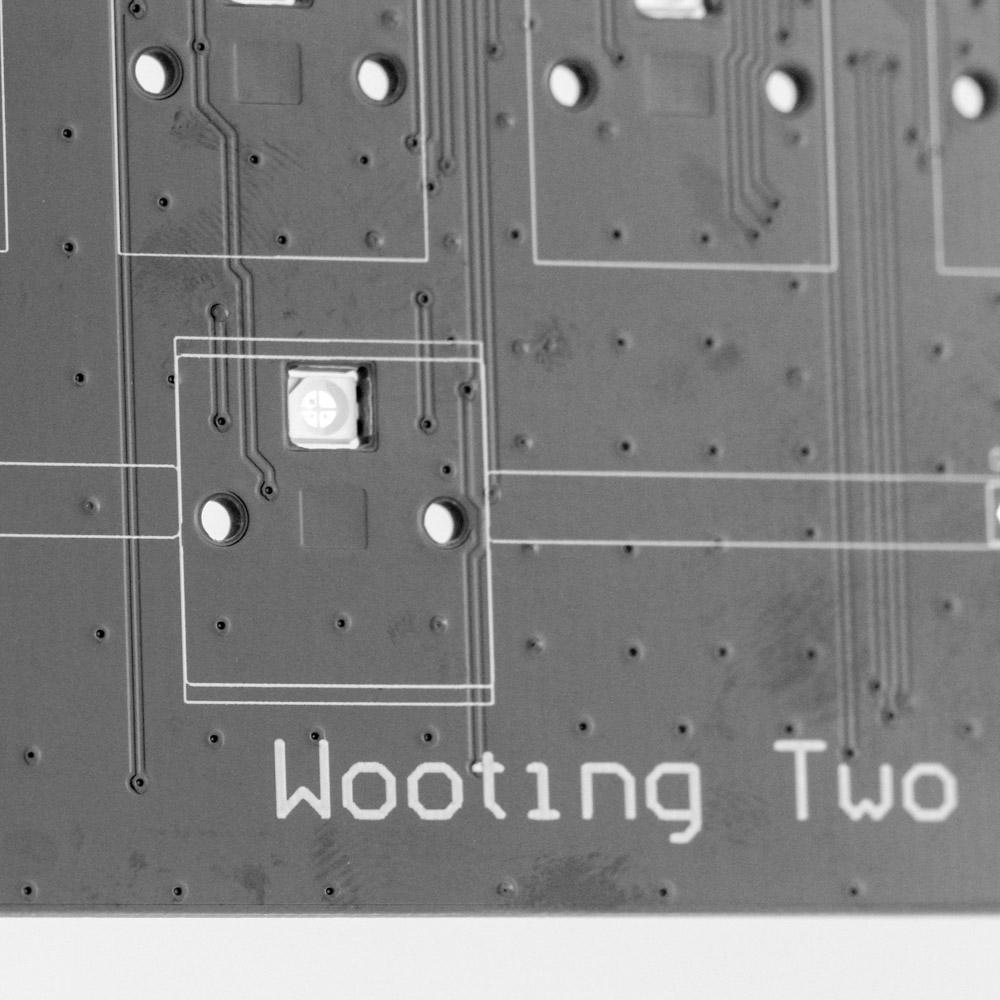
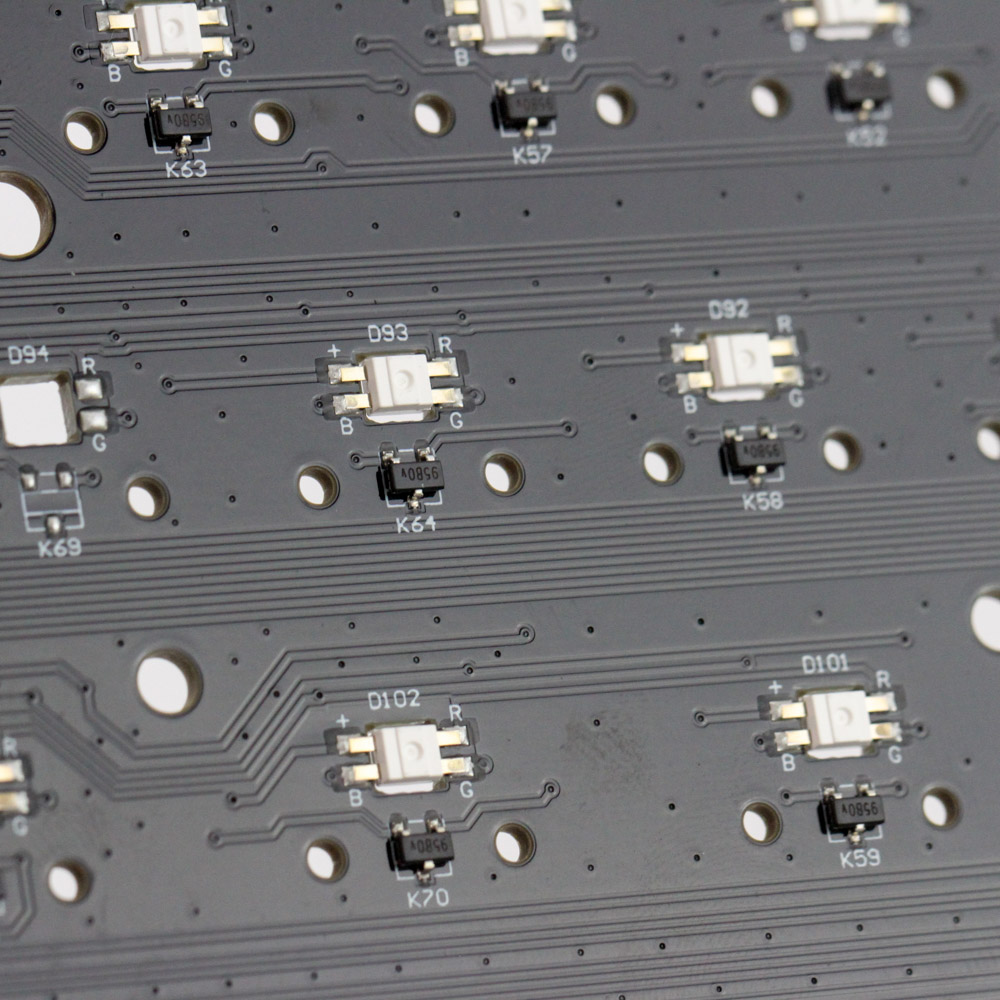
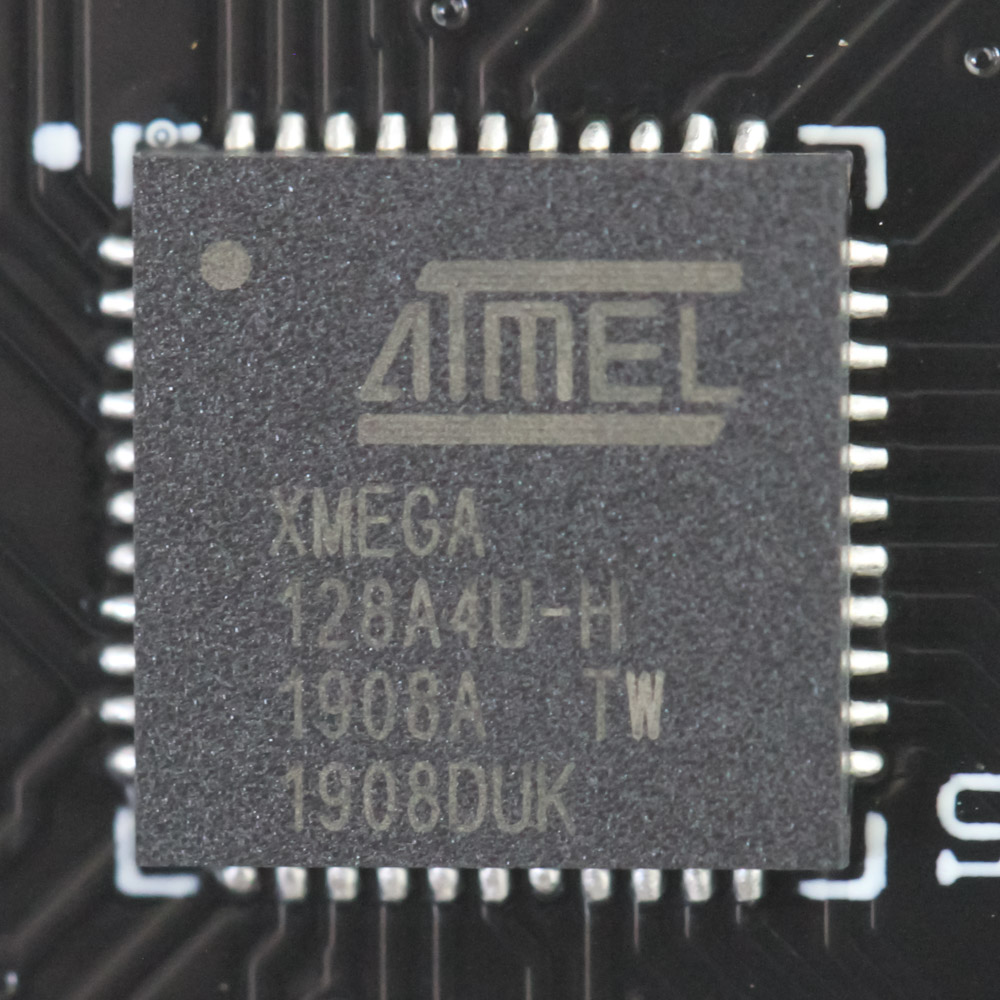
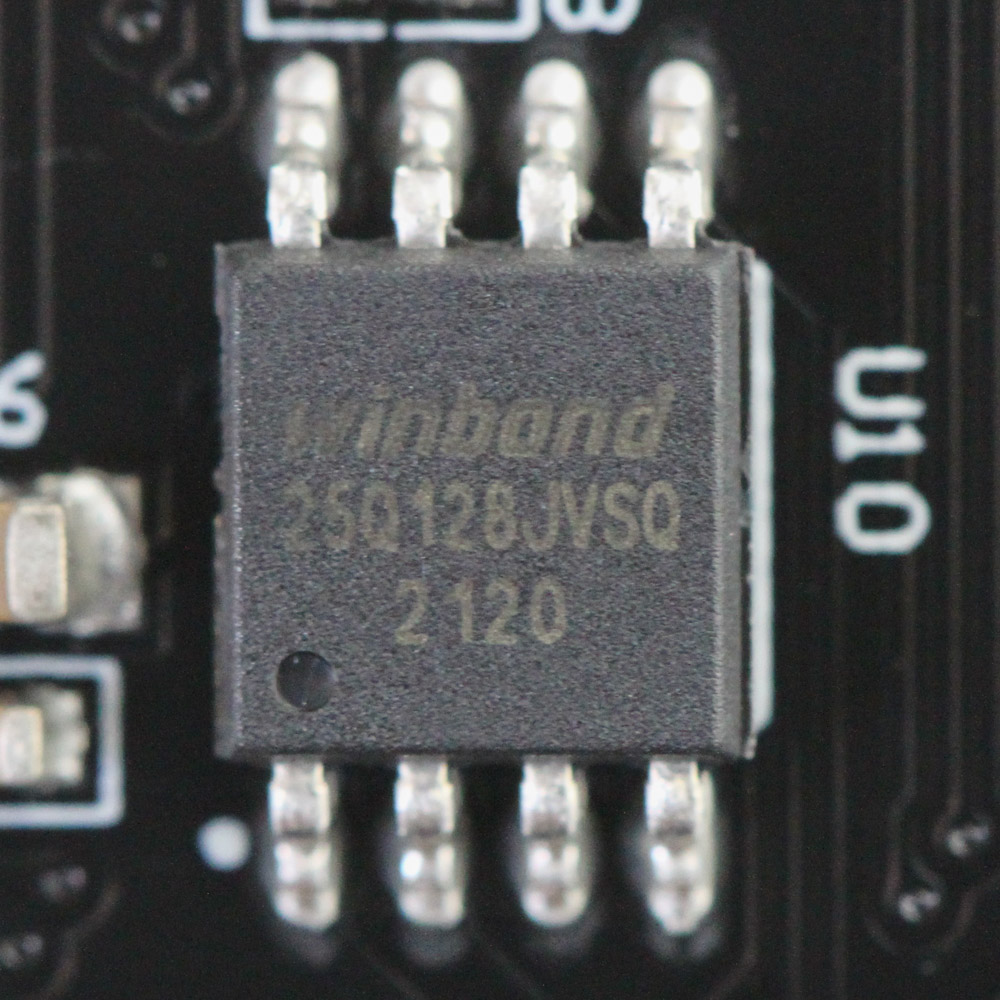
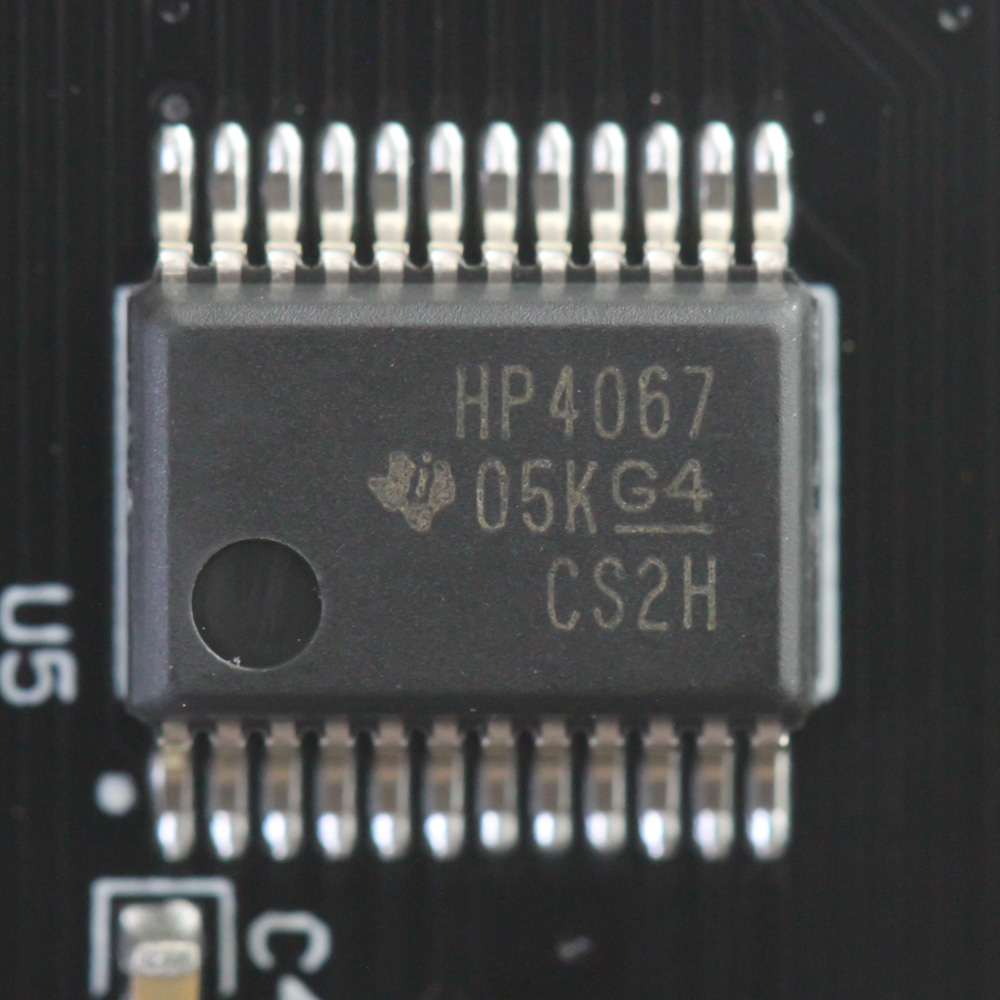
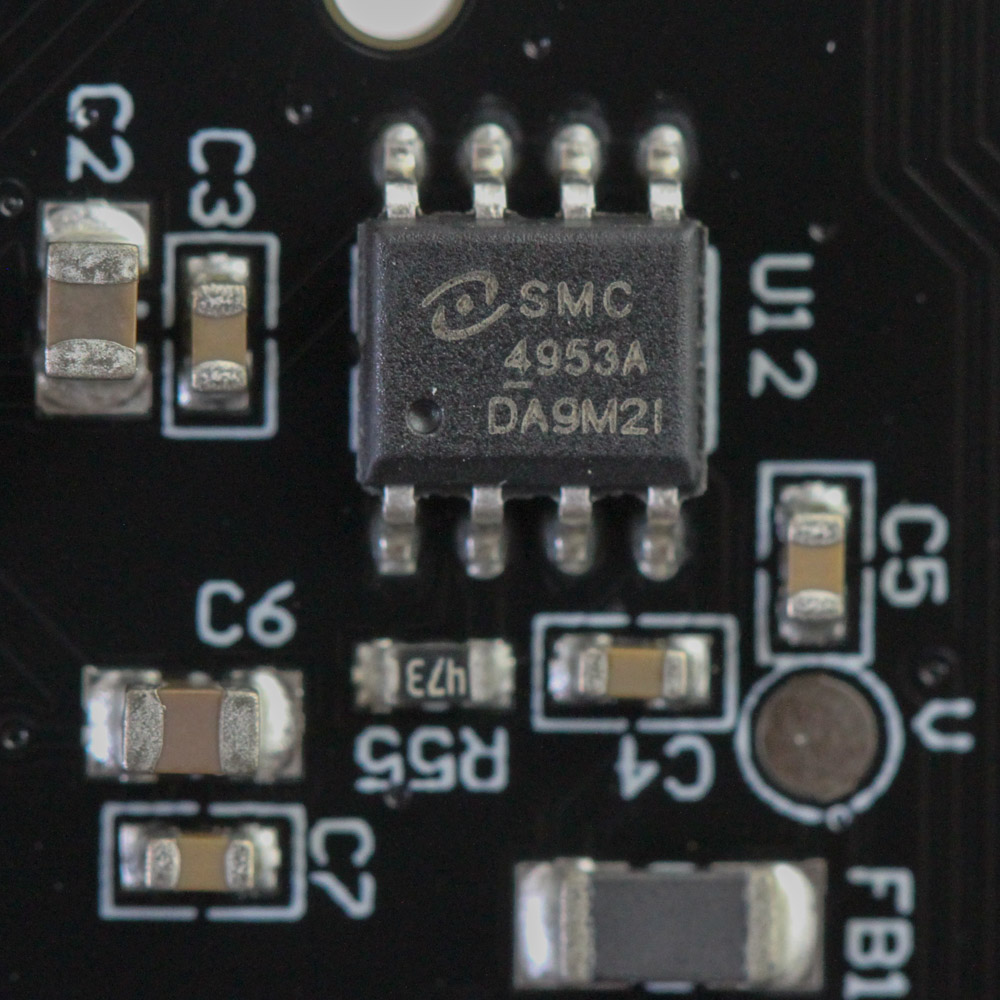
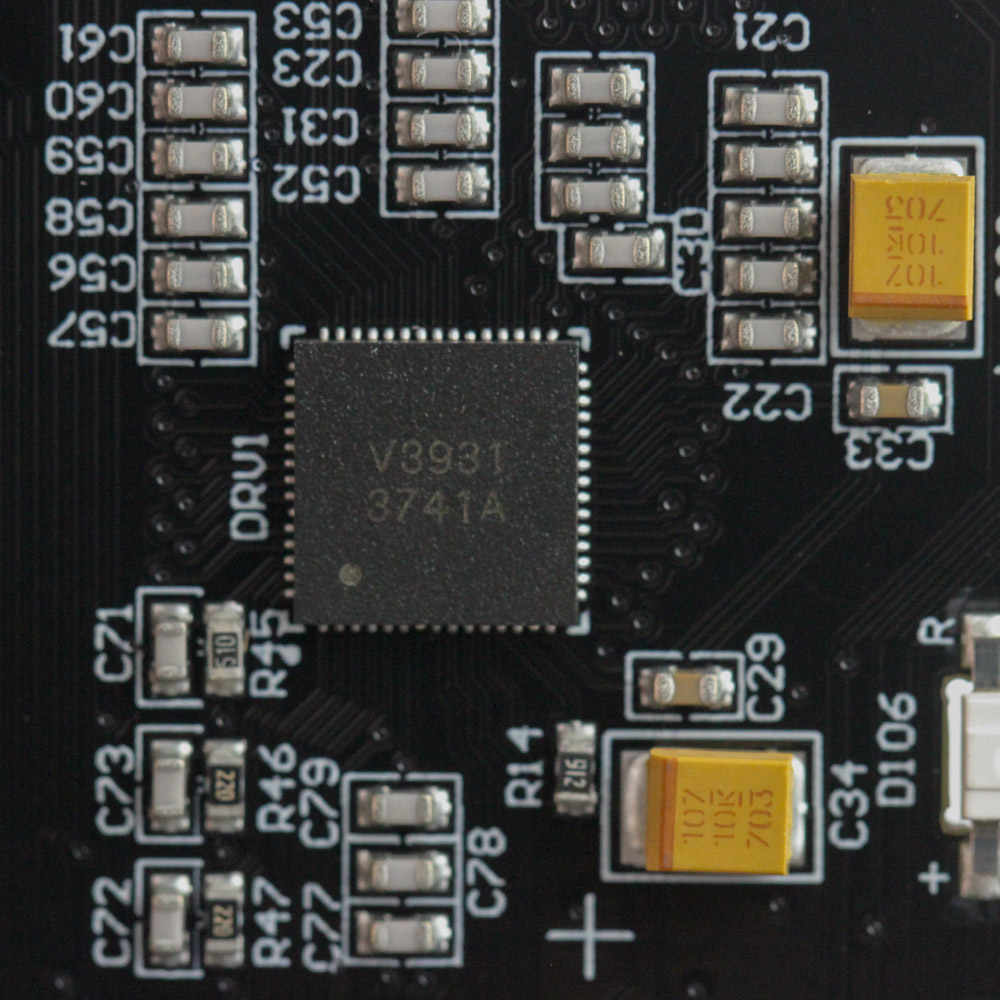
This PCB is clearly manufactured for the Wooting two HE, and there are different versions for the different languages layouts. The main reason for this is the implementation of the Hall effect sensors used as part of the actuation mechanism. Remember the magnets in the switches? The sensor of the PCB switch socket is directly below where the magnet will be, and it detects any up and down motion of the magnet, and thus the stem itself. Solder quality is exceptional, and the PCB is definitely machine-assembled. This is where I realized why Wooting has been struggling to meet demand and the Wooting two HE is still on a pre-order batch production run. There's a lot of hardware—namely, microcontrollers and chips which are currently quite hard to come by for a company that is still tiny. Powering the Wooting two HE is a Microchip Atmel XMEGA 128A4U 16-bit microcontroller with 128 KB of programmable flash onboard memory, dedicated 8 KB memory for the boot section to store critical settings, 2 KB of EEPROM, and up to 8 KB of SRAM. That clearly wasn't enough storage for Wooting as a massive Winbond W25Q128JV 16 MB flash module provides all the space you would ever need on a keyboard. There is also a Texas Instruments HP4067M CMOS 16-channel analog multiplexer and demultiplexer, mostly shared with the 5-year old Wooting one to where chipset dearth is clearly serious. All components, including the switch sensors, SMD RGB LEDs, and capacitors, are soldered to a multi-layered PCB.
Before we move on, be advised that disassembly may void the warranty and that TechPowerUp is not liable for any damages incurred if you decide to go ahead and do so anyway.
Jul 12th, 2025 09:26 CDT
change timezone
Latest GPU Drivers
New Forum Posts
- No offense, here are some things that bother me about your understanding of fans. (36)
- Stupid buggy POS Realtek WiFi RTL8852BE (11)
- Swapping existing router w/ a replacement; any issues? (14)
- 'NVIDIA App' not usable offline? (13)
- Chrome has removed uBlock Origin 1.64.0 (remove google search suggestions) (12)
- Share your AIDA 64 cache and memory benchmark here (3097)
- The Official Linux/Unix Desktop Screenshots Megathread (778)
- [GPU-Z Test Build] New Kernel Driver, Everyone: Please Test (90)
- Gigabyte graphic cards - TIM gel SLIPPAGE problem (150)
- NVIDIA App (55)
Popular Reviews
- Fractal Design Epoch RGB TG Review
- Lexar NM1090 Pro 4 TB Review
- Corsair FRAME 5000D RS Review
- NVIDIA GeForce RTX 5050 8 GB Review
- NZXT N9 X870E Review
- Our Visit to the Hunter Super Computer
- Sapphire Radeon RX 9060 XT Pulse OC 16 GB Review - An Excellent Choice
- AMD Ryzen 7 9800X3D Review - The Best Gaming Processor
- Upcoming Hardware Launches 2025 (Updated May 2025)
- Chieftec Iceberg 360 Review
TPU on YouTube
Controversial News Posts
- Intel's Core Ultra 7 265K and 265KF CPUs Dip Below $250 (288)
- Some Intel Nova Lake CPUs Rumored to Challenge AMD's 3D V-Cache in Desktop Gaming (140)
- AMD Radeon RX 9070 XT Gains 9% Performance at 1440p with Latest Driver, Beats RTX 5070 Ti (131)
- NVIDIA Launches GeForce RTX 5050 for Desktops and Laptops, Starts at $249 (119)
- NVIDIA GeForce RTX 5080 SUPER Could Feature 24 GB Memory, Increased Power Limits (115)
- Microsoft Partners with AMD for Next-gen Xbox Hardware (105)
- Intel "Nova Lake‑S" Series: Seven SKUs, Up to 52 Cores and 150 W TDP (100)
- NVIDIA DLSS Transformer Cuts VRAM Usage by 20% (97)