 6
6
XPG Invader X Review
Thermal Stress Test »Assembly
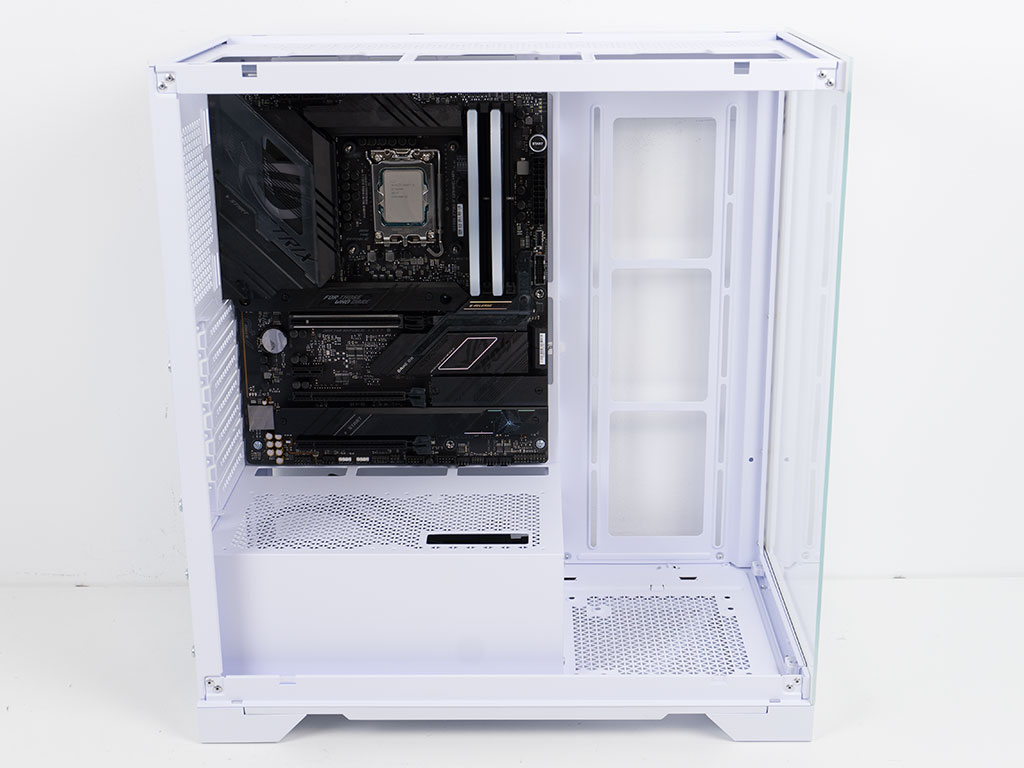
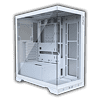
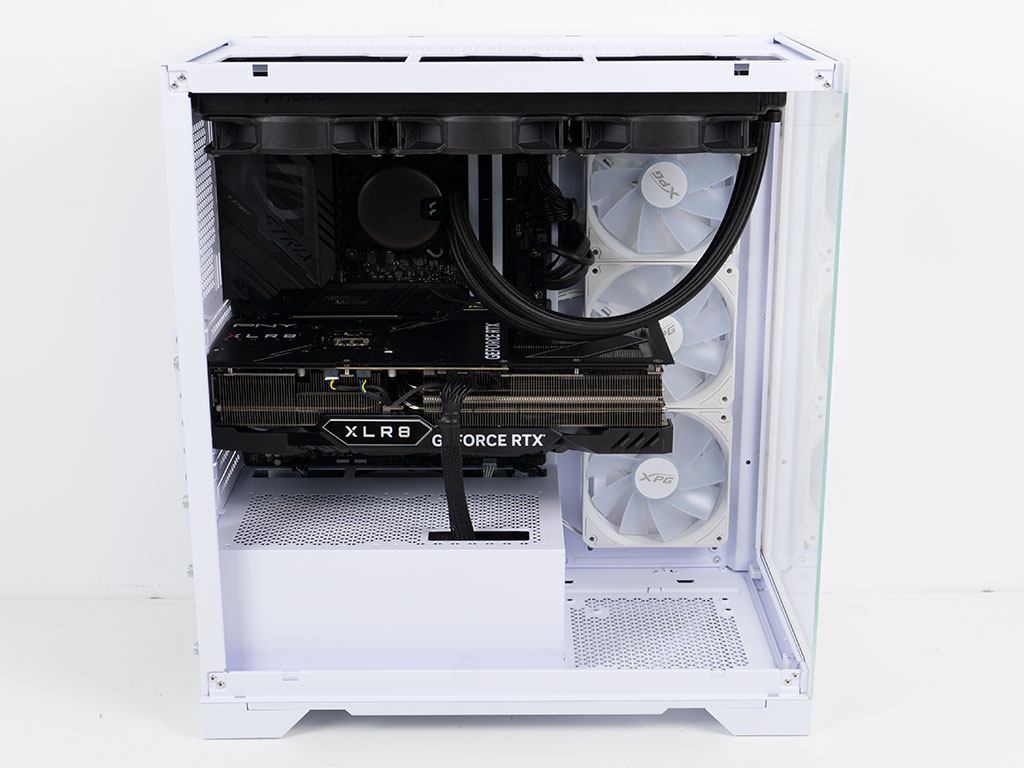
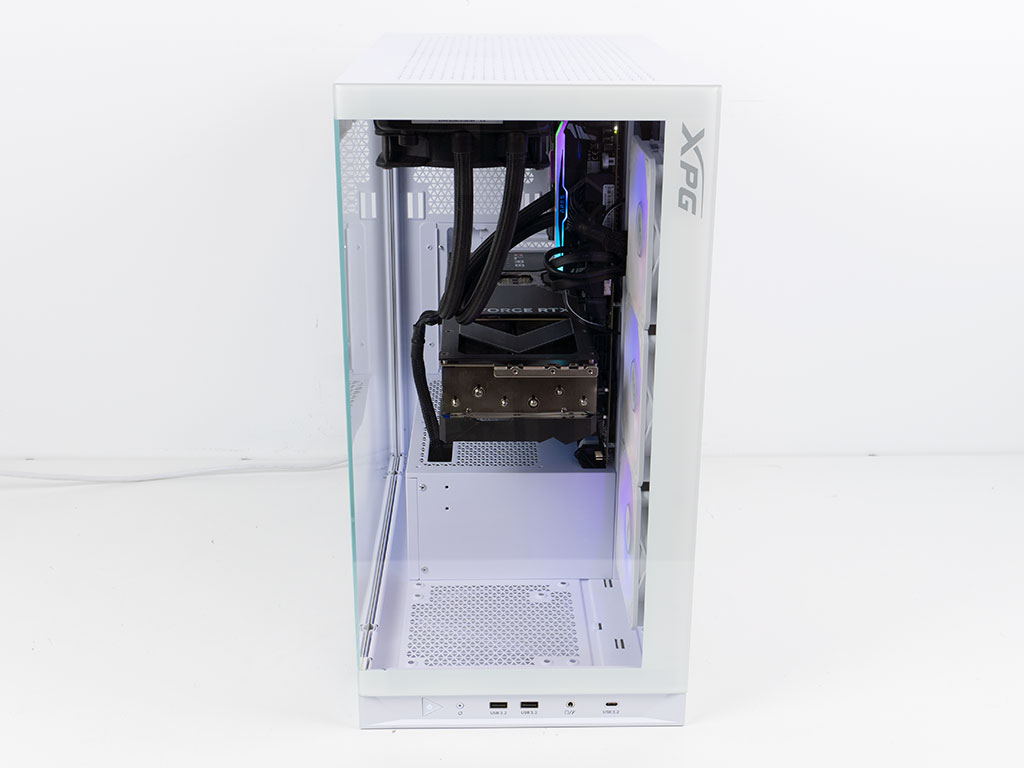
Installing the motherboard is done by traditional means using spacers and screws. The area for the board is exactly defined, with the bottom edge butting up against the shroud and the side edge just on the corner of the motherboard tray. Adding the GPU, the GeForce RTX 4080 clearly extends far beyond the board, which is also the reason why you can only opt for air cooling in the side of the Invader X with this type of configuration. That said, there is plenty of room, so any graphics card you have will fit.
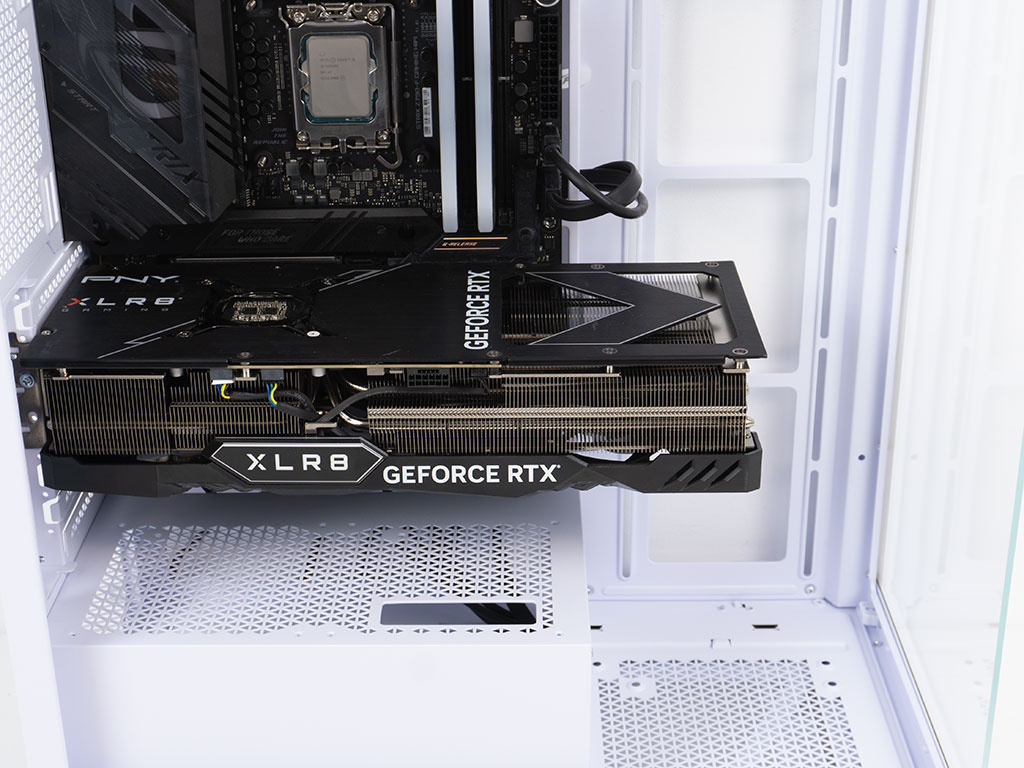
We also employed the GPU support that ships with the case and while it sits on the edge of the opening on the shroud to accommodate our GPU's fan layout, it does do the job well as expected. However, you should remove it any time you transport the system to ensure it doesn't end up tumbling around and damaging any of your components.
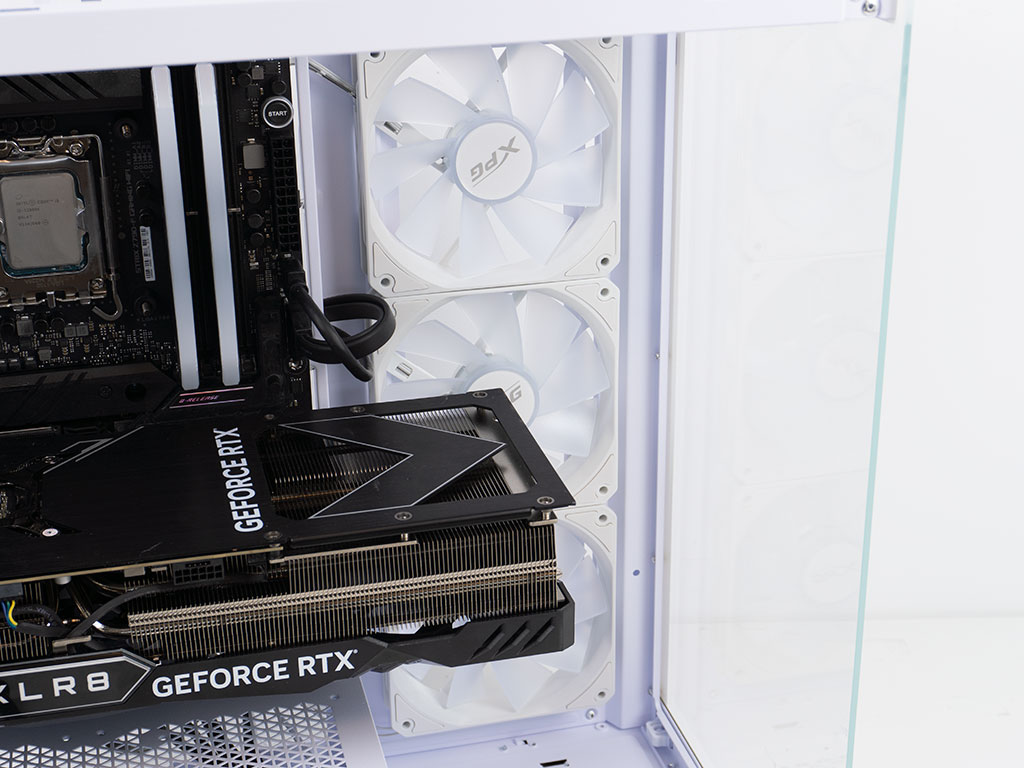
Installing the three XPG Vento fans on the side as intakes is straightforward and uses their supplied screws as well. The wiring can be routed directly out of sight and there is plenty of room around the fans as well, so you may run additional cables at a later time without issue as your setup changes.
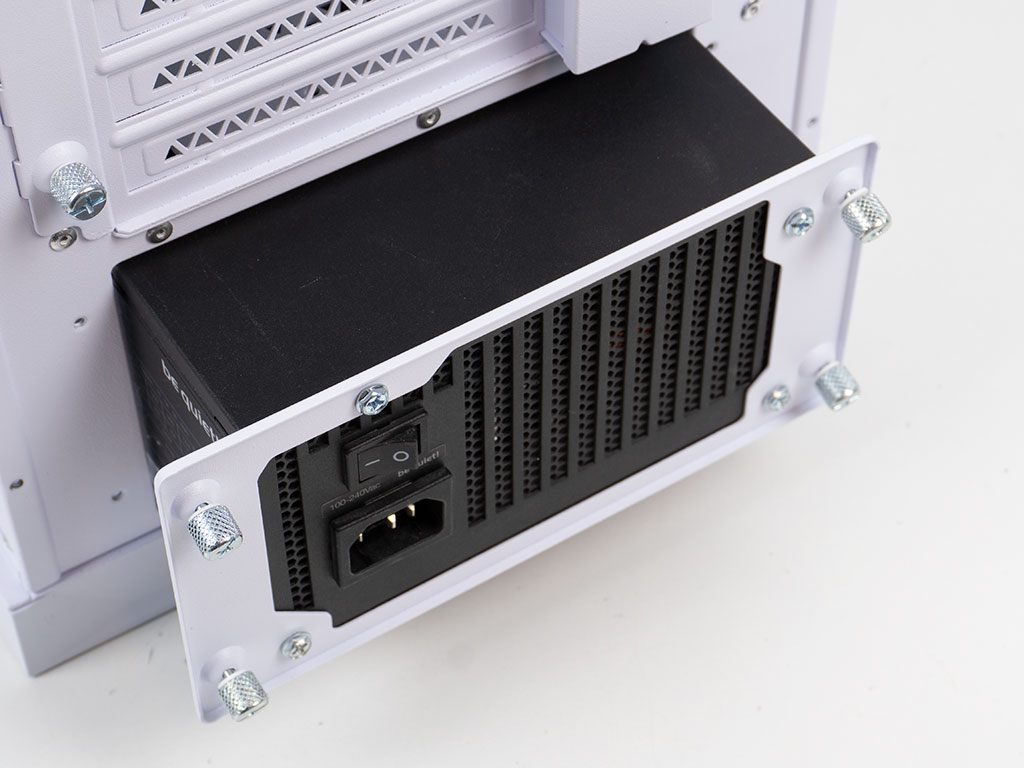
Adding your power supply means that you will first have to mount the frame to it and then slide it into place. Our Dark Power 13, which is a sizeable unit, easily fit in the compartment formed by the metal shroud.
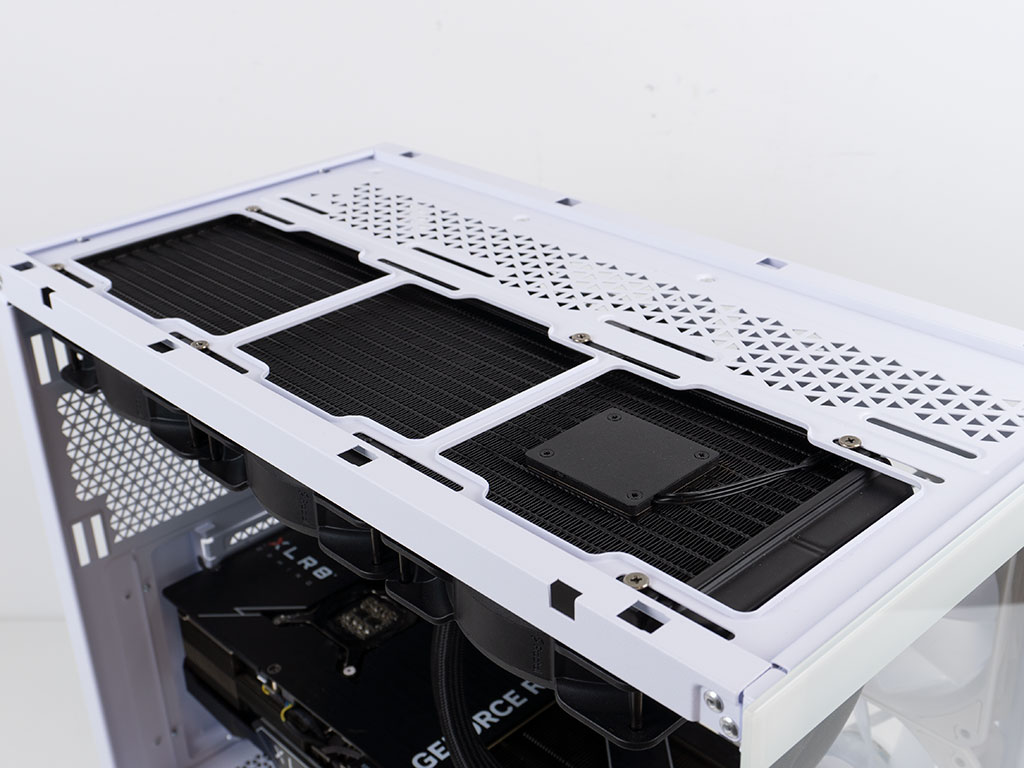
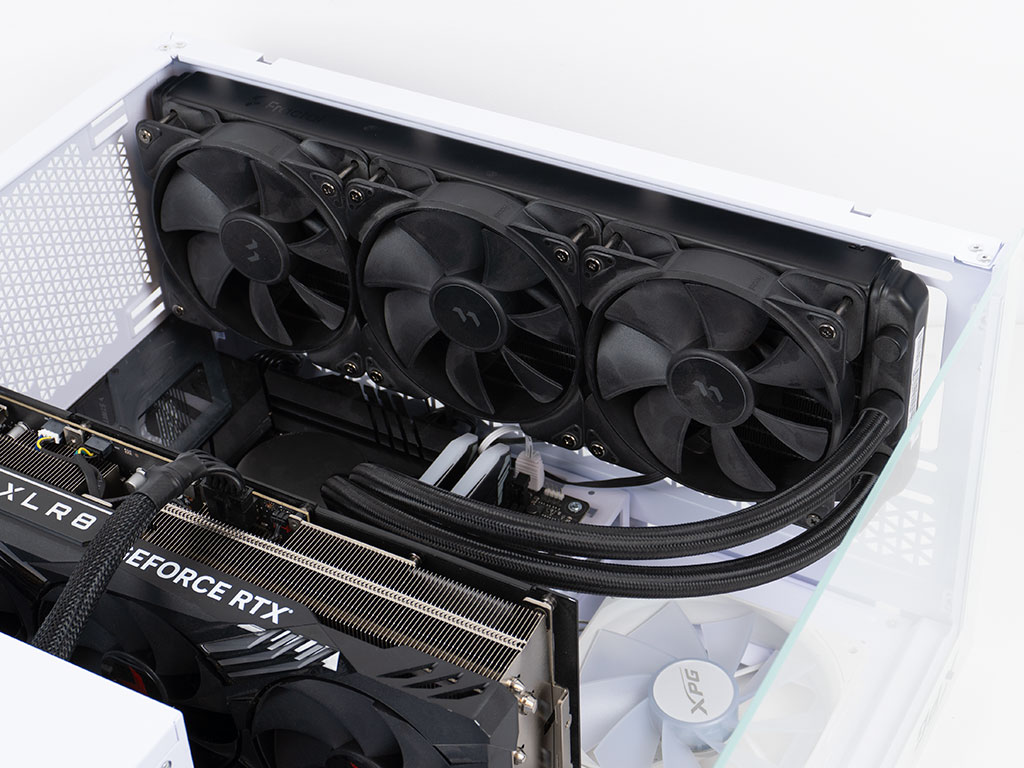
Adding an AIO in the ceiling, our 360 mm unit fits easily with lots of flexibility to push it forward in case you want to employ a fan in the rear of the chassis. There is not a lot of clearance above the motherboard area, which means you will still have a hard time accessing headers on the top edge of the board, the unit is nice and far away from the board itself, so it easily clears all components. However, if you employ a 280 mm variant, things aren't nearly as roomy, and you may even end up with colliding with your memory.
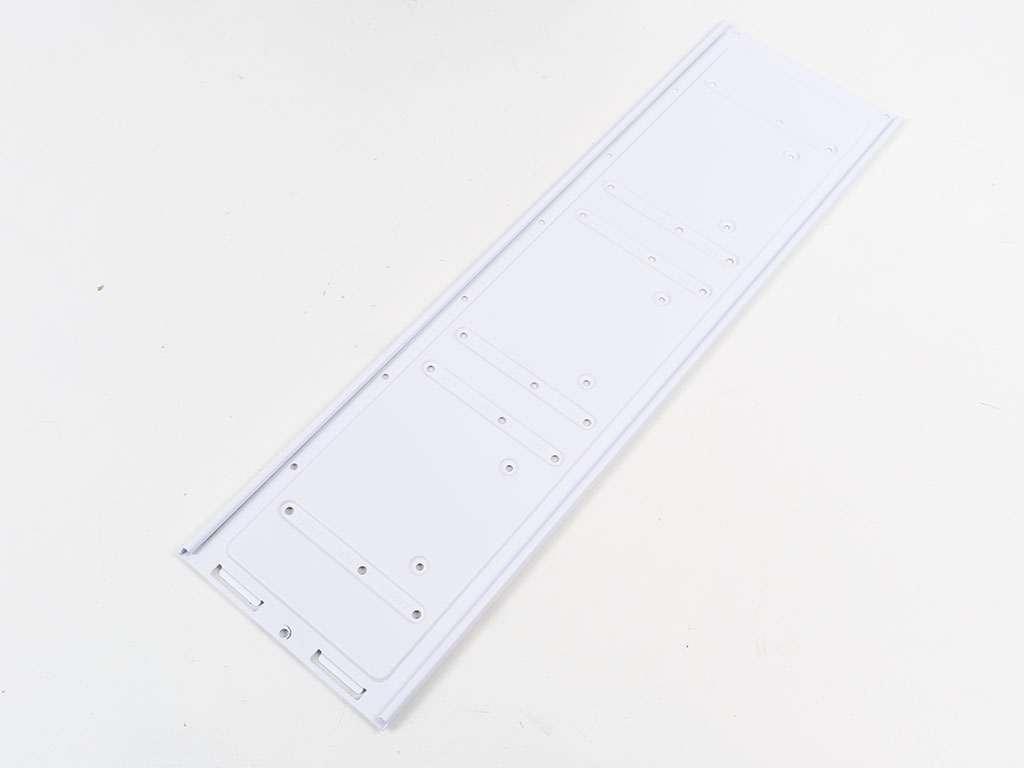
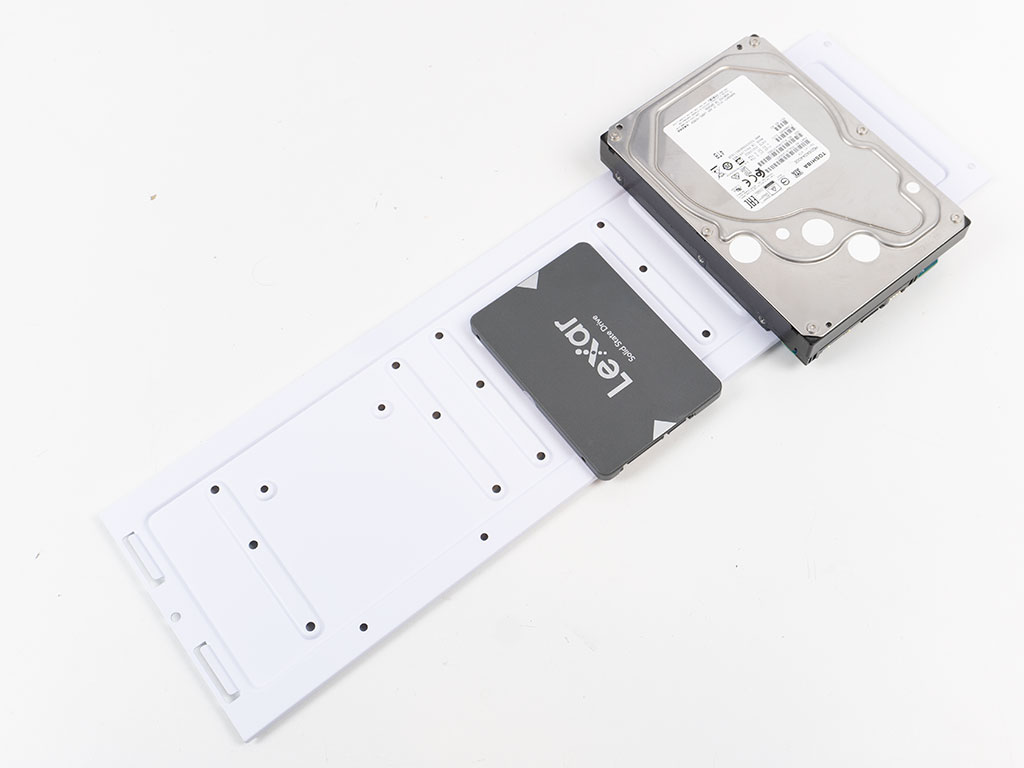
The HDD mounting plate can easily be removed from the frame allowing you to fill it with your choice of drives. These are secured with classic screws. Once the whole contraption is put back into place, the connectors of these drives face towards the front of the chassis, meaning that the majority of wiring can be combined into one central strand around the Velcro strips.
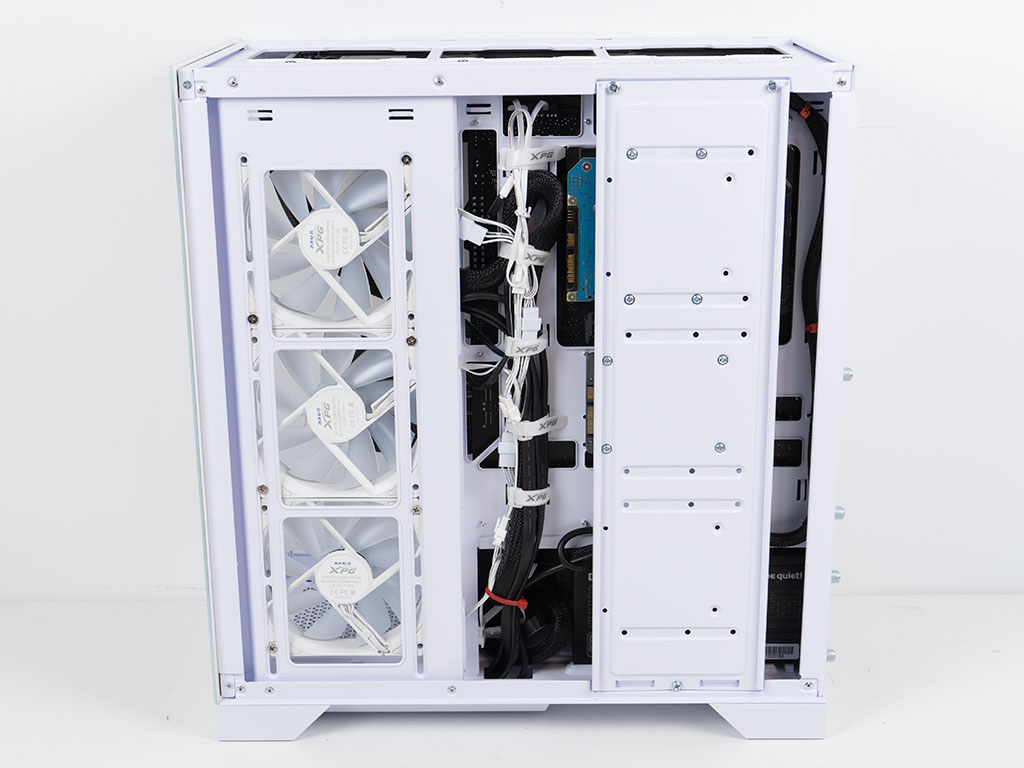
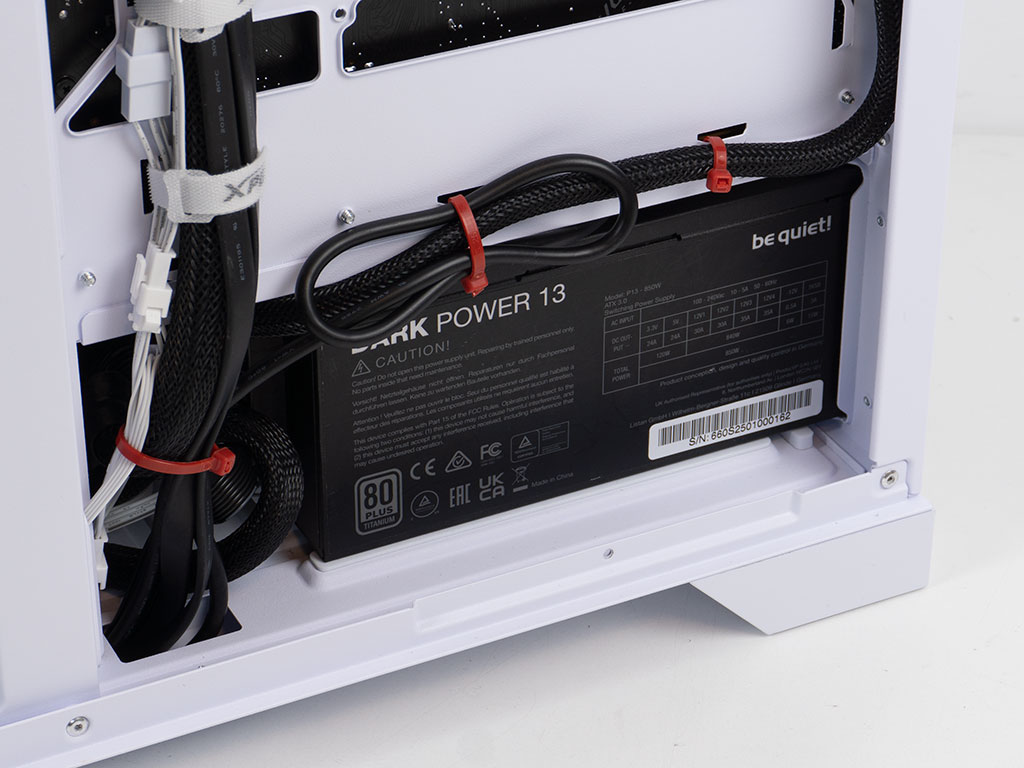
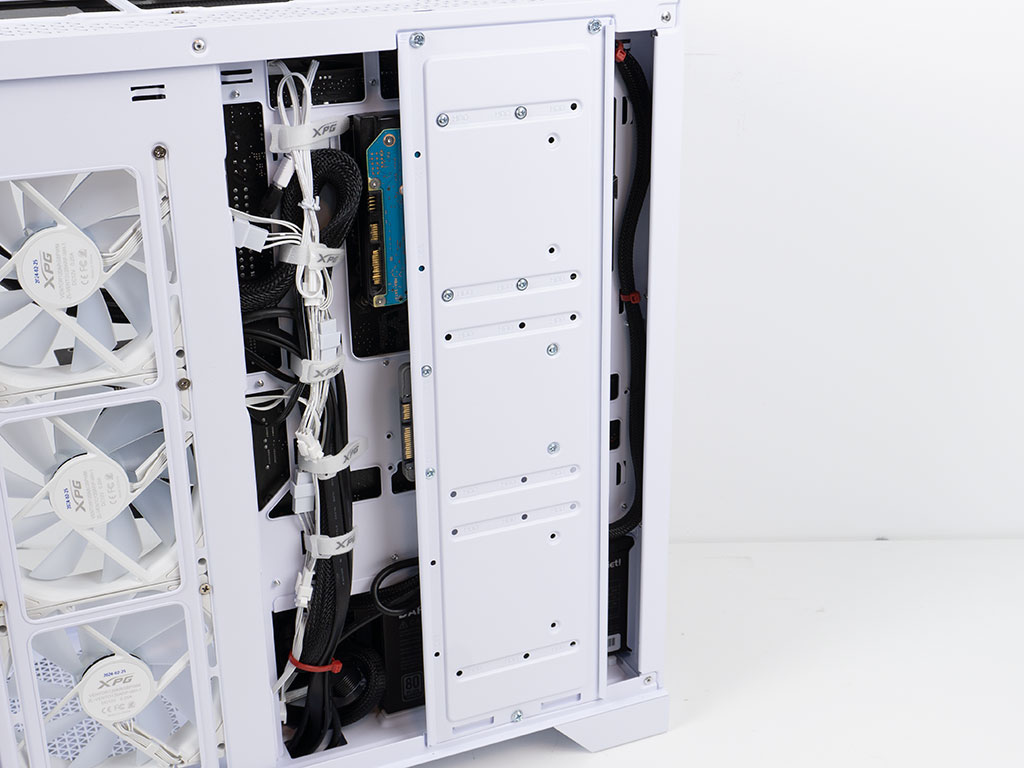
With everything installed the XPG Invader X looks fairly clean, but not perfect. The bend radius on the right side of the motherboard means that more wiring is visible than compared to cases that are slightly longer and don't require the 180° wrap to hide from view. Then, there is the grommet-less opening in the shroud, which is pretty apparent, a white grommet would have helped a lot here. In the rear, things are very organized with the Velcro equipped cable run being able to hold most of the wiring. Around the PSU bay and alongside the top, all wires can be secured nicely using zip ties and the provided hooks on the motherboard tray.
Finished Looks
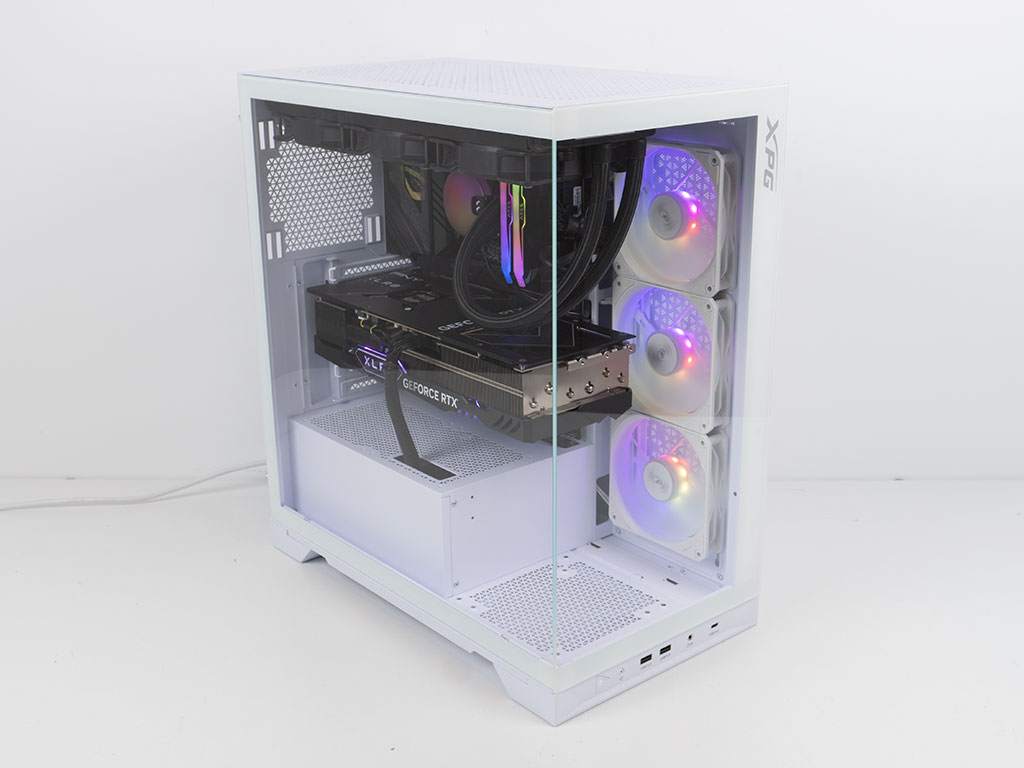
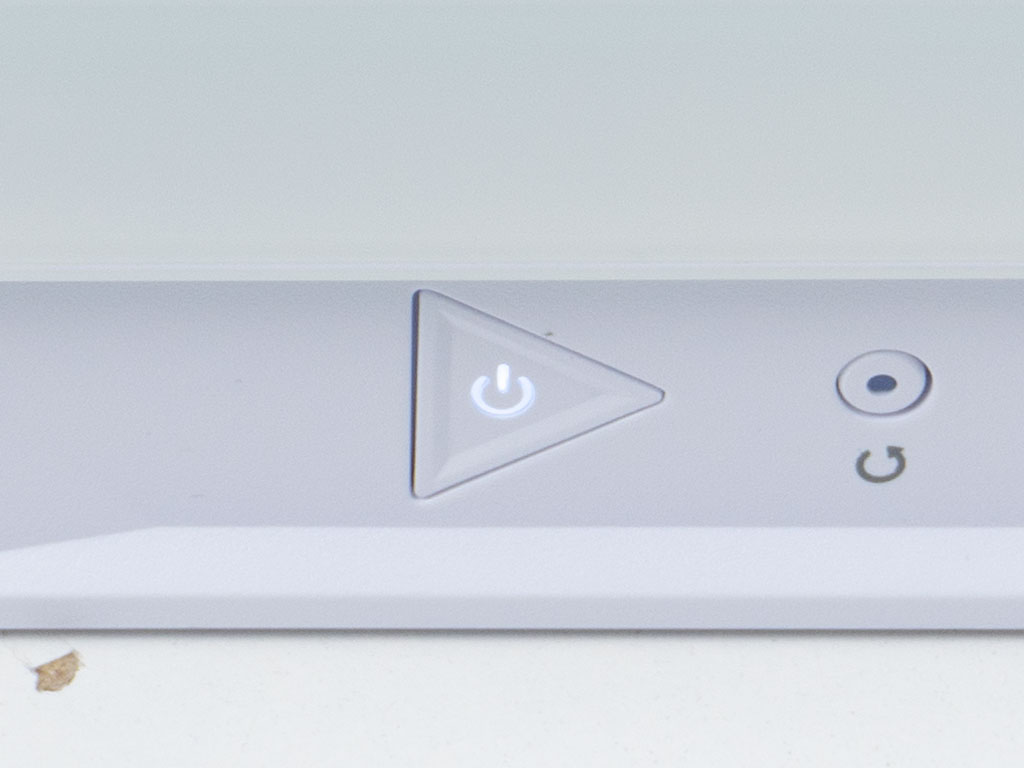
With all the panels back in place, you can clearly see all the components within the case. The power button lights up in a nice white hue, which is a nice touch as well.
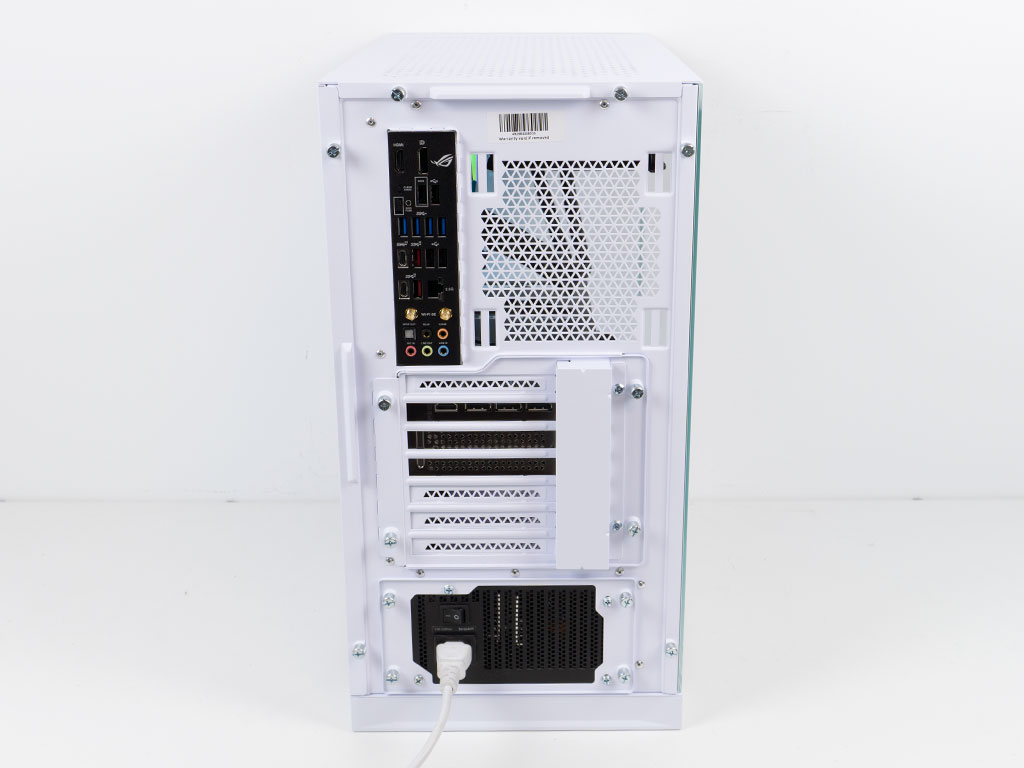
Looking straight unto the case, you can see some of the cabling wrap around the motherboard tray, but it is otherwise clear. In the rear everything is where you would expect to see it.
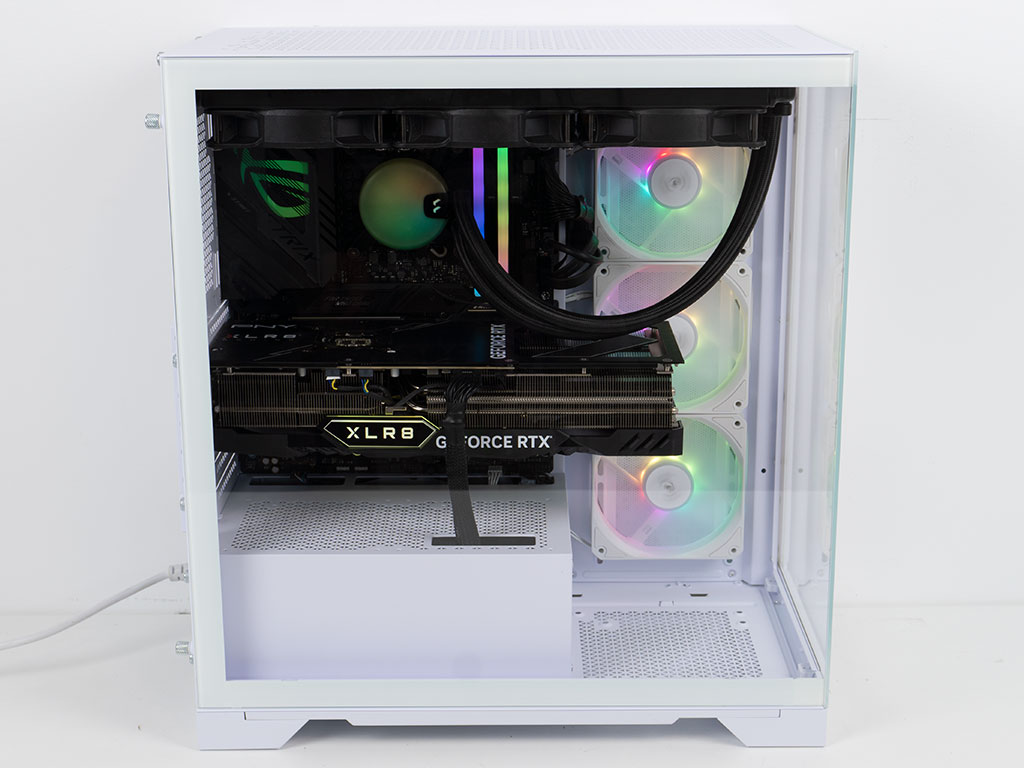
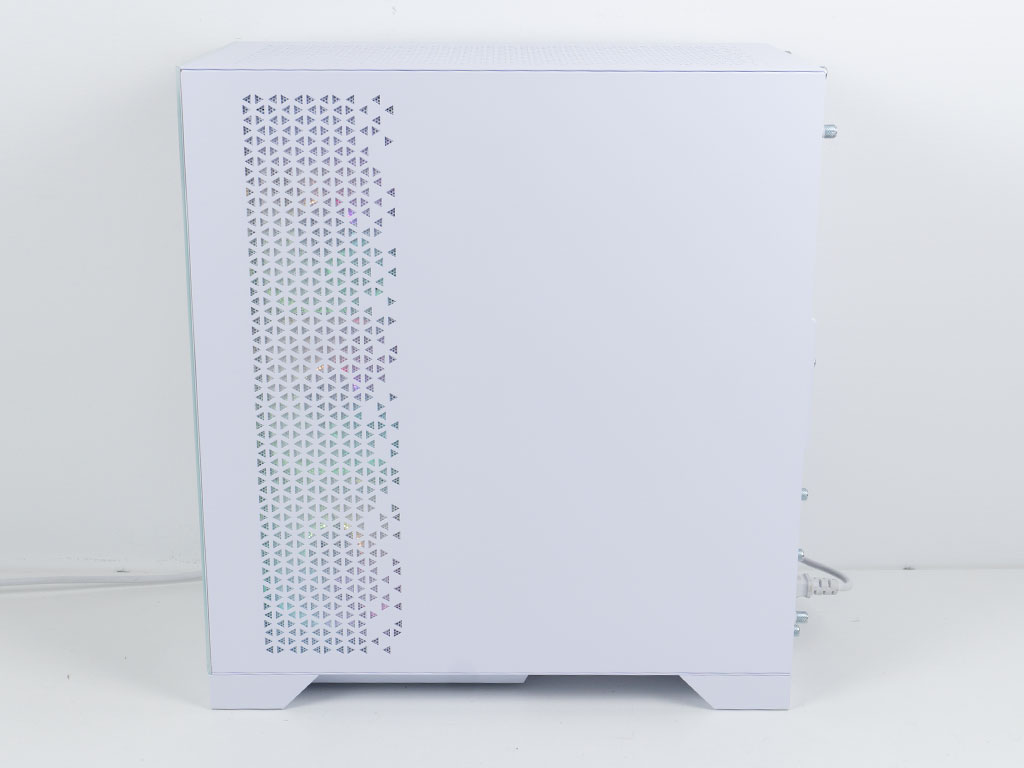
Lastly, the main glass side continues to give you that unobstructed access, with the glow of the intake fans clearly visible as well. On the opposite side, you can still see the illumination of these fans through the filter and side panel as well.
May 9th, 2025 05:06 EDT
change timezone
Latest GPU Drivers
New Forum Posts
- The TPU UK Clubhouse (26232)
- which cooler CPU is better? (25)
- 5070 Ti power limit questions (91)
- Gigabyte graphic cards - TIM gel SLIPPAGE problem (11)
- My PCIe5 SSD is slow. Samsung 9100 PRO (1)
- RX 9000 series GPU Owners Club (734)
- 1440p gaming pc. (19)
- Free Games Thread (4672)
- Firmware Update Problem with Monitor (30)
- Acer Predator Helios 16 PH16-71 Intel i9 13900HX. Is there any way to allow undervolting? (7)
Popular Reviews
- Arctic Liquid Freezer III Pro 360 A-RGB Review
- SCYROX V6 Review
- ASRock Radeon RX 9070 Steel Legend OC Review
- Clair Obscur: Expedition 33 Performance Benchmark Review - 33 GPUs Tested
- ASUS Radeon RX 9070 XT TUF OC Review
- NVIDIA GeForce RTX 5060 Ti PCI-Express x8 Scaling
- Upcoming Hardware Launches 2025 (Updated Apr 2025)
- Sapphire Radeon RX 9070 XT Nitro+ Review - Beating NVIDIA
- AMD Ryzen 7 9800X3D Review - The Best Gaming Processor
- NVIDIA GeForce RTX 5070 Founders Edition Review
Controversial News Posts
- AMD Radeon RX 9060 XT to Roll Out 8 GB GDDR6 Edition, Despite Rumors (142)
- NVIDIA Launches GeForce RTX 5060 Series, Beginning with RTX 5060 Ti This Week (115)
- Microsoft Forces Automatic Windows 11 24H2 Update on Pro and Home PCs (97)
- Parts of NVIDIA GeForce RTX 50 Series GPU PCB Reach Over 100°C: Report (85)
- Sony Increases the PS5 Pricing in EMEA and ANZ by Around 25 Percent (84)
- Intel "Bartlett Lake-S" Gaming CPU is Possible, More Hints Appear for a 12 P-Core SKU (78)
- NVIDIA Reportedly Working on GeForce RTX 5080 SUPER 24 GB & RTX 5070 SUPER 18 GB Designs (74)
- NVIDIA GeForce RTX 5060 Ti 8 GB Variant Benched by Chinese Reviewer, Lags Behind 16 GB Sibling in DLSS 4 Test Scenario (73)