 13
13
Yeyian Mirage X Review
Thermal Stress Test »Assembly
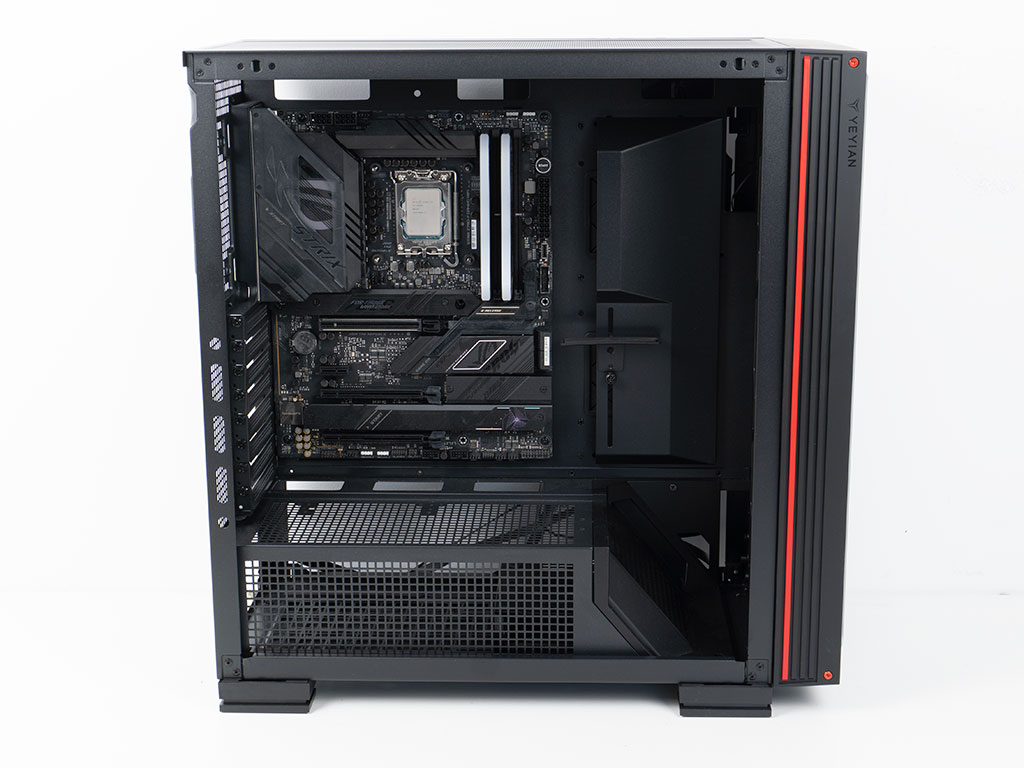
Installing the motherboard is easily done thanks to the space all around the edges of the board due to the fact that the Mirage X is a full tower enclosure.
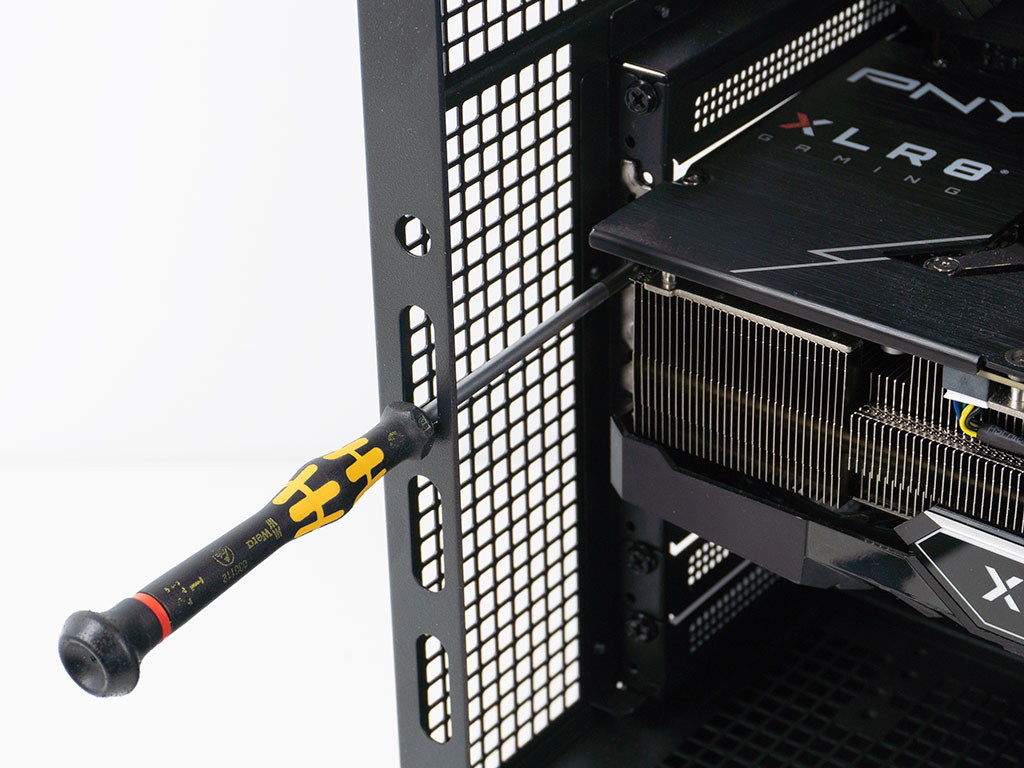
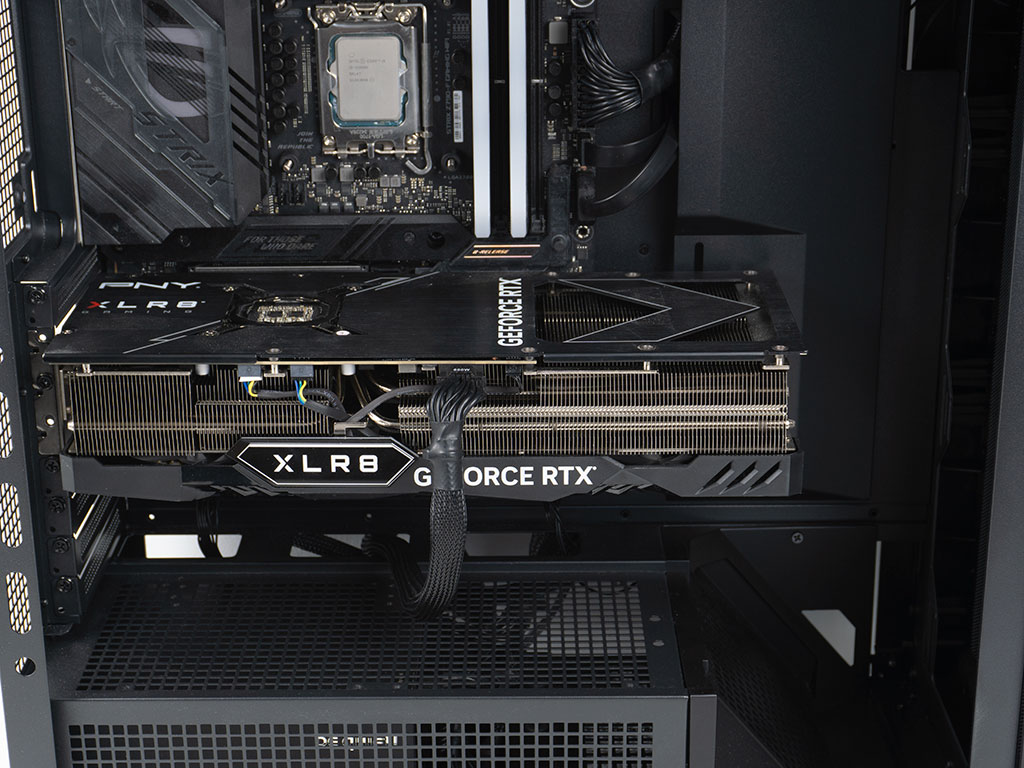
Similarly, adding a GPU is straight forward as well and thanks to the holes it is easy to get a screwdriver into position to secure screws holding the graphics card in place. As there is no opening on the glass facing edge of the shroud for a power cable, you will have to snake it though one of the cutouts at the bottom edge of the motherboard. The result is still a nice a clean look, due to the fact that the power cable is coming straight up instead of an angle. There is also plenty of space for cooling in the front of the chassis while still retaining the ability to install a high-end GPU.
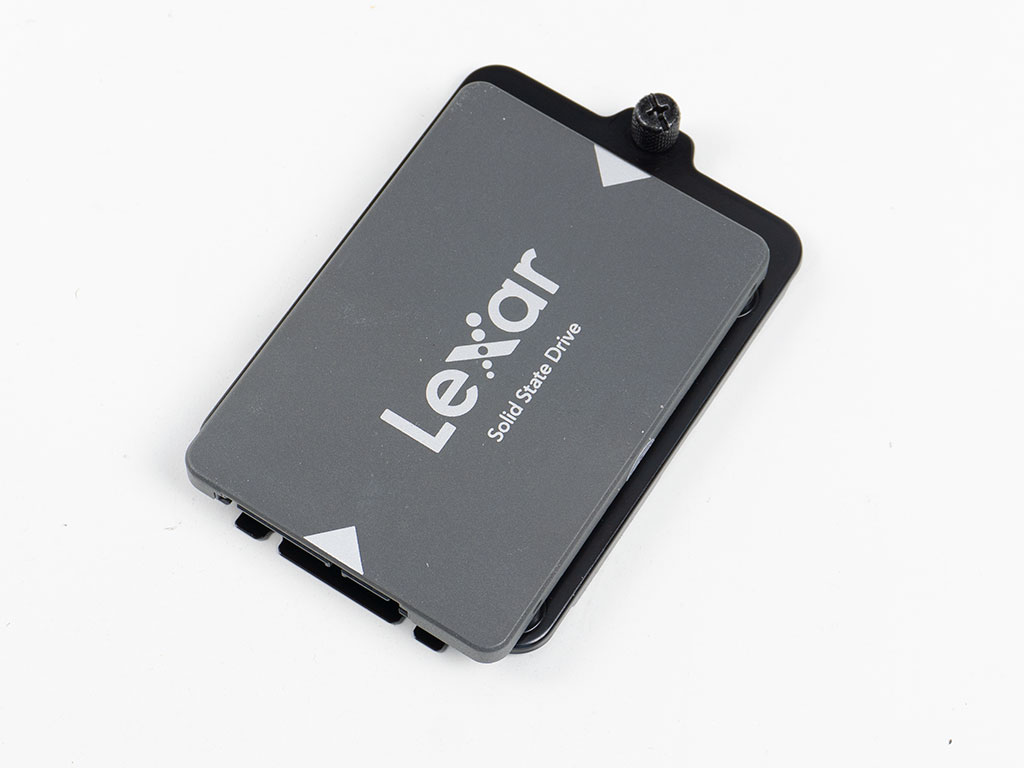
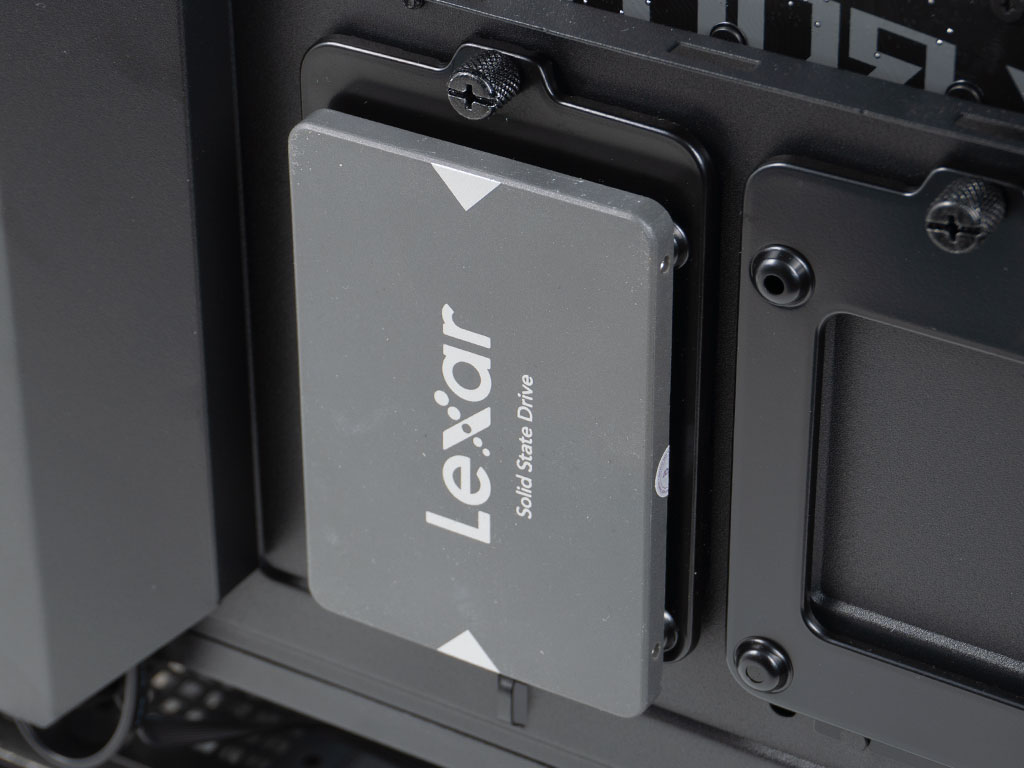
To add an SSD, the best option is to use one of the two dedicated trays. Simply detach one from the case, secure the drive with screws and then put the whole contraption back unto the backside of the motherboard tray. The captive thumbscrew offers a quick and easy way to ensure it stays in place securely as well.
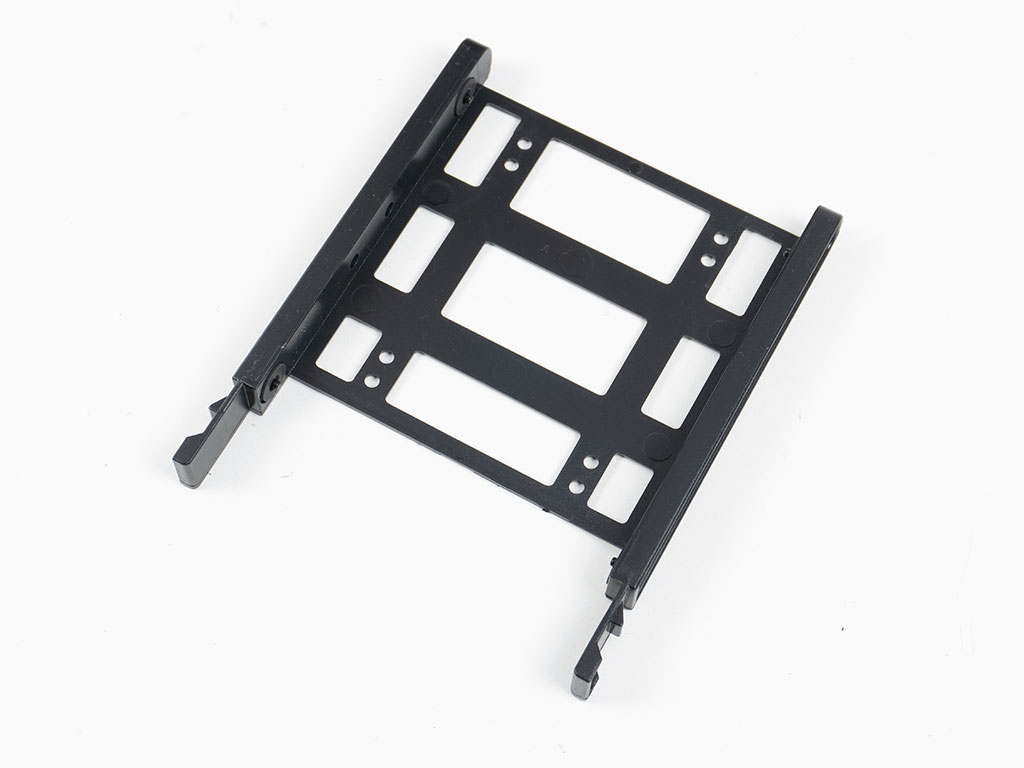
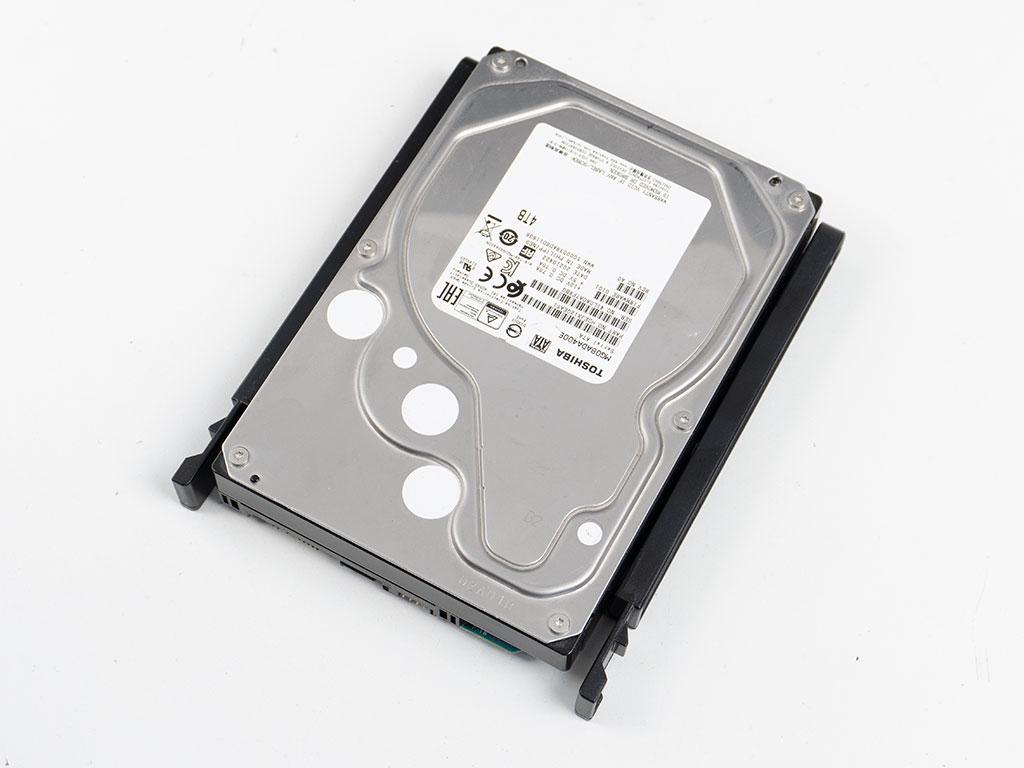
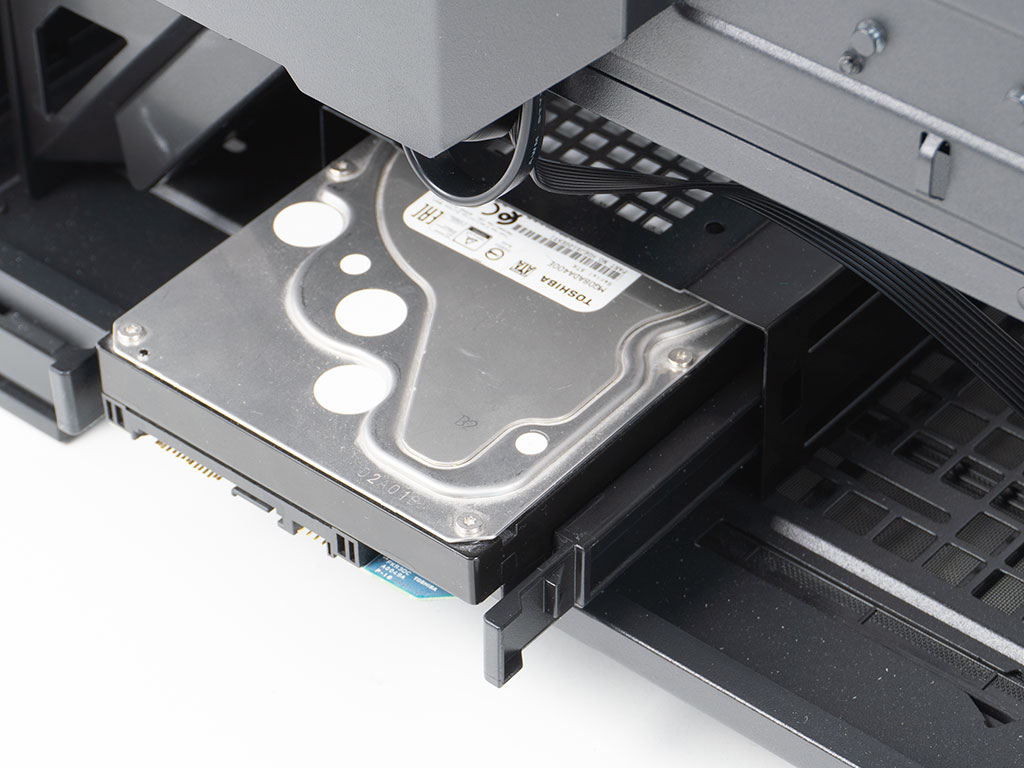
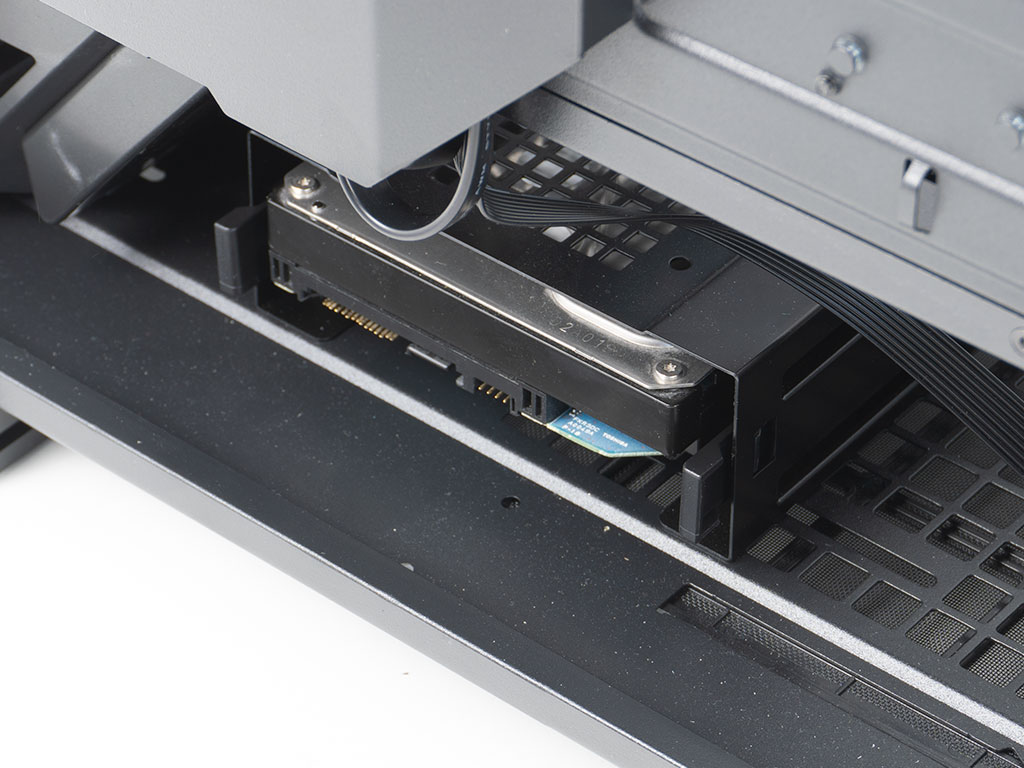
Placing a 3.5" drive inside the singular plastic tray means requires no tools on the other hand. Once the spinning rust is snapped into place you can slide the filled tray back into the cage until it clips down securely.
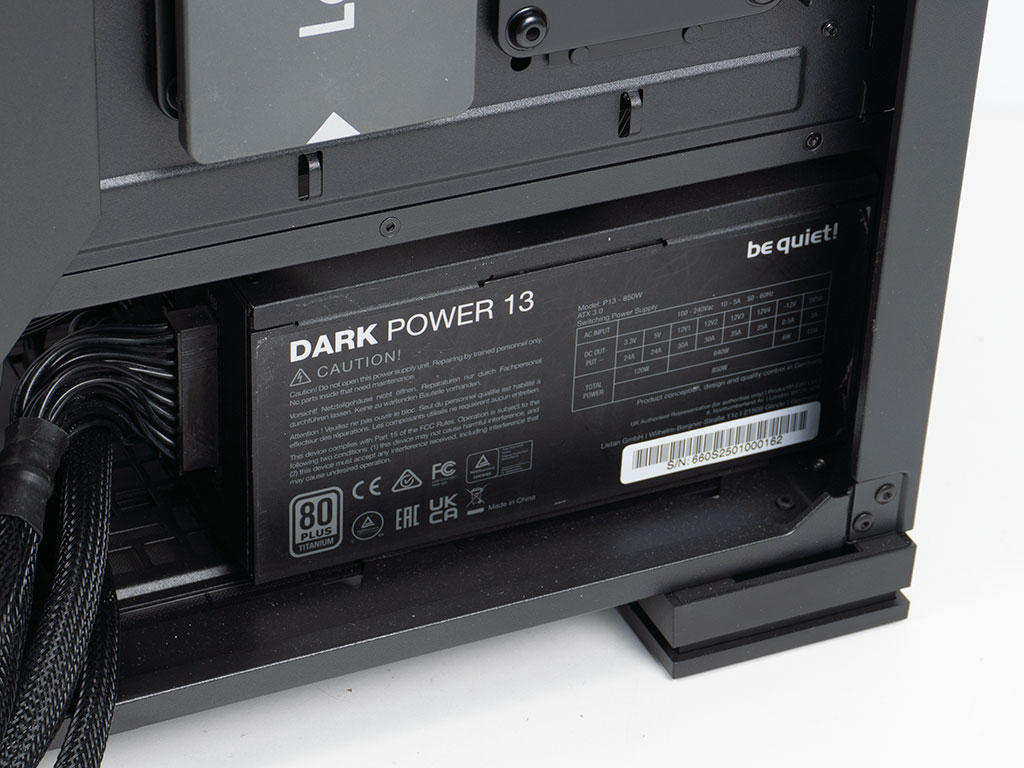
Thanks to the overall dimensions of the case, you will have no issues employing long and powerful PSUs. Such a unit is secured in place by traditional means using four screws.
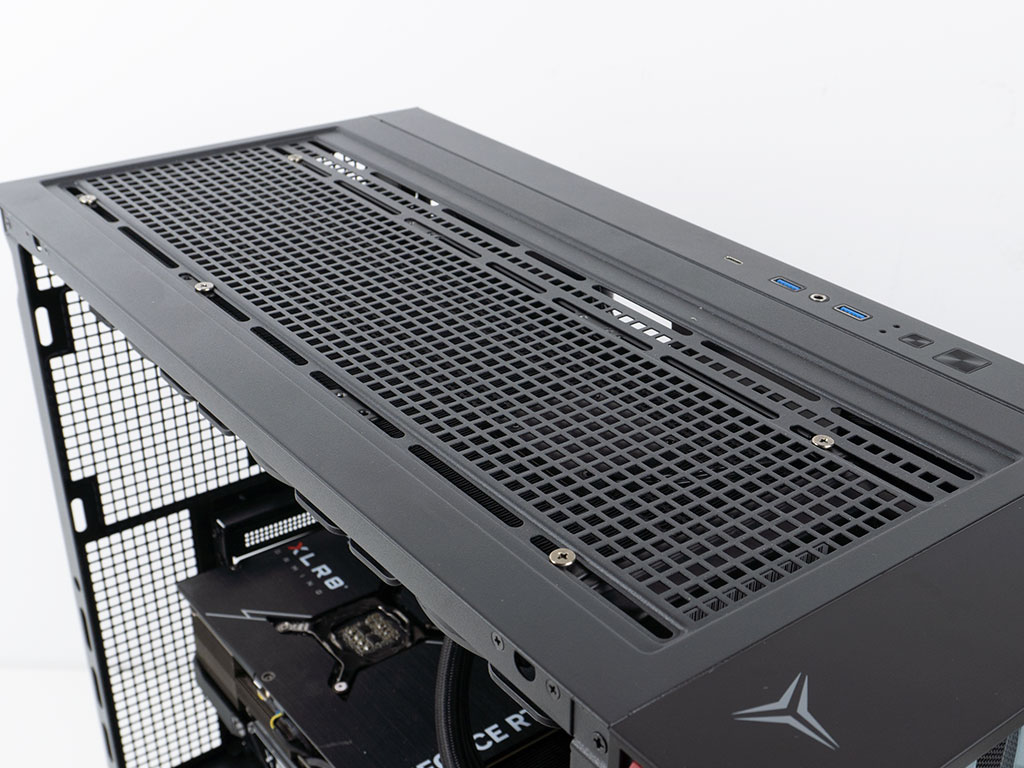
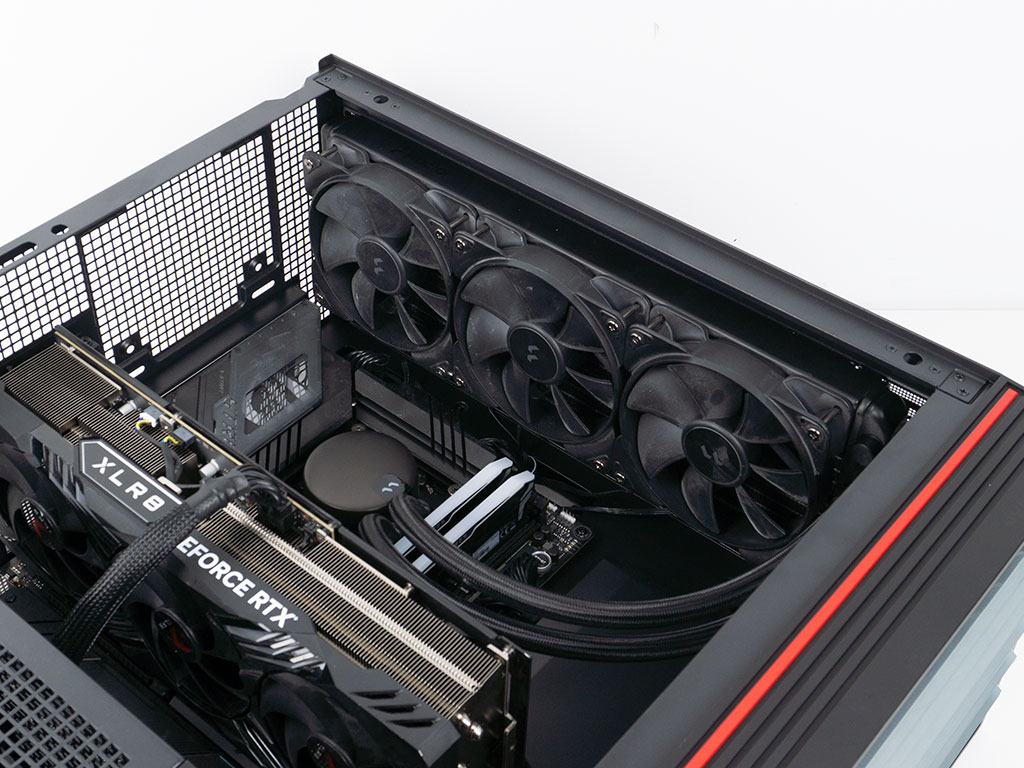
Adding a 360 mm AIO in the ceiling, you can see how much room it takes up, with just a little space left in the front of the case. This gap allows you to combine ceiling cooling with a 420 mm radiator in the front of the Mirage X.
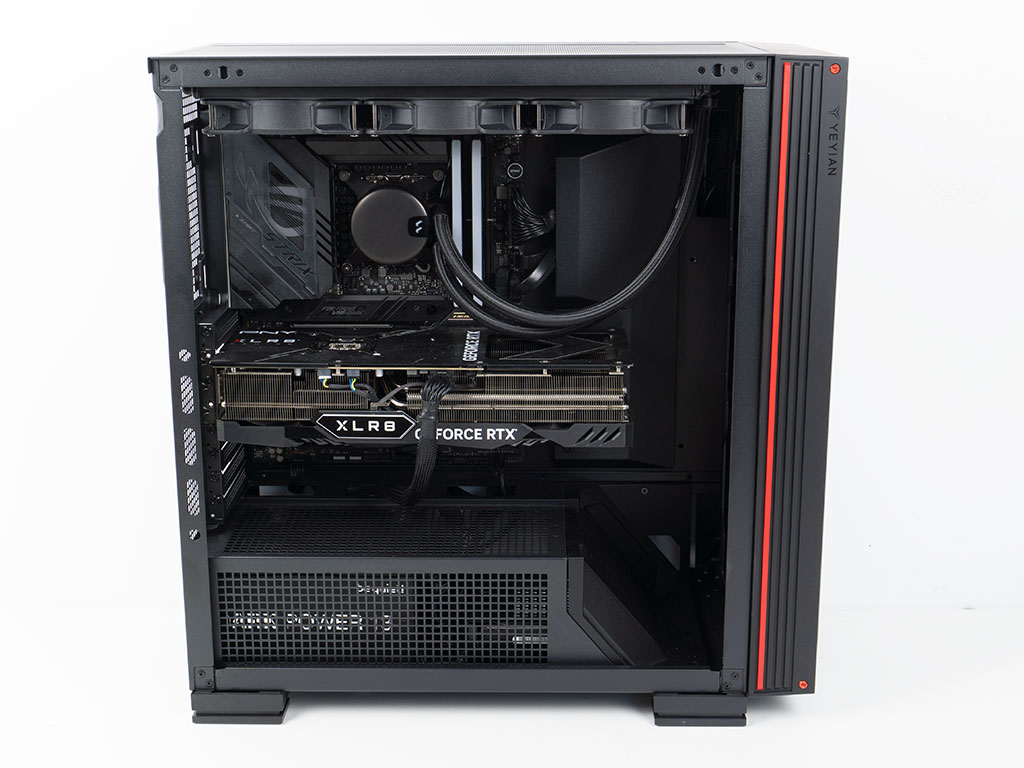
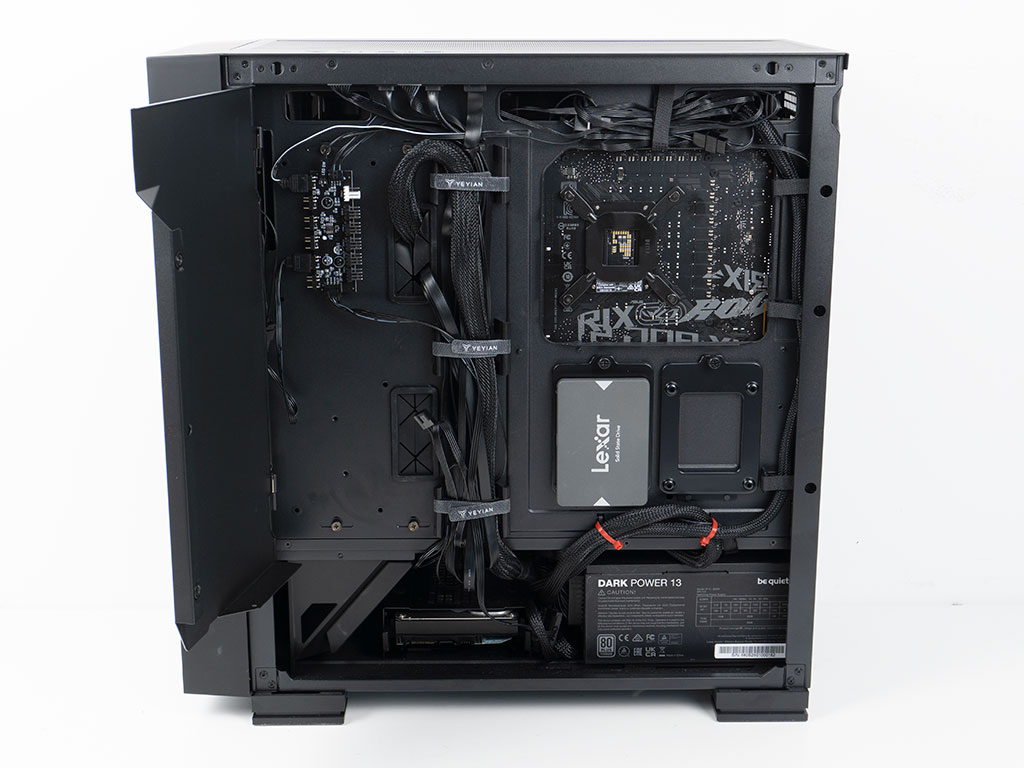

With everything in place, the interior of the Yeyian Mirage X looks very clean thanks to the built-in cable cover minimizing the exposure to the USB and ATX power cabling. Only grommets on the openings on the bottom edge of the motherboard would have been a positive addition overall. Thanks to the venting on the side of the shroud any ARGB elements your PSU may have will also shine through, which is nice to see. On the backside of the case, you can see that we only used two zip ties below the 2.5" storage trays. The rest of all the cables are secured well with the seven pre-installed Velcro strips. Additionally, the internal cover hides the bulk, reducing the visible clutter even more. This is a nice touch, but the cover is not the most useful as the exterior metal panel is completely solid anyway.
Finished Looks
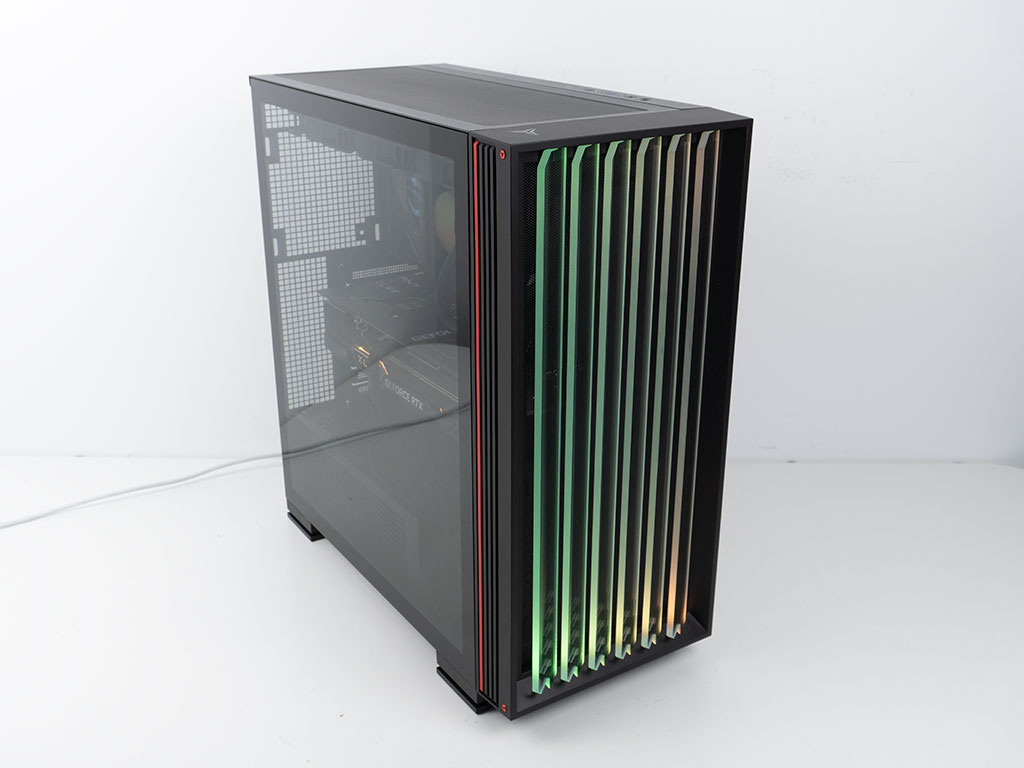
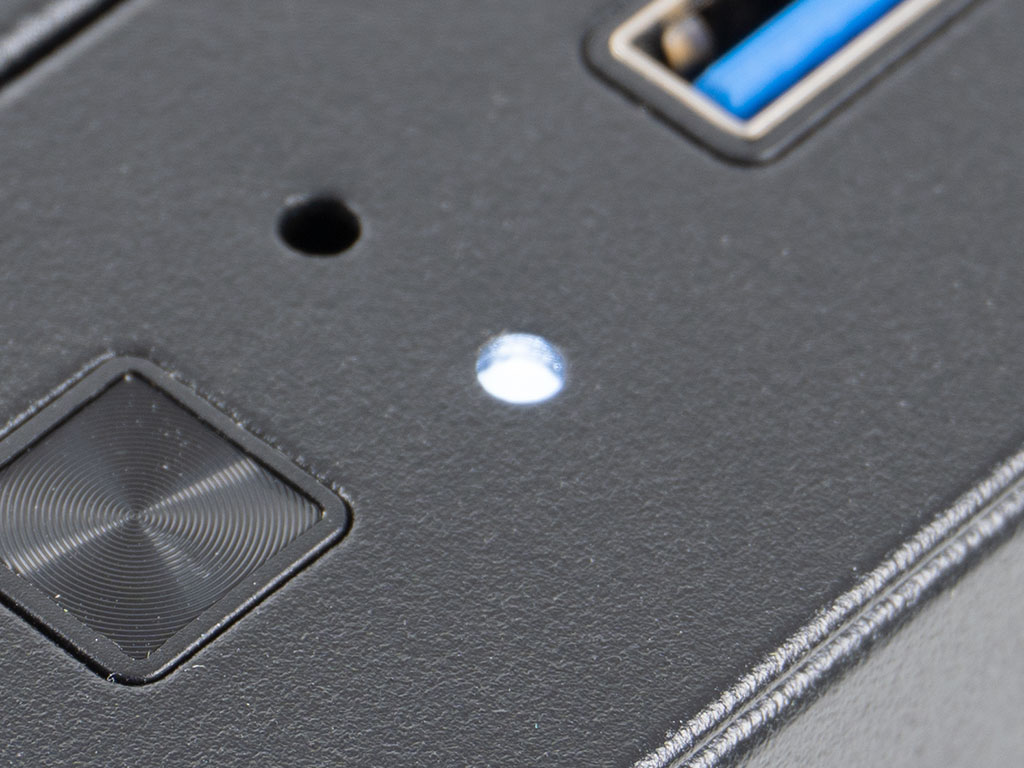
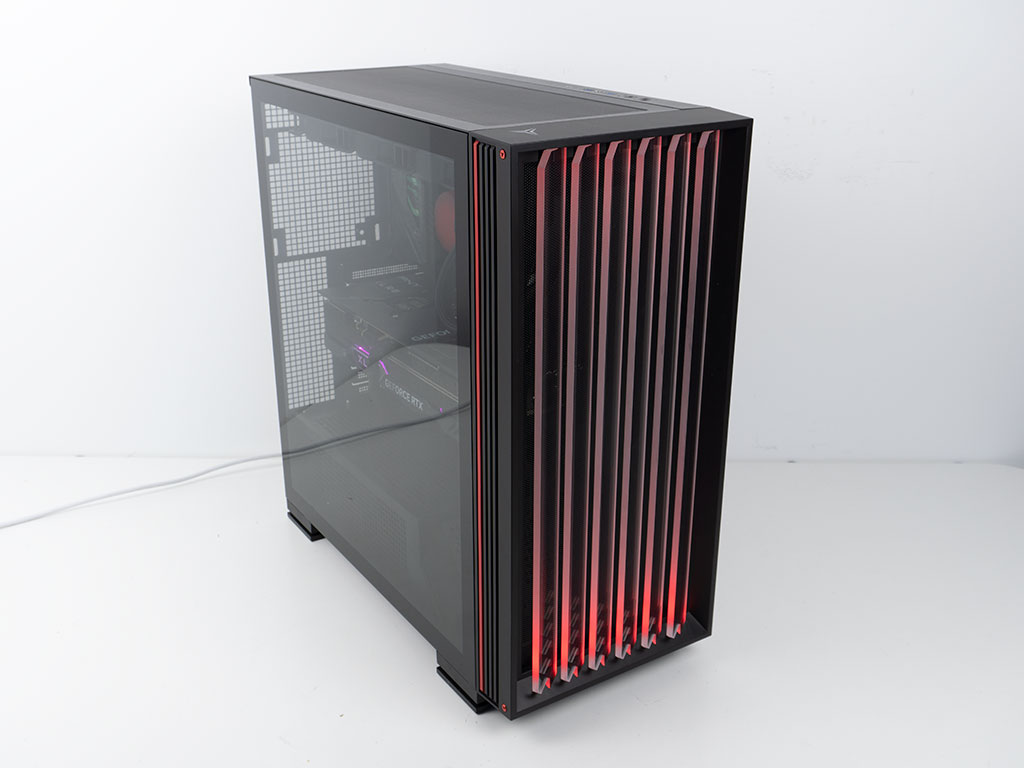
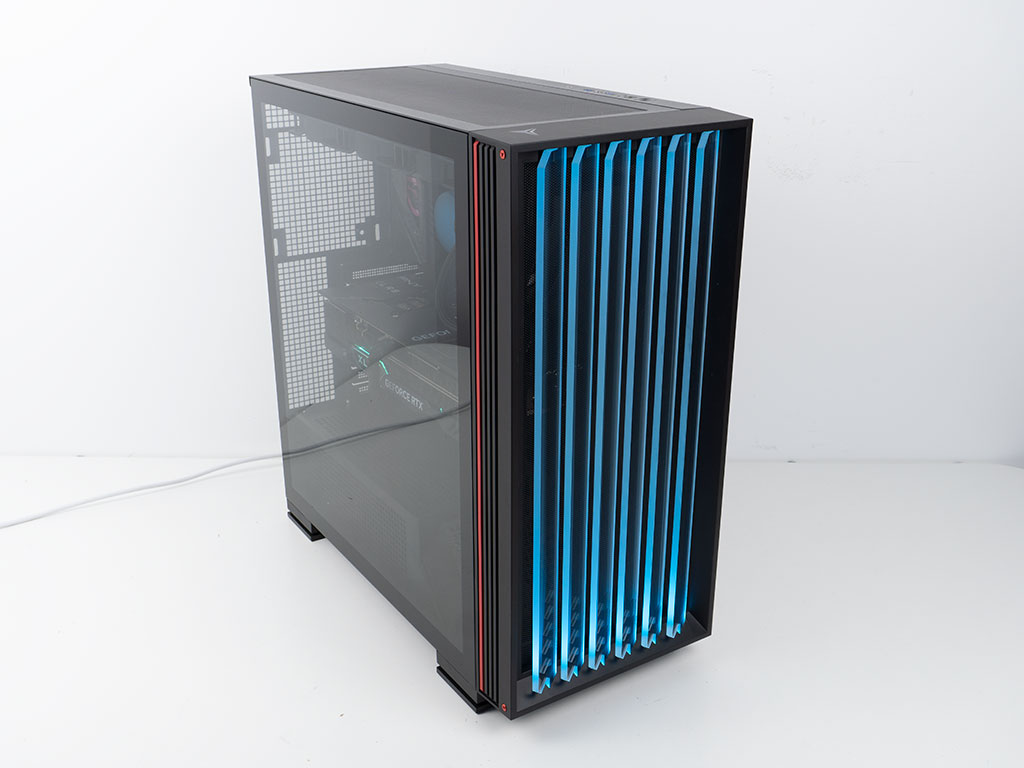
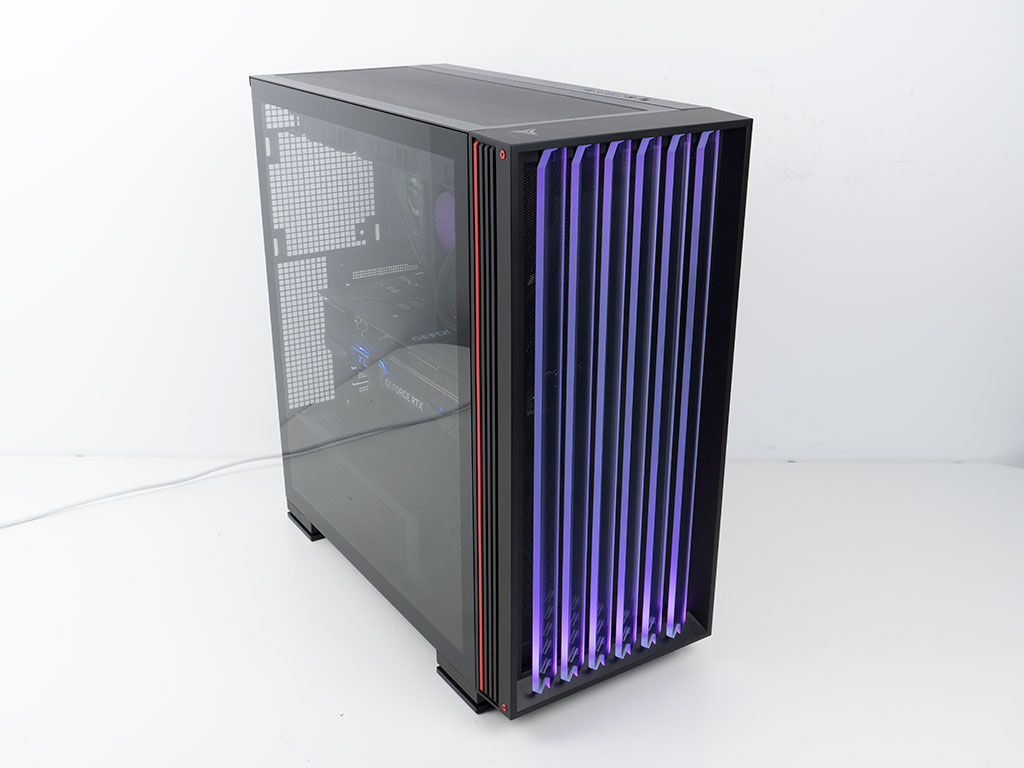
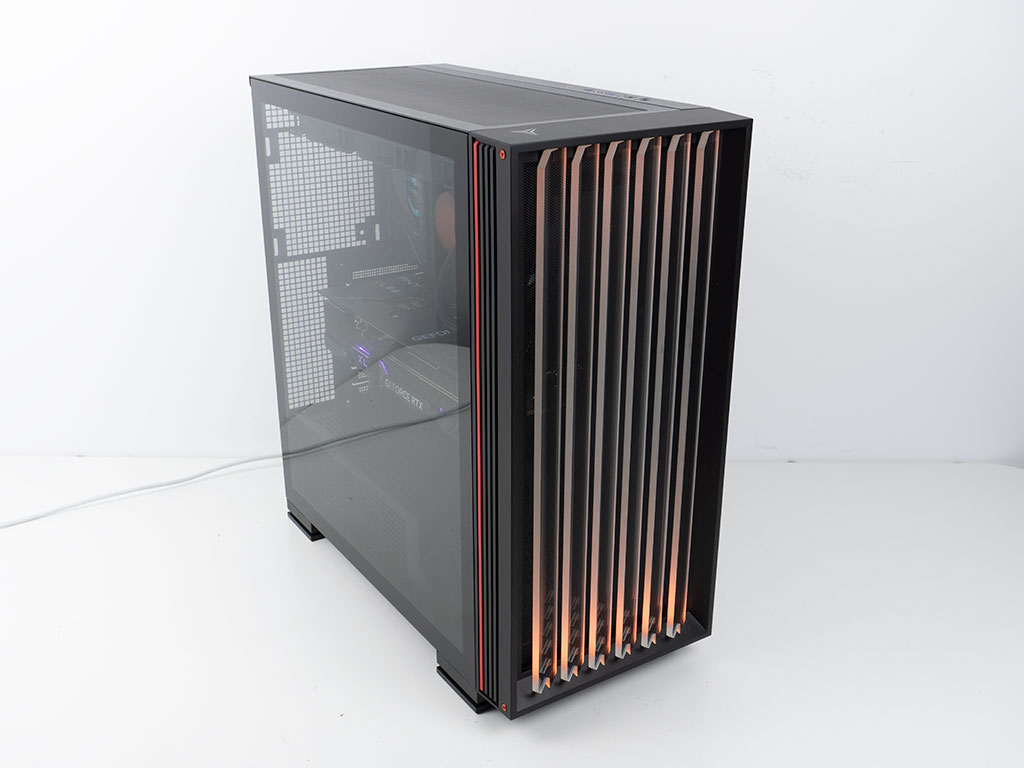
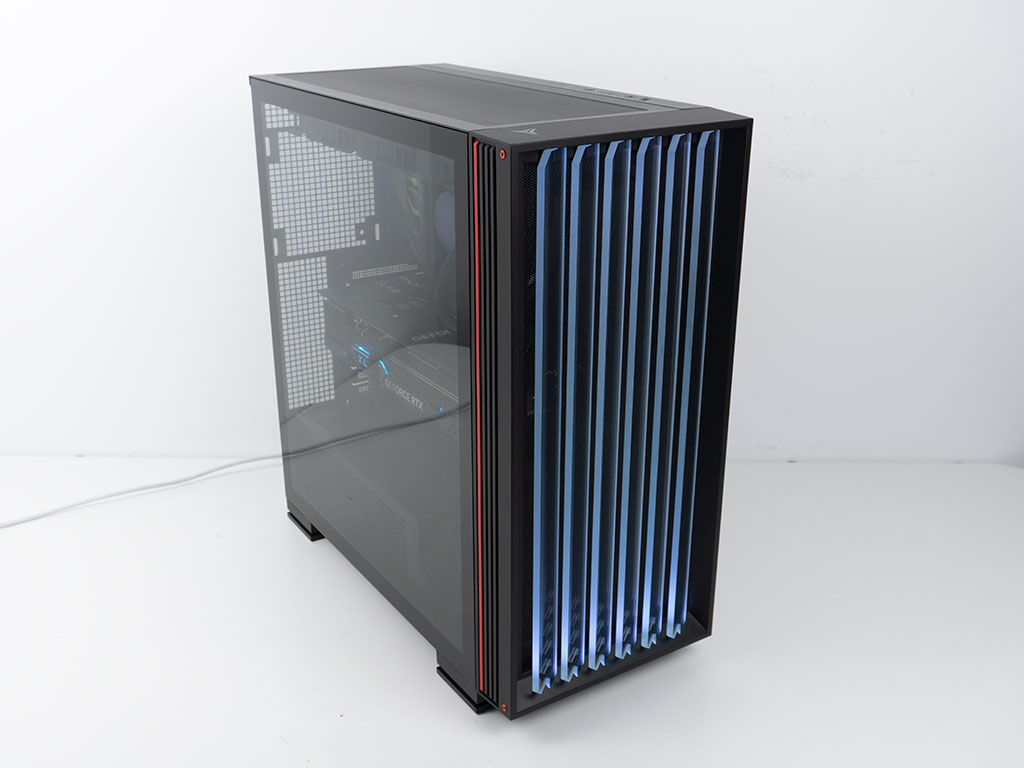
Once turned on, the glass strips light up in ARGB thanks to the embedded lighting. A white power LED at the top of the case will also let you know that your system is up and running.
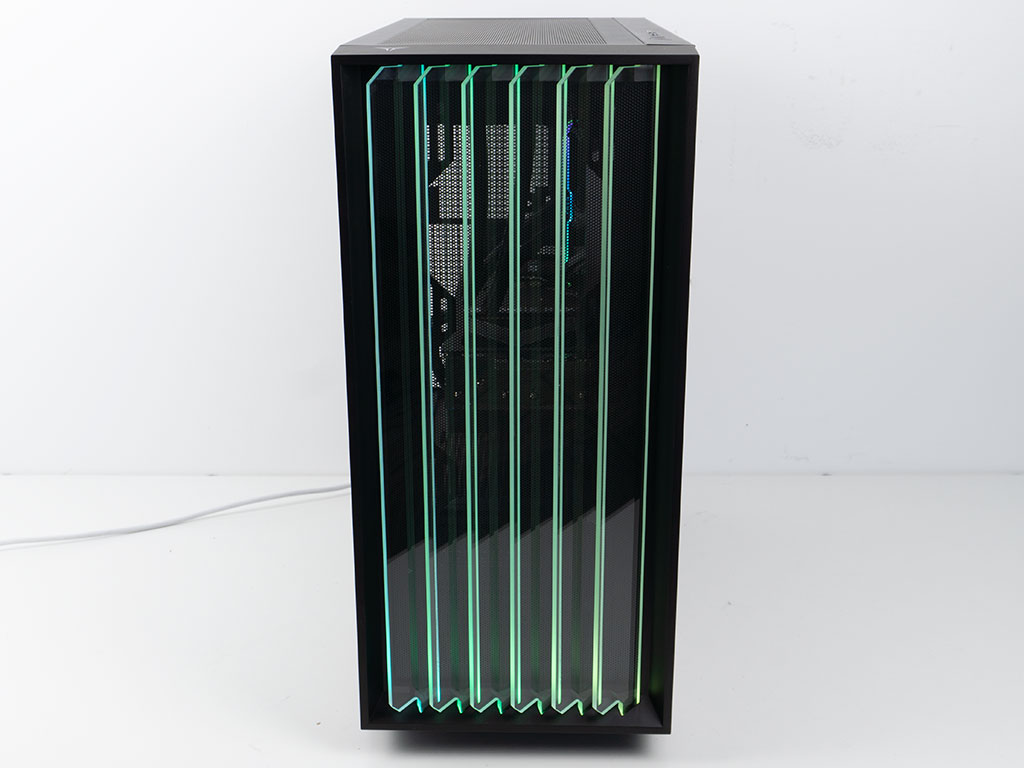
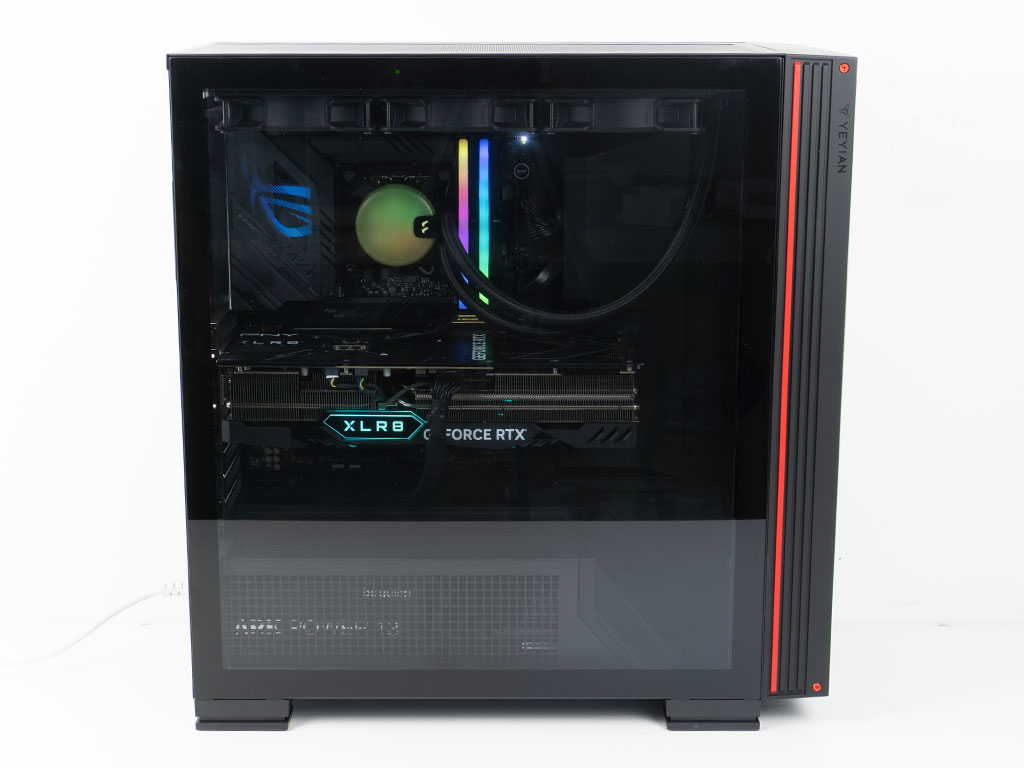
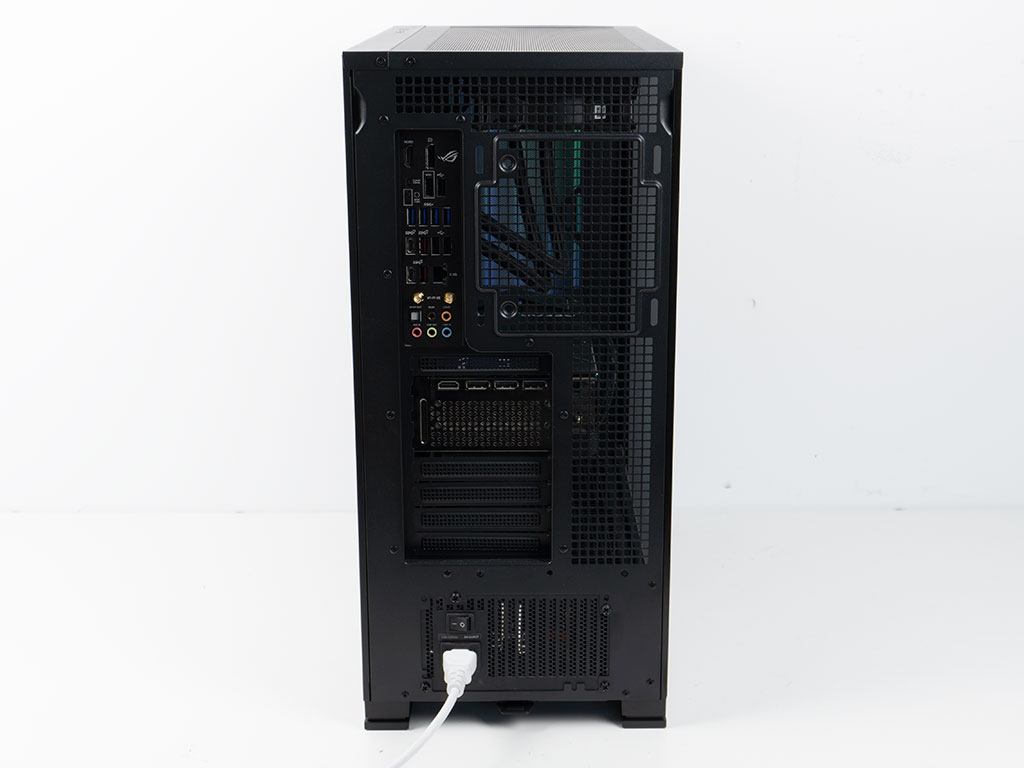
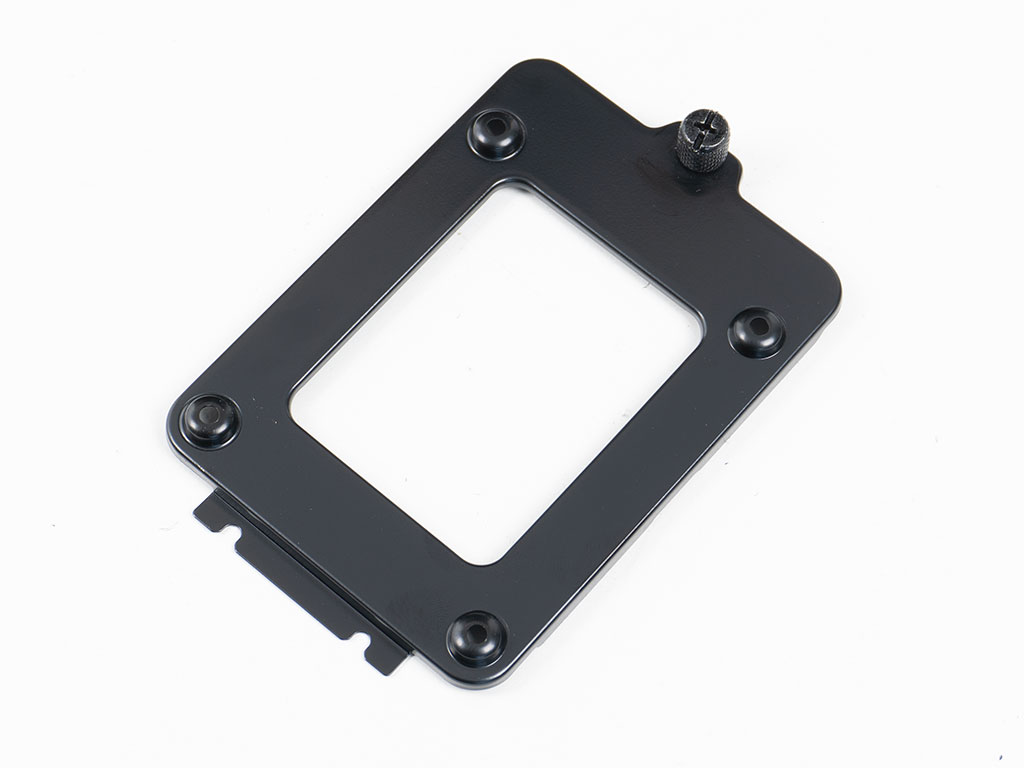
The embedded LEDs in the glass pieces look gorgeous and manages to impress. With the angle towards the user, the edges of the glass also results in more light, which just adds to the overall experience. Thanks to the clear glass panel, you can also feast your eyes on your hardware with the GPU support bracket making sure your large and heavy graphics card doesn't sag either. In the rear everything is where you would expect to see it, considering the Mirage X offers the same layout as modern ATX enclosures.
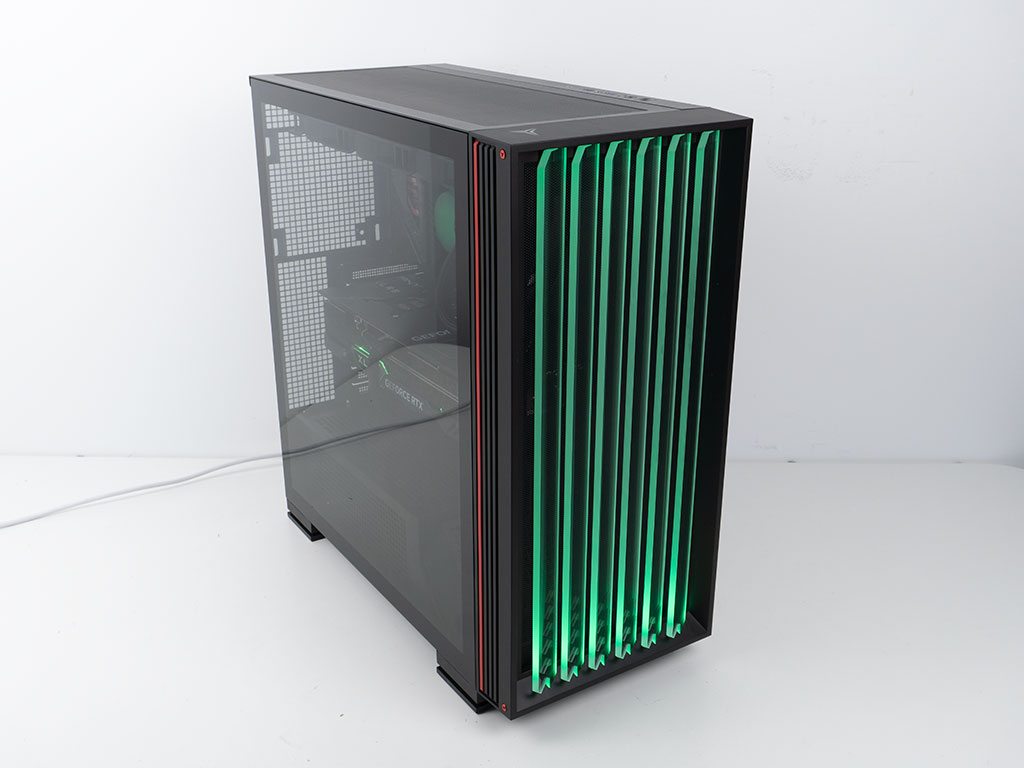
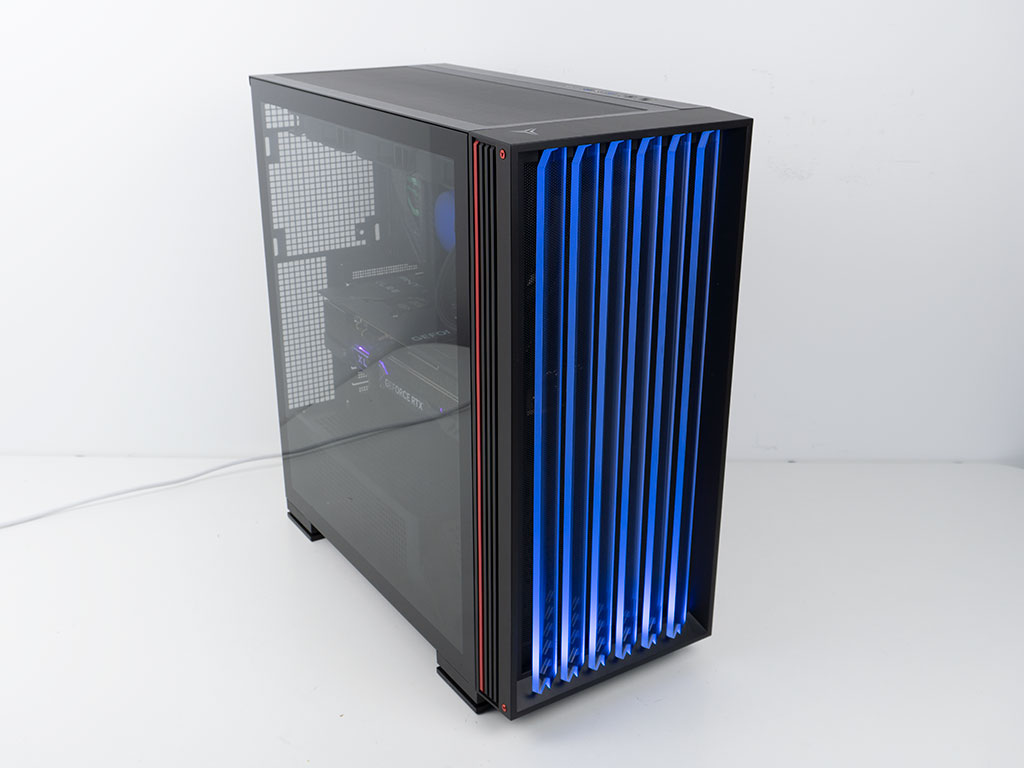
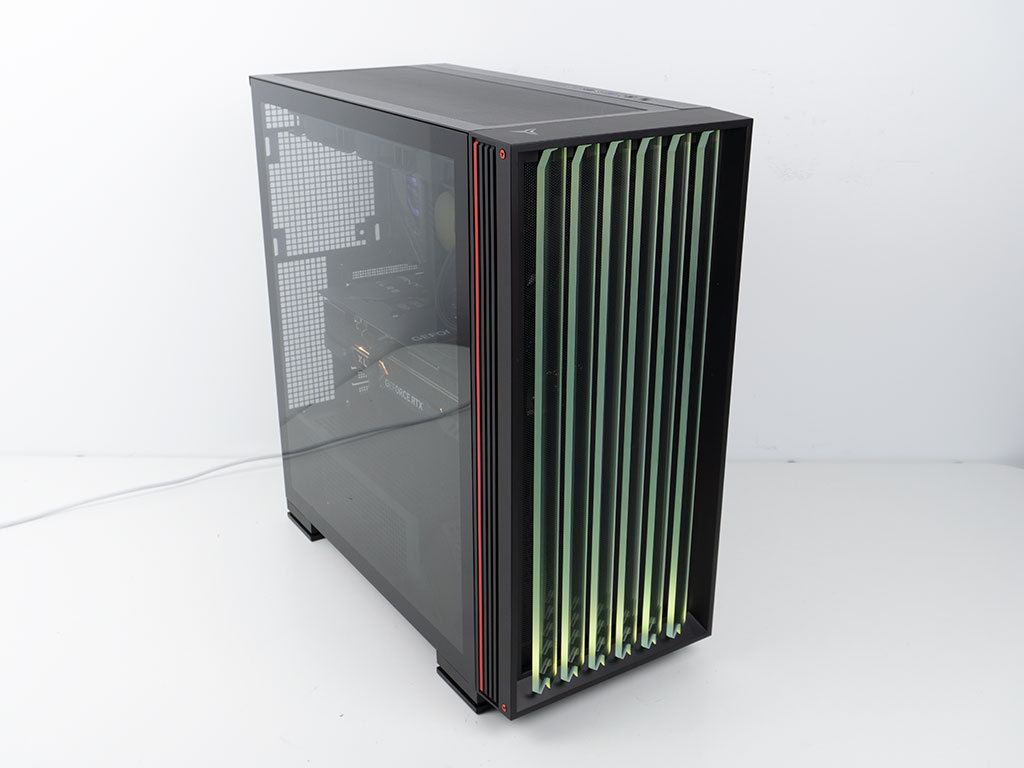
Last but not least, thanks to the built-in controller, you can cycle through several color animations as well as the seven solid choices shown below. Even with the bright studio lights, the Mirage X manages to shine strong enough to be clearly visible, so you can rest assured the effect will look even better in a darker environment.
Mar 10th, 2025 18:29 EDT
change timezone
Latest GPU Drivers
New Forum Posts
- Gaming PC instabiliity (22)
- Msi 5090 DOA? (30)
- RX 9070 availability (170)
- Biostar RX 6700 XT OC BIOS (1)
- Wherein lies the difference (1)
- Maxsun RX580 graphics card crashes (30)
- USB hard disk box capacity limits (12)
- Please I need help with the poor performance that my PC is giving me (32)
- I'm looking for a good tool to make the 3D scanning of my mini-pc using the photogrammetry and my Kinect 2. (53)
- What is a good real price for the RTX 5090? (23)
Popular Reviews
- Sapphire Radeon RX 9070 XT Nitro+ Review - Beating NVIDIA
- XFX Radeon RX 9070 XT Mercury OC Magnetic Air Review
- ASUS Radeon RX 9070 TUF OC Review
- MSI MAG B850 Tomahawk Max Wi-Fi Review
- NVIDIA GeForce RTX 5080 Founders Edition Review
- NVIDIA GeForce RTX 5070 Founders Edition Review
- Corsair Vengeance RGB CUDIMM DDR5-8800 48 GB CL42 Review
- AMD Ryzen 7 9800X3D Review - The Best Gaming Processor
- ASUS GeForce RTX 5070 Ti TUF OC Review
- MSI GeForce RTX 5070 Ti Gaming Trio OC+ Review
Controversial News Posts
- NVIDIA GeForce RTX 50 Cards Spotted with Missing ROPs, NVIDIA Confirms the Issue, Multiple Vendors Affected (513)
- AMD Plans Aggressive Price Competition with Radeon RX 9000 Series (277)
- AMD Radeon RX 9070 and 9070 XT Listed On Amazon - One Buyer Snags a Unit (261)
- AMD RDNA 4 and Radeon RX 9070 Series Unveiled: $549 & $599 (260)
- AMD Mentions Sub-$700 Pricing for Radeon RX 9070 GPU Series, Looks Like NV Minus $50 Again (248)
- NVIDIA Investigates GeForce RTX 50 Series "Blackwell" Black Screen and BSOD Issues (244)
- AMD Radeon RX 9070 and 9070 XT Official Performance Metrics Leaked, +42% 4K Performance Over Radeon RX 7900 GRE (195)
- AMD Radeon RX 9070-series Pricing Leaks Courtesy of MicroCenter (158)