 17
17
Zaward Gyre Review
Performance »Installation
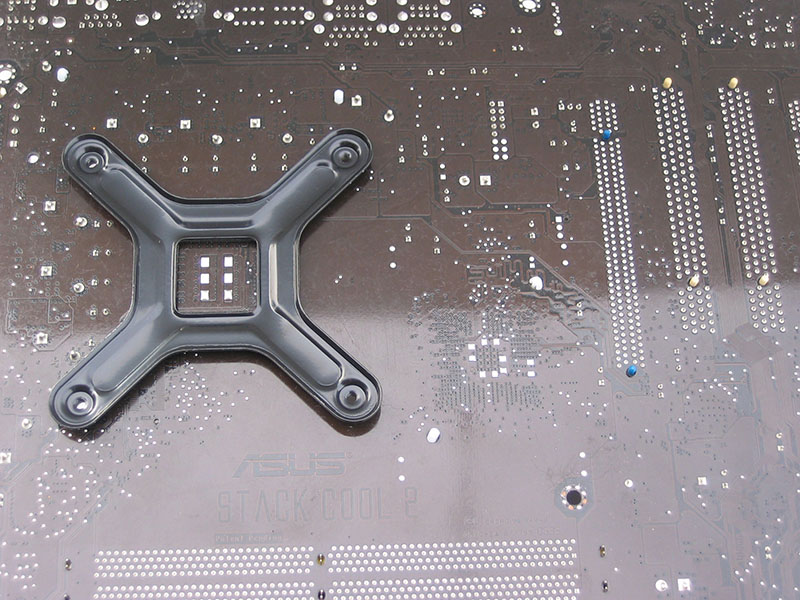
A downfall to the Gyre’s installation design is that for all Intel Socket 775 based installations, the motherboard must be removed from the case and / or motherboard tray. This is simply due to the fact that the Intel plate must be installed on the back of the motherboard, so the screws on the heatsink have something to screw into. The installation of this plate is very easy. The sticker on the plate covering the adhesive tape needs to be peeled away, the screw holes on the plate need to be aligned with the screw holes on the motherboard and then the plate needs to be gently yet firmly pressed against the back of the motherboard.
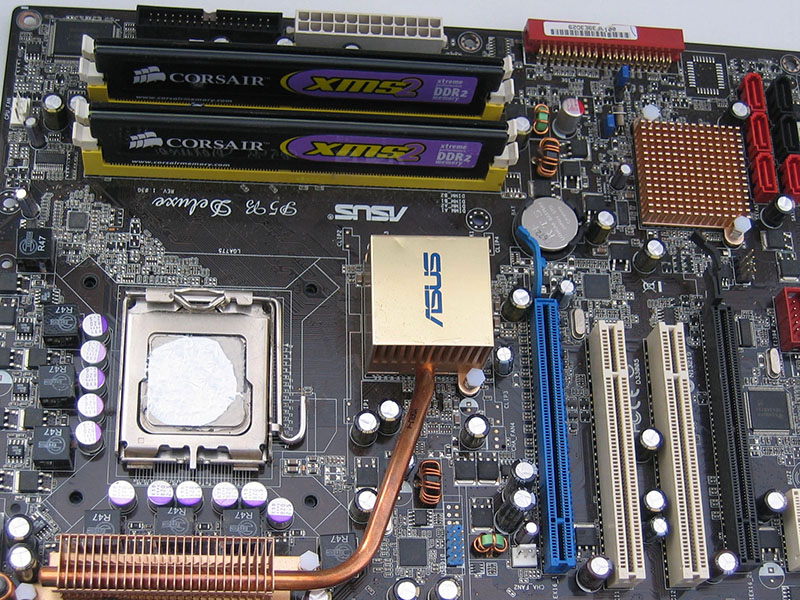

Once completed, the motherboard can be put back in its tray or in the case as all that needs to be done is the cooler needs to be screwed into the board. AMD based sockets feature a simplified process as the motherboard does not need to be removed from the case or its tray. AMD based installations simply have to apply the included AMD clip for support, align the screws into the retention bracket holes and screw the clips in. The thermal paste was applied according to the manufacturers specifications. Once applied, the thermal compound spread evenly among both the CPU and base of the cooler, as shown in the images.
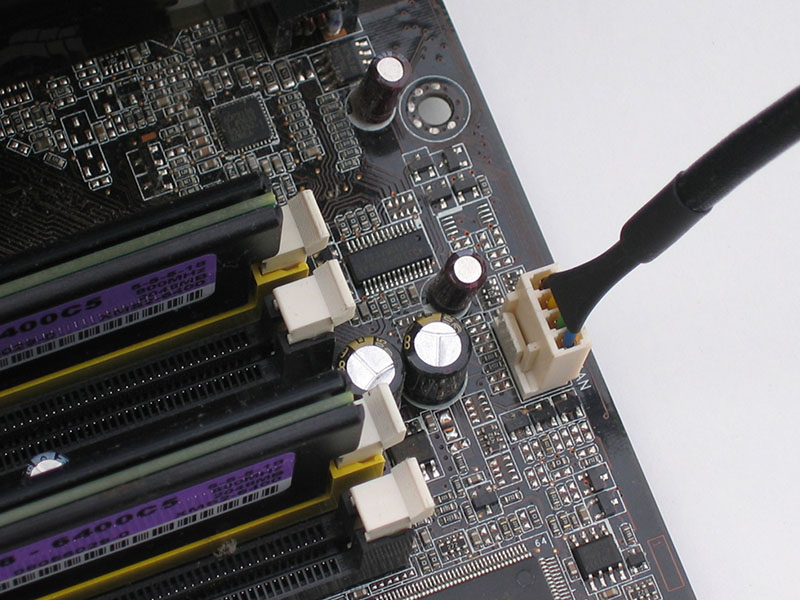
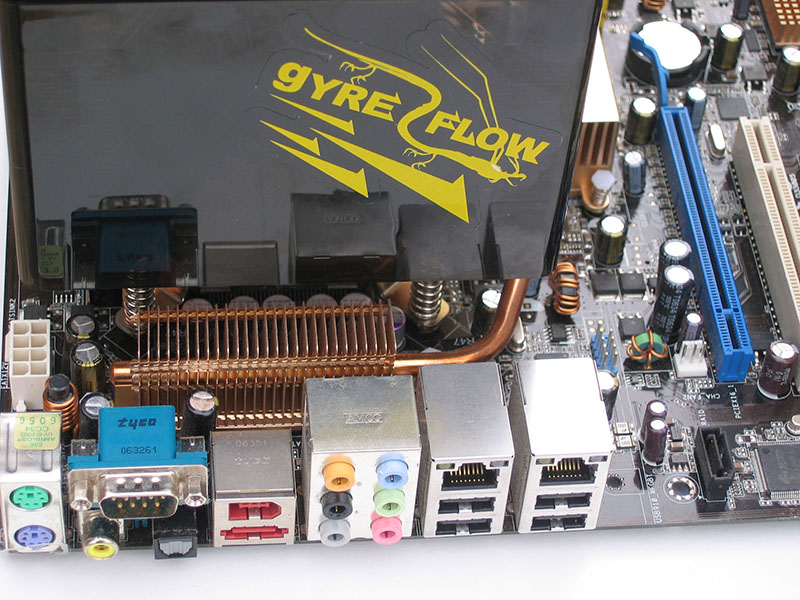
The cooler was placed in the appropriate position and the heat pipes were positioned away from the RAM modules to prevent excess heat near the RAM. The 4-pin fan connection was simply plugged into the 4-pin CPU fan slot on the motherboard.

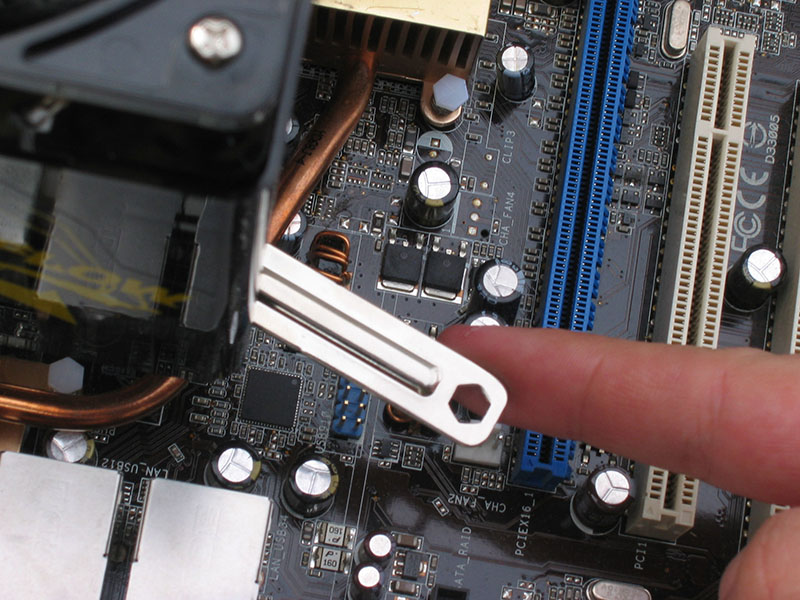
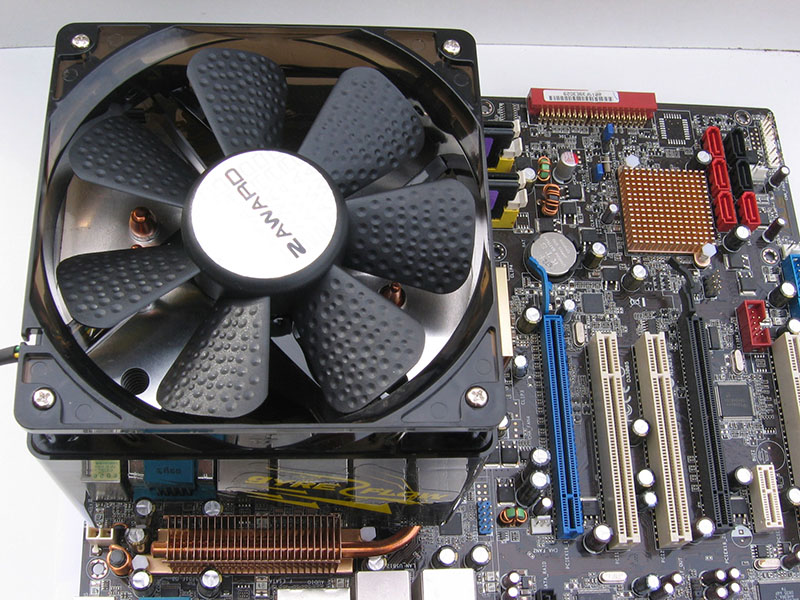
Once the back plate was installed, the spring screws were lined up to their holes and were screwed in using the L shaped screwdriver which was supplied. Each screw was screwed in to about half of its maximum pressure. When all screws were in, they were all tightened. This is not necessary but recommended for both ease (as other screws don’t need as much pressure if the initial ones aren’t totally in) as well as keeping anything from breaking (due to too much pressure). The CPU was relatively secure, yet the supplied wrench was then use to further tighten the screws close to their limit. It is never recommended to tighten the screws to their maximum limit as this may cause damage to the threads. This process was quite easy to achieve whether in the computer case or not as the L shaped screwdriver removes most awkward positions caused by limited space. However, if the cooler is being installed into the motherboard from within the case, it may be too hard to use the wrench.

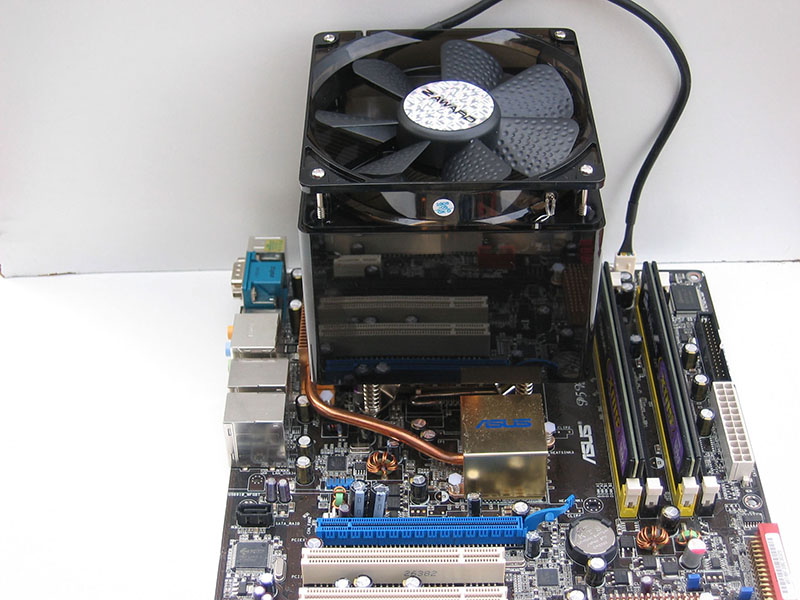

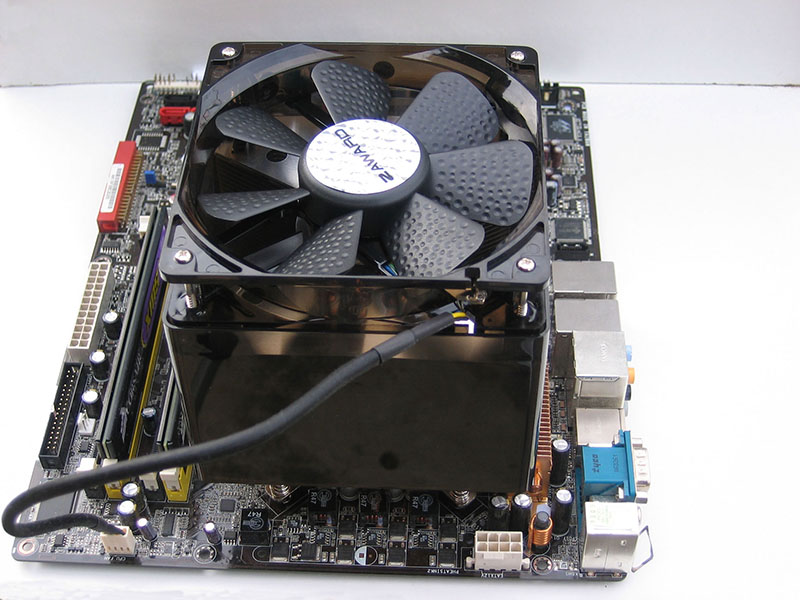
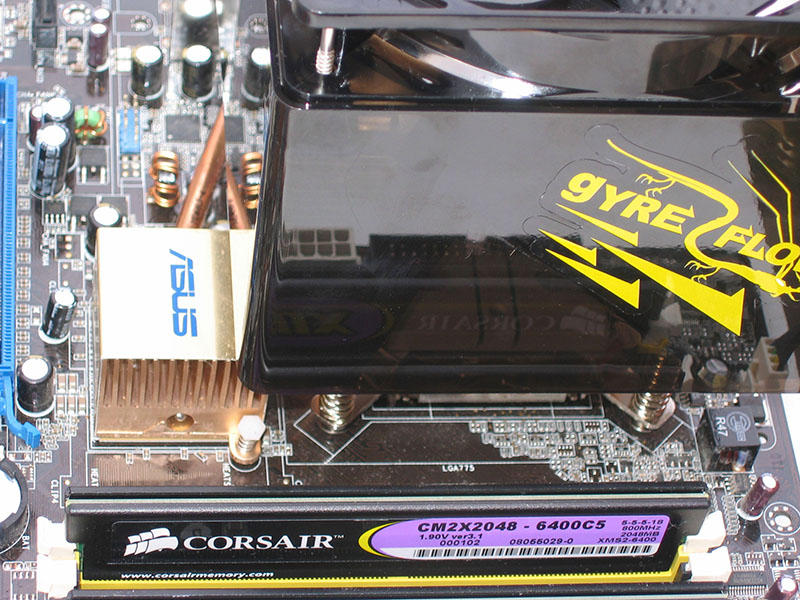
Once all four screws are tightened, the cooler does not move very much and is firmly attached to the motherboard. There were no problems or compatibility issues with the physical size of the cooler when used on the ASUS P5B Deluxe and Thermaltake Soprano case (with 90 mm side case fan attached), although there is only a 2mm gap between the side panel fan and top of cooler. This can cause problems when installed on any case smaller than the Thermaltake Soprano that have a side panel fan or relatively any ATX case with a side panel vent. It can also affect cases which have 120mm or larger fans on their side panel.
Jan 10th, 2025 05:40 EST
change timezone
Latest GPU Drivers
New Forum Posts
- Are people planning an upgrade? (198)
- What was lacking GPU-wise at this year's CES (116)
- Core 200s (Bartlett Lake-S) Announced at CES 2025 (14)
- Can I mix 16 GB and 32 GB RAM (DDR5) in a laptop? (0)
- The TPU UK Clubhouse (25556)
- 3D Printer Club (369)
- TechPowerUp Screenshot Thread (MASSIVE 56K WARNING) (4246)
- Best time to sell your used 4090s is now. (172)
- What Speakers Are You You Using For Your Computer (94)
- TPU's Nostalgic Hardware Club (19765)
Popular Reviews
- ASUS ROG Strix B850-F Gaming WiFi Review
- AMD Ryzen 7 9800X3D Review - The Best Gaming Processor
- Royal Kludge S85 TKL Wireless Mechanical Keyboard Review
- HEDDphone TWO GT Air Motion Transformer Headphones Review
- LAMZU Maya X Review
- DDR5 Thermal Testing & Analysis
- GPU Test System Update for 2025
- Call of Duty: Black Ops 6 Performance Benchmark Review - AMD FTW
- Upcoming Hardware Launches 2024 (Updated Nov 2024)
- Intel Arc B580 Review - Excellent Value
Controversial News Posts
- NVIDIA 2025 International CES Keynote: Liveblog (449)
- AMD Debuts Radeon RX 9070 XT and RX 9070 Powered by RDNA 4, and FSR 4 (340)
- NVIDIA GeForce RTX 5090 Features 575 W TDP, RTX 5080 Carries 360 W TDP (212)
- AMD Radeon RX 9070 XT Alleged Benchmark Leaks, Underwhelming Performance (204)
- Potential RTX 5090 and RTX 5080 Pricing in China Leaks (173)
- 32 GB NVIDIA RTX 5090 To Lead the Charge As 5060 Ti Gets 16 GB Upgrade and 5060 Still Stuck With Last-Gen VRAM Spec (173)
- AMD Radeon RX 9070 XT Boosts up to 3.10 GHz, Board Power Can Reach up to 330W (167)
- NVIDIA GeForce RTX 5070 Ti Leak Tips More VRAM, Cores, and Power Draw (161)