 0
0
Penclic Mini Keyboard C2 Review
Disassembly »Closer Examination

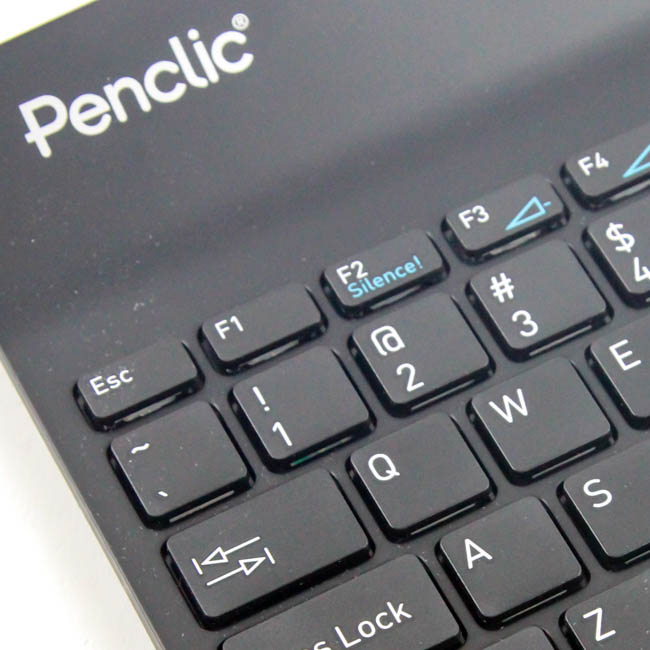
The Penclic Mini Keyboard C2 is easily the lightest and lowest-profile standalone keyboard I have ever used, thanks to the scissor switches and accompanying low profile keycaps seen here. The form factor is close to a 70% keyboard with a dedicated function key row and arrow keys, but no Ins-Pg Dn cluster or similar. There is a bend upwards at the top which does contribute to large bezels here, but it is more for necessity than anything else as that is where the keyboard controller and other components are located. There is simply no room in the keyboard switch area itself.
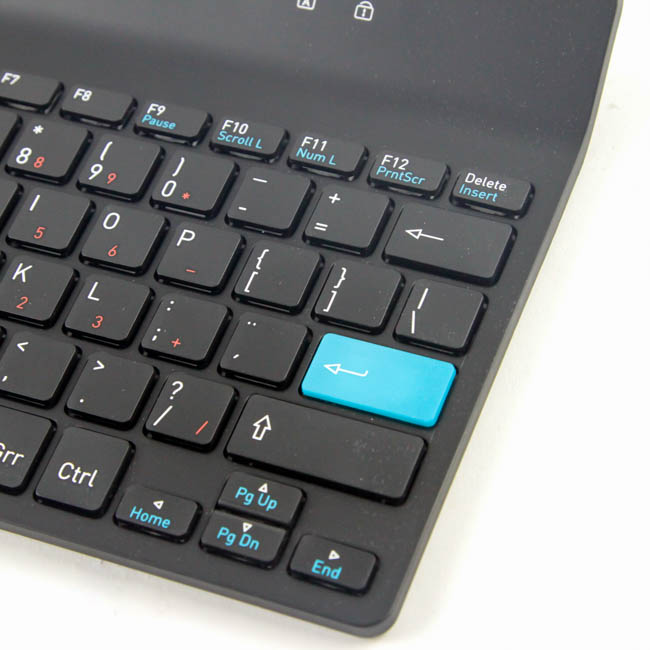
There are a few oddities here, such as the random blue Enter key or the so-called Alt Grr which is no different from any other Alt key. The R Shift key is also larger than I would like, but there is symmetry around the center as well as the sides.
There are three indicator LEDs at the top, and the rest of the keyboard is fairly straightforward. Note that there are secondary legends on several keys here, and some of these are for media functions whereas one set with orange-colored secondary legends acts as a numpad when toggled on - more on this later. The font and positioning of the legends is pretty good, although singular legends such as on the alpha keys could have been larger and centrally located given there is no backlighting on the keyboard.
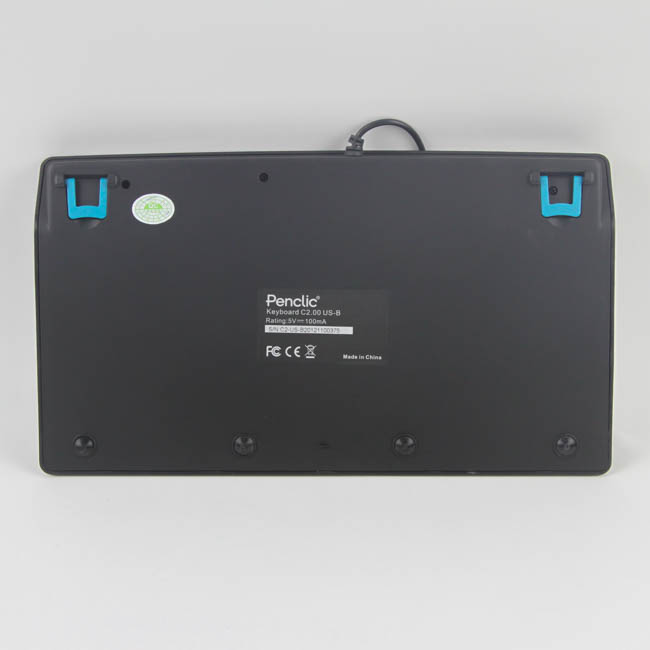
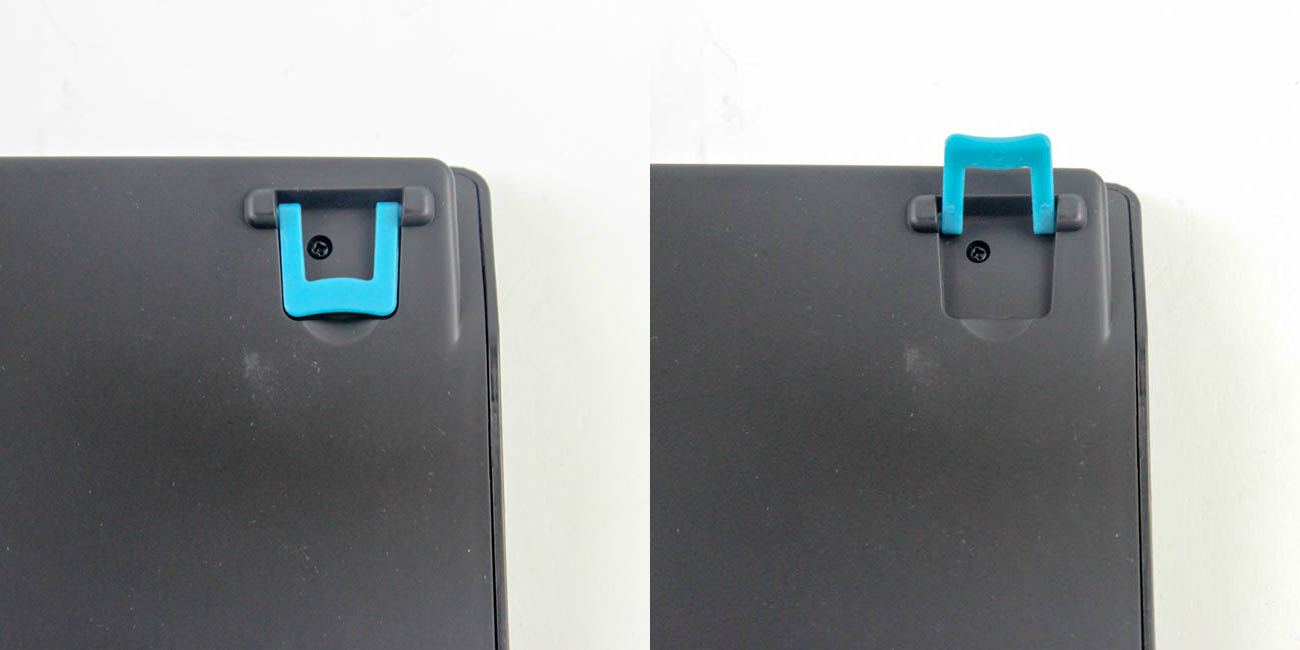
Not much to see on the back aside from the QC sticker and FCC certification label, which also has the serial number for the keyboard. There are also two case feet, also blue, that are hard plastic and can be raised to elevate the keyboard. There are four small rubber pads on the bottom to help prevent the keyboard from moving around on your desk, but none at the top or under the feet themselves to prevent potential scratching of the plastic.
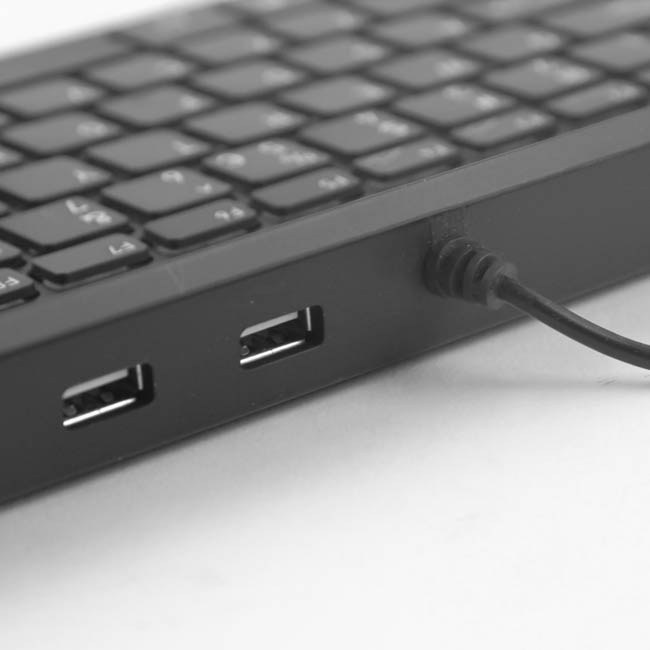
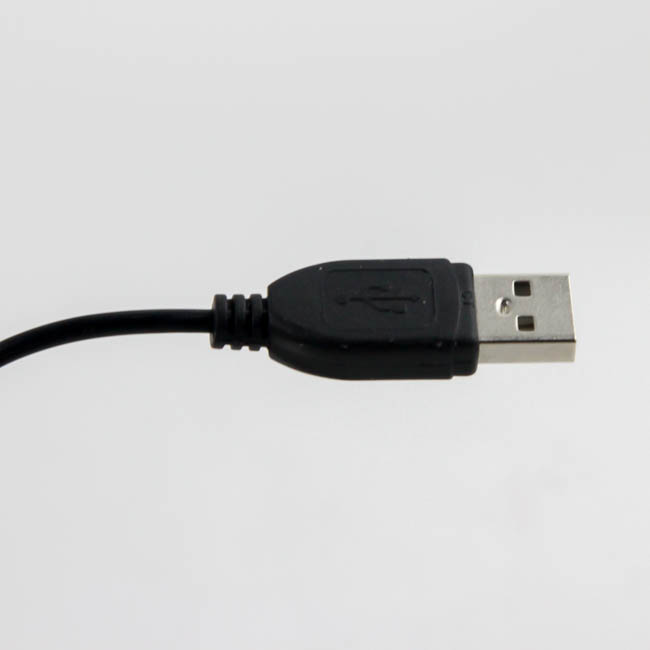
There is a single non-detachable cable here which is shorter than the usual 1.8 M / 6' by a whole foot. This should not be a deal breaker for the target audience, whose desktops or laptops are close by as is. The cable terminates in a male Type-A USB connector, and USB 2.0 suffices not only for powering and operating the keyboard but also for the two other USB 2.0 ports on the keyboard itself. There is a non-powered USB 2.0 hub here thus, and you can connect USB 2.0 devices to the spare ports to power and use them. That said, note that there is a limit on power, so do not expect this to be able to power devices that need more than 200 mA of current draw, each. A standard USB 2.0 mouse (maybe not those with lots of RGB LEDs) and USB drives should all work fine.
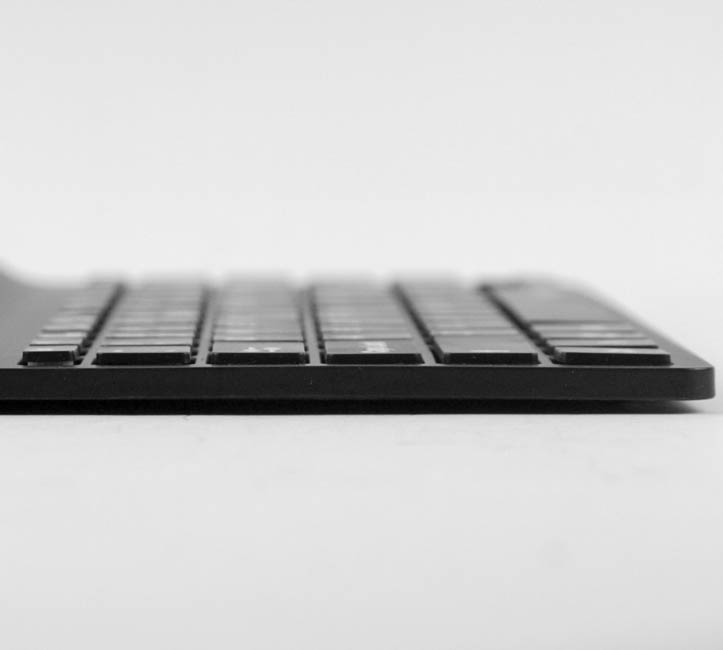
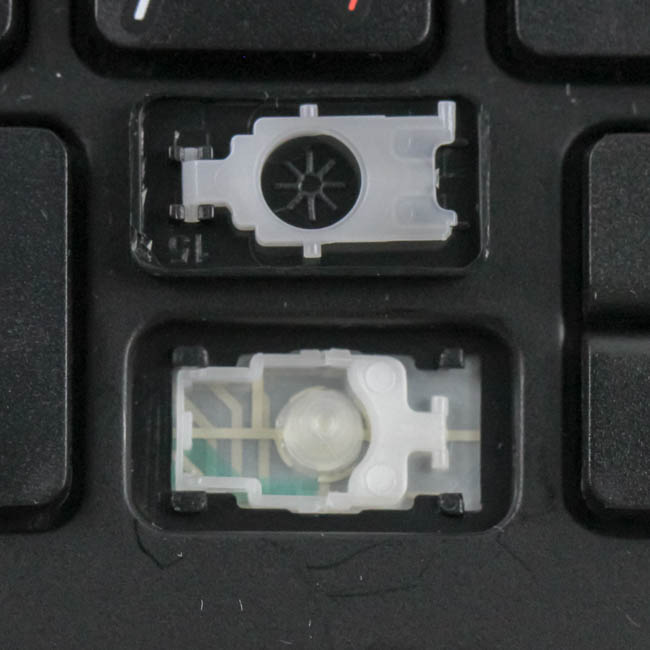
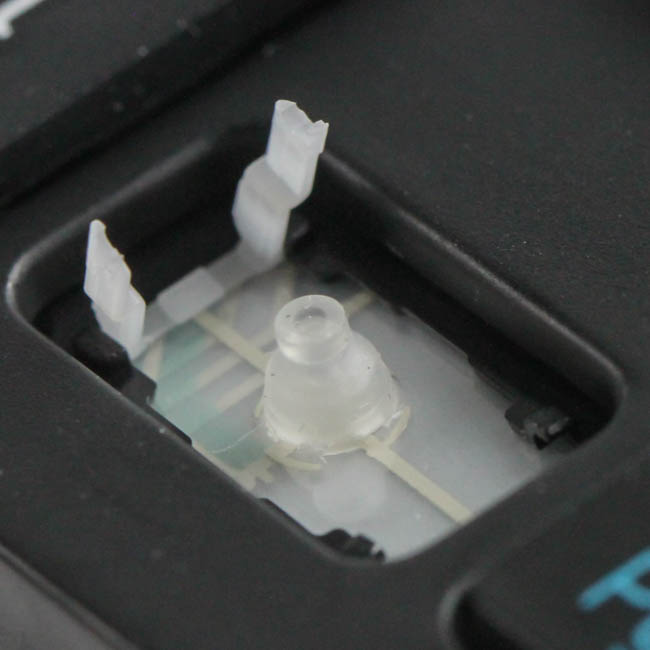
Here is where we really see how low profile the keyboard is - at least where you type on. This part of the keyboard is a mere 6 mm high, and for some context, most mechanical switches have a bottoming out distance of 4 mm alone. The keycaps do not have any sculpting or curvature and are really part of the switches. Scissor switches have two diagonal plastic pieces that clip into the keycap and either end of the switch base, so when you press down the two open outward like a pair of scissors opening fully. At the same time, there is a rubber dome which provides tactile feedback, and when fully depressed, it actuates the keystroke. So in terms of functionality, these are similar to full-size membrane keys. The keycaps are ABS plastic, and the legends appear pad printed on, so they will show signs of wear with time.
In case it was not apparent from the images above, do NOT pry out the keycaps here. I did remove one to show the switch, but that also meant I broke it, and it can not be put back together. As such, if the keycaps wear out beyond what you are comfortable with, there is unfortunately nothing practical you can do about it.
Feb 23rd, 2025 19:31 EST
change timezone
Latest GPU Drivers
New Forum Posts
- Will undervolting a 4090 keep the connector from melting? A discussion about electrical theory. (35)
- Warning about DOCP (17)
- 16TB (13)
- revisiting hpet bcdedit tweaks: what are your timer bench results and settings? (94)
- Testing max ram overclock pn Ryzen 1700 (72)
- Need help dumping/imaging Lenovo laptop BIOS (3)
- Keep a 4080s or take a 5070ti? (44)
- Dune: Awakening benchmark - post your results (17)
- Your PC ATM (35251)
- First ever PC build (19)
Popular Reviews
- ASUS GeForce RTX 5070 Ti TUF OC Review
- MSI GeForce RTX 5070 Ti Ventus 3X OC Review
- darkFlash DY470 Review
- MSI GeForce RTX 5070 Ti Vanguard SOC Review
- MSI GeForce RTX 5070 Ti Gaming Trio OC+ Review
- Galax GeForce RTX 5070 Ti 1-Click OC White Review
- Palit GeForce RTX 5070 Ti GameRock OC Review
- Fantech Aria II Pro Review
- Gigabyte GeForce RTX 5090 Gaming OC Review
- AMD Ryzen 7 9800X3D Review - The Best Gaming Processor
Controversial News Posts
- NVIDIA GeForce RTX 5090 Spotted with Missing ROPs, NVIDIA Confirms the Issue, Multiple Vendors Affected, RTX 5070 Ti, Too (448)
- AMD Radeon 9070 XT Rumored to Outpace RTX 5070 Ti by Almost 15% (302)
- AMD Plans Aggressive Price Competition with Radeon RX 9000 Series (271)
- AMD Radeon RX 9070 and 9070 XT Listed On Amazon - One Buyer Snags a Unit (247)
- Edward Snowden Lashes Out at NVIDIA Over GeForce RTX 50 Pricing And Value (241)
- AMD Denies Radeon RX 9070 XT $899 USD Starting Price Point Rumors (239)
- NVIDIA Investigates GeForce RTX 50 Series "Blackwell" Black Screen and BSOD Issues (225)
- New Leak Reveals NVIDIA RTX 5080 Is Slower Than RTX 4090 (215)