Finally reaching Leyndell. I have literally cleared just everything possible on the map under and above ground, on this side of Leyndell - most of what I have left is only accessible after beating Morgott. Like, every weapon, spell, talisman, what have you is mine. The only thing I haven't done is farm out armor sets. I'll do more of that when I can use things to tack-on lots of arcane/item discovery. You learn a fair bit about enemies by getting their pieces. There's usually one particular piece that says more. I find a lot of interesting lore in the armor drops.
Leyndell is so pretty. I think it's an easy favorite for a lot. It's a fascinating place.
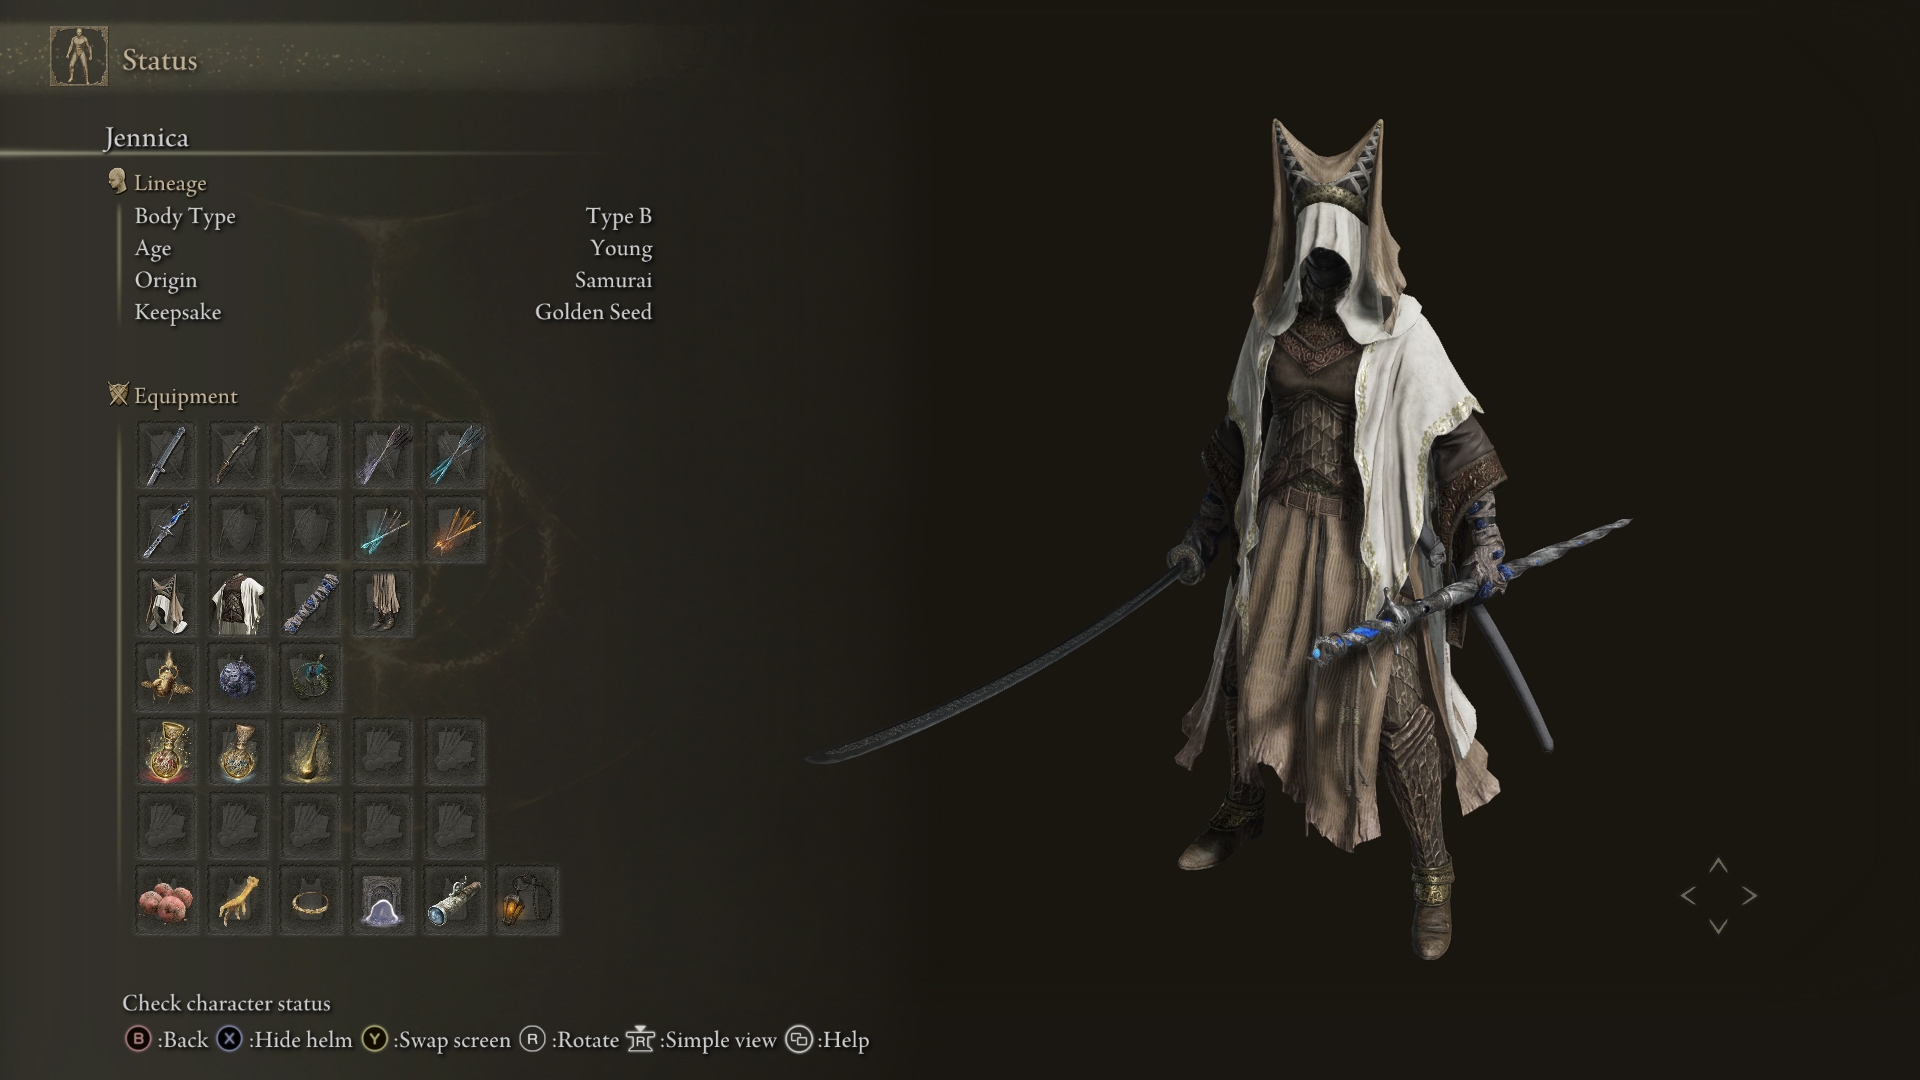
I still think this set has pretty good drip. It seems fitting for this place, visually.
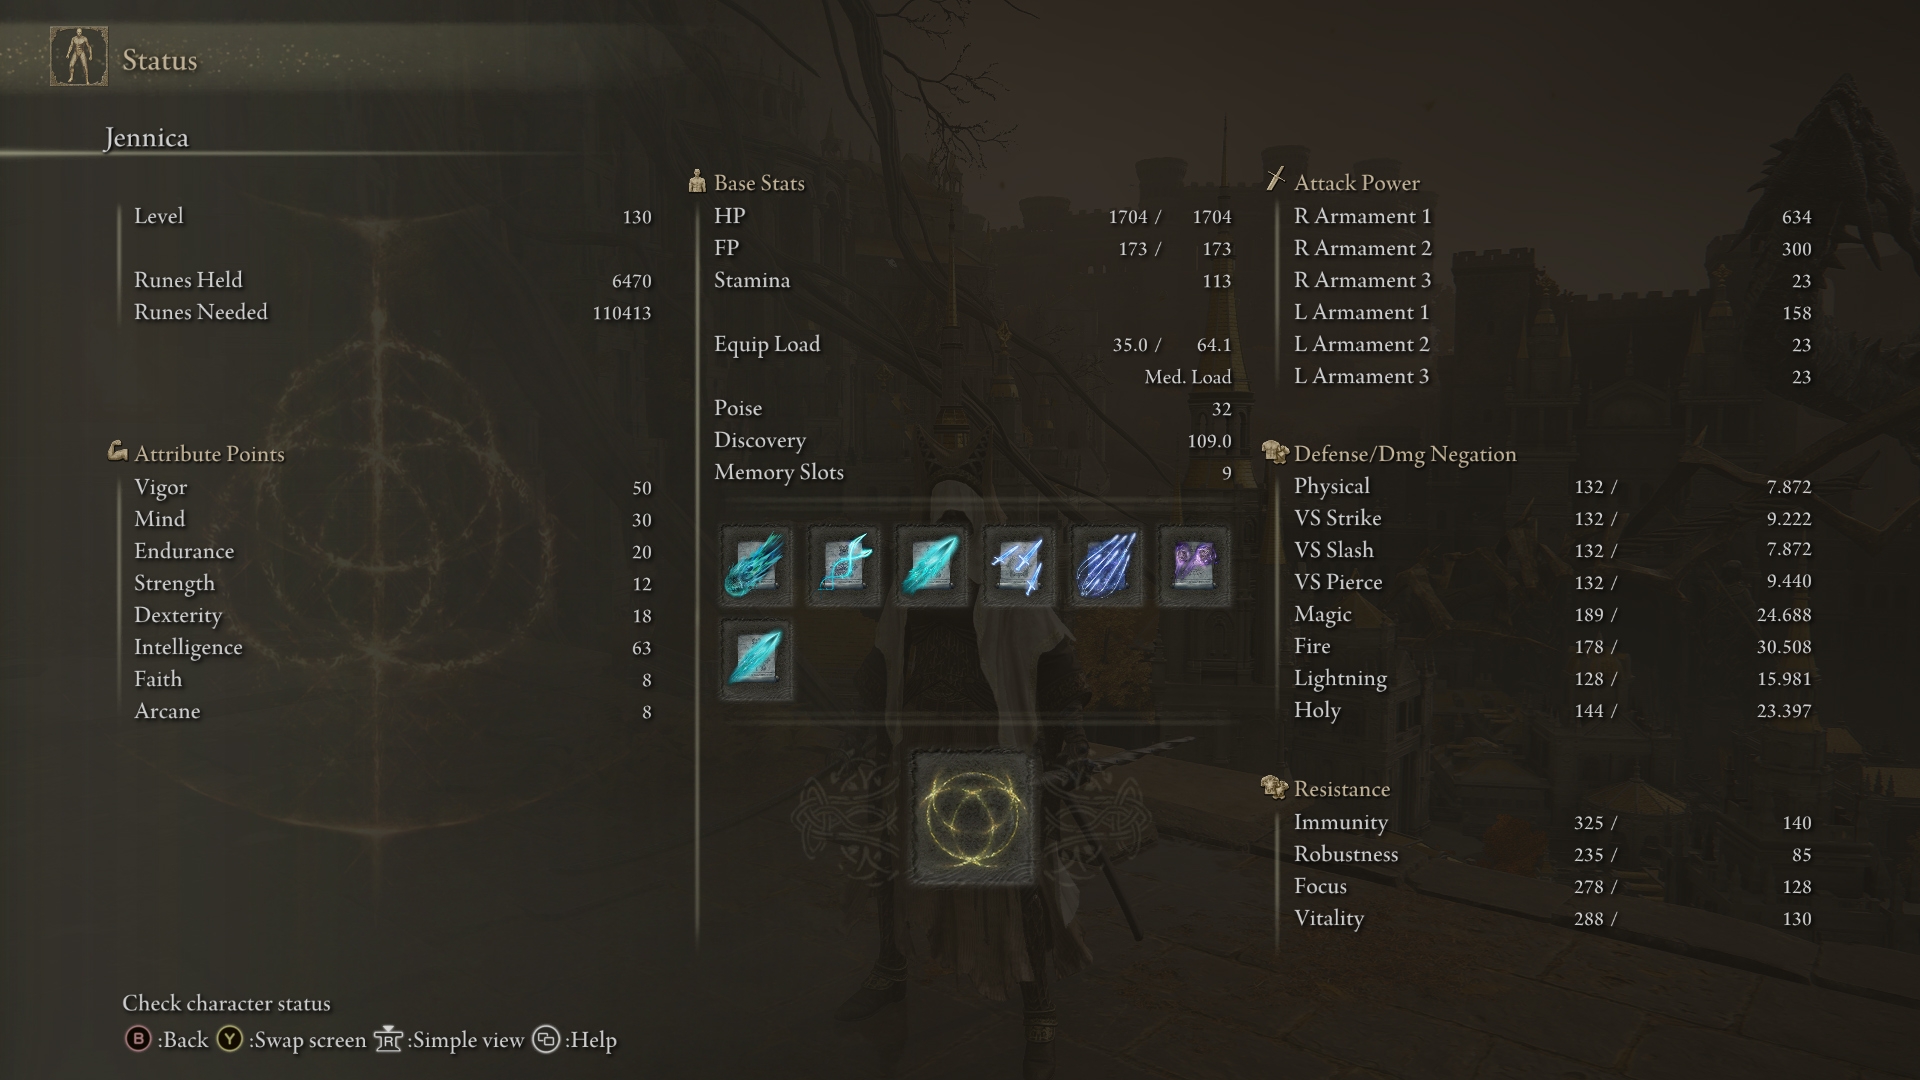
Finally got enough INT for the scepter. That thing is sweet lookin. Basically pushing for that 80 INT cap that it has so it can be at least in the ballpark of what the FP-eating Lusat staff has in damage. Even if it leaves me a bit low on vigor/mind by then. It's getting close to 300 sorcery scaling. Besides, I'm loaded up on all flasks and tears up to the snowfields. And with good damage efficiency, you don't need many casts. That's why I went with the 60 INT Carian scepter over the two 52 INT primeval staves - the added FP sink is too much with only 30 points in mind. Got talismans and the magic damage physick to further boost it and have a fair bit of damage on tap in spells, so that each bar counts for a lot more.


This whole setup leaves me with almost no natural physical negation of any kind, but the second tear in my physick is an opaline hardtear, which boosts it all up by 15%, putting it at normal levels for heavier armor when I fight hard hitting colossal enemies. Sometimes I switch it for the infinite mana one to let off a long-hold Azur kamehameha with lots of magic boost behind it, which is oddly satisfying. The slightly more FP-efficient glintstone cometshard can be used instead of full on comet (the biggest charging/repeating single glintstone shot) to deal with a lot of different enemies, when you have lots of damage and scaling to make each one count for a lot. A charged one can kill multiple enemies in one pass. Sometimes I toss out the slow spinning glintstone spell from finishing Sellen's quest to just lead in an approach with the Moonveil - once it connects, it slows them down for a good sec while stacking great damage for less FP, allowing you ample opportunity to get a finishing slash or two in with the MV in the other hand. But honestly, the amount of enemies that go down in one quick shot from the mere glintstone comet is almost too useful. If I ever want to, I can overwhelm a huge range of enemies with these spells - just never give them a chance.
One thing I gotta say, my mimic is a fkn monster with these spells and weapons

Generally, when I two-hand the Moonveil, I just take advantage of the boosted 600+ base to get it done by quickly and carefully placing the best hits I can - save on using the AOW by utilizing the big damage of it and the moveset at +9. On its own, it's a punishing weapon that can pick down stance pretty well, but you can only take advantage of that if you aren't getting hit in the first place, so defenses lag a bit. If I'm really hurting for defense, I can swap in a dragoncrest shield +1 talisman to get another 13% negation. Or just drop the jar arsenal charm on and armor-up. Better lightning defense could help here, but it can't be helped. Livers it is.
Personally, I think it's more fun to be sort of frail with a setup like this. If I'm actually getting nailed enough to matter, I'm not making use of the huge amounts of power it has. I'm not even making max use of it. There are better ways to configure a character in this class, so much more to take advantage of. But I haven't needed to just yet.


 .
.

 The majority of it is in Japanese so I'm working through it with Google Translate on my phone and the previous research done by others. A lot of options are beyond me but I've found some of the "cheats" plus some fun extras like teleportation, controlling NPCS and the Event Flag manipulator (which essentially lets you activate/deactivate an event, any event, provided you know the ID for it).


