 10
10
1STPLAYER Bullet Hunter MK6 Keyboard Review
Disassembly »Closer Examination
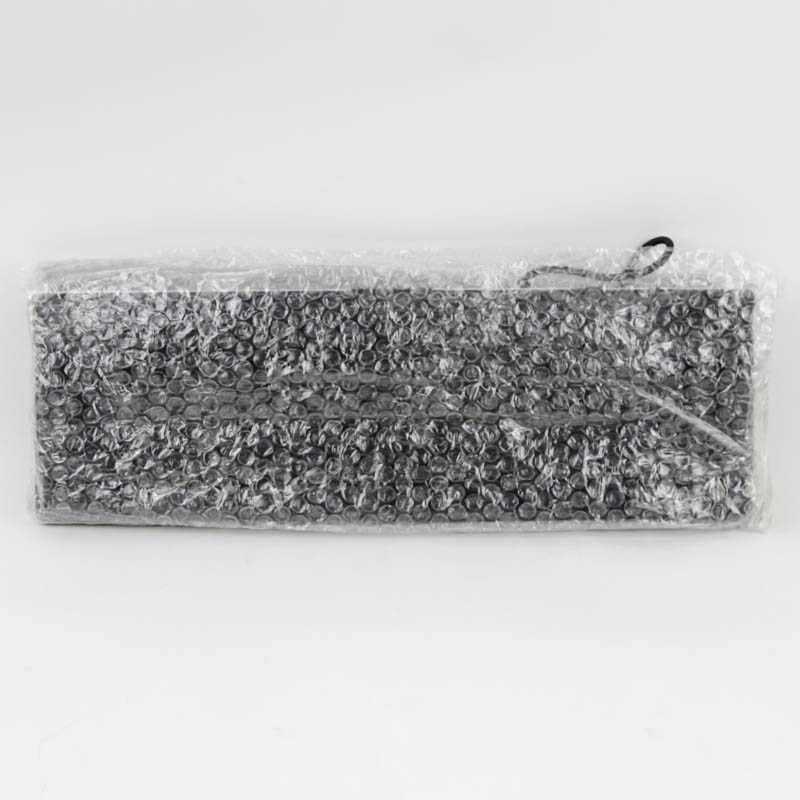
As we saw before, the Bullet Hunter MK6 keyboard comes in a bubble wrap to keep it pristine and free of dust out of the box. Removing it, we get our first good look at the keyboard and the product manual that was inside the bubble wrap for some reason. I suppose this means that the customer will most definitely see it, and it is useful for getting accustomed to the onboard controls. There is an online version on the product page which is hilariously part of a tall image that is just embedded on to the URL.
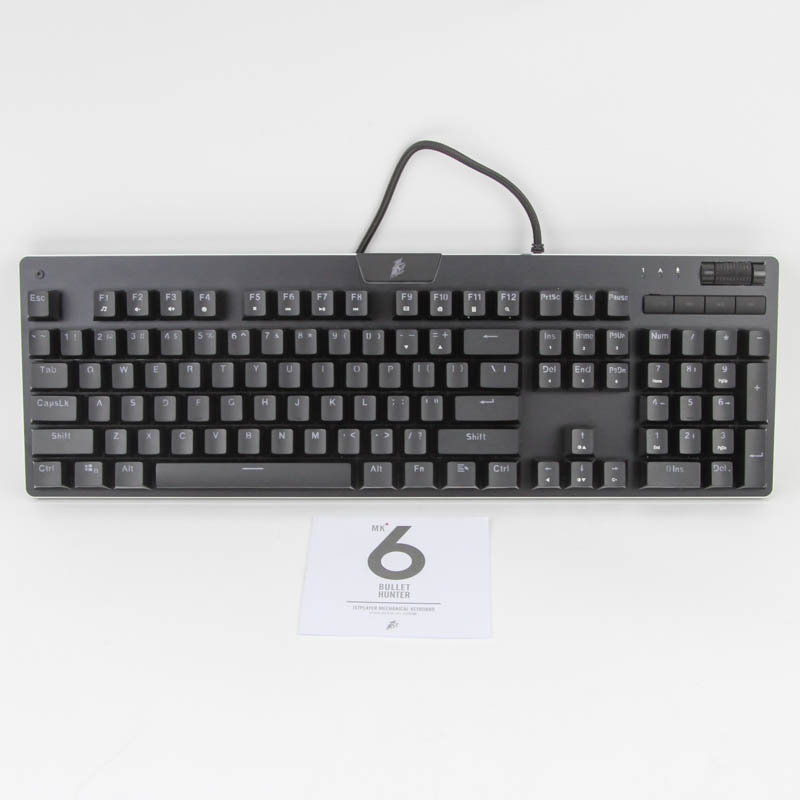
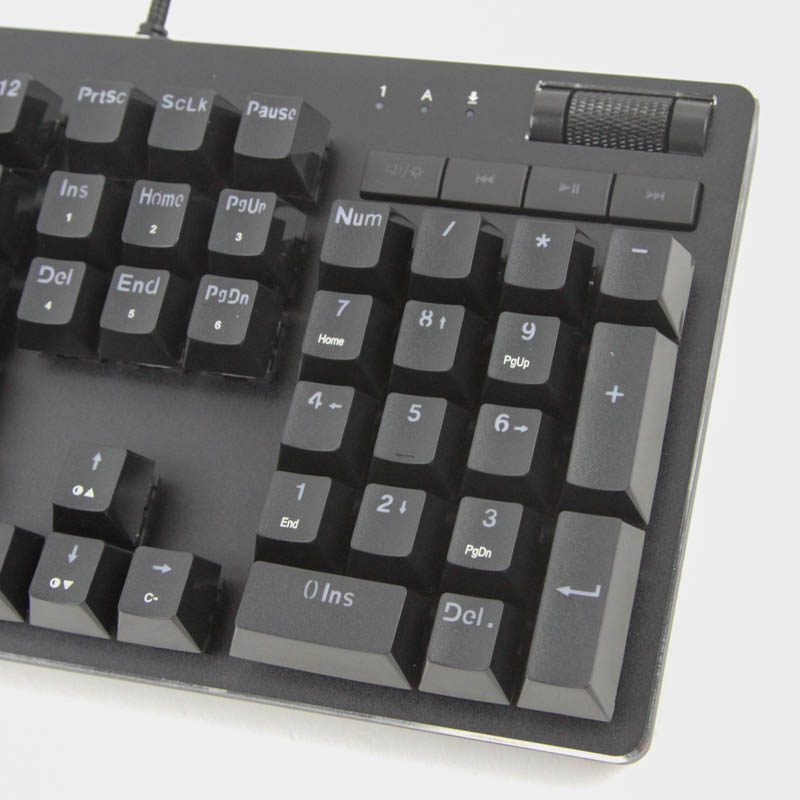
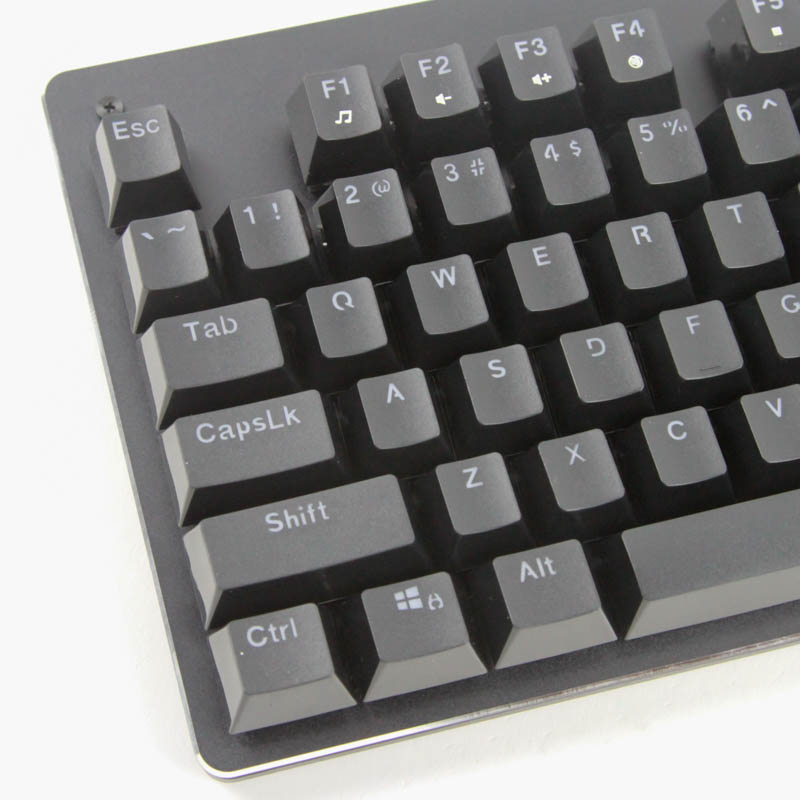
The keyboard itself is on the cleaner side of design choices in the market with its black color scheme and smaller-than-average bezels on all sides but the top with the indicator LEDs and volume scroll wheel. The other dedicated media buttons are where the indicator lights would normally be above the numpad. There is a backlit logo in the center at the top, but that is about it as far as visible branding goes. The keyboard fits nicely into any environment thus—work or otherwise—with the only flair being a chrome trim along the edges of the keyboard. The numpad and most other keys have secondary legends below the primary ones, though there is the exception of the number key row in the alphanumeric section all having them alongside at the top. This, combined with the location of single legends being in the top-center, is indicative of where the backlighting will be more uniform, and those at the bottom may not end up as bright as those at the top.
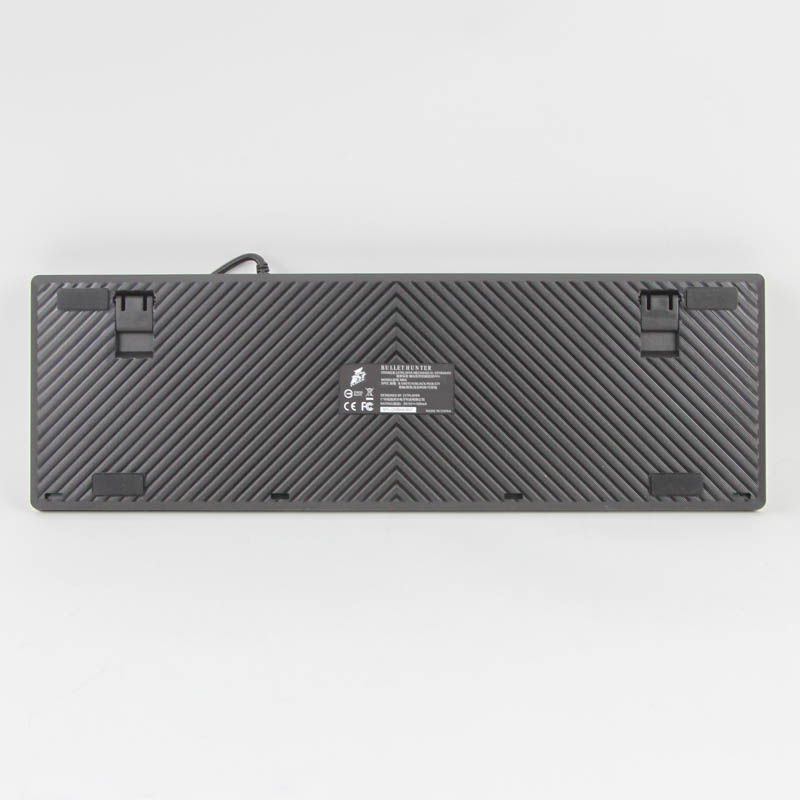

Flipping the keyboard around, we see the usual certification sticker in the middle. There are also grooves all along the surface, which is really more for aesthetics than anything else. Cutouts in the case allow for some form of IPxx protection by allowing for spilled fluids to pass through and out the bottom of the keyboard, but don't take this for a waterproof product by any means. There are four small rubber pads on the corners in the back to keep the keyboard from sliding around on the desk, and two feet at the top open up to optionally elevate the keyboard. These feet have rubber pads on the bottom as well to help them keep their grip on the resting surface and prevent them from getting scratched.
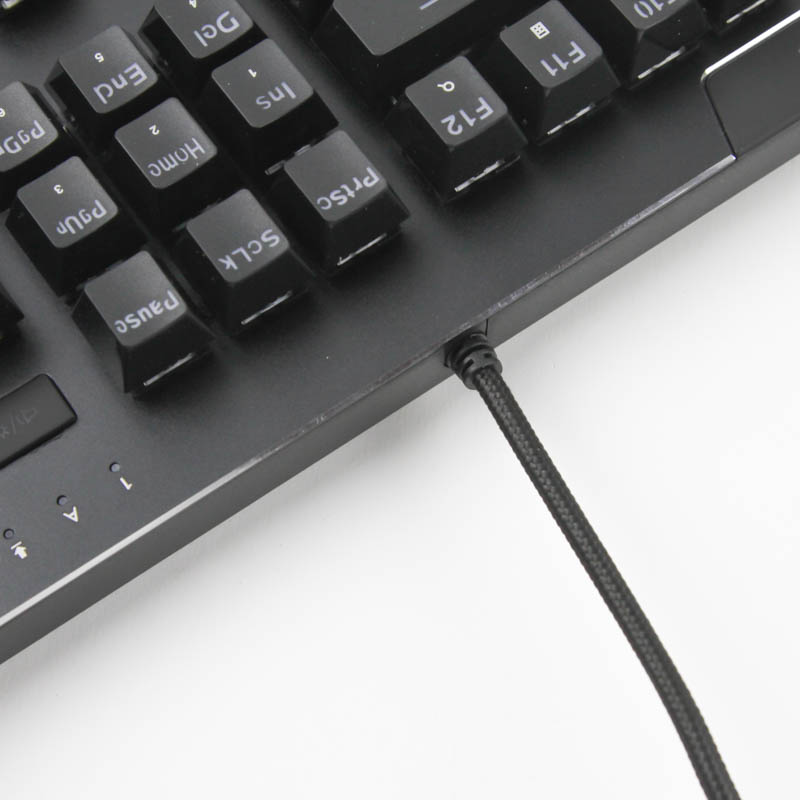
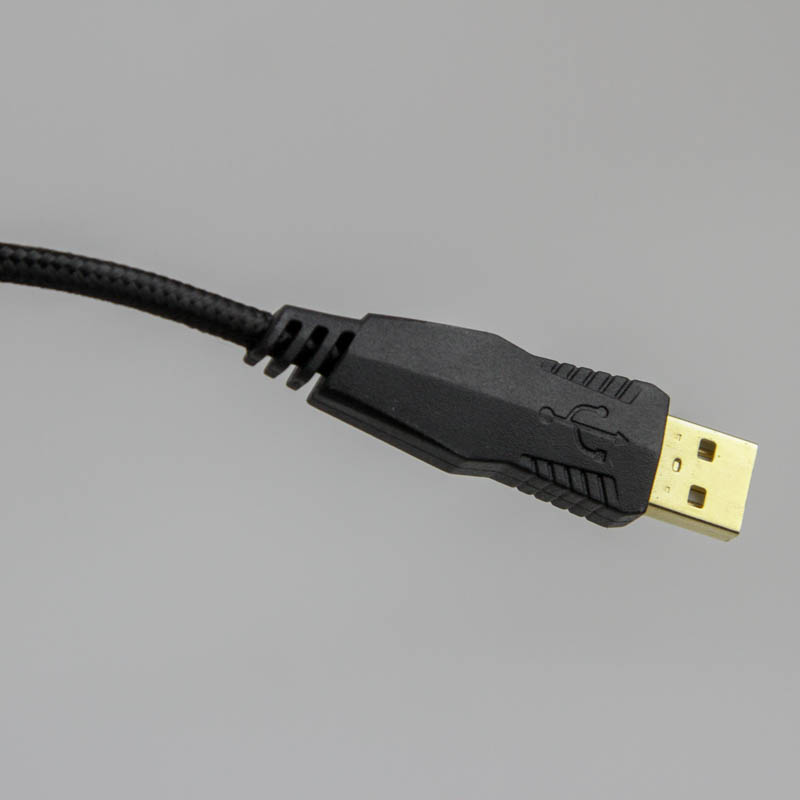
There is a non-detachable cable that juts out near the dedicated media keys in front and is sleeved well. It is completely black to match the rest of the keyboard and terminates in a male USB Type-A connector. The connector itself is in a large plastic housing that has been designed to accommodate a lot of involuntary flexing at that end, and the connector itself is gold-plated to add some oxidation resistance. USB 2.0 will suffice here for data and power alike, although there is really no lack of USB 3.1 Gen 1 (USB 3.0) ports these days.
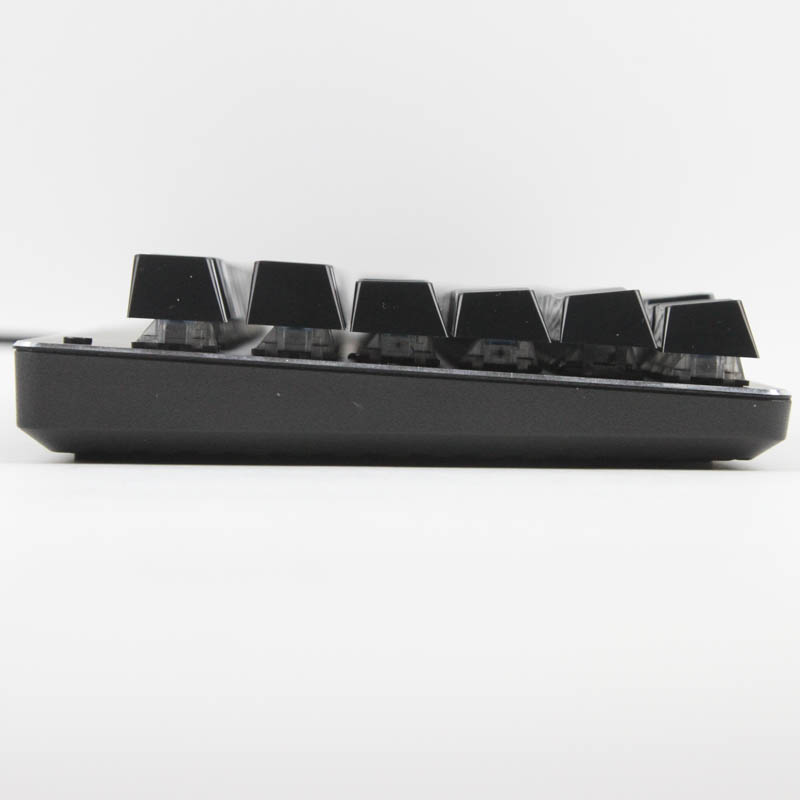

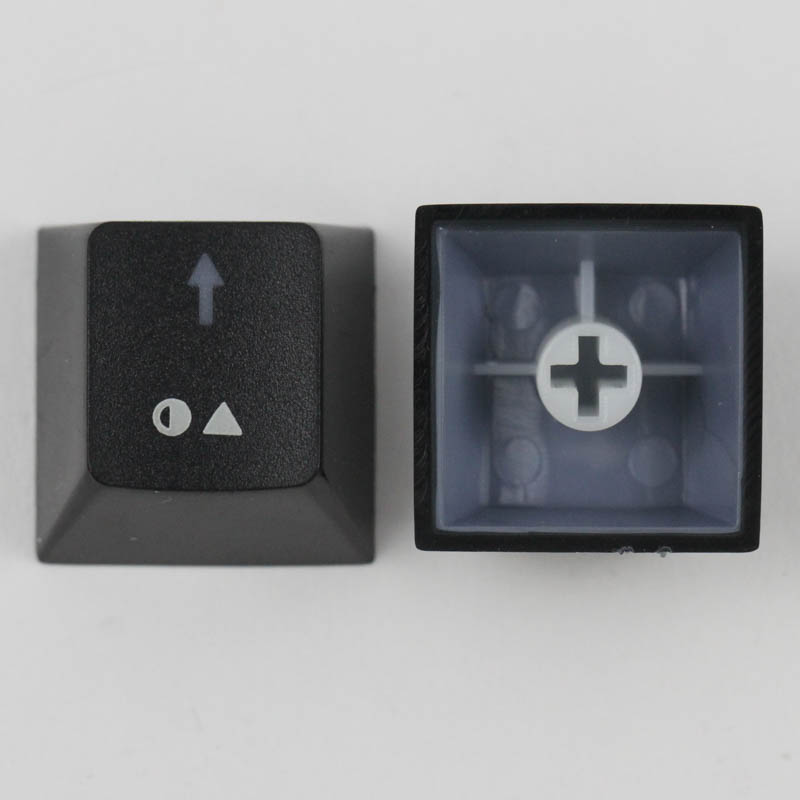
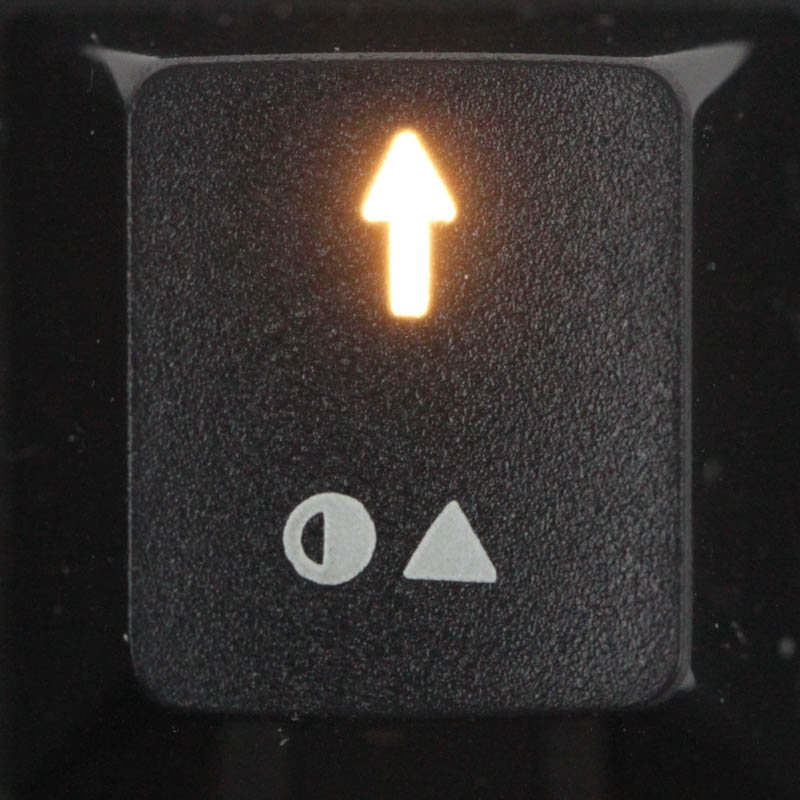
The keycaps have an OEM profile, and the various rows are thus sculpted accordingly. They have a floating design, which allows for easier cleaning, but causes more light bleed and may or may not be to your liking. The keycaps themselves are better than average with thick ABS plastic (average wall thickness 1.44 mm) combined with doubleshot injected legends for most of them. It is not a perfect solution as far as stock keycaps go, however, with ABS plastic still developing a shine with use and some of the keyboard-specific legends effectively pad printed in an opaque white that will not let light through. The sides of the keycaps are also glossy, which has these scratch easier and accentuates the light bleed, especially if you use the included keycap puller. As expected, backlighting will be affected depending on where the legends are located.
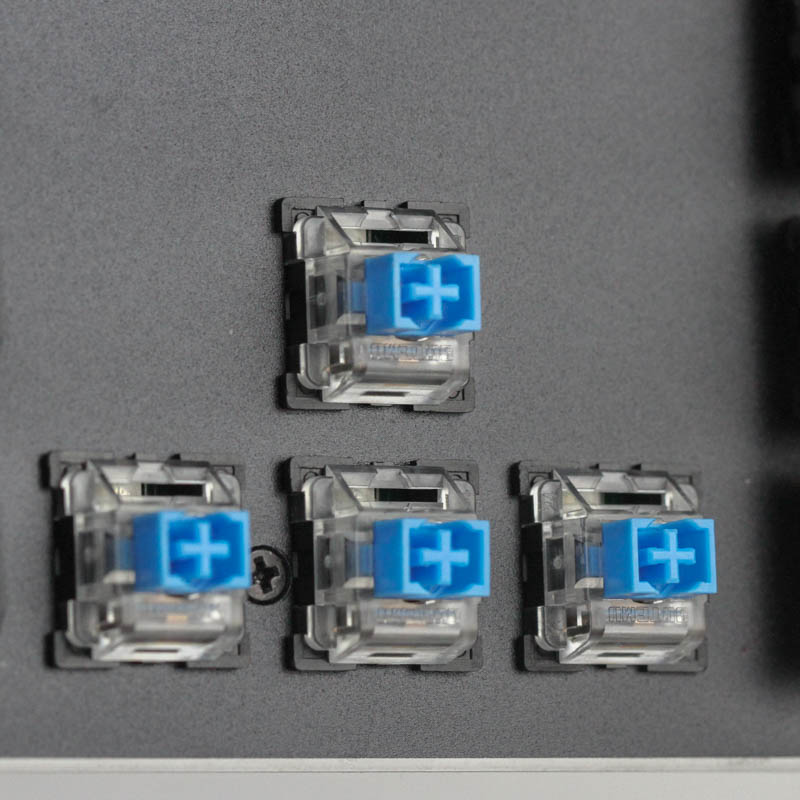
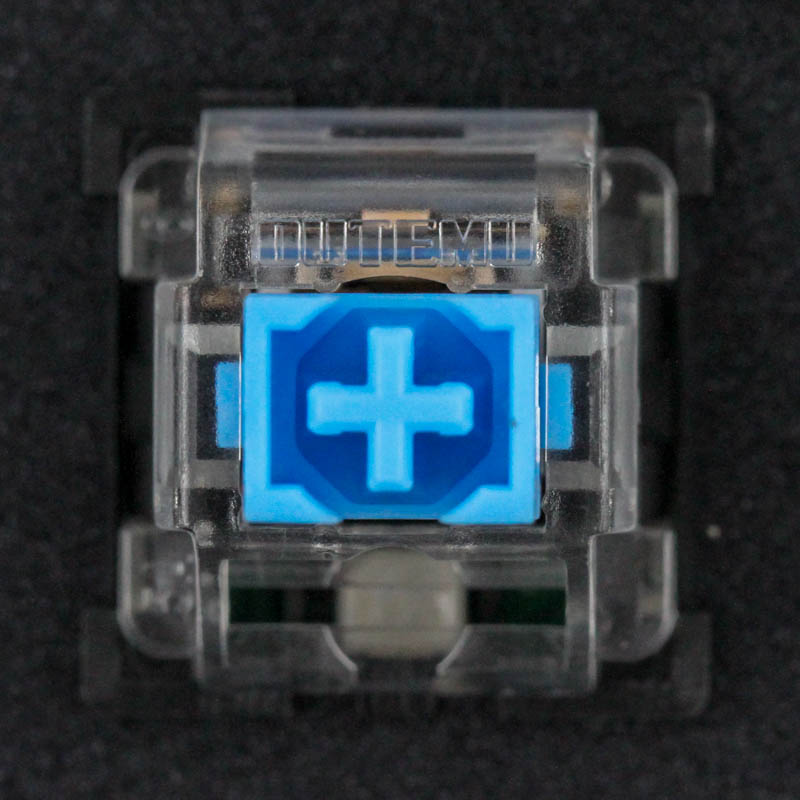
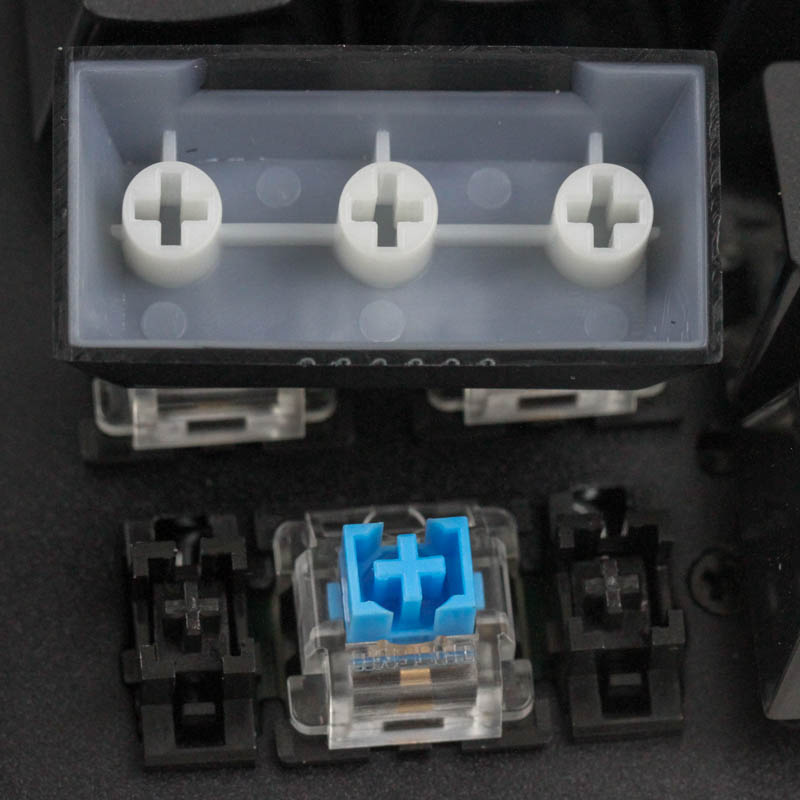
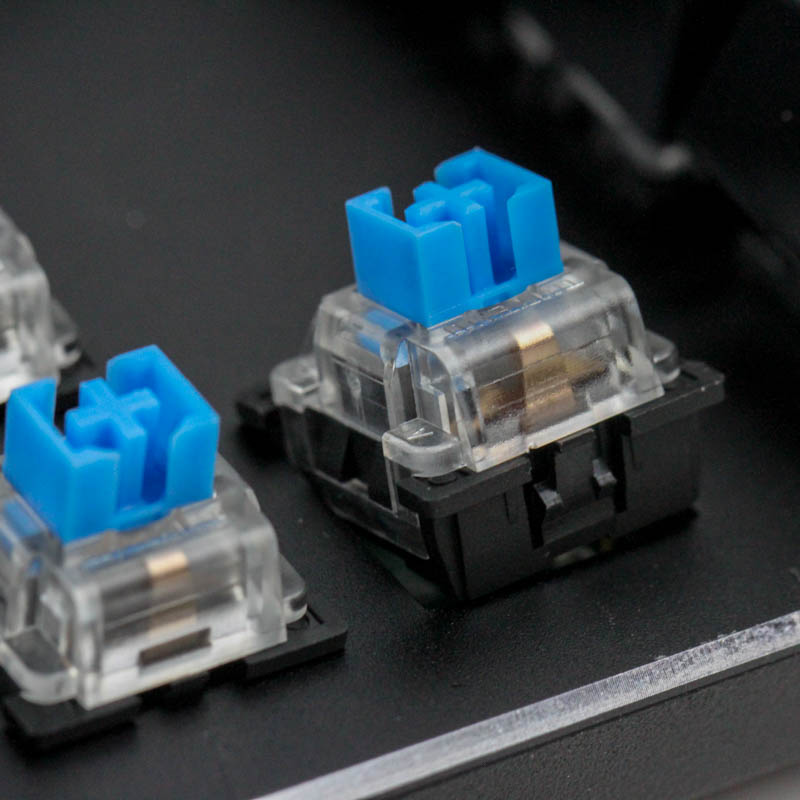
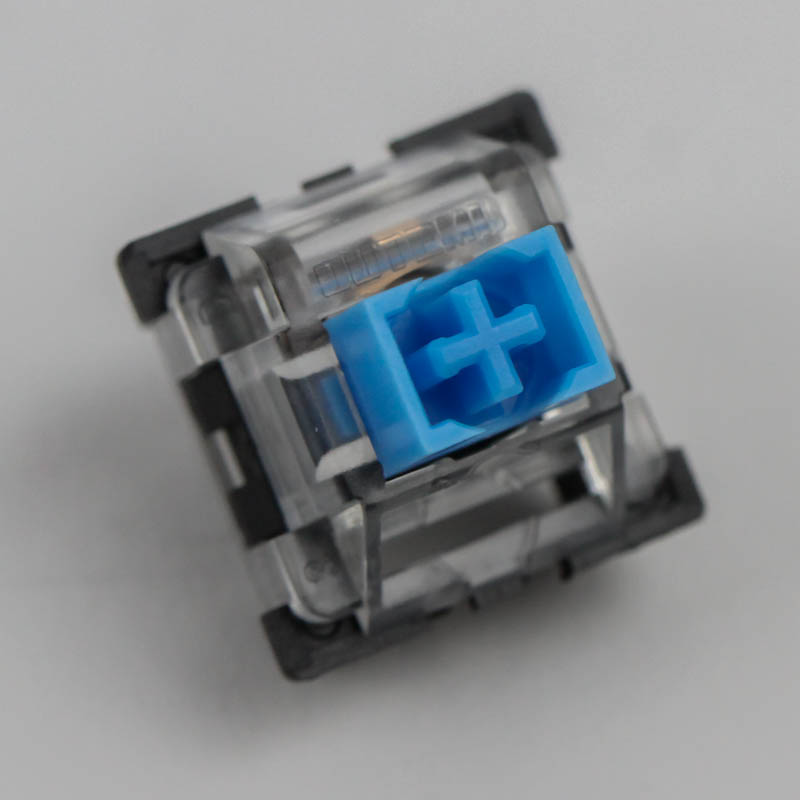
Outemu Blue RGB mechanical switches are the only switch option here. Box switches here, these are different in form than other keyboards with Outemu Blue RGB mechanical switches we saw before. The box around the switch stem adds some more dust and spill resistance to the keyboard, but means that aftermarket keycap compatibility is affected slightly. The LEDs are visible through a clear section in the switch housing, which results in some diffusion of the lighting at the expense of maximum brightness. The larger keycaps use Cherry-style stabilizers, which makes those keycaps easier to remove and install as well, but at the expense of a slightly mushy and unsatisfying feeling when depressed normally.
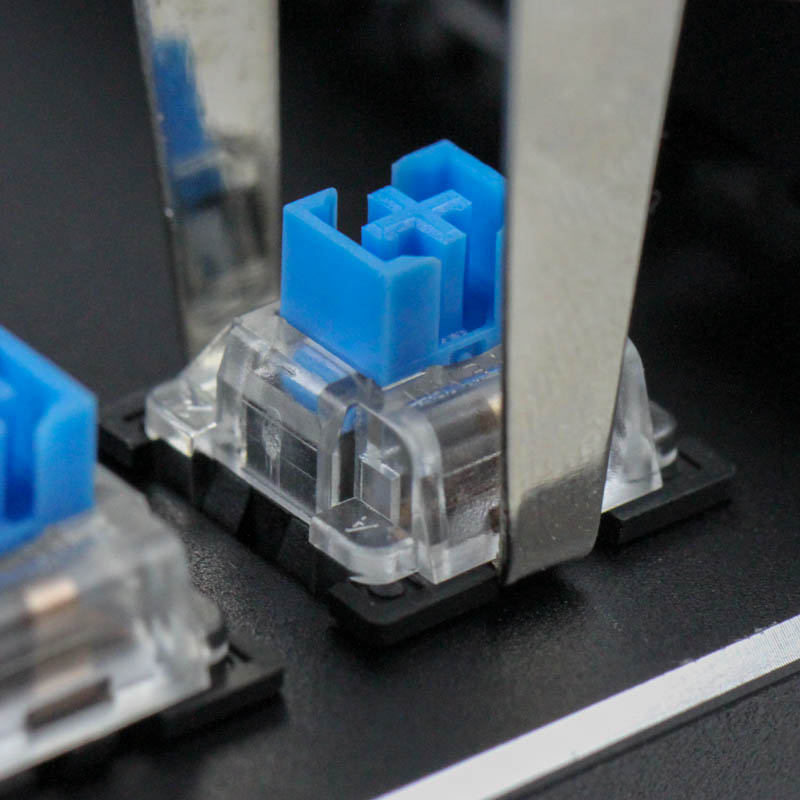
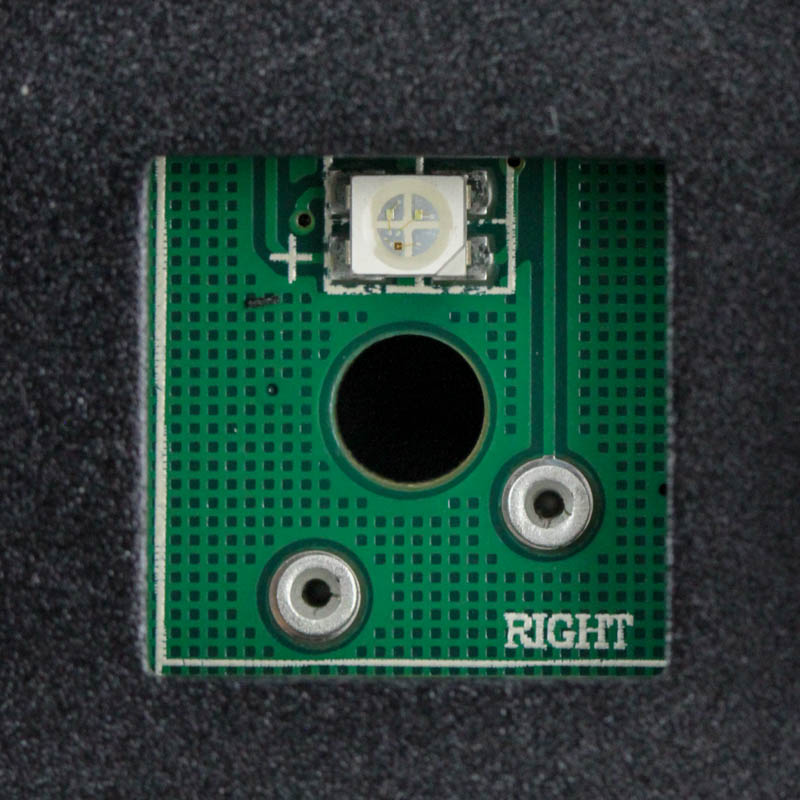
The CIY switch design is handy for when you want to easily replace switches with other compatible ones, including the four replacement switches included with the keyboard. The switch puller works well enough, and be sure to hook it into the notches and pull while wiggling from side to side to prevent any damage to the switch or keyboard PCB. With the switch removed, we can see the pad contacts on the PCB as well the RGB LED itself. This mechanism allows for hot-swapping switches, as well as a more customized keyboard for those wanting to use a mixture of different switches in specific areas.
Feb 21st, 2025 21:30 EST
change timezone
Latest GPU Drivers
New Forum Posts
- 572.42 Drivers, Screen Blacking Out? (4)
- Your PC ATM (35246)
- What's your latest tech purchase? (23195)
- Nvidia's GPU market share hits 90% in Q4 2024 (gets closer to full monopoly) (446)
- [Intel AX1xx/AX2xx/AX4xx/AX16xx/BE2xx/BE17xx] Intel Modded Wi-Fi Driver with Intel® Killer™ Features (273)
- Windows 11 General Discussion (5685)
- [FW Update Mod] For Crucial T500 NVMe SSD Users ONLY (7)
- Rops? Jayz2cents quoted Techpowerup (5)
- How to quickly & easily fix coil-whine(coil choke noise) (1131)
- A Final Fantasy IX Reminiscence - My love letter and homage to one of the best stories ever told (57)
Popular Reviews
- MSI GeForce RTX 5070 Ti Ventus 3X OC Review
- Gigabyte GeForce RTX 5090 Gaming OC Review
- Galax GeForce RTX 5070 Ti 1-Click OC White Review
- ASUS GeForce RTX 5070 Ti TUF OC Review
- Ducky One X Inductive Keyboard Review
- MSI GeForce RTX 5070 Ti Vanguard SOC Review
- MSI GeForce RTX 5070 Ti Gaming Trio OC+ Review
- MSI MAG Z890 Tomahawk Wi-Fi Review
- AMD Ryzen 7 9800X3D Review - The Best Gaming Processor
- Palit GeForce RTX 5070 Ti GameRock OC Review
Controversial News Posts
- AMD Radeon 9070 XT Rumored to Outpace RTX 5070 Ti by Almost 15% (302)
- AMD Plans Aggressive Price Competition with Radeon RX 9000 Series (269)
- NVIDIA GeForce RTX 5090 Spotted with Missing ROPs, Performance Loss Confirmed, Multiple Vendors Affected (257)
- AMD is Taking Time with Radeon RX 9000 to Optimize Software and FSR 4 (256)
- AMD Radeon RX 9070 and 9070 XT Listed On Amazon - One Buyer Snags a Unit (247)
- Edward Snowden Lashes Out at NVIDIA Over GeForce RTX 50 Pricing And Value (241)
- AMD Denies Radeon RX 9070 XT $899 USD Starting Price Point Rumors (239)
- New Leak Reveals NVIDIA RTX 5080 Is Slower Than RTX 4090 (215)