 10
10
1STPLAYER Bullet Hunter MK6 Keyboard Review
Driver »Disassembly
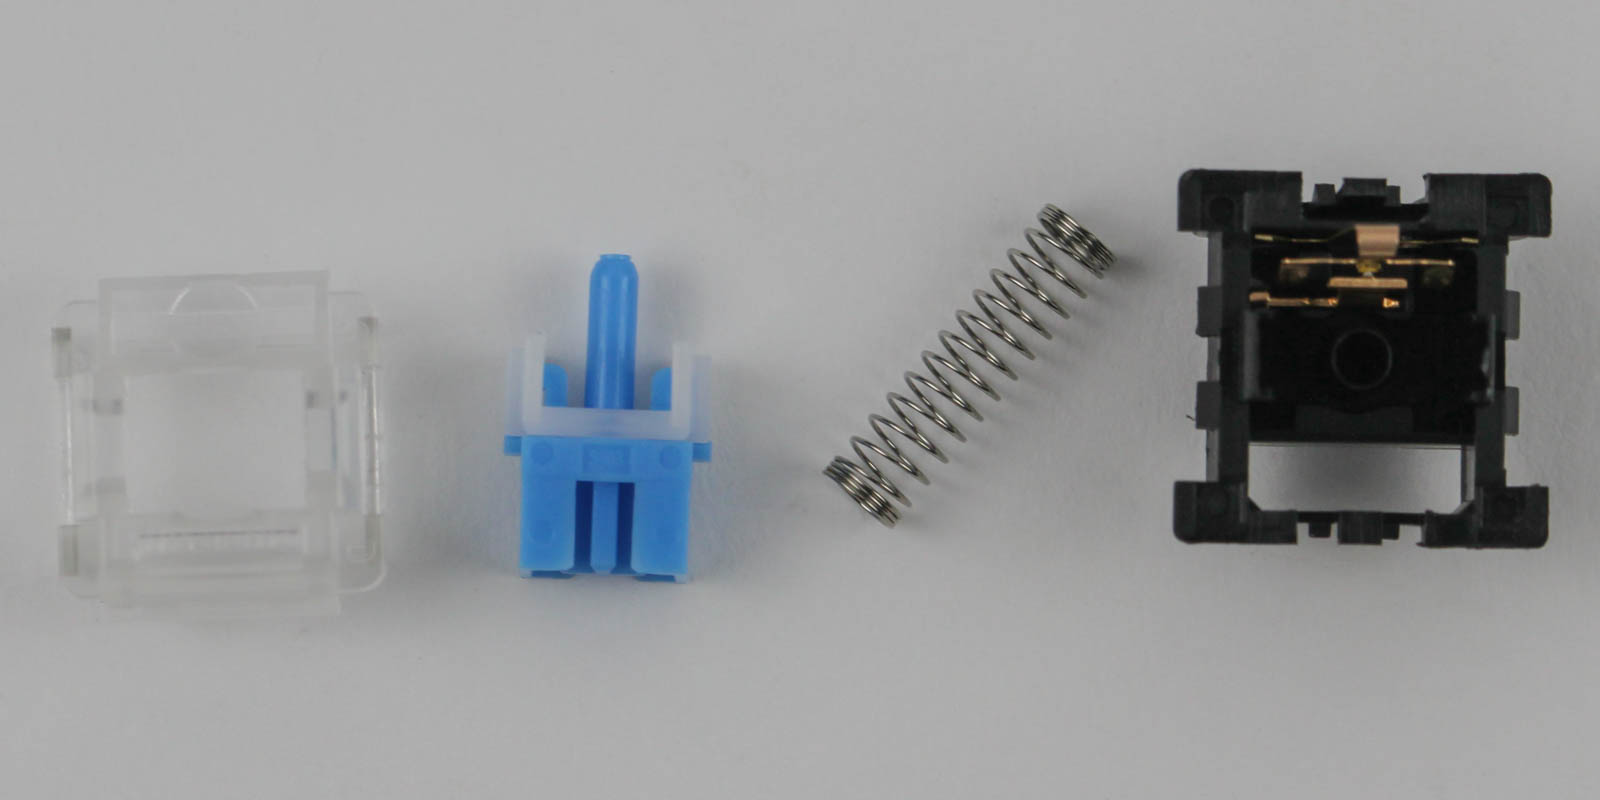
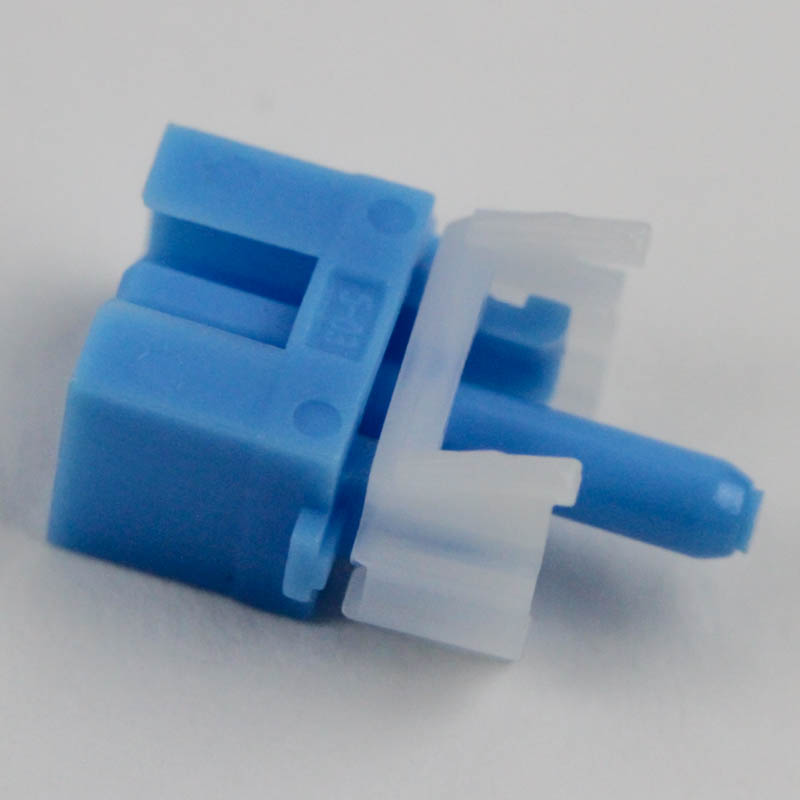
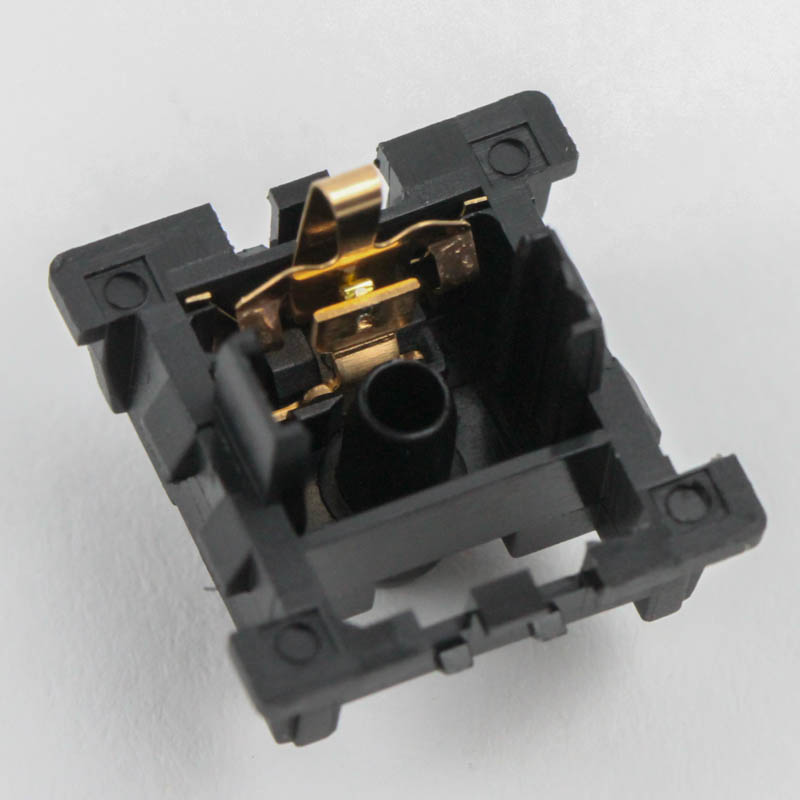
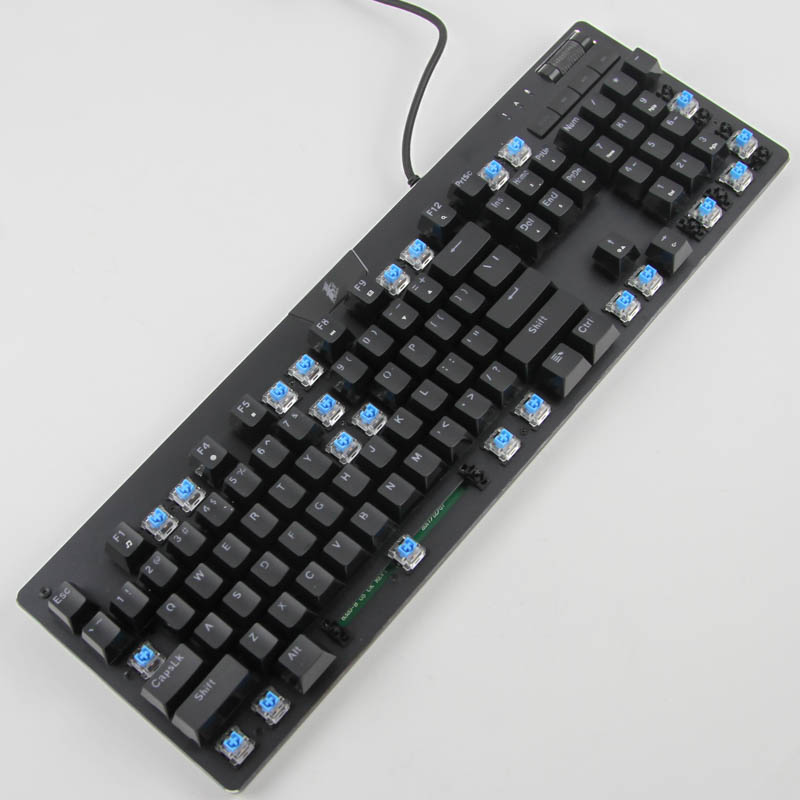
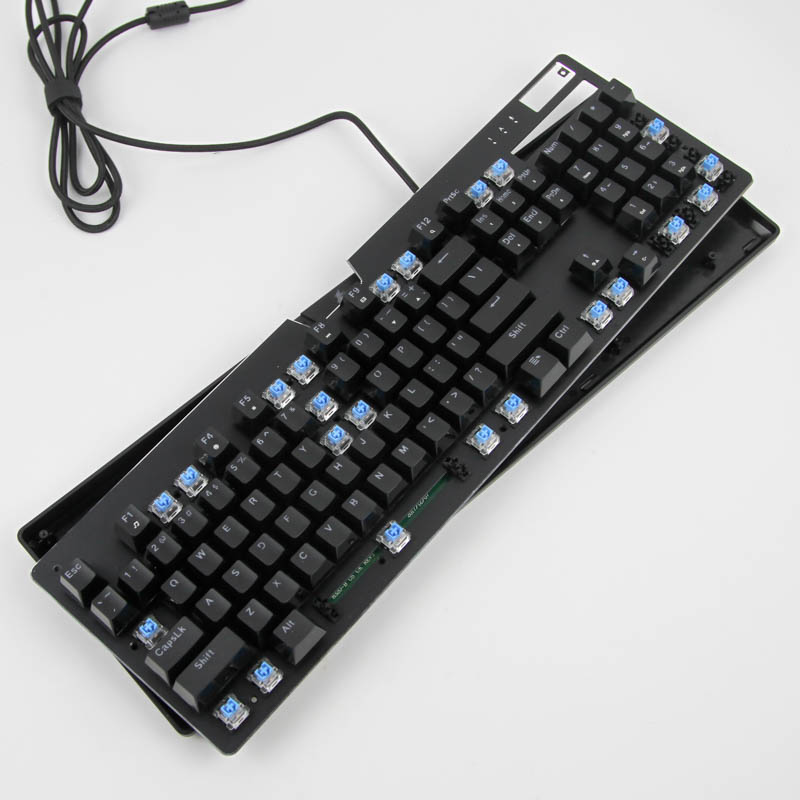
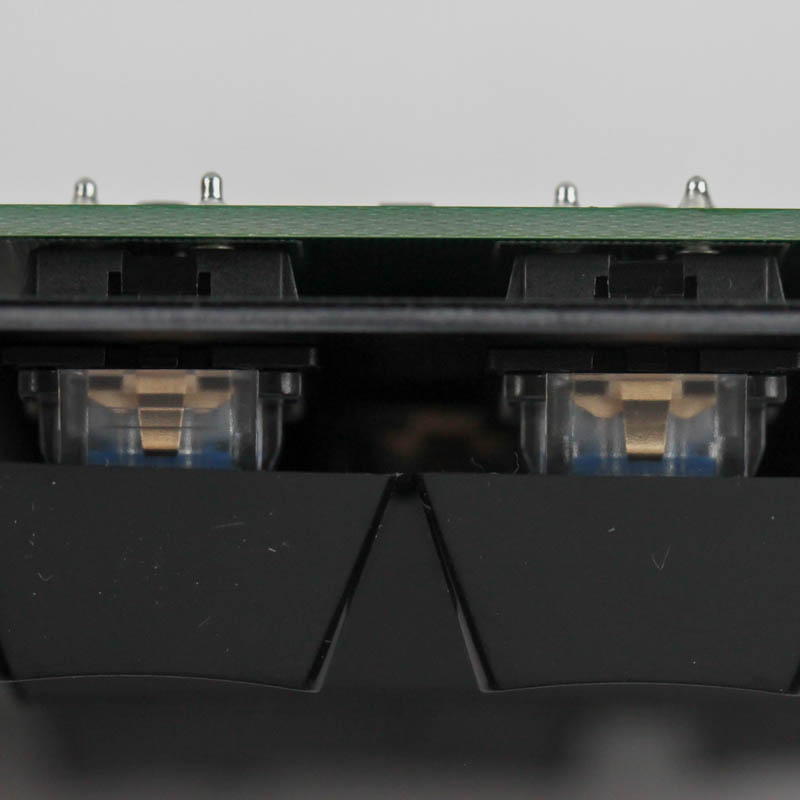
Given we can pull an entire switch off the keyboard and 1STPLAYER includes spare switches to begin with, it is only fair that this section begins with a look at the Outemu Blue switch in use here. Internally, The switch is very similar to the vast majority of clicky and tactile Cherry MX-style mechanical switches in the market today, with a plastic stem and housing combined with metal springs and contacts. The box around the stem is integrated into the stem piece itself, and the slider mechanism works well in combination with the click bar by providing the tactile bump and clicky sound feedback.
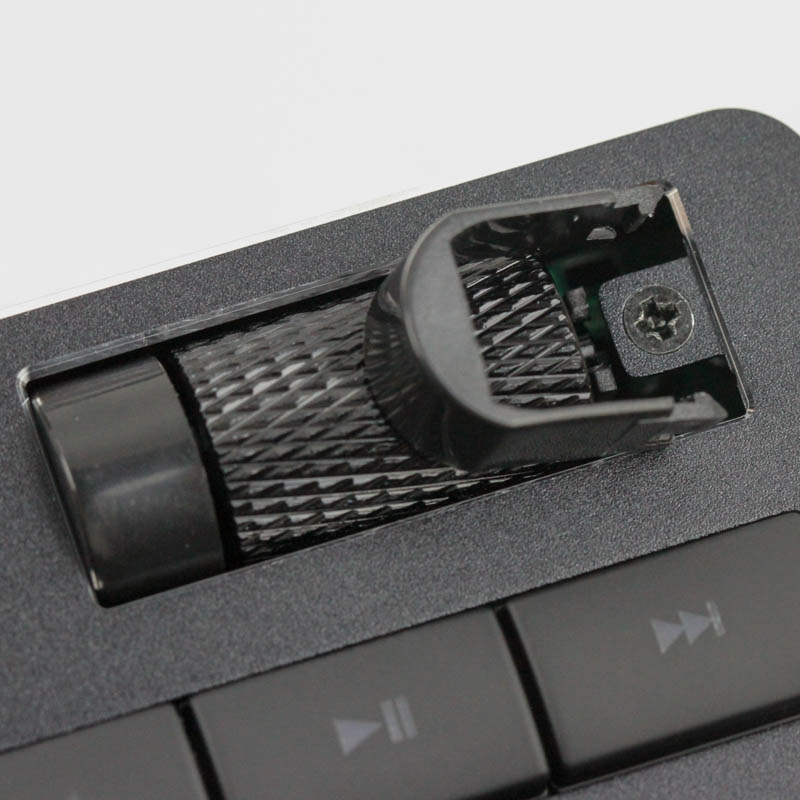
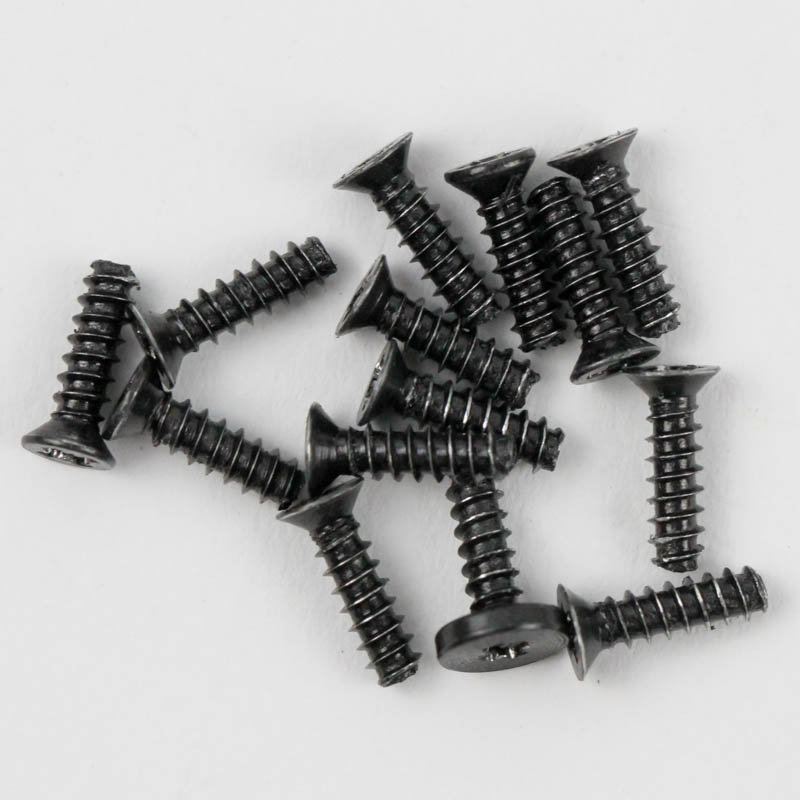
Disassembly of the keyboard itself is easy provided you know exactly where all the screws are. There are the usual suspects accessible by removing some of the keycaps as seen above, and then there is another hidden by the volume scroll wheel, which is seen by prying out the plastic piece alongside. This is exactly how certain CORSAIR keyboard have assembled their keyboards, and likely others too, which does beg the question regarding the hazy nature of OEMs in China and elsewhere. Regardless, all 14 screws have countersunk Phillips heads, and a precision screwdriver proves useful here. With all screws removed, the two main pieces of the keyboard can be separated by enough for a gap for further exploration.
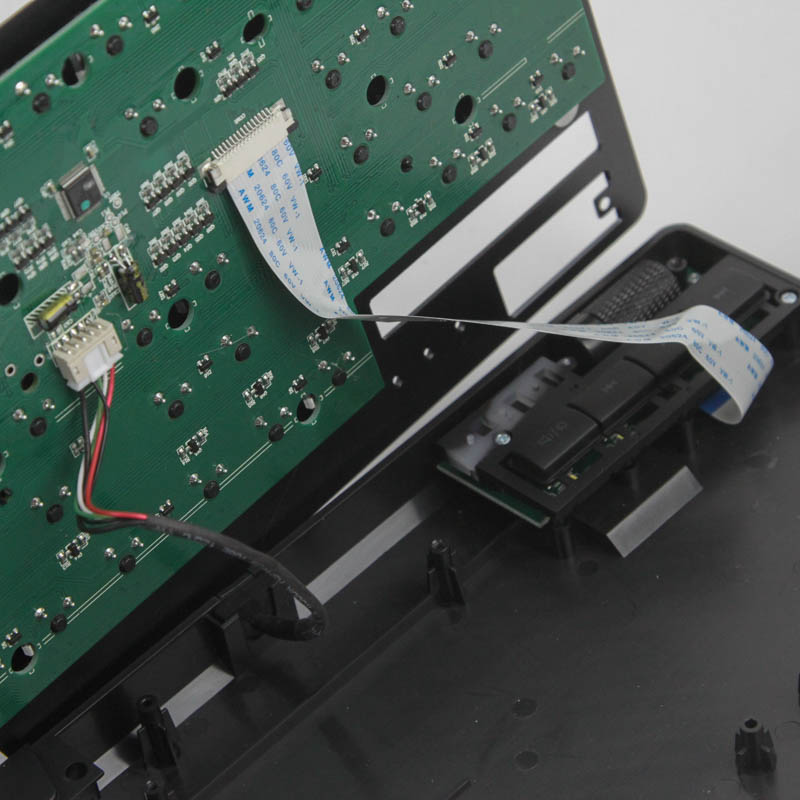
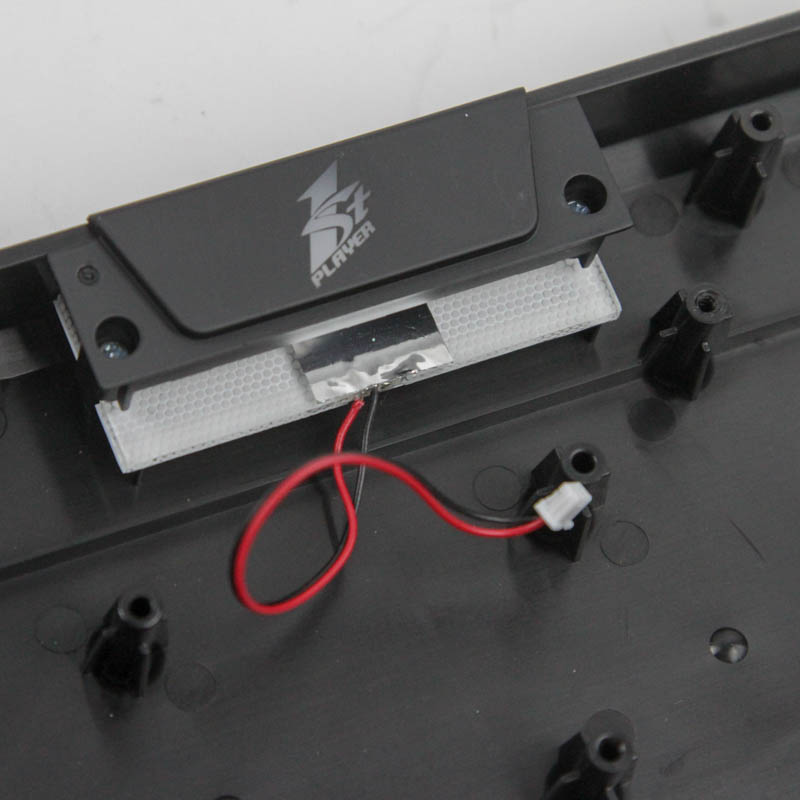
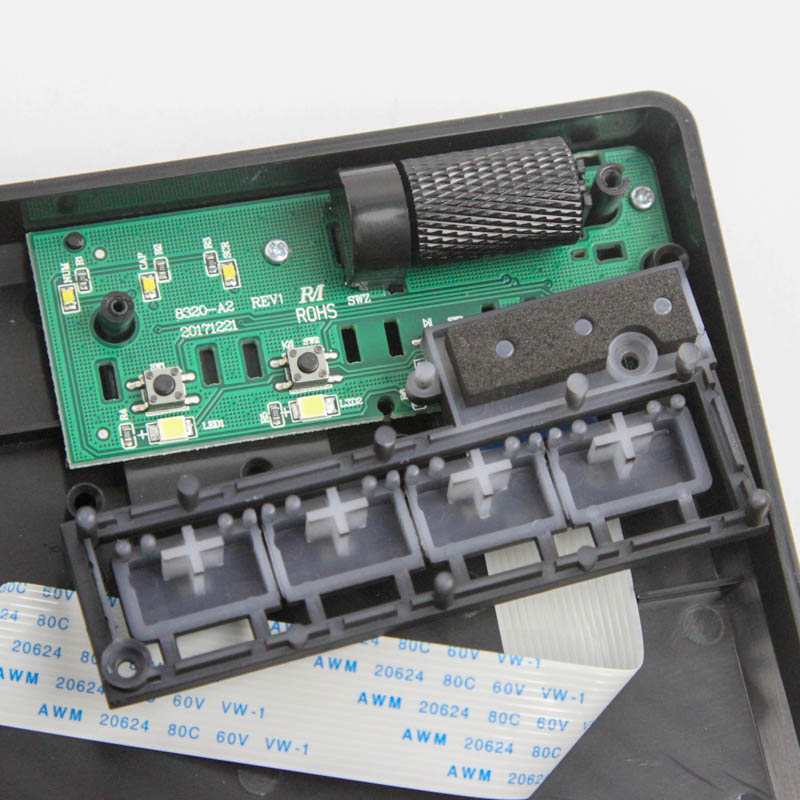
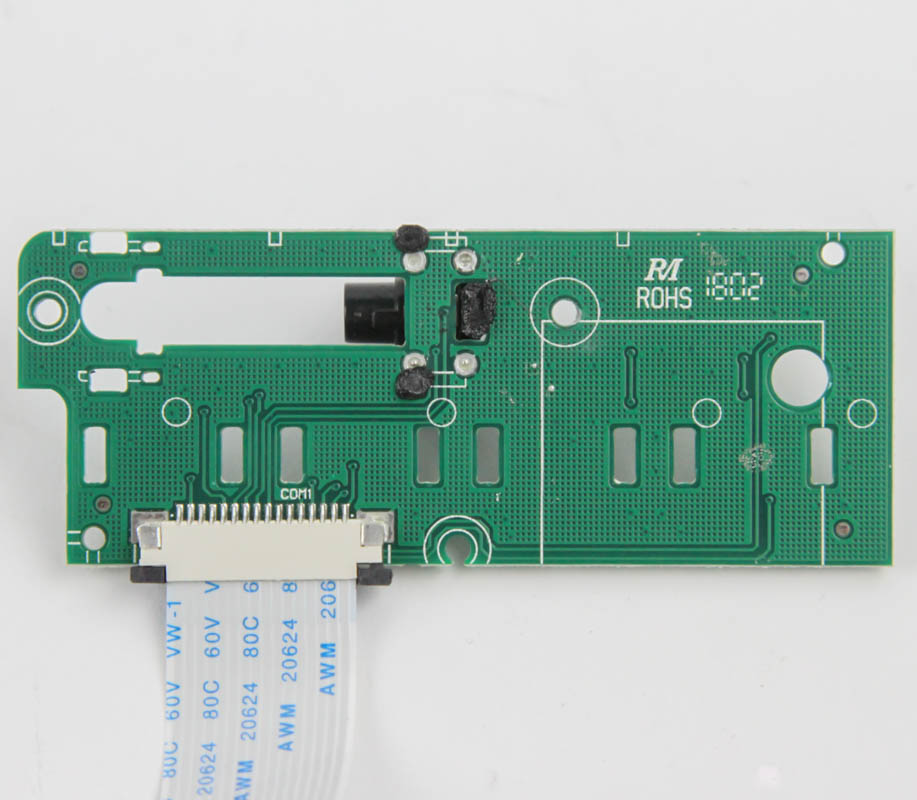
Two internal cables connect the two pieces, so do be careful and don't simply pull these apart. One connects LEDs underneath the logo on the plastic casing to the PCB, and the other is a ribbon cable that goes from a daughter PCB to the primary PCB. As it stands, the daughter PCB has the receptacle for the USB input from the PC and also houses all the dedicated media controls. The ribbon cable connects to the primary PCB, which is actually the secondary PCB in this case if you think about it.
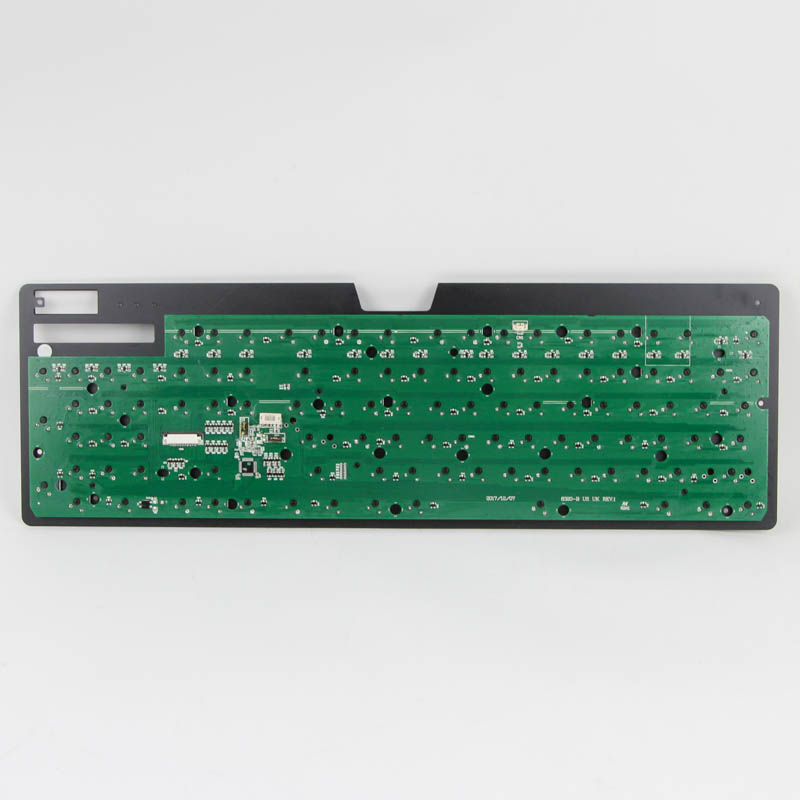
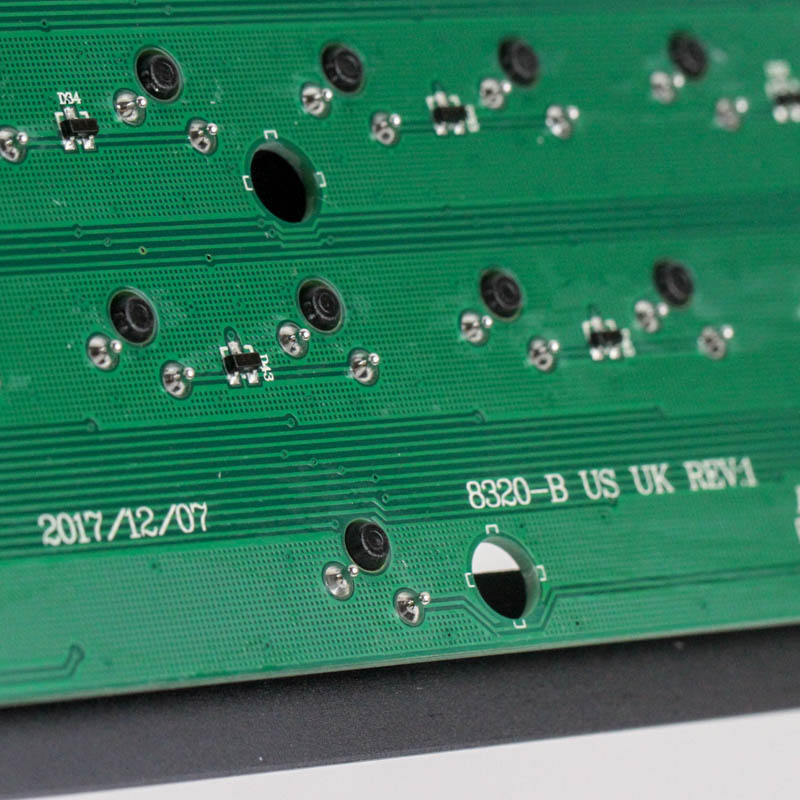
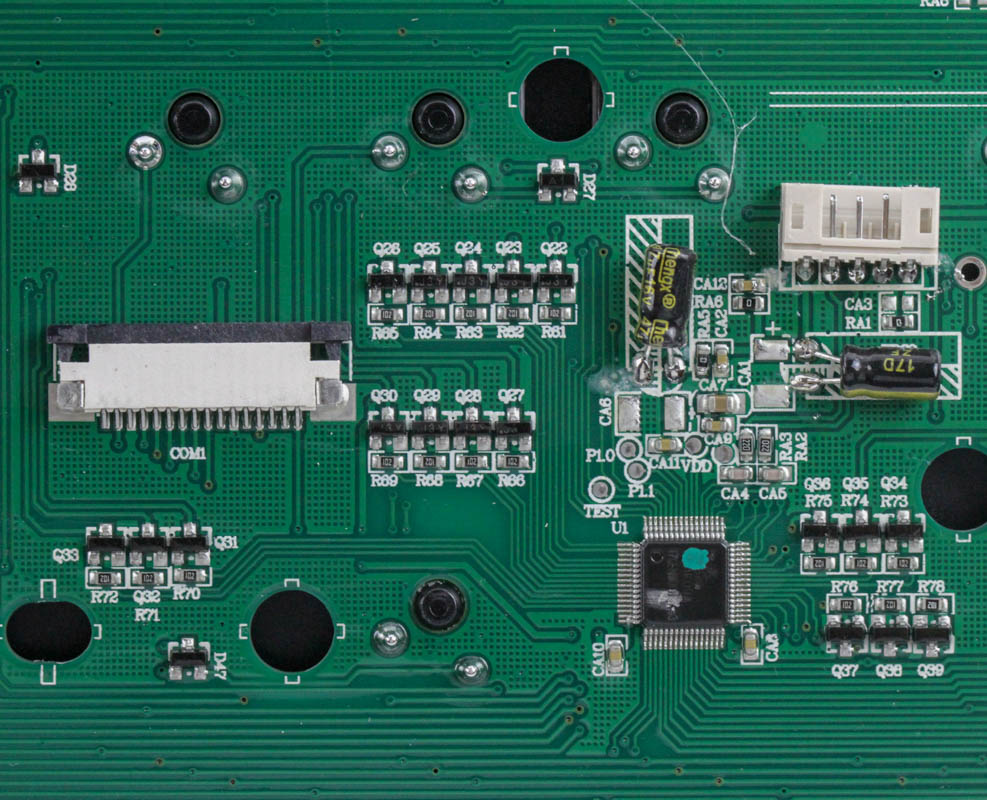
The larger PCB, if you will, is held in place on the aluminium cover plate, which has a notch to have the logo inset in the plastic casing be flush with the surface, as well as cutouts for the media keys themselves. The PCB is a matte green in finish, and soldering is generally done well on this sample. The CIY switch design means that the switches are not soldered through the aluminium plate and on to the PCB. There are multiple large 47 µF capacitors which are definitely hand soldered, and not as well as the rest of the keyboard, and powering the keyboard is a single USB microcontroller that doubles as an LED driver created by Eevision but not easily identified as far as more specific product information goes. All the components, including the switches, LEDs, and capacitors, are soldered to a multi-layered PCB.
Before we move on, be advised that disassembly will void the warranty and that TechPowerUp is not liable for any damages incurred if you decide to go ahead and do so anyway.
Feb 22nd, 2025 13:56 EST
change timezone
Latest GPU Drivers
New Forum Posts
- Keep a 4080s or take a 5070ti? (10)
- As we live the age of game remakes, which game you would like to see to have a remake? (320)
- The TPU UK Clubhouse (25760)
- 4GB or 8GB - Saphire pulse Radeon RX570 ITX (0)
- 2022-X58/1366 PIN Motherboards NVME M.2 SSD BIOS MOD Collection (889)
- Nvidia's GPU market share hits 90% in Q4 2024 (gets closer to full monopoly) (495)
- Microsoft Officially drops AC3 (Dolby Digital) Support from W11 24H2 (26)
- Technical Issues - TPU Main Site & Forum (2025) (58)
- A Final Fantasy IX Reminiscence - My love letter and homage to one of the best stories ever told (59)
- Thermal throttling Lenovo LOQ i5-13420H (2)
Popular Reviews
- MSI GeForce RTX 5070 Ti Ventus 3X OC Review
- Gigabyte GeForce RTX 5090 Gaming OC Review
- Galax GeForce RTX 5070 Ti 1-Click OC White Review
- ASUS GeForce RTX 5070 Ti TUF OC Review
- Ducky One X Inductive Keyboard Review
- MSI GeForce RTX 5070 Ti Vanguard SOC Review
- MSI GeForce RTX 5070 Ti Gaming Trio OC+ Review
- darkFlash DY470 Review
- AMD Ryzen 7 9800X3D Review - The Best Gaming Processor
- Palit GeForce RTX 5070 Ti GameRock OC Review
Controversial News Posts
- NVIDIA GeForce RTX 5090 Spotted with Missing ROPs, NVIDIA Confirms the Issue, Multiple Vendors Affected, RTX 5070 Ti, Too (351)
- AMD Radeon 9070 XT Rumored to Outpace RTX 5070 Ti by Almost 15% (302)
- AMD Plans Aggressive Price Competition with Radeon RX 9000 Series (269)
- AMD is Taking Time with Radeon RX 9000 to Optimize Software and FSR 4 (256)
- AMD Radeon RX 9070 and 9070 XT Listed On Amazon - One Buyer Snags a Unit (247)
- Edward Snowden Lashes Out at NVIDIA Over GeForce RTX 50 Pricing And Value (241)
- AMD Denies Radeon RX 9070 XT $899 USD Starting Price Point Rumors (239)
- New Leak Reveals NVIDIA RTX 5080 Is Slower Than RTX 4090 (215)