 0
0
XPG Invader Review
Temperature & Noise Testing »Test System
| System Parts for Case Reviews | |
|---|---|
| Processor: | Intel Core i5-9600K |
| Motherboards: | ATX: MSI Z390 GAMING EDGE AC MATX: Z370M GAMING EDGE AC Mini-ITX: MSI Z370I GAMING EDGE AC Provided by: MSI |
| Graphics Card: | Long: Palit GeForce RTX 2080 Gaming Pro OC Short: EVGA GTX 1650 SC Ultra Black 4 GB |
| Memory: | 16 GB XPG GAMMIX D30 DDR4 2666 MHz CL16-18-18 1.20 V 16 GB XPG SPECTRIX D60G DDR4 3000 MHz CL16-18-18 1.35 V Provided by: ADATA |
| HDD: | Western Digital 320 GB 7200 RPM |
| SSD: | ADATA XPG SX850 256 GB ADATA Ultimate SU630 240 GB ADATA Ultimate SU750 256 GB ADATA SX6000 Pro M.2 256 GB ADATA GAMMIX S11 Pro M.2 256 GB ADATA SPECTRIX S40G M.2 256 GB Provided by: ADATA |
| Power Supply: | Fractal Design ION+ 750W 80 Plus Platinum |
| Cooling: | be quiet! Dark Rock 4 be quiet! Dark Rock Slim be quiet! Shadow Rock LP Provided by: be quiet! |
Assembly
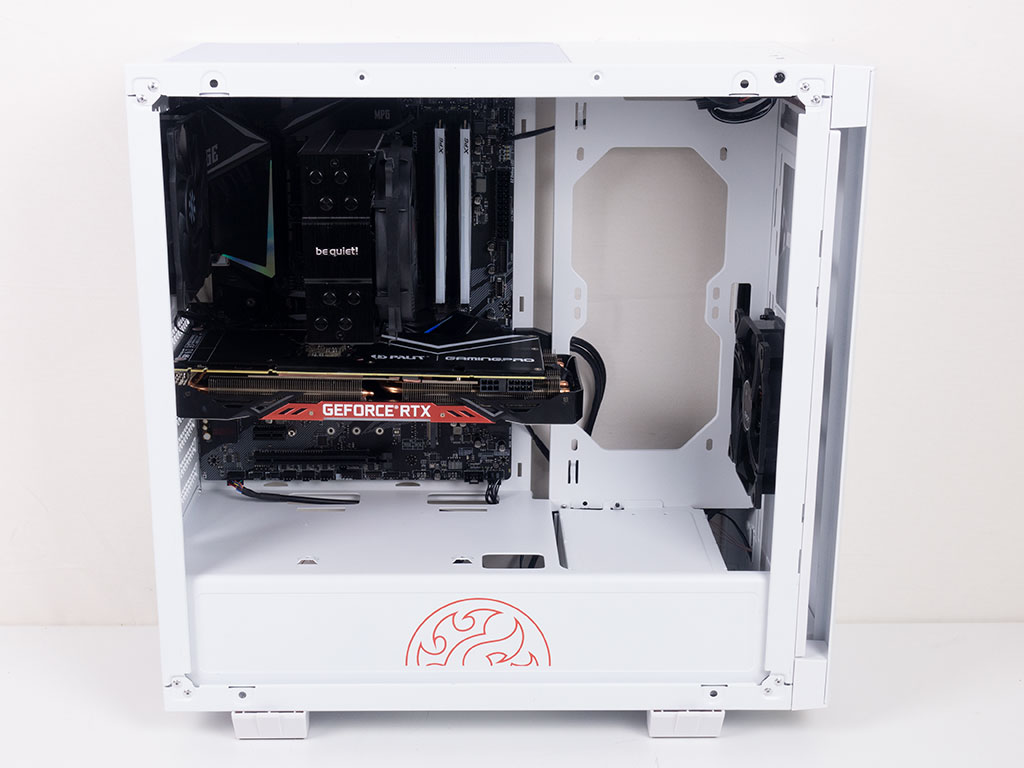
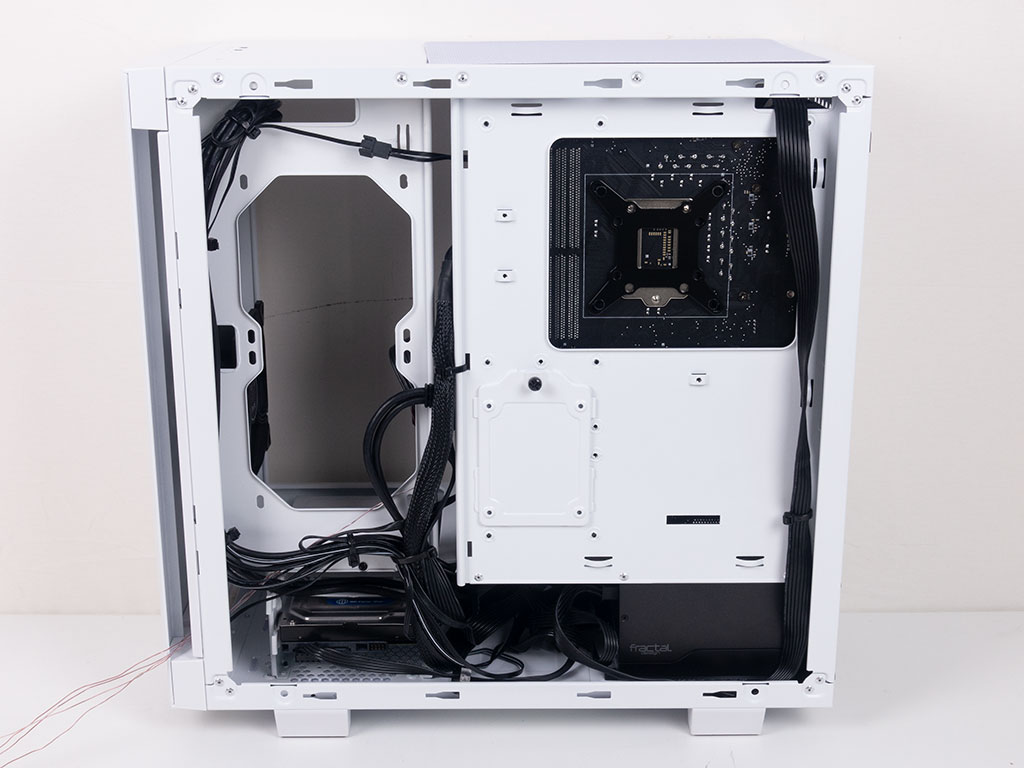
Installing the motherboard is done by traditional means, with the included screws and spacers. There is a little spacer on the bottom edge, so you should still be able to access everything even if you place SSDs on the shroud. To the left is a little bit of an edge as well, but you really have to work some magic to keep all the cables out of sight if you aren't planning on filling the cooling space to the side of the board. Also note the fact that you need to make sure your GPU is short enough if you want to utilize that area.
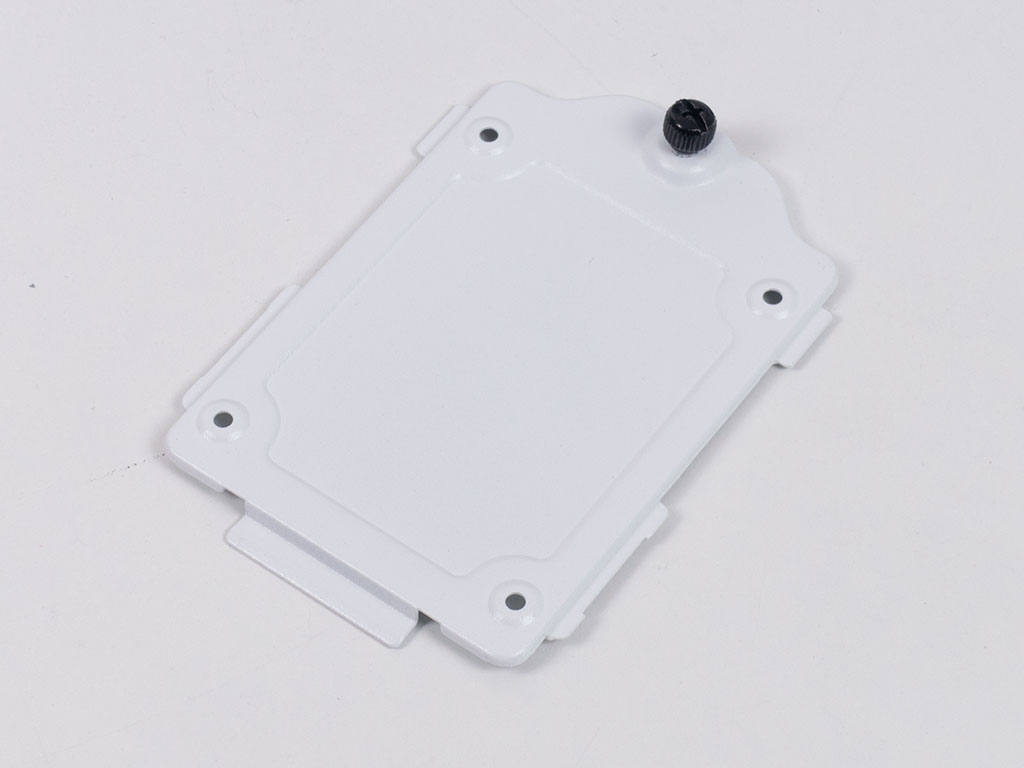
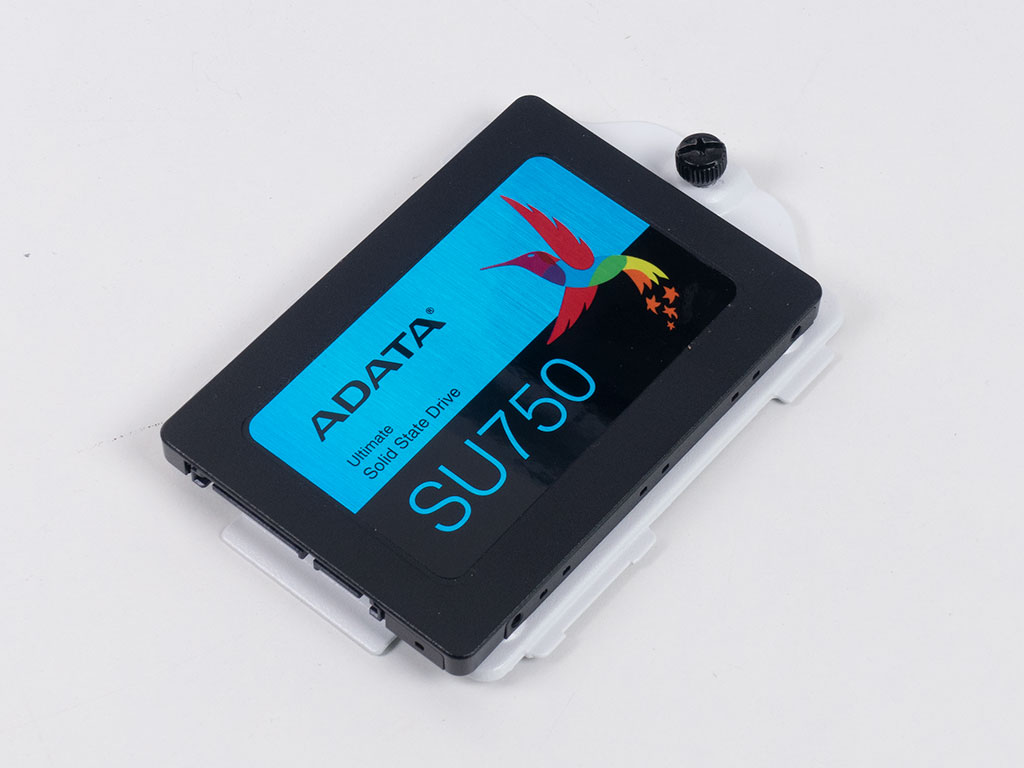

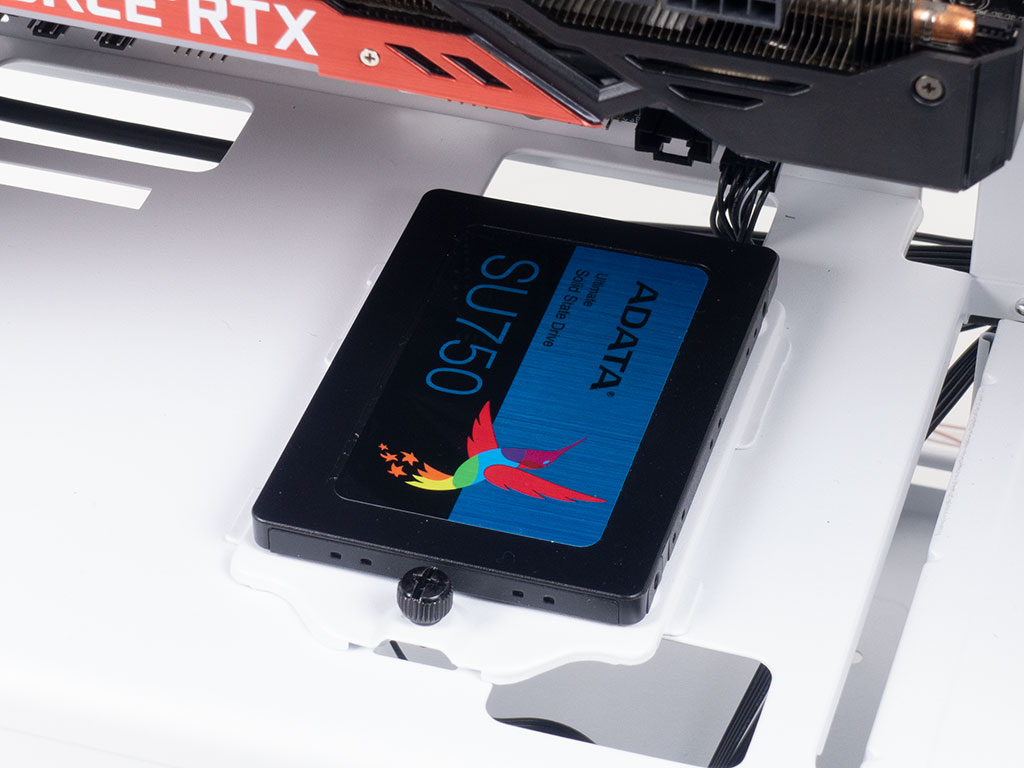
Adding SSDs is straightforward—take off the metal mounting plate and screw the drive down. As we are fortunate to use ADATA drives in our review systems, it made sense to place it in the interior of the XPG Invader to show off.
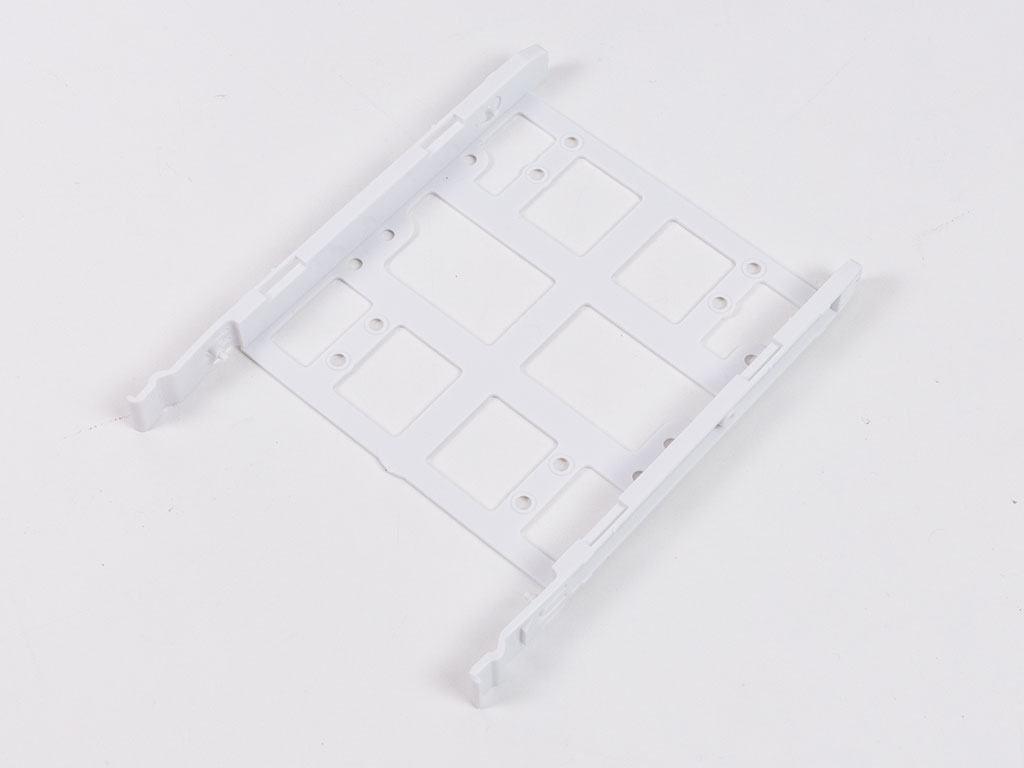
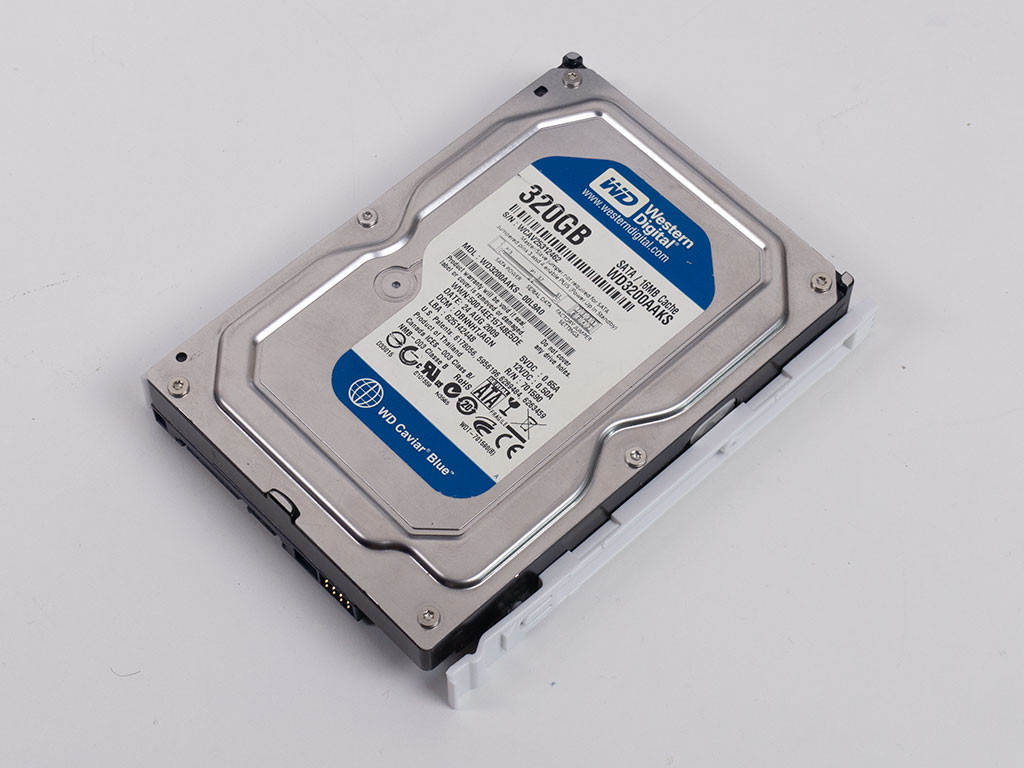

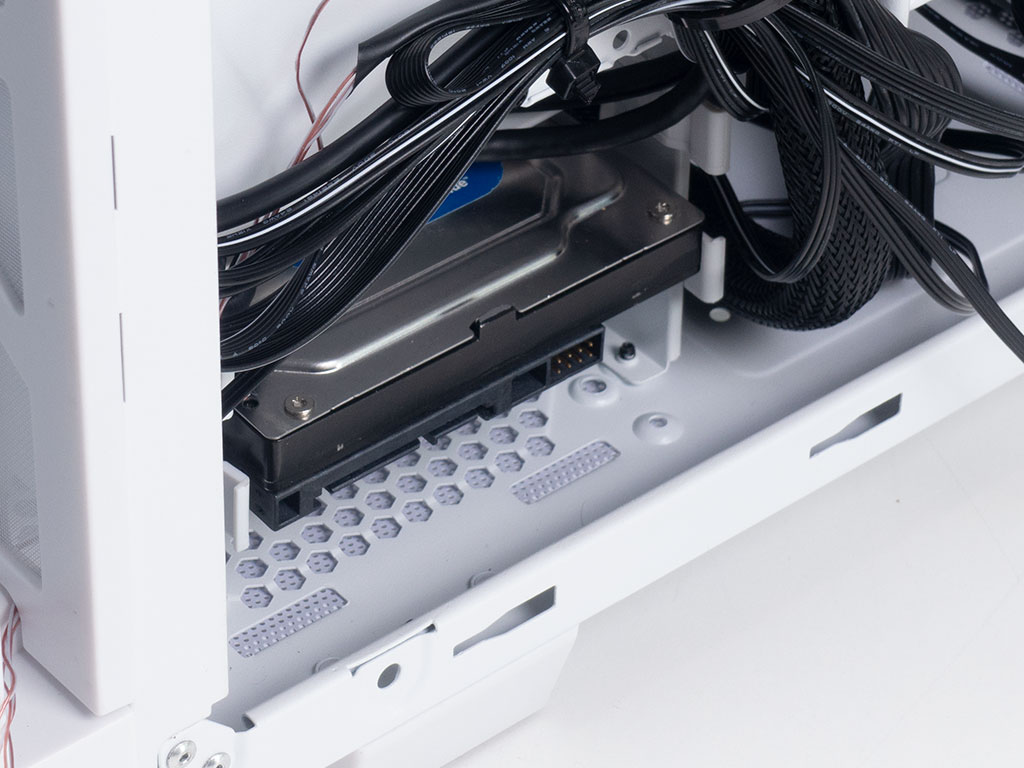
Thankfully, the plastic 3.5" HDD trays allow for quick and tool-less assembly, and may just be pushed back into the slot of your choice.
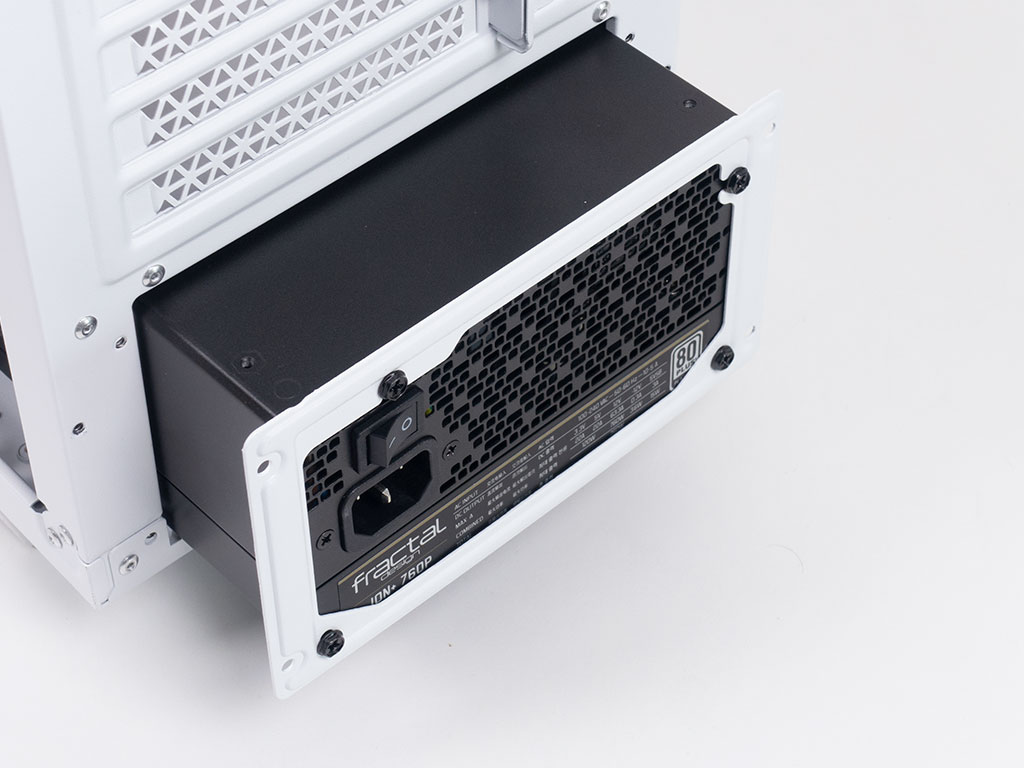
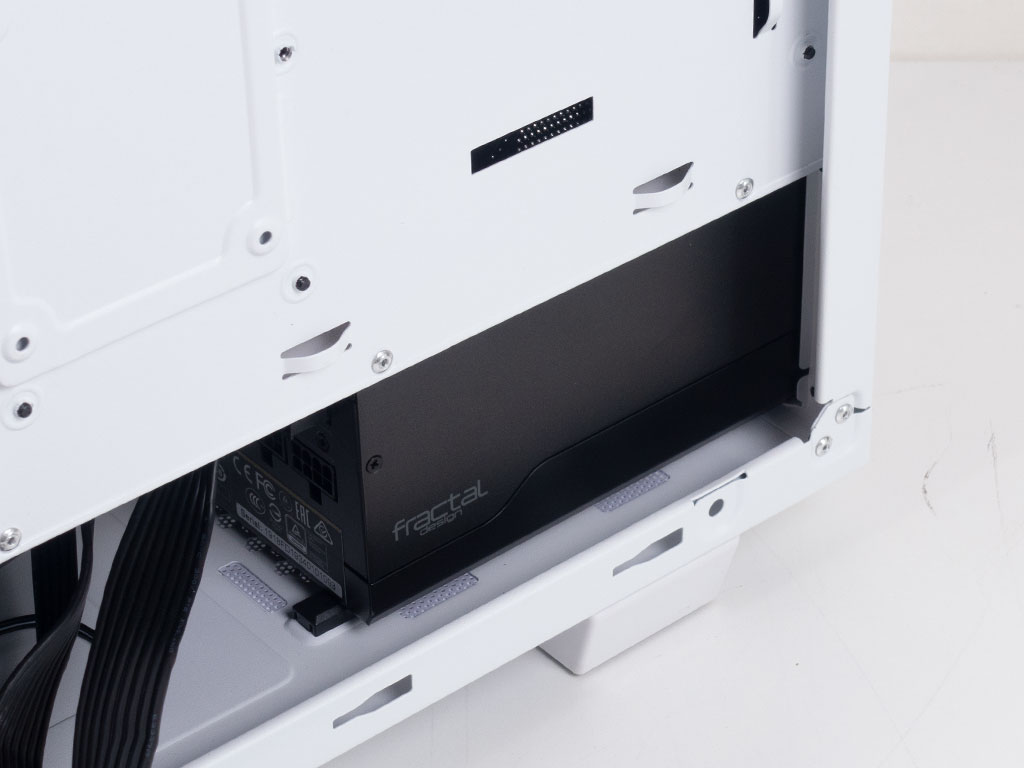
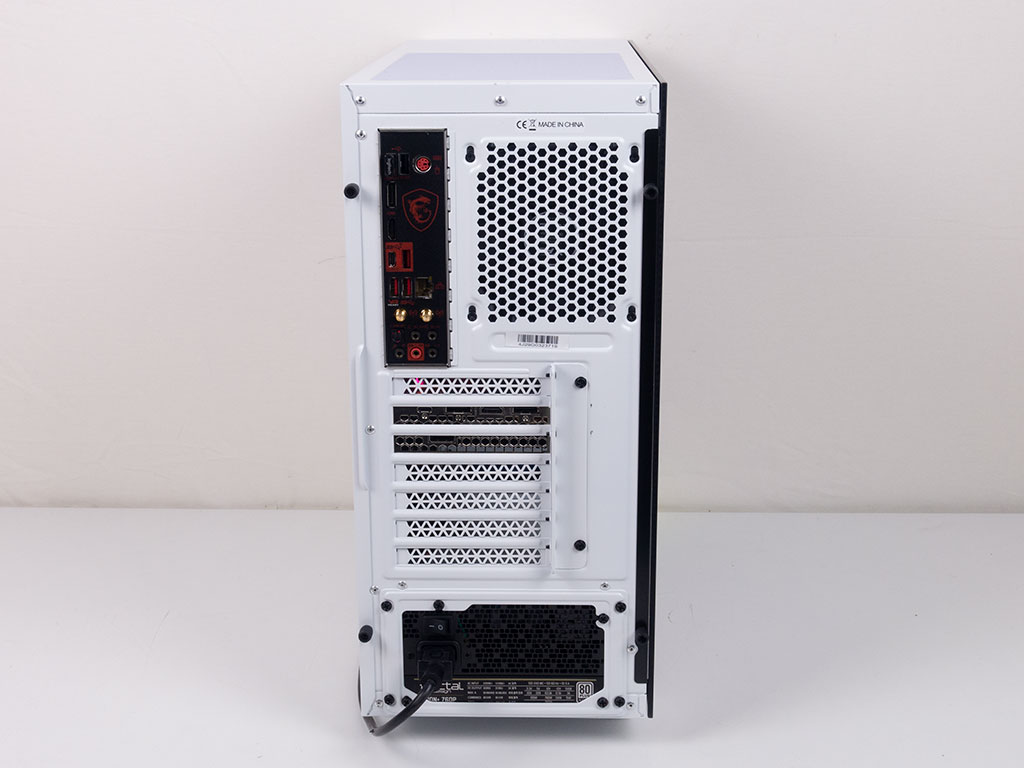
To insert a PSU, you first need to screw the frame down, before sliding it in through the back of the chassis. There is loads of space, so even bigger units will fit with ease.
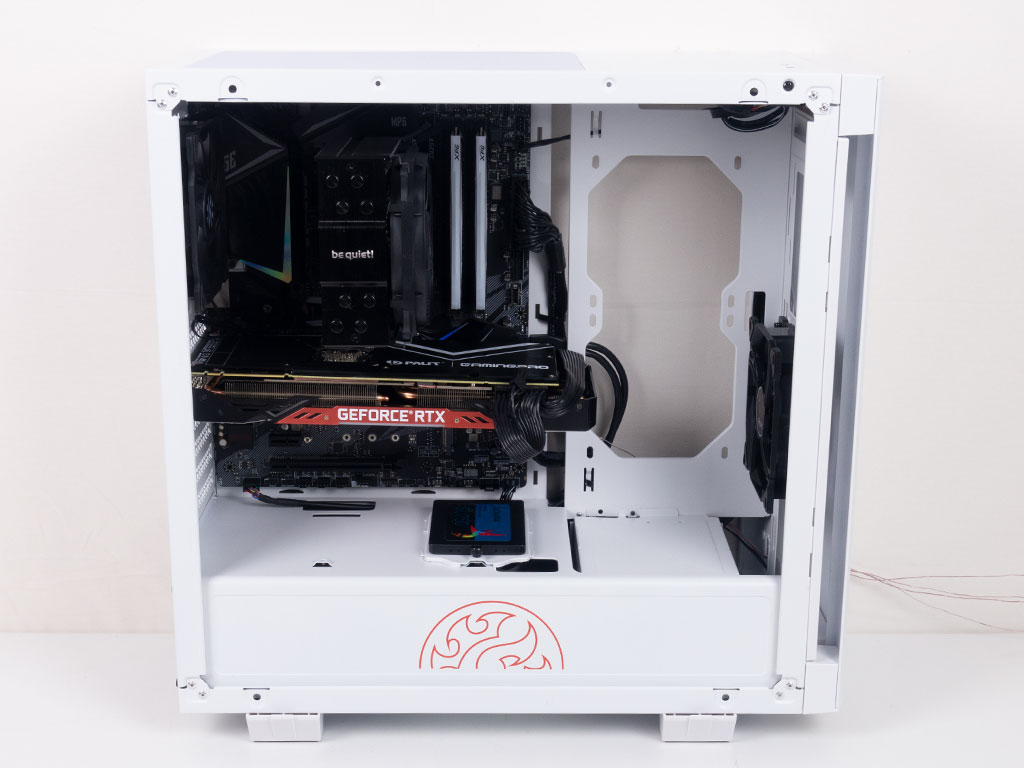
With everything assembled and some cable trickery, the interior of the XPG Invader looks quite clean. I would have loved to see some solid covers for the fan-mounting spots next to the motherboard to take that to a level you may be used to from traditional enclosures, though.
Finished Looks
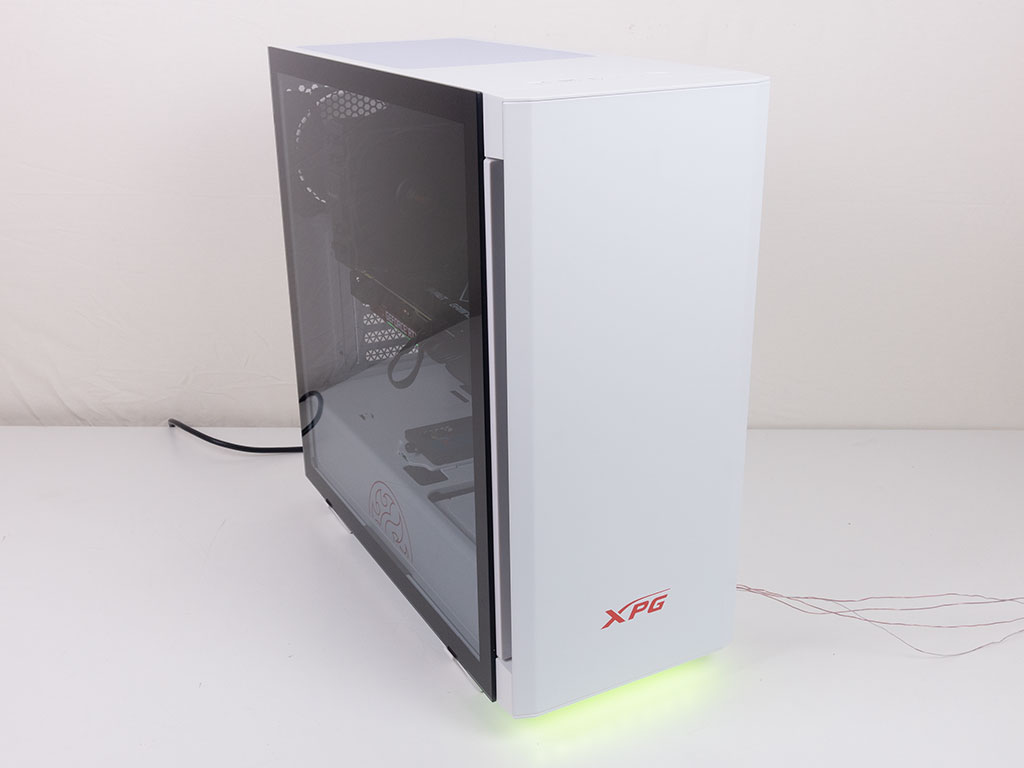
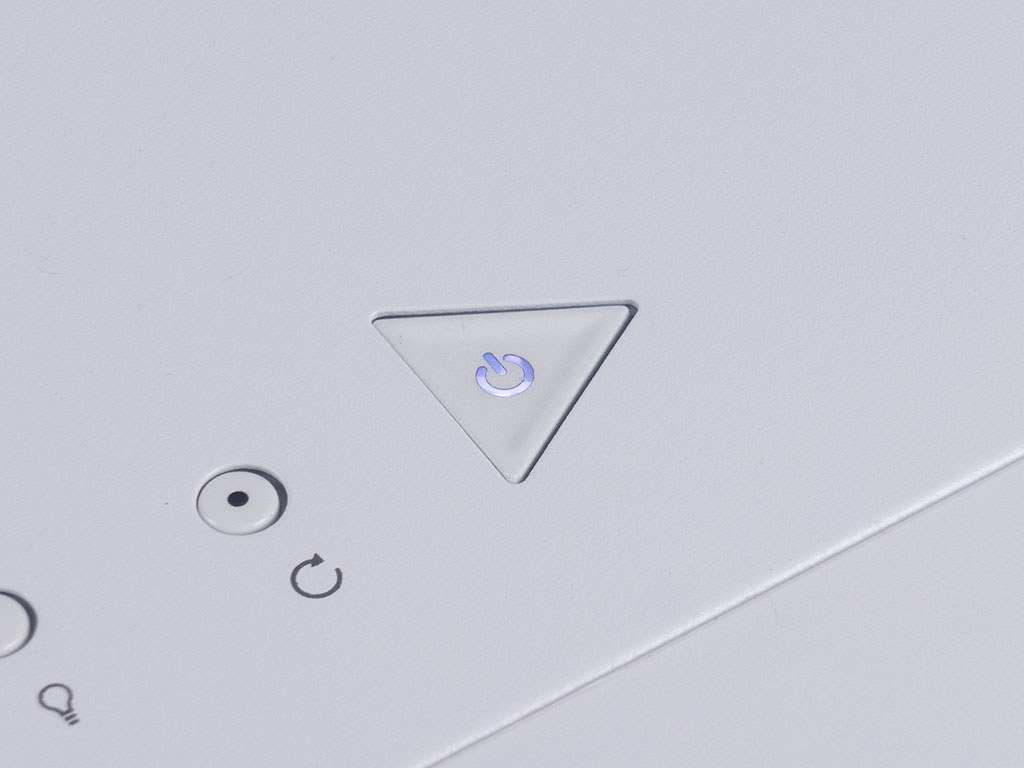
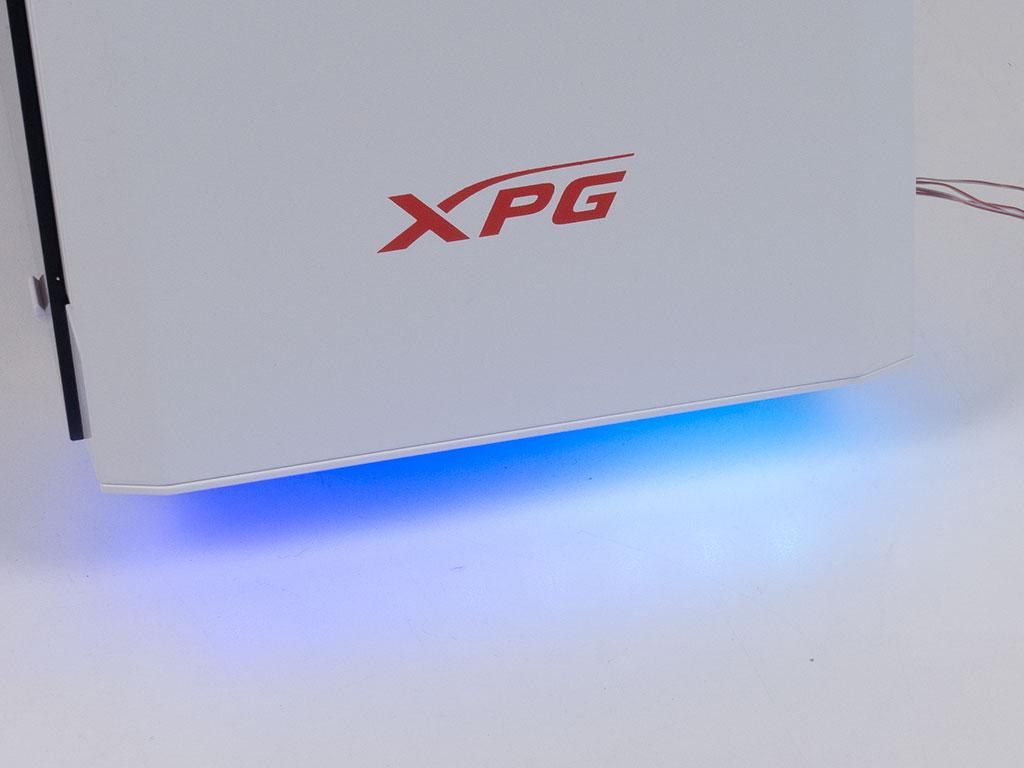
Once turned on, you will be greeted by RGB lighting on the underside of the front cover, along with a white LED in the triangular power button on top of the XPG Invader.
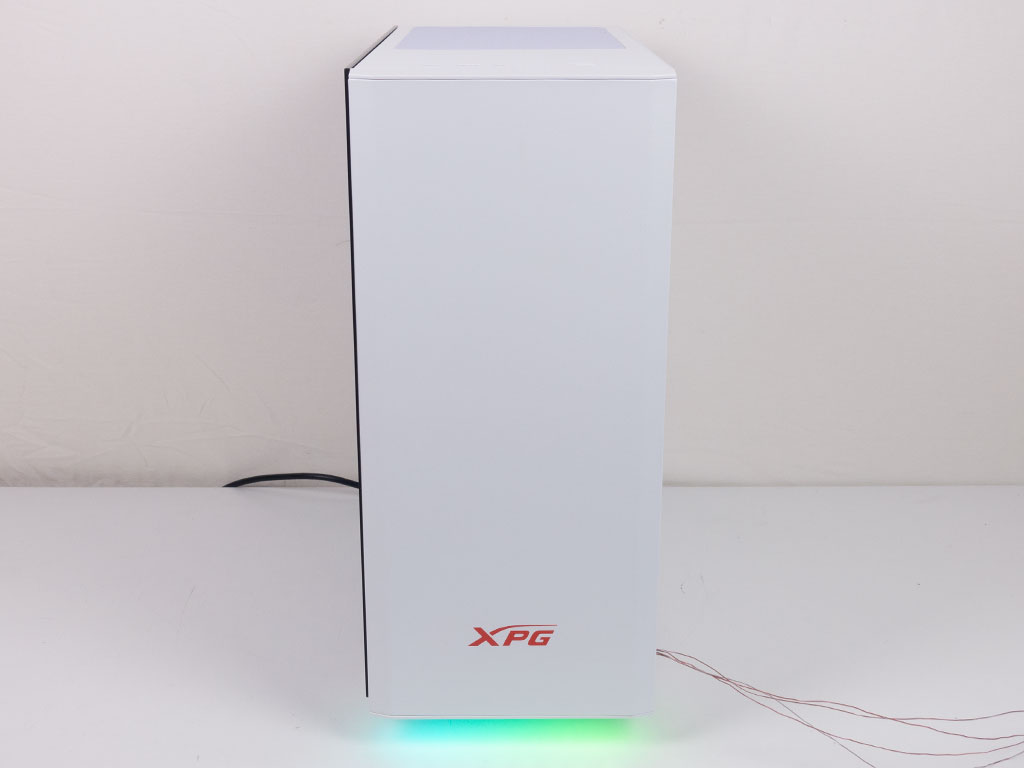
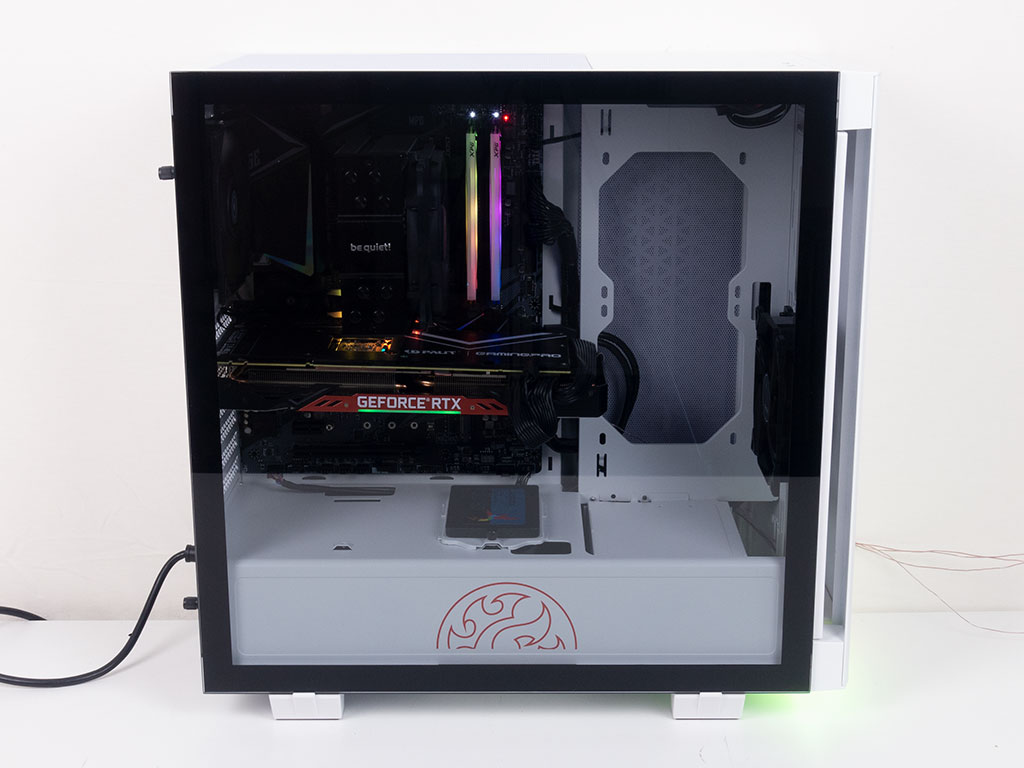
The indirect LED strip is a nice touch and does not overpower the otherwise clean and understated design. All the parts are clearly visible thanks to the clean window, regardless of whether you go for the black or white XPG Invader, although things are naturally especially noticeable in the white variant.
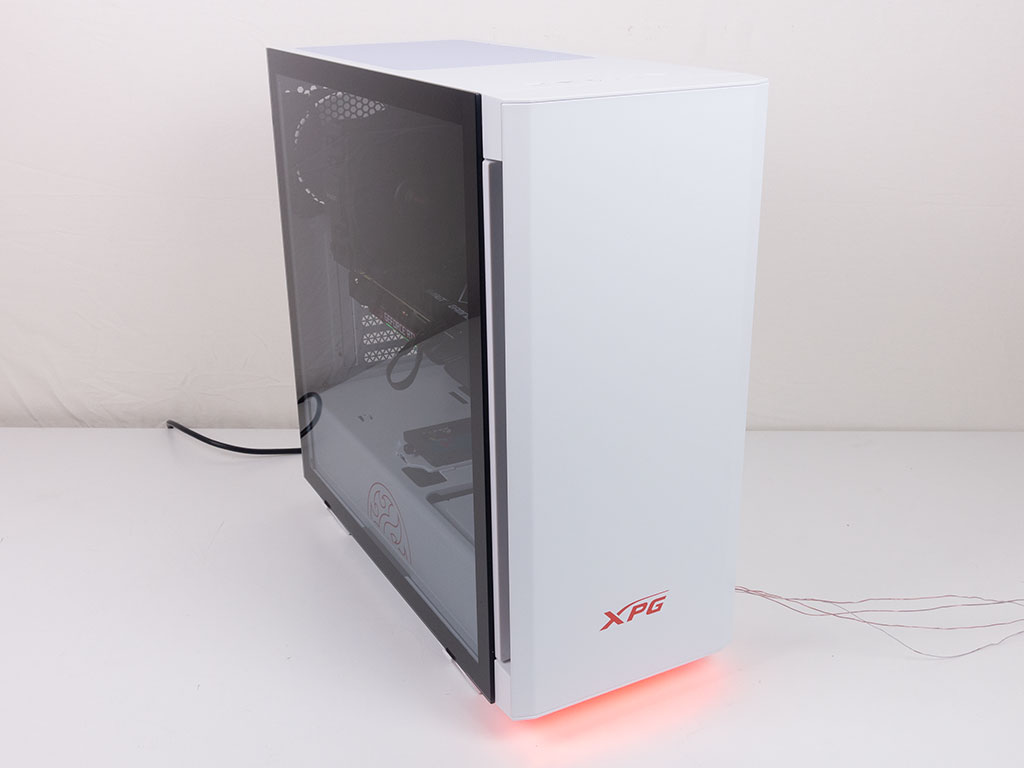
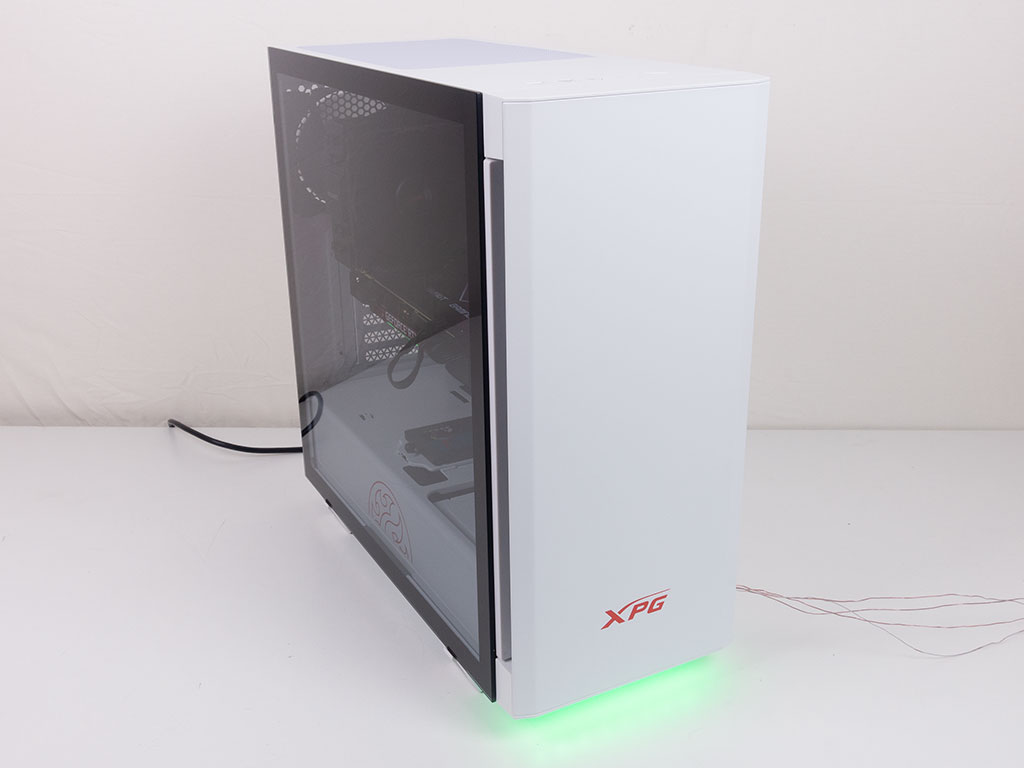
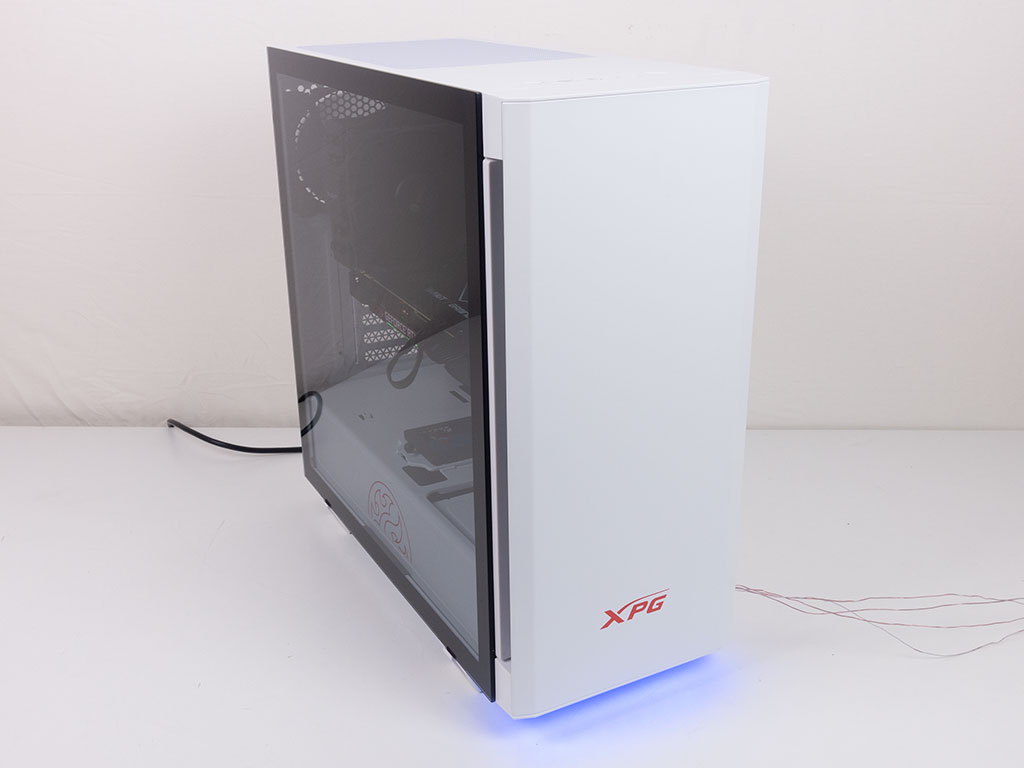
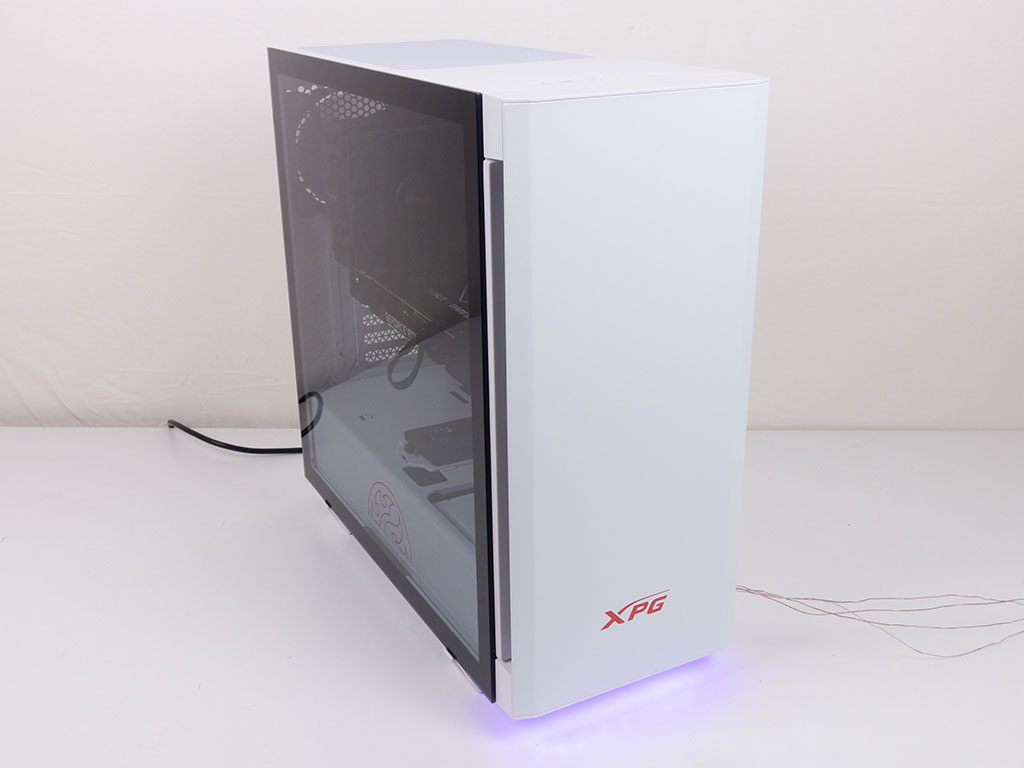
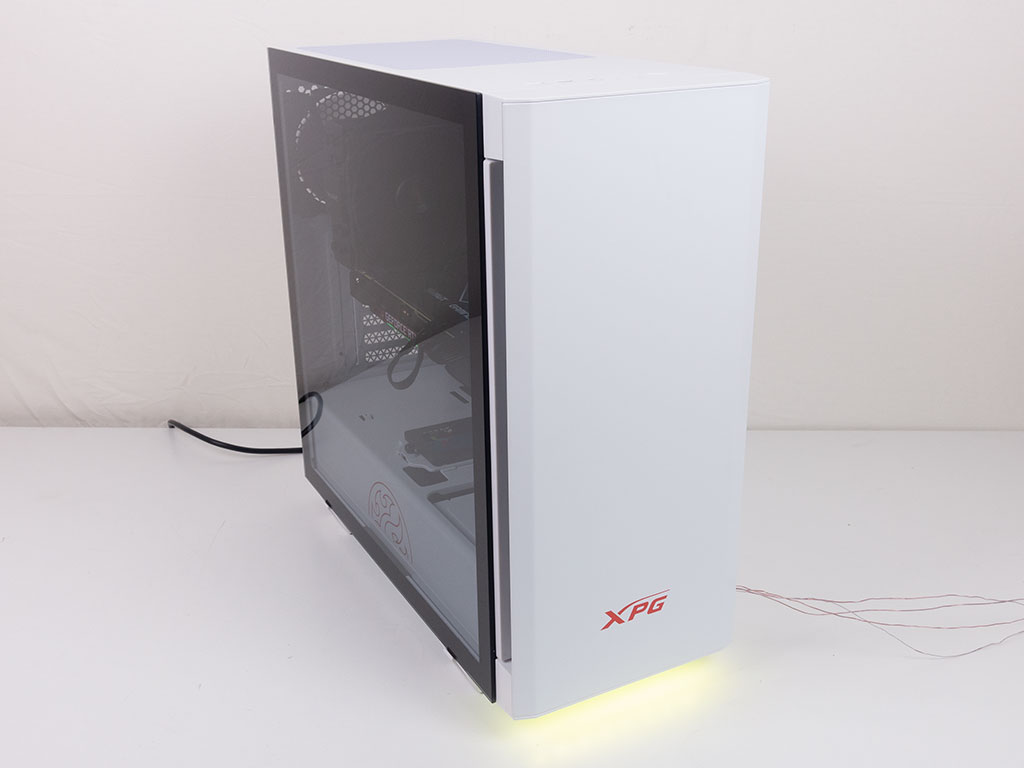

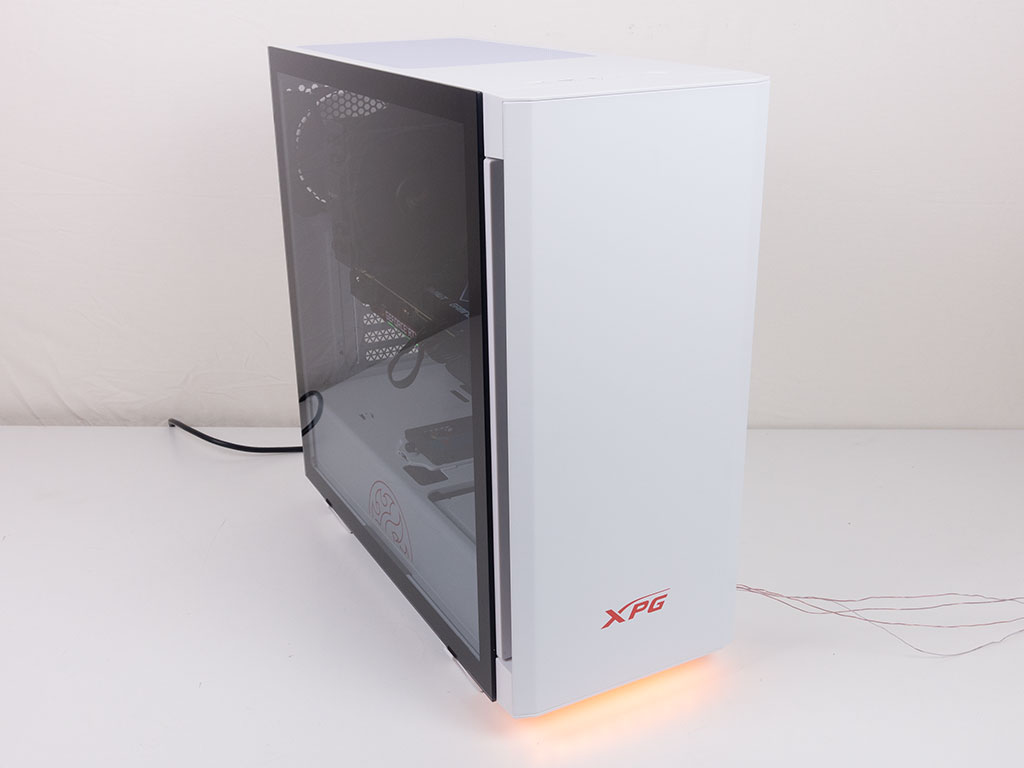
You may cycle through various lighting animations with the help of the top button, but the XPG Invader also offers the usual set of standard colors.
Jan 7th, 2025 21:34 EST
change timezone
Latest GPU Drivers
New Forum Posts
- GPU usage 99% idle (75)
- I interpret the 5000 series like this. (64)
- The Queen Extreme is Back (7)
- The TPU UK Clubhouse (25512)
- Technical Issues - TPU Main Site & Forum (2024) (498)
- What was lacking GPU-wise at this year's CES (35)
- NVIDIA has revealed the prices for the RTX 5090, 5080 and 5070 (67)
- AAF Optimus Modded Driver For Windows 10 & Windows 11 - Only for Realtek HDAUDIO Chips (267)
- help with razer blade pro 17 (2019) w/ i7-9750H (0)
- Random Black Screen when Opening GPU-Z (0)
Popular Reviews
- ASUS ROG Strix B850-F Gaming WiFi Review
- DDR5 Thermal Testing & Analysis
- AMD Ryzen 7 9800X3D Review - The Best Gaming Processor
- SCYROX V8 Review
- Klevv Genuine G560 2 TB Review
- GPU Test System Update for 2025
- Intel Arc B580 Review - Excellent Value
- Upcoming Hardware Launches 2024 (Updated Nov 2024)
- STALKER 2 Performance Benchmark Review - 35 GPUs Tested
- Arrow Lake Retested with Latest 24H2 Updates and 0x114 Microcode
Controversial News Posts
- NVIDIA 2025 International CES Keynote: Liveblog (311)
- AMD Debuts Radeon RX 9070 XT and RX 9070 Powered by RDNA 4, and FSR 4 (291)
- NVIDIA GeForce RTX 5090 Features 575 W TDP, RTX 5080 Carries 360 W TDP (208)
- AMD Radeon RX 9070 XT Alleged Benchmark Leaks, Underwhelming Performance (204)
- Potential RTX 5090 and RTX 5080 Pricing in China Leaks (173)
- 32 GB NVIDIA RTX 5090 To Lead the Charge As 5060 Ti Gets 16 GB Upgrade and 5060 Still Stuck With Last-Gen VRAM Spec (173)
- AMD Radeon RX 9070 XT Boosts up to 3.10 GHz, Board Power Can Reach up to 330W (167)
- NVIDIA GeForce RTX 5070 Ti Leak Tips More VRAM, Cores, and Power Draw (161)