 17
17
Aerocool Hi-Tech 7 Pro Review
Assembly & Finished Looks »A Closer Look - Inside
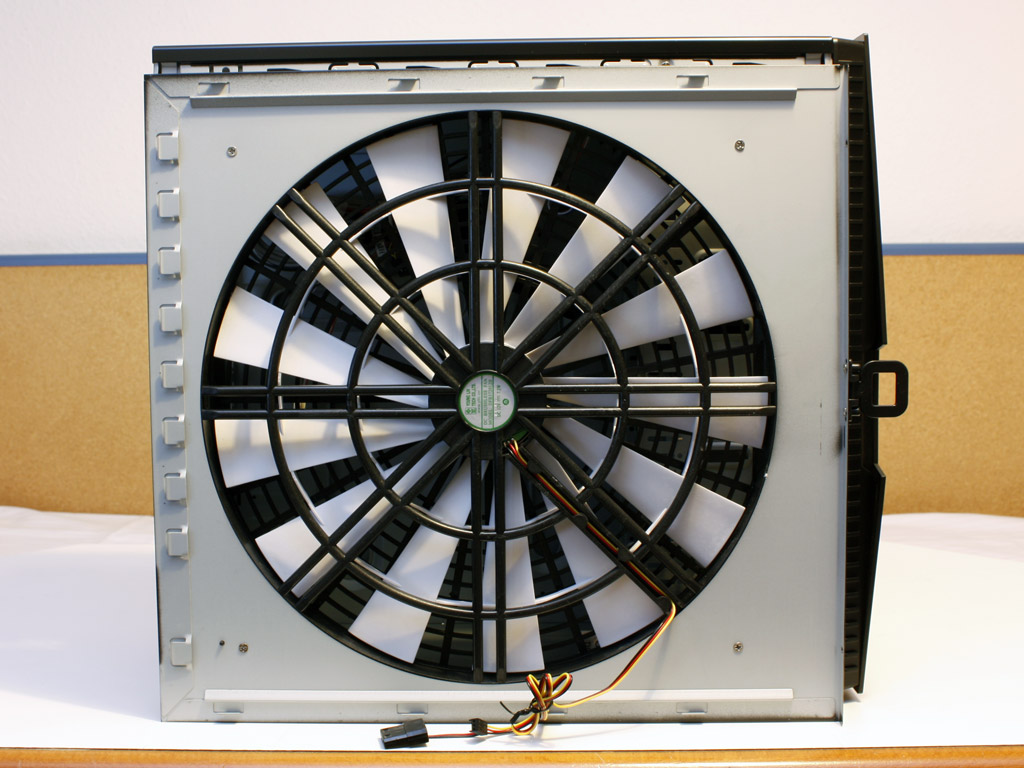
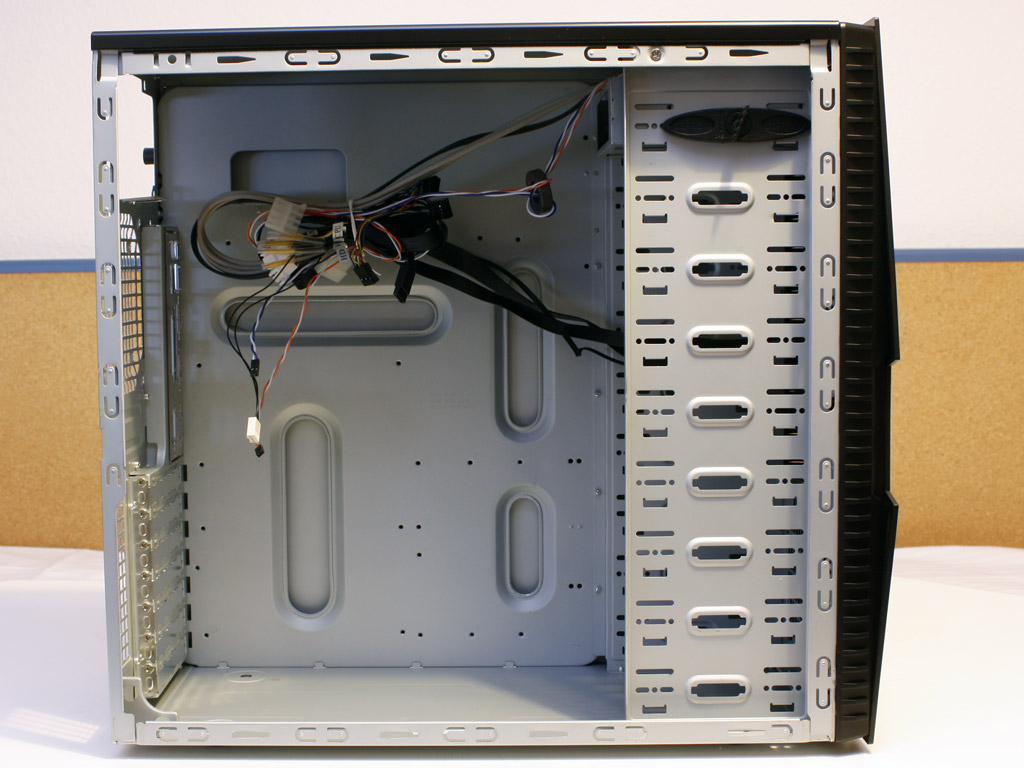
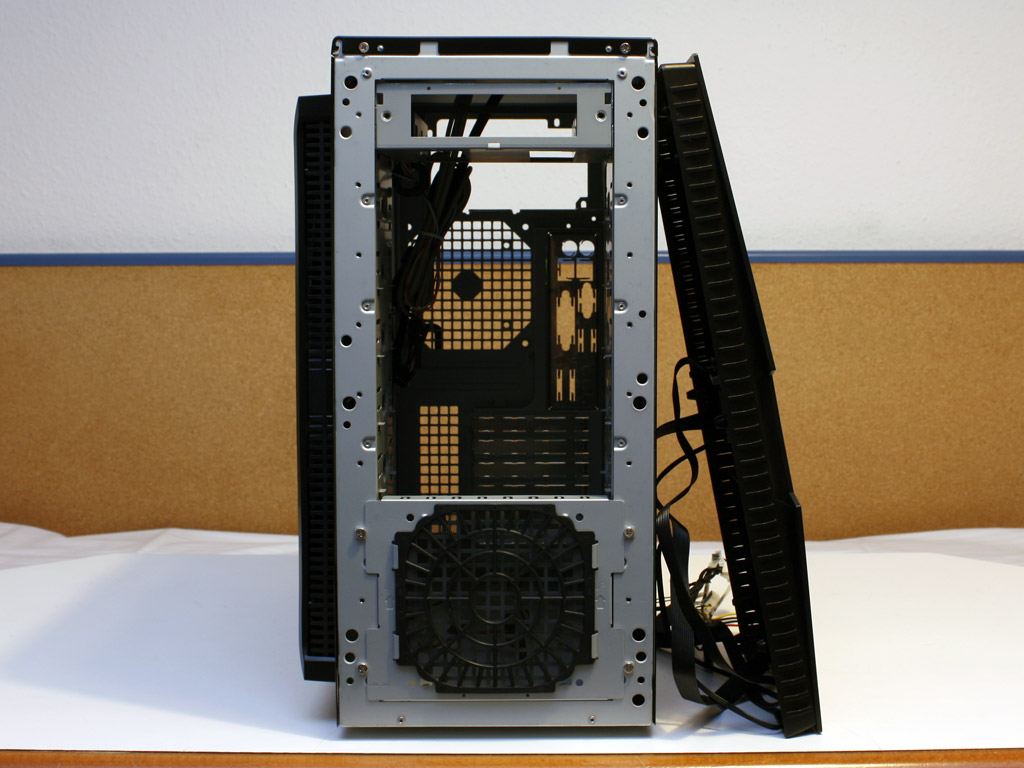
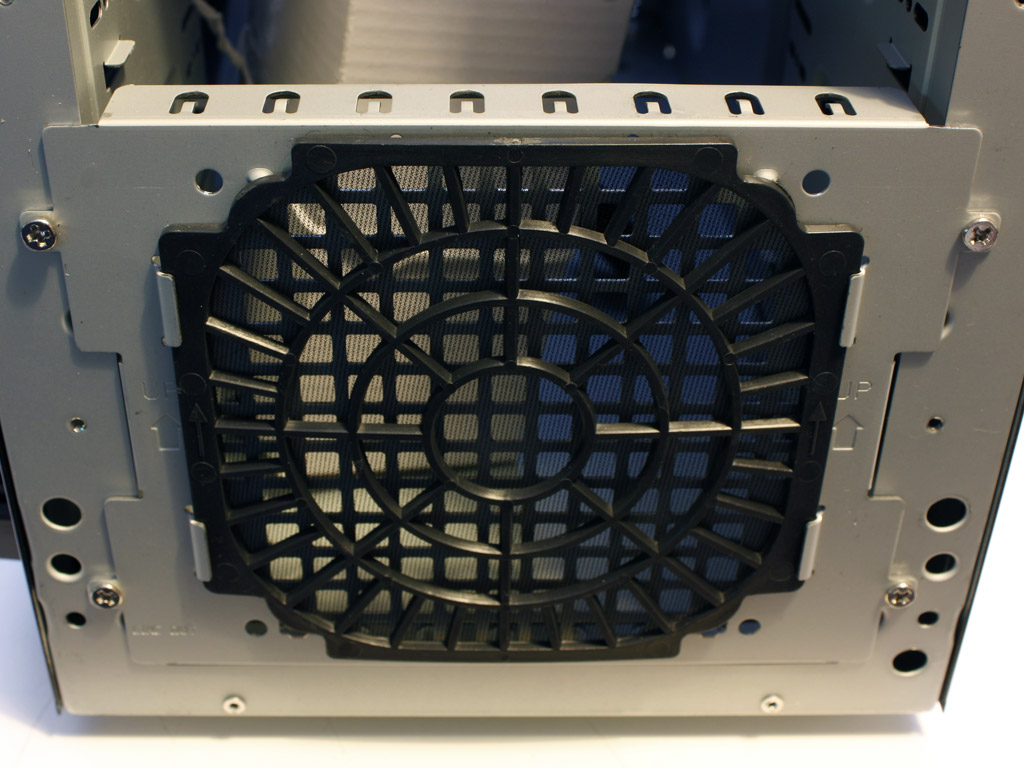
To remove the side panels, simply unscrew the two thumb screws holding each panel in place. The first thing we want to show you is the inside of the large fan. There is a basic grill on the inside, as you will not require any protection against the urge to stick your finger into the rotating blades. Cables on the other hand could easily get tangled up in the large and basic protective grill. It would have been nice to see the same fine, outer variant on the inside. The case layout itself is actually quite simple. The front part is taken by a row of drive bays, while the other side bears no real surprises either. Aerocool has cut a few holes in the mainboard tray and bent the edges to increase structural integrity.

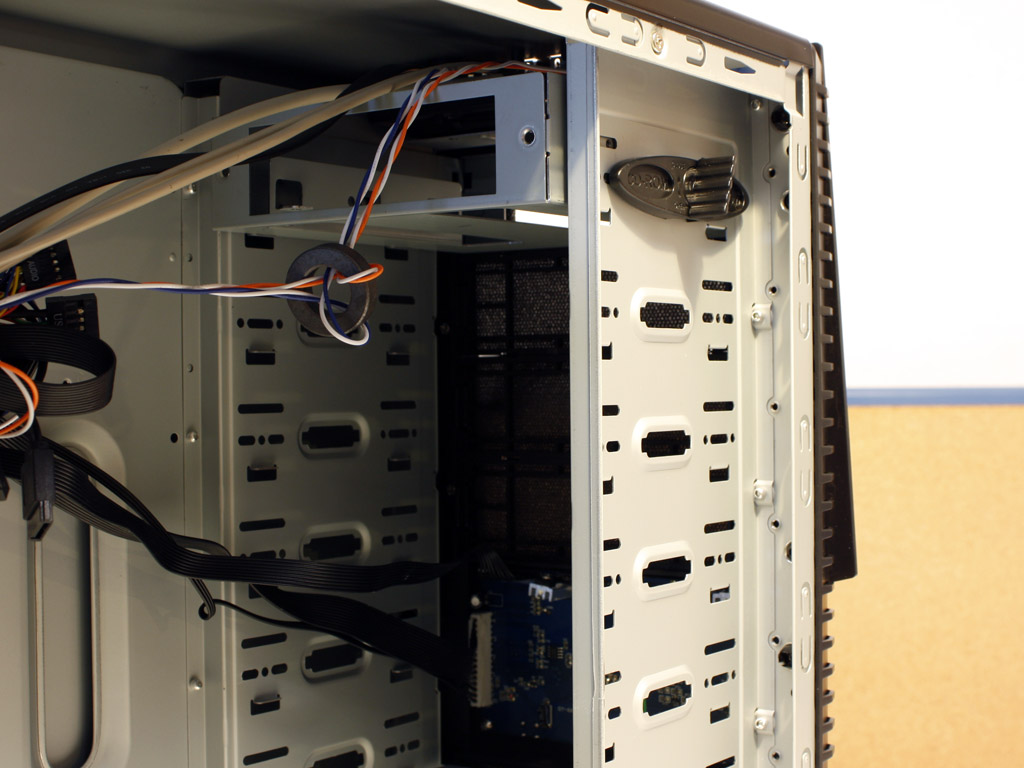
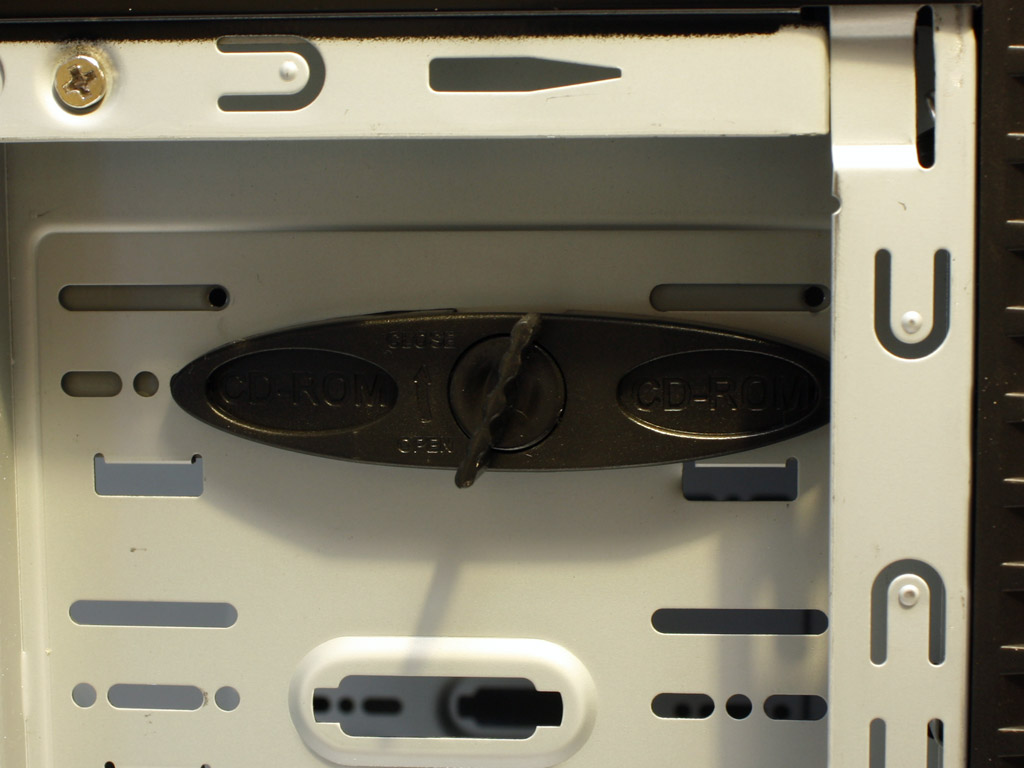
There are a total of nine drive bays within the Hi-Tech 7 Pro. The bottom three can be cooled by a fan, while the three above that are behind the display and can only be used for internal drives. Aerocool has chosen to go with a plastic locking mechanism. This type of lock works quite well, but tends to wear out over time.
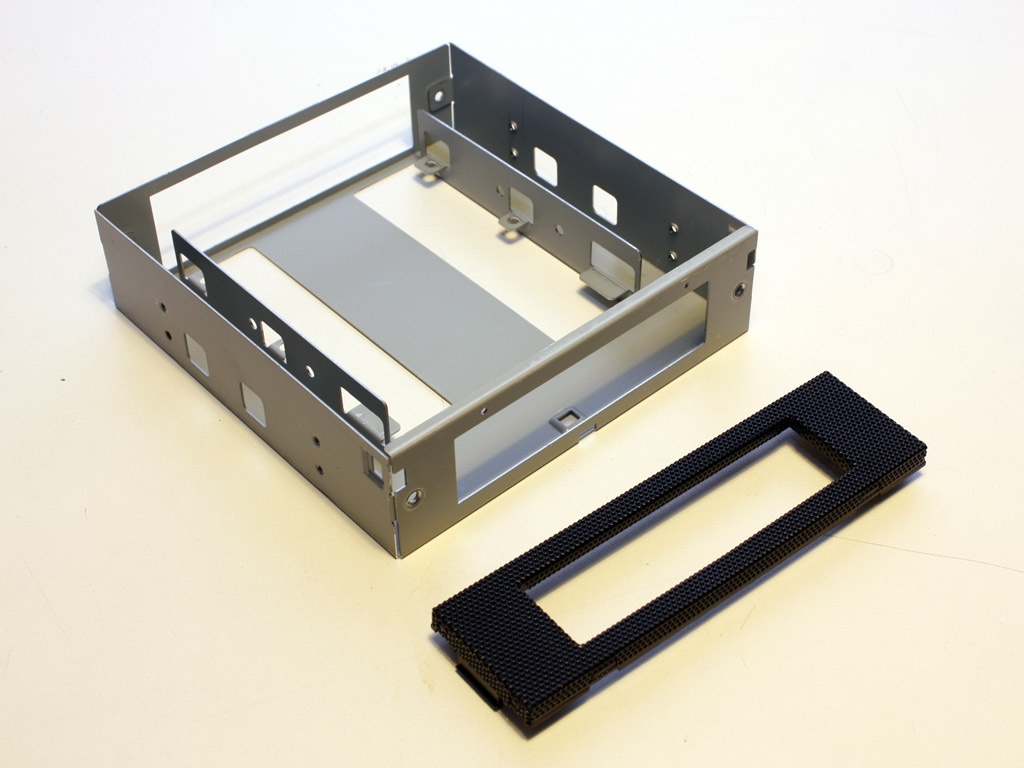
To gain access to the drive bays, you may gently pull the front cover off. This also gives way to the fan grill up front, which may be moved up or down the drive bays as you wish. There is a 5.25 inch to 3.5 inch tray in the top most slot so you can install a single such device into the case.
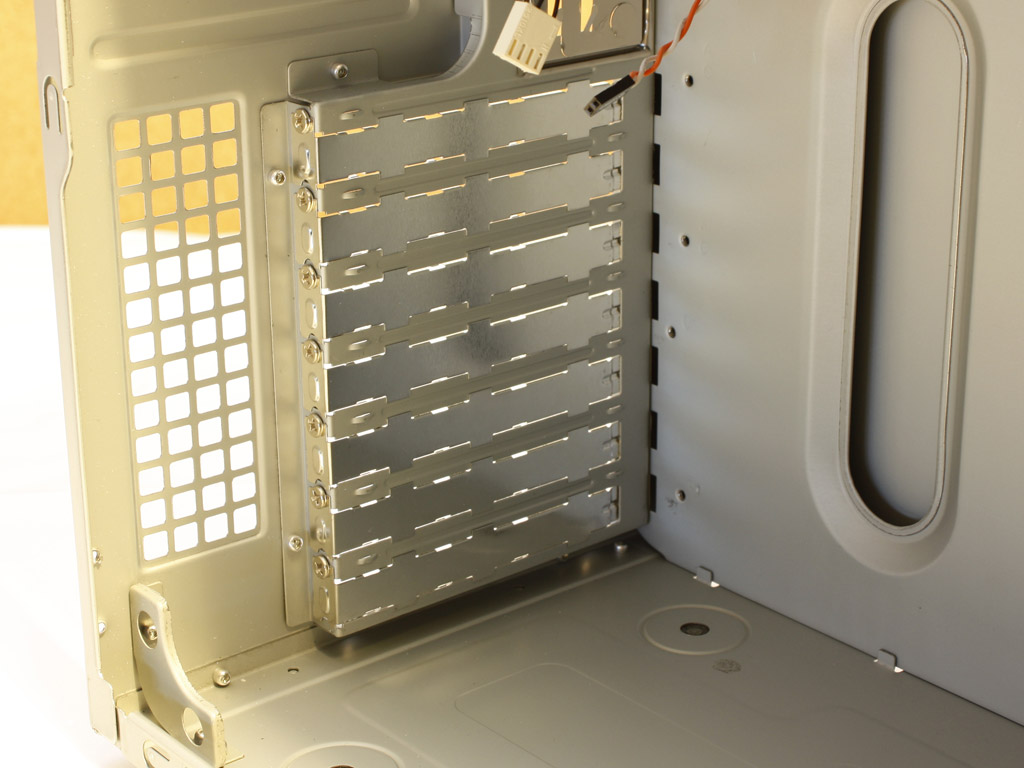
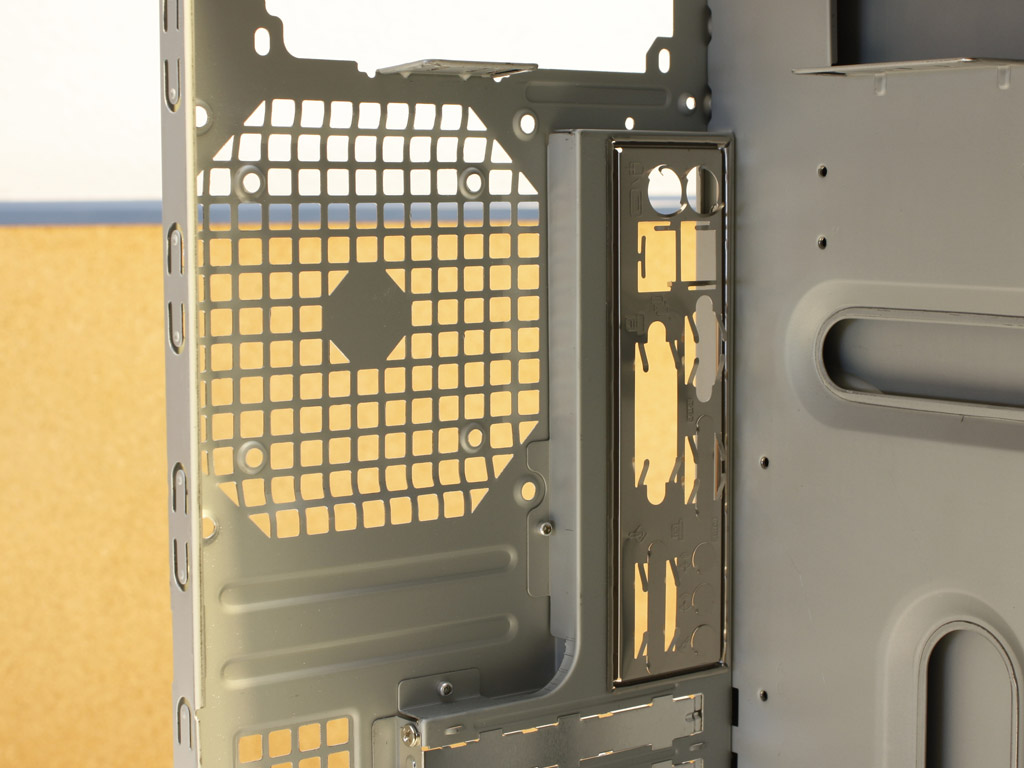
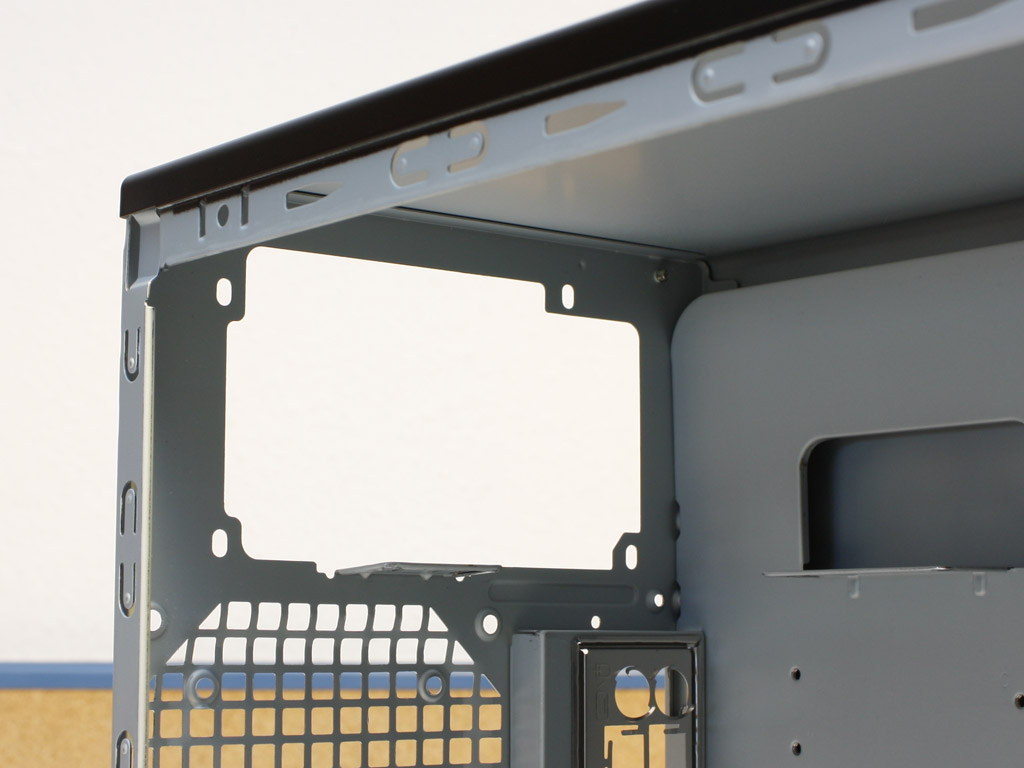
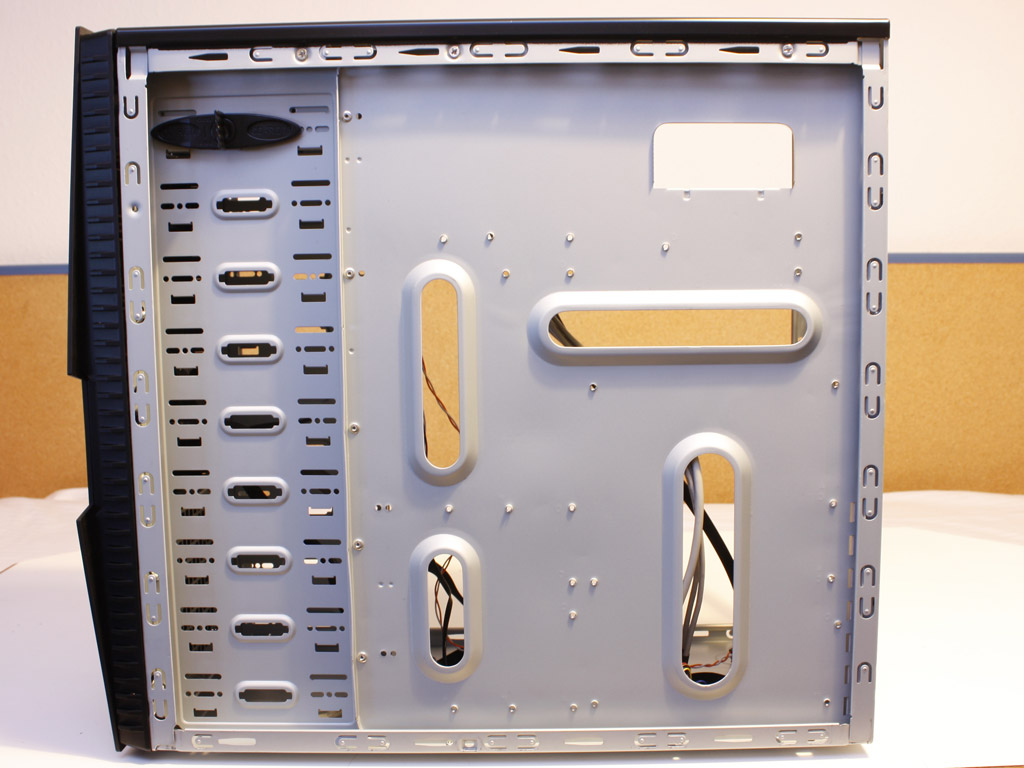
There is nothing out of the ordinary when taking a look at the rear of the case from the inside. The seven expansion slots are covered by separate pieces, which are held in place by screws. Above that is the fan grill, which has been bent outward a bit, so that it will not interfere with the cooling unit. The PSU has to be placed in the traditional top position within the Aerocool Hi-Tech 7 Pro.
Feb 22nd, 2025 11:02 EST
change timezone
Latest GPU Drivers
New Forum Posts
- It's happening again, melting 12v high pwr connectors (871)
- The TPU UK Clubhouse (25753)
- VRAM do you recommend for 4K gaming nowadays? (12)
- "Upgrading Op-Amps on Asus Xonar Essence STX for Better Soundstage and Clarity" (5)
- 2022-X58/1366 PIN Motherboards NVME M.2 SSD BIOS MOD Collection (888)
- Keep a 4080s or take a 5070ti? (3)
- Protection against backdoor in Gigabyte motherboards (7)
- PC Turns Off Immediately After Pressing Power Button--Must be Held Down to Power On (4)
- Stalker 2 is looking great. (168)
- Nvidia's GPU market share hits 90% in Q4 2024 (gets closer to full monopoly) (487)
Popular Reviews
- MSI GeForce RTX 5070 Ti Ventus 3X OC Review
- Gigabyte GeForce RTX 5090 Gaming OC Review
- Galax GeForce RTX 5070 Ti 1-Click OC White Review
- ASUS GeForce RTX 5070 Ti TUF OC Review
- Ducky One X Inductive Keyboard Review
- MSI GeForce RTX 5070 Ti Vanguard SOC Review
- MSI GeForce RTX 5070 Ti Gaming Trio OC+ Review
- darkFlash DY470 Review
- AMD Ryzen 7 9800X3D Review - The Best Gaming Processor
- Palit GeForce RTX 5070 Ti GameRock OC Review
Controversial News Posts
- NVIDIA GeForce RTX 5090 Spotted with Missing ROPs, NVIDIA Confirms the Issue, Multiple Vendors Affected, RTX 5070 Ti, Too (335)
- AMD Radeon 9070 XT Rumored to Outpace RTX 5070 Ti by Almost 15% (302)
- AMD Plans Aggressive Price Competition with Radeon RX 9000 Series (269)
- AMD is Taking Time with Radeon RX 9000 to Optimize Software and FSR 4 (256)
- AMD Radeon RX 9070 and 9070 XT Listed On Amazon - One Buyer Snags a Unit (247)
- Edward Snowden Lashes Out at NVIDIA Over GeForce RTX 50 Pricing And Value (241)
- AMD Denies Radeon RX 9070 XT $899 USD Starting Price Point Rumors (239)
- New Leak Reveals NVIDIA RTX 5080 Is Slower Than RTX 4090 (215)