 17
17
Aerocool Hi-Tech 7 Pro Review
Value & Conclusion »Assembly

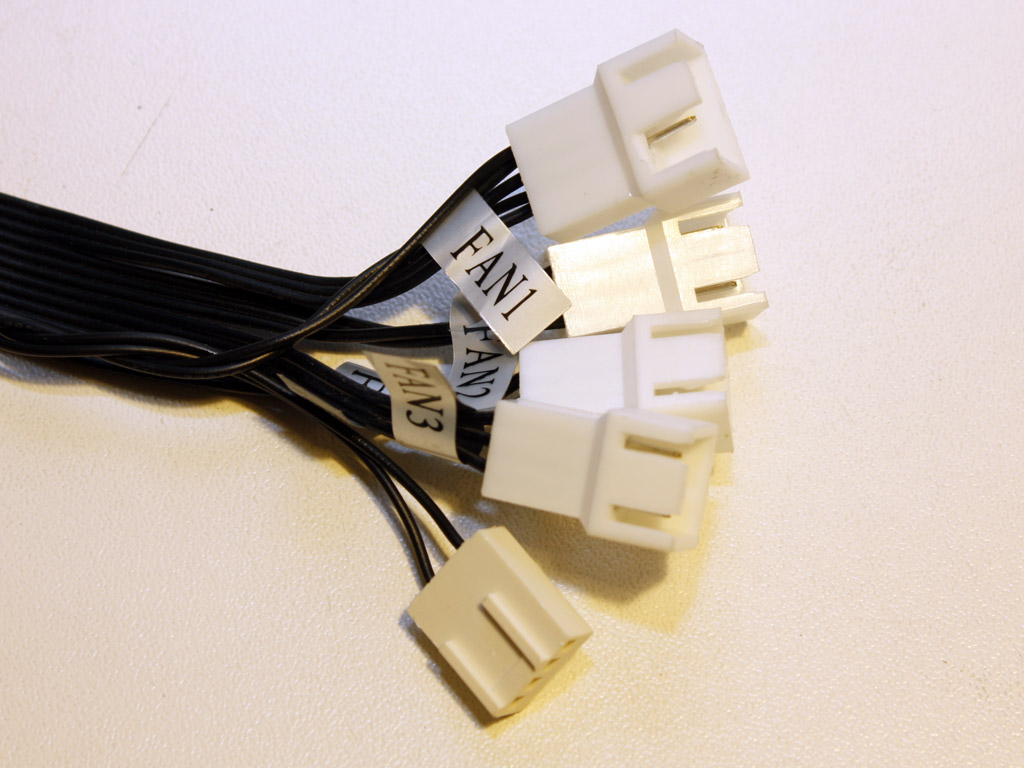
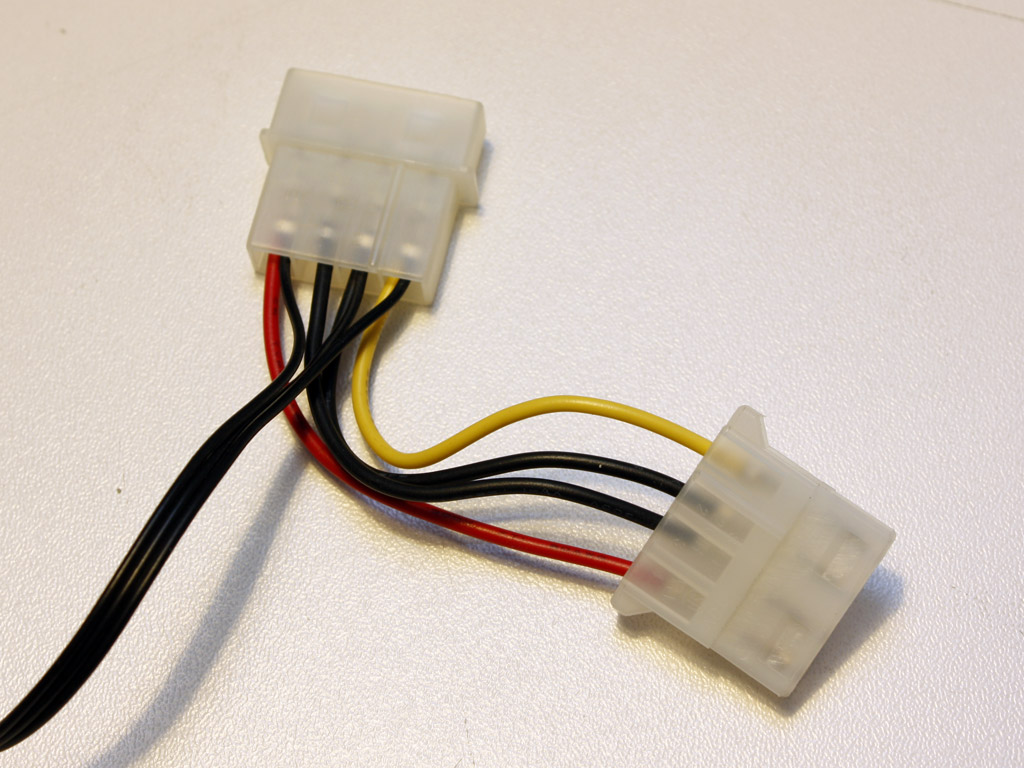

Before putting together the system, let us take a look at the various cables found within the case. The first set is intended to connect the top I/O, power and reset button. Aerocool has included separate connectors for AC'97 and HD audio. There are three sets of other cables in addition to the usual kind. The first is intended for up to five fans. One of which may even be a PWR cooler usually found on CPU heatsinks these days. I do not know if it is a good thing to choose the case as the controlling factor of this fan, but you may do so if you wish. A Molex passthrough connector is required to power the display itself. Last but not least, there are four flat thermal diodes. Each clearly labeled for their intended purpose.
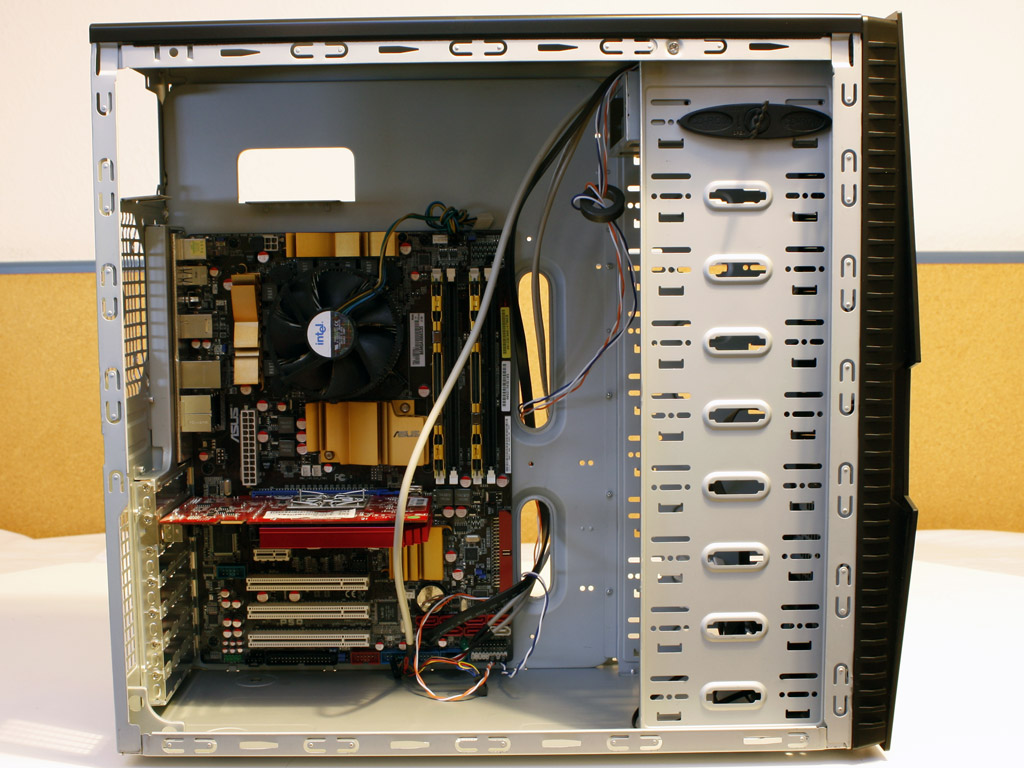
Installing the mainboard into the chassis is done traditionally. Simply insert the standoffs and secure the board to them with the supplied screws. As you can see, the Hi-Tech 7 Pro is quite compact, so large graphic cards may prohibit you from easily reaching the bottom three drive bays. Luckily you can easily access these from the front of the chassis.
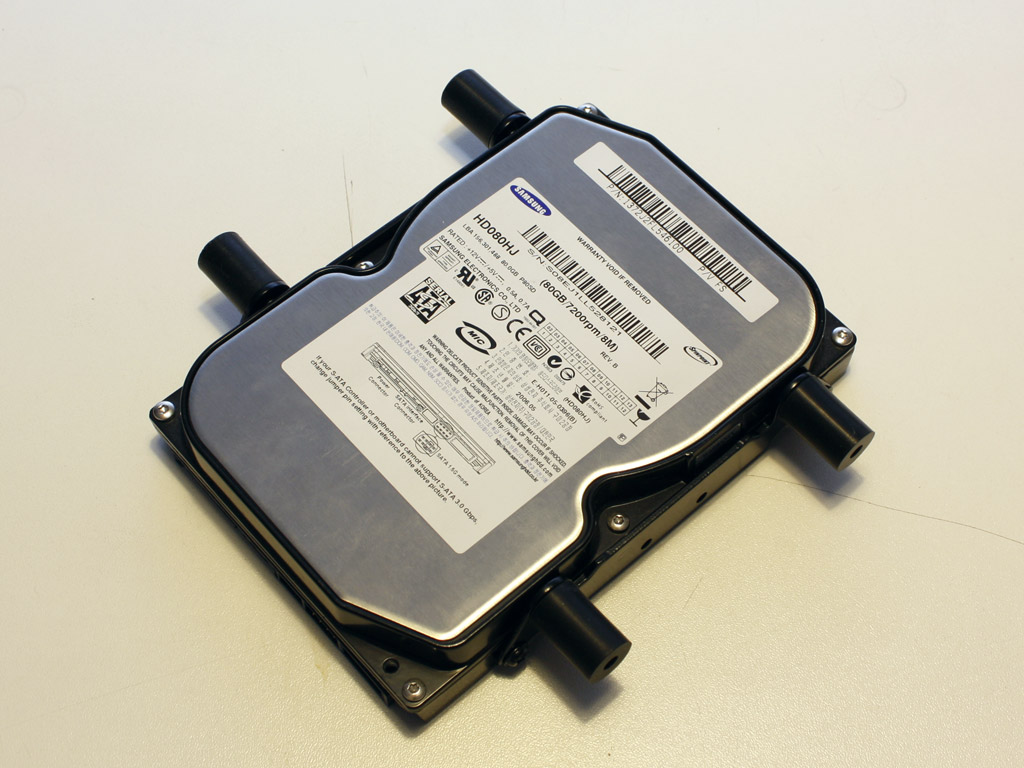

You may install up to four hard drives with the use of the included spacers. These utilize rubber tubing to eliminate any vibration from the drives. Considering the fact that the drive bays are constructed of long, unsecured metal sheets, this is a good choice. Simply place the spacers on the drive and secure it with the included screws. Then place the entire contraption into a drive bay of your choosing and screw it in place. The hard drives need to be held in place by traditional screws instead of the plastic locking mechanism.
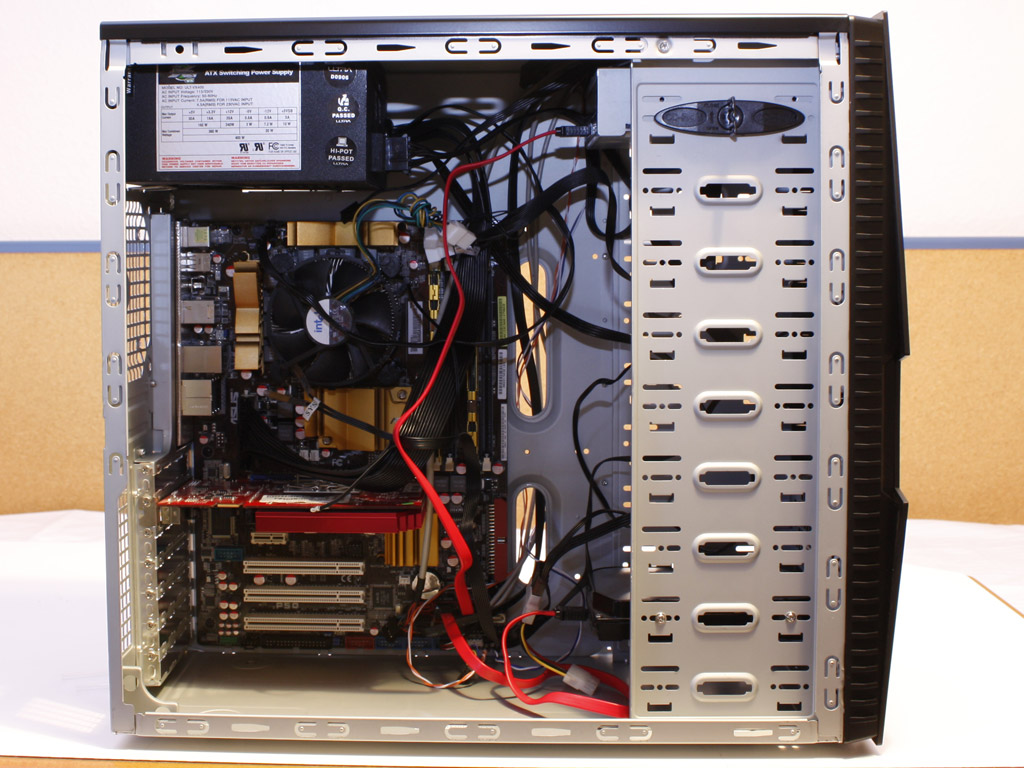
Once the case is filled and all the cables are connected, this is what the case looks like. There is very little room to route or hide any cables within the simple chassis interior. Even with just a single SATA hard drive and one SATA optical drive, there is a considerable amount of cabling. Filling the chassis with many drives or dual GPU configurations may prove impossible, but will look horrid.
Finished Looks

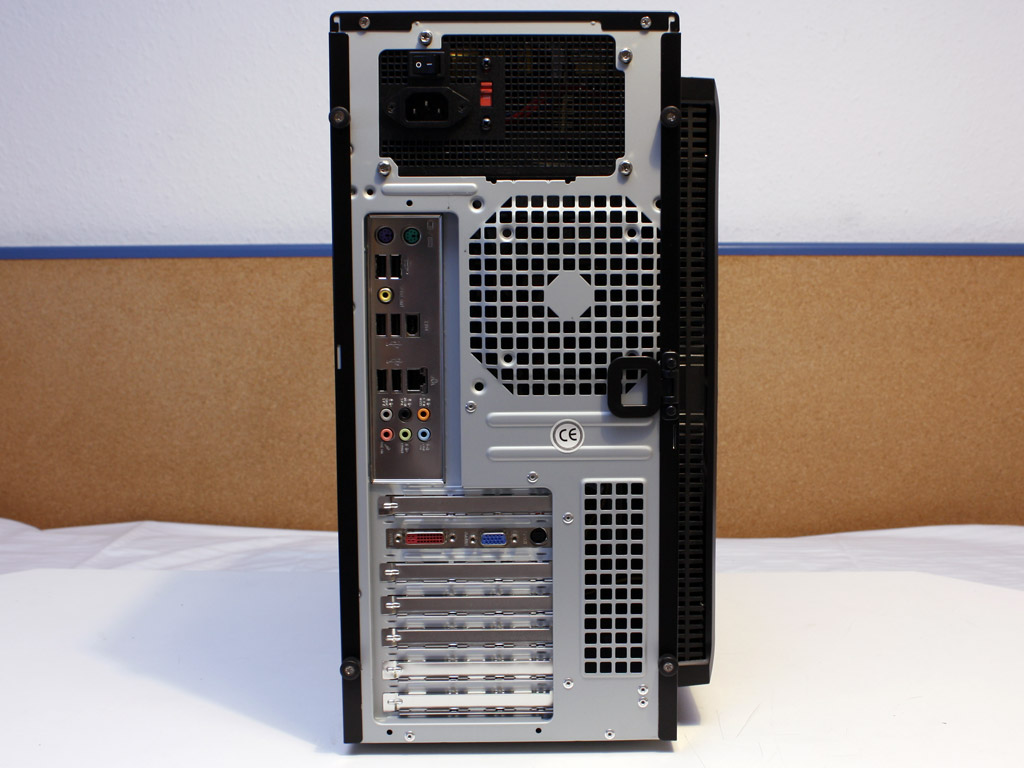
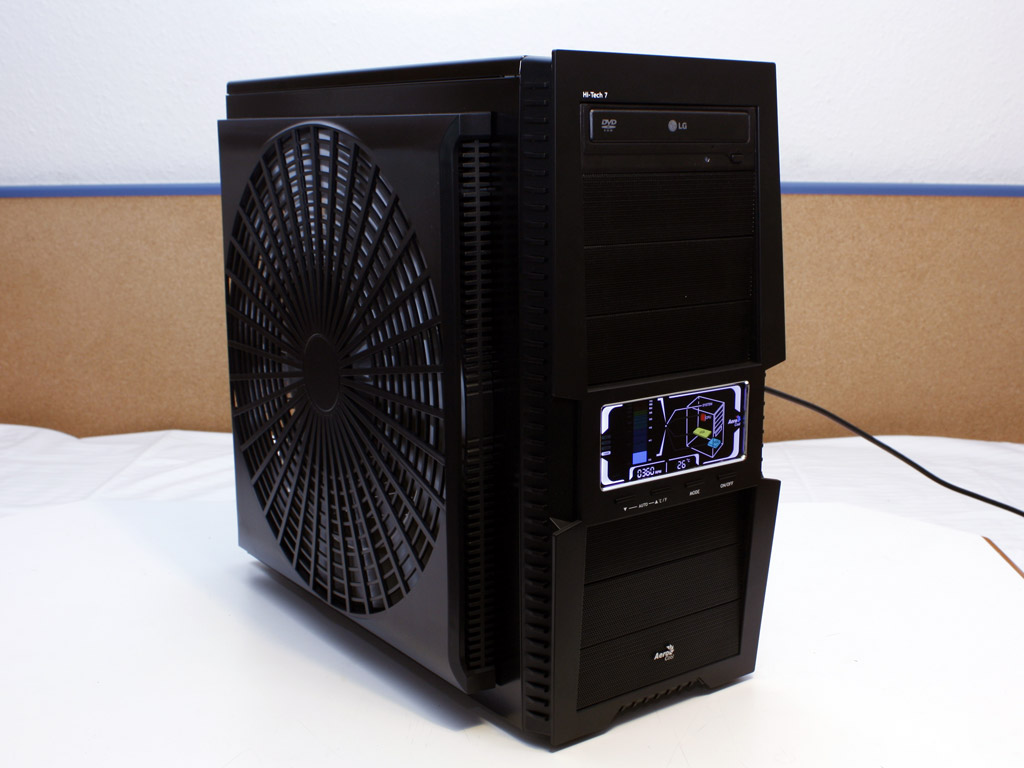
The optical drive is simply pushed into place and secured by the plastic looks. It lines up perfectly with the front edges of the Hi-Tech 7 Pro. Taking a quick look at the rear, everything is where one would expect. The huge fan creates an unprecedented air flow at minimal noise level. Even though it is being advertised as a 12 dbA unit, the turbulence it creates can clearly be heard. This is, however, nothing disturbing. Upon turning on the case for the first time, the display lights up right away. No software is required and while it looks fancy with several colors, the use is limited to the following functions.
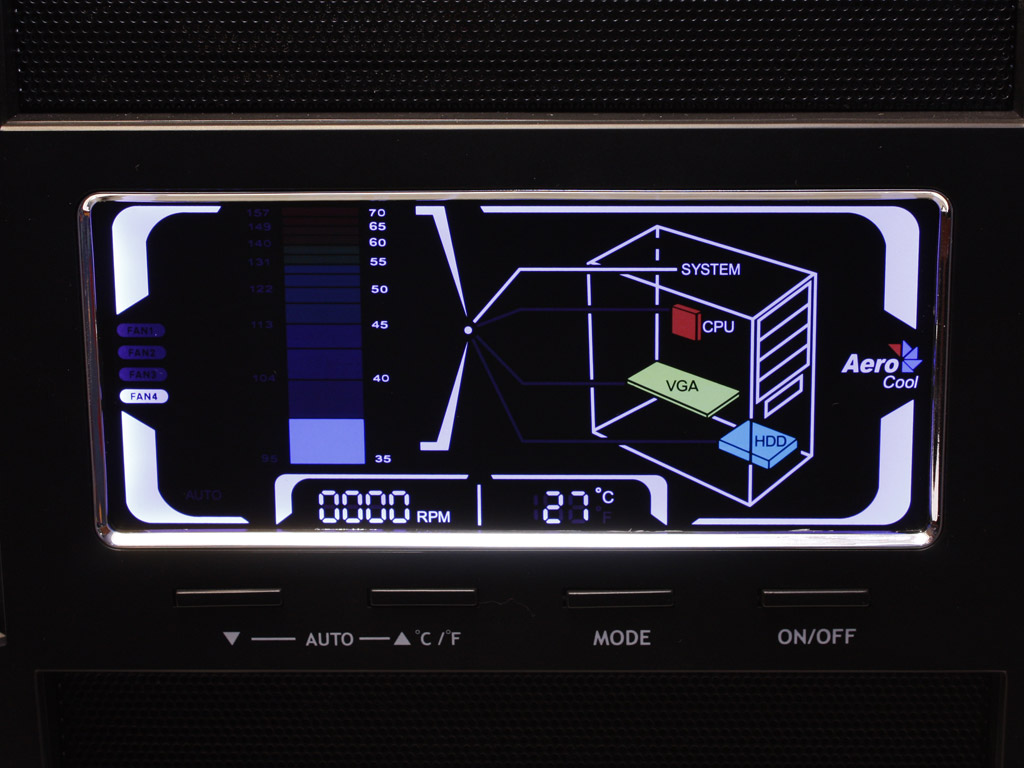
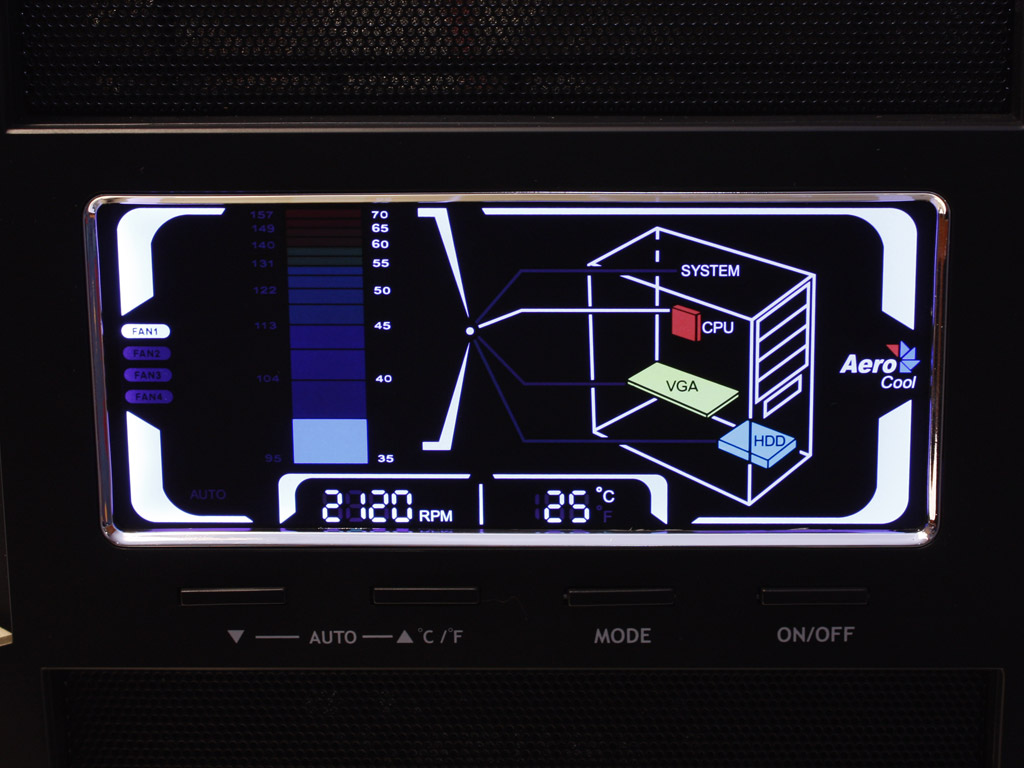
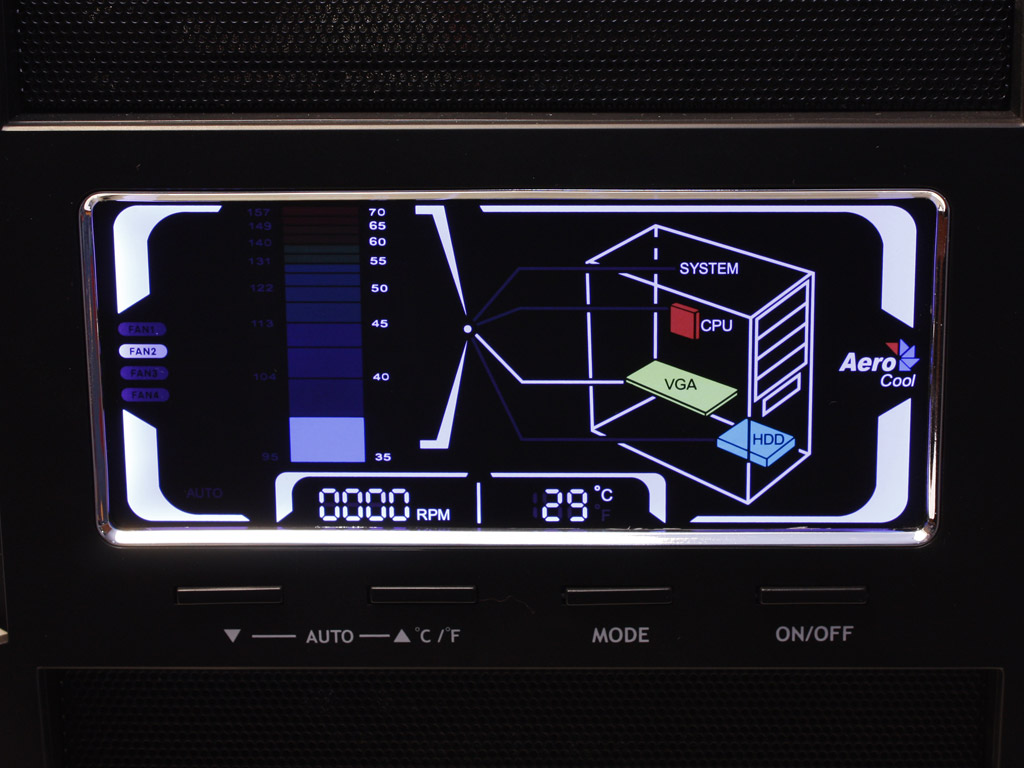
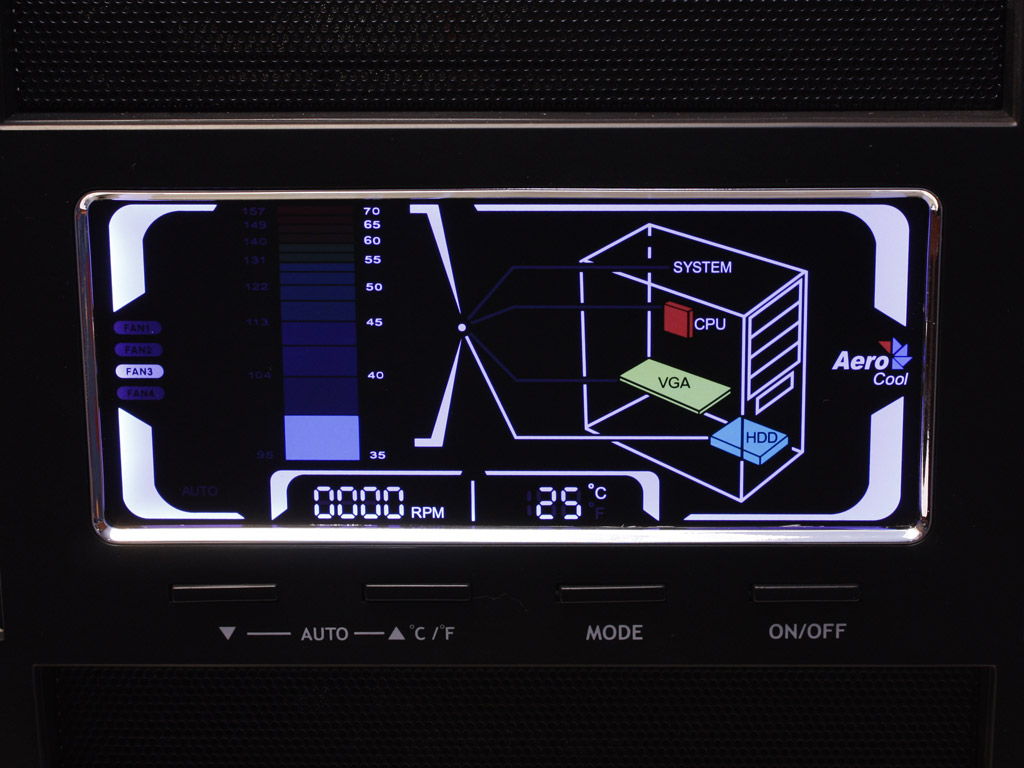
Cycling through the various stages can only be done by pressing the "MODE" button. This cycles through them in the following pairs (thermal diode + fan): CPU + FAN 1 -> VGA + FAN 2 -> HDD + FAN 3 -> SYSTEM + FAN 4. Each fan can be set to auto or manual, letting the system decide or allowing for manual control of the fan speed. You may also choose between Fahrenheit or Celsius. The button to the right simply turns off the backlight of the display, so it will not bother you when wanting to sleep in close proximity to the system.
Jan 8th, 2025 02:39 EST
change timezone
Latest GPU Drivers
New Forum Posts
- [leak] DLSS4 is coming (9)
- NVIDIA has revealed the prices for the RTX 5090, 5080 and 5070 (108)
- All RTX 5090s only have 1x 16-pin connector (0)
- Best time to sell your used 4090s is now. (155)
- Price of 4x series when they release 5x gpus (21)
- What was lacking GPU-wise at this year's CES (43)
- The TPU UK Clubhouse (25516)
- Looking for suggestions on z890 motherboard (0)
- Dell Workstation Owners Club (3259)
- in the whole computing world , this does not compute (2)
Popular Reviews
- ASUS ROG Strix B850-F Gaming WiFi Review
- DDR5 Thermal Testing & Analysis
- AMD Ryzen 7 9800X3D Review - The Best Gaming Processor
- SCYROX V8 Review
- Klevv Genuine G560 2 TB Review
- GPU Test System Update for 2025
- Intel Arc B580 Review - Excellent Value
- Upcoming Hardware Launches 2024 (Updated Nov 2024)
- STALKER 2 Performance Benchmark Review - 35 GPUs Tested
- Arrow Lake Retested with Latest 24H2 Updates and 0x114 Microcode
Controversial News Posts
- NVIDIA 2025 International CES Keynote: Liveblog (319)
- AMD Debuts Radeon RX 9070 XT and RX 9070 Powered by RDNA 4, and FSR 4 (297)
- NVIDIA GeForce RTX 5090 Features 575 W TDP, RTX 5080 Carries 360 W TDP (208)
- AMD Radeon RX 9070 XT Alleged Benchmark Leaks, Underwhelming Performance (204)
- Potential RTX 5090 and RTX 5080 Pricing in China Leaks (173)
- 32 GB NVIDIA RTX 5090 To Lead the Charge As 5060 Ti Gets 16 GB Upgrade and 5060 Still Stuck With Last-Gen VRAM Spec (173)
- AMD Radeon RX 9070 XT Boosts up to 3.10 GHz, Board Power Can Reach up to 330W (167)
- NVIDIA GeForce RTX 5070 Ti Leak Tips More VRAM, Cores, and Power Draw (161)