 0
0
Akko 3108v2 King Koi Review - Lucky Calligraphy
Software & Performance »Disassembly

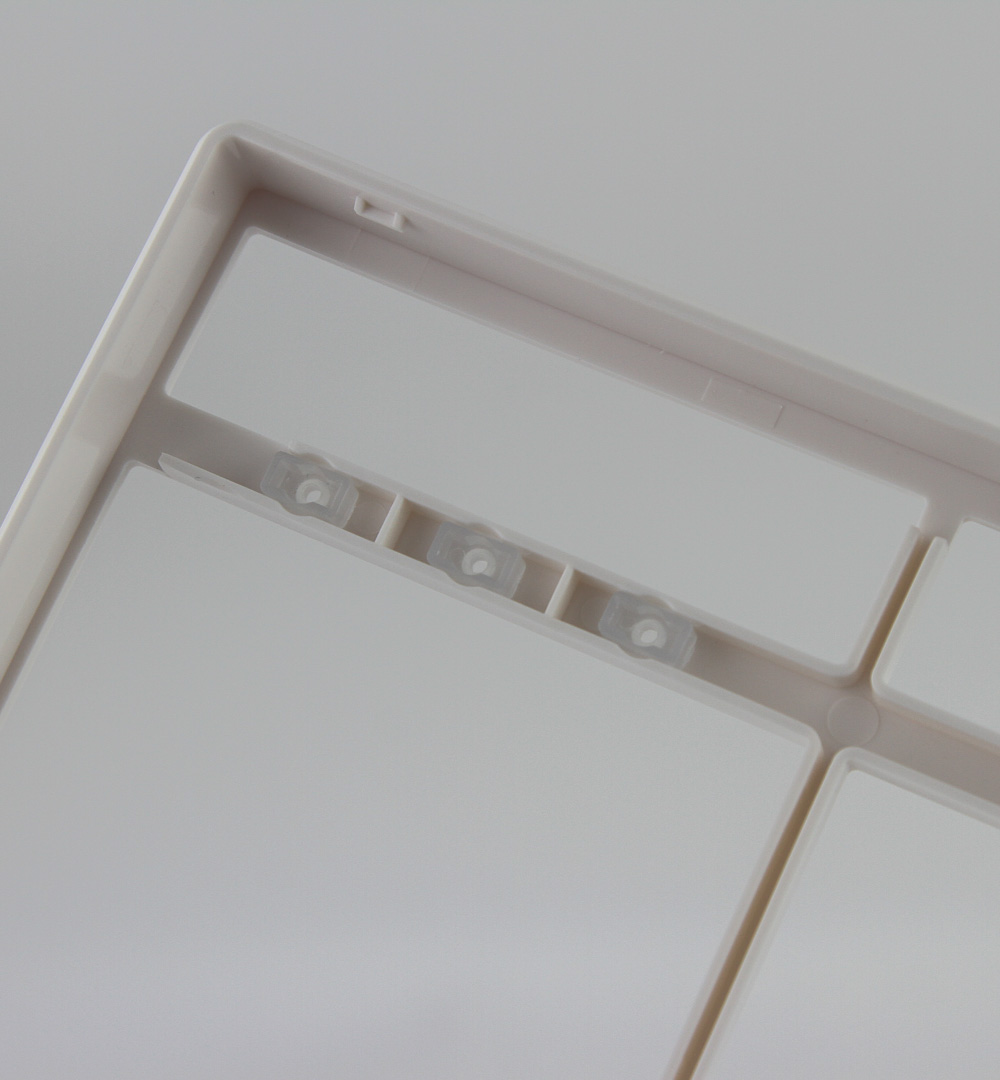
The two-piece plastic case construction requires carefully prying apart the interlocking tabs, and to my pleasant surprise, it actually happened easily and without any visible damage. Start at the bottom and work your way around the sides, after which it will get easier on the fourth side. We see that the top panel piece is quite thin and houses diffusers for the indicator LEDs at the front of the PCB.

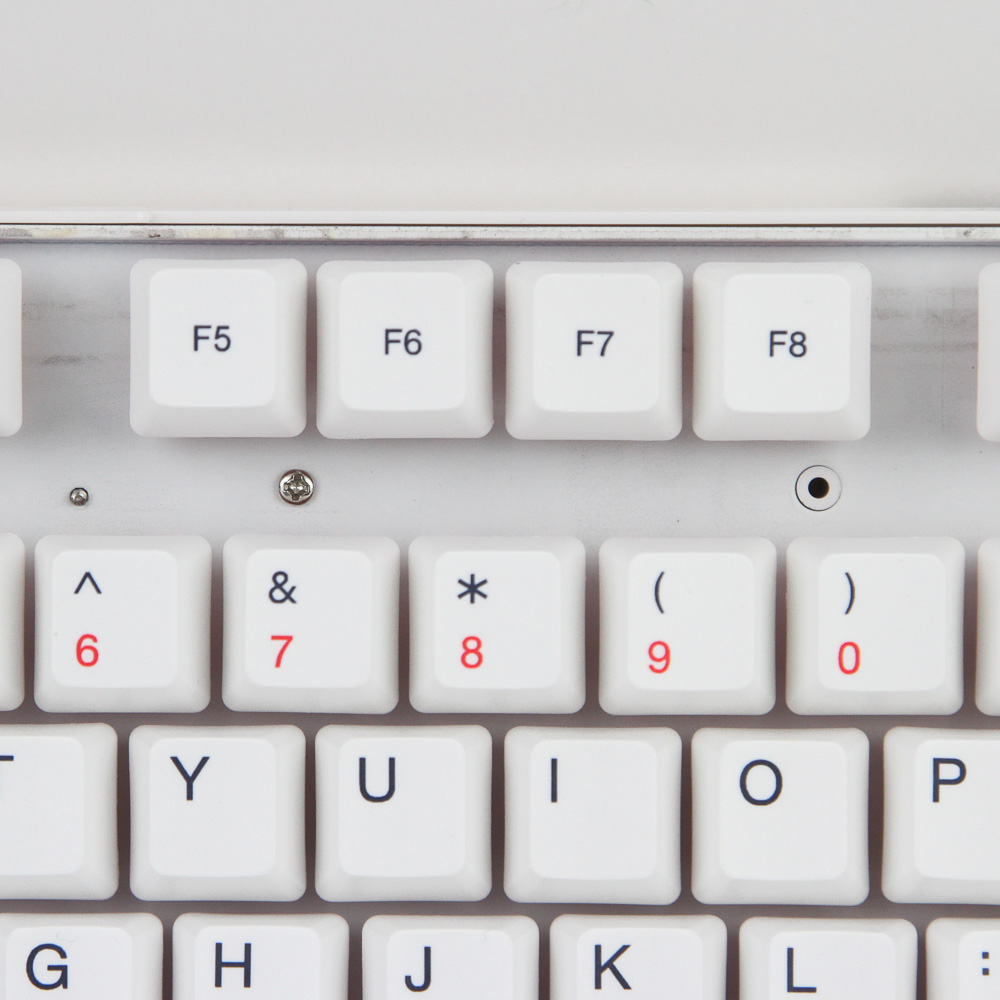
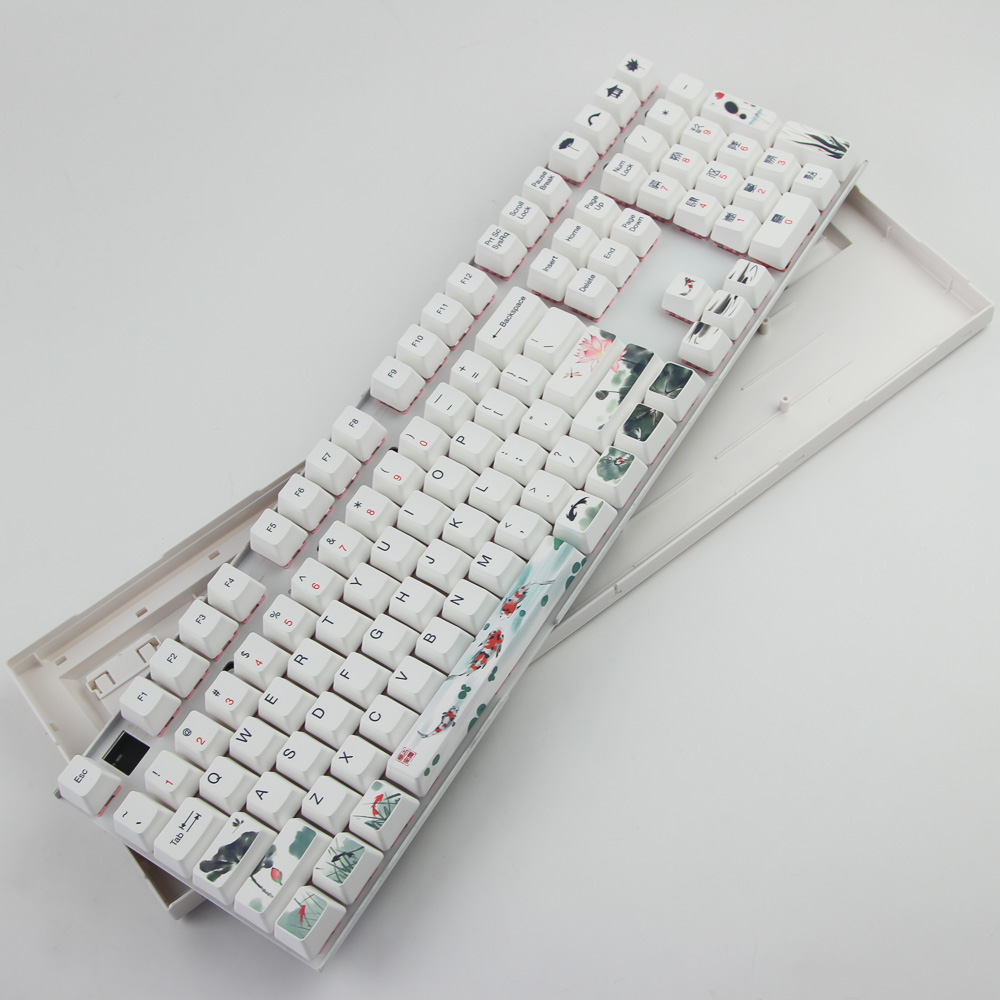
To remove the bottom panel, remove two screws towards the top as seen above. No keycap removal is necessary for these, and I was surprised by the lack of screws at the bottom, too. Once done, the plate/PCB piece lifts upwards and away from the bottom panel.
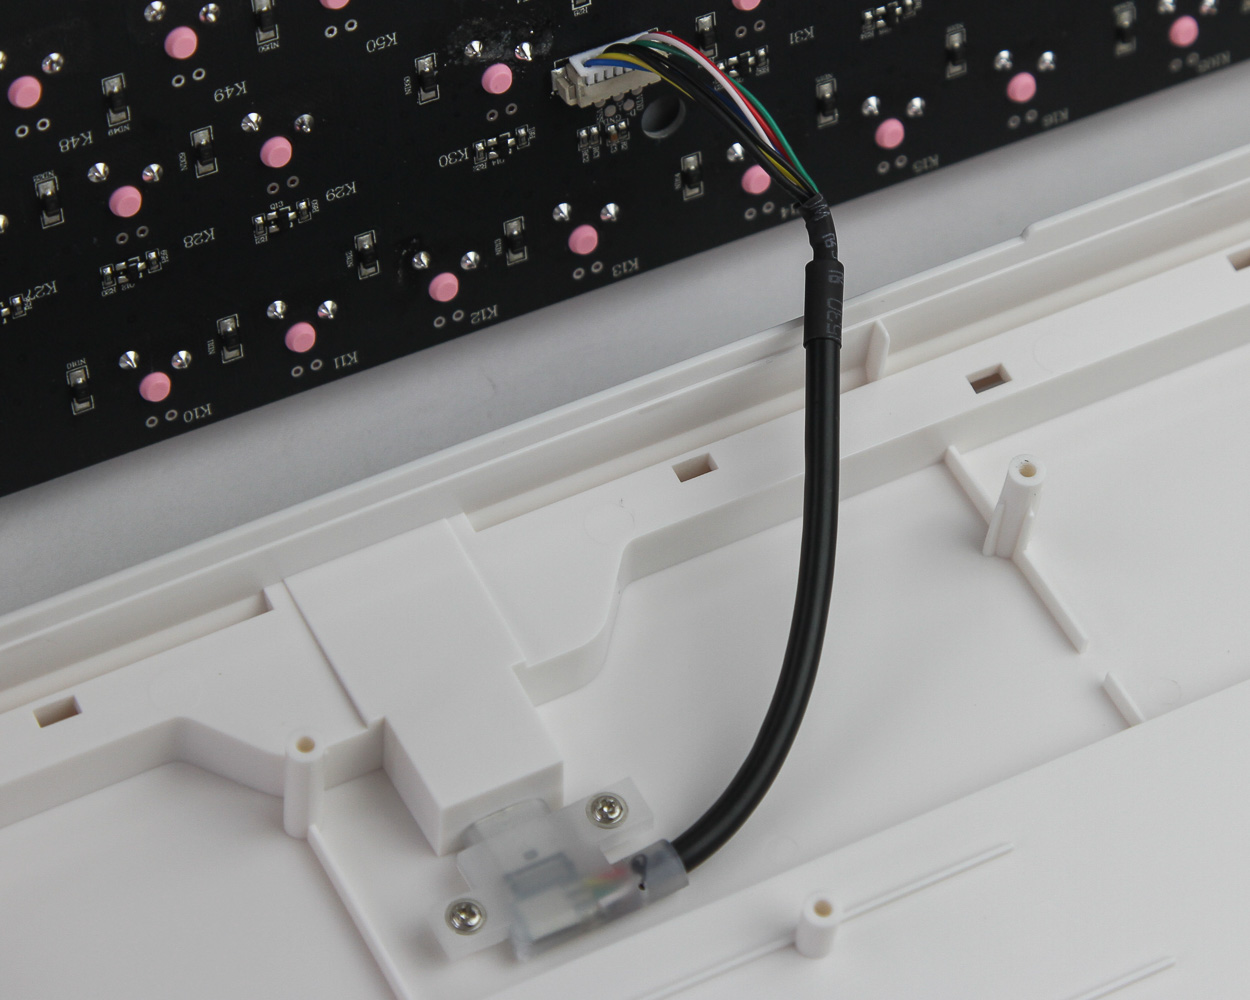
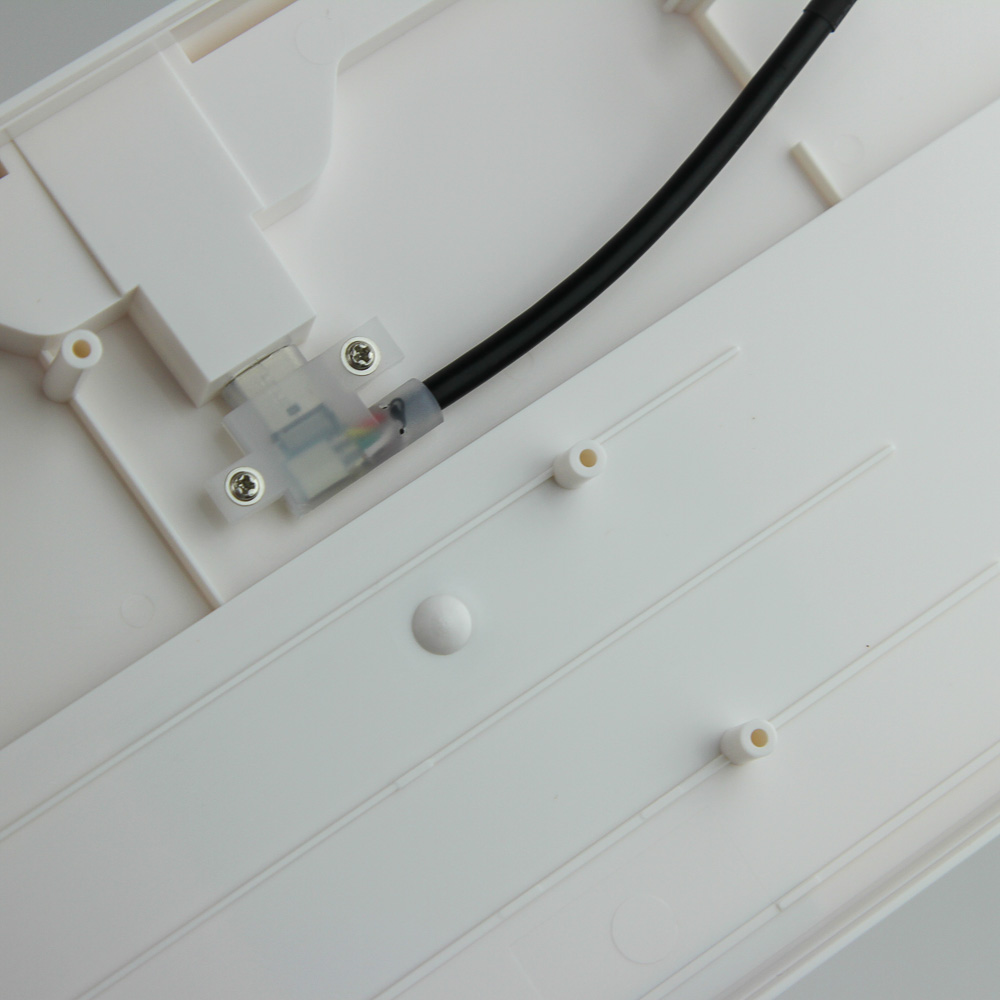
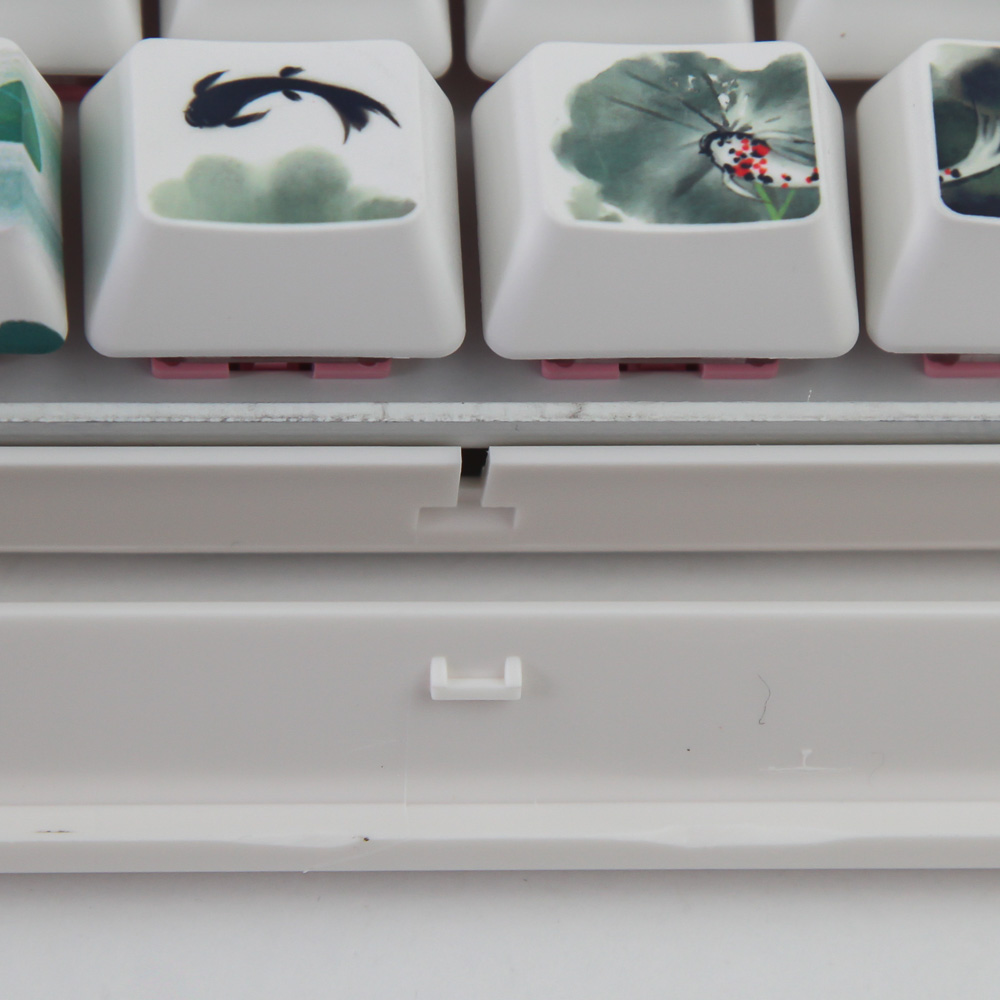
An internal USB cable extends from a daughter PCB on the case housing the Type-C connector. The daughter PCB is screwed in securely, and there's little else to see on the case. Both case panels are made out of ABS plastic, and the middle piece has the switches which are soldered to the matte black PCB go through a steel plate. The steel plate is white, which nicely matches the keyboard theme in a happy coincidence, no doubt. No sound-absorbing foam here, so any sound affecting the empty case can reverberate through it.
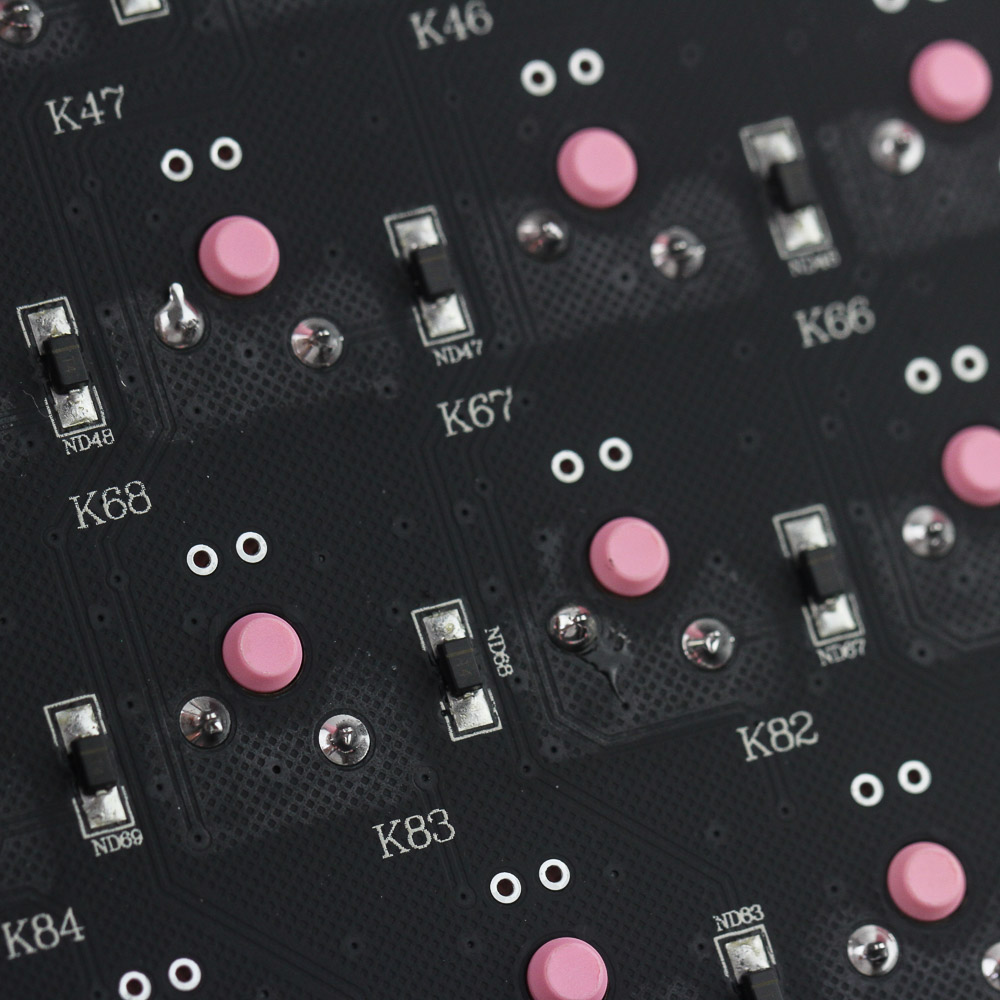
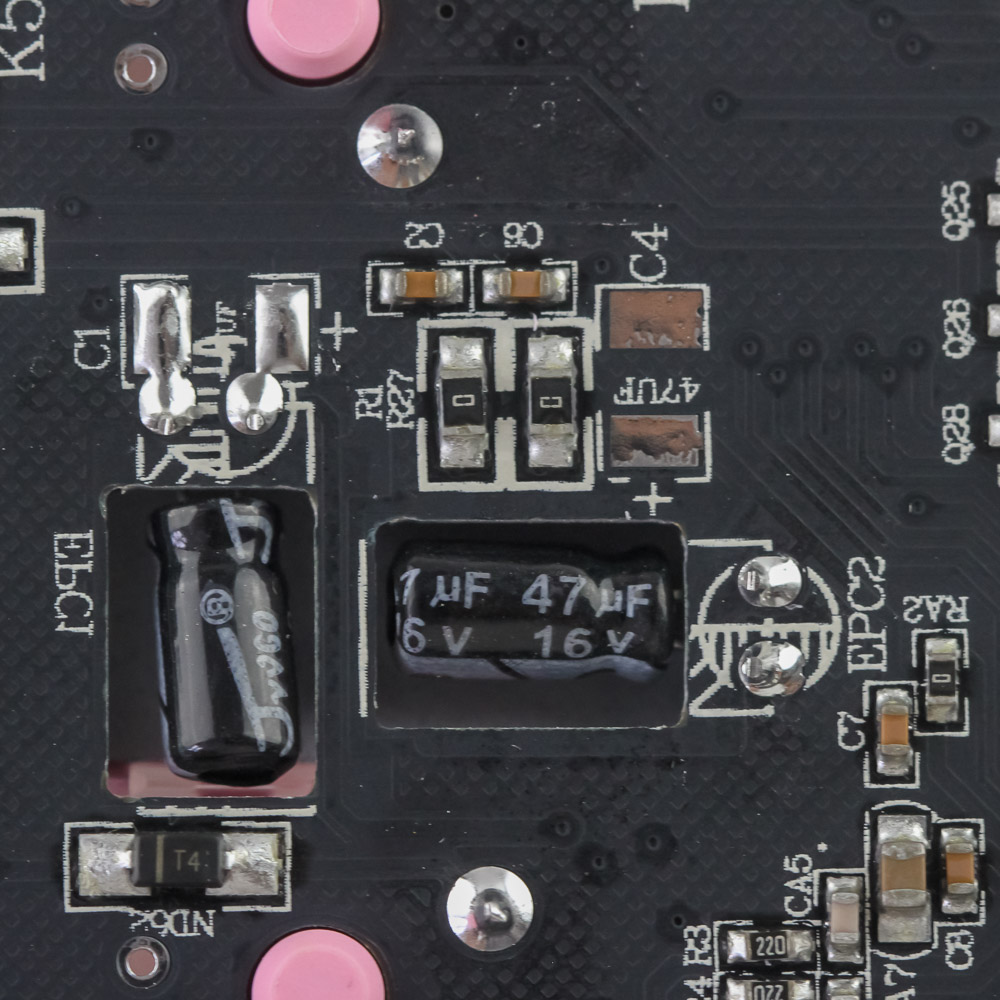
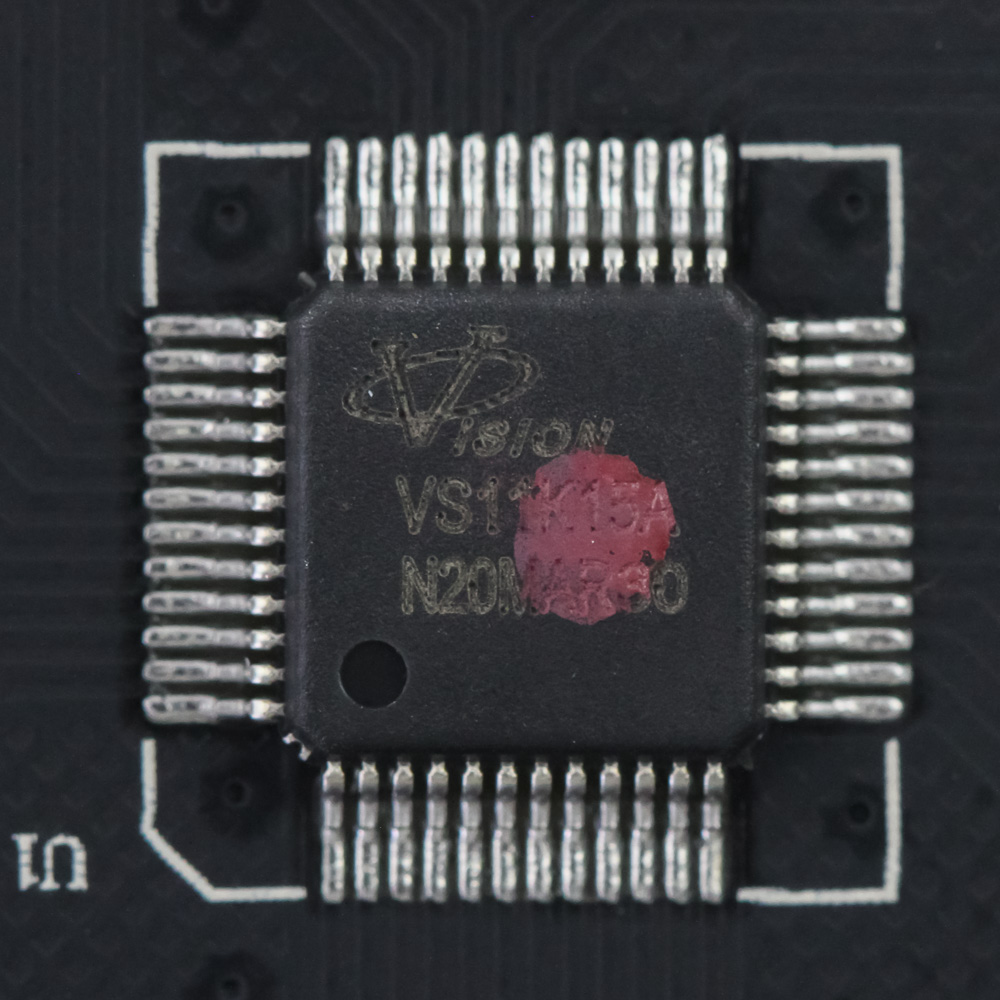
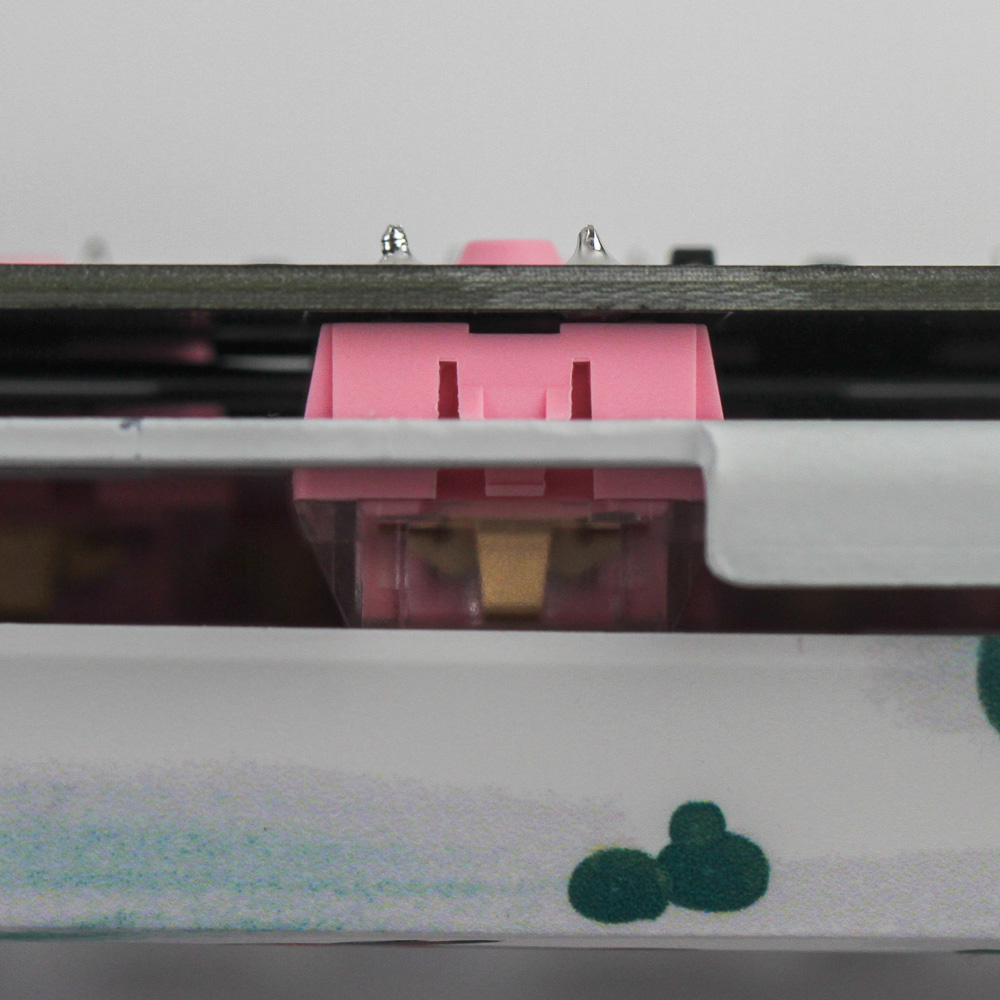
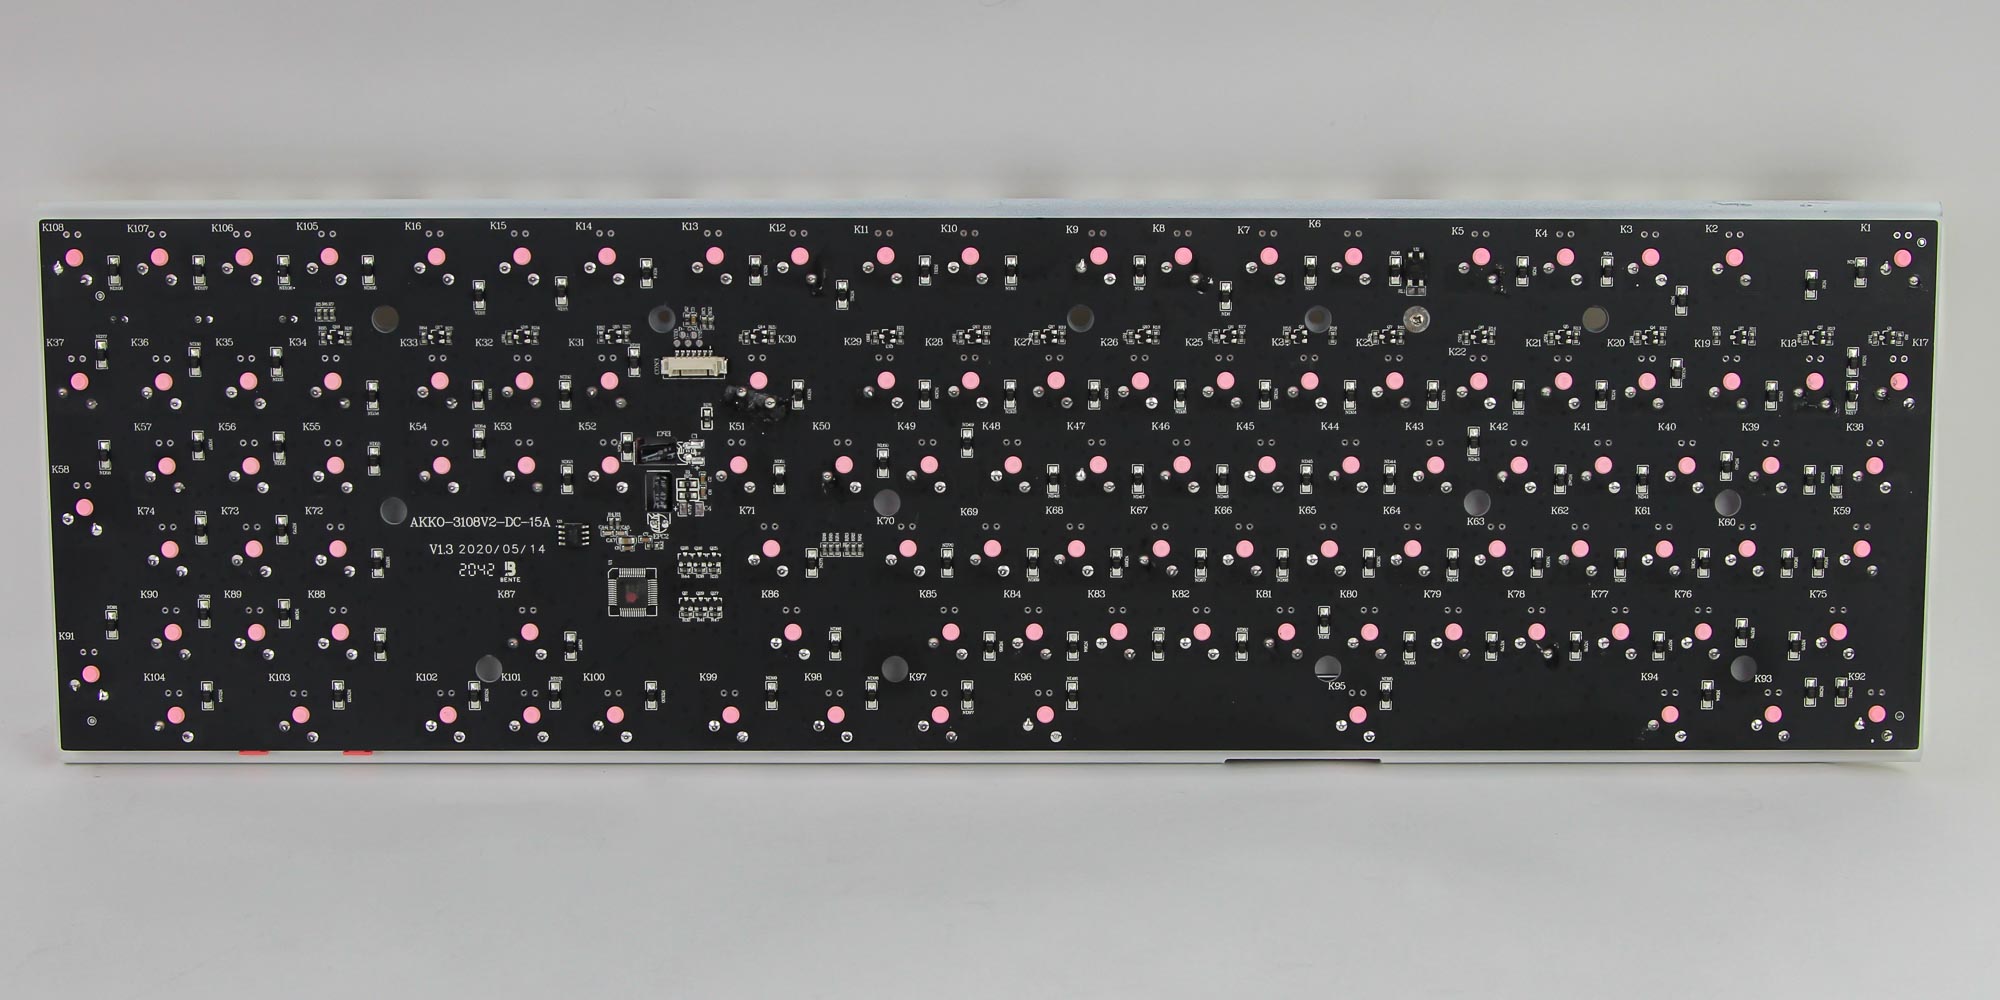
Solder quality is generally good for all the components, although some excess flux is visible if you look hard enough. We also see confirmation on the PCB that it was made for the Akko 3108 keyboard design, which has been used successfully on other keyboards. The pink stem of the Akko Pink switches is also visible and is a 3-pin mechanical switch. Powering the keyboard is a Vision VS11K15A 32-bit ARM Cortex-M0 USB microcontroller, which has been used in some other keyboards we have covered before. The MCU actually supports basic backlighting, including RGB LEDs to an extent, so Akko could have added single-color LEDs to all 108 keys if it wanted to. The company leaves it to users to mod in LEDs if desired, but I doubt many will. All the components, including the switches, LEDs, and capacitors, are soldered to a multi-layered PCB, and a side view showcases more of the Akko Pink switches, stabilizers, and the steel plate, which unfortunately can't be removed without desoldering. You can lube the stabilizers more if you wish, although I found it sufficient given the rest of the keyboard is not designed to take advantage of it anyway. I would suggest adding some foam between the PCB and case, if you are so inclined.
Before we move on, be advised that disassembly may void the warranty and that TechPowerUp is not liable for any damages incurred if you decide to go ahead and do so anyway.
Jul 1st, 2025 22:47 CDT
change timezone
Latest GPU Drivers
New Forum Posts
- PCMA2305 Phase Change Metal Alloy (PCMA) (7)
- Best motherboards for XP gaming (18)
- What would you buy? (32)
- Is my m2 possibly fake ? and possible laptop hardware damage ? (28)
- HP Zbook 15 G2 GPU Upgrade (4)
- Help me overclocking my GSkill Ripjaws 3200MHz CL 16 DDR4 RAMs. (20)
- MACPRO 3,1 booting windows (0)
- My PCIe5 SSD is slow. Samsung 9100 PRO (29)
- Steering wheels, I think I had a mea culpa! (0)
- My PSU died.. (1)
Popular Reviews
- ASUS ROG Crosshair X870E Extreme Review
- Crucial T710 2 TB Review - Record-Breaking Gen 5
- Sapphire Radeon RX 9060 XT Pulse OC 16 GB Review - An Excellent Choice
- AVerMedia CamStream 4K Review
- Upcoming Hardware Launches 2025 (Updated May 2025)
- AMD Ryzen 7 9800X3D Review - The Best Gaming Processor
- Lexar NQ780 4 TB Review
- Sapphire Radeon RX 9070 XT Nitro+ Review - Beating NVIDIA
- AMD Ryzen 9 9950X3D Review - Great for Gaming and Productivity
- NVIDIA GeForce RTX 5060 8 GB Review
TPU on YouTube
Controversial News Posts
- Intel's Core Ultra 7 265K and 265KF CPUs Dip Below $250 (288)
- NVIDIA Grabs Market Share, AMD Loses Ground, and Intel Disappears in Latest dGPU Update (208)
- Some Intel Nova Lake CPUs Rumored to Challenge AMD's 3D V-Cache in Desktop Gaming (140)
- NVIDIA GeForce RTX 5080 SUPER Could Feature 24 GB Memory, Increased Power Limits (112)
- Microsoft Partners with AMD for Next-gen Xbox Hardware (105)
- NVIDIA Launches GeForce RTX 5050 for Desktops and Laptops, Starts at $249 (105)
- Intel "Nova Lake‑S" Series: Seven SKUs, Up to 52 Cores and 150 W TDP (100)
- NVIDIA DLSS Transformer Cuts VRAM Usage by 20% (91)