 10
10
Antec Dark Avenger DA601 Review
Assembly & Finished Looks »A Closer Look - Inside
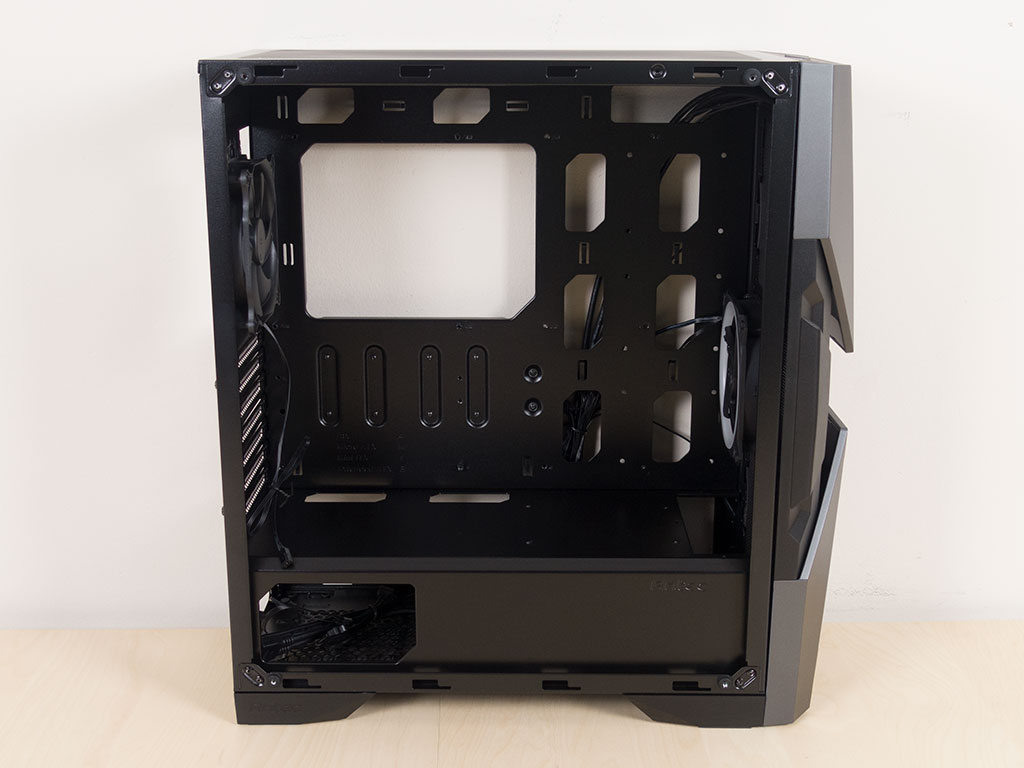
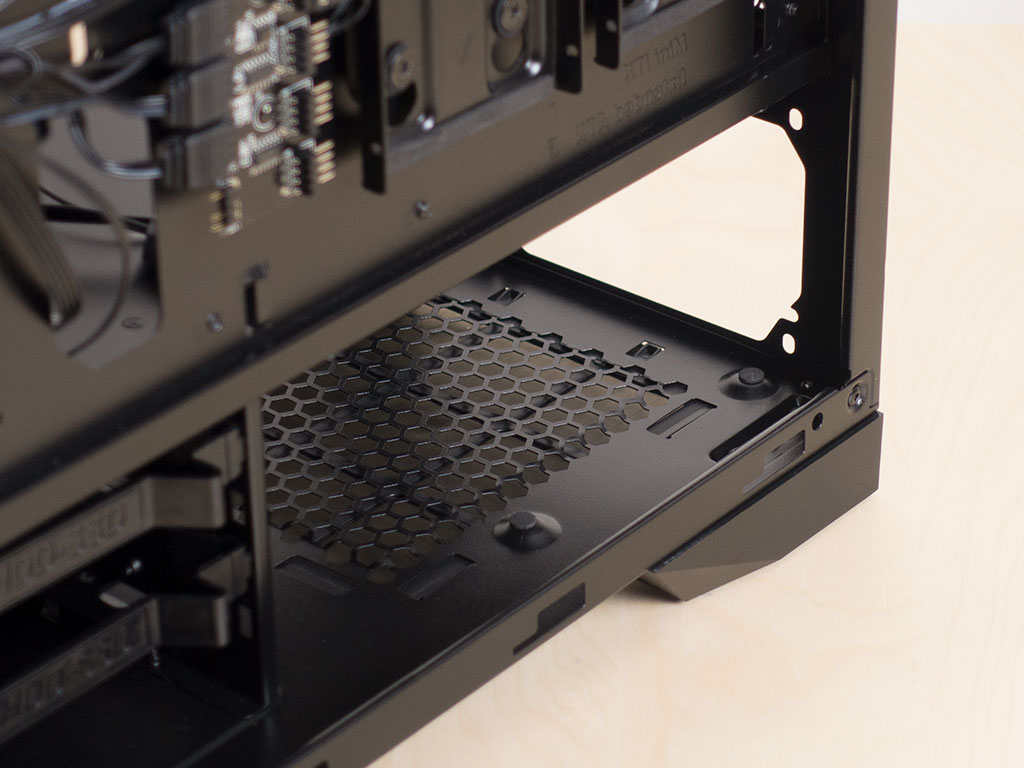
Antec has gone with a pretty generic layout that includes six sets of uniquely shaped, larger openings next to the motherboard. The lack of grommets will make it a bit harder to really keep things clean once everything is assembled. The shroud within the chassis is completely solid, which is unfortunate as this is a missed opportunity to allow for additional storage to be installed, for example.
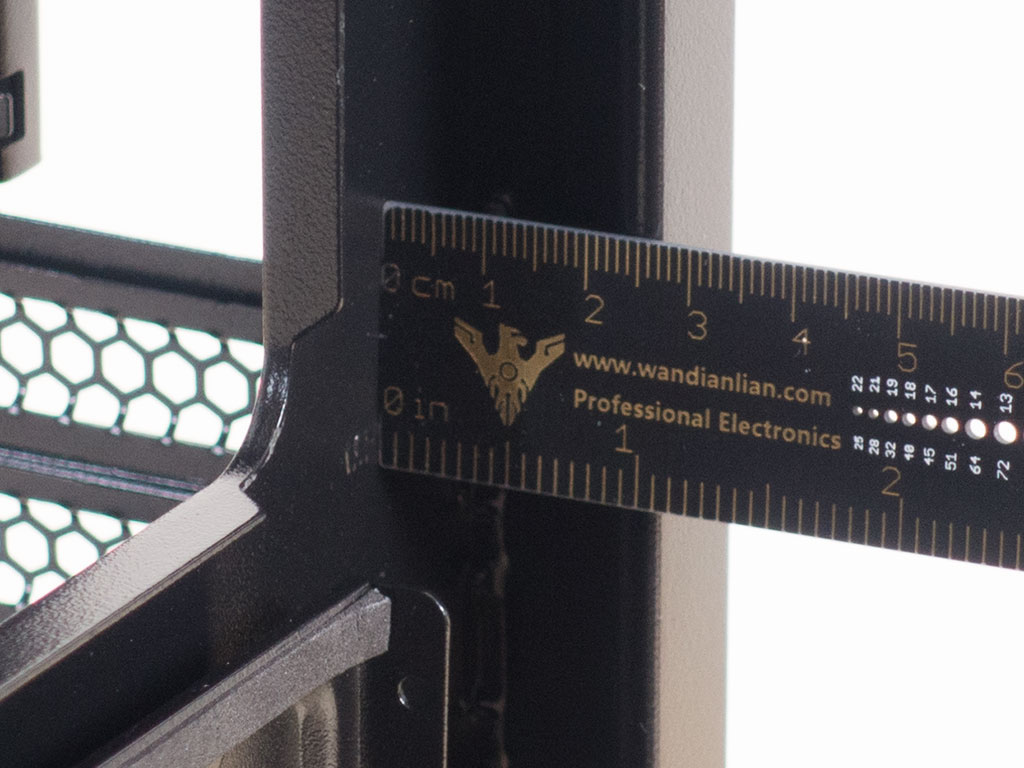
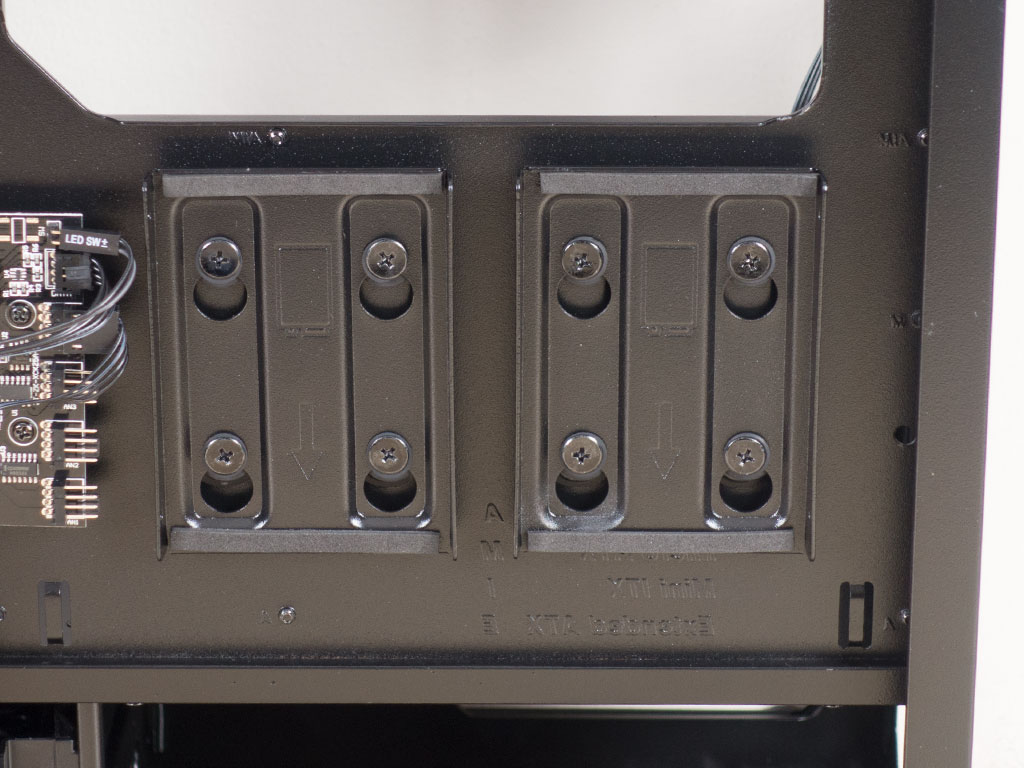
On the inside, you will have around 25 mm behind the motherboard tray, which should be plenty to route your cables. Luckily, there are large hooks for zip ties all over, which should make keeping things clean a bit easier. If you look closely, there are mounting holes around the top and bottom opening closest to the front of the chassis, which allows for two SSDs to be installed here according to Antec. However, having seen this body before, there are actually three possible spots. While this allows you to show off drives to curious onlookers, it will also block you from using the cable-management openings when installing an E-ATX board. Antec is perhaps only advertising two drives as the center opening would remain available in such a scenario. Antec also includes a large opening underneath the CPU area of your motherboard for that obligatory access to the CPU cooler backplate.
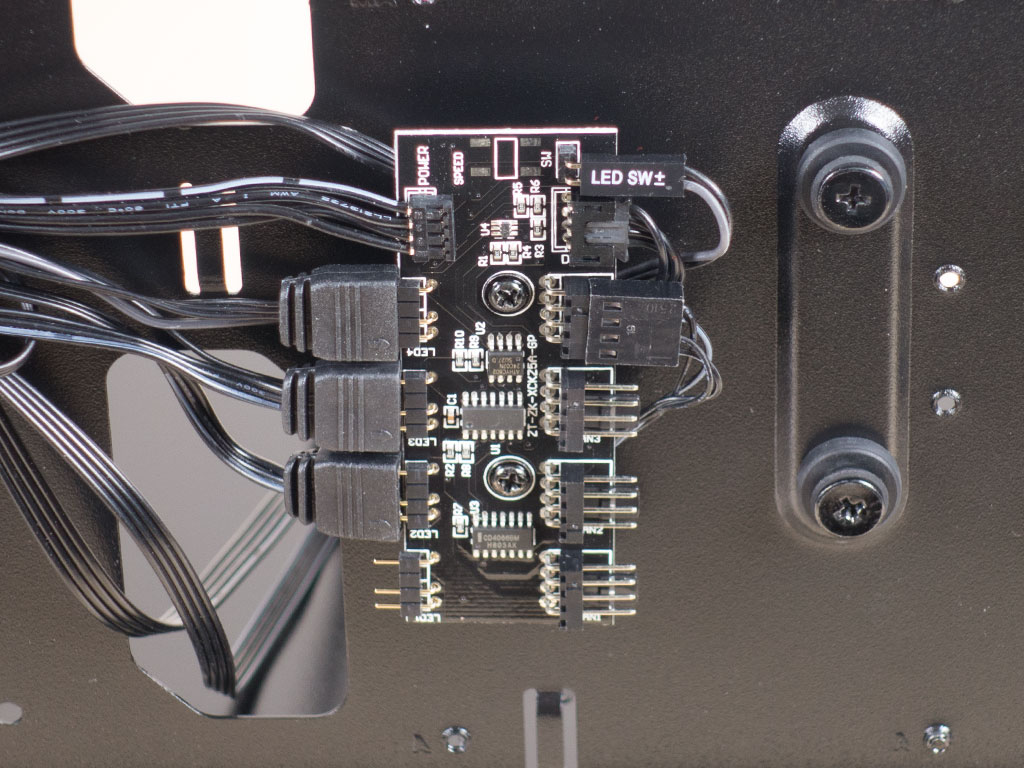
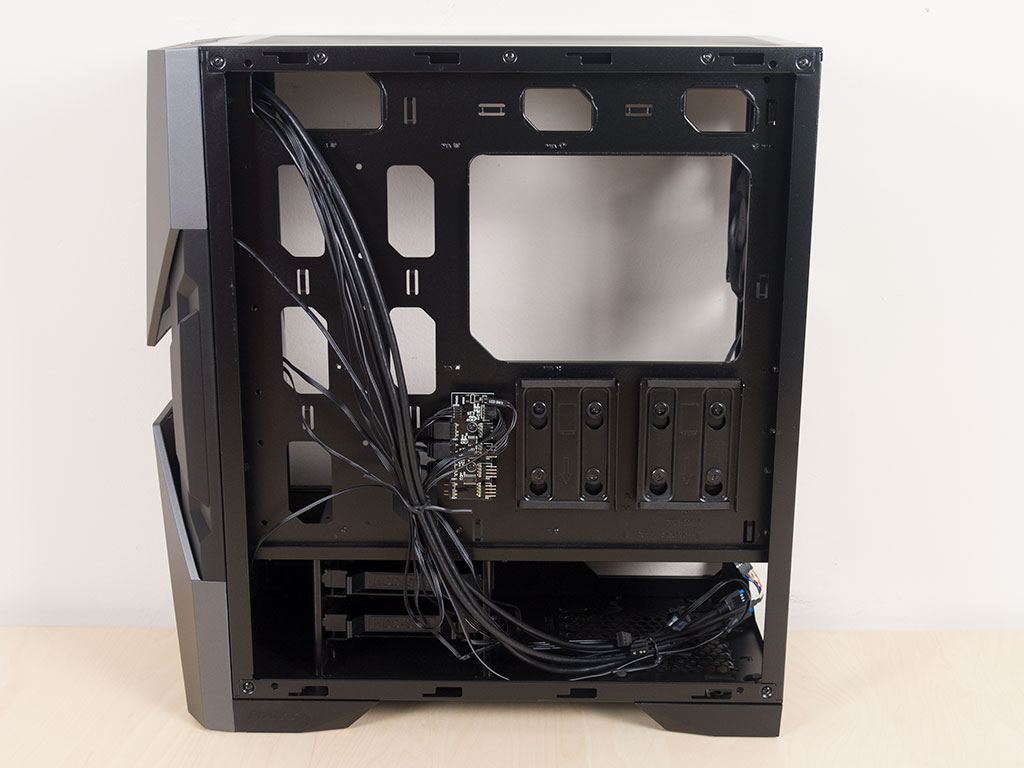
Two individual SSD trays can be found next to a PCB that controls all the lighting elements and directly powers the PWM fans. Thanks to the use of standard 4-pin RGB connectors, you should easily be able to expand it without being bound to a specific brand.
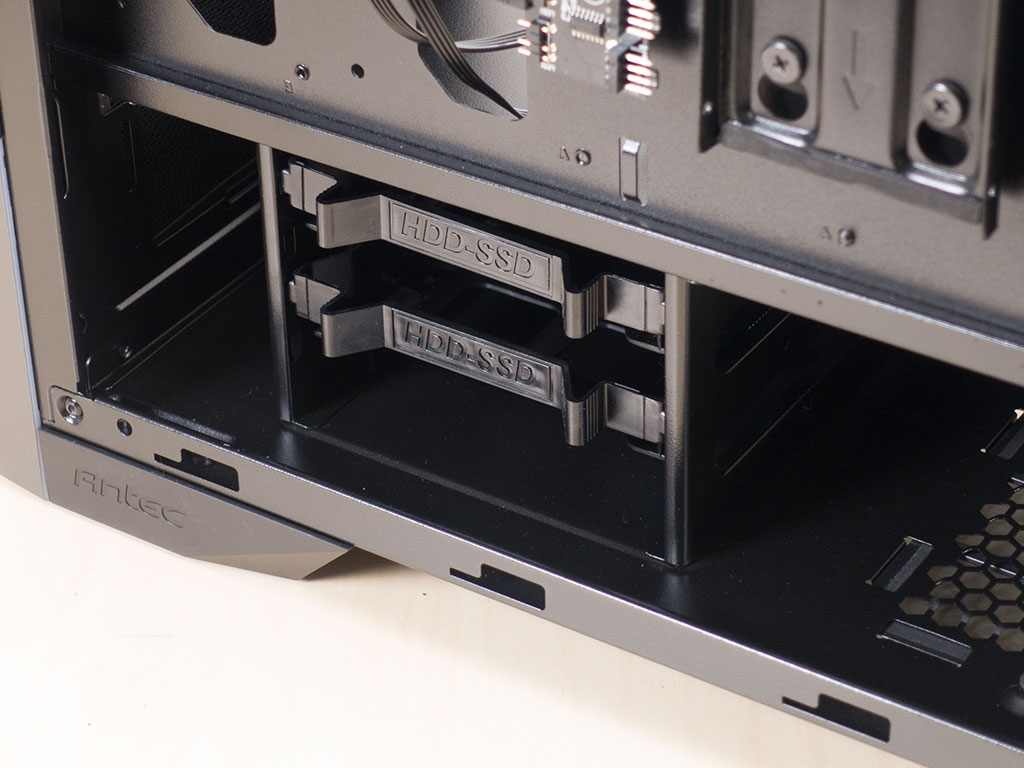

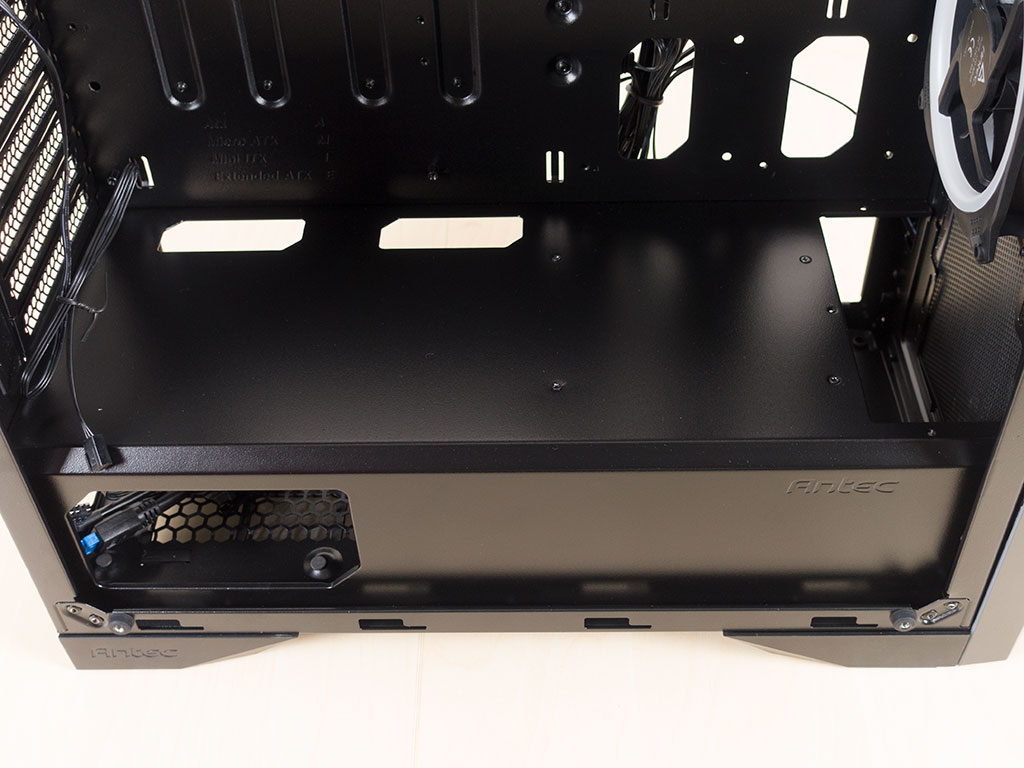
You will find the two 3.5" trays underneath the metal shroud. These allow for the tool-less addition of these storage devices, while 2.5" drives like SSDs still require screws and a screw driver. Above that, the whole front is intended for cooling—either in the form of three 120 mm fans or by including a radiator of up to 360 mm.
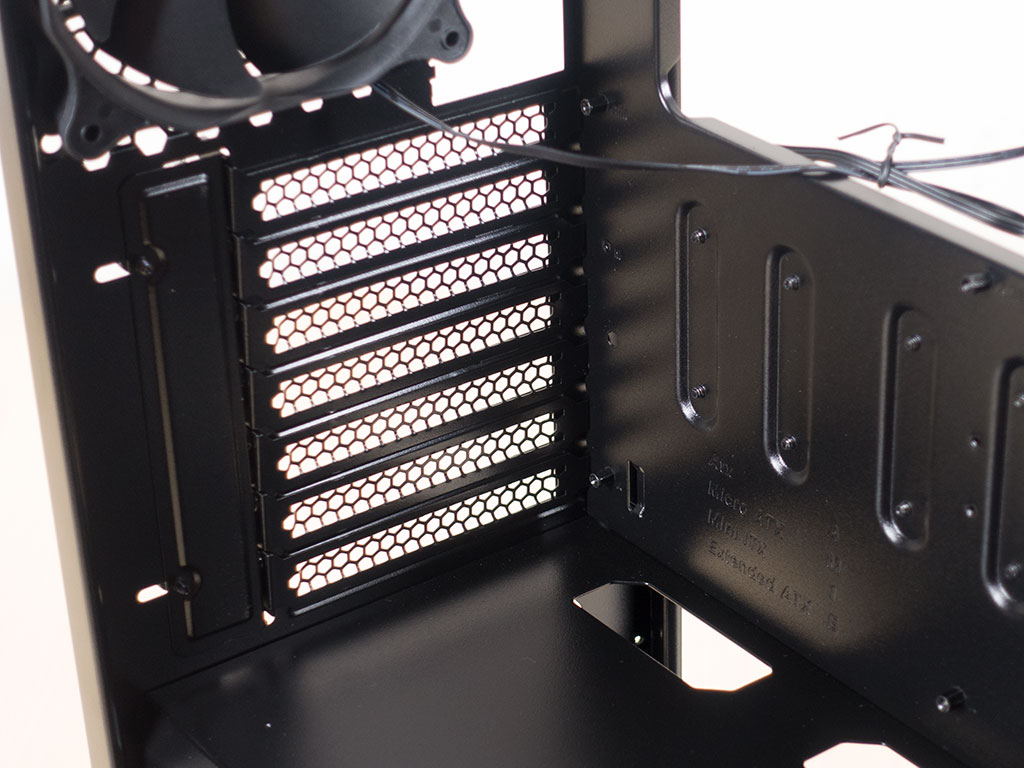
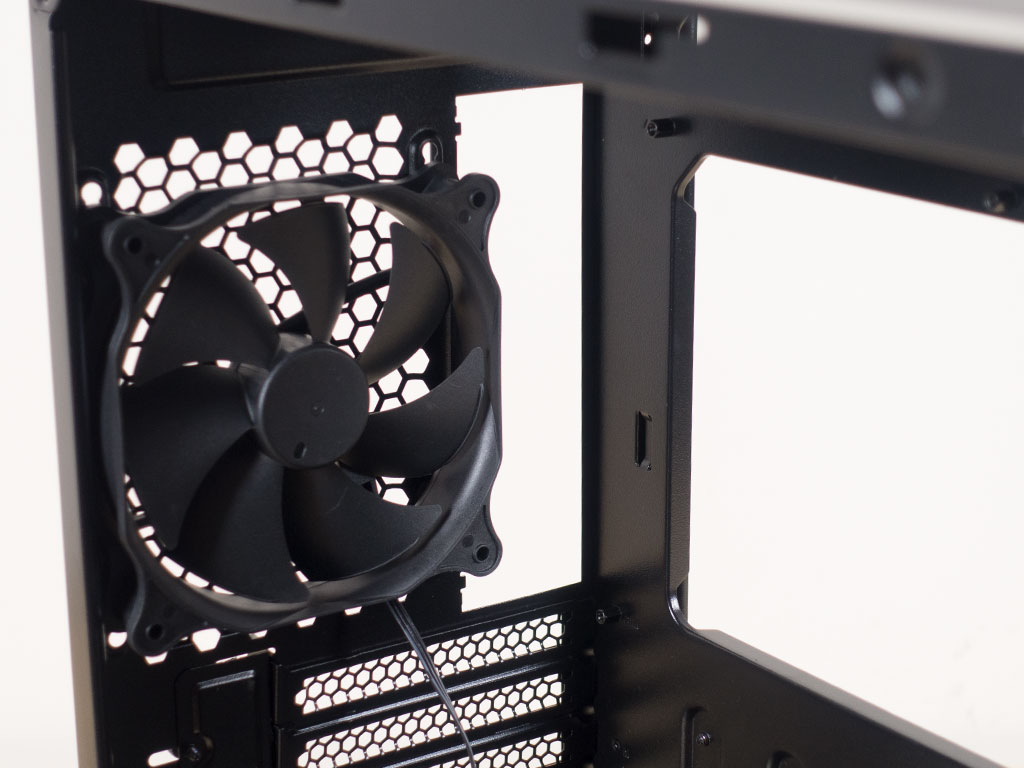
The PSU bay in the rear is pretty standard, with foam tips to eliminate any vibrations. Above it, you will find the seven aforementioned expansion slots with the 120 mm fan up top. This one is not equipped with any LEDs, which is a bit unfortunate as it could have been a nice element out of the box.
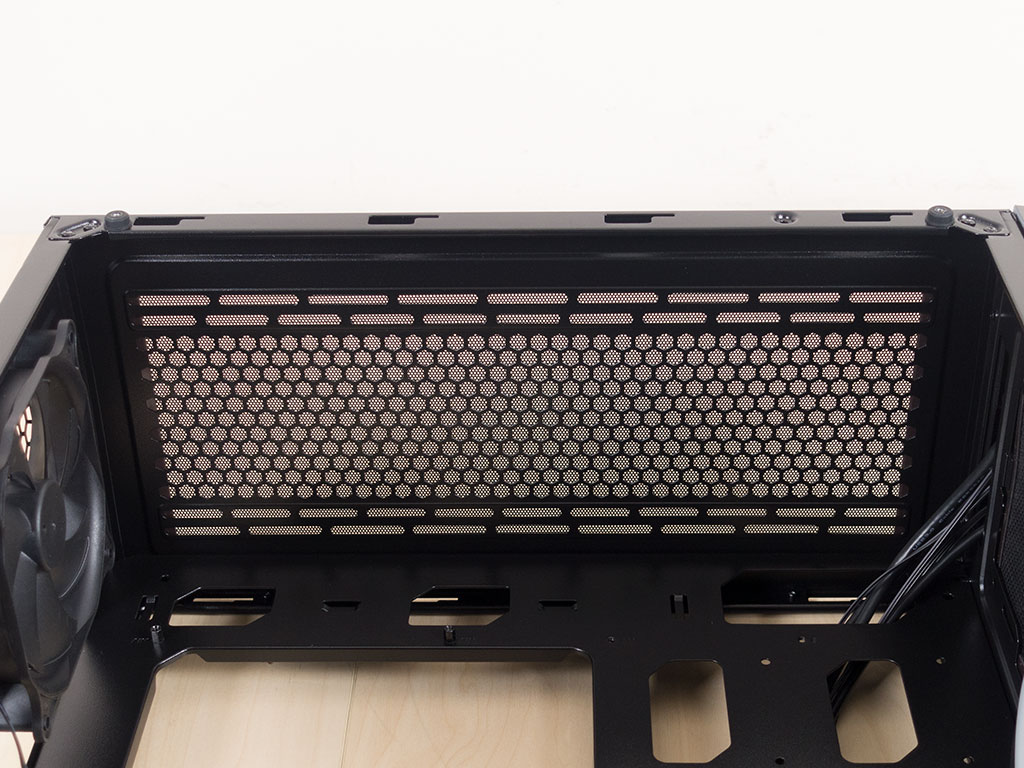
The ceiling bears no further surprises, but you can clearly see the cutouts for fan placements and plentiful space above the motherboard for liquid-cooling elements.

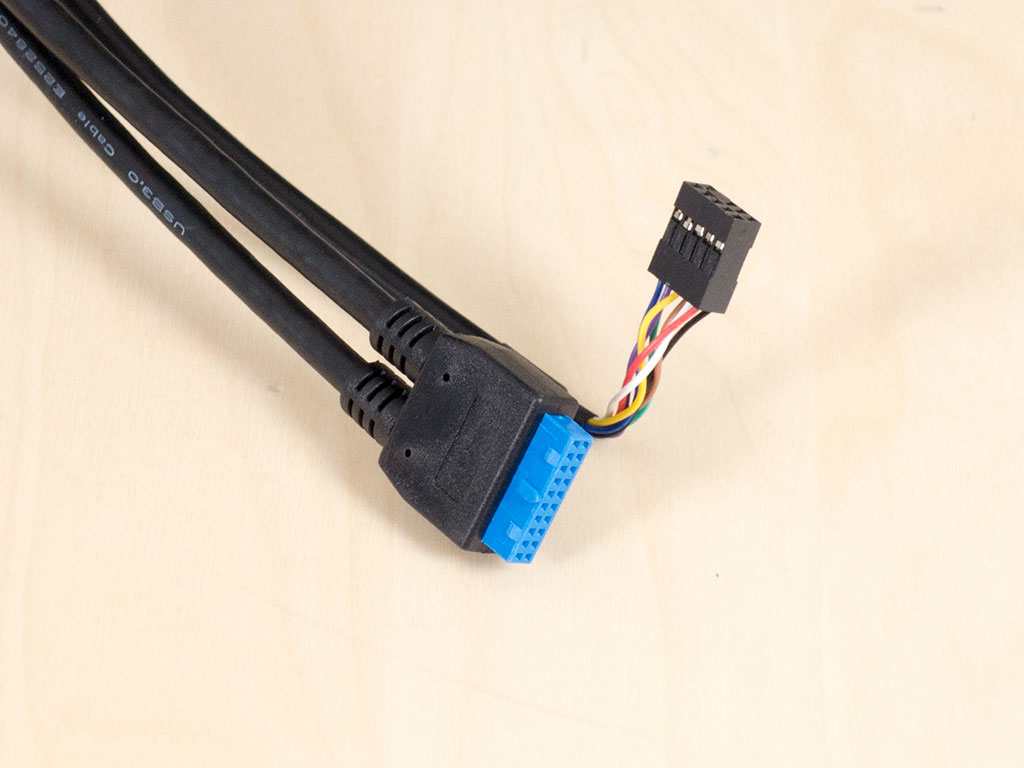
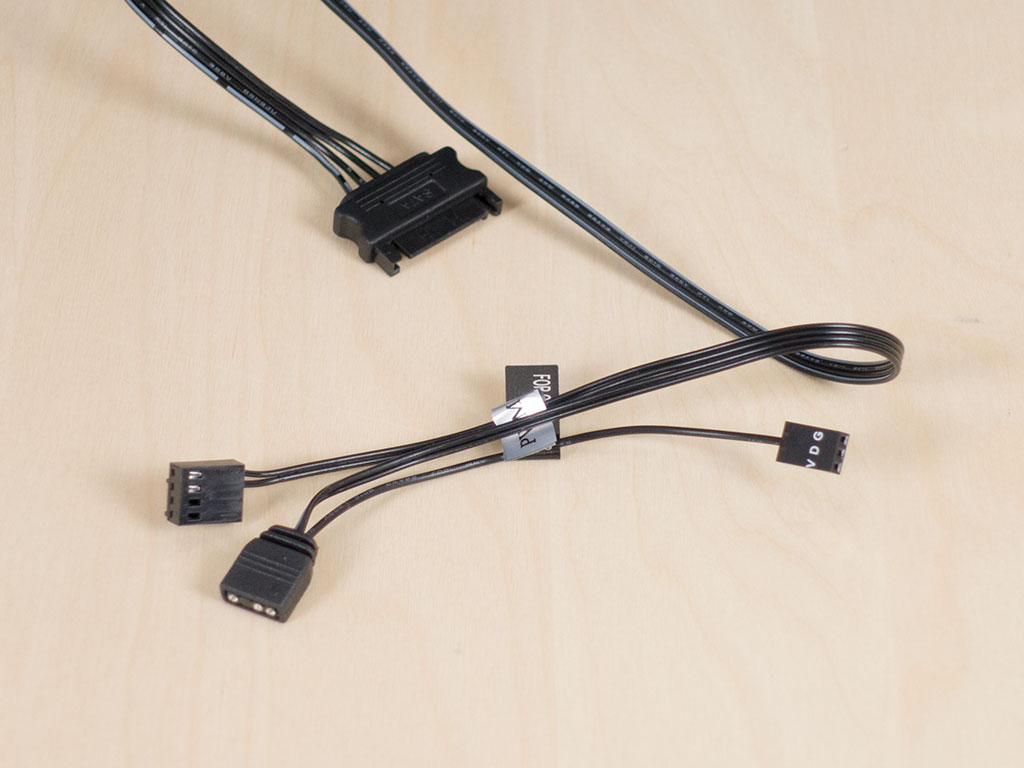
All the I/O cables within the DA601 are traditional and sleeved black. The RGB and fan controller, however, also comes with a PWM header for your motherboard so that all connected fans can take advantage of it. There is also a dual header for alternatively having the RGB-equipped motherboard control the lighting elements within the DA601.
Mar 10th, 2025 16:09 EDT
change timezone
Latest GPU Drivers
New Forum Posts
- Please I need help with the poor performance that my PC is giving me (28)
- Company of Heroes 3 (5)
- The TPU Darkroom - Digital SLR and Photography Club (4071)
- Maxsun RX580 graphics card crashes (24)
- A Final Fantasy IX Reminiscence - My love letter and homage to one of the best stories ever told (72)
- Gaming PC instabiliity (20)
- Msi 5090 DOA? (27)
- 3D Printer Club (447)
- Microprose: Falcon 5.0 - Well under development- yeay (1)
- €2000 Austrian gaming build (4)
Popular Reviews
- Sapphire Radeon RX 9070 XT Nitro+ Review - Beating NVIDIA
- XFX Radeon RX 9070 XT Mercury OC Magnetic Air Review
- ASUS Radeon RX 9070 TUF OC Review
- MSI MAG B850 Tomahawk Max Wi-Fi Review
- NVIDIA GeForce RTX 5080 Founders Edition Review
- NVIDIA GeForce RTX 5070 Founders Edition Review
- Corsair Vengeance RGB CUDIMM DDR5-8800 48 GB CL42 Review
- AMD Ryzen 7 9800X3D Review - The Best Gaming Processor
- ASUS GeForce RTX 5070 Ti TUF OC Review
- MSI GeForce RTX 5070 Ti Gaming Trio OC+ Review
Controversial News Posts
- NVIDIA GeForce RTX 50 Cards Spotted with Missing ROPs, NVIDIA Confirms the Issue, Multiple Vendors Affected (513)
- AMD Plans Aggressive Price Competition with Radeon RX 9000 Series (277)
- AMD Radeon RX 9070 and 9070 XT Listed On Amazon - One Buyer Snags a Unit (261)
- AMD RDNA 4 and Radeon RX 9070 Series Unveiled: $549 & $599 (260)
- AMD Mentions Sub-$700 Pricing for Radeon RX 9070 GPU Series, Looks Like NV Minus $50 Again (248)
- NVIDIA Investigates GeForce RTX 50 Series "Blackwell" Black Screen and BSOD Issues (244)
- AMD Radeon RX 9070 and 9070 XT Official Performance Metrics Leaked, +42% 4K Performance Over Radeon RX 7900 GRE (195)
- AMD Radeon RX 9070-series Pricing Leaks Courtesy of MicroCenter (158)