 9
9
Antec P380 Review
Value & Conclusion »Test System
| System Parts for Case Reviews | |
|---|---|
| Processor: | Intel Core i5-6600K |
| Motherboards: | ATX: Fatal1ty Z170 Gaming K6+ mATX: ASRock Z170M Pro4S mini-ITX: ASRock Z170M-ITX/ac Provided by: ASRock |
| Graphic Card: | Long: NVIDIA GeForce GTX 280 OEM Short: HIS Radeon 5350 HD |
| Memory: | KLEVV Cras 8GB (2x4GB) DDR4 @ 3200MHz 16-18-18 @ 1.35V Provided by: Essencore |
| HDD: | Western Digital 320 GB 7200 RPM |
| SSD: | Patriot Blaze 60GB SATA 6Gbps Provided by: Patriot |
| Power Supply: | Seasonic Platinum Series 660W ATX 2.3 Provided by: Seasonic |
| Cooling: | Air Cooling Mini-ITX: Thermalright AXP-100R Air Cooling mATX: Thermalright Macho 90 Air Cooling ATX: Thermalright Macho 120 Provided by: PC-COOLING.de |
Assembly
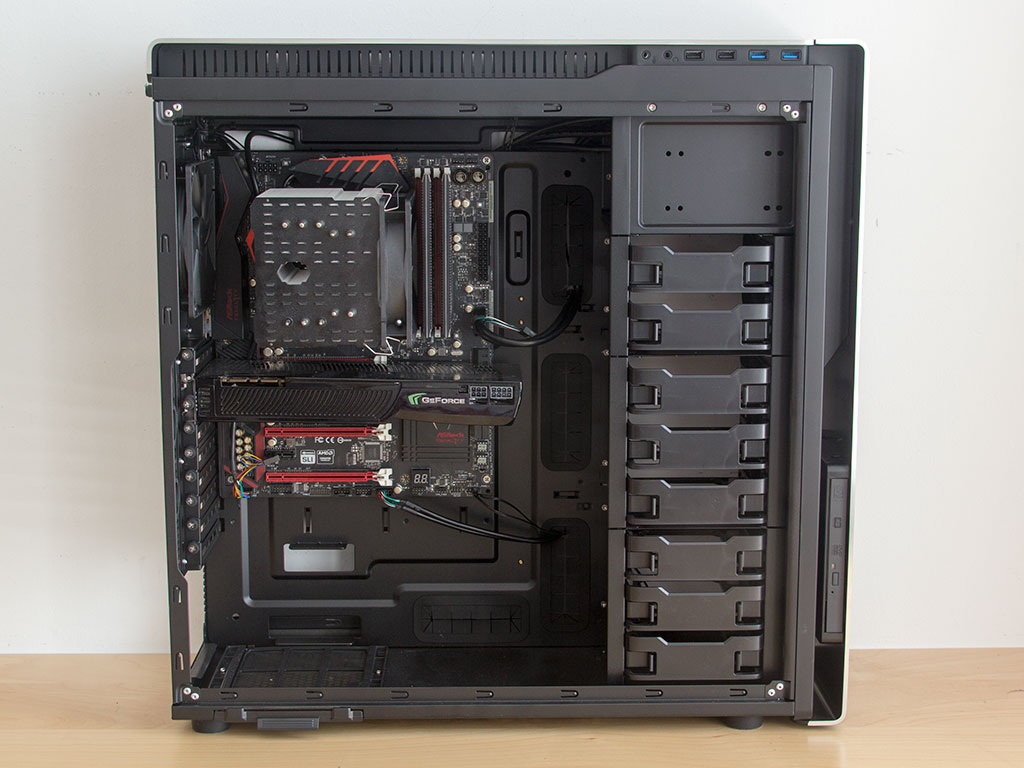
Installing the mainboard is done by traditional means, on normal spacers and with screws Antec includes. There is plenty of space all around, so you can install the largest CPU cooler without running into any issues. The same goes for graphics cards as Antec mentions a maximum length of 330 mm for such units, which is plenty for even the biggest cards.
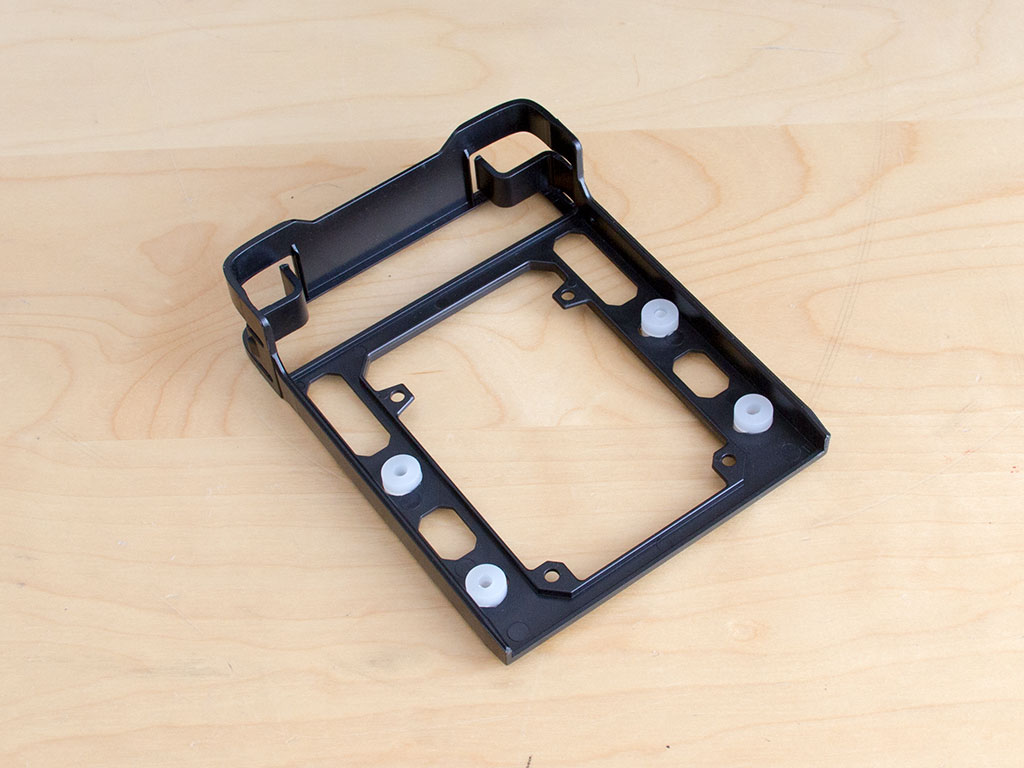

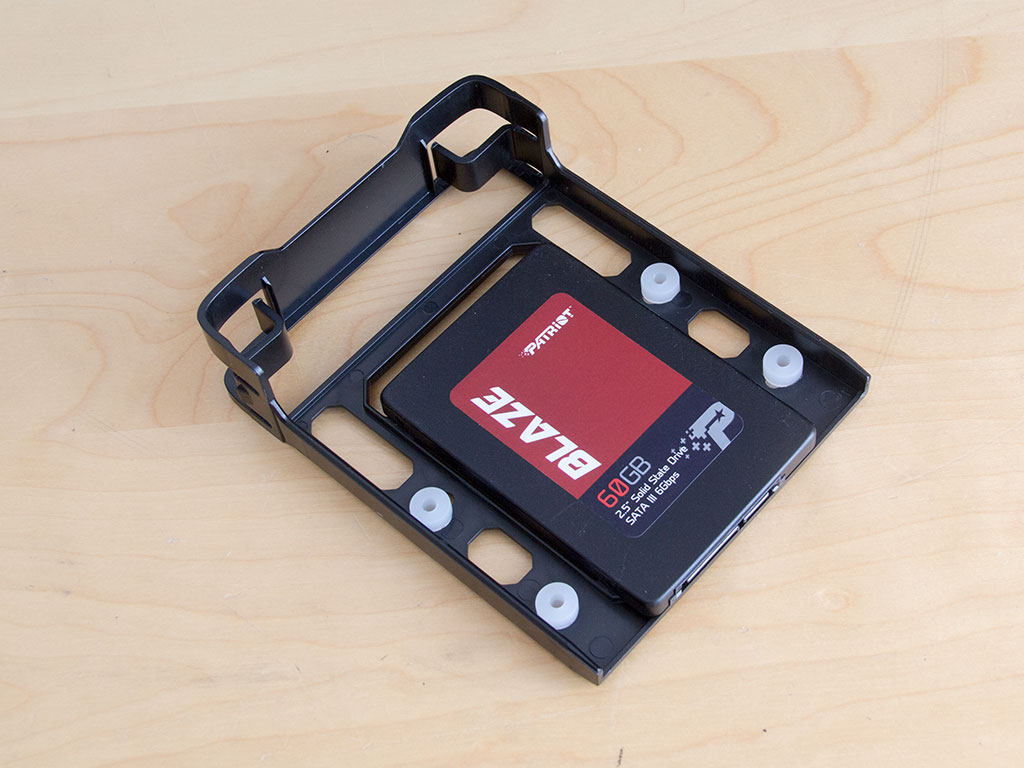
Even though made of plastic, the hard-drive trays are rather thick and sturdy. Each of these comes with large anti-vibration materials and seems to be an evolution of the trays found in the Nineteen Hundred. Instead of simple clips, the ones in the P380 come with a solid front and sturdier clips. To install an SSD, you have to use the default screws Antec provides; a 3.5" drive require you to use the longer and larger screw instead.
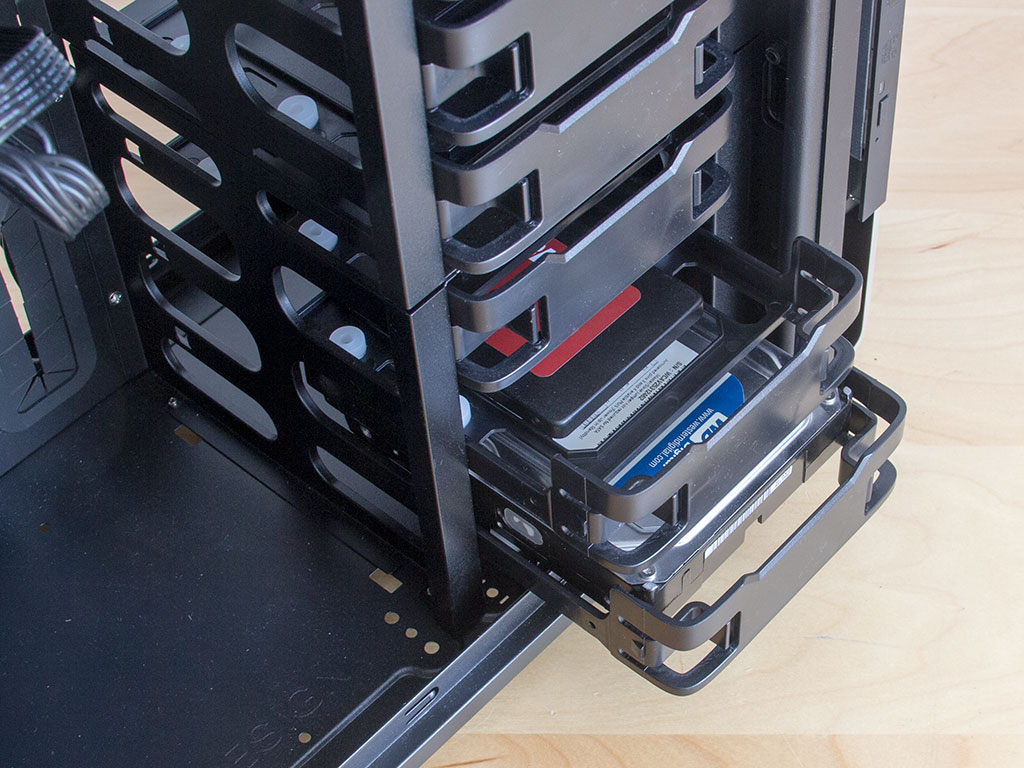
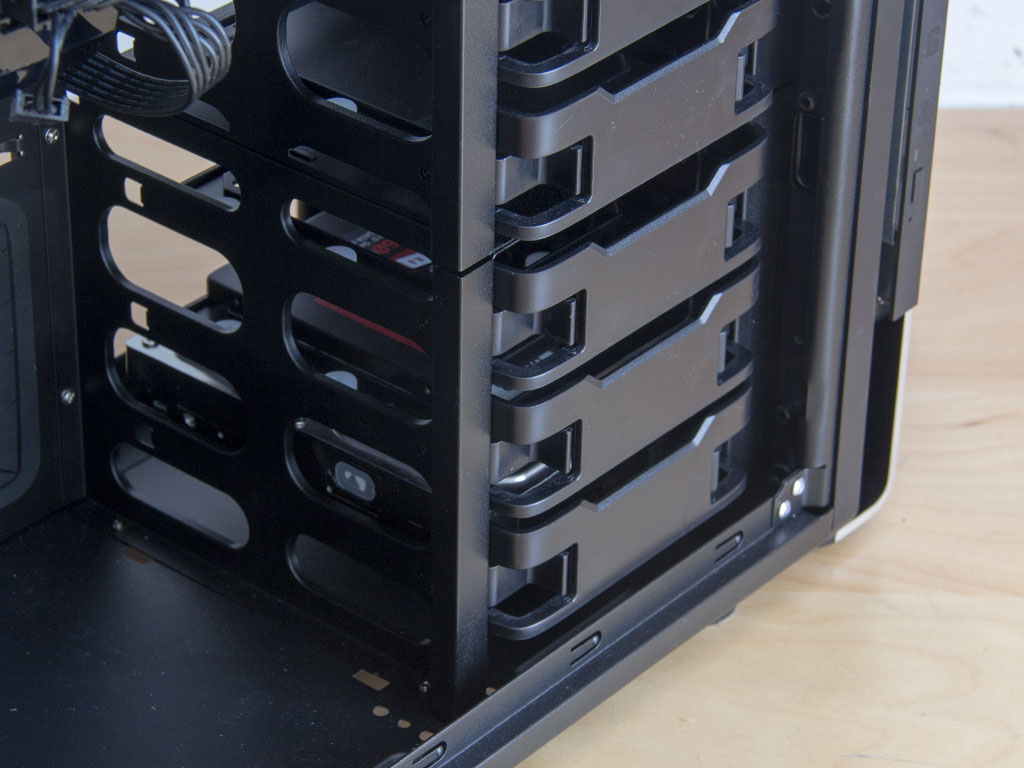
With the drives in place, slide the trays back into the chassis until they snap down. The solid front nicely hides the drives, which you can barely see once installed.
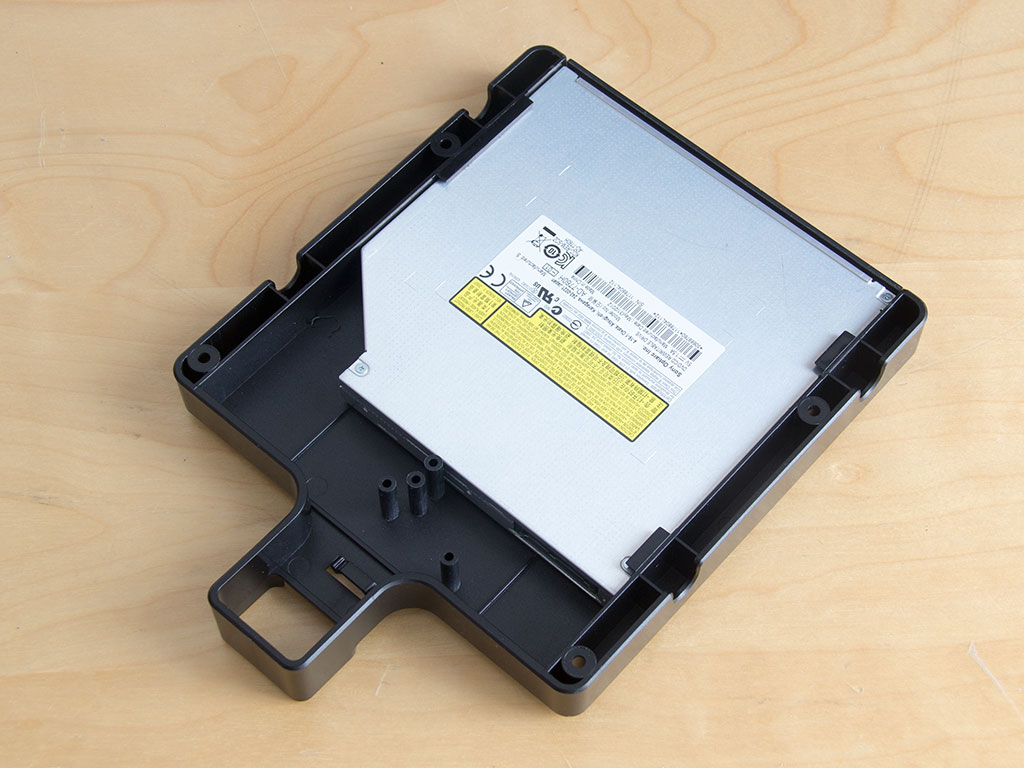
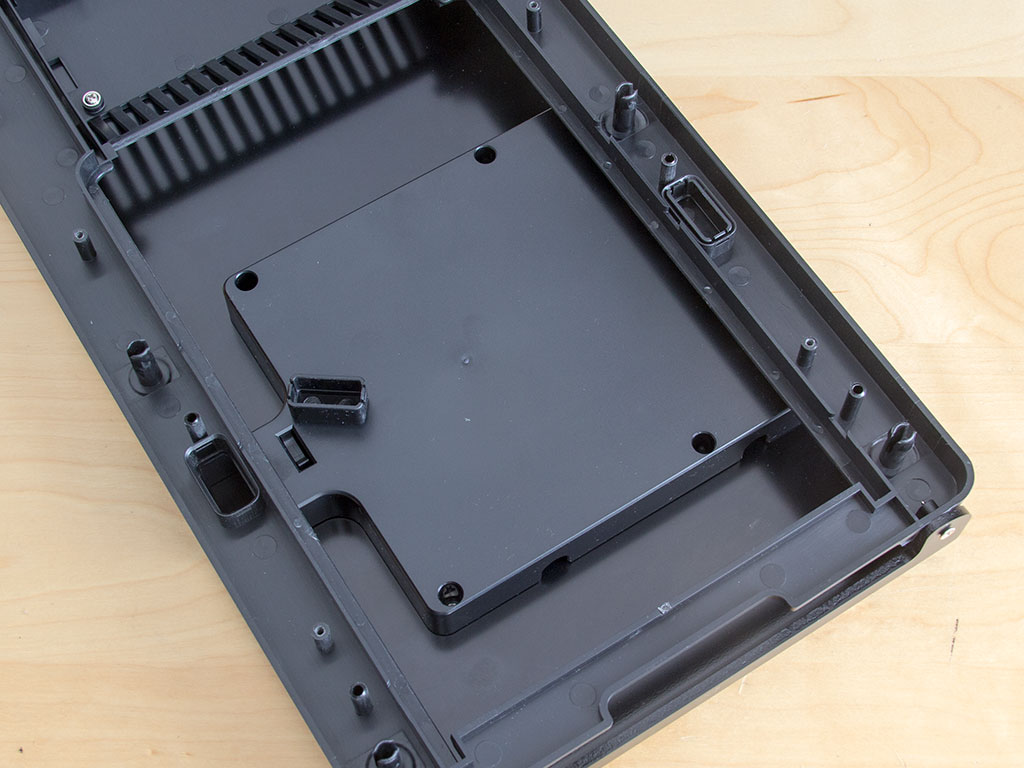
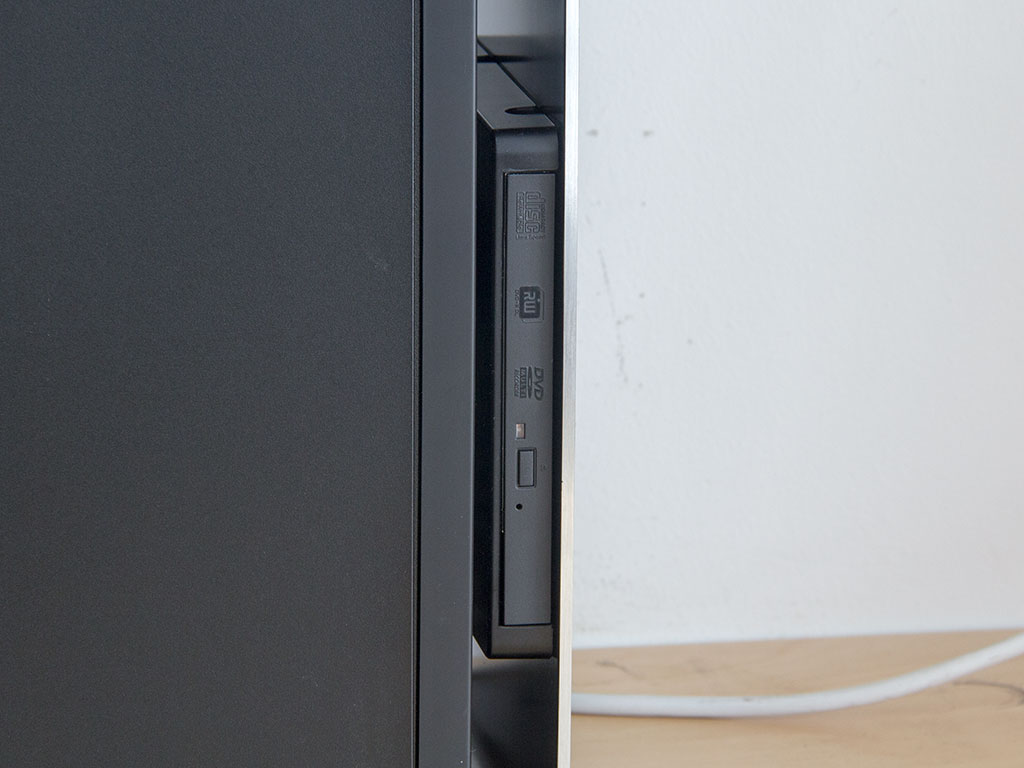
As the P380 does not offer any external drive bays, Antec included a plastic tray for a slimline drive. To add such a drive, simply slide it into place and secure it with the tiny screws. You now have to pry off the front of the chassis, take off the dust filter, and screw it onto the backside of the aluminum panel. Just like with the I/O and power and reset button, which are accessible through the left or right of the chassis, the slimline drive may be placed in such a way as to align with your workspace. You should, however, connect the drive's SATA plug and route it through the front before screwing the drive on to the front panel.
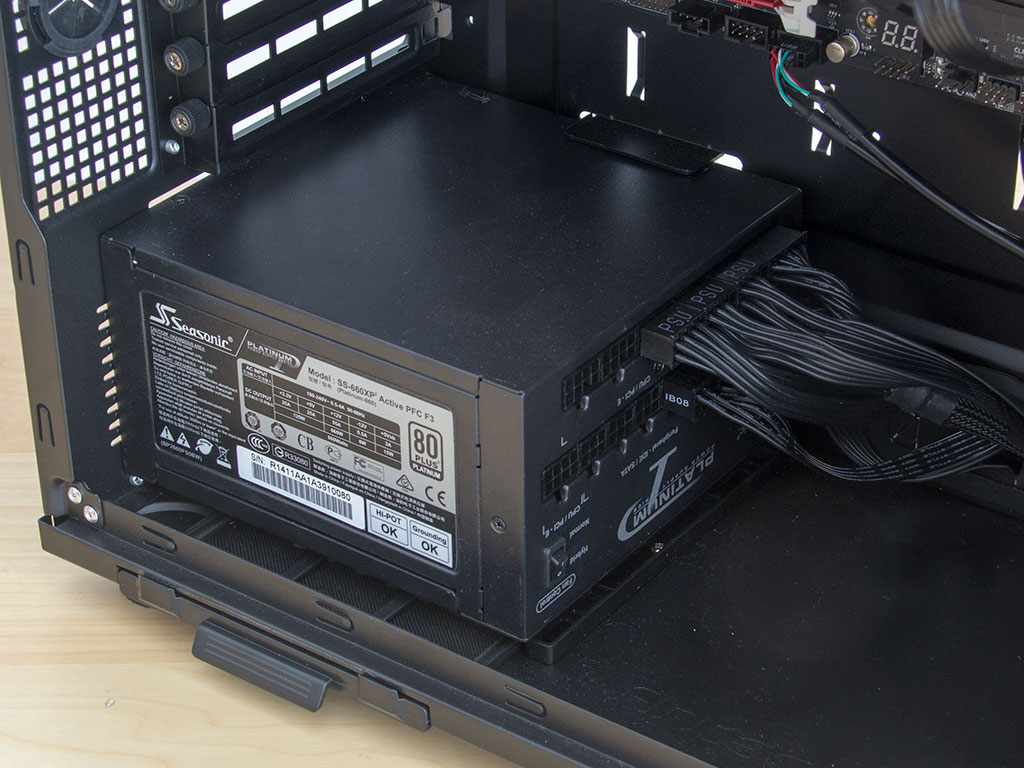
Installing the power supply is done by traditional means since it only takes screws and a screwdriver. There is plenty of room for a long PSU - space should not be an issue.
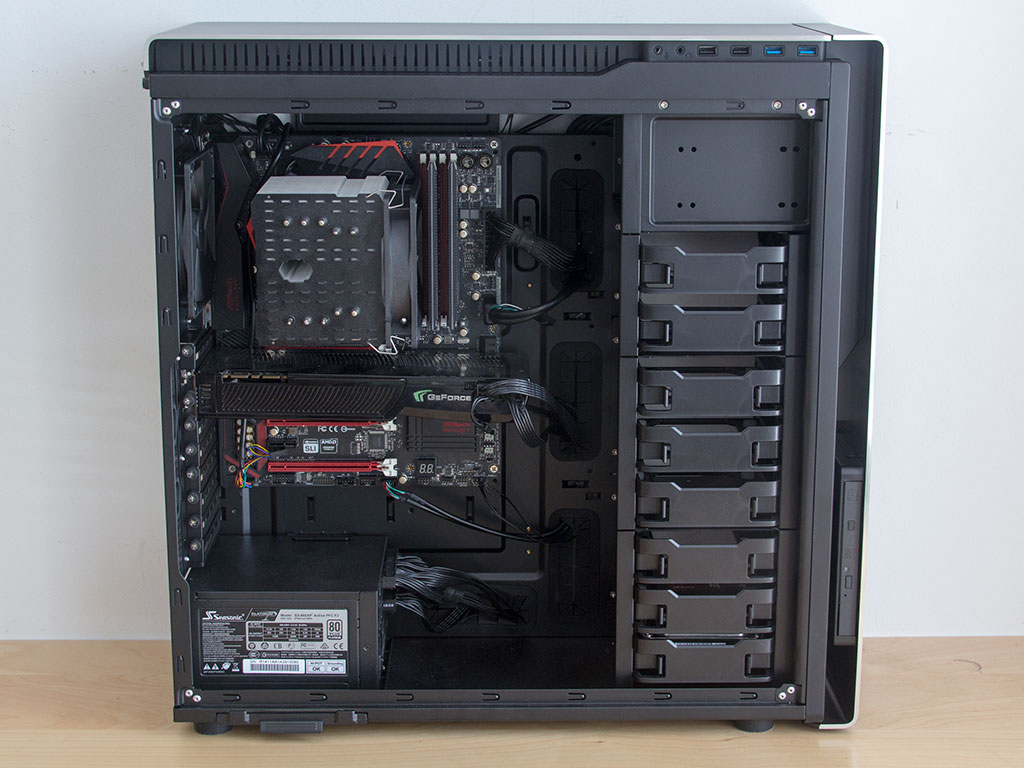

With everything in place, the Antec P380's interior looks quite clean, but as you can see, I had to really stretch the USB cable as I chose to run it in from the bottom instead of the side. I simply did not want to cover any of the motherboard's parts, but you may have to do so. With the audio plug, the idea was the same initially, but here, the cable was too short, so I had to run it down the entire height of the board and route it behind the graphics card. Antec should really make these cables 5 cm longer.
Finished Looks
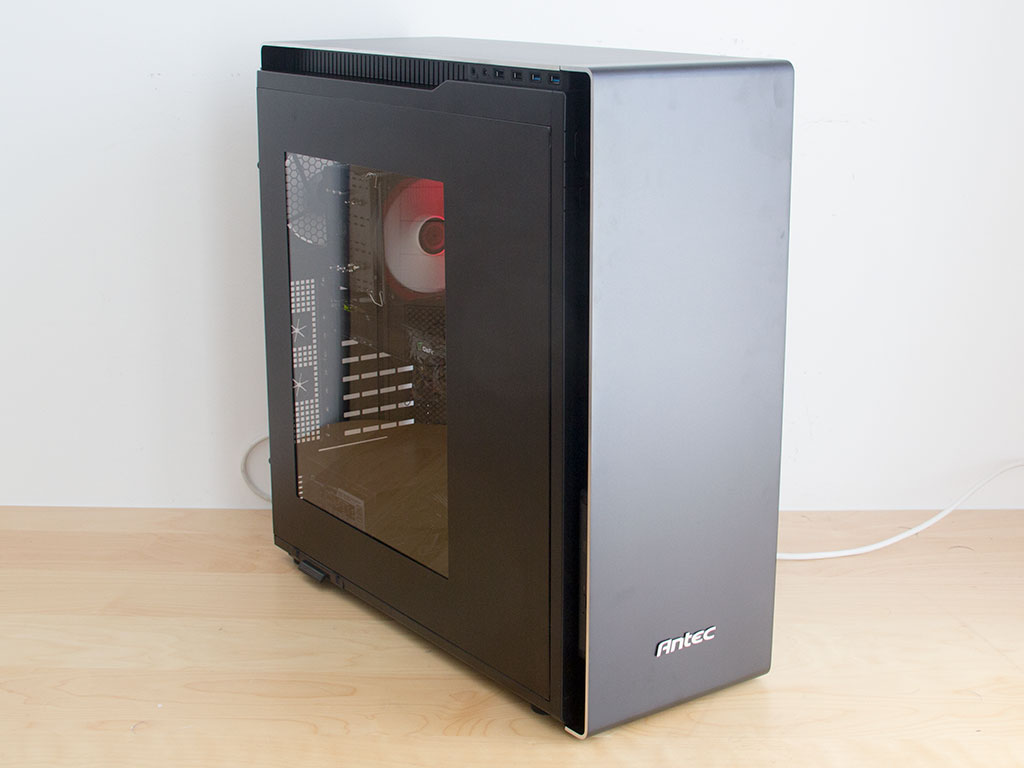
With everything back in place, the P380 looks extremely clean. There is a blue LED on each side of the front panel. These glow through the cracks of the power supply. but are so soft you won't notice them unless the room is dark.
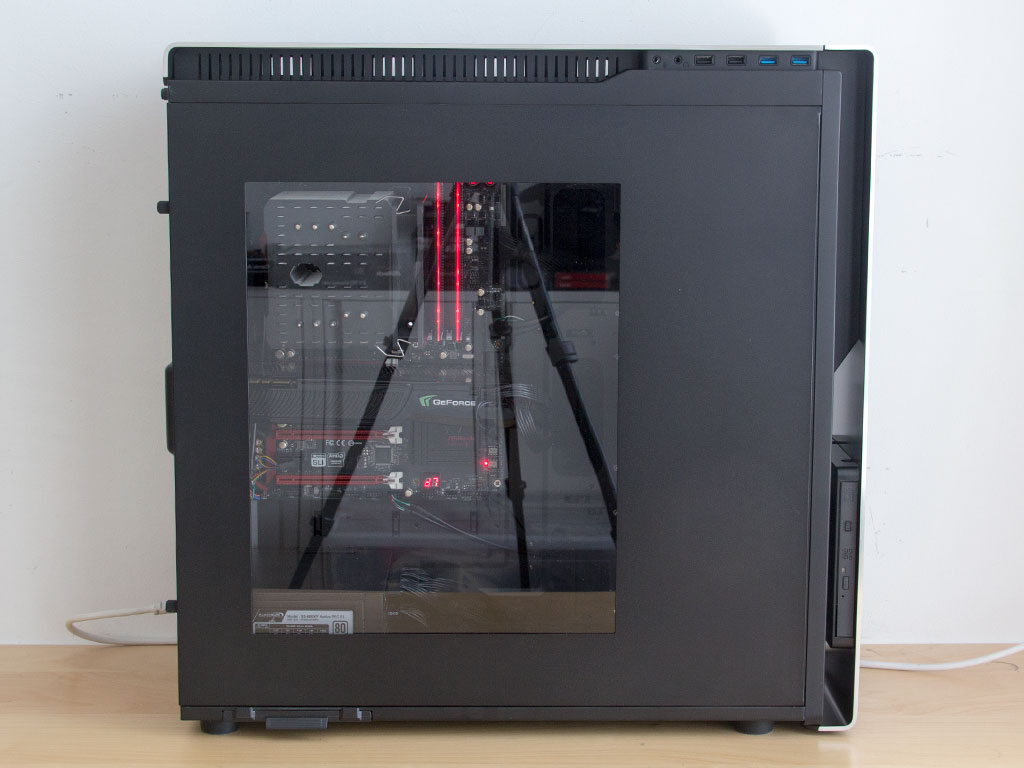
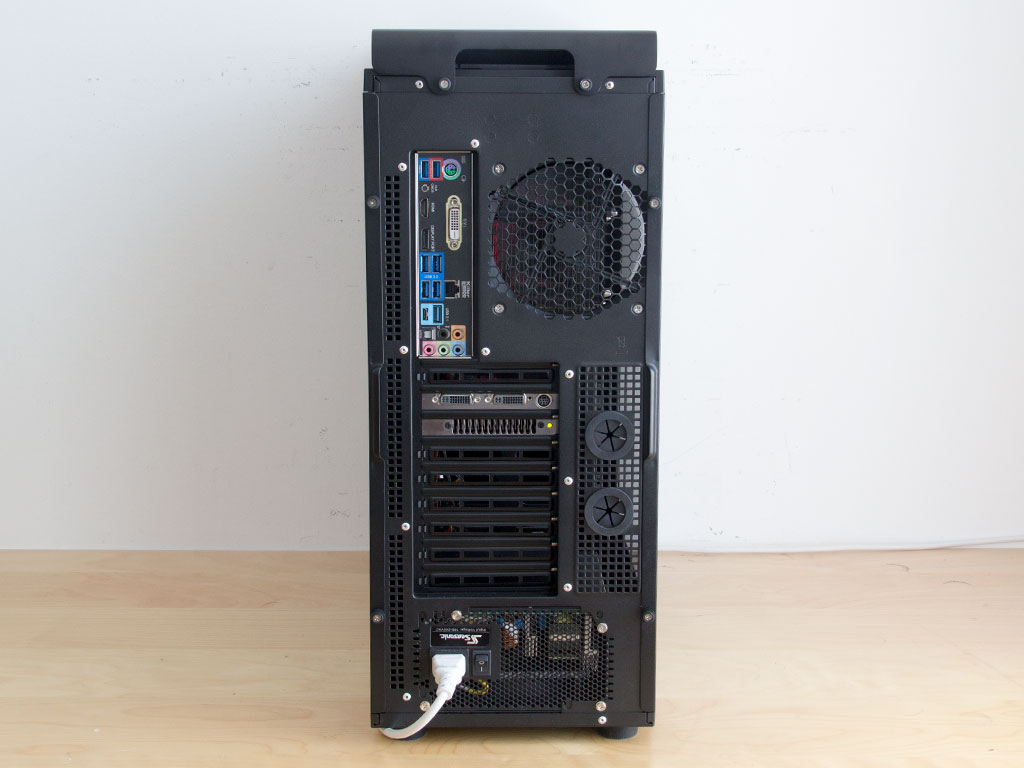
Looking at the chassis from the side, all the important components can clearly be seen through the window. In the rear, all the ports are where you would expect them to be - there are no issues or surprises to report on.
Jan 8th, 2025 01:15 EST
change timezone
Latest GPU Drivers
New Forum Posts
- NVIDIA has revealed the prices for the RTX 5090, 5080 and 5070 (83)
- What was lacking GPU-wise at this year's CES (41)
- The TPU UK Clubhouse (25516)
- Price of 4x series when they release 5x gpus (12)
- Looking for suggestions on z890 motherboard (0)
- Dell Workstation Owners Club (3259)
- in the whole computing world , this does not compute (2)
- Random Black Screen when Opening GPU-Z (2)
- The Queen Extreme is Back (10)
- X299 Owners Club (152)
Popular Reviews
- ASUS ROG Strix B850-F Gaming WiFi Review
- DDR5 Thermal Testing & Analysis
- AMD Ryzen 7 9800X3D Review - The Best Gaming Processor
- SCYROX V8 Review
- Klevv Genuine G560 2 TB Review
- GPU Test System Update for 2025
- Intel Arc B580 Review - Excellent Value
- Upcoming Hardware Launches 2024 (Updated Nov 2024)
- STALKER 2 Performance Benchmark Review - 35 GPUs Tested
- Arrow Lake Retested with Latest 24H2 Updates and 0x114 Microcode
Controversial News Posts
- NVIDIA 2025 International CES Keynote: Liveblog (312)
- AMD Debuts Radeon RX 9070 XT and RX 9070 Powered by RDNA 4, and FSR 4 (297)
- NVIDIA GeForce RTX 5090 Features 575 W TDP, RTX 5080 Carries 360 W TDP (208)
- AMD Radeon RX 9070 XT Alleged Benchmark Leaks, Underwhelming Performance (204)
- Potential RTX 5090 and RTX 5080 Pricing in China Leaks (173)
- 32 GB NVIDIA RTX 5090 To Lead the Charge As 5060 Ti Gets 16 GB Upgrade and 5060 Still Stuck With Last-Gen VRAM Spec (173)
- AMD Radeon RX 9070 XT Boosts up to 3.10 GHz, Board Power Can Reach up to 330W (167)
- NVIDIA GeForce RTX 5070 Ti Leak Tips More VRAM, Cores, and Power Draw (161)