 45
45
A+ Case Twin Engine / XCLIO A380 Review
Installation & Finished Look »A Closer Look
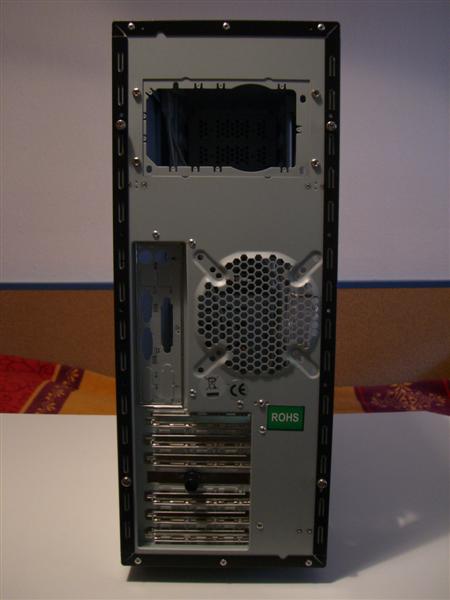
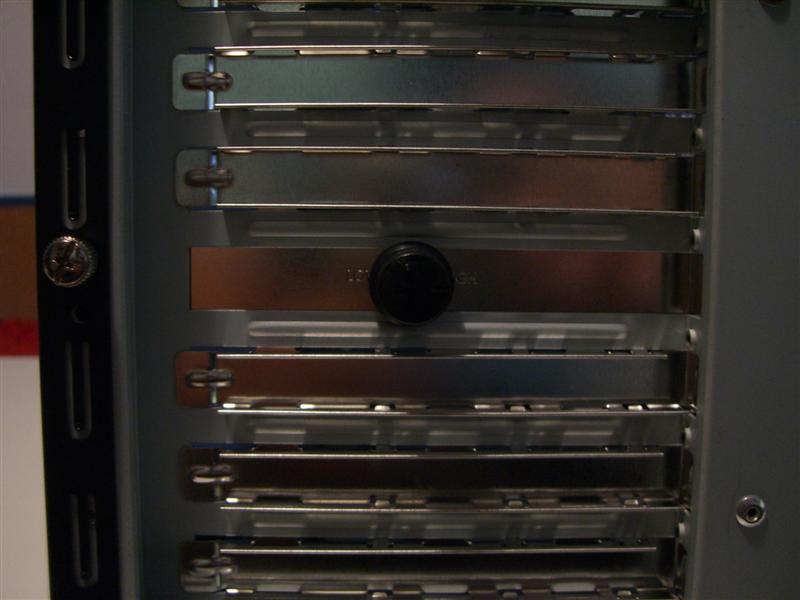
The back looks quite normal. Starting from the top, the power supply can be turned by flipping over the frame. Below that is a standard backplane for the mainboard as well as the optional fan mount. It can take any 80, 92 or 120mm fan. The expansion slots are covered by screw-less snap-ins. Right in the middle you will find a dial to control the side fan. Once again, everything one could need can be found here. The side also includes a large window and a large A+Case logo.
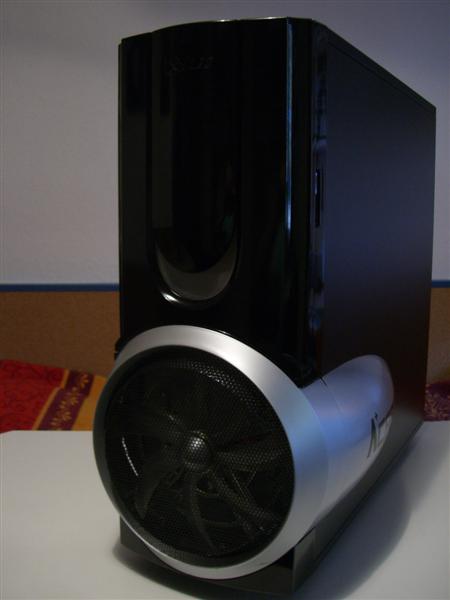
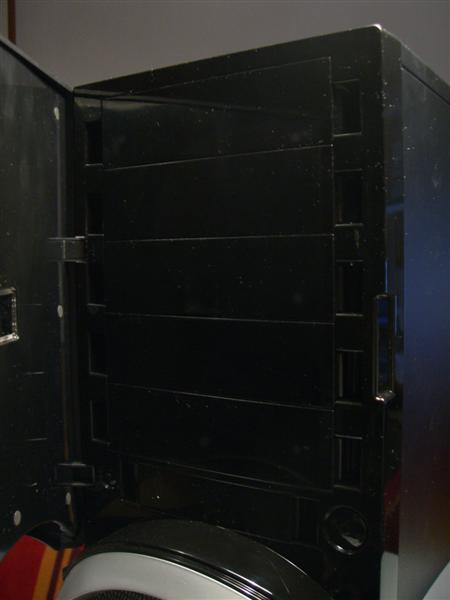
The front looks great, the shiny black plastic is of high quality. It is actual black plastic so you will not need to worry about the paint coming off. The fan on the bottom is - simply said - huge! It makes the full tower look so small. Behind the door you will find the drive bays: 5 x 5.25" and 1 x 3.5". The look reminds me of the Chieftec cases. The system used is similar, but not the same. The door has no latch. It uses magnets to stay closed.
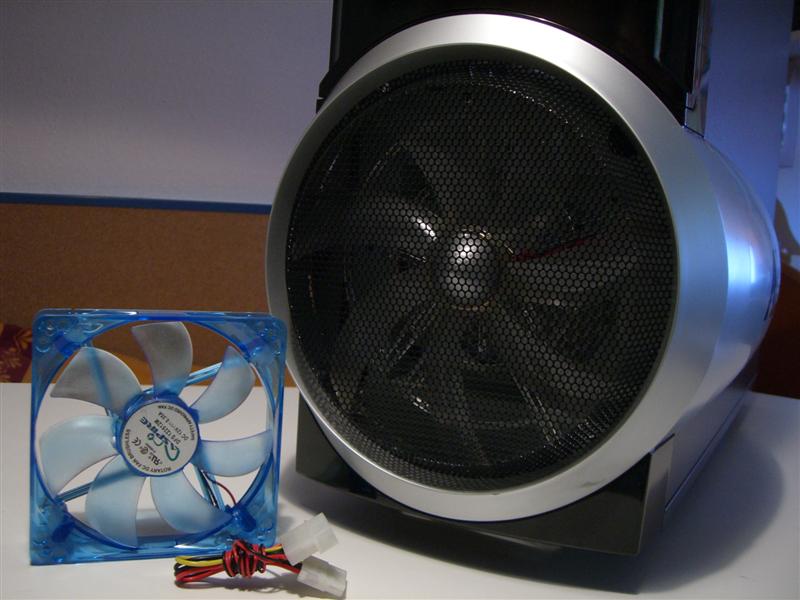
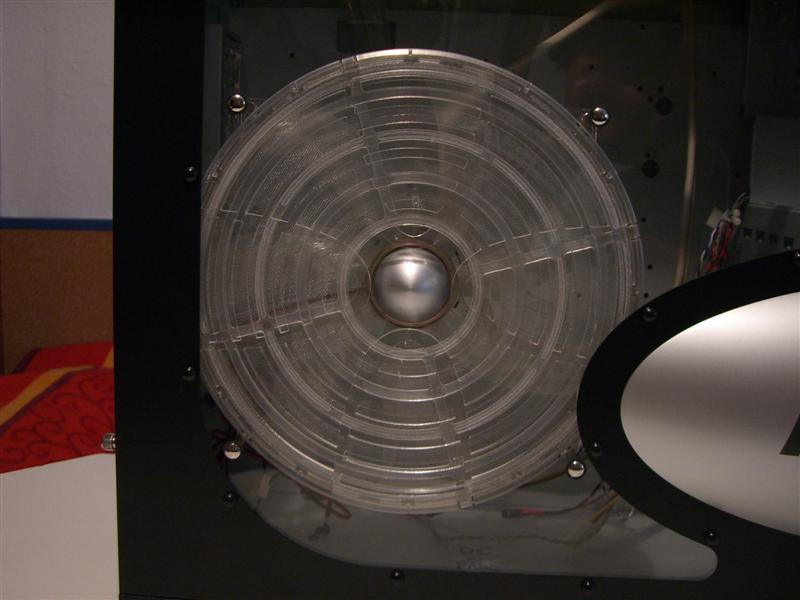
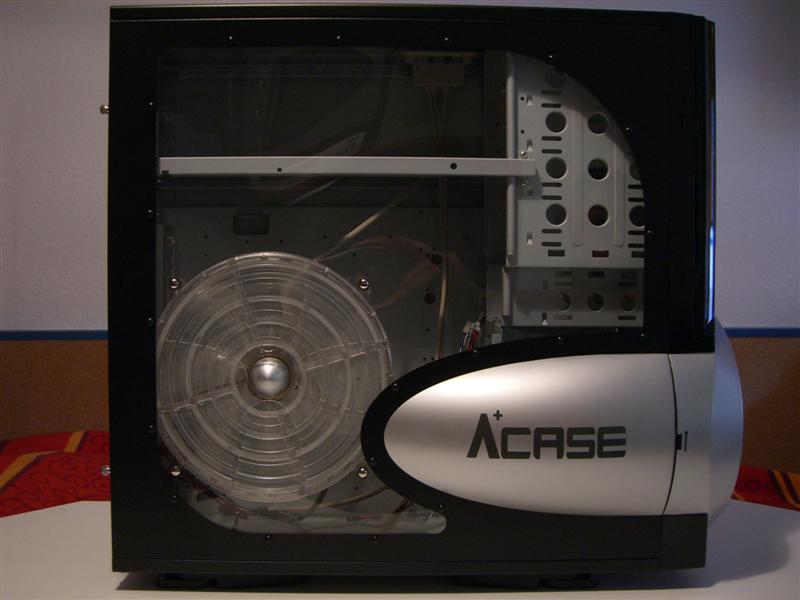
The two included fans are 25 cm in size. I placed a 12cm fan next to the front one and snapped that picture. The side is just as big. Both fans are protected on the outside, so you cannot get your finger in. The only weak spot would be the center of the side fan as it is exposed. While this fan will definitely be good for the temperatures inside the case, it does block the direct view inside the case.
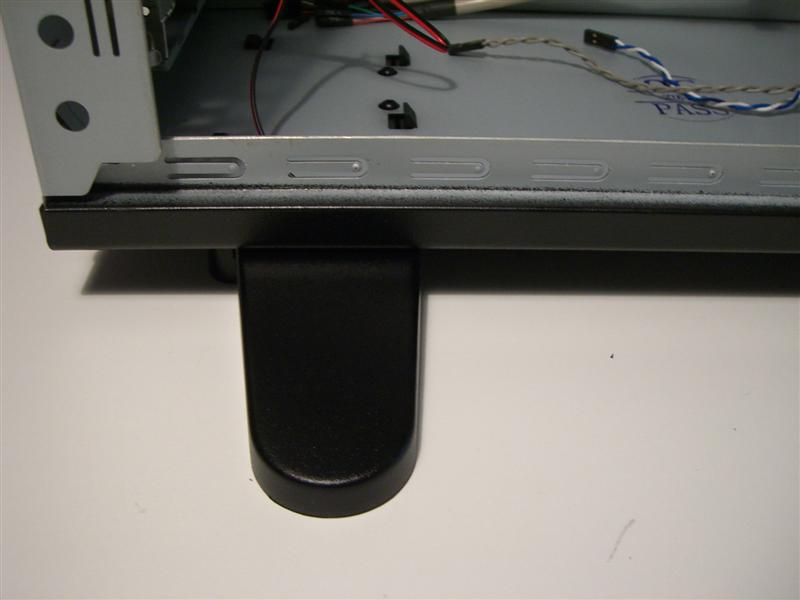

The full tower has feet which can be turned by 90° to give the case more area to stand on. They do also snap in at 45° as can be seen in the second picture. The feet remind me of the Chieftec towers as well.
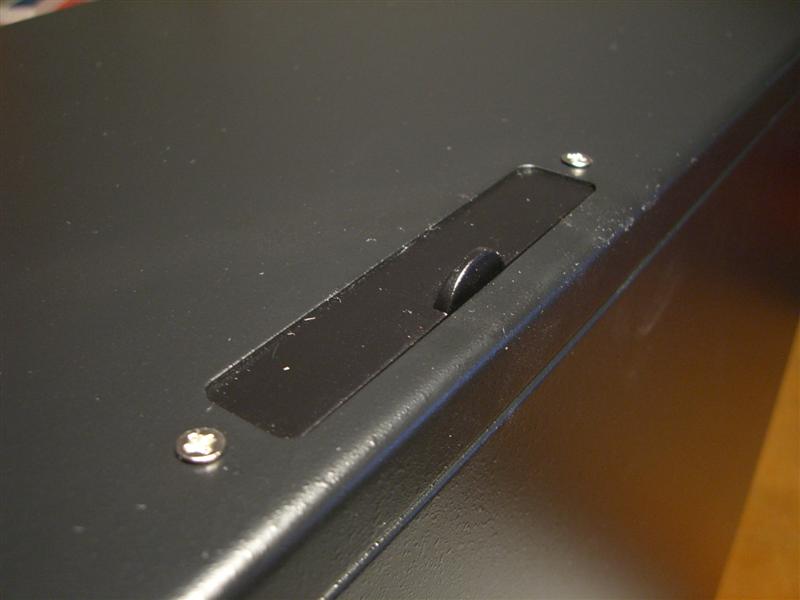

The top of the case houses the so called "front" I/O. It consists of two USB and one Firewire. So this case does not give you the ability to connect a head set or microphone to the chassis. They are located on top of the case, toward the middle, right side. This is not a very good spot, because you will most likely not place such a large tower on a table and you will have a hard time reaching them if the case is placed under the table. Even if you have it standing on your desk, you will have to get up to reach the connectors. The little door is a nice touch.
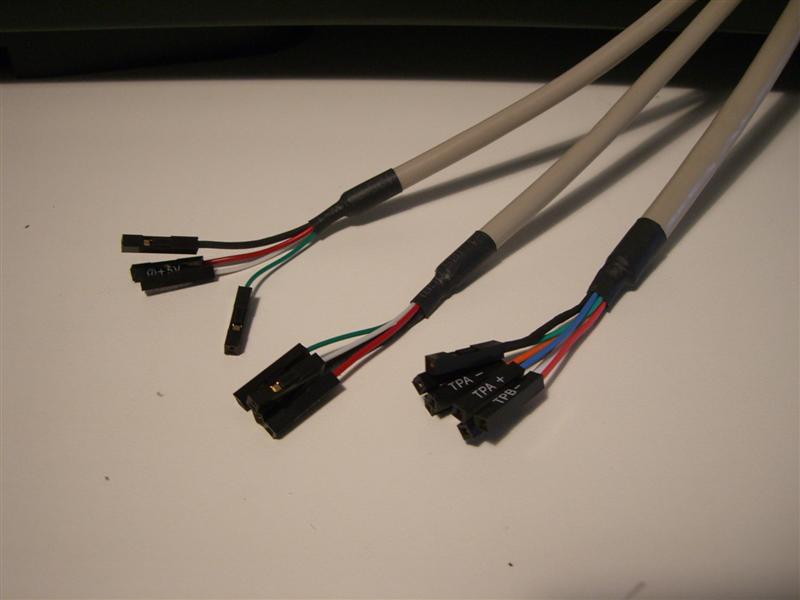
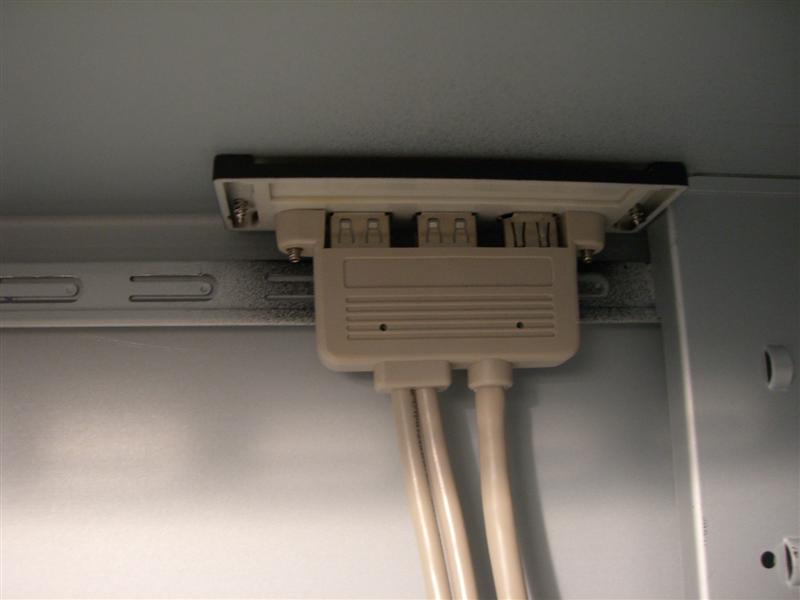
The cables for the front connectors are just long enough to reach the bottom of the case. This is a good thing, as it reduces cable clutter. The actual connectors for the mainboard are parted for every cable present. This on the other hand is not so useful. It does ensure compatibility for every possible mainboard, but the odds of the user connecting them the wrong way is greatly increased. The front connectors can be easily removed from the case by removing two screws.
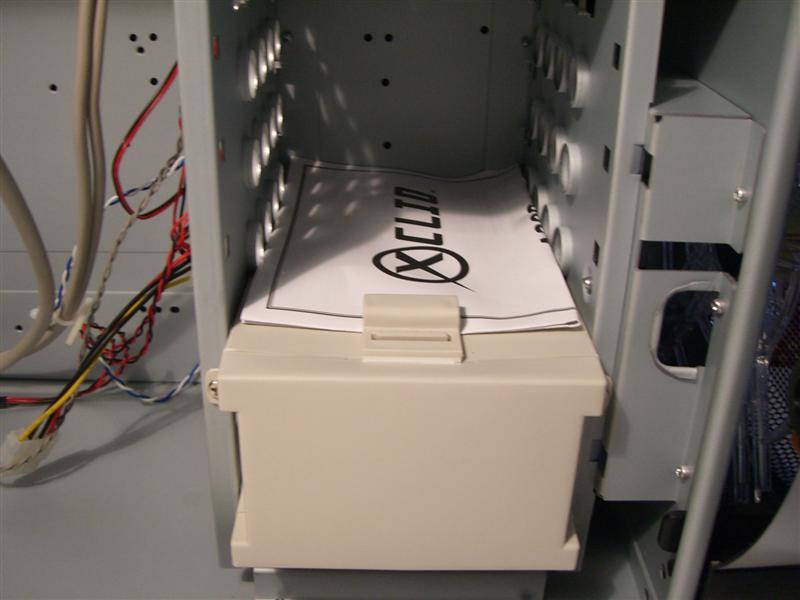
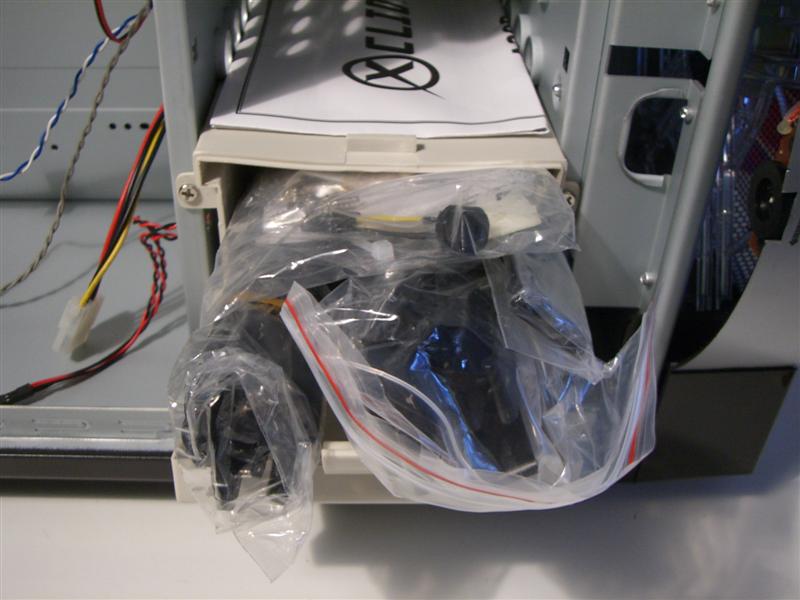
The afore mentioned drive rails and other materials are stored in a little box, which takes up two of the five 3.5" drive bays. After the rails have been used, the box can be filled with other items of your choice or removed completely by unscrewing two screws. A very useful addition to the case.
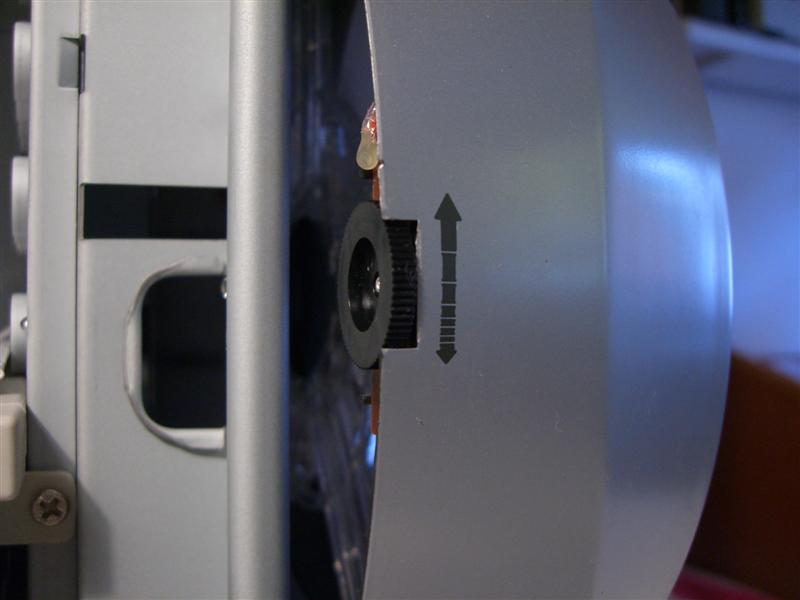
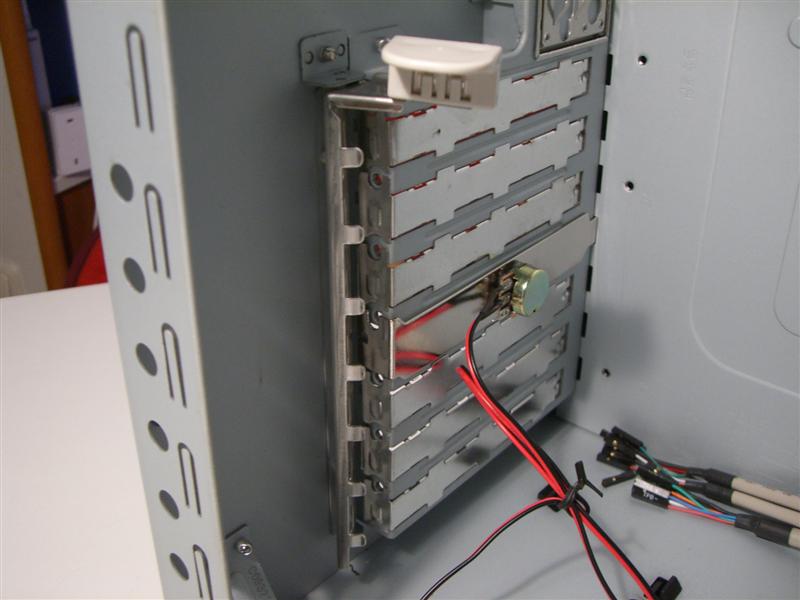
Both fans are connected to dials. With these the speed of each fan can be set. The fan controller in the back is the normal PCI slot variant while the front controller is build into the frame of its connected fan.
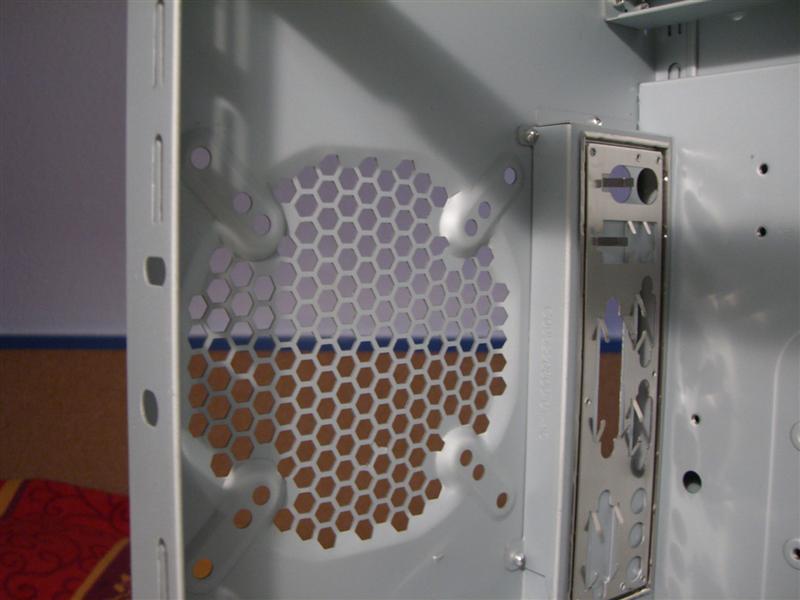
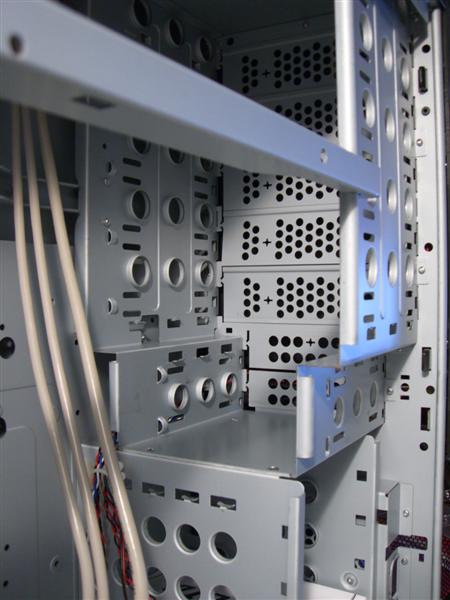
As mentioned before, the fan mount for the rear fan. Installing one here should not be a problem, especially as the needed screws are provided already. The drivebays are very sturdy and have rounded and folded metal, so the chances of cutting yourself are minimal to none.
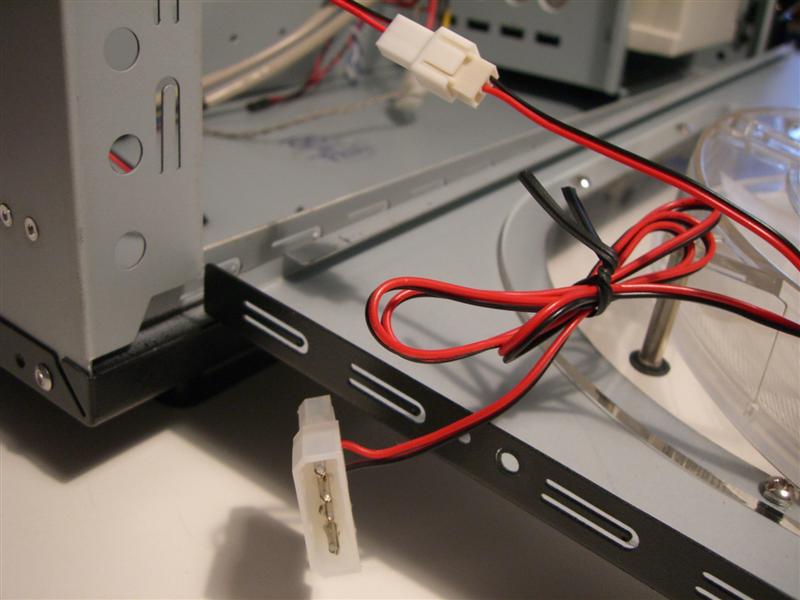
The side fan is connected to the fan rear fan controller via a plug. That way the user has the choice of manually adjusting the speed via the dial or connecting it directly on the mainboard, which then controls the speed of the fan. It still gets power through the normal 12V molex connector, which is a good thing, as I am not sure if the mainboard could handle such a large fan.
The expansion slots can be used completely screw-less as well. There is a lever which can be opened. Then the card is installed and the lever is pressed back into place. A very nice feature.
So lets install the parts and take a look at it up and running.
Apr 8th, 2025 16:26 EDT
change timezone
Latest GPU Drivers
New Forum Posts
- The Official Thermal Interface Material thread (1697)
- Kindly help in Identifying GPU and Suitable bios (15)
- Show us your backside! (19)
- ThrottleStop - 14900HX, 4090RTX MSI laptop (5)
- 9070XT or 7900XT or 7900XTX (150)
- Entry level 4K gaming RIG for cRPG and h'n's games - Ryzen 5 5600 + RX 7600? (68)
- I have a bricked XFX Radeon RX 580 8GB GPU. HELP! (22)
- Have you got pie today? (16653)
- Milestones (14015)
- WCG Daily Numbers (12831)
Popular Reviews
- The Last Of Us Part 2 Performance Benchmark Review - 30 GPUs Compared
- UPERFECT UStation Delta Max Review - Two Screens In One
- MCHOSE L7 Pro Review
- PowerColor Radeon RX 9070 Hellhound Review
- Upcoming Hardware Launches 2025 (Updated Apr 2025)
- ASUS Prime X870-P Wi-Fi Review
- Sapphire Radeon RX 9070 XT Pulse Review
- Sapphire Radeon RX 9070 XT Nitro+ Review - Beating NVIDIA
- Corsair RM750x Shift 750 W Review
- DDR5 CUDIMM Explained & Benched - The New Memory Standard
Controversial News Posts
- NVIDIA GeForce RTX 5060 Ti 16 GB SKU Likely Launching at $499, According to Supply Chain Leak (162)
- MSI Doesn't Plan Radeon RX 9000 Series GPUs, Skips AMD RDNA 4 Generation Entirely (146)
- Microsoft Introduces Copilot for Gaming (124)
- AMD Radeon RX 9070 XT Reportedly Outperforms RTX 5080 Through Undervolting (119)
- NVIDIA Reportedly Prepares GeForce RTX 5060 and RTX 5060 Ti Unveil Tomorrow (115)
- Over 200,000 Sold Radeon RX 9070 and RX 9070 XT GPUs? AMD Says No Number was Given (100)
- Nintendo Switch 2 Launches June 5 at $449.99 with New Hardware and Games (97)
- NVIDIA GeForce RTX 5050, RTX 5060, and RTX 5060 Ti Specifications Leak (97)