 75
75
Aqua Computer LEAKSHIELD Review - No More Leaks
Software Setup & Monitoring »Installation
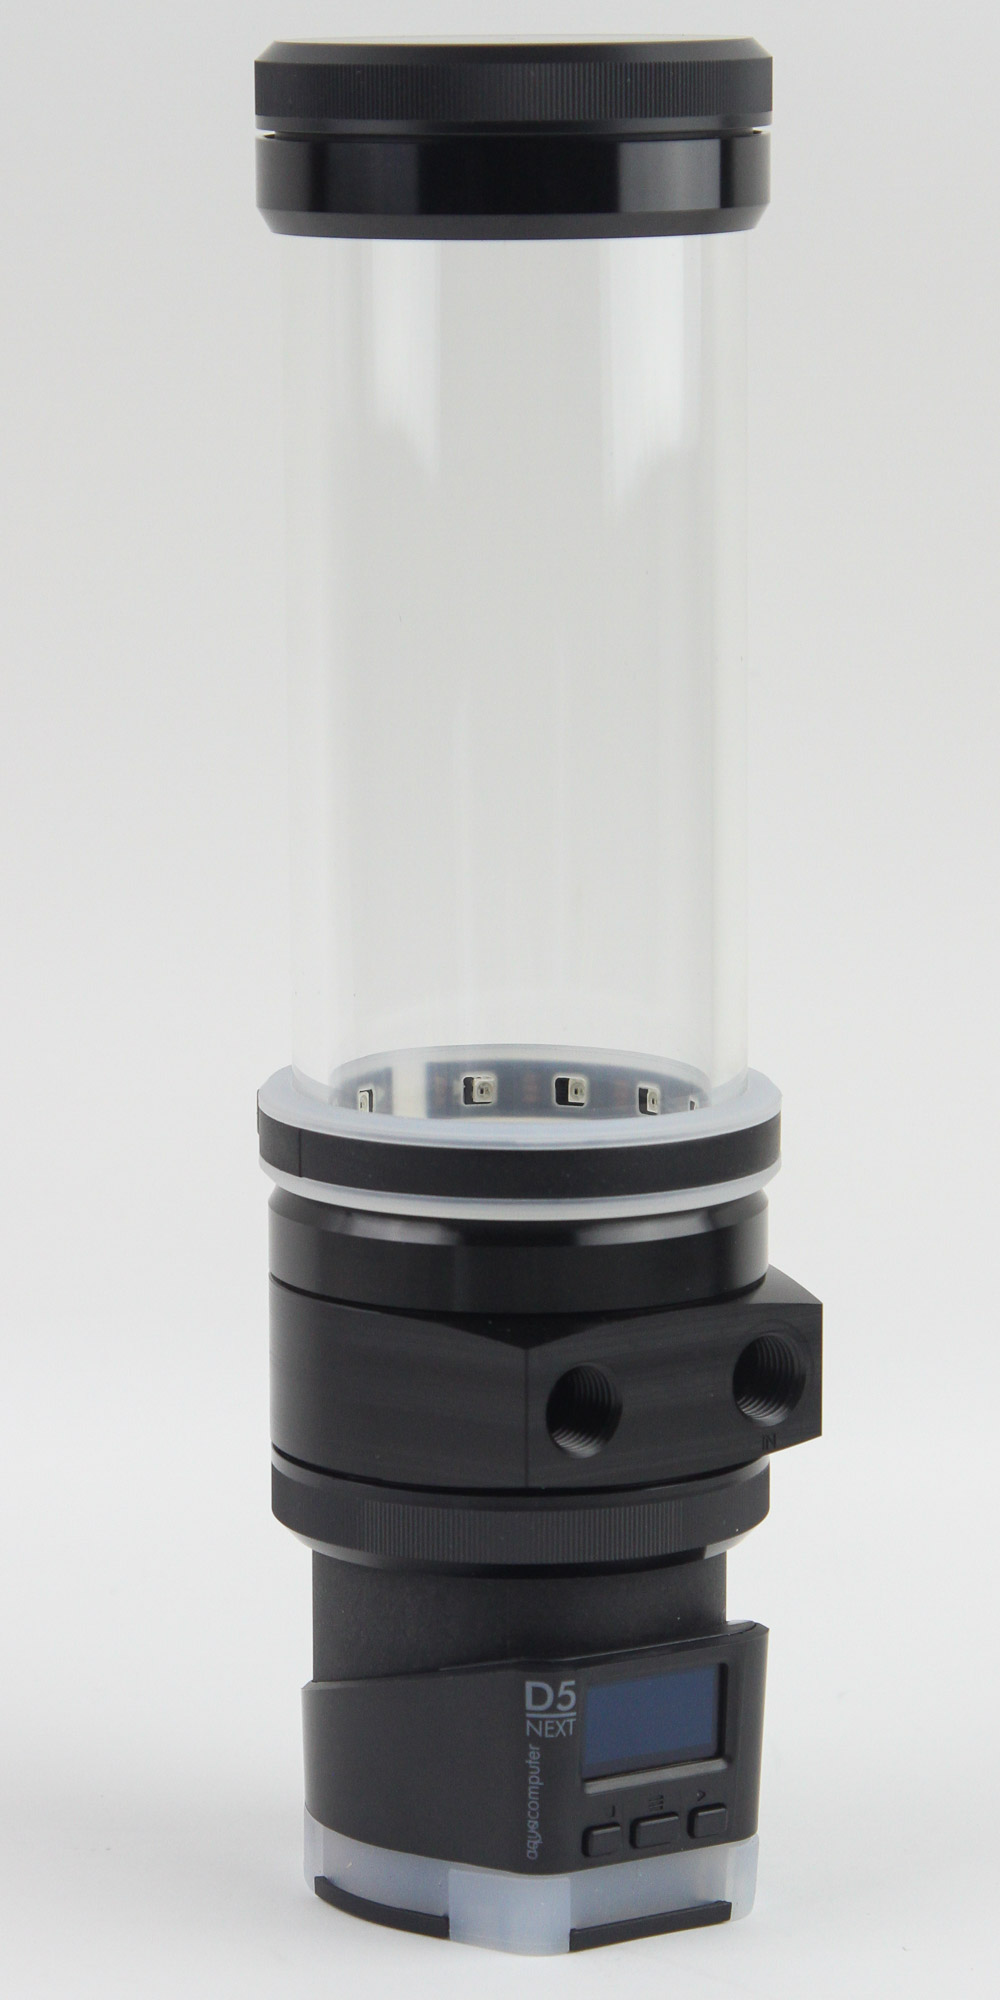


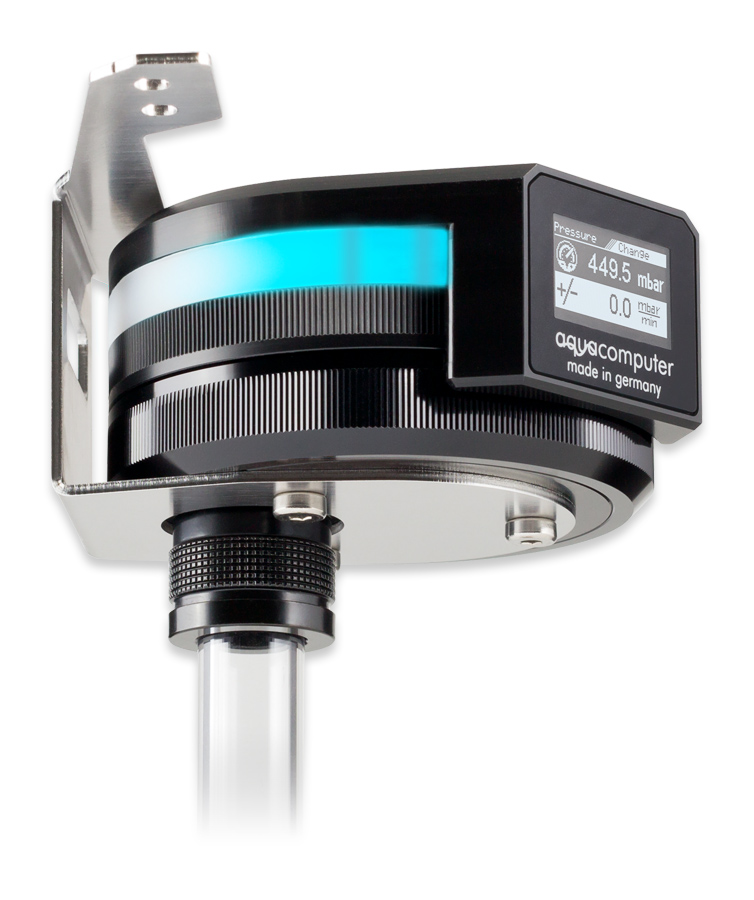
The simplest installation is on a directly supported reservoir, such as the Aqua Computer ULTITUBE D5 150 PRO I have here, which will also be looked at in more detail down the line. This is a 72 mm diameter tube, which matches the dimensions of the LEAKSHIELD as well. So all you do is unscrew the stock cover and screw the LEAKSHIELD in place, noting that the threaded section is a rotary part—you can rotate the display the full 360°. If you are feeling bad about having removed the pressure equalization membrane you paid for with this reservoir, rest assured that you are not supposed to have any such product in the loop with the LEAKSHIELD anyway, including vent fittings.
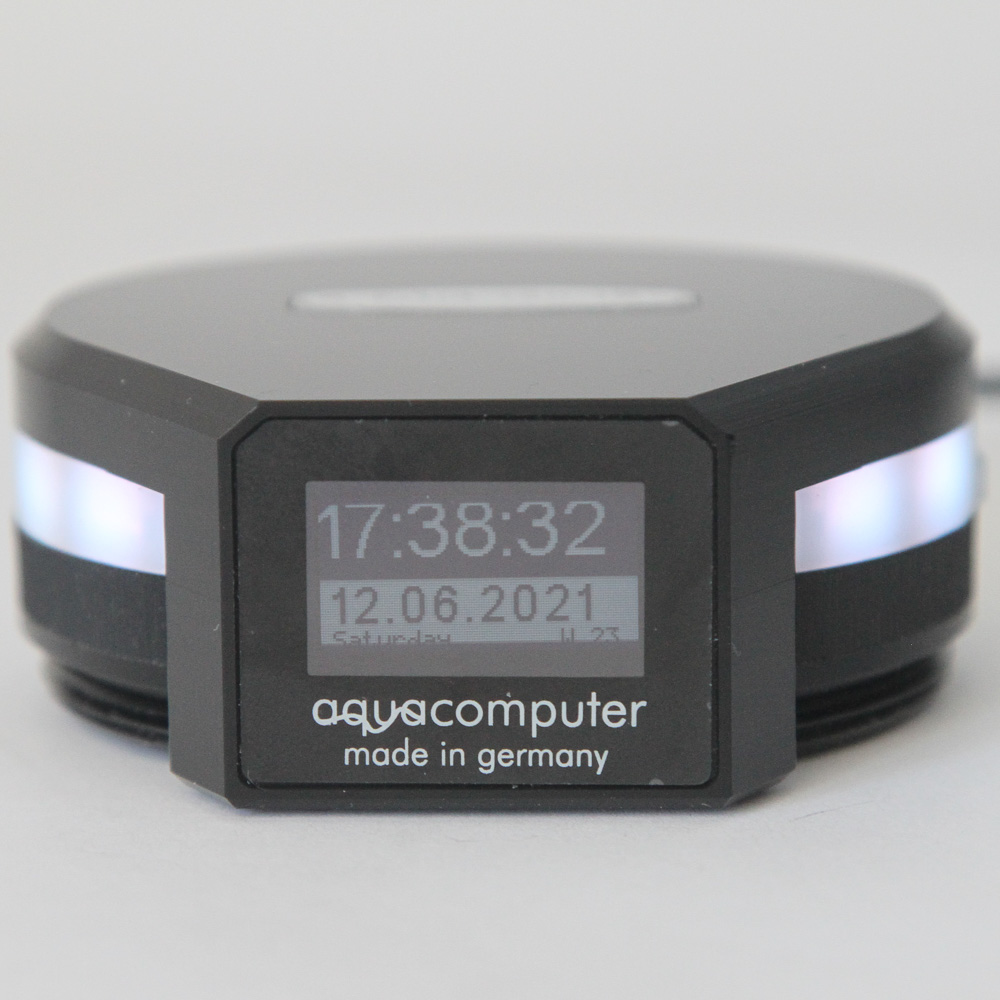
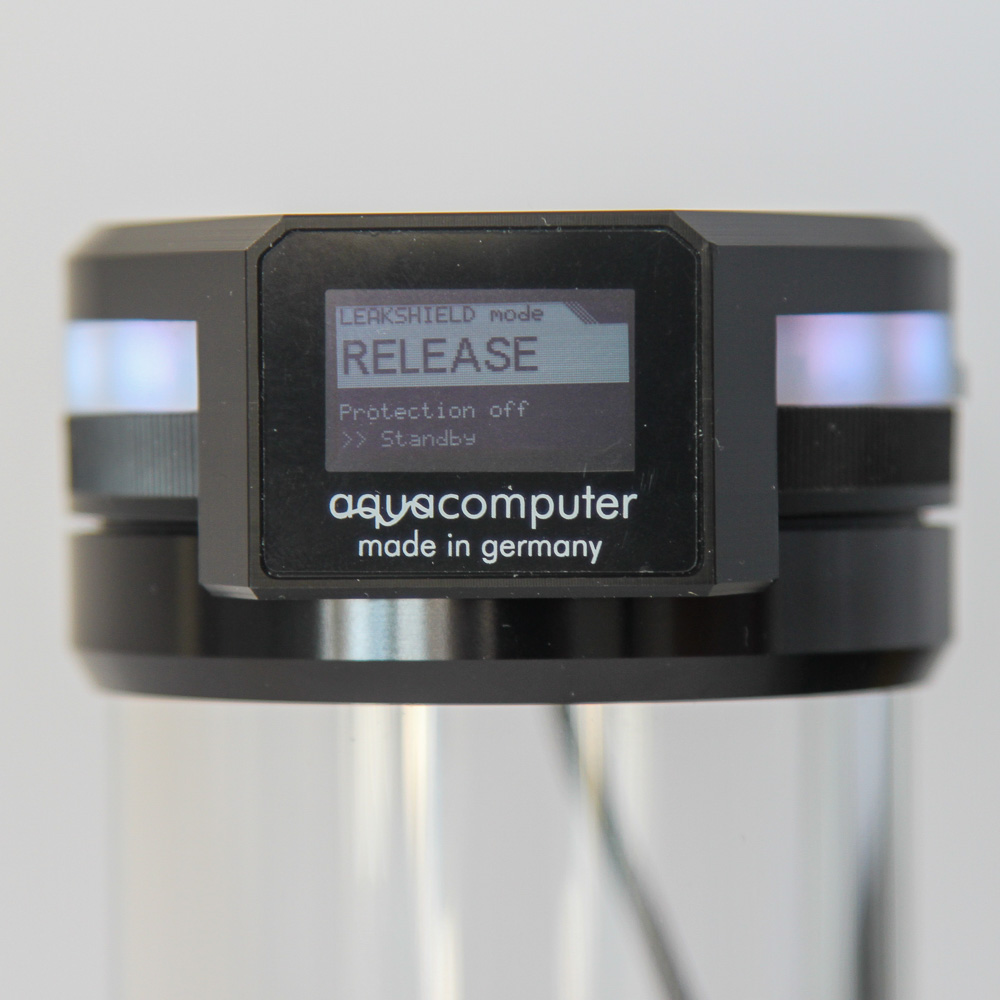
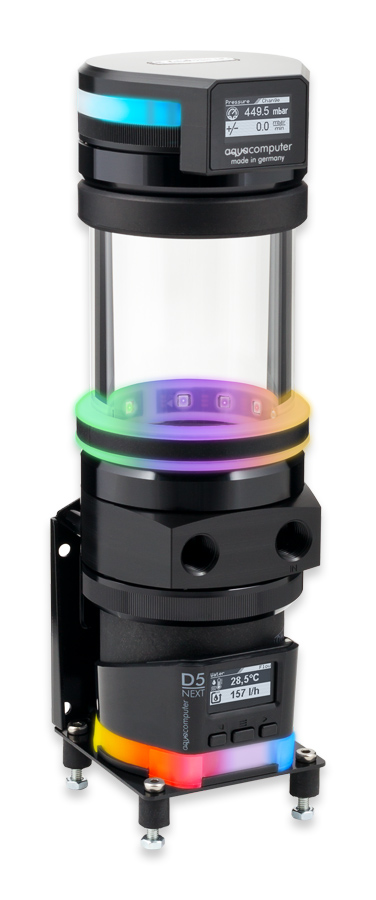

I have a combination of my photos and some shared by Aqua Computer above to show how the LEAKSHIELD looks in this installation, as well as just on its own by simply connecting the USB port to a USB power bank, which is the easiest way to test whether the product boots up, powers on, and is responds to the button on the side. What I did not expect was the animation of six LEDs responding to each button press, and by default, the LEDs are white. This installation is arguably the biggest reason to go with a first-party reservoir, since it makes things trivial and is handy for the actual setup, as we will see shortly.
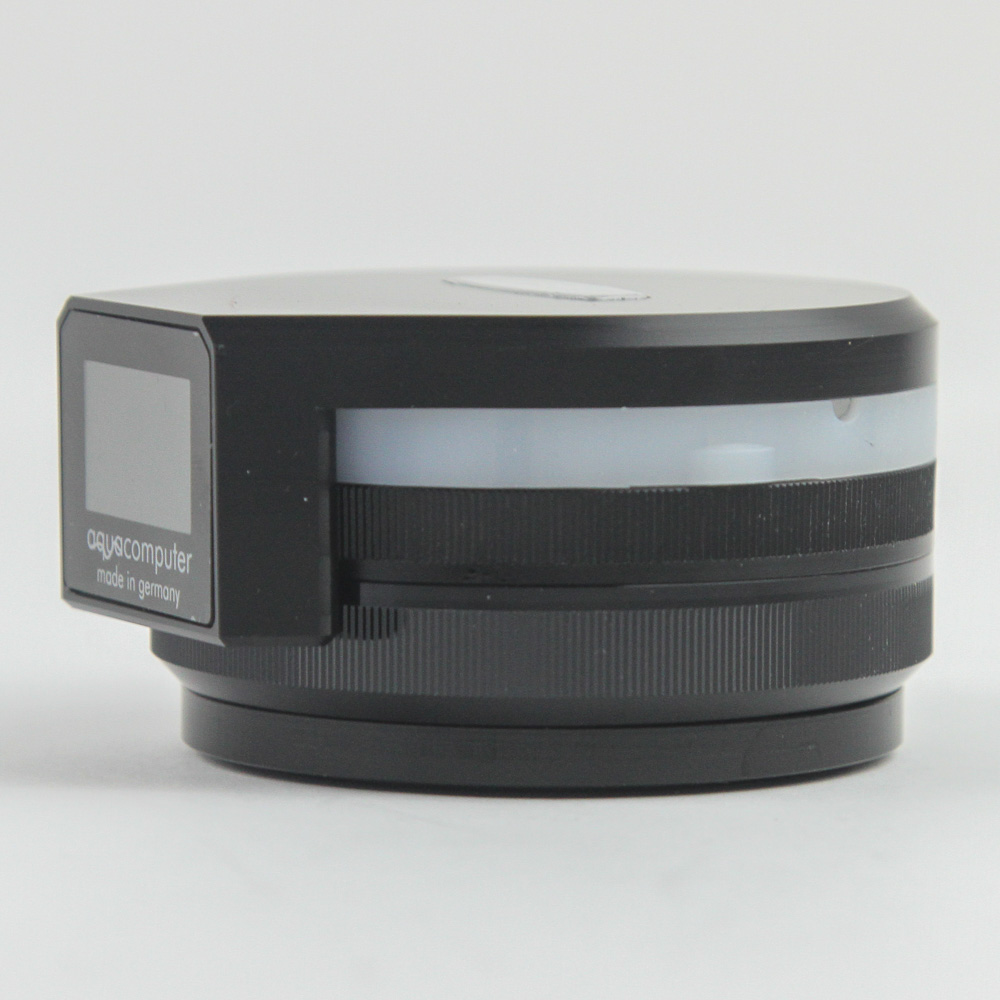
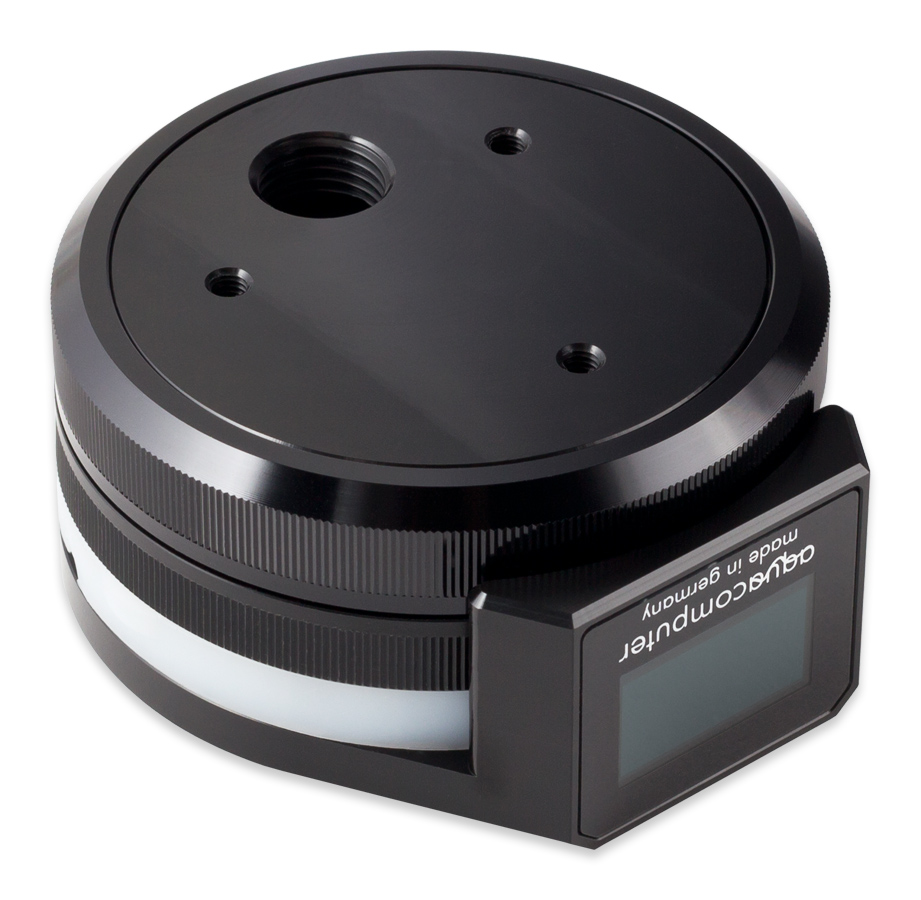
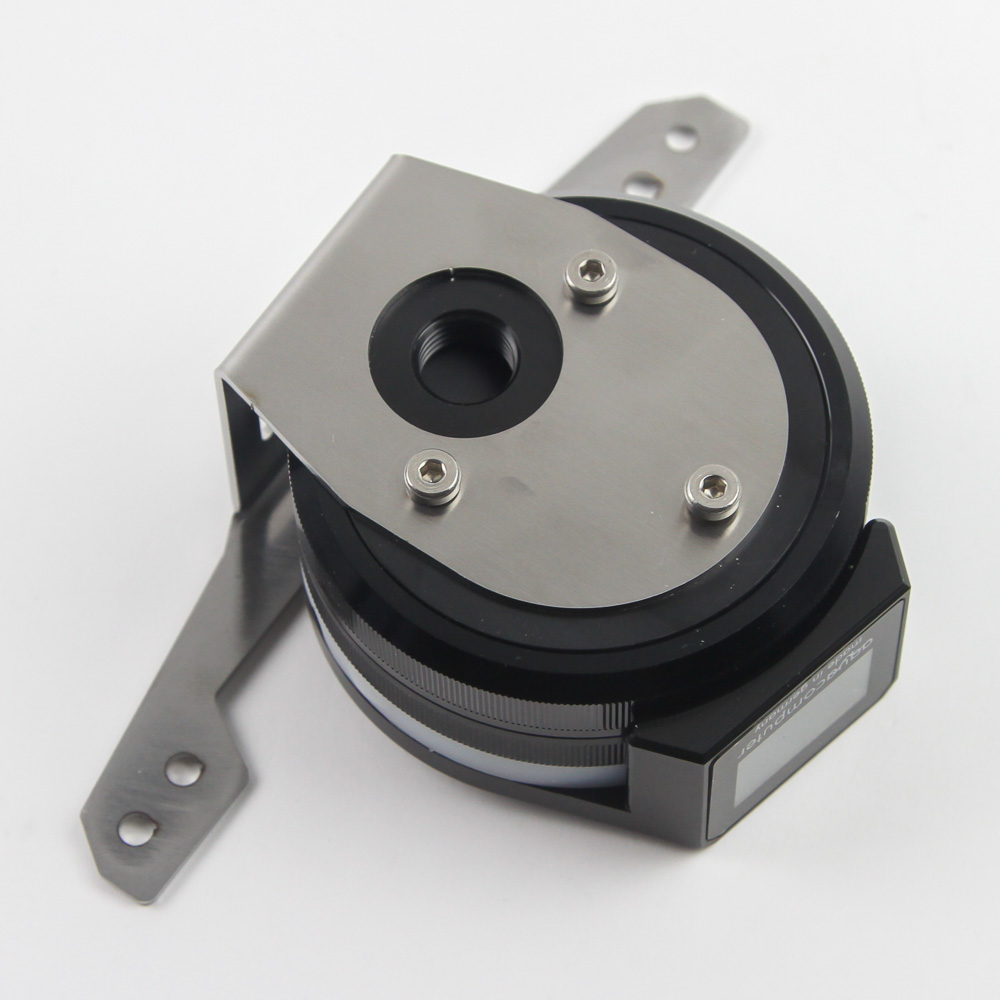
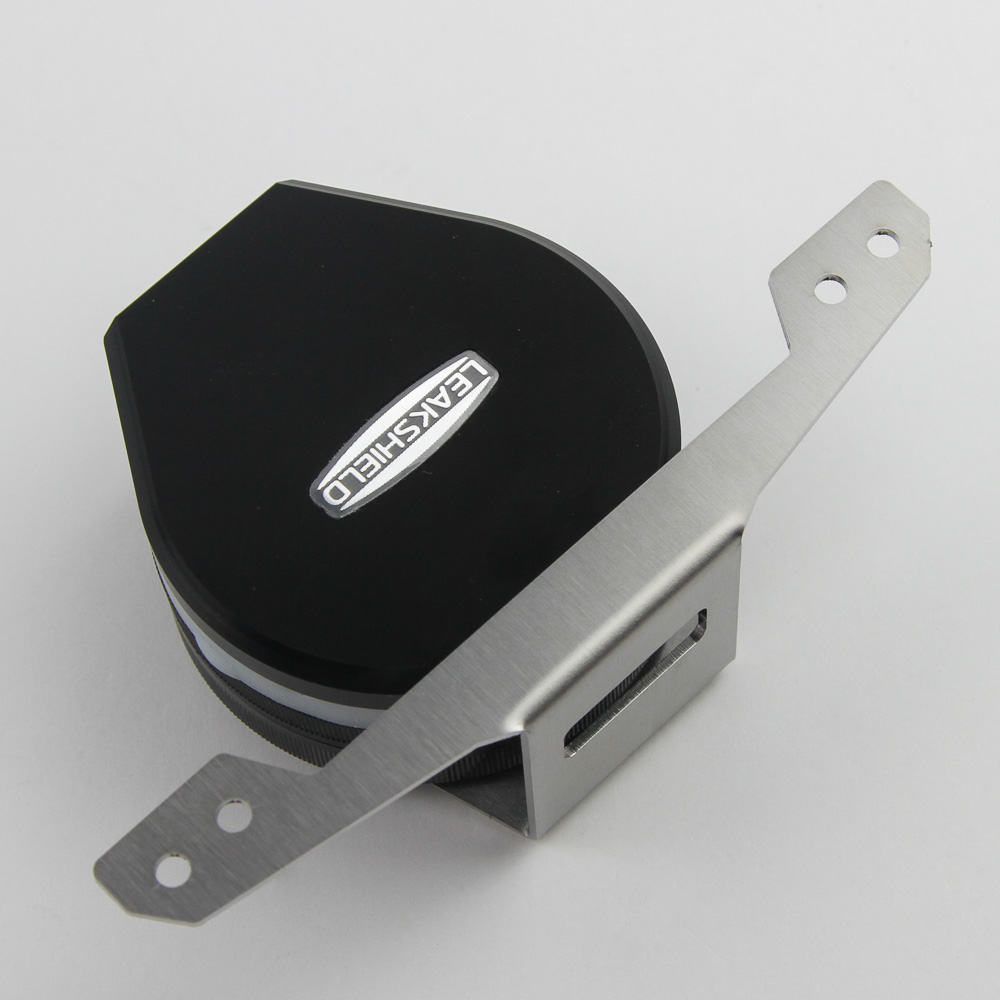
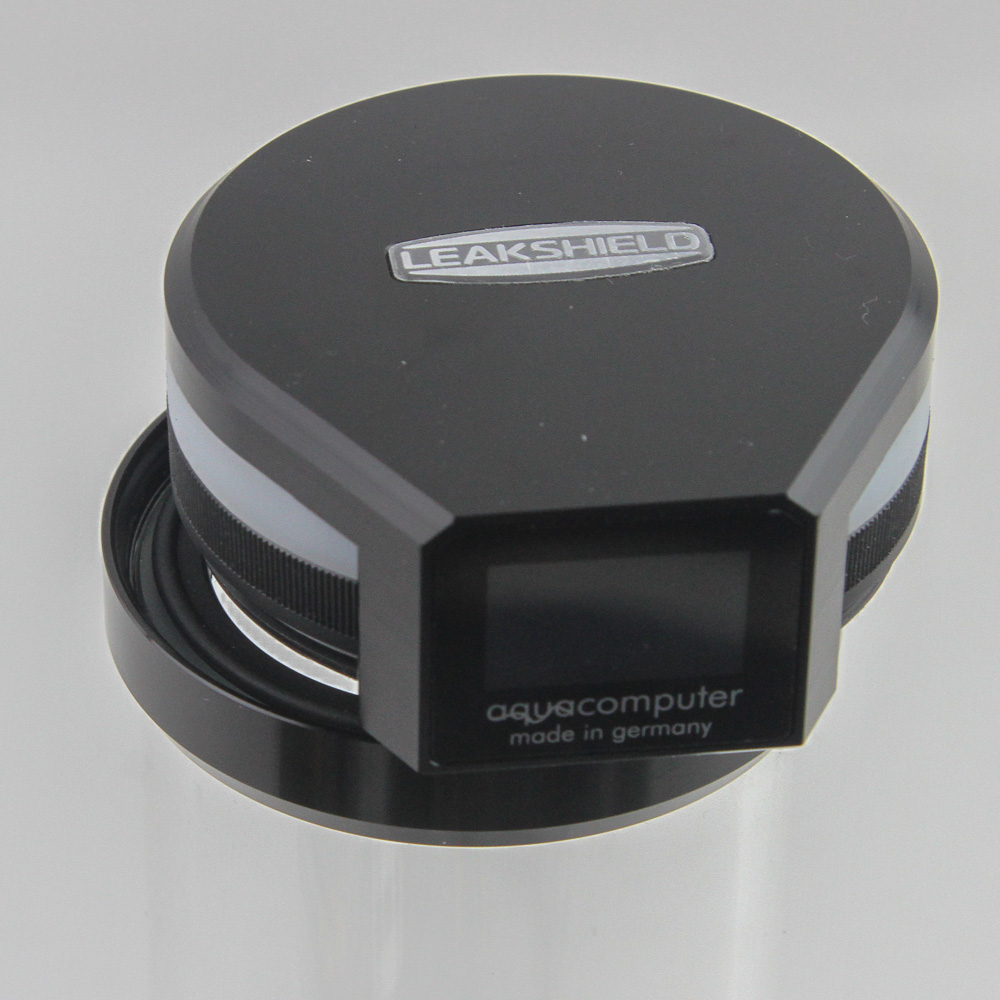
Given I have the LEAKSHIELD UNIVERSAL here, it was only right that I walk through how it works without a compatible reservoir, which will apply to the vast majority of readers. The two parts from the packaging page come together and screw into the LEAKSHIELD as seen above, which leaves three screw threads and a BSP G1/4" thread exposed on the bottom. With that done, the adapter comes into play with three of the provided screws to connect everything, and you can now use spare 120 or 140 mm fan-mounting holes to install the adapter plate using provided screws (if through a fan support/plate) or shorter radiator screws if directly on a radiator. Note that you will need an H2.5 mm Allen key, which Aqua Computer does not provide.
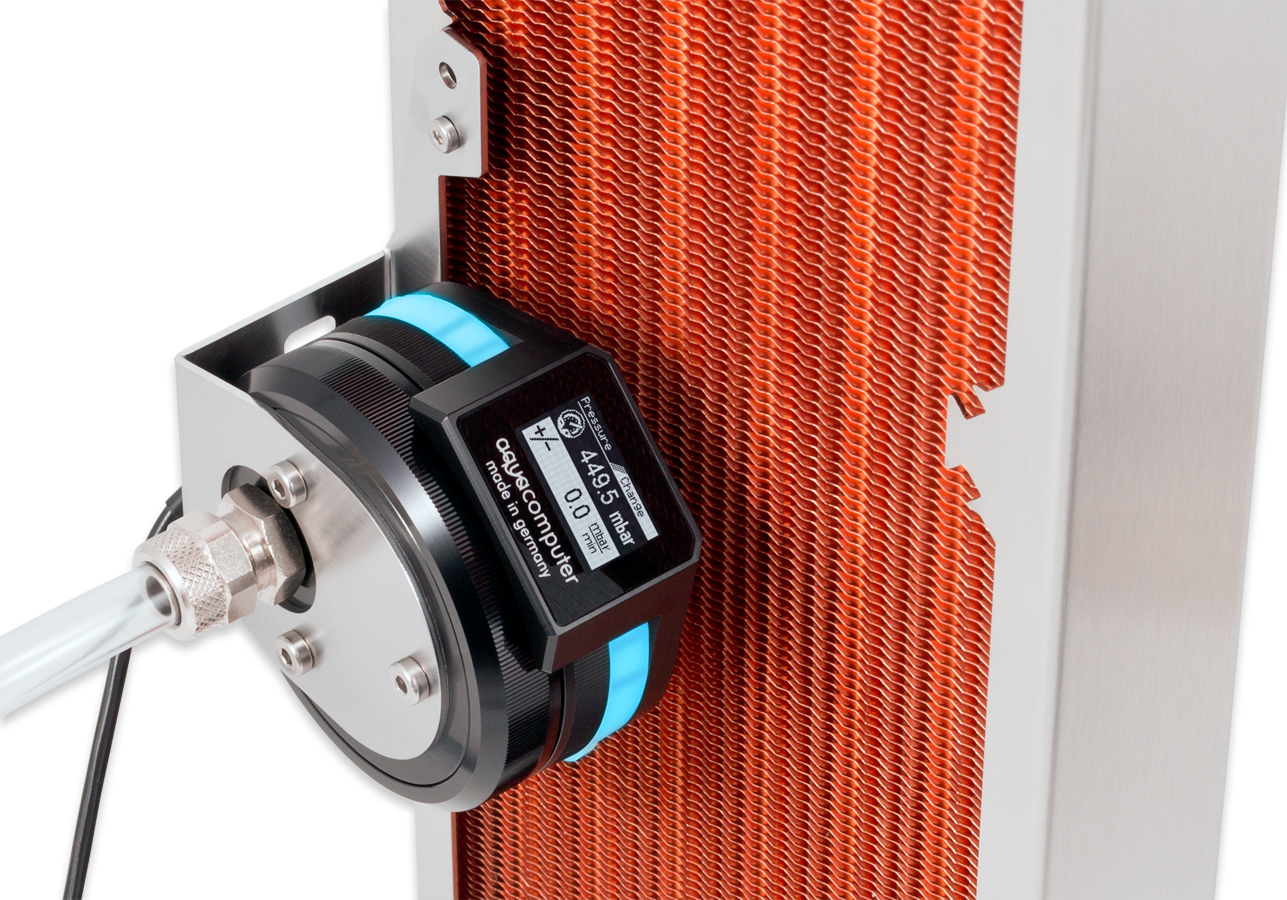
The is then used as part of a loop, but ideally from a T-fitting so you have tubing going to the G1/4" port, which in turn provides the conduit to the vacuum pump itself. As such, this will be a lot less neat to begin with, but you would also want a shorter tubing route to minimize any negative pressure bottlenecks, which just exacerbates the situation further. But this is not even the worst of it since you need to manually measure a few metrics to get the LEAKSHIELD UNIVERSAL working, as it will be paired to a recognized reservoir.
Mar 6th, 2025 17:23 EST
change timezone
Latest GPU Drivers
New Forum Posts
- 28TB hard disk (5)
- Microcenter GPU Stock status (27)
- [Intel AX1xx/AX2xx/AX4xx/AX16xx/BE2xx/BE17xx] Intel Modded Wi-Fi Driver with Intel® Killer™ Features (284)
- Windows 11 General Discussion (5840)
- What's your latest tech purchase? (23243)
- The Filthy, Rotten, Nasty, Helpdesk-Nightmare picture clubhouse (2655)
- My RX6800XT is not giving image anymore, Please Help. (13)
- AAF Optimus Modded Driver For Windows 10 & Windows 11 - Only for Realtek HDAUDIO Chips (366)
- RTX40x0 VBIOS viewer: Kepler-Ada NVIDIA VBIOS Visualizer - opensource pattern for ImHex (5)
- Need original bios (2)
Popular Reviews
- Sapphire Radeon RX 9070 XT Nitro+ Review - Beating NVIDIA
- NVIDIA GeForce RTX 5070 Founders Edition Review
- ASUS Radeon RX 9070 TUF OC Review
- AMD Radeon RX 9070 Series Technical Deep Dive
- EIZO FlexScan EV4340X Review - A Multitasking Powerhouse
- Corsair Vengeance RGB CUDIMM DDR5-8800 48 GB CL42 Review
- RAWM ES21M Review
- ASUS GeForce RTX 5070 Ti TUF OC Review
- AMD Ryzen 7 9800X3D Review - The Best Gaming Processor
- MSI GeForce RTX 5070 Ti Ventus 3X OC Review
Controversial News Posts
- NVIDIA GeForce RTX 50 Cards Spotted with Missing ROPs, NVIDIA Confirms the Issue, Multiple Vendors Affected (513)
- AMD Plans Aggressive Price Competition with Radeon RX 9000 Series (277)
- AMD Radeon RX 9070 and 9070 XT Listed On Amazon - One Buyer Snags a Unit (261)
- AMD Mentions Sub-$700 Pricing for Radeon RX 9070 GPU Series, Looks Like NV Minus $50 Again (248)
- AMD RDNA 4 and Radeon RX 9070 Series Unveiled: $549 & $599 (245)
- NVIDIA Investigates GeForce RTX 50 Series "Blackwell" Black Screen and BSOD Issues (244)
- AMD Radeon RX 9070 and 9070 XT Official Performance Metrics Leaked, +42% 4K Performance Over Radeon RX 7900 GRE (195)
- AMD Radeon RX 9070-series Pricing Leaks Courtesy of MicroCenter (158)