 25
25
ASRock DeskMini 110 Review
The Board »A Closer Look


Getting into the ASRock DeskMini 110 is a simple task. You simply remove several screws from the rear and the motherboard tray slides out for easy access to the unit's innards.
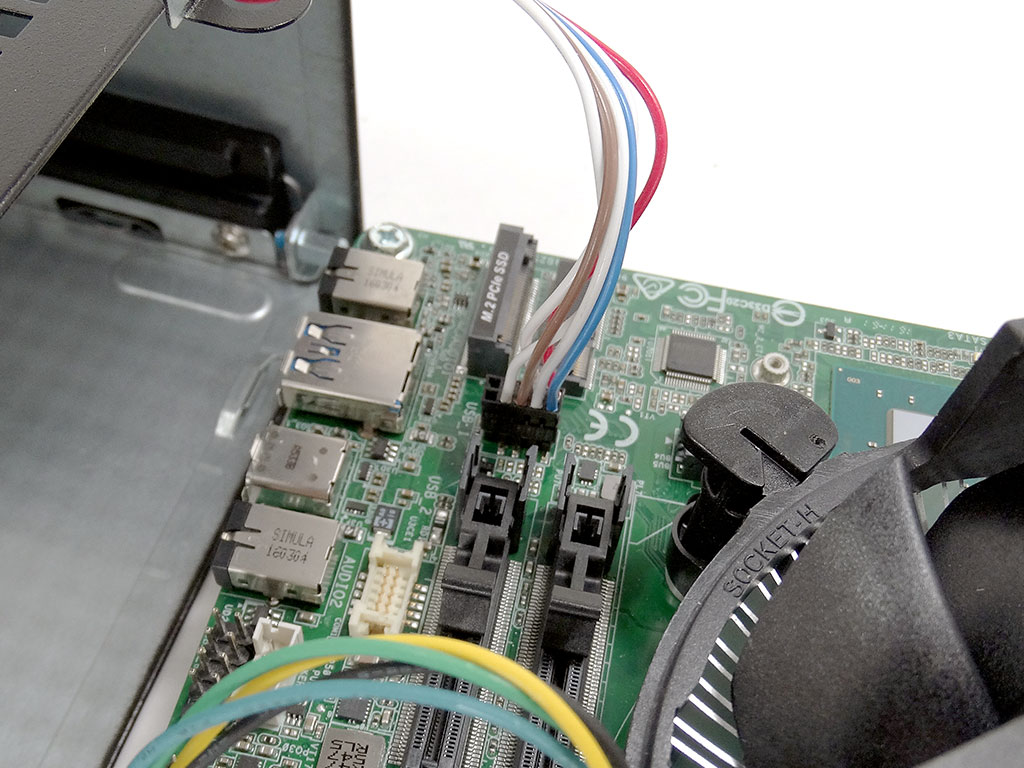
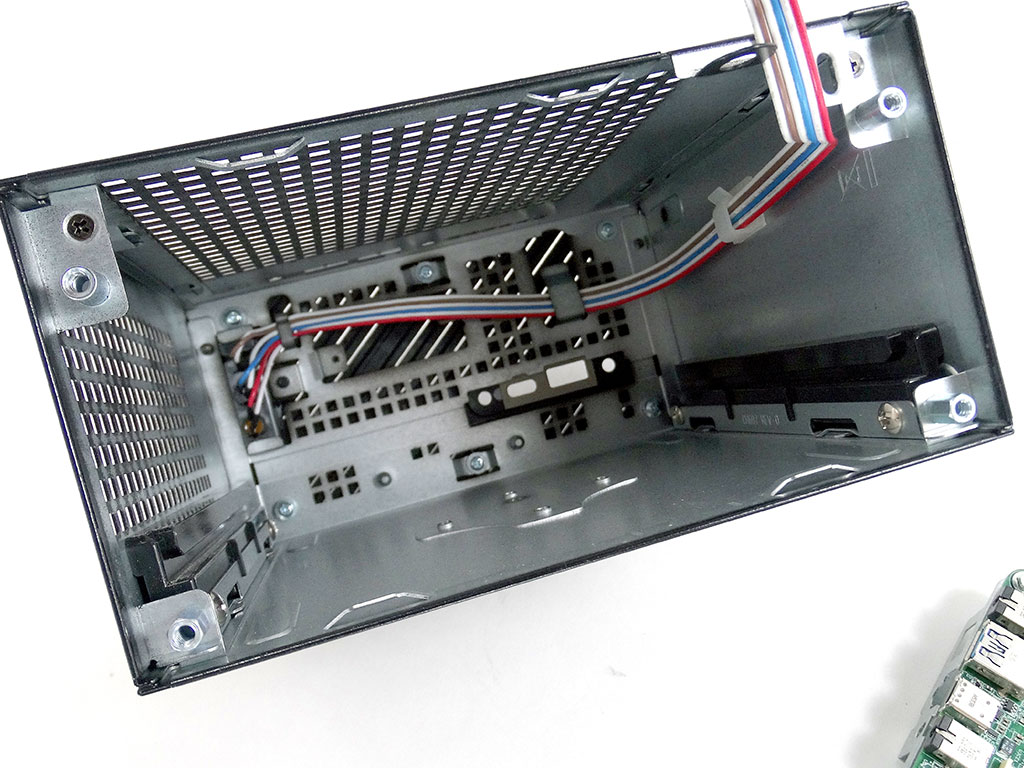
You do need to take a bit of care when pulling out the tray, though, as there is some wiring here on the ASRock DeskMini 110 that needs to be unplugged before you can fully remove the tray. Turns out, these are the wires for the power switch. Looking inside the case, you can see the engineering effort here to ensure the case wiring doesn't snag on the board tray when sliding the tray with all the silicon goodies on it in or out.
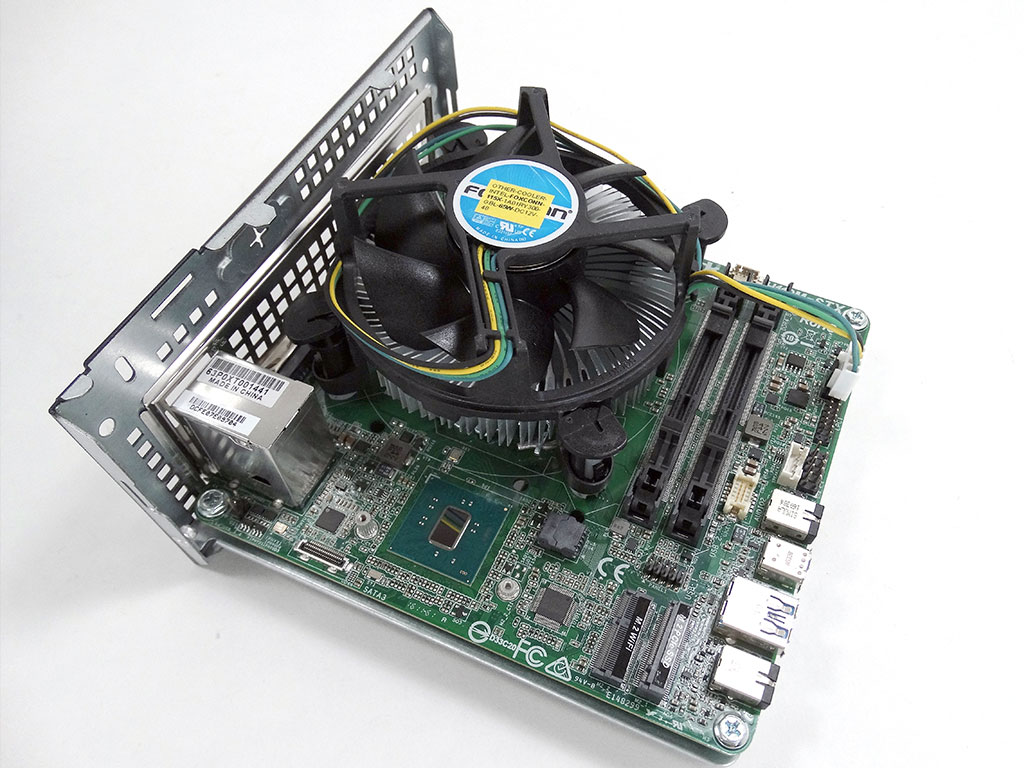
Getting the tray out of the casing allows you to get a good look at the motherboard, which is totally dominated by the stock Intel CPU fan.
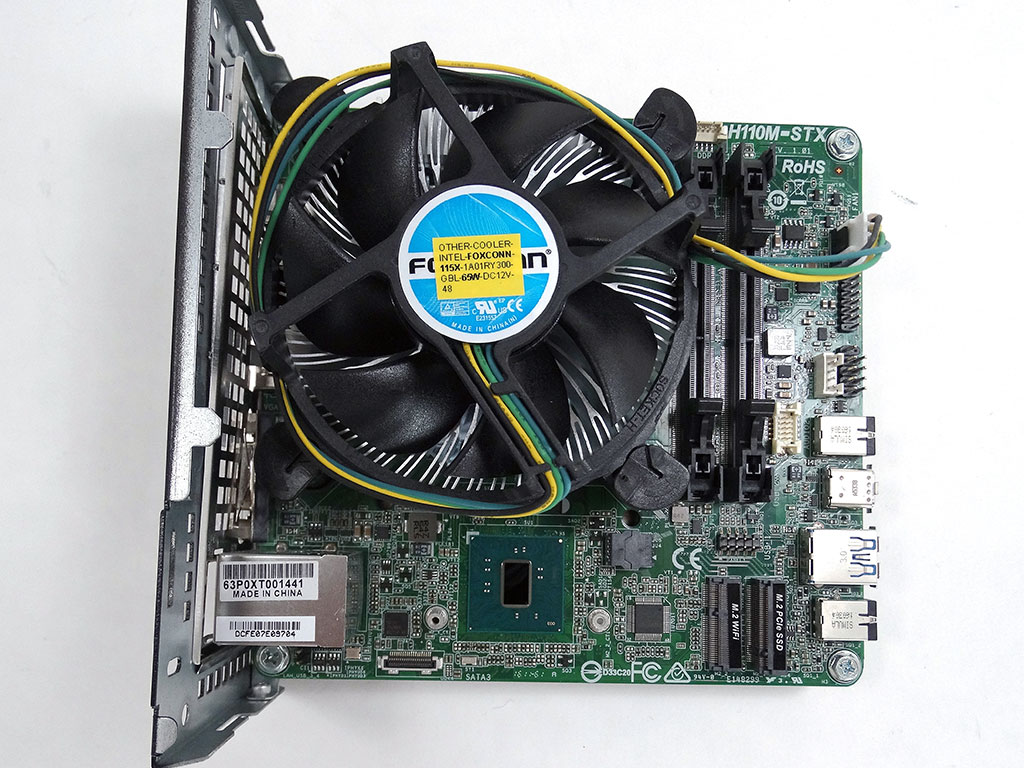
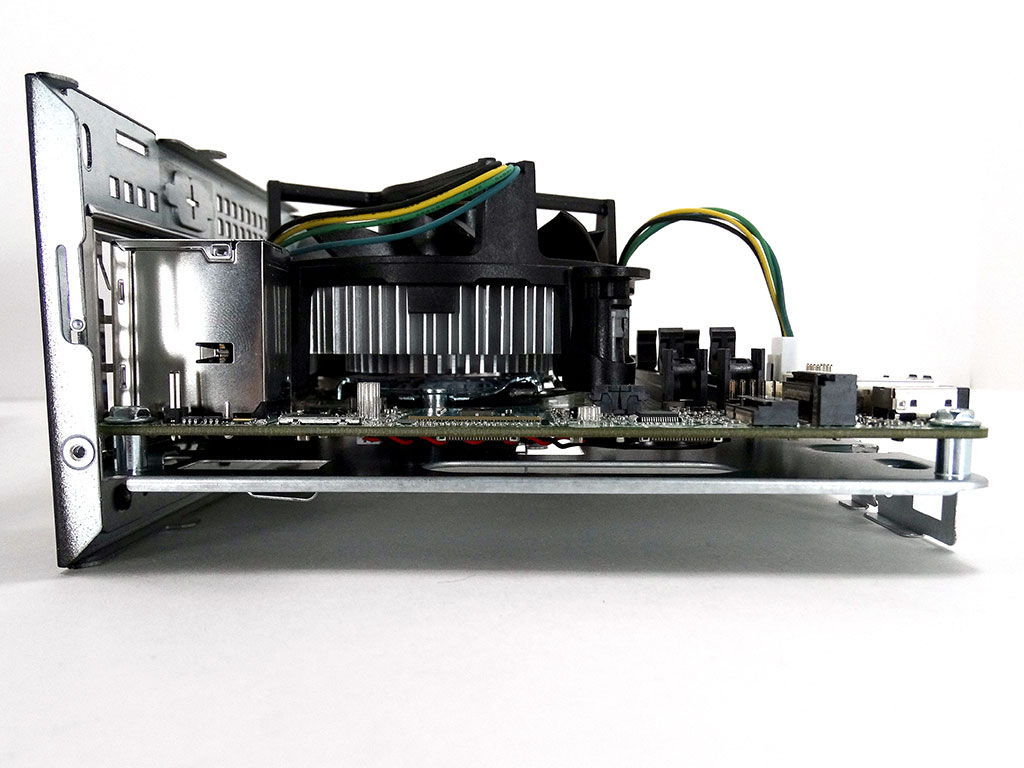
You can easily see how ASRock has made the most of the space provided here, with everything closely crammed together, but with enough space for decent airflow and the installation of those add-on devices you might need. The board sits just above the tray's surface.


There is enough room on the motherboard tray's underside for two 2.5-inch SATA devices to be installed. Installation of two SATA devices will require you to remove the board from its tray in order to screw one of the drives to the tray itself.
Mar 10th, 2025 18:10 EDT
change timezone
Latest GPU Drivers
New Forum Posts
- USB hard disk box capacity limits (12)
- Please I need help with the poor performance that my PC is giving me (32)
- I'm looking for a good tool to make the 3D scanning of my mini-pc using the photogrammetry and my Kinect 2. (53)
- Maxsun RX580 graphics card crashes (29)
- What is a good real price for the RTX 5090? (23)
- Microcenter GPU Stock status (31)
- Biostar RX 6700 XT OC BIOS (0)
- Msi 5090 DOA? (28)
- DLSS as antialiasing? (23)
- Cryptocoin Value and Market Trend Discussion (1646)
Popular Reviews
- Sapphire Radeon RX 9070 XT Nitro+ Review - Beating NVIDIA
- XFX Radeon RX 9070 XT Mercury OC Magnetic Air Review
- ASUS Radeon RX 9070 TUF OC Review
- MSI MAG B850 Tomahawk Max Wi-Fi Review
- NVIDIA GeForce RTX 5080 Founders Edition Review
- NVIDIA GeForce RTX 5070 Founders Edition Review
- Corsair Vengeance RGB CUDIMM DDR5-8800 48 GB CL42 Review
- AMD Ryzen 7 9800X3D Review - The Best Gaming Processor
- ASUS GeForce RTX 5070 Ti TUF OC Review
- MSI GeForce RTX 5070 Ti Gaming Trio OC+ Review
Controversial News Posts
- NVIDIA GeForce RTX 50 Cards Spotted with Missing ROPs, NVIDIA Confirms the Issue, Multiple Vendors Affected (513)
- AMD Plans Aggressive Price Competition with Radeon RX 9000 Series (277)
- AMD Radeon RX 9070 and 9070 XT Listed On Amazon - One Buyer Snags a Unit (261)
- AMD RDNA 4 and Radeon RX 9070 Series Unveiled: $549 & $599 (260)
- AMD Mentions Sub-$700 Pricing for Radeon RX 9070 GPU Series, Looks Like NV Minus $50 Again (248)
- NVIDIA Investigates GeForce RTX 50 Series "Blackwell" Black Screen and BSOD Issues (244)
- AMD Radeon RX 9070 and 9070 XT Official Performance Metrics Leaked, +42% 4K Performance Over Radeon RX 7900 GRE (195)
- AMD Radeon RX 9070-series Pricing Leaks Courtesy of MicroCenter (158)