 5
5
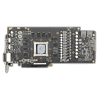
EKWB and Bykski Water Blocks tested on Asus GTX 1080 Ti Strix
Installation »Closer Examination- Bykski
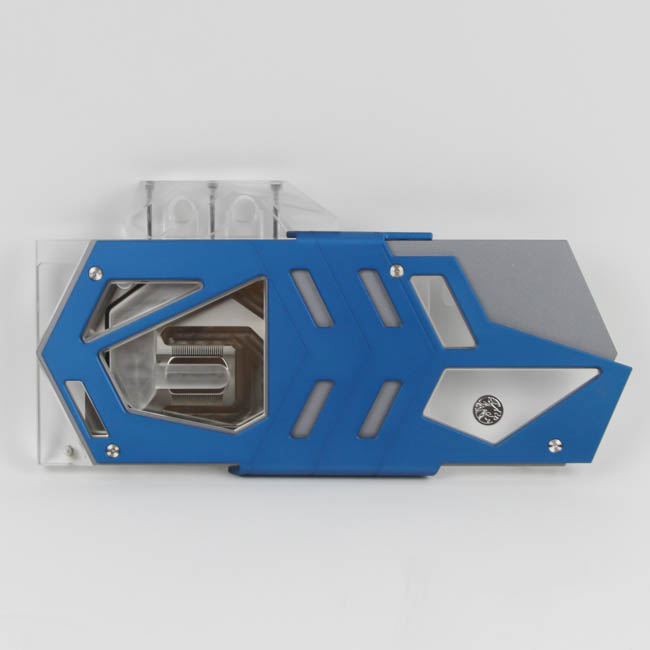
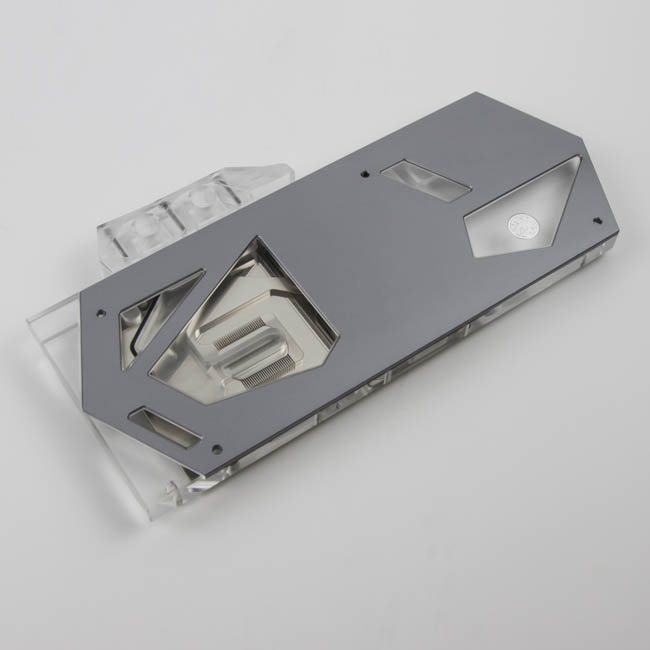
Any questions on whether the Bykski block would look identical to the EKWB one is surely answered now. There are still some "plain" versions of their blocks sold without the aluminum shroud/cover which resemble the EKWB block more, but there are still other changes in the ID as a whole to where these can be considered their own at this point. But here, we have not one, but two separate thick aluminum shrouds over the plexi top with angles and beveled edges galore, and the top shroud has different color options to choose from - I have the blue version here, for instance. The cutouts in these shrouds allow for the user to see the coolant pass through the cooling engine over the GPU core, and on the other side is a Bykski logo sticker which I personally feel is a better place for logos, if they have to be on such blocks at all. This block is also a full-cover GPU water block in that it actively cools the GPU core, VRAM, and VRMs.
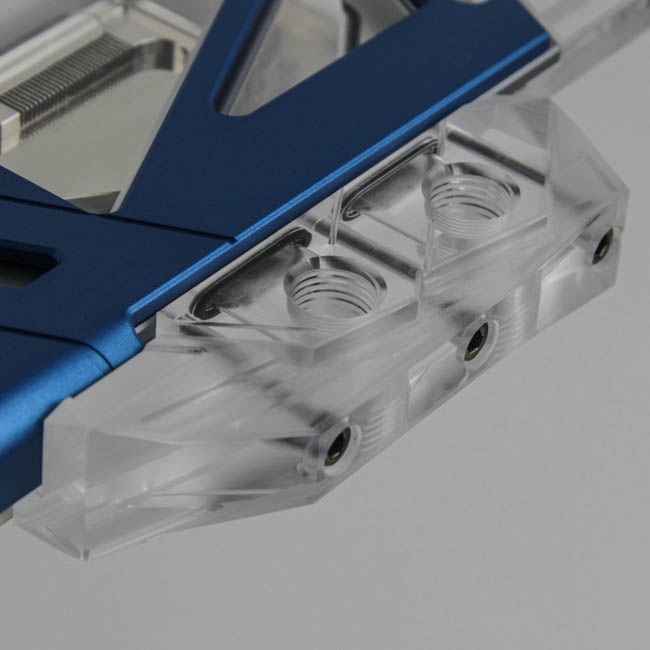
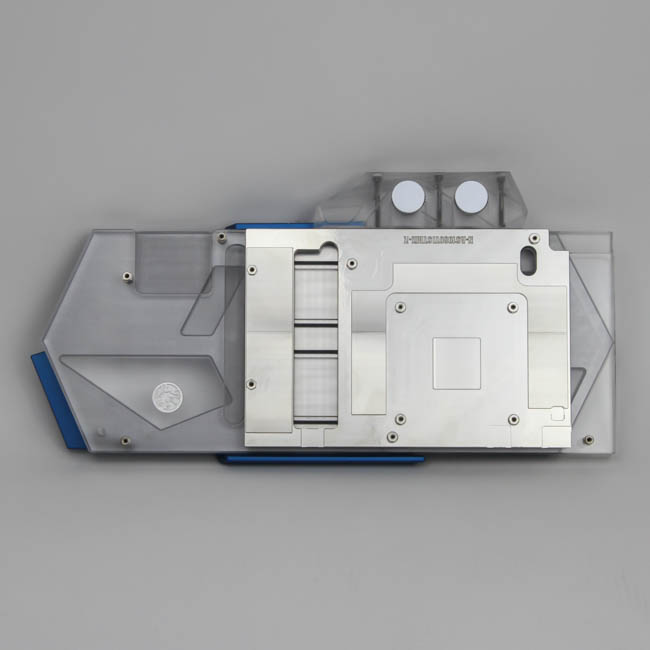
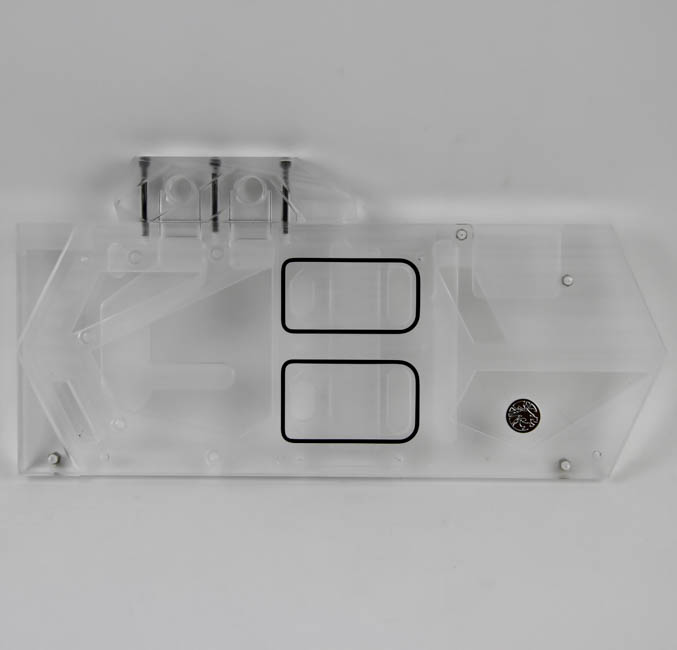
There are four BSP G1/4" threaded ports here too, but we have an acrylic terminal instead, and it is angled with cut-in grooves that match the design of the rest of the block. This makes it appear to indeed be a part of the block as opposed to an appendage as with the EKWB version, and I prefer this too. Turning the block over, we see a nickel-plated copper cold plate in a similar fashion as to the one on the EKWB block, and this too has a mirror finish. Note that the Bykski block is not a full-length block as there is a slight section on the PCB near the I/O connectors that is left exposed, but the block also extends past the length of the PCB on the other side, so do account for another inch of length to be on the safer side.
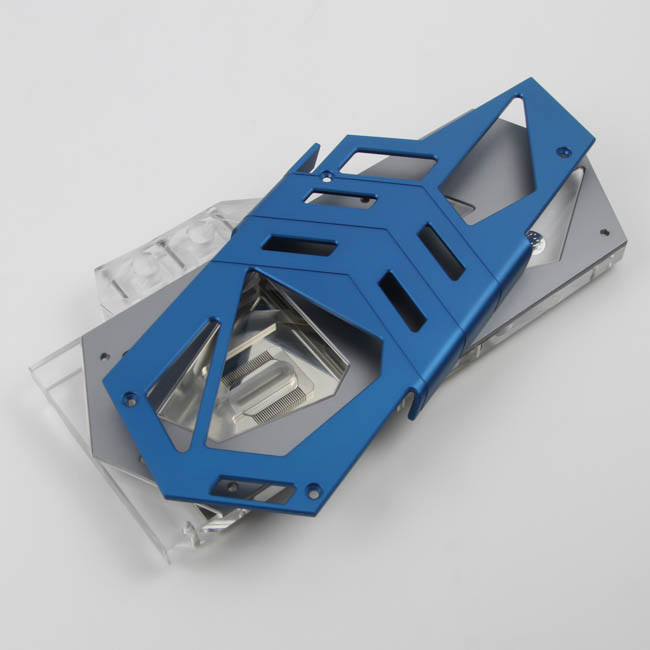
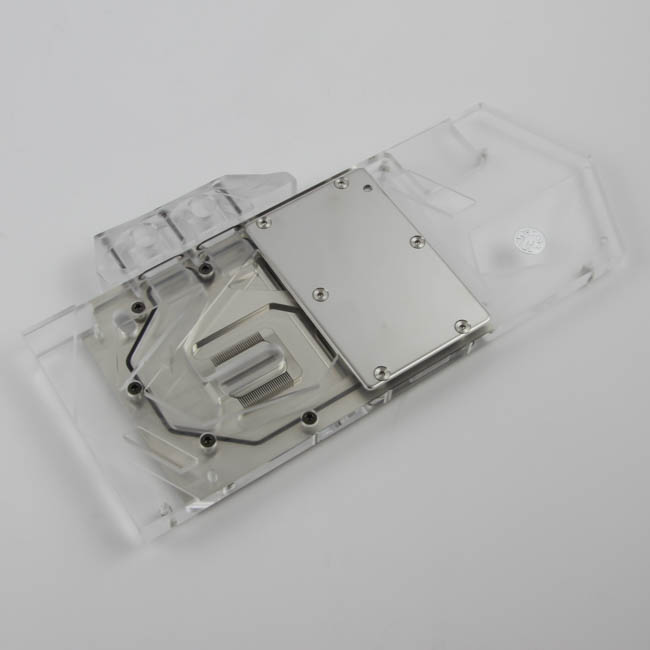
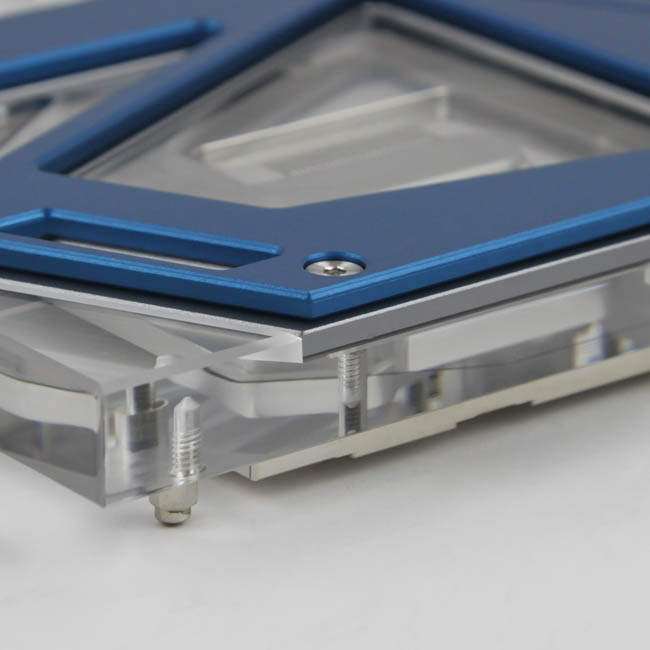
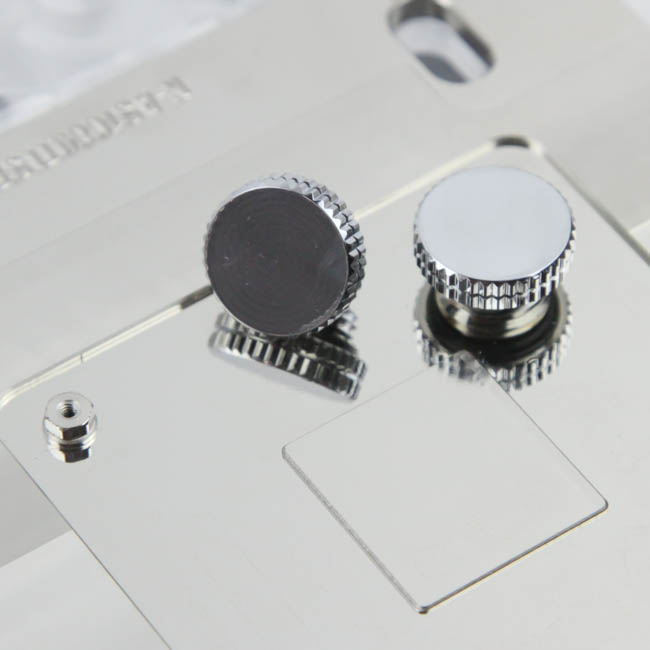
Disassembly here begins with the removal of the screws on the front. As we saw before, there are two separate aluminum shrouds used here, and each layer is another customization option to use if you prefer it as such. The gray shroud, for instance, will go well in a build with a spartan color scheme consisting of black/white/gunmetal, and you can also remove both shrouds (you will need shorter screws now) if you prefer a full plexi top. Here is also where we see the stainless steel plate, akin to that on the EKWB block, to help the coolant pass from one region onto another, although I dare say Bykski could have used a thicker plexi top here and gone without the two shrouds instead.
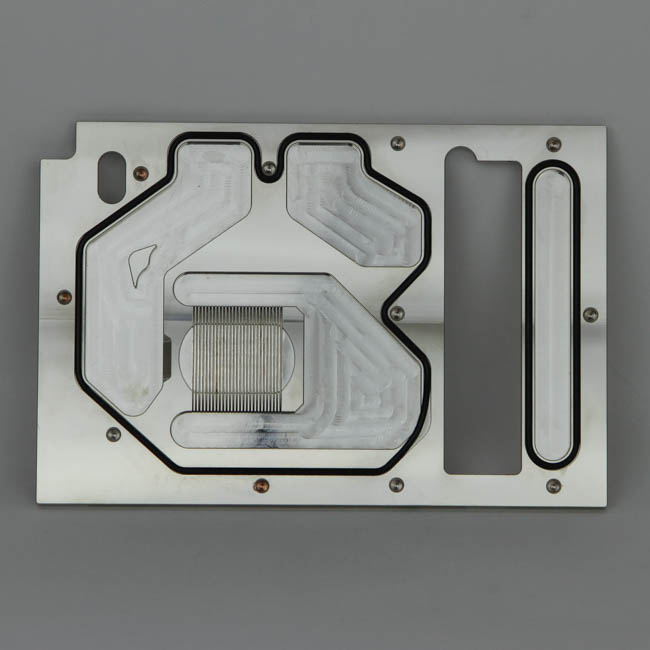

Now that more screws are exposed, we can take the top off entirely to see that Bykski has only polished the sections where the shrouds do not cover the plexi, and also that the port terminal is held by three screws. The cold-plate design is similar too, but everything is more pronounced - be it with the machined sections diverting coolant flow or the O-ring spacing outside and the three for the stainless steel plate. This holds true also for the microchannels over the core, and we have 26 taller microfins with a thicker jetplate here.
When re-assembling, just remember to put the O-rings back in place if they got dislodged and reverse these steps accordingly. As always, TechPowerUp is not liable for any issues that arise from your disassembly of the waterblock.
Jan 15th, 2025 06:37 EST
change timezone
Latest GPU Drivers
New Forum Posts
- AAF Optimus Modded Driver For Windows 10 & Windows 11 - Only for Realtek HDAUDIO Chips (281)
- How many are using 24h2? Problems still? (204)
- Are people planning an upgrade? (313)
- X299 Owners Club (158)
- RTX 5090 will have liquid metal on founder's edition, but will the 5080, 5070 ti FE's? (17)
- Modding LGA775 cooler to work with LGA2011 (10)
- Microsoft Officially drops AC3 (Dolby Digital) Support from W11 24H2 (13)
- The TPU UK Clubhouse (25628)
- Hello, I bought a RAM from Shadow RGB DDR5-4800 on a b650 amd board, but it does not work. NTSRD5P48DP-16s (29)
- Need to set expectations... (4)
Popular Reviews
- AMD Ryzen 7 9800X3D Review - The Best Gaming Processor
- ASUS ROG Strix B860-A Gaming Wi-Fi Review
- ThieAudio Origin In-Ear Monitors Review - Basshead Love
- LAMZU Maya X Review
- ASUS ROG Strix B850-F Gaming WiFi Review
- GPU Test System Update for 2025
- Upcoming Hardware Launches 2024 (Updated Nov 2024)
- Arrow Lake Retested with Latest 24H2 Updates and 0x114 Microcode
- Royal Kludge S85 TKL Wireless Mechanical Keyboard Review
- DDR5 Memory Performance Scaling with AMD Zen 5
Controversial News Posts
- NVIDIA 2025 International CES Keynote: Liveblog (467)
- AMD Debuts Radeon RX 9070 XT and RX 9070 Powered by RDNA 4, and FSR 4 (348)
- NVIDIA GeForce RTX 5090 Features 575 W TDP, RTX 5080 Carries 360 W TDP (212)
- AMD Radeon RX 9070 XT Alleged Benchmark Leaks, Underwhelming Performance (204)
- 32 GB NVIDIA RTX 5090 To Lead the Charge As 5060 Ti Gets 16 GB Upgrade and 5060 Still Stuck With Last-Gen VRAM Spec (174)
- Potential RTX 5090 and RTX 5080 Pricing in China Leaks (173)
- AMD Radeon RX 9070 XT Boosts up to 3.10 GHz, Board Power Can Reach up to 330W (167)
- AMD Radeon RX 9070 XT Tested in Cyberpunk 2077 and Black Myth: Wukong (164)