 21
21
Asustor AS-302T Review
Administration Settings »ASUSTOR Data Master Operating System
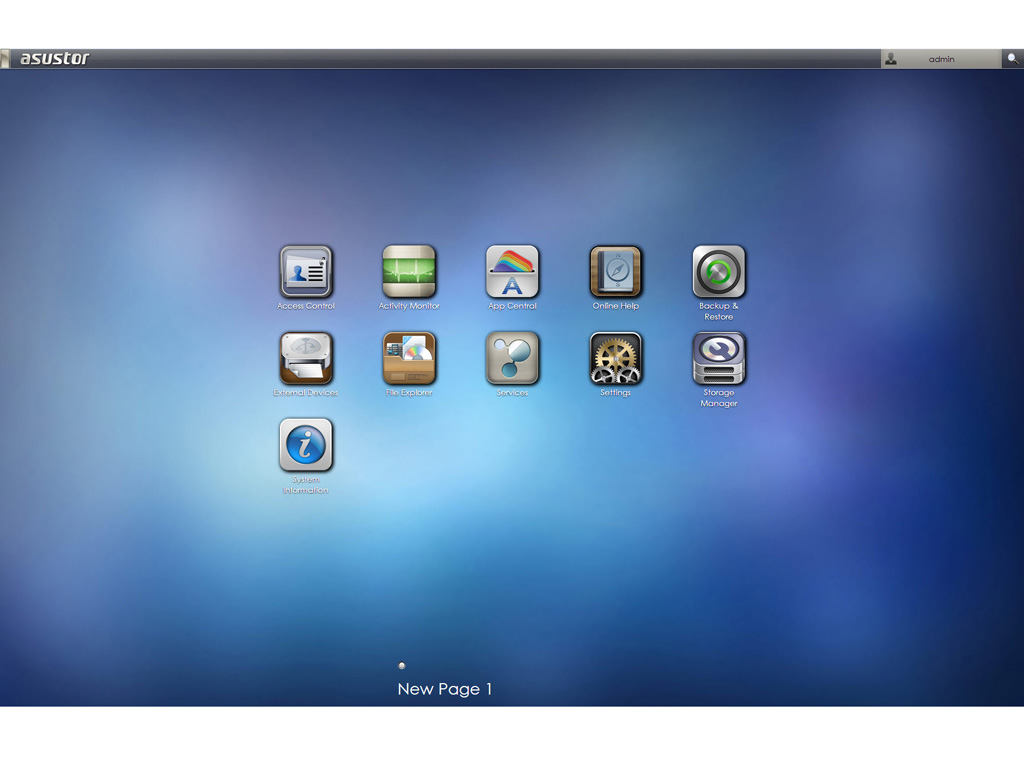
The ASUSTOR Data Master Operating System or ADM is a Linux-based operating system Asustor developed exclusively for their NAS servers. According to Asustor, it was designed around the use of applications, and its unique web-based graphical user interface allows the user to handily organize applications by page, like in Android or iOS devices. ADM supports multi-tasking and comes with some basic applications pre-installed. App Central then allows you to customize the NAS server further by installing any additional applications you may need.
You will feel right at home with ADM if you have a smart phone running Android or iOS, since its interface shares many features with the aforementioned operating systems. Asustor is also working on ADM continuously, providing frequent updates and adding new features. Some of ADM's more interesting features include the Searchlight search engine, the ability to pin frequently used applications to the menu bar, customizable desktop wallpapers, two-way transfer support, Mission Mode backup, FTP Explorer, the SoundsGood web music player, etc. You will also find dozens more that might peak your interest in App Central.
One of the more interesting applications will be XBMC since the AS-302T addresses home users. XBMC is currently the most popular media player, and it can fully replace a media player or even HTPC when combined with the AS-302T's line-out and HDMI ports.

The Searchlight box and all administrative options through which you can shutdown, reset, or put the NAS to sleep are in the top-right corner.
If you want to see the ADM 2.0 operating system in action, you will findthis live demo useful.
Administration Interface Walkthrough

Once we logged into the administrative panel, a welcome message greeted us, offering a tour of the web interface. We advice you to follow through on this guide at least once, since it will show you all the basic steps you need to take to correctly set up the NAS. The following paragraphs of this review will also take you through those steps since we followed them to a tee.
Storage Manager
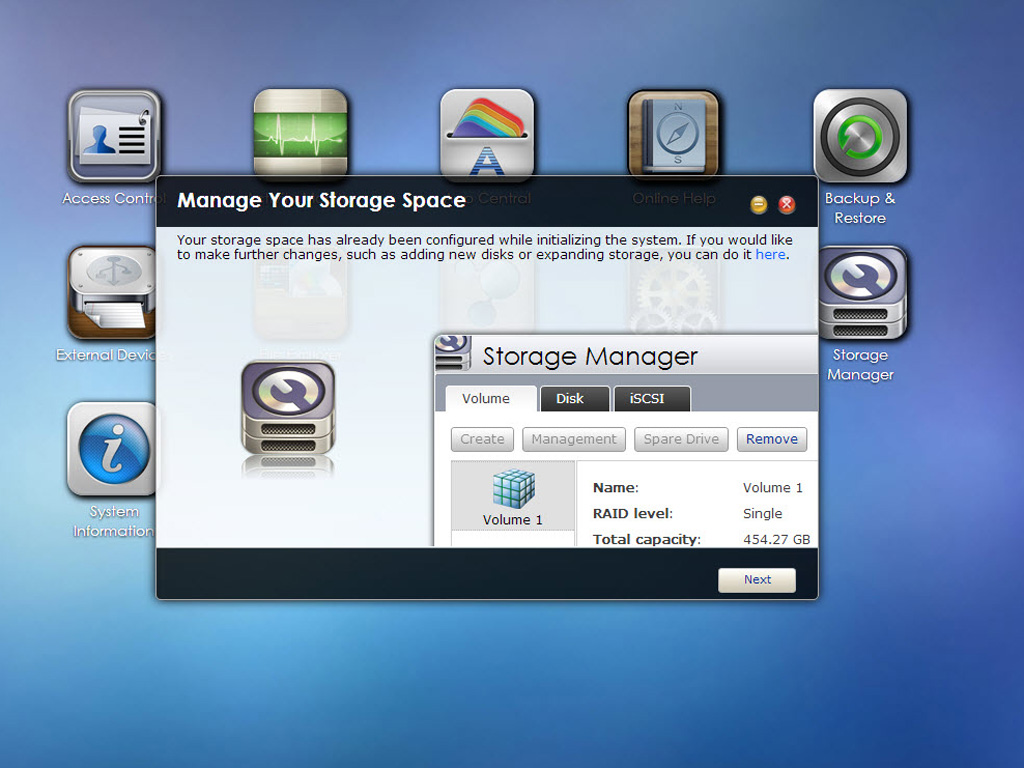
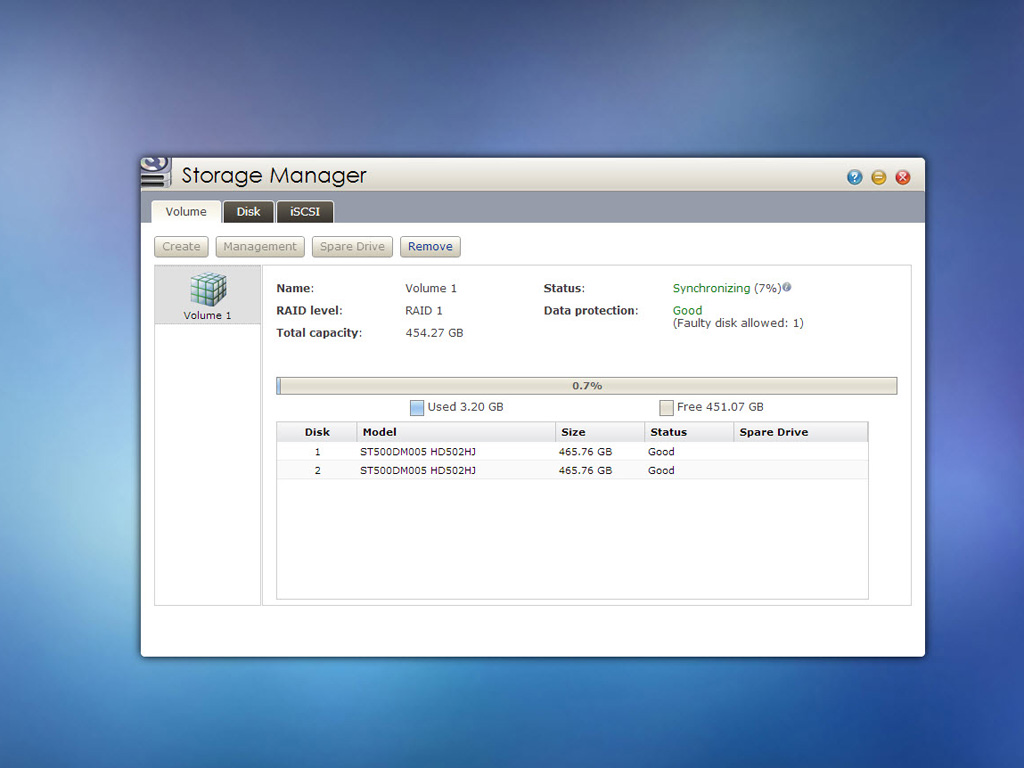
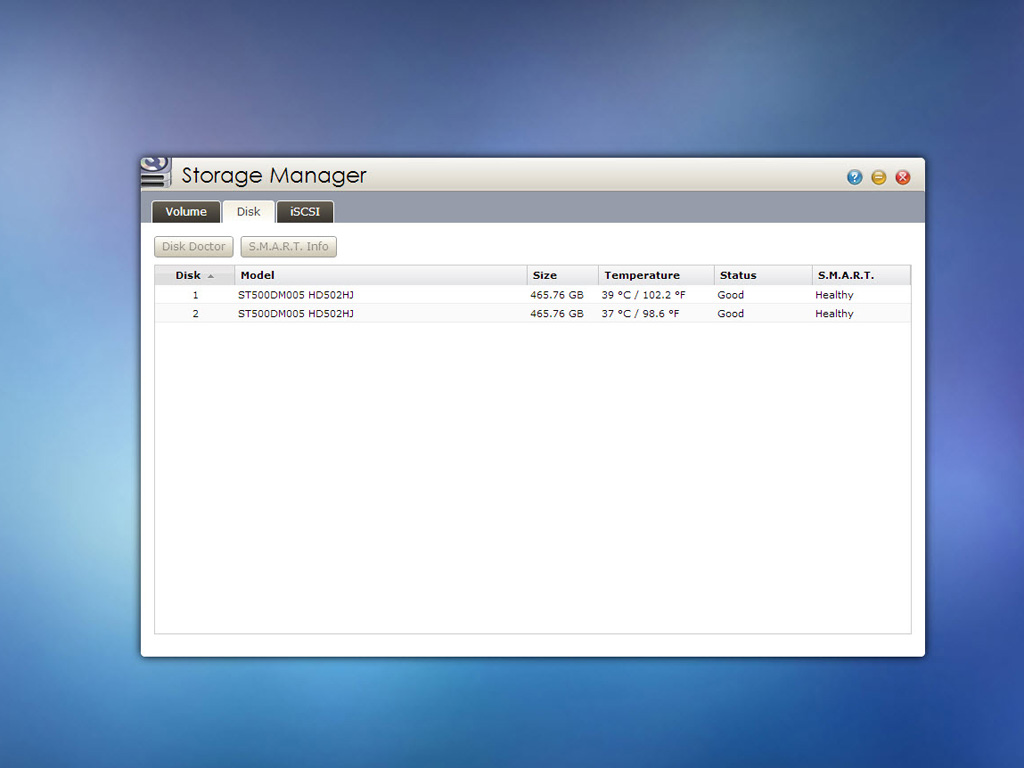

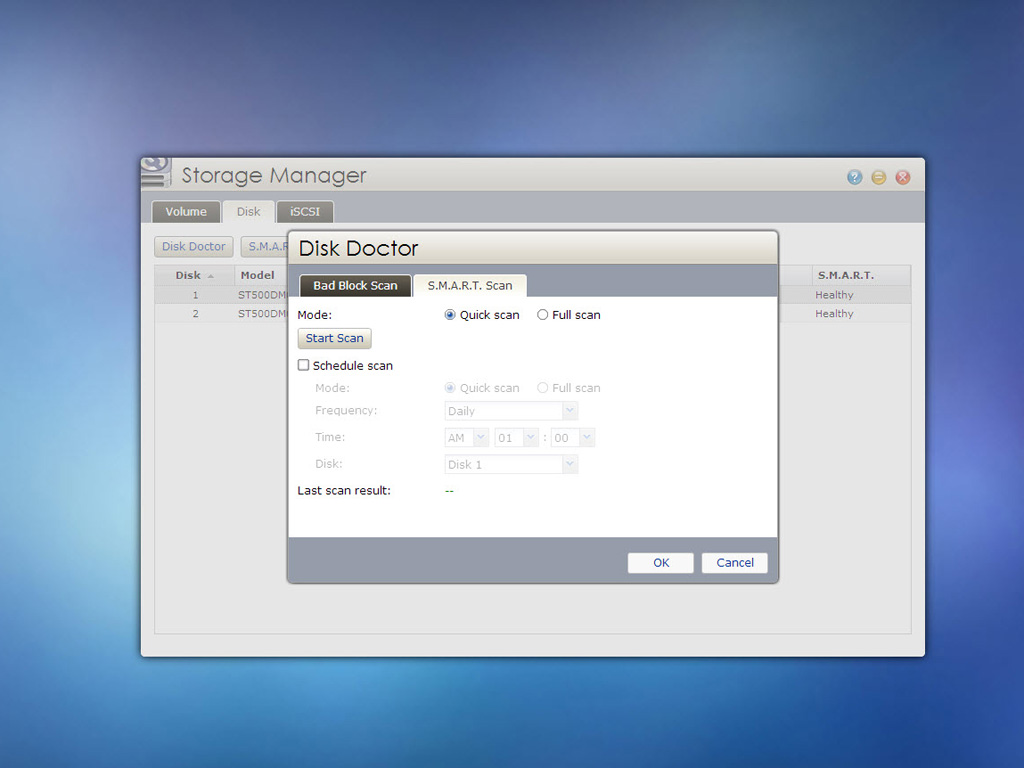
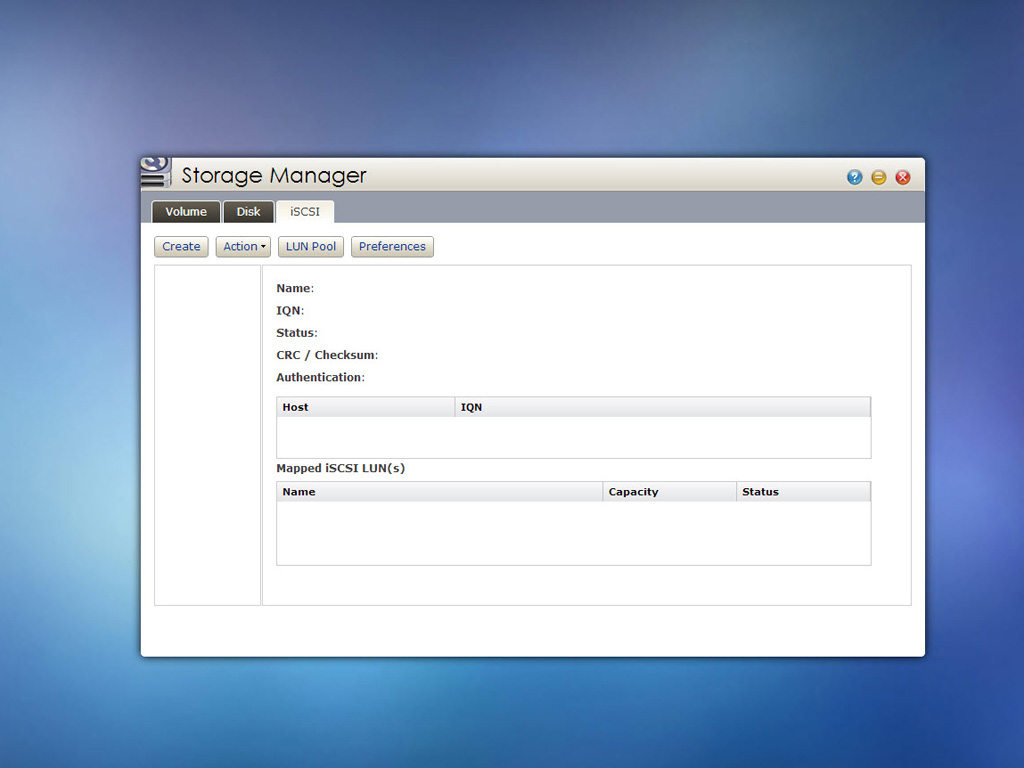
The first stop of the tour was Storage Manager. Check or configure the volume(s) on the NAS, or migrate the volume to a higher Raid level, or replace currently installed HDDs with higher capacity ones. You can also check the disks and create an iSCSI target and LUN. Using iSCSI will make the disks you have on your NAS appear as local disks on any of the client PCs; however, all data will be transferred to/from them over the network. LUN stands for Logical Unit Number: numbered disk drives that the operating system of the client PC sees as volumes.
Accounts & Privileges
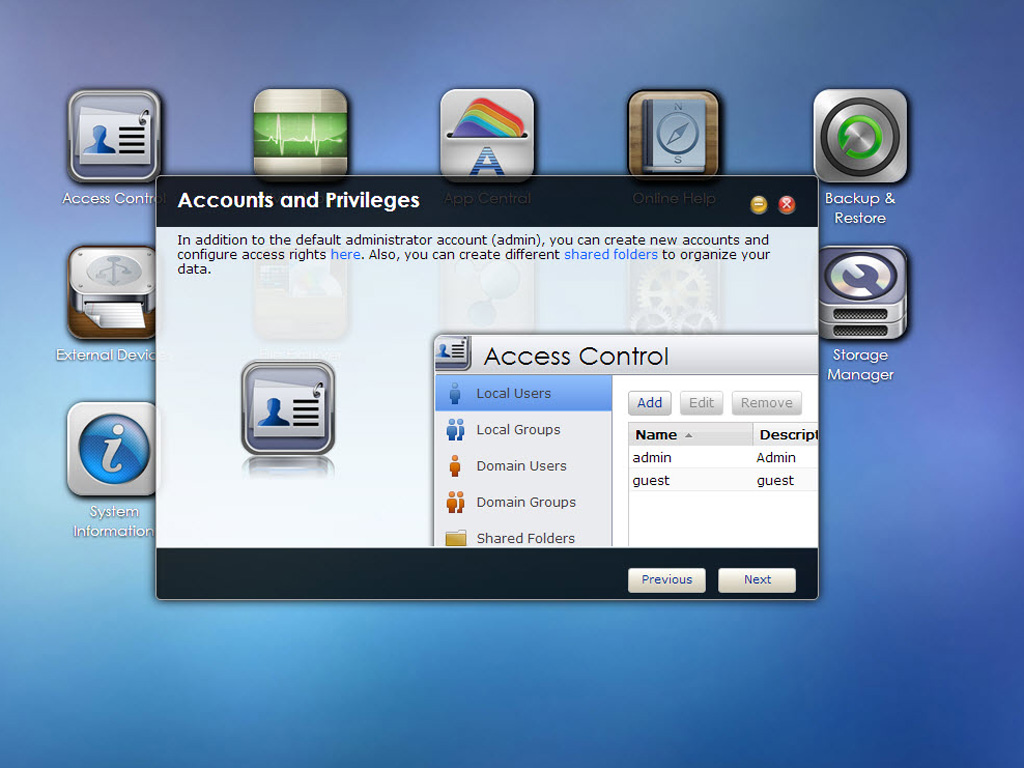


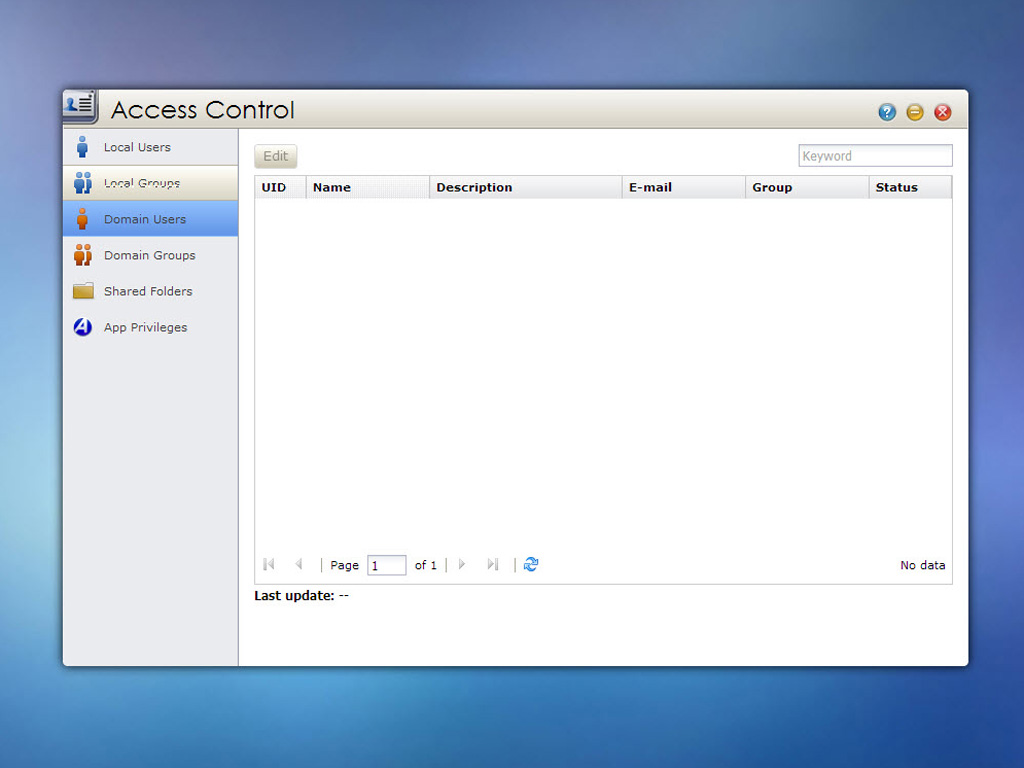
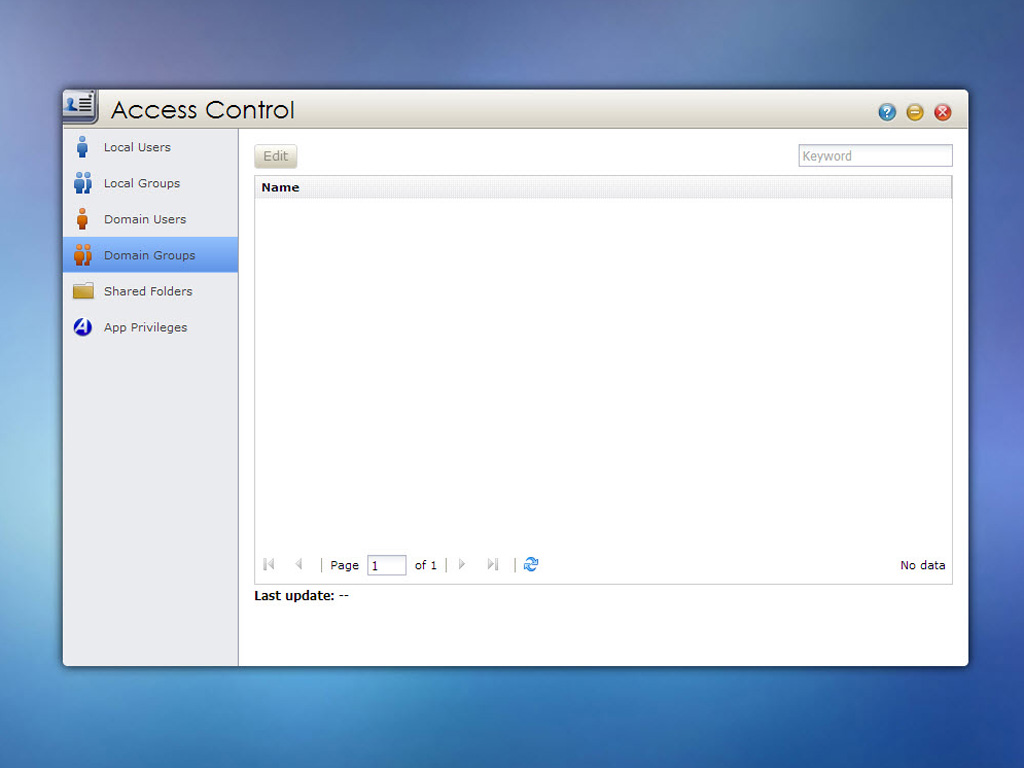

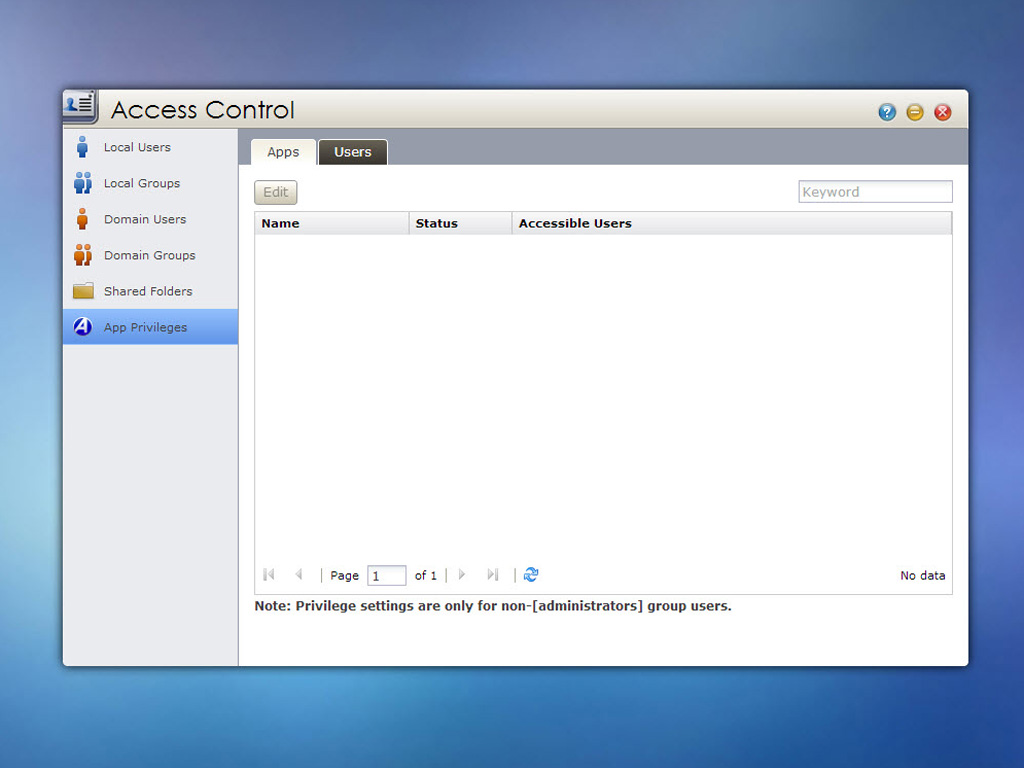
The second stop was Access Control, which allows you to configure user and group accounts, set domain users and groups, manage shared folders, and set application privileges.
Services
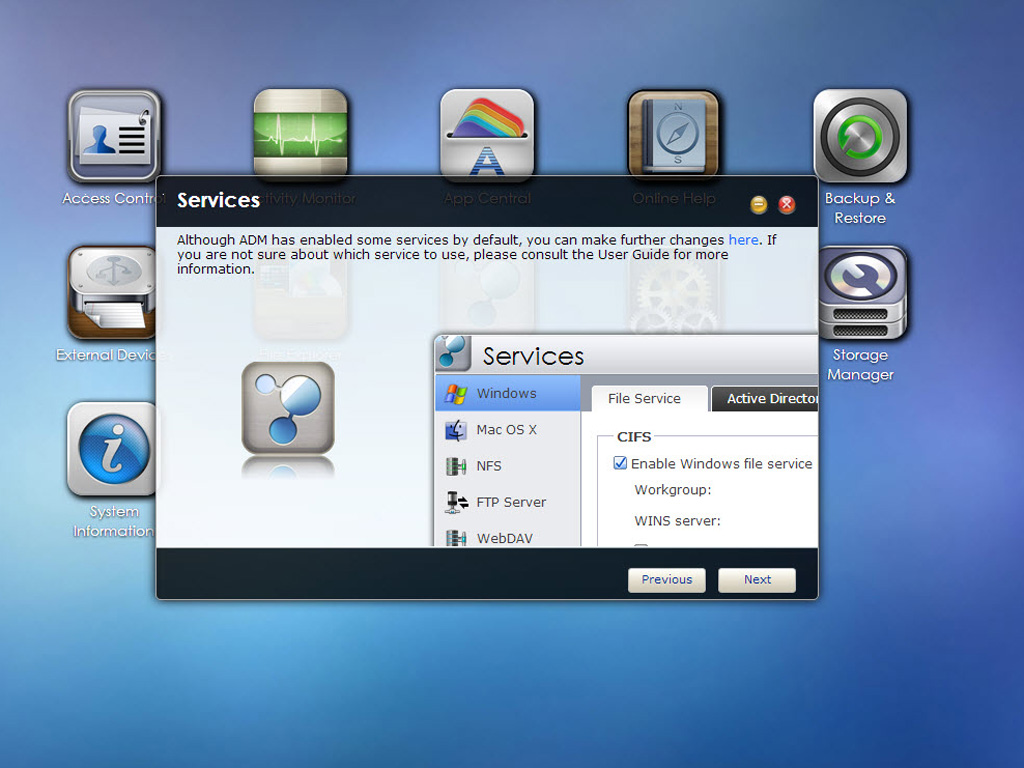
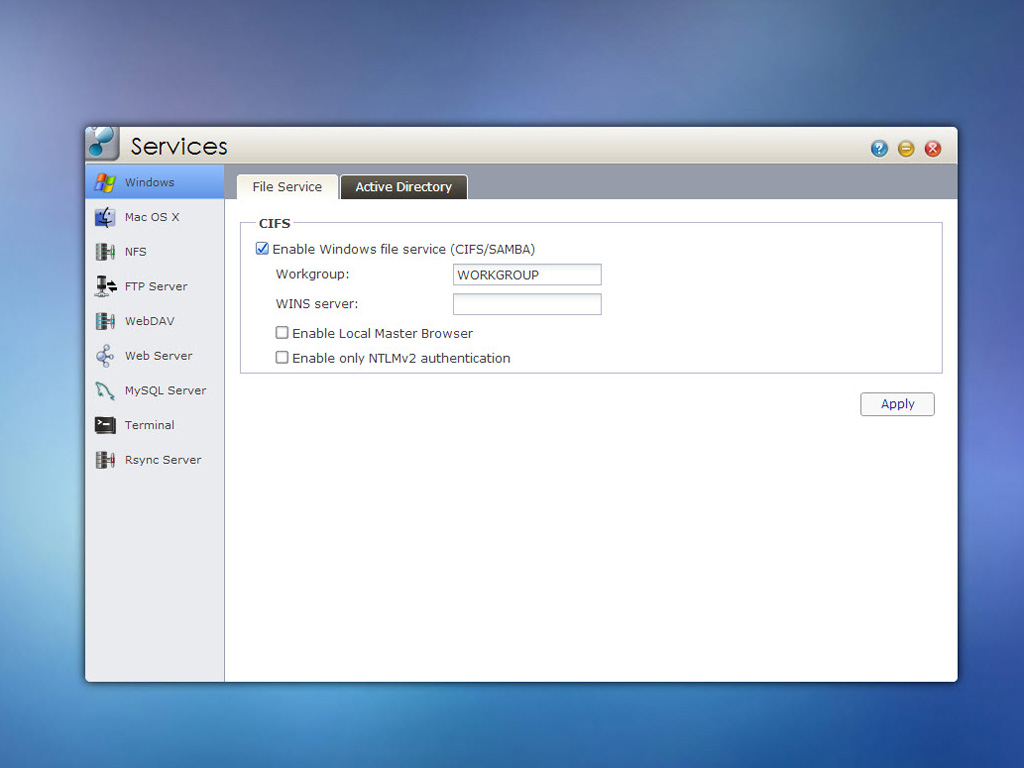
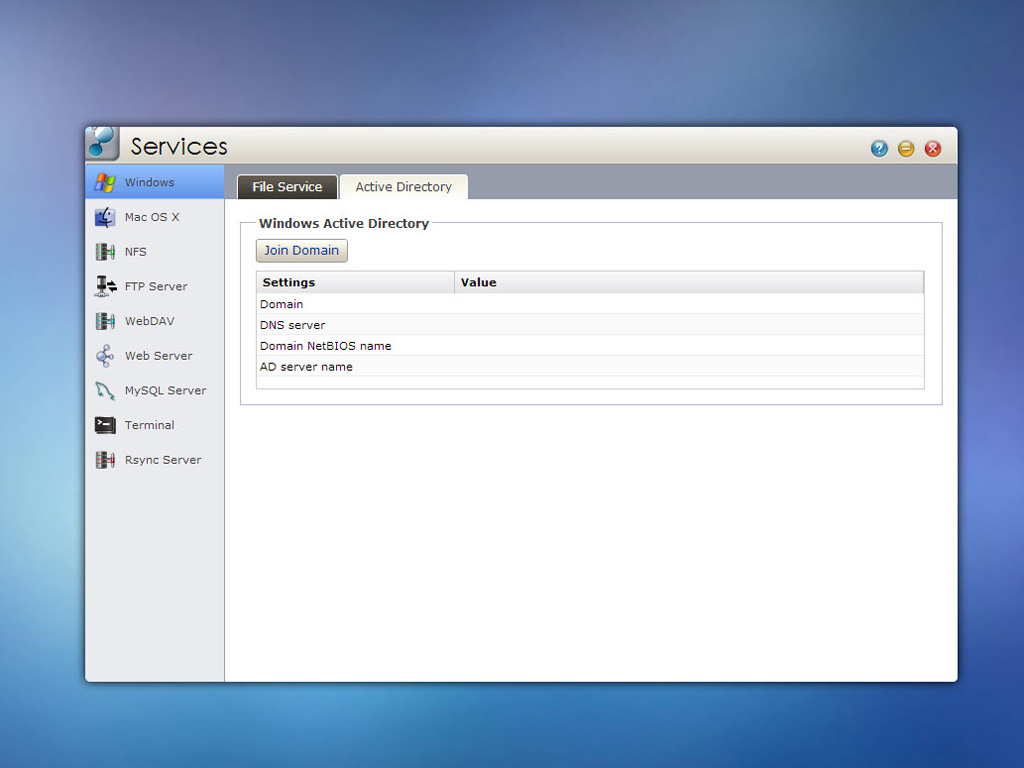
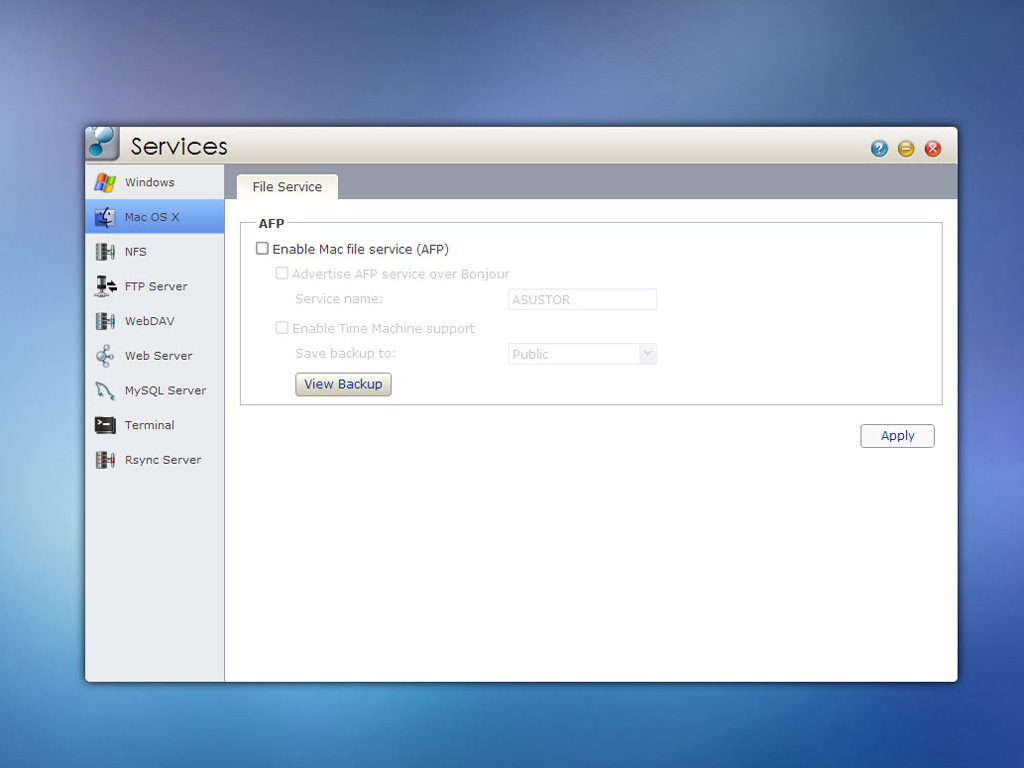


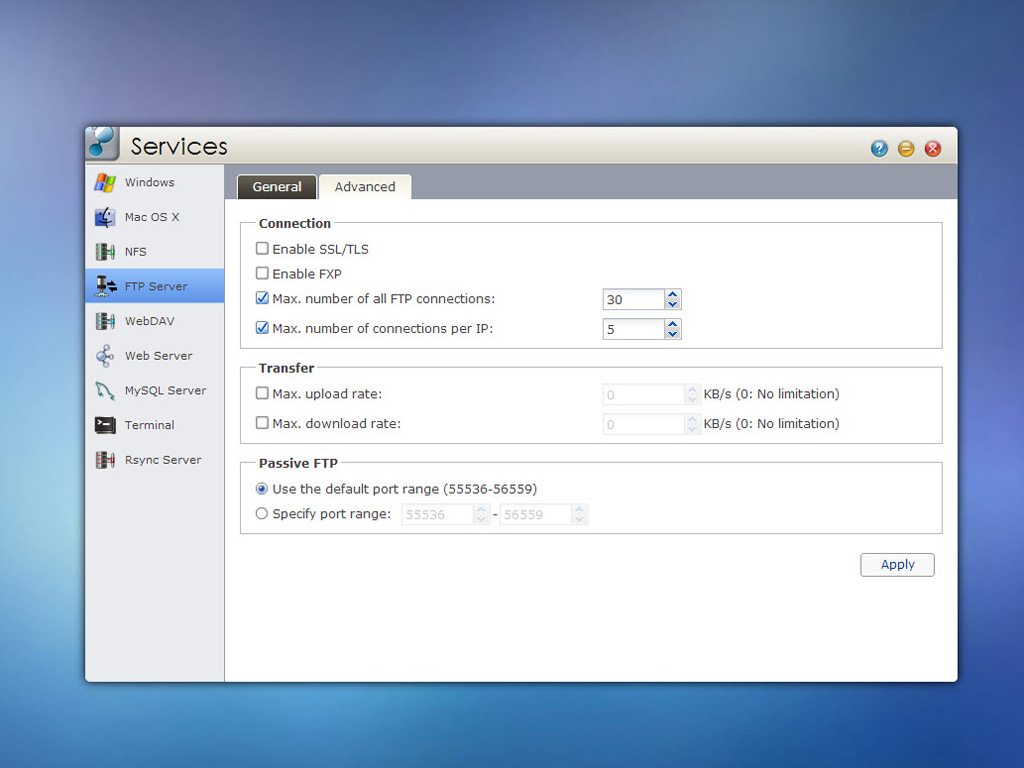

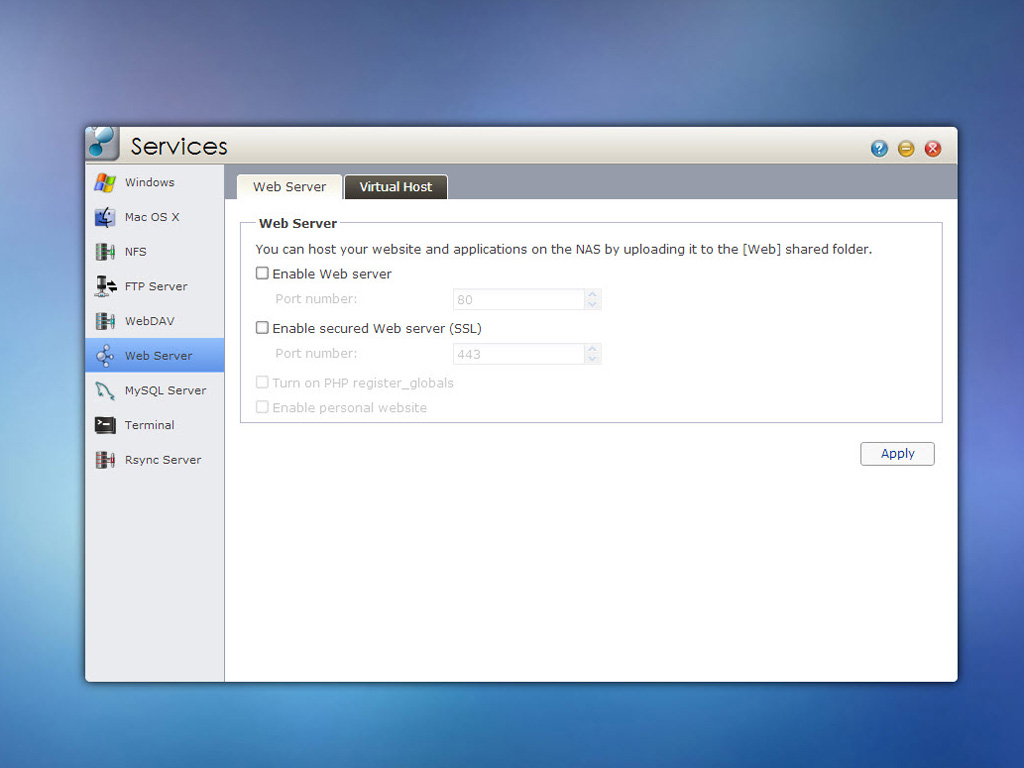
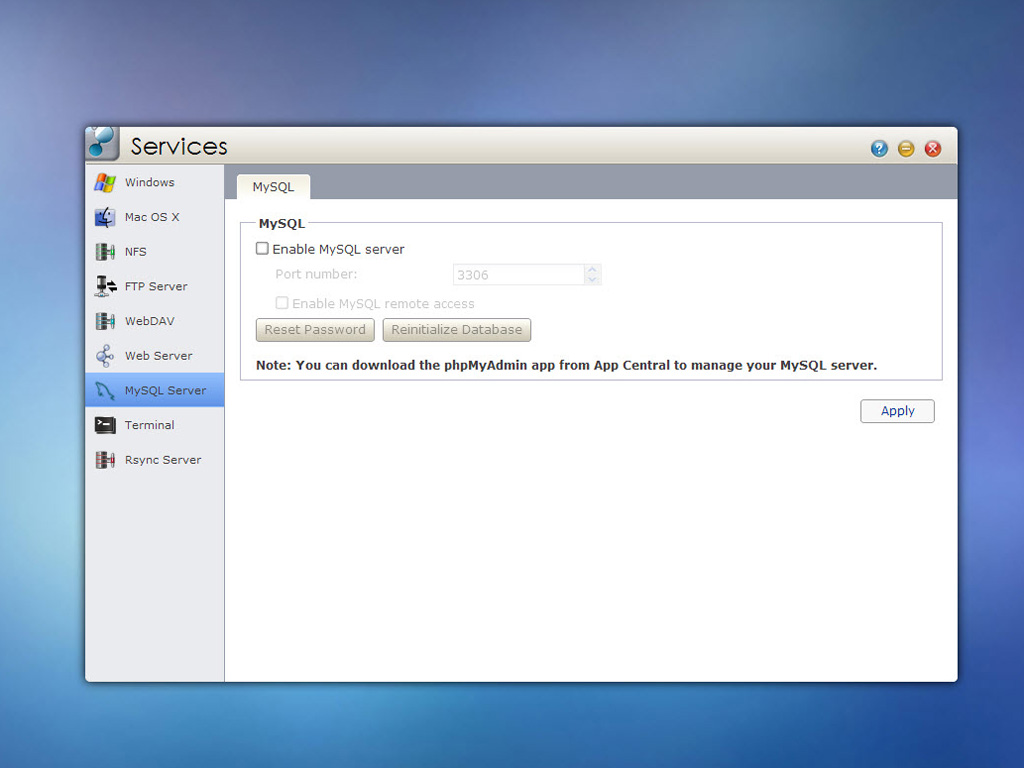

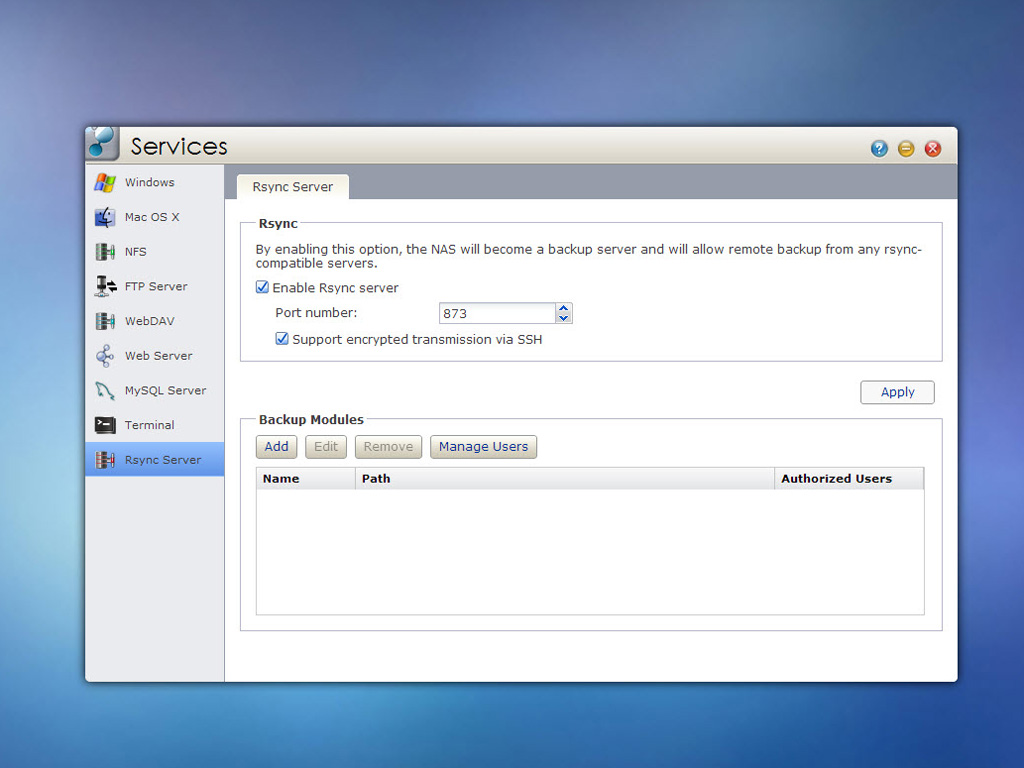
This step of the tour allows you to enable some of the extra services ADM includes: Windows file service, Mac file service, NFS, FTP server, terminal service, etc. You should enable the terminal service if you want to connect to the NAS through SSH to have the power of the console at your fingertips.
App Central
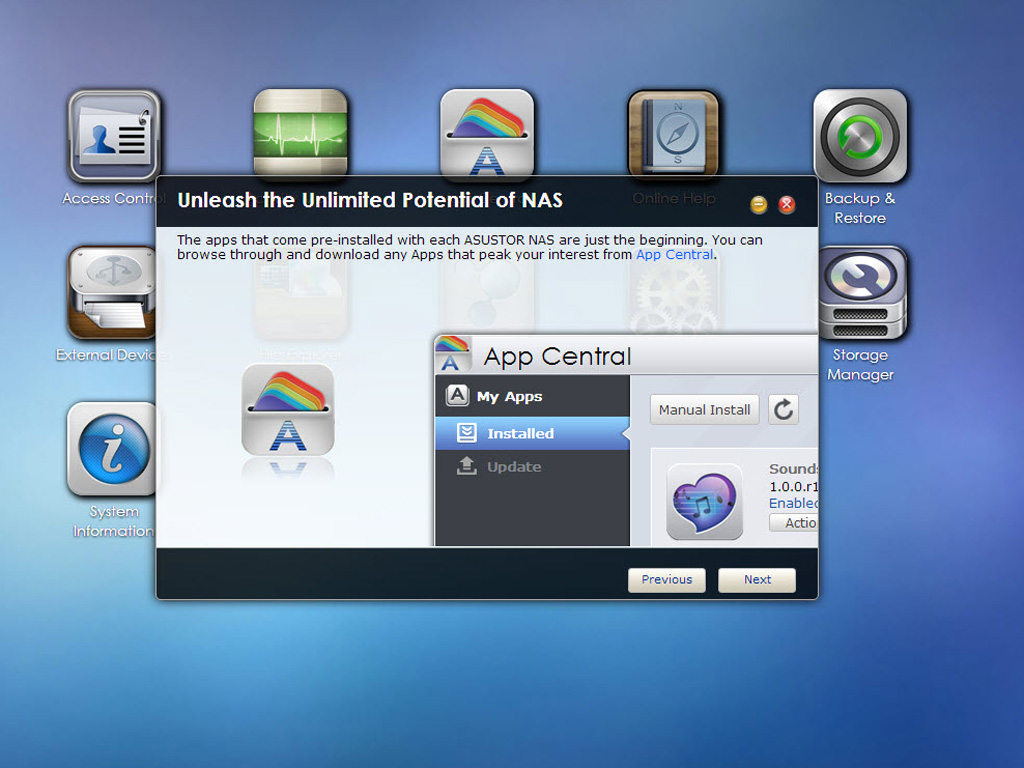
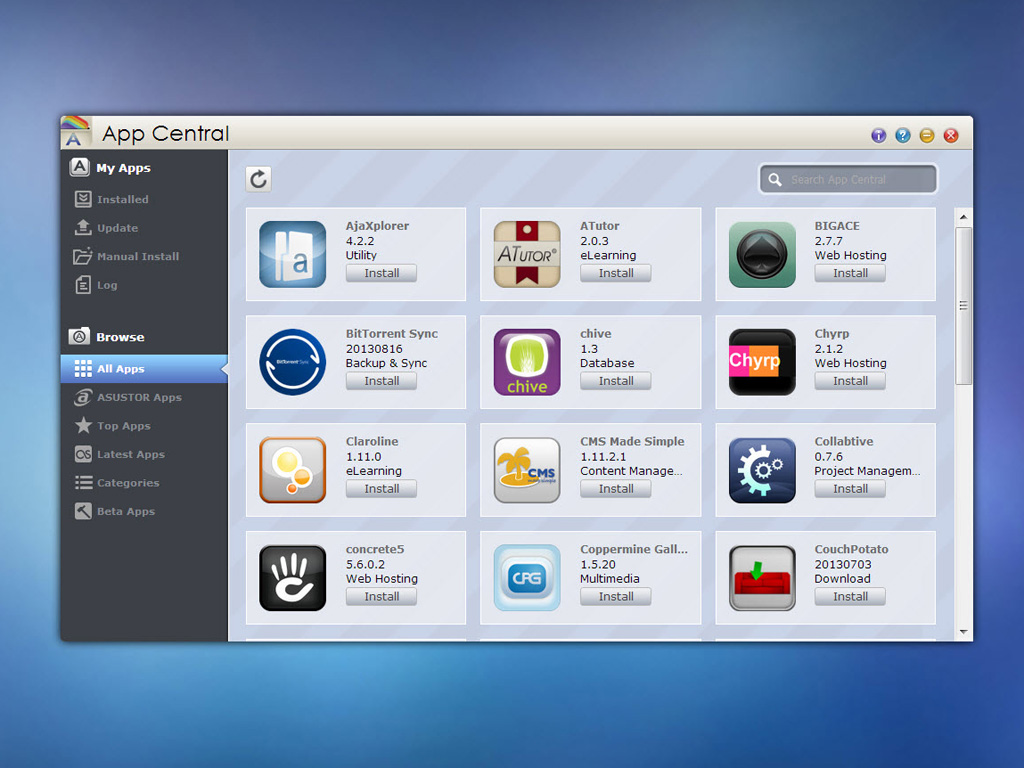
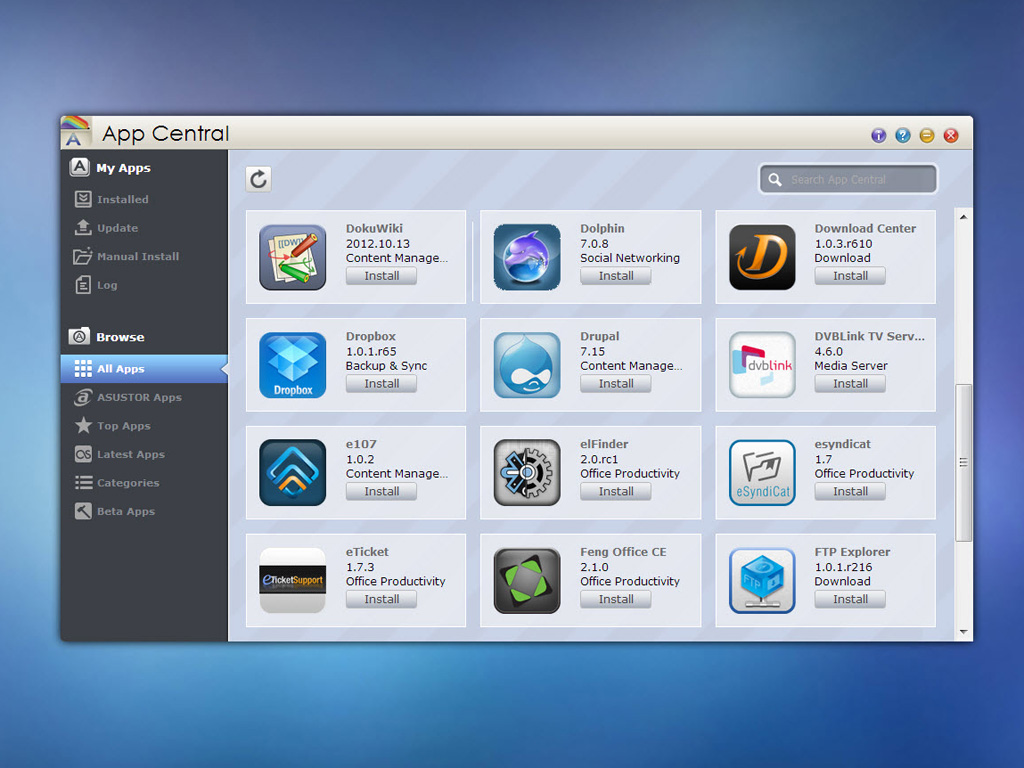
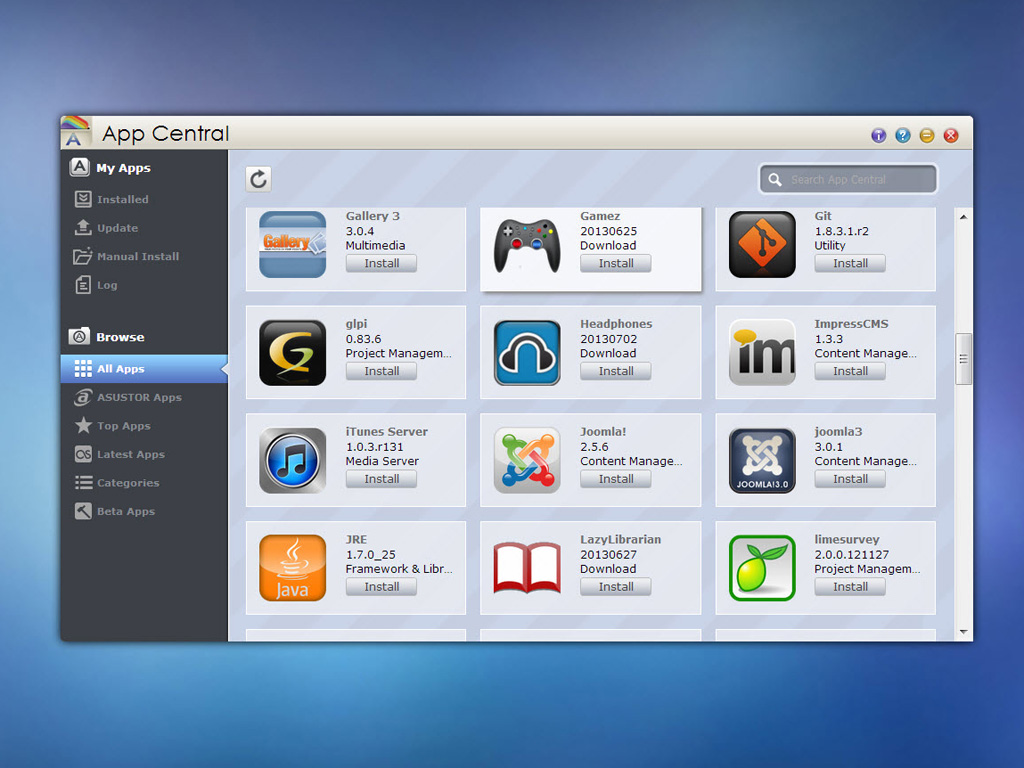

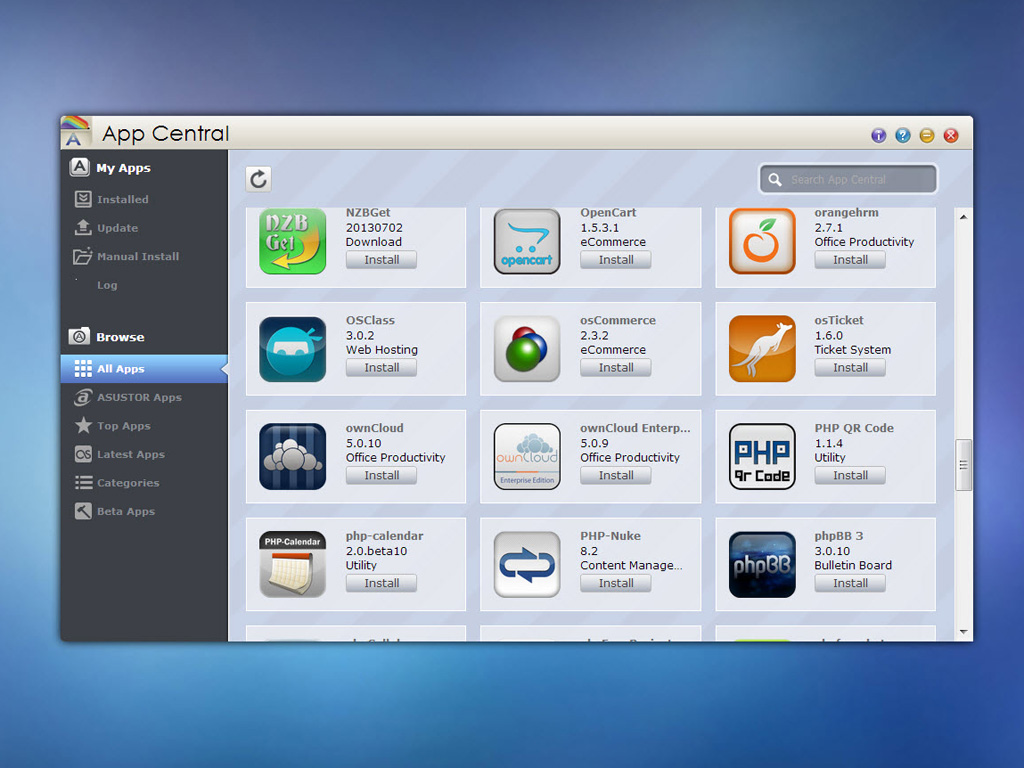
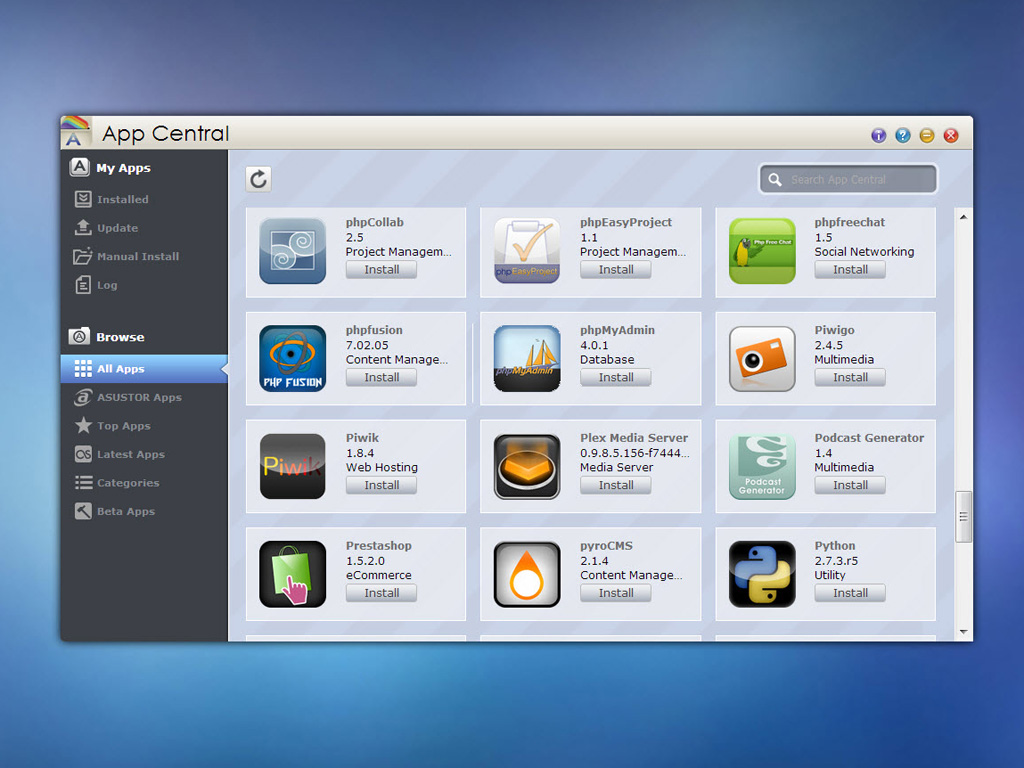
Our next stop is App Central. Here, you will find numerous interesting applications which can all easily be installed on the NAS.

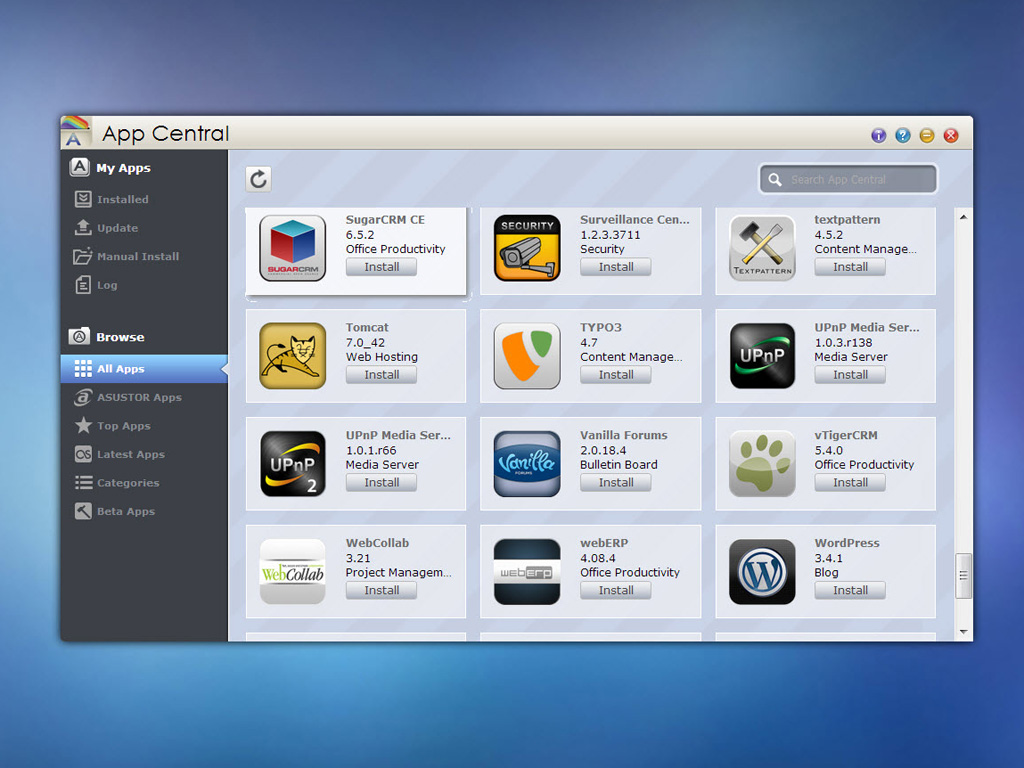

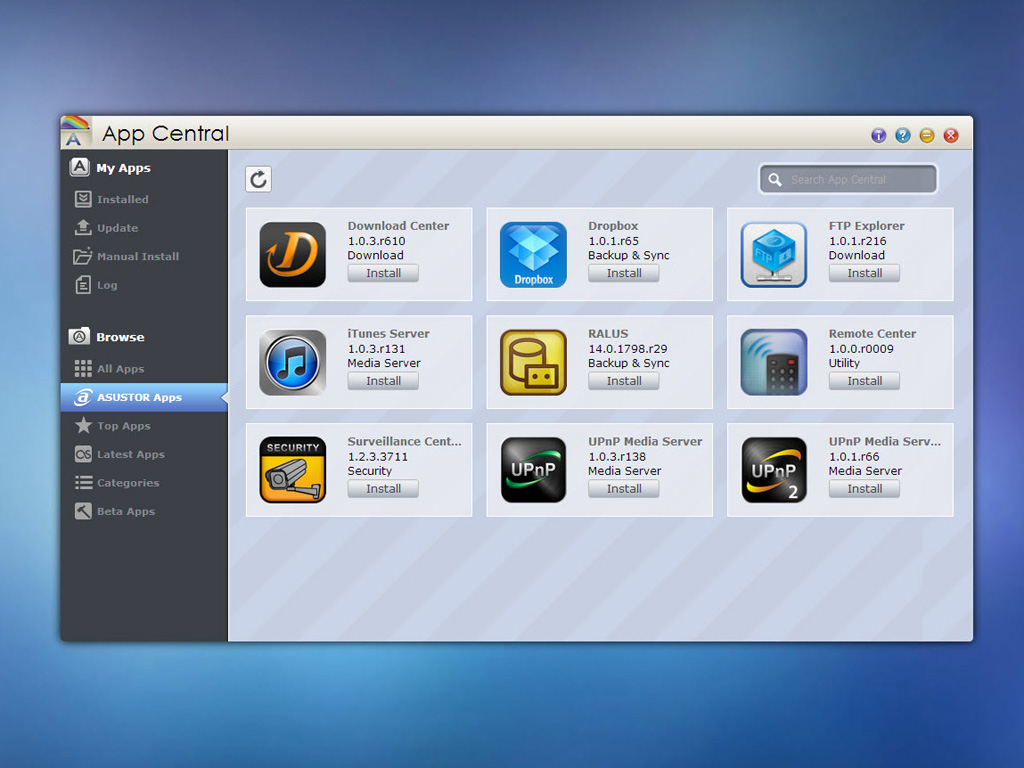
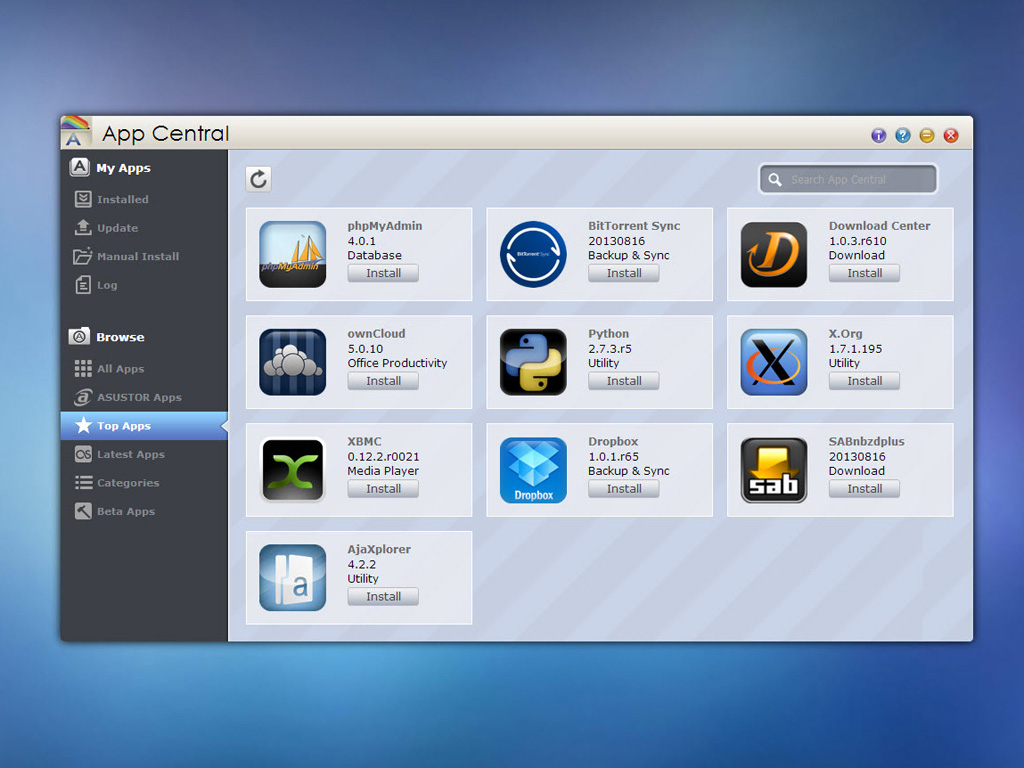
App Central is surely one key feature of ADM, providing NAS users with a variety of applications covering all needs. Users can easily browse through all applications, only installing those they want with just one click. Many applications here are by third-party developers, but those developed by Asustor include Download Center, Surveillance Center, UPnP Media Server, iTunes Server, FTP Explorer, and SoundsGood. We will take a look at all of the above later on in this review.
Backup & Restore
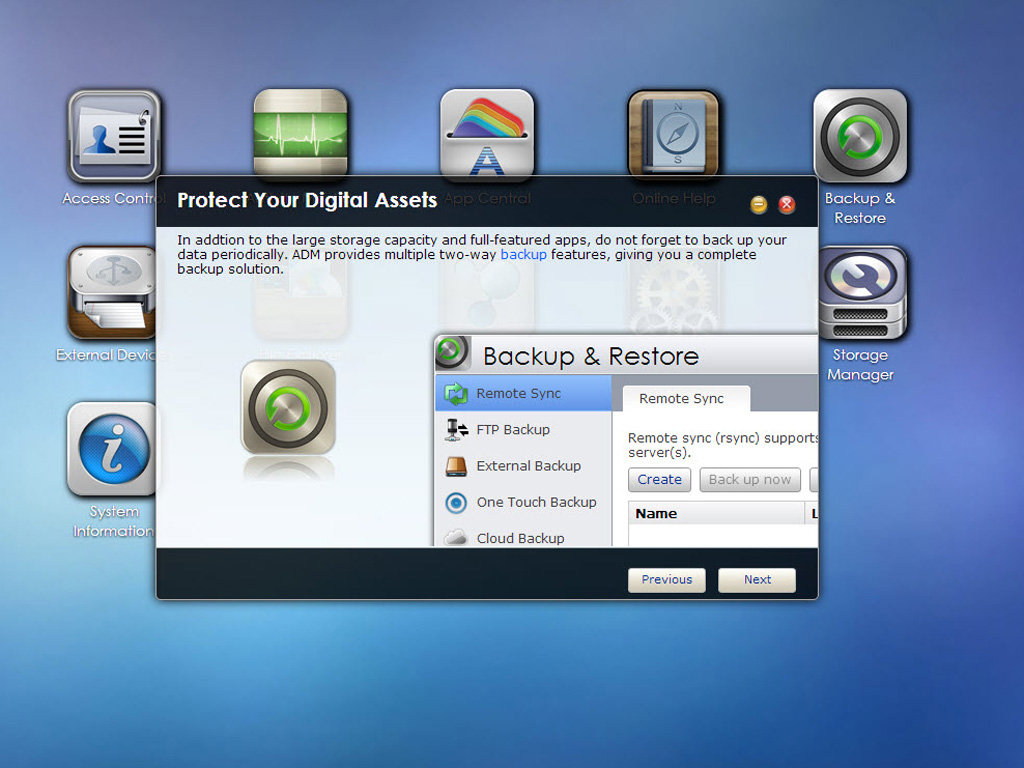


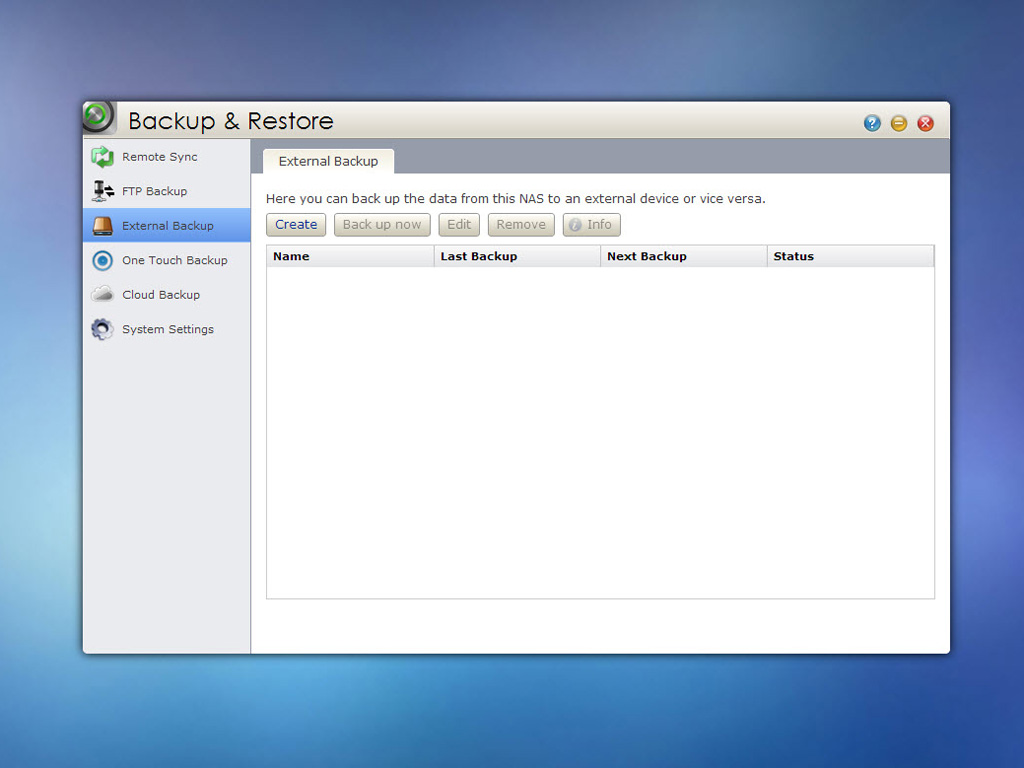
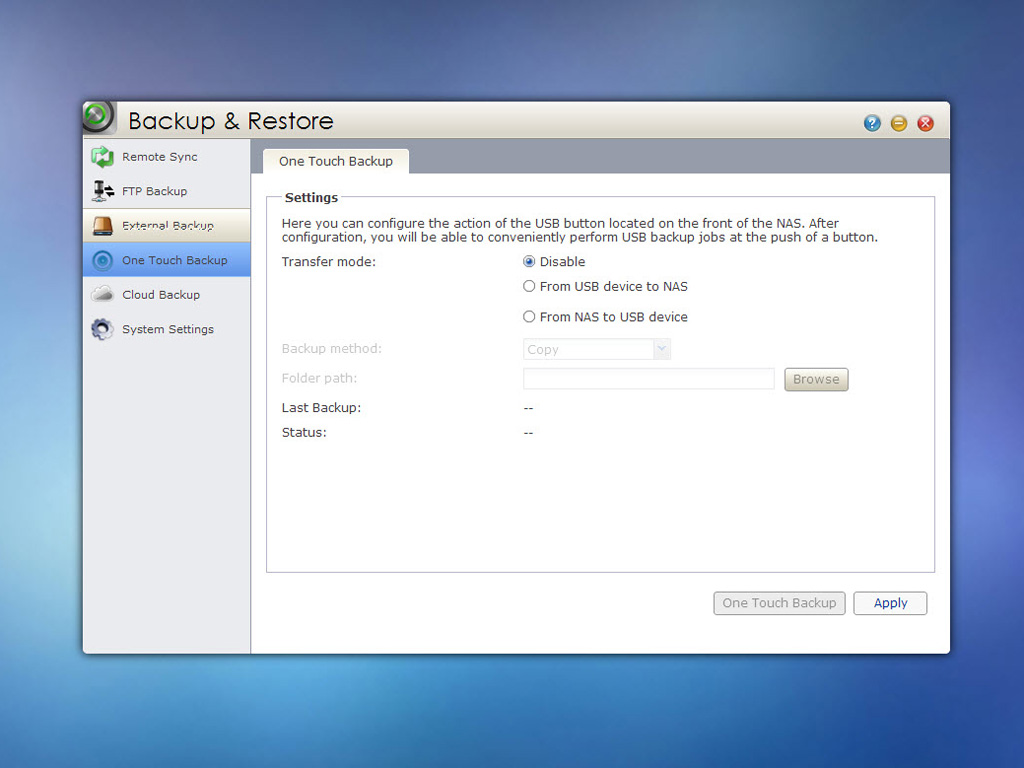
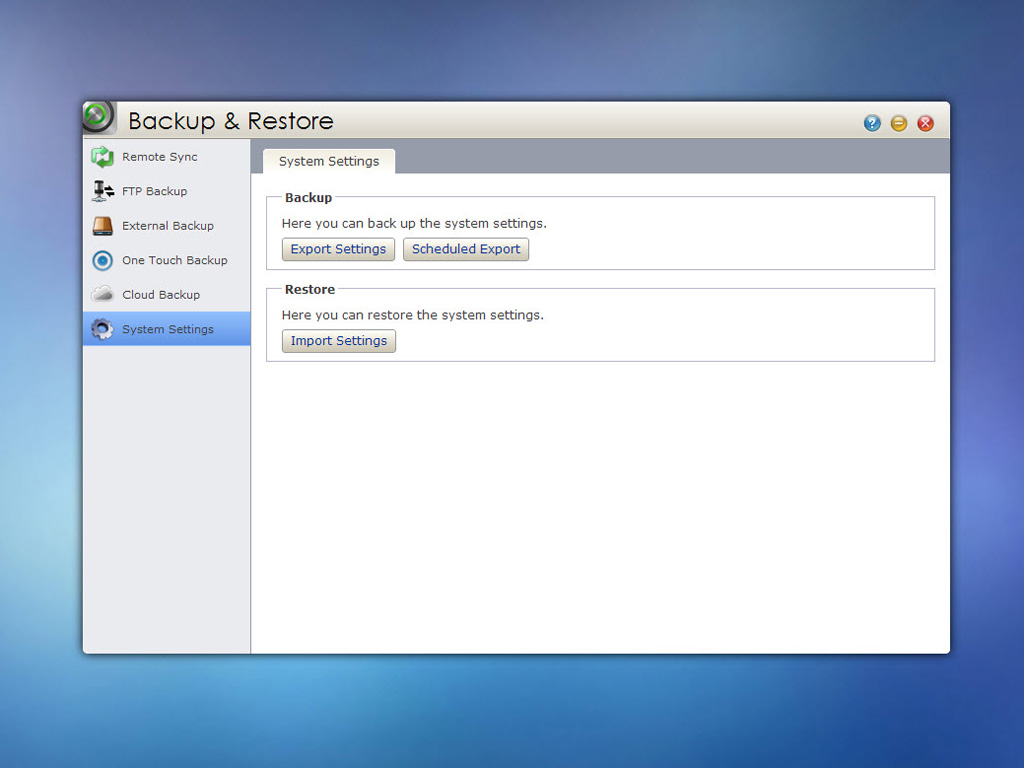
This option allows you to set up the two-way backup and restore feature of ADM. You can also configure the function of the USB button located at the front of the NAS here. The NAS can be used as a centralized backup server in a variety of ways:
- Use the NAS as a Rsync or FTP server and backup data to it.
- Use the built-in Rsync Backup to pull data from other devices.
- Use the built-in FTP Backup to pull data from other devices.
- Use Backup Plan to back up a Windows PC or server to the NAS.
- Use Remote Sync to push data to an Rsync compatible server or another ASUSTOR NAS
- Use FTP Backup to push data to an FTP server or another ASUSTOR NAS
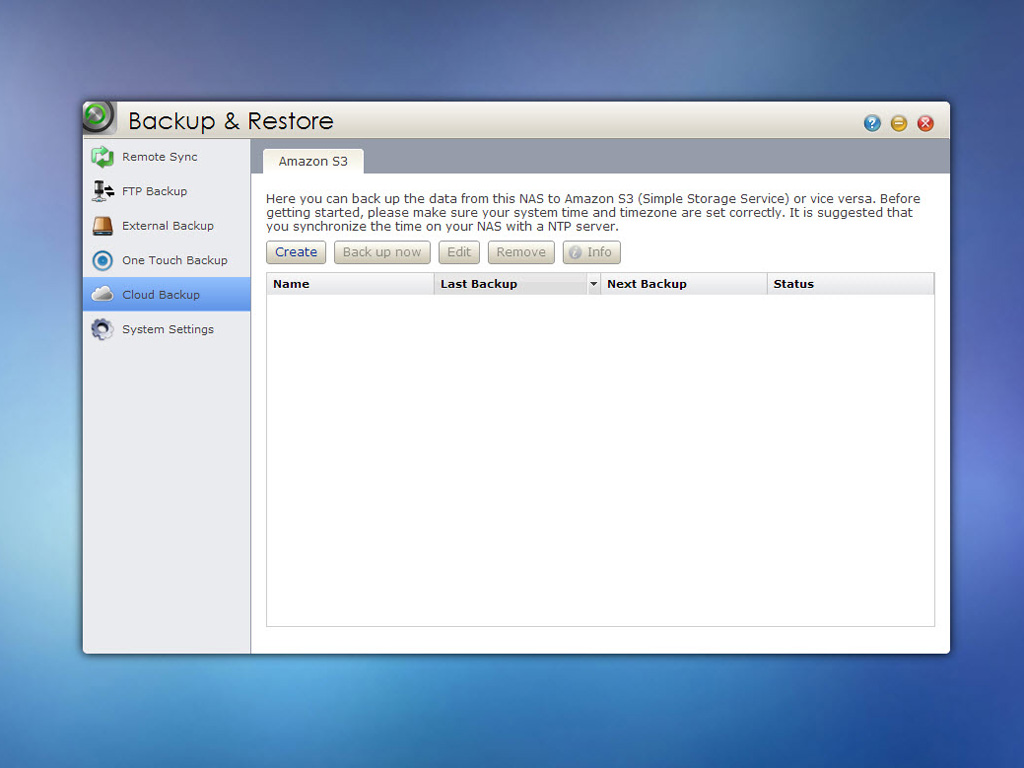
- Use Cloud Backup to push data to Amazon S3
Cloud Connect
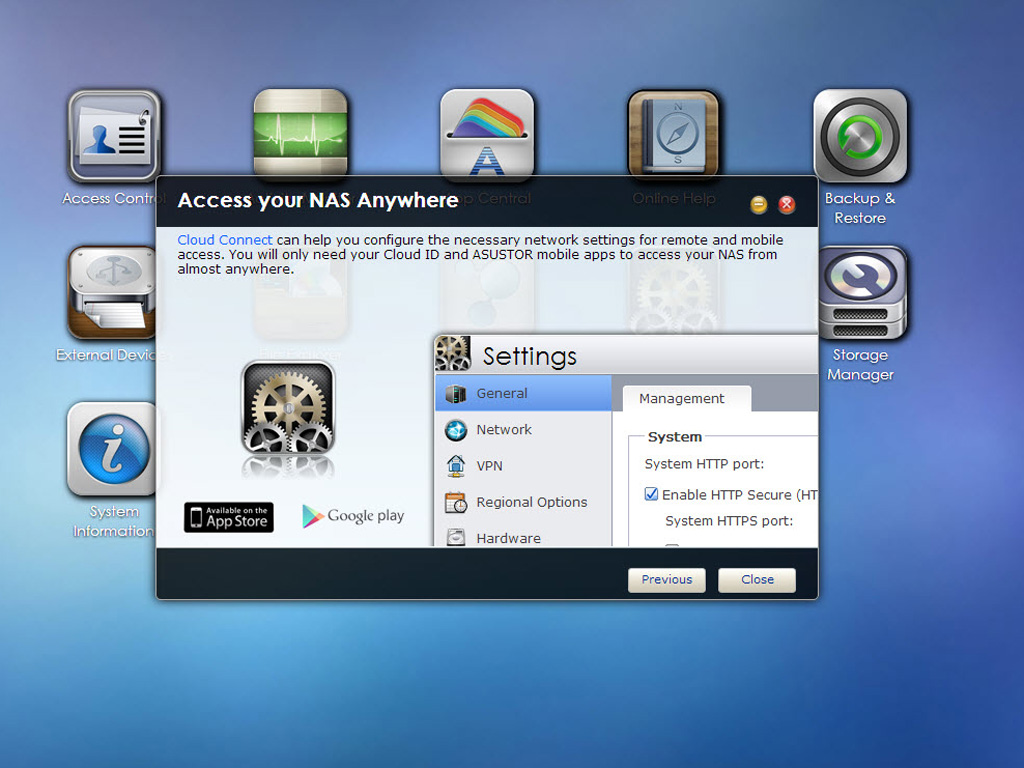
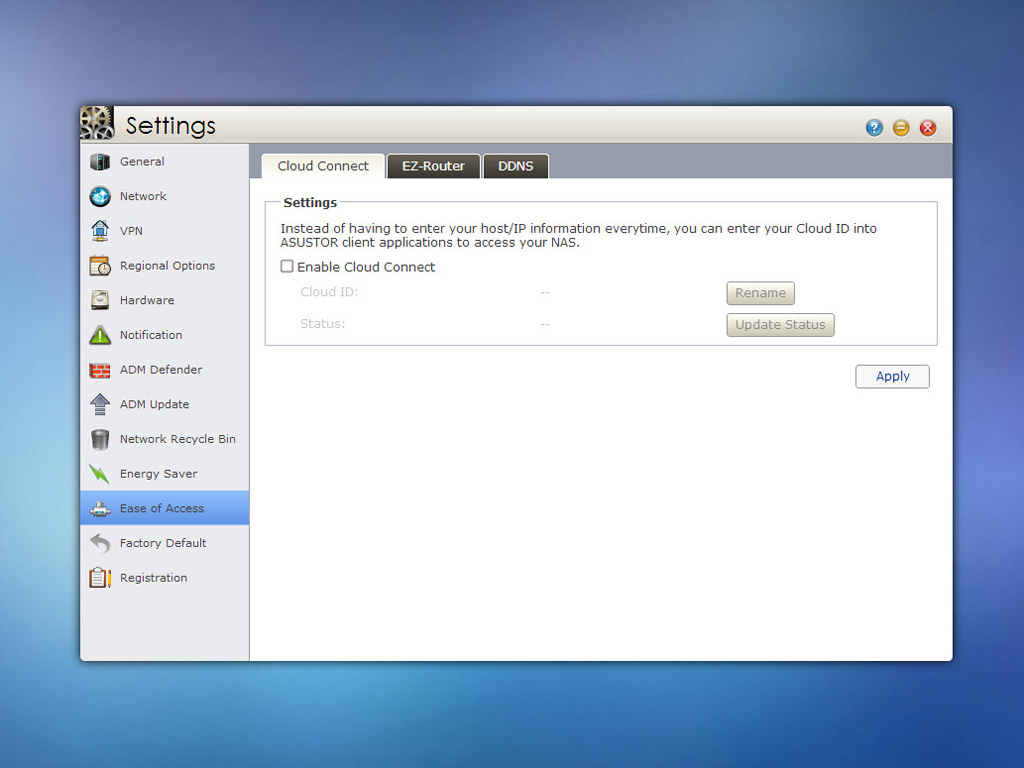
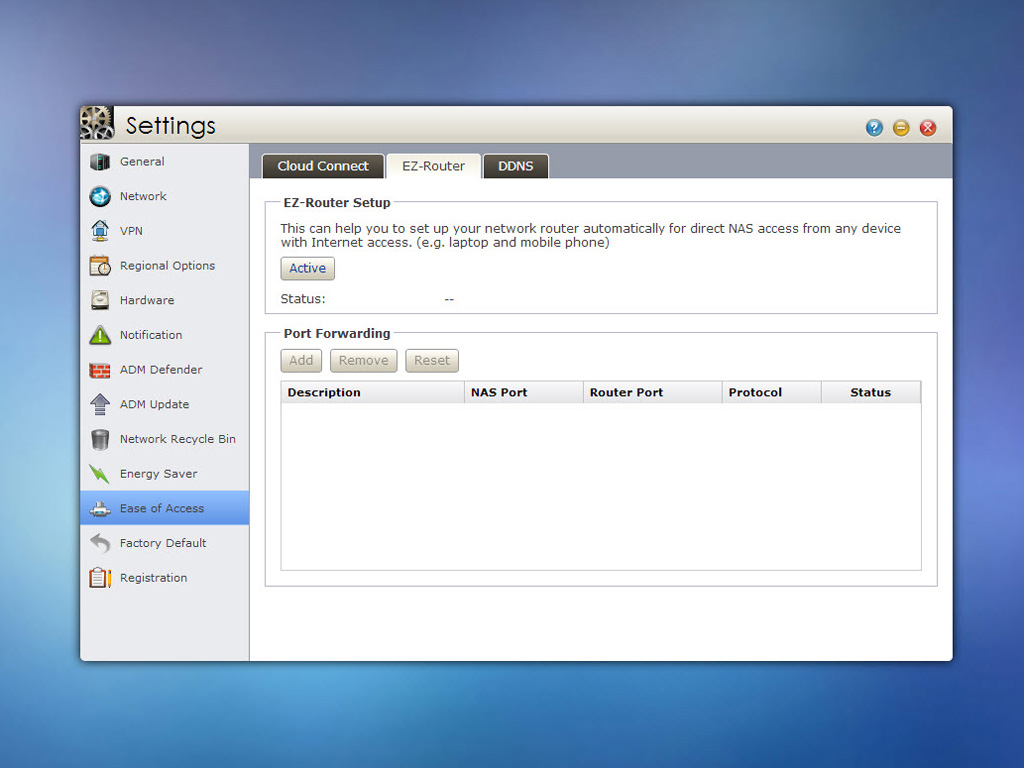
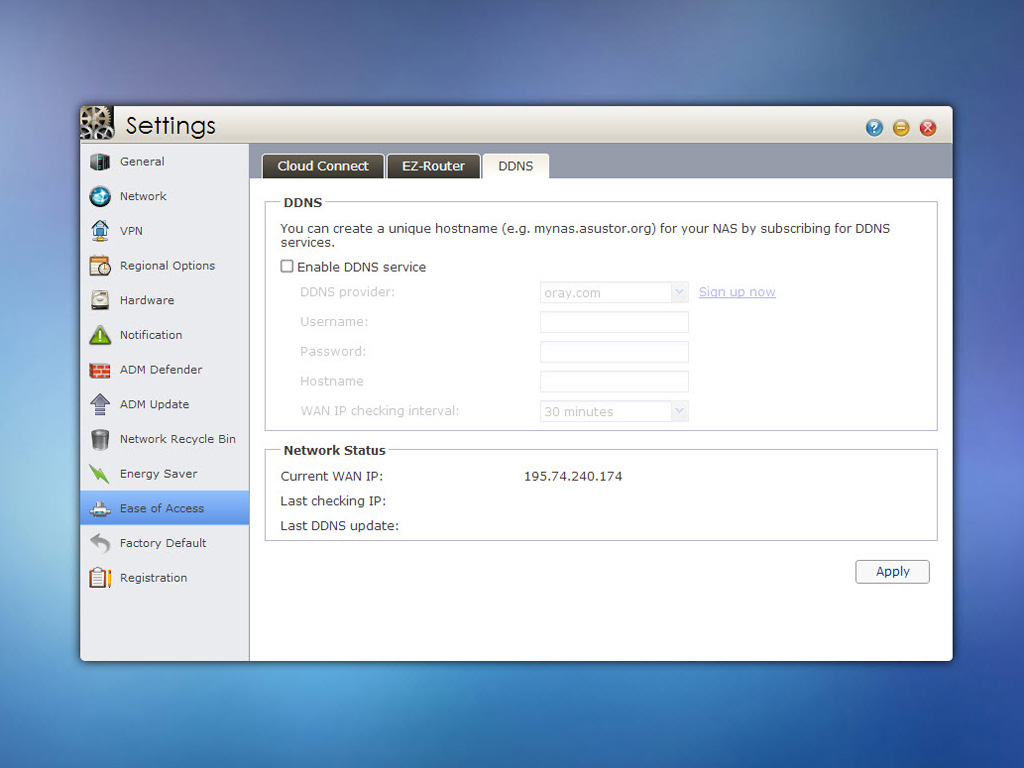
The last step guides you through the necessary network settings for remote and mobile access to the NAS, as your Cloud ID and Asustor's mobile apps give you access to the NAS from anywhere in the world if you have access to the net. While your Asustor ID gives you easy access to the NAS from anywhere, EZ-router helps you in setting your router up to allow access to the NAS from other networks, but you must have a UPnP compatible router for this feature to work properly. The DDNS option will inform you of any WAN IP changes to the router you use to access the NAS from a remote location; it will also provide you with the new WAN IP after a change has been made.
After your Cloud ID has been created, make sure to follow this link to make sure your new hostname is working properly.
Feb 2nd, 2025 21:09 EST
change timezone
Latest GPU Drivers
New Forum Posts
- Dlss4 + 4090 = lower max oc than with dlss3 (23)
- RTX 5080 - premature review - it sucks (233)
- Wow YouTube is a Hog (15)
- RTX 5090 ridiculous price! (128)
- 140mm Fan Question (25)
- Testing max ram overclock pn Ryzen 1700 (41)
- What are you playing? (22737)
- Optane performance on AMD vs Intel (34)
- Using NvCleaninstall to download nvidia drivers possible? Where files saved? (0)
- Free Games Thread (4421)
Popular Reviews
- NVIDIA GeForce RTX 5080 Founders Edition Review
- Spider-Man 2 Performance Benchmark Review - 35 GPUs Tested
- MSI GeForce RTX 5080 Vanguard SOC Review
- ASUS GeForce RTX 5080 Astral OC Review
- Gigabyte GeForce RTX 5080 Gaming OC Review
- MSI GeForce RTX 5080 Suprim SOC Review
- NVIDIA DLSS 4 Transformer Review - Better Image Quality for Everyone
- Galax GeForce RTX 5080 1-Click OC Review
- ASUS GeForce RTX 5090 Astral OC Review - Astronomical Premium
- Palit GeForce RTX 5080 GameRock OC Review
Controversial News Posts
- NVIDIA 2025 International CES Keynote: Liveblog (470)
- AMD Debuts Radeon RX 9070 XT and RX 9070 Powered by RDNA 4, and FSR 4 (349)
- AMD Radeon 9070 XT Rumored to Outpace RTX 5070 Ti by Almost 15% (255)
- AMD is Taking Time with Radeon RX 9000 to Optimize Software and FSR 4 (251)
- AMD Denies Radeon RX 9070 XT $899 USD Starting Price Point Rumors (239)
- AMD Radeon RX 9070 XT & RX 9070 Custom Models In Stock at European Stores (226)
- NVIDIA GeForce RTX 5090 Features 575 W TDP, RTX 5080 Carries 360 W TDP (217)
- New Leak Reveals NVIDIA RTX 5080 Is Slower Than RTX 4090 (215)