 0
0
AZIO Retro Classic Review
Driver & Performance »Disassembly
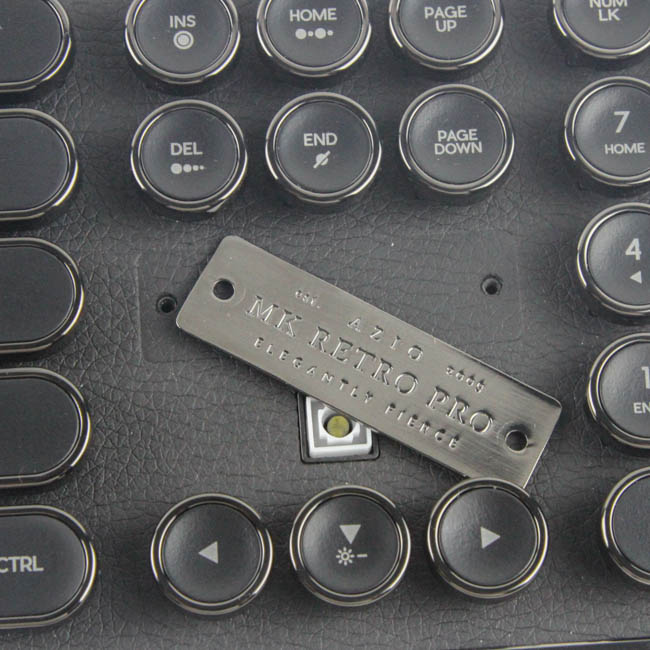
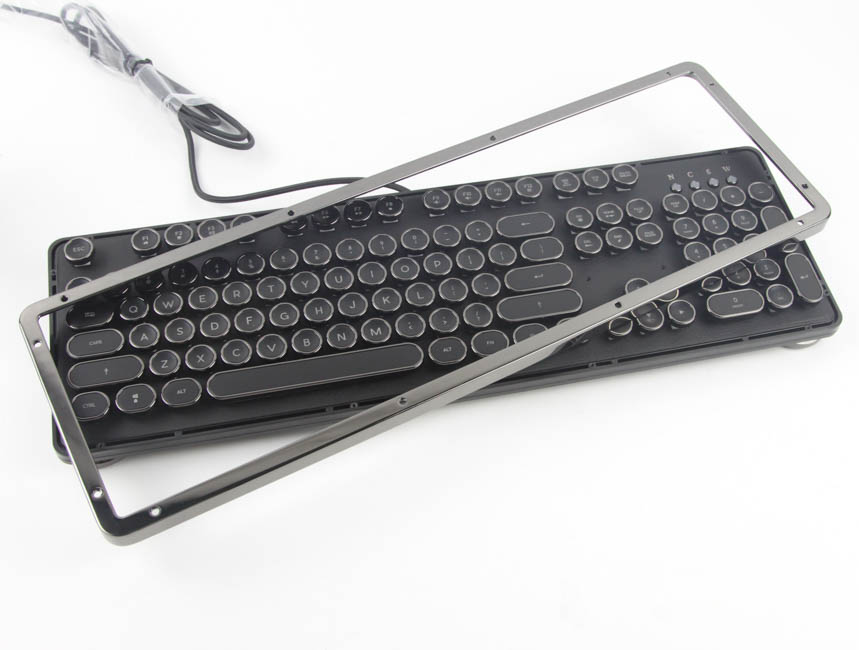
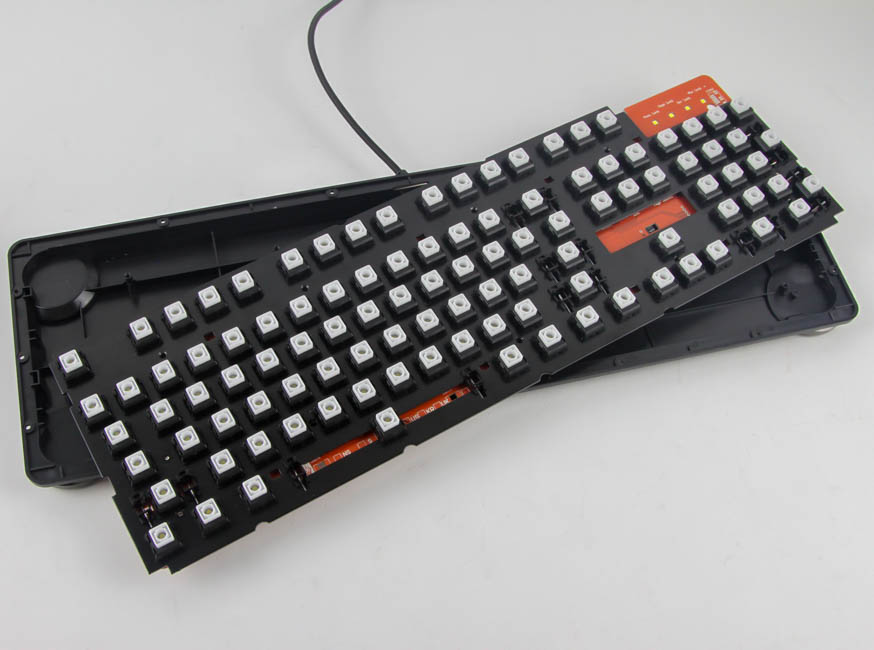
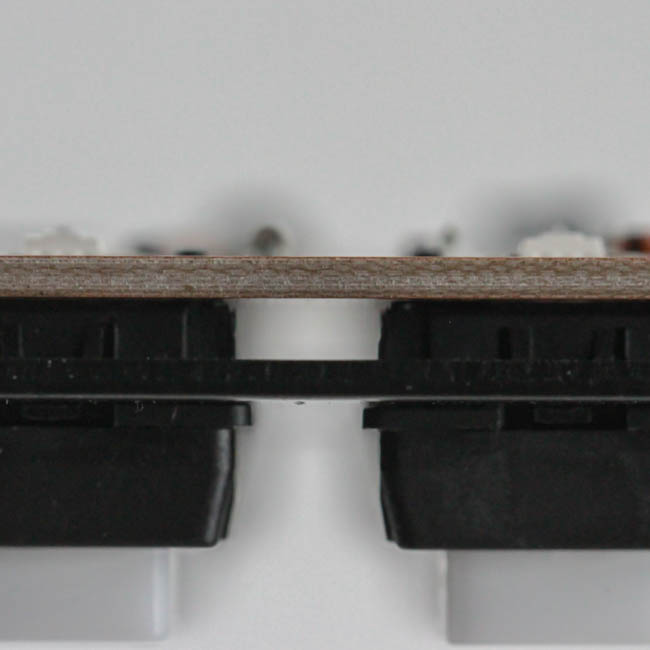
Disassembly is fairly straightforward if you know what to look for. The metal badge above the arrow key cluster is held in place by two hex head screws and can thus be removed completely if you would prefer a cleaner look. The metal frame is held in place by twelve more hex head screws. Following these, you will have to slowly pry the frame out since some notches in it go in place on the keyboard's top plate very snugly. The frame is a major contributor to the keyboard's mass, and while the black chrome plating was done well in most places, there were still a couple spots where the telltale rainbow spill effects of poor plating showed up. These were on the underside of the frame where you would not see them at all when installed, but I still reported the issue to AZIO who mentioned that they would ensure no retail sample would have this issue.
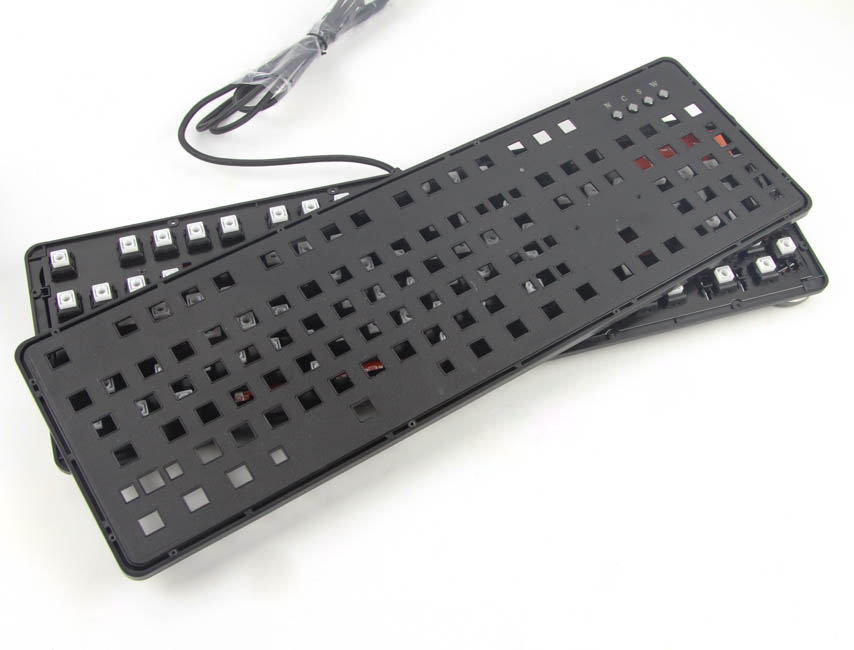
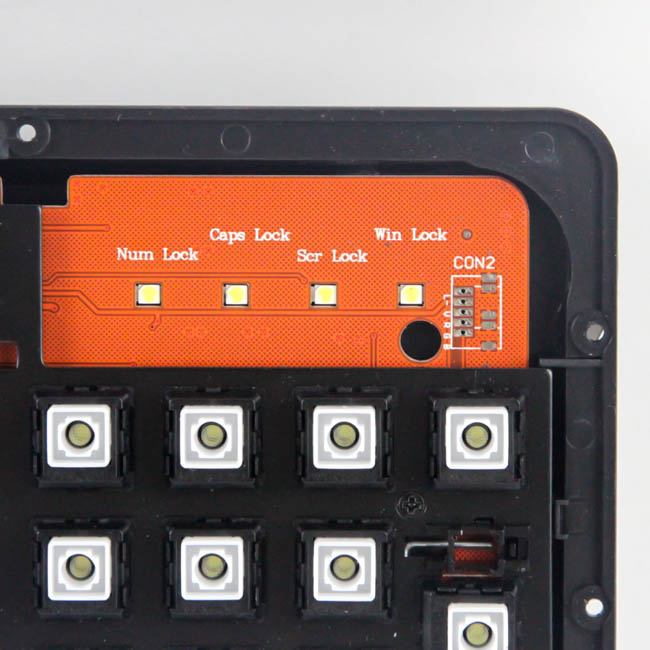
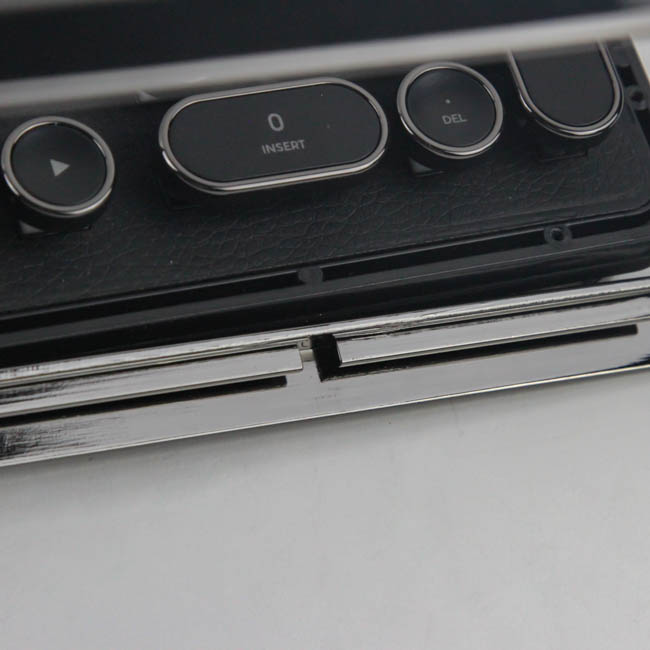
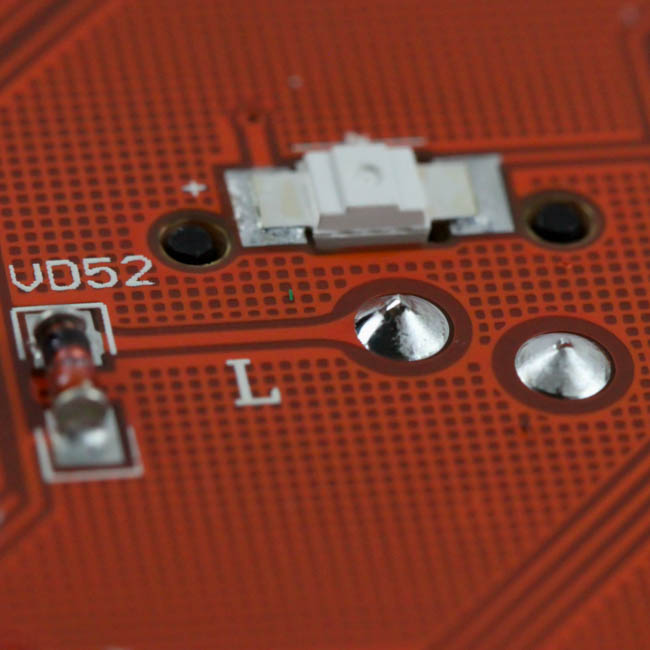
Removal of the leather top plate is the same as with the MK Retro we saw before, wherein there are multiple screws on the bottom all around the edge, including under the four feet. Once done, remove all the keycaps from the front and it will come right off. We can now see the black stainless steel plate in the front that further adds to the structural integrity of the keyboard. This and the metal frame make for a very solid-feeling keyboard with no flex at all. Also visible now are the four indicator LEDs that are white - as are those for the rest of the keyboard.
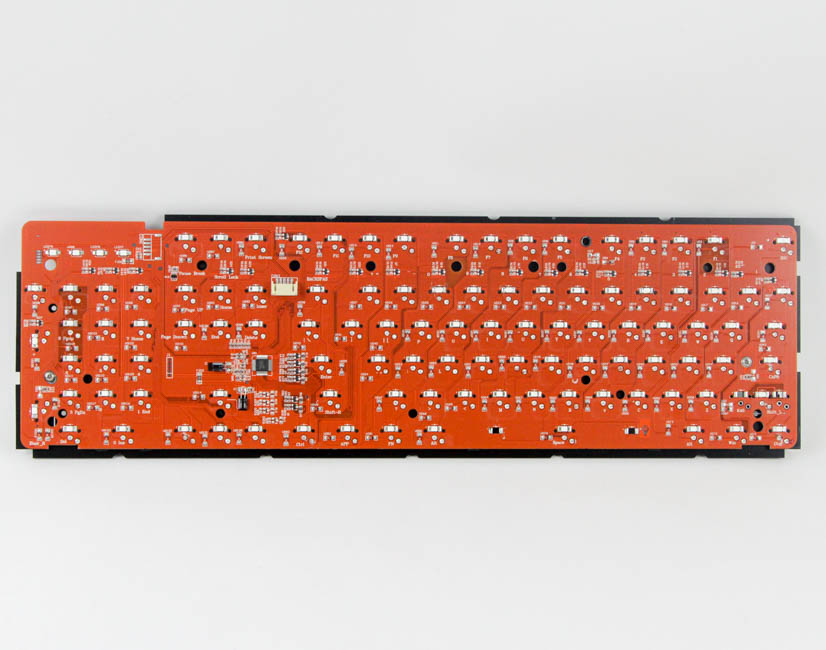
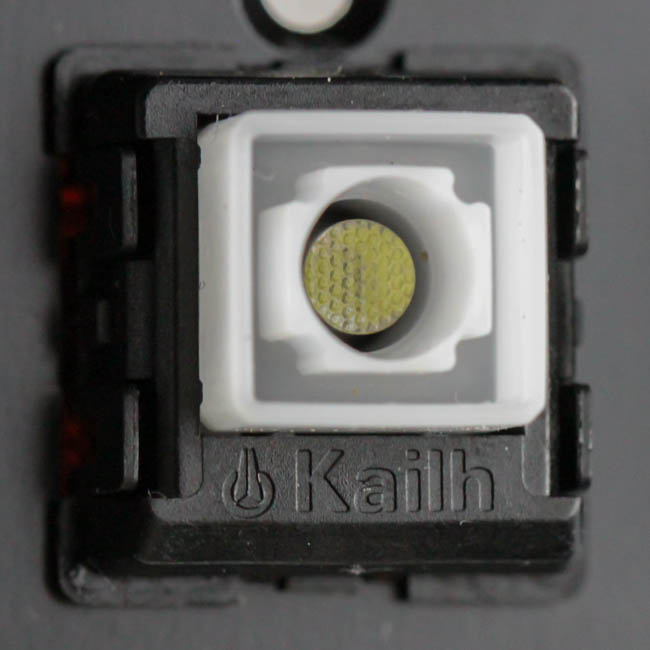
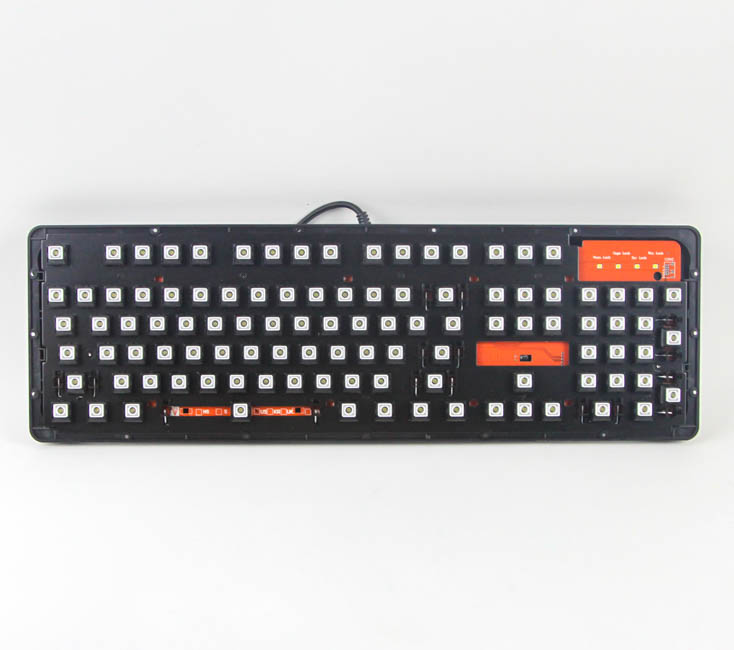
There are more screws holding the plate/PCB piece to the bottom panel, and these need to be removed from the front. Once done, dislodge the internal USB connector and the bottom panel and USB cable come off, giving us our first look at the PCB and more. The PCB is red in color, and on the front, we also get a better look at the AZIO/Kailh typelit switches mentioned previously.
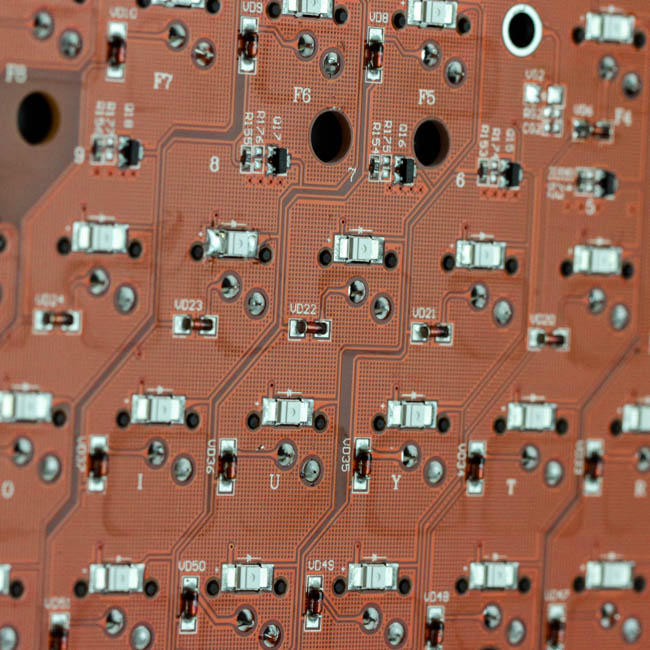
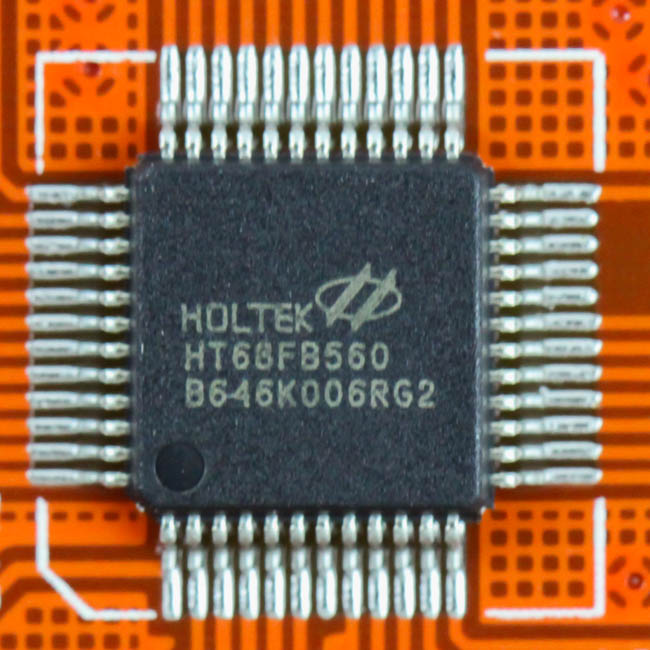
Solder quality here was very good, which is always nice to see. Powering the keyboard is a Holtek HT68FB560 MCU with the usual tantalum capacitors around. With no macro/key re-assignment or onboard storage, the MCU really has nothing but standard keyboard functionality and simple backlighting to take care of, and it does so quite well. The PCB itself has multiple layers, for those interested in such details.
Before we move on, be advised that disassembly will void the warranty and that TechPowerUp is not liable for any damages incurred if you decided to go ahead and do so anyway.
Mar 10th, 2025 16:08 EDT
change timezone
Latest GPU Drivers
New Forum Posts
- Please I need help with the poor performance that my PC is giving me (28)
- Company of Heroes 3 (5)
- The TPU Darkroom - Digital SLR and Photography Club (4071)
- Maxsun RX580 graphics card crashes (24)
- A Final Fantasy IX Reminiscence - My love letter and homage to one of the best stories ever told (72)
- Gaming PC instabiliity (20)
- Msi 5090 DOA? (27)
- 3D Printer Club (447)
- Microprose: Falcon 5.0 - Well under development- yeay (1)
- €2000 Austrian gaming build (4)
Popular Reviews
- Sapphire Radeon RX 9070 XT Nitro+ Review - Beating NVIDIA
- XFX Radeon RX 9070 XT Mercury OC Magnetic Air Review
- ASUS Radeon RX 9070 TUF OC Review
- MSI MAG B850 Tomahawk Max Wi-Fi Review
- NVIDIA GeForce RTX 5080 Founders Edition Review
- NVIDIA GeForce RTX 5070 Founders Edition Review
- Corsair Vengeance RGB CUDIMM DDR5-8800 48 GB CL42 Review
- AMD Ryzen 7 9800X3D Review - The Best Gaming Processor
- ASUS GeForce RTX 5070 Ti TUF OC Review
- MSI GeForce RTX 5070 Ti Gaming Trio OC+ Review
Controversial News Posts
- NVIDIA GeForce RTX 50 Cards Spotted with Missing ROPs, NVIDIA Confirms the Issue, Multiple Vendors Affected (513)
- AMD Plans Aggressive Price Competition with Radeon RX 9000 Series (277)
- AMD Radeon RX 9070 and 9070 XT Listed On Amazon - One Buyer Snags a Unit (261)
- AMD RDNA 4 and Radeon RX 9070 Series Unveiled: $549 & $599 (260)
- AMD Mentions Sub-$700 Pricing for Radeon RX 9070 GPU Series, Looks Like NV Minus $50 Again (248)
- NVIDIA Investigates GeForce RTX 50 Series "Blackwell" Black Screen and BSOD Issues (244)
- AMD Radeon RX 9070 and 9070 XT Official Performance Metrics Leaked, +42% 4K Performance Over Radeon RX 7900 GRE (195)
- AMD Radeon RX 9070-series Pricing Leaks Courtesy of MicroCenter (158)