 11
11
AZZA Fantom 900 Review
Assembly & Finished Looks »A Closer Look - Inside

Removing the side panels is an easy task with the Fantom 900 as it uses two thumbscrews for each panel. Remove the thumbscrews and each panel easily slides off. An indicator of a well made case is made clear with how well the panels line up with the chassis. The Fantom 900 is built with care as the panels line up perfectly with both the chassis and screw mounting holes with the panels remaining rigid either on or off of the case.
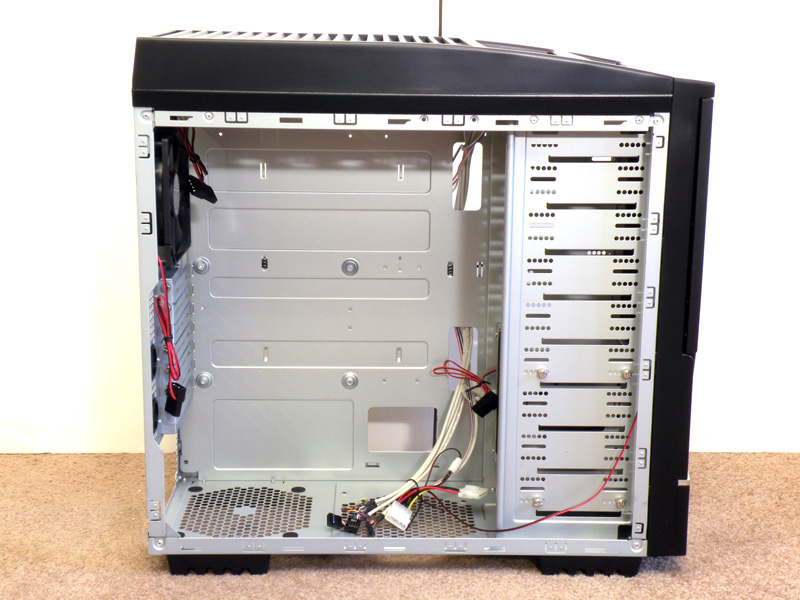
Having a look on the inside things are quite simple in the motherboard tray area. The motherboard tray comes with four permanent standoffs stamped in the tray and three rectangular holes have been cut out around the tray area for routing of cables which is a great feature for a case of this price. A 230 mm blue LED fan is mounted to the backside of the side panel with screws for easy removal. The fan may have to be removed to accommodate larger CPU heatsinks.
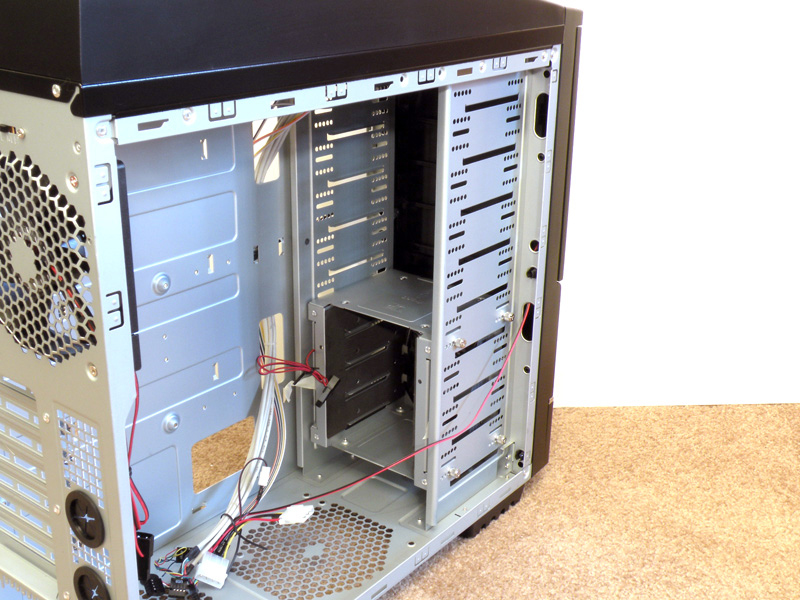
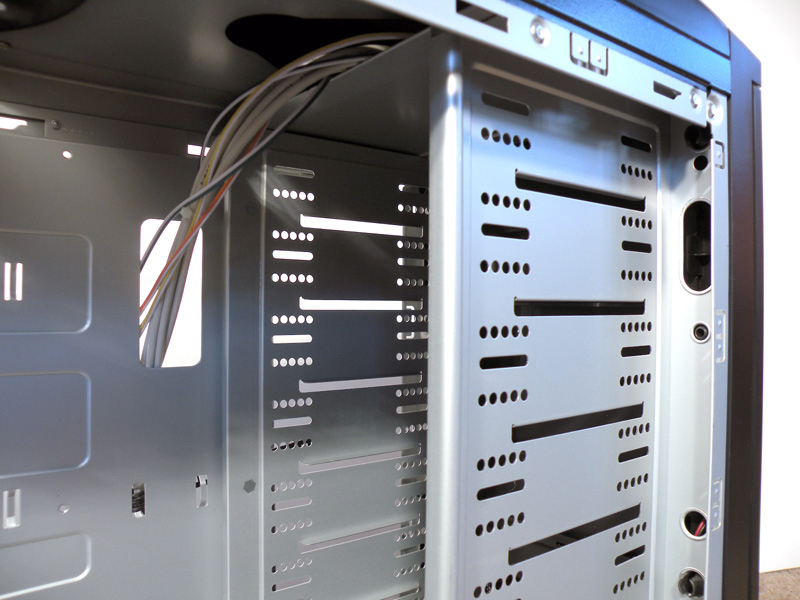
The 5.25" bay area is straight and simple, with the lower portion reserved for the HDD bay leaving the upper portion with five empty slots for optical drives and a 3.5" floppy drive.
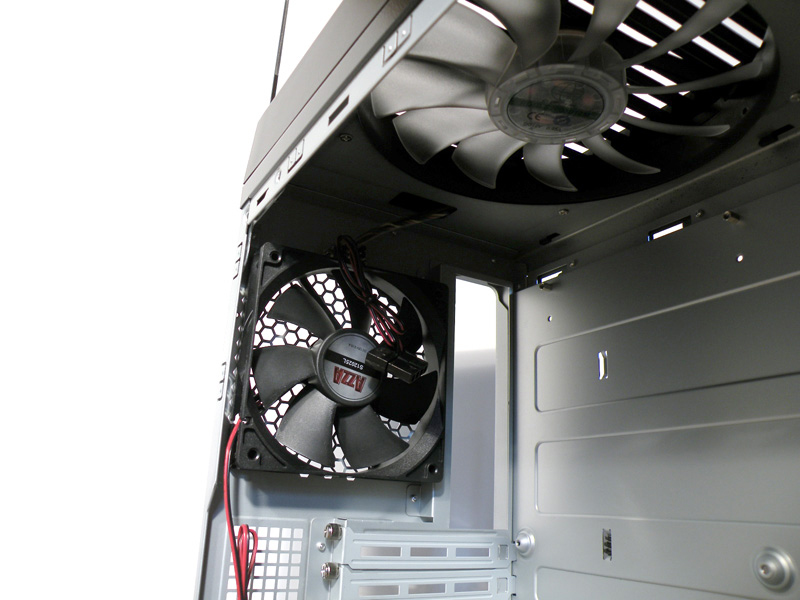
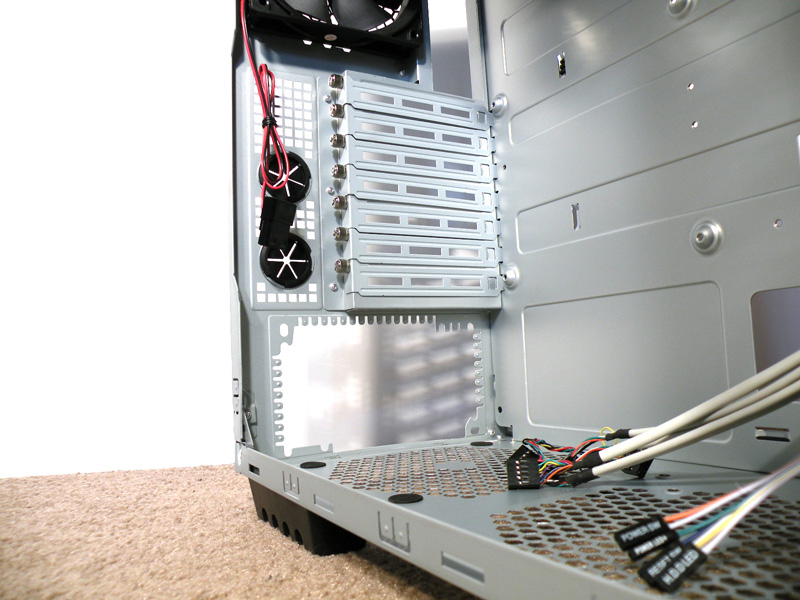
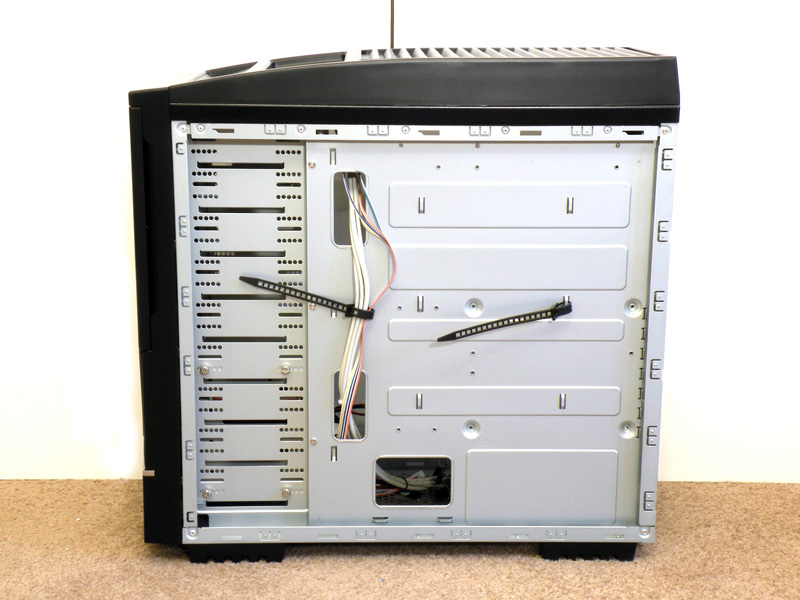
Looking towards the rear we see the 120 mm rear exhaust fan and the 230 mm exhaust fan up top with each using a 4 pin molex connector. The 120 mm opening in the rear of the case is stamped out in a honeycomb design and gives good airflow. The lower portion of the rear is for mounting the power supply. There are two patterns of mounting holes so the power supply can be mounted both ways.
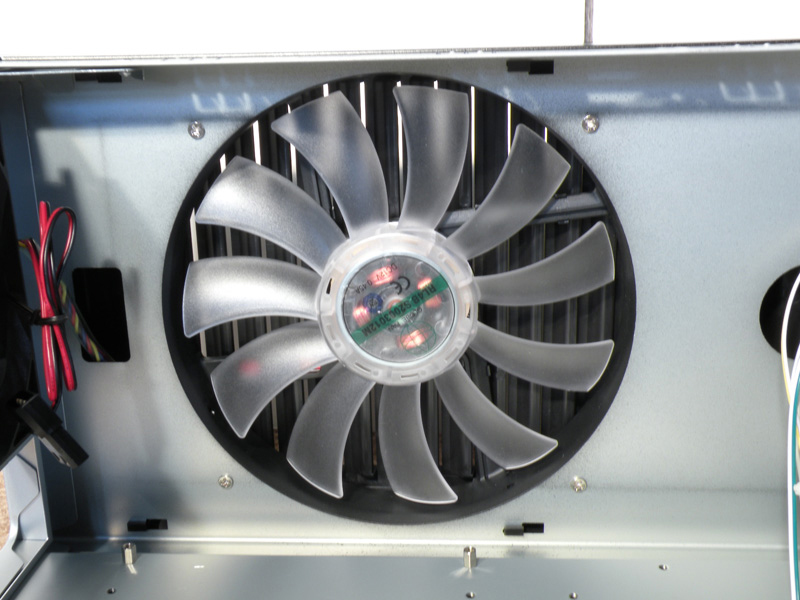
Here is a closer shot of the top fan which is quite large and features eleven blades to keep noise down and produce good airflow. The vents located above the fan direct the warm air rearwards. The fan can be removed using four screws, however there are no mounting holes for a radiator if one chooses to water cool their system.
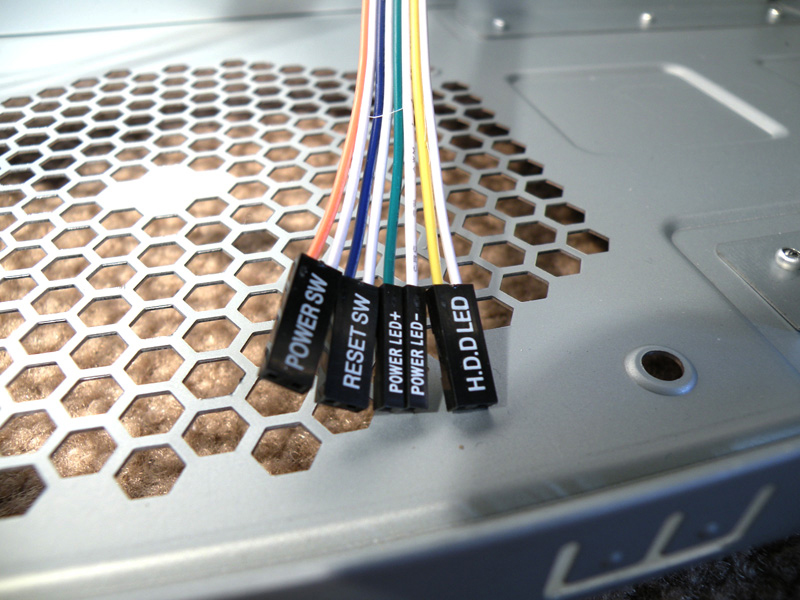
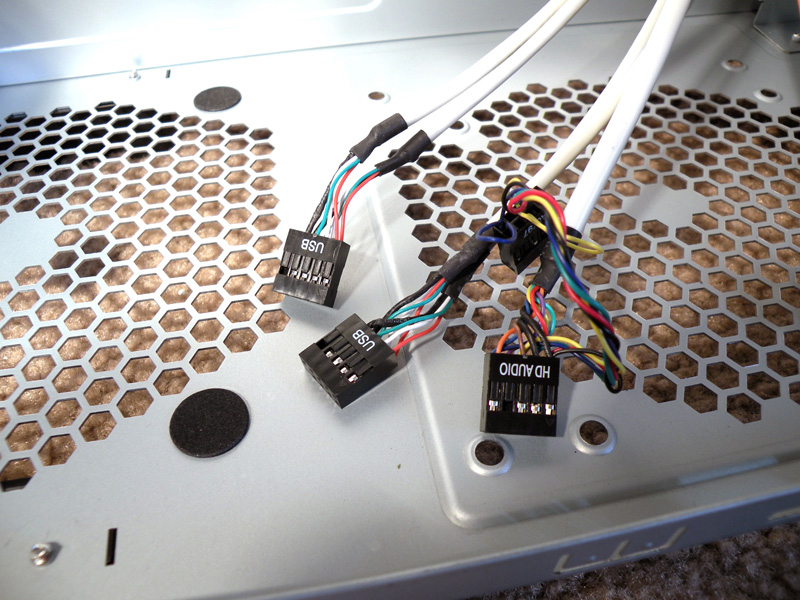
The Fantom 900 uses all of the standard I/O connections and the cables are of good length. Two USB connectors and a front panel audio connector are there for the front panel.
Mar 10th, 2025 19:05 EDT
change timezone
Latest GPU Drivers
New Forum Posts
- AMD RX 7000 series GPU Owners' Club (1307)
- I need a BIOS for the "Rx580 8gb" chip 215-0876406 (6)
- Biostar RX 6700 XT OC BIOS (7)
- Nvidia's GPU market share hits 90% in Q4 2024 (gets closer to full monopoly) (774)
- What's your latest tech purchase? (23278)
- Wherein lies the difference (2)
- USB hard disk box capacity limits (14)
- RX 9000 series GPU Owners Club (41)
- Gaming PC instabiliity (22)
- Msi 5090 DOA? (30)
Popular Reviews
- Sapphire Radeon RX 9070 XT Nitro+ Review - Beating NVIDIA
- XFX Radeon RX 9070 XT Mercury OC Magnetic Air Review
- ASUS Radeon RX 9070 TUF OC Review
- MSI MAG B850 Tomahawk Max Wi-Fi Review
- NVIDIA GeForce RTX 5080 Founders Edition Review
- NVIDIA GeForce RTX 5070 Founders Edition Review
- Corsair Vengeance RGB CUDIMM DDR5-8800 48 GB CL42 Review
- AMD Ryzen 7 9800X3D Review - The Best Gaming Processor
- ASUS GeForce RTX 5070 Ti TUF OC Review
- MSI GeForce RTX 5070 Ti Gaming Trio OC+ Review
Controversial News Posts
- NVIDIA GeForce RTX 50 Cards Spotted with Missing ROPs, NVIDIA Confirms the Issue, Multiple Vendors Affected (513)
- AMD Plans Aggressive Price Competition with Radeon RX 9000 Series (277)
- AMD Radeon RX 9070 and 9070 XT Listed On Amazon - One Buyer Snags a Unit (261)
- AMD RDNA 4 and Radeon RX 9070 Series Unveiled: $549 & $599 (260)
- AMD Mentions Sub-$700 Pricing for Radeon RX 9070 GPU Series, Looks Like NV Minus $50 Again (248)
- NVIDIA Investigates GeForce RTX 50 Series "Blackwell" Black Screen and BSOD Issues (244)
- AMD Radeon RX 9070 and 9070 XT Official Performance Metrics Leaked, +42% 4K Performance Over Radeon RX 7900 GRE (195)
- AMD Radeon RX 9070-series Pricing Leaks Courtesy of MicroCenter (158)