 4
4
AZZA Spartan Review
Assembly & Finished Looks »A Closer Look - Inside
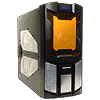
To gain entry into the AZZA Spartan two screws need to be removed from each side panel in the rear with a screwdriver. From there, a pull forward on the side handles will open the side panels. The grey interior of the Spartan is quite ordinary, though a nice feature not normally found with cases of this budget are the two holes cut in the motherboard tray for cable management. The holes are rounded and smooth so they are not to snag on any cables or hands installing the cables. Behind the CPU area of the tray, the tray is stamped out to make things more rigid, however the edges around this area are very sharp and caution should be used. Standoffs are stamped into raised bumps on the motherboard tray, plastic insulators are included in case a standoff makes contact with the motherboard.
With a slight tug the front plastic bezel is removed. The top 5.25" opening and one of the 3.5" openings already have the metal flash punched out of them. If more than one 5.25" or 3.5" bay devices are used, the installer will need to take the front bezel off to punch out the metal covers.
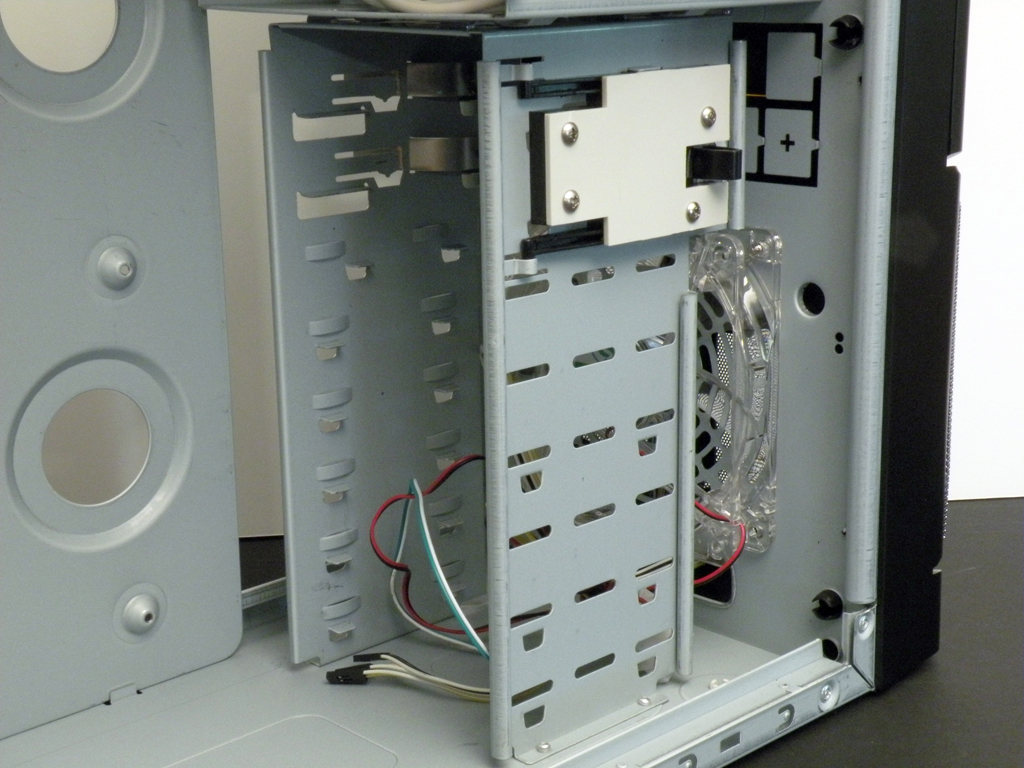
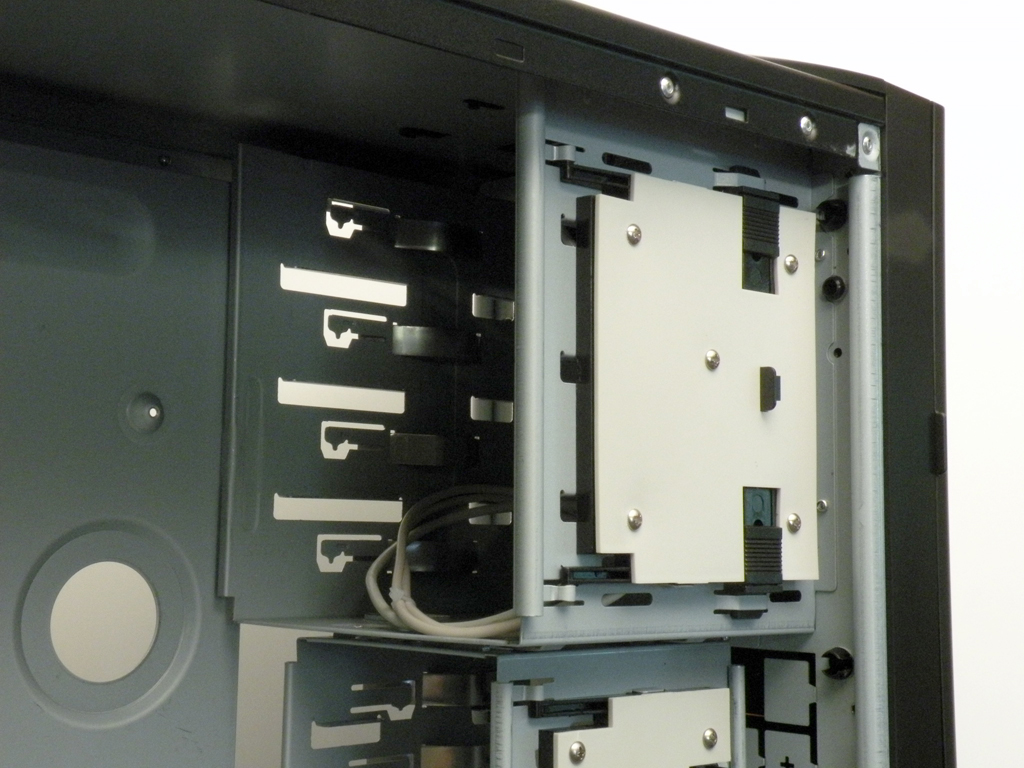
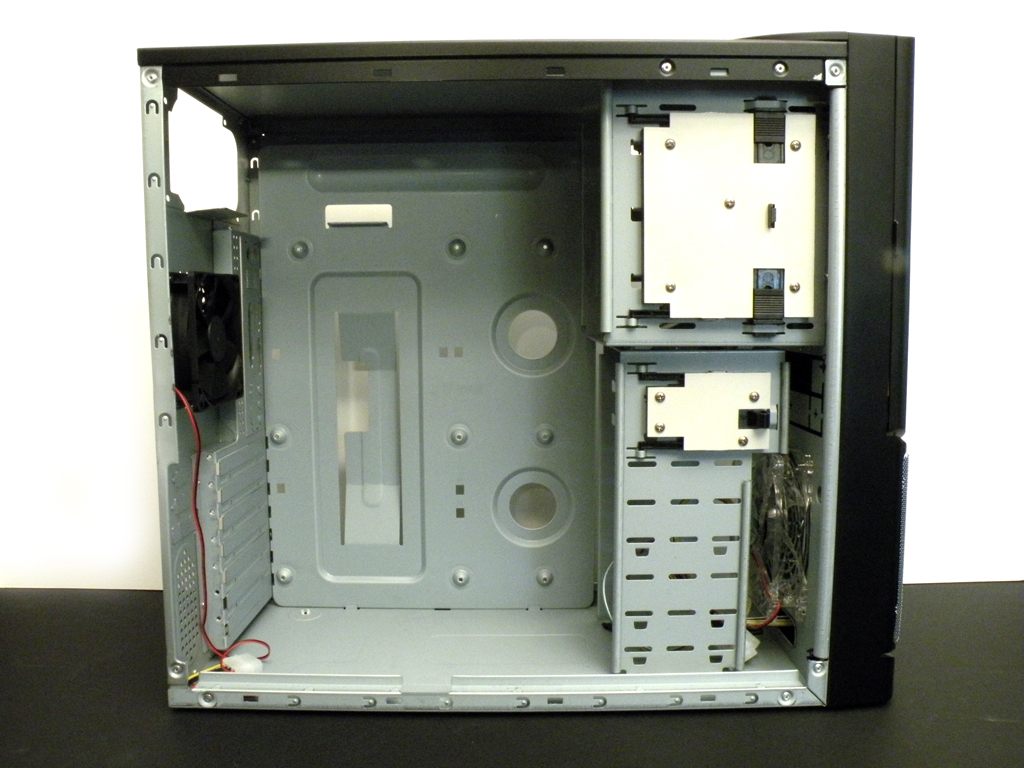
Having a closer look at the interior drive bays, there is room for six HDDs below and four optical drives up top. The HDD bay has a tool less mounting system for the upper two hard disks. A similar tool less system is used to mount all of the optical drives above. This is a nice extra for a case of this price and should definitely aid in an easy installation. One thing to consider is if a larger video card is used, you may lose some hard disk room to accommodate space requirements. In front of the HDD bay is a 120 mm blue LED fan to keep the drives cool.
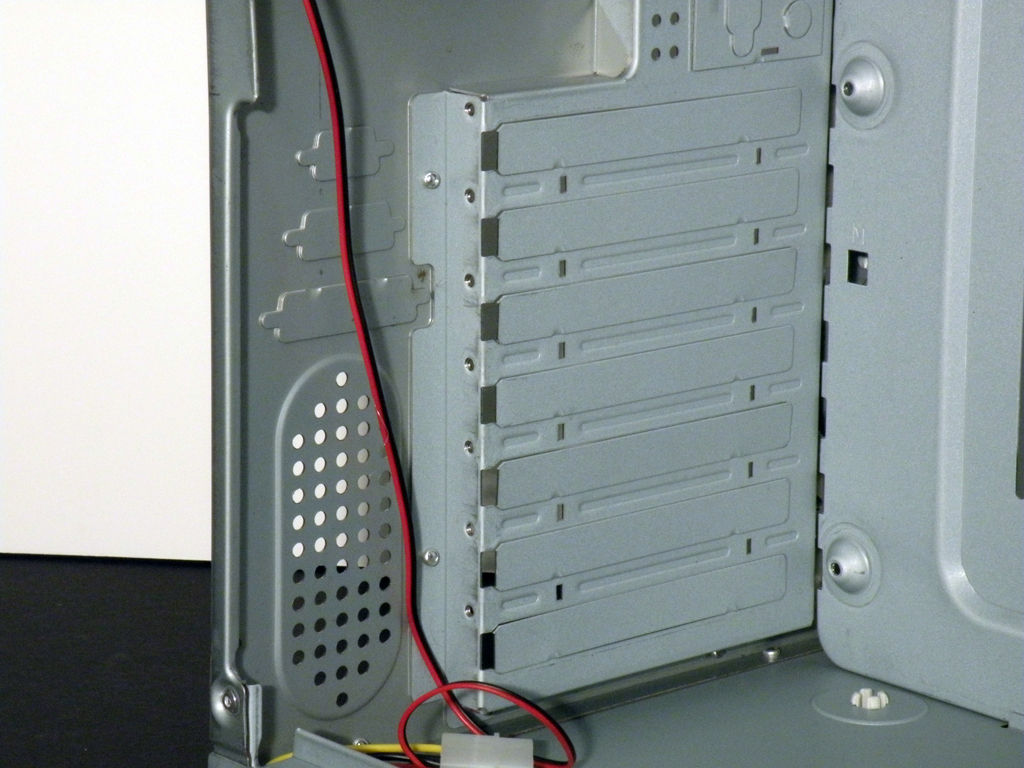
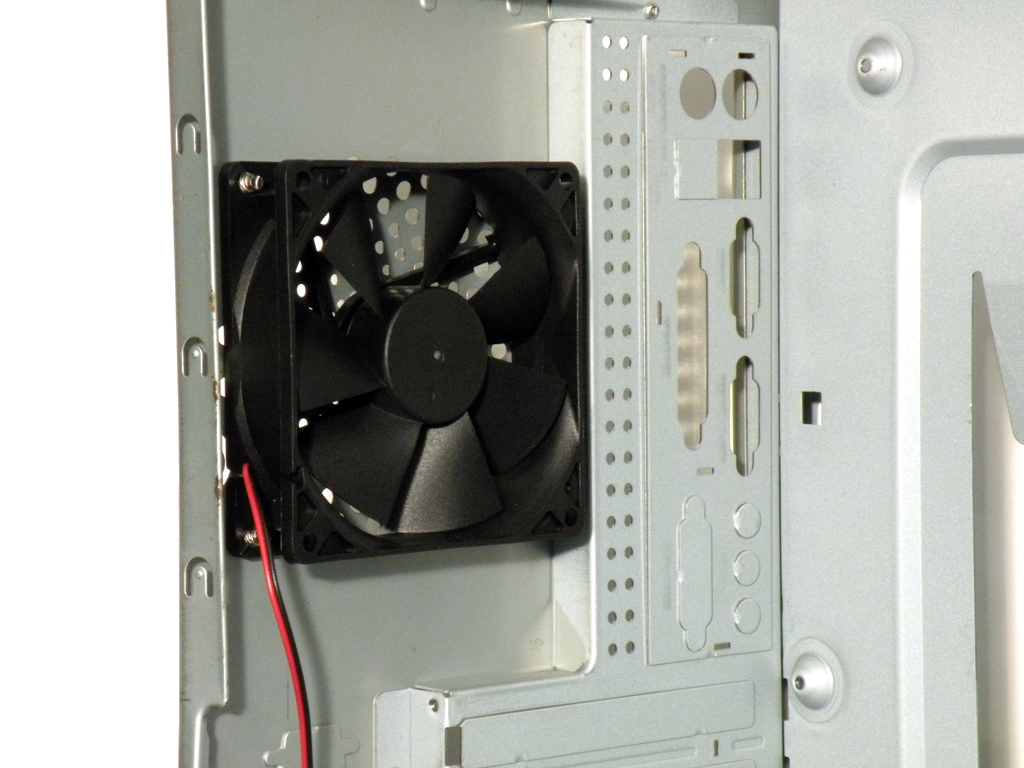
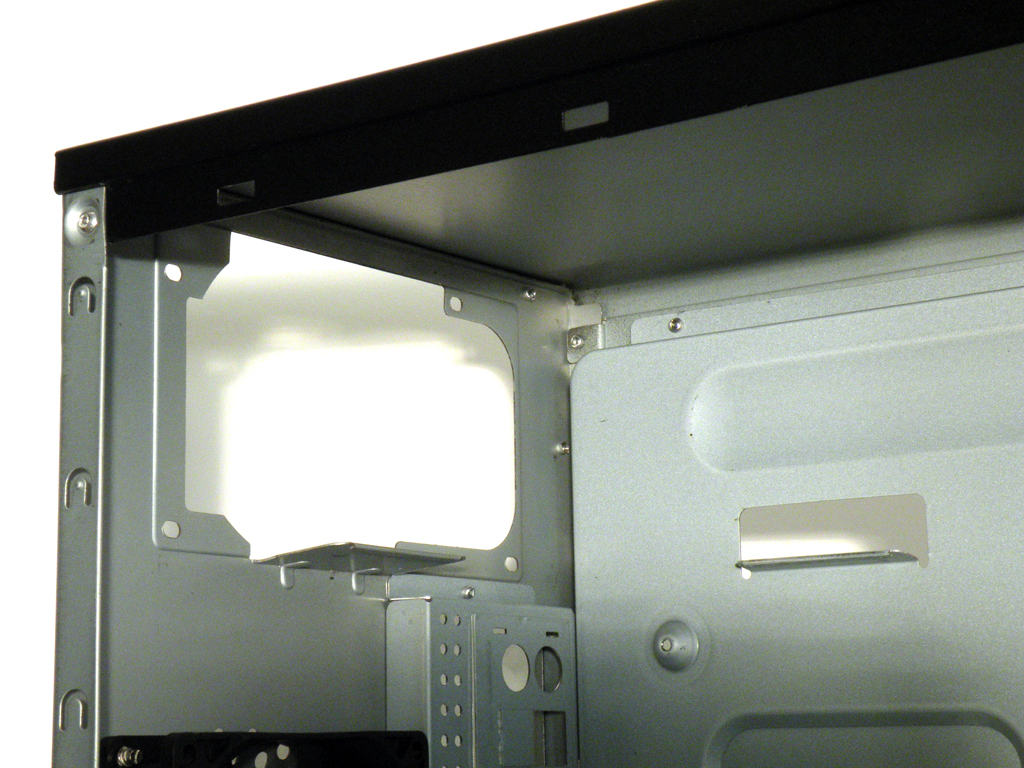
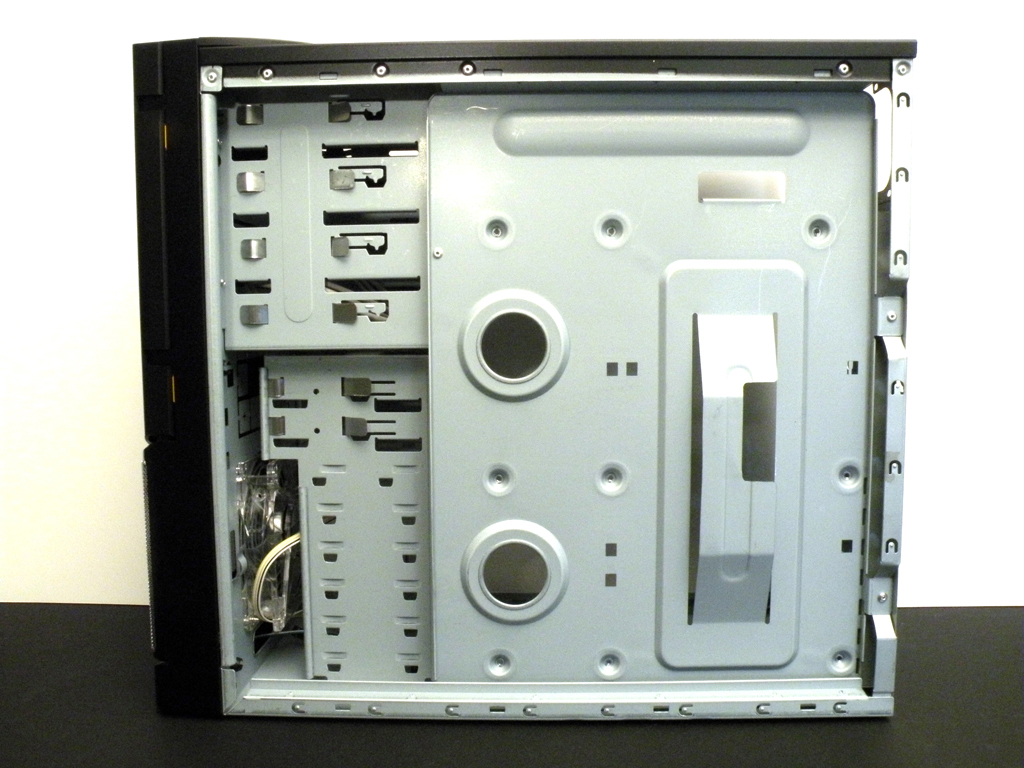
Just as it is on the exterior, the rear interior of the case is basic. The power supply goes up top, and there is plenty of room for any length PSU and wires. The 90 mm takes up the center of the rear and uses a four pin Molex style connector along with the rest of the fans in the Spartan. The I/O shield will most likely need to be punched out as it will probably not match up to most motherboards, but that's why I/O shields come with motherboards. Below are the seven expansion slots where each cover is attached to the case and will need to be punched out according to what slot is in use.
Feb 25th, 2025 04:22 EST
change timezone
Latest GPU Drivers
New Forum Posts
- The TPU UK Clubhouse (25785)
- Nvidia's GPU market share hits 90% in Q4 2024 (gets closer to full monopoly) (587)
- What are you playing? (23024)
- Gigabyte M27QA kvm features or other screen recommendation (1)
- TPU's Nostalgic Hardware Club (19999)
- [PCGamer] Former Sony exec finally says the quiet part out loud: putting PlayStation games on PC is 'almost like printing money' (42)
- 572.42 Drivers, Screen Blacking Out? (16)
- RTX 5070 TI MSI - high idle power draw? (2)
- What local LLM-s you use? (64)
- [Intel AX1xx/AX2xx/AX4xx/AX16xx/BE2xx/BE17xx] Intel Modded Wi-Fi Driver with Intel® Killer™ Features (279)
Popular Reviews
- ASUS GeForce RTX 5070 Ti TUF OC Review
- MSI GeForce RTX 5070 Ti Vanguard SOC Review
- MSI GeForce RTX 5070 Ti Ventus 3X OC Review
- MSI GeForce RTX 5070 Ti Gaming Trio OC+ Review
- Corsair Xeneon 34WQHD240-C Review - Pretty In White
- Corsair Virtuoso MAX Wireless Review
- darkFlash DY470 Review
- Palit GeForce RTX 5070 Ti GameRock OC Review
- AMD Ryzen 7 9800X3D Review - The Best Gaming Processor
- Gigabyte GeForce RTX 5090 Gaming OC Review
Controversial News Posts
- NVIDIA GeForce RTX 5090 Spotted with Missing ROPs, NVIDIA Confirms the Issue, Multiple Vendors Affected, RTX 5070 Ti, Too (467)
- AMD Radeon 9070 XT Rumored to Outpace RTX 5070 Ti by Almost 15% (304)
- AMD Plans Aggressive Price Competition with Radeon RX 9000 Series (272)
- AMD Radeon RX 9070 and 9070 XT Listed On Amazon - One Buyer Snags a Unit (247)
- Edward Snowden Lashes Out at NVIDIA Over GeForce RTX 50 Pricing And Value (241)
- AMD Denies Radeon RX 9070 XT $899 USD Starting Price Point Rumors (239)
- NVIDIA Investigates GeForce RTX 50 Series "Blackwell" Black Screen and BSOD Issues (239)
- AMD Radeon RX 9070 and 9070 XT Official Performance Metrics Leaked, +42% 4K Performance Over Radeon RX 7900 GRE (157)