 4
4
AZZA Spartan Review
Value & Conclusion »Assembly
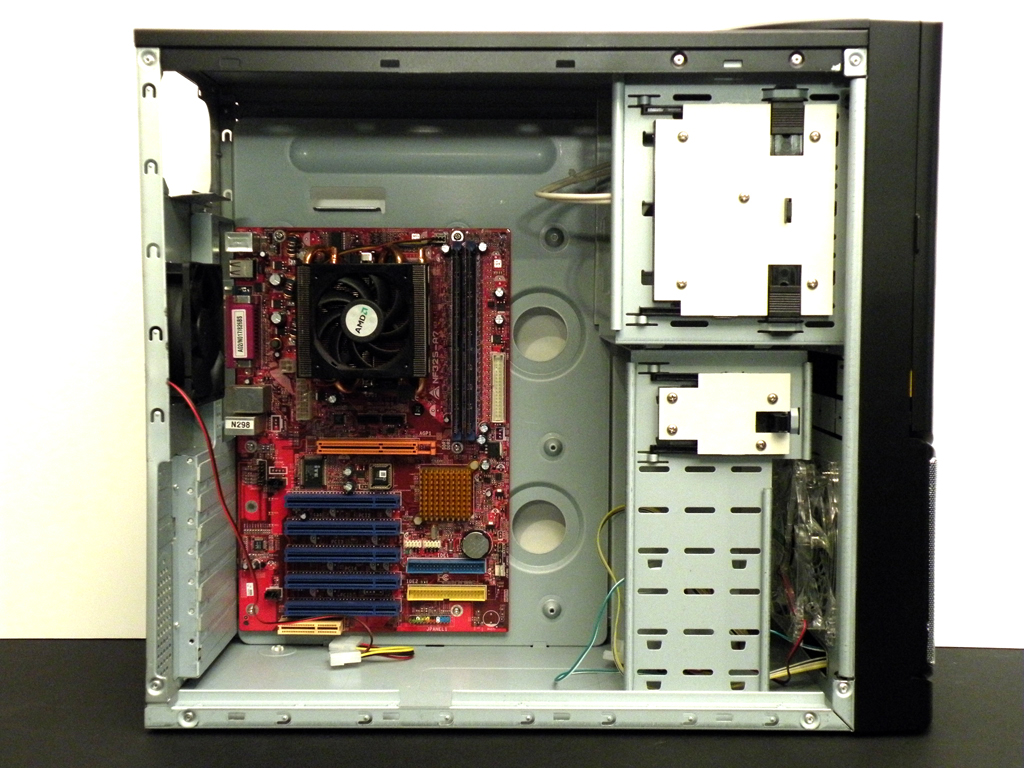
Motherboard installation is straightforward. The holes are lined up with the bumps in the motherboard tray and the motherboard is fastened with the included screws. As you can see a full ATX motherboard will cover the two cable management holes. There may be enough room for smaller cables but getting a 24 pin cable through will be tough. Many tower style CPU coolers will fit, however the side case fan may have to be moved to the lower position or to the outside of the case.
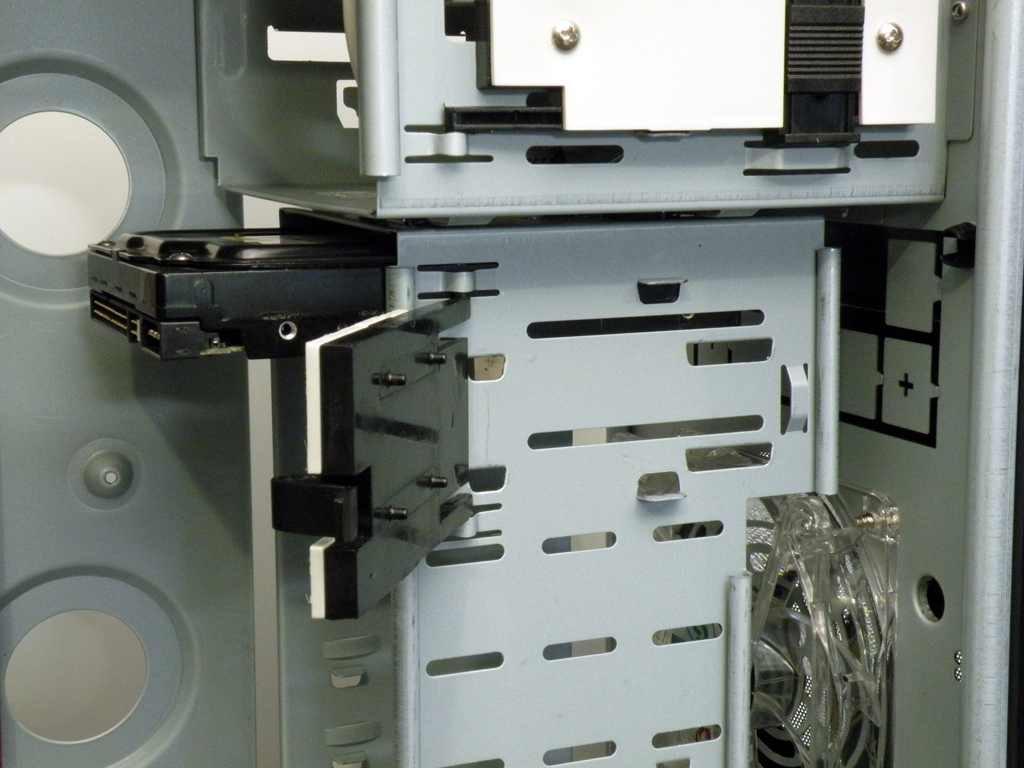
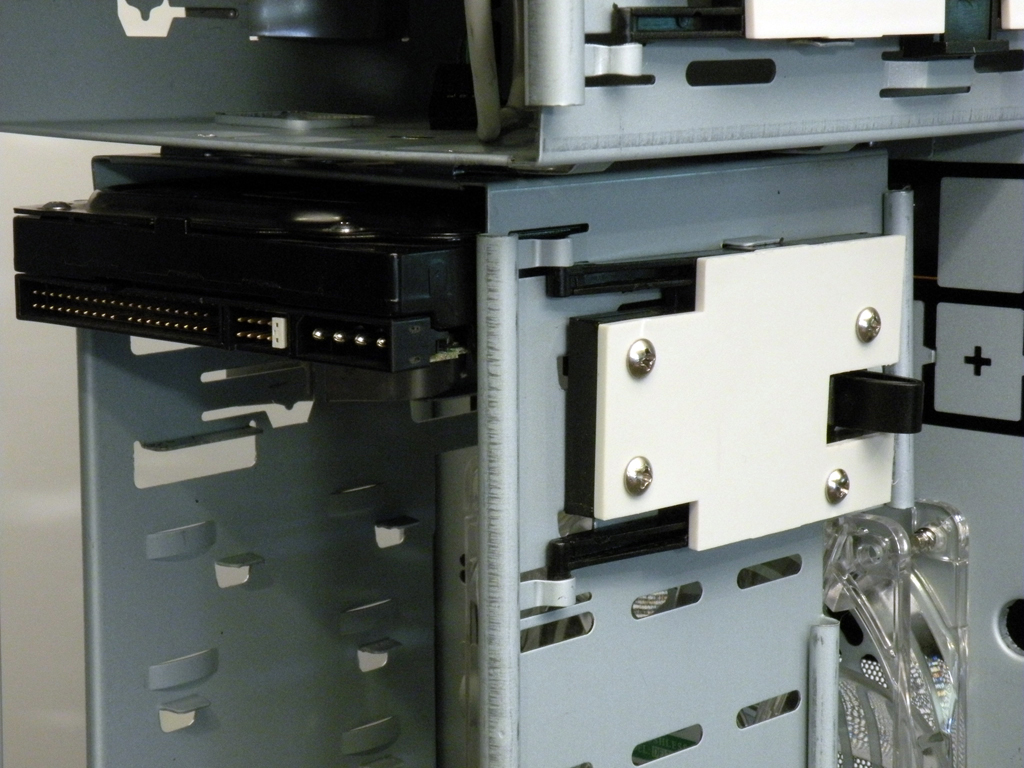

By the looks of it, mounting a HDD should be simple enough. The mounting mechanism is opened, the hard drive slides in and the mechanism is then closed is the way it's supposed to work. Unfortunately, the tabs in the mounting mechanism do not line up with a standard 3.5" HDD. I managed to get one tab to stick in the hole and the HDD was mounted. The same principle for the optical drives comes into play up top, only this time everything lined up fine and it took mere seconds for installation. Once installed both the hard drive and the optical drive were solidly in place.
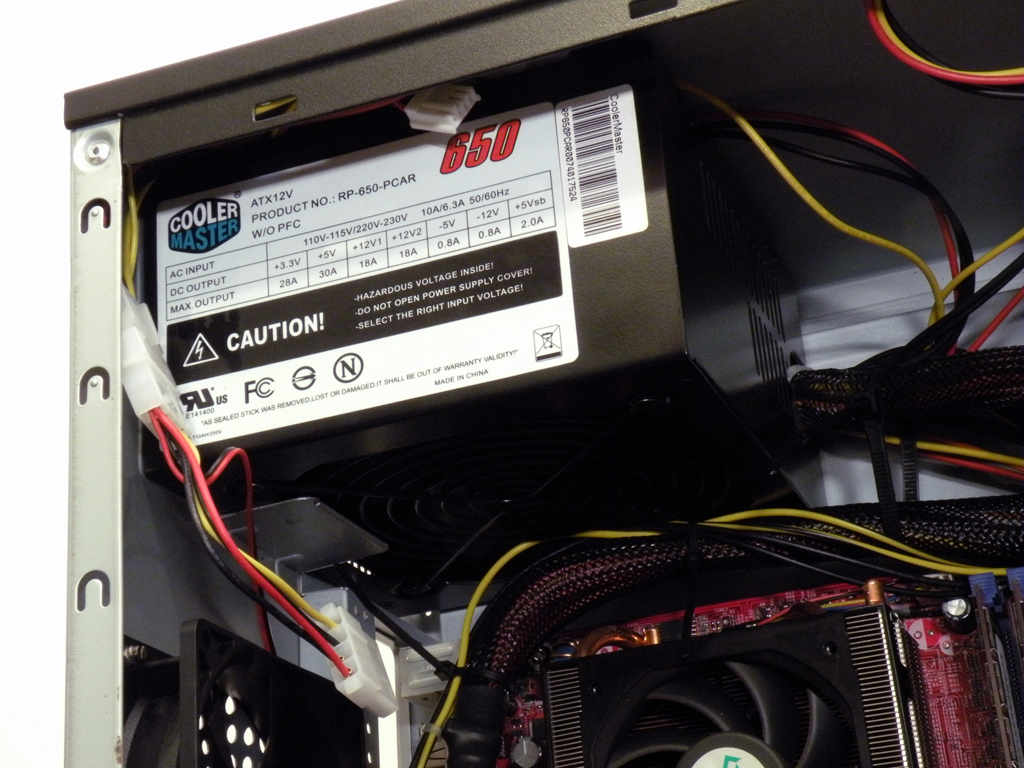
Mounting the power supply is as basic as it gets as it can only be installed one way to match the mounting holes in the back. The PSU is mounted with screws and once mounted there is plenty of room in front of it for many cables.

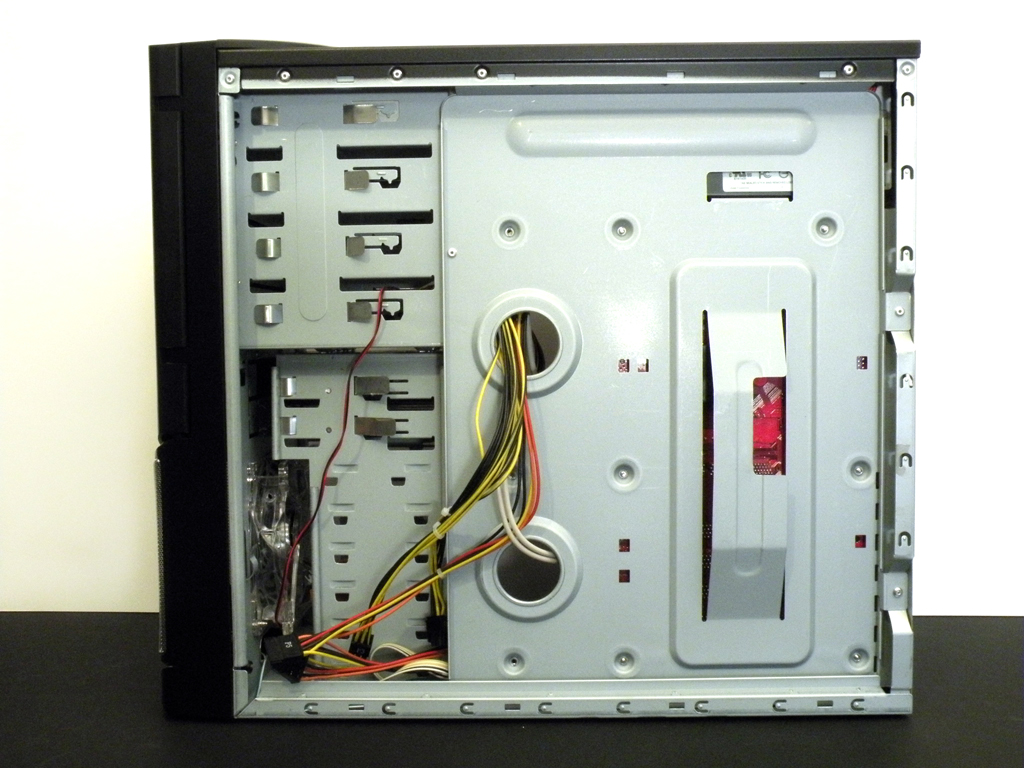
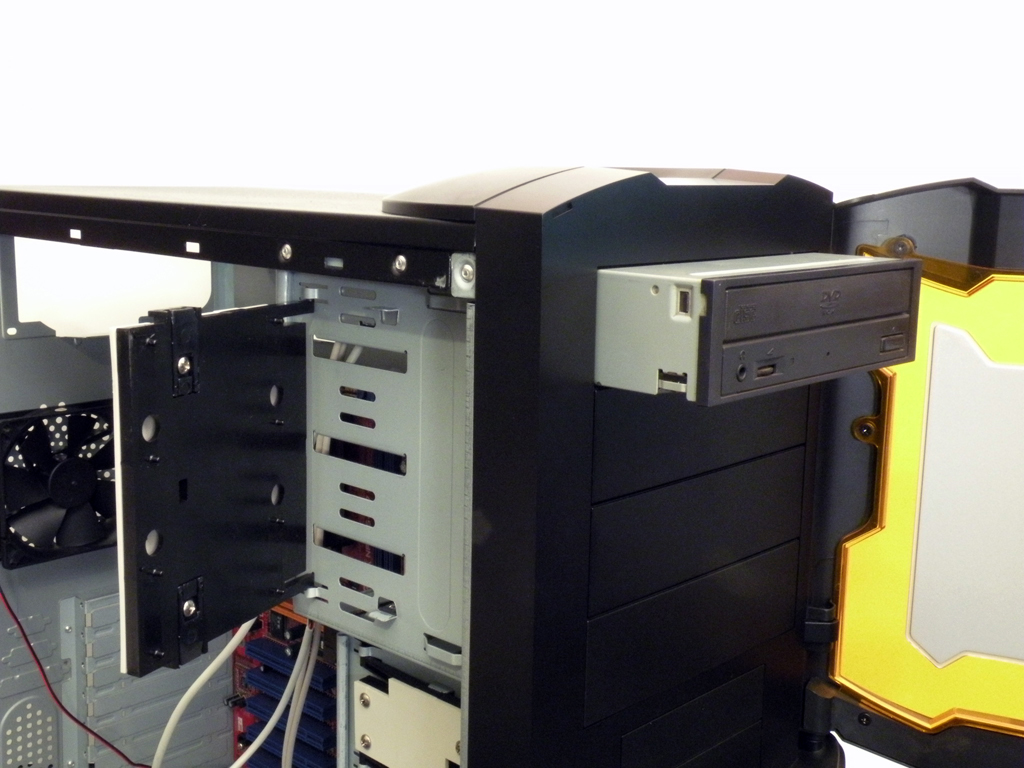
With everything mounted and installed you can see there is plenty of room left to hide cables or even go with a larger motherboard and video card. With the addition of more bay devices the motherboard tray holes should accommodate room for things like power cables SATA and IDE cables. The front I/O cables are plenty long enough to route through the motherboard tray holes to the motherboard. The other side of the Spartan looks clean and the cutout in the tray should aid in keeping the backside of the motherboard a bit cooler. Overall, everything was easy to install inside the Spartan with room to spare.
Finished Looks
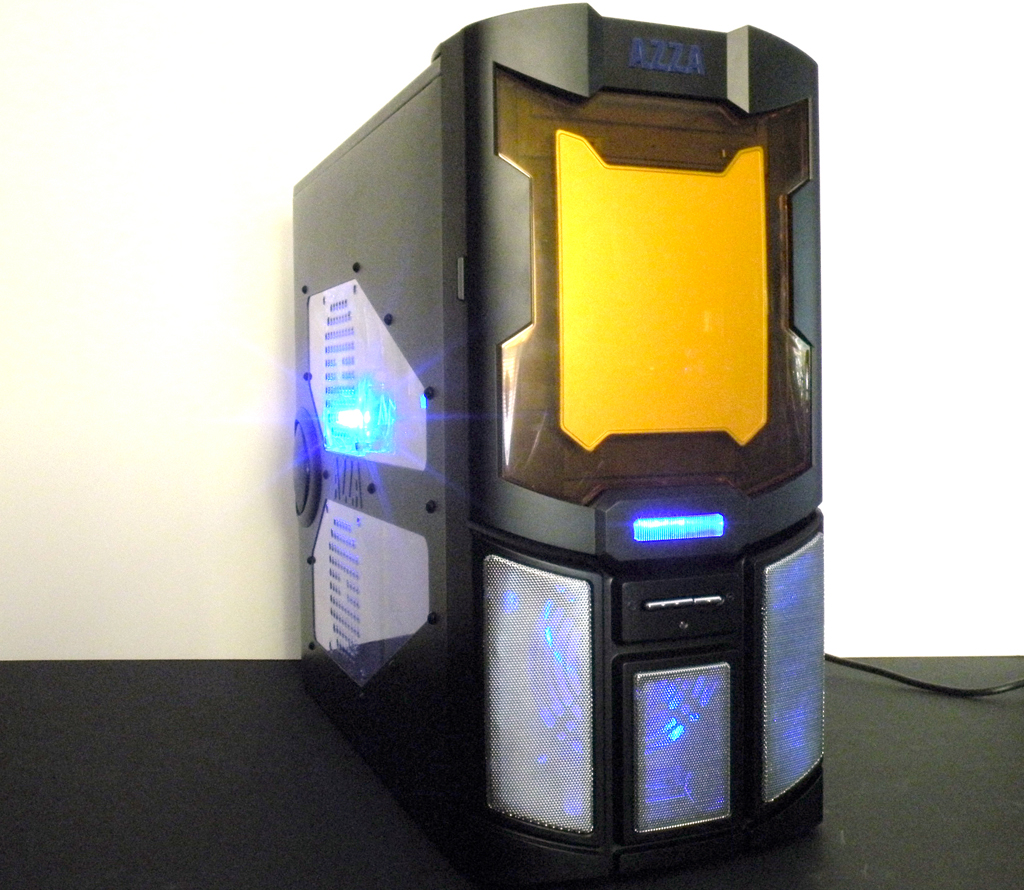
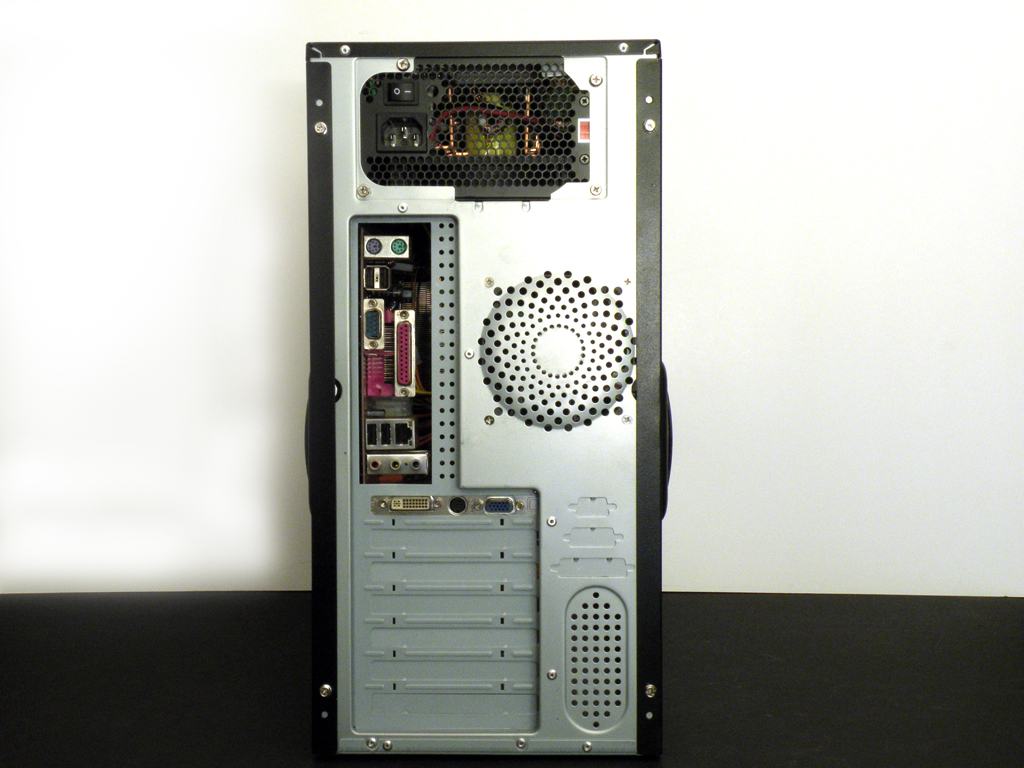
When powered up the AZZA Spartan looks good, if not great for a budget minded case. The blue LED fan behind the chrome grill up front goes great together and almost makes the front of the case look larger than it is. The orange bezel with a contrasting color balances the look out nicely. The side LED fan does a great job at lighting up the clear side window and gives the Spartan a look of a more expensive chassis. One thing to note is that the LED lights aren't too bright so it won't be too much of a distraction in a darkened room. Fan noise is minimal as I could easily hear the fan of the video card over the case fans, however the rear 92 mm is a bit louder than the 120 mm fans due to it having more RPMs. Since the rear fan faces the rear, it shouldn't pose any problem. There is nothing unfamiliar in the back with everything installed. The motherboard, expansion cards and power supply all firmly mounted line up perfectly with the case.
Jul 3rd, 2025 22:18 CDT
change timezone
Latest GPU Drivers
New Forum Posts
- GPU-Z Display Bug via DP 2.1? (6)
- [GPU-Z Test Build] New Kernel Driver, Everyone: Please Test (35)
- What Windows is overall the best to you and why? (269)
- How do you view TPU & the internet in general? (With poll) (58)
- HP Zbook 15 G2 GPU Upgrade (12)
- Will you buy a RTX 5090? (610)
- What phone you use as your daily driver? And, a discussion of them. (1756)
- What would you buy? (51)
- A Final Fantasy IX Reminiscence - My love letter and homage to one of the best stories ever told (90)
- GravityMark v1.89 GPU Benchmark (309)
Popular Reviews
- ASUS ROG Crosshair X870E Extreme Review
- Crucial T710 2 TB Review - Record-Breaking Gen 5
- Fractal Design Scape Review - Debut Done Right
- PowerColor ALPHYN AM10 Review
- Sapphire Radeon RX 9060 XT Pulse OC 16 GB Review - An Excellent Choice
- Upcoming Hardware Launches 2025 (Updated May 2025)
- AMD Ryzen 7 9800X3D Review - The Best Gaming Processor
- Sapphire Radeon RX 9070 XT Nitro+ Review - Beating NVIDIA
- SCHENKER KEY 18 Pro (E25) Review - Top-Tier Contender
- AVerMedia CamStream 4K Review
TPU on YouTube
Controversial News Posts
- Intel's Core Ultra 7 265K and 265KF CPUs Dip Below $250 (288)
- NVIDIA Grabs Market Share, AMD Loses Ground, and Intel Disappears in Latest dGPU Update (212)
- Some Intel Nova Lake CPUs Rumored to Challenge AMD's 3D V-Cache in Desktop Gaming (140)
- NVIDIA GeForce RTX 5080 SUPER Could Feature 24 GB Memory, Increased Power Limits (115)
- Microsoft Partners with AMD for Next-gen Xbox Hardware (105)
- NVIDIA Launches GeForce RTX 5050 for Desktops and Laptops, Starts at $249 (105)
- Intel "Nova Lake‑S" Series: Seven SKUs, Up to 52 Cores and 150 W TDP (100)
- NVIDIA DLSS Transformer Cuts VRAM Usage by 20% (97)