 8
8
be quiet! Dark Rock 3 Review
Finished Looks »Installation
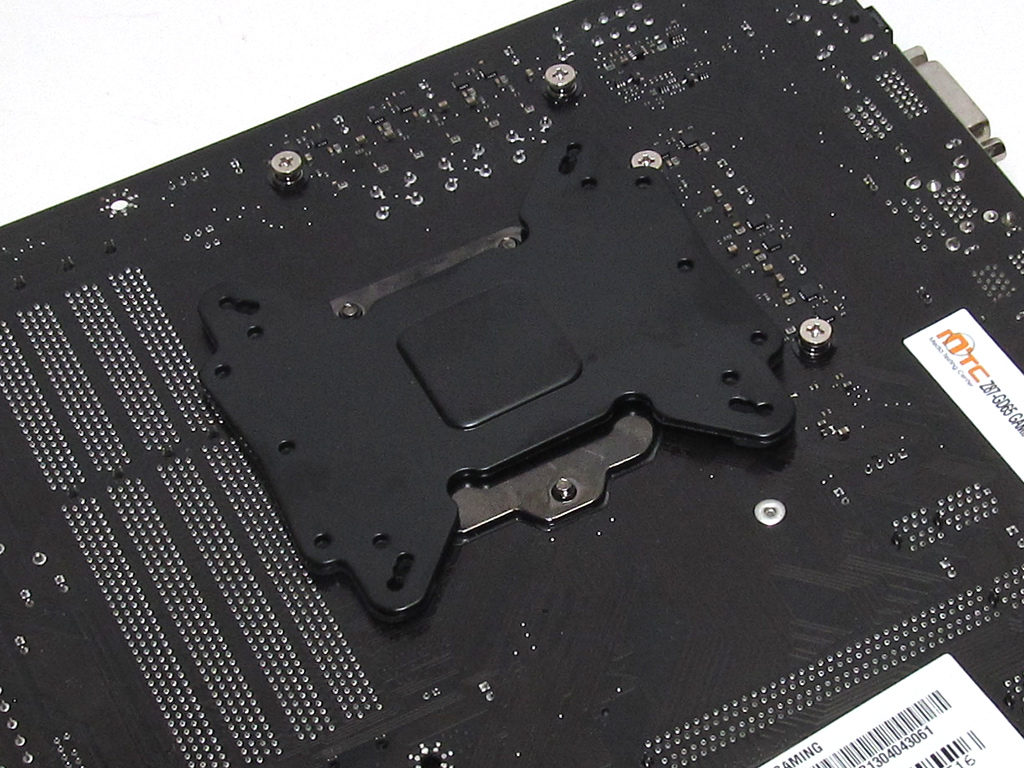
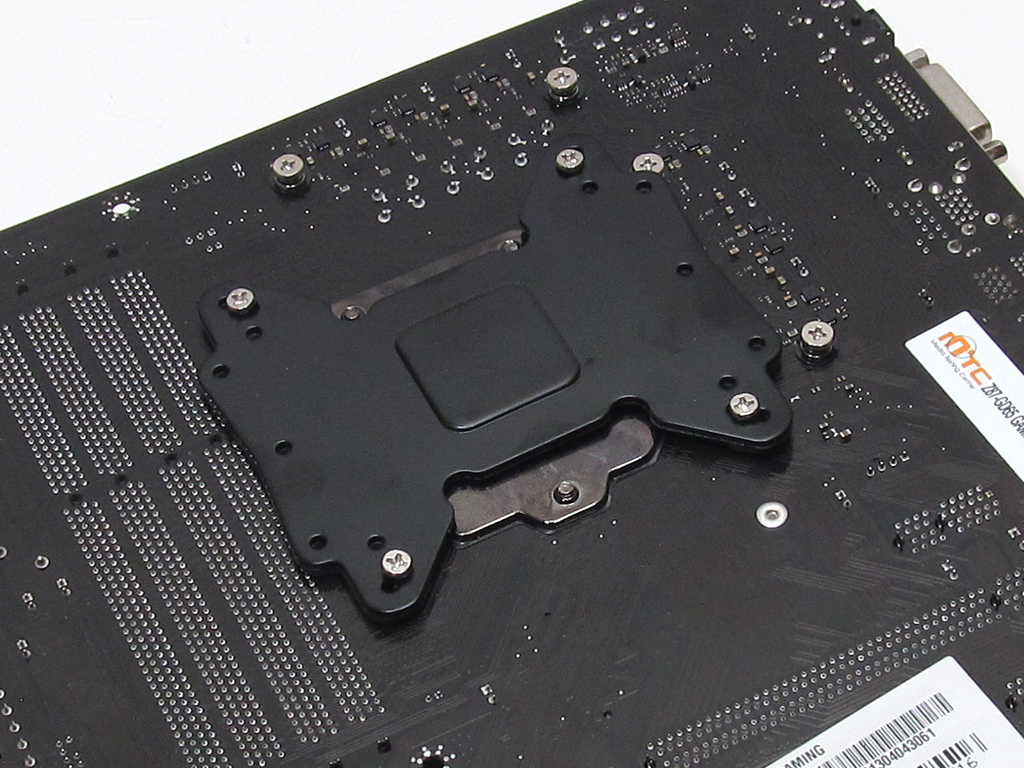
When installing the be quiet! Dark Rock 3, start by putting the backplate into position. Once done, drop the four long screws down through the holes and use the black C-clamps to hold it all in place.
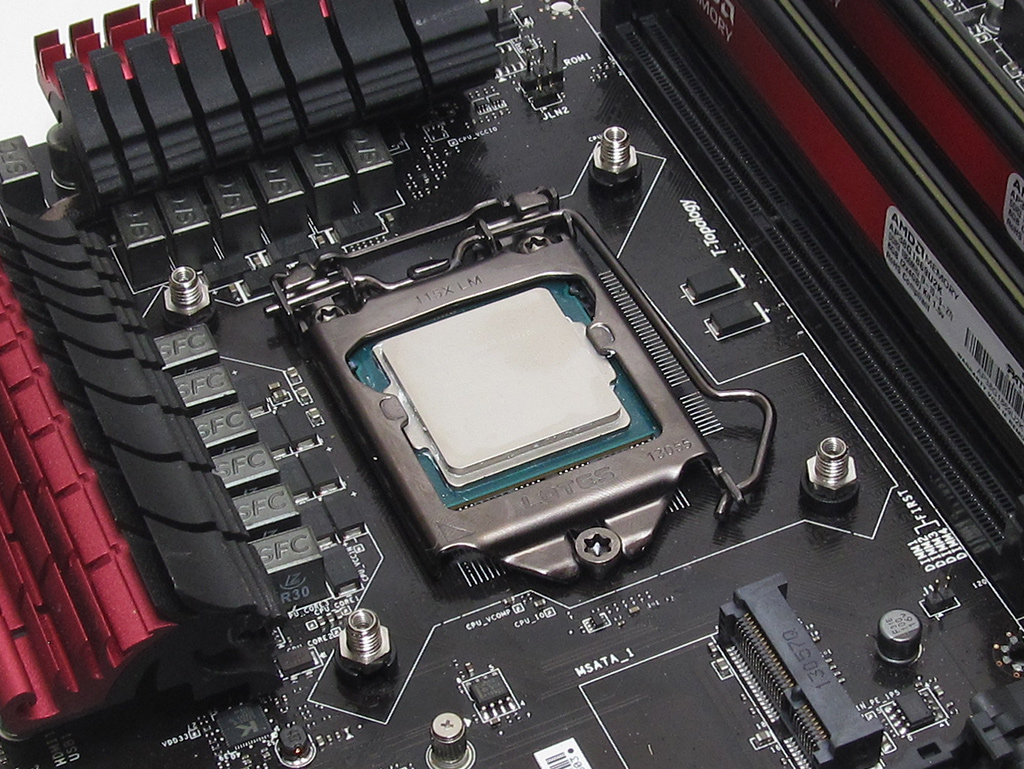
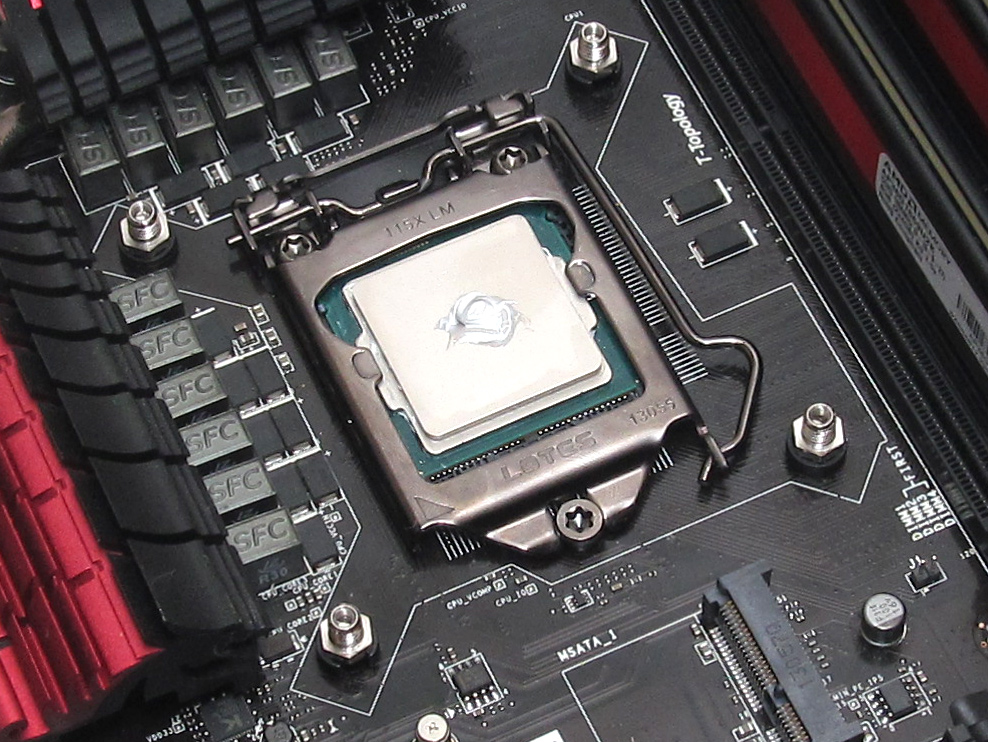
You will now want to prepare the heatsink itself for mounting. With that done, slide the hexagonal screws down onto the longer backplate screws. They will form a platform for the cooler to attach to. It is now time to apply some thermal paste to the CPU before attaching the heatsink.
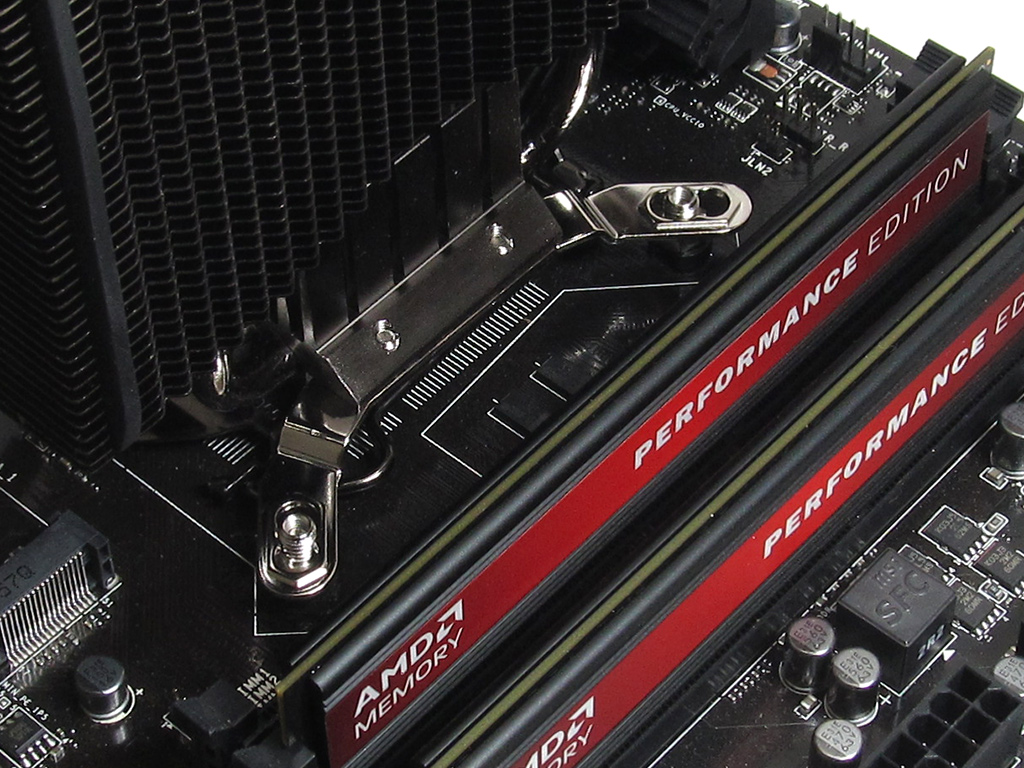
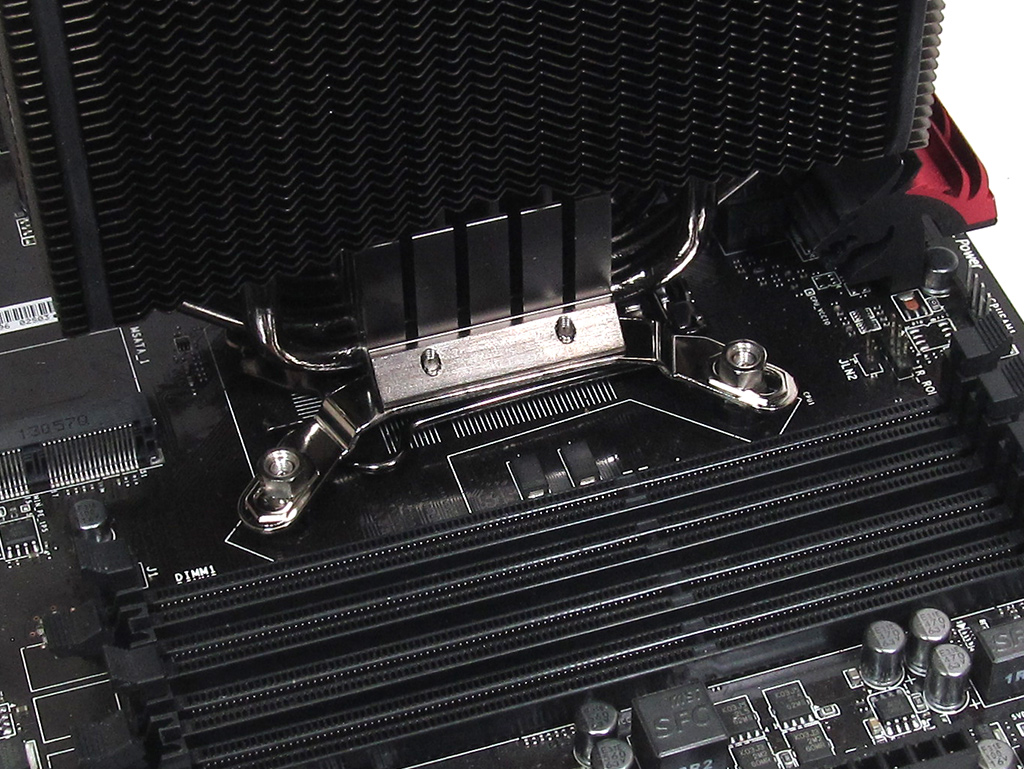
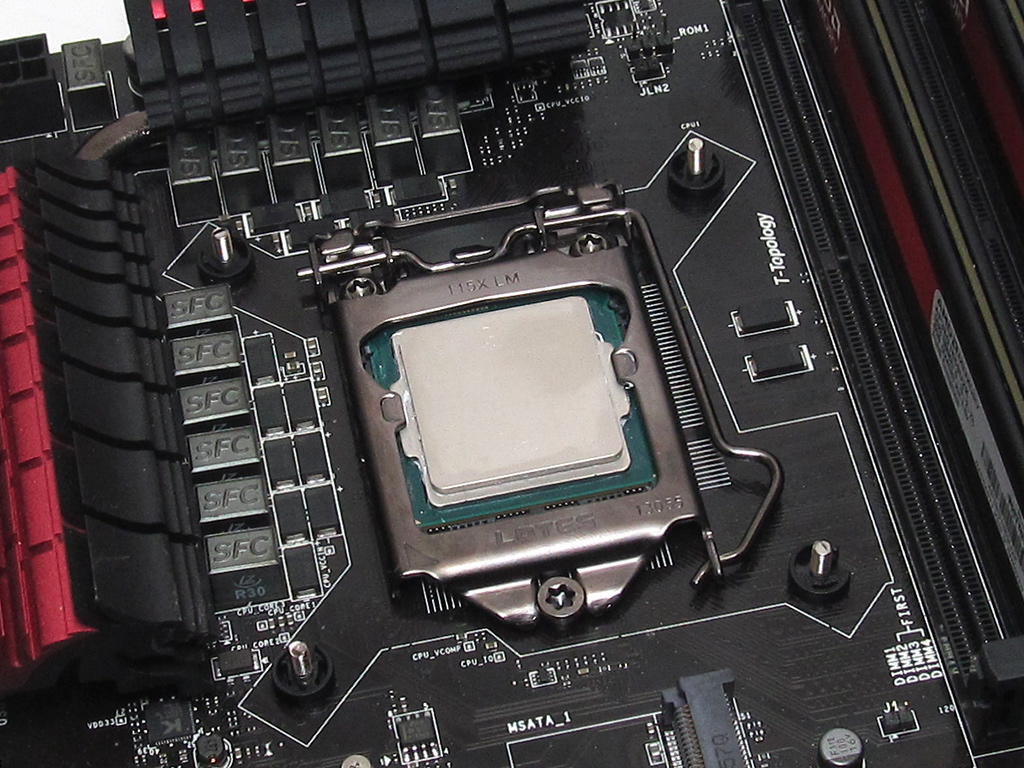
With the thermal paste applied, line the Dark Rock 3 up with the four base screws to gently set it into place. From here on out, place the four hexagonal nuts on top, using the spanner to hold them in place and a screwdriver to turn the backplate screws, which will tighten the nuts and securely attach the cooler to the motherboard.
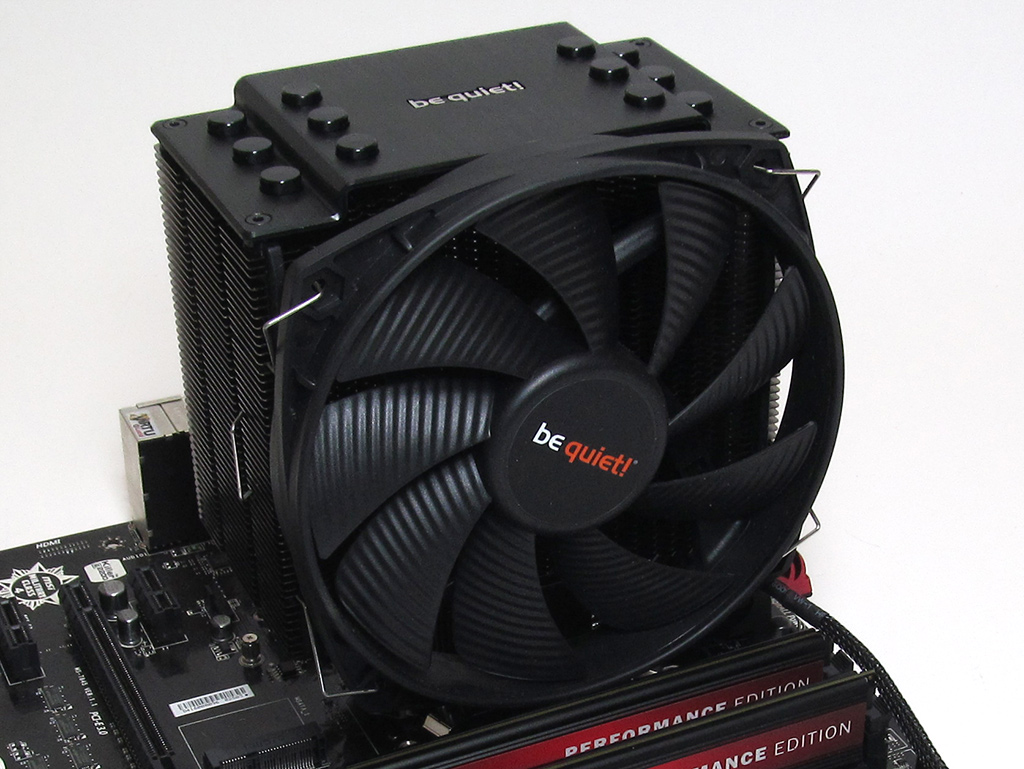
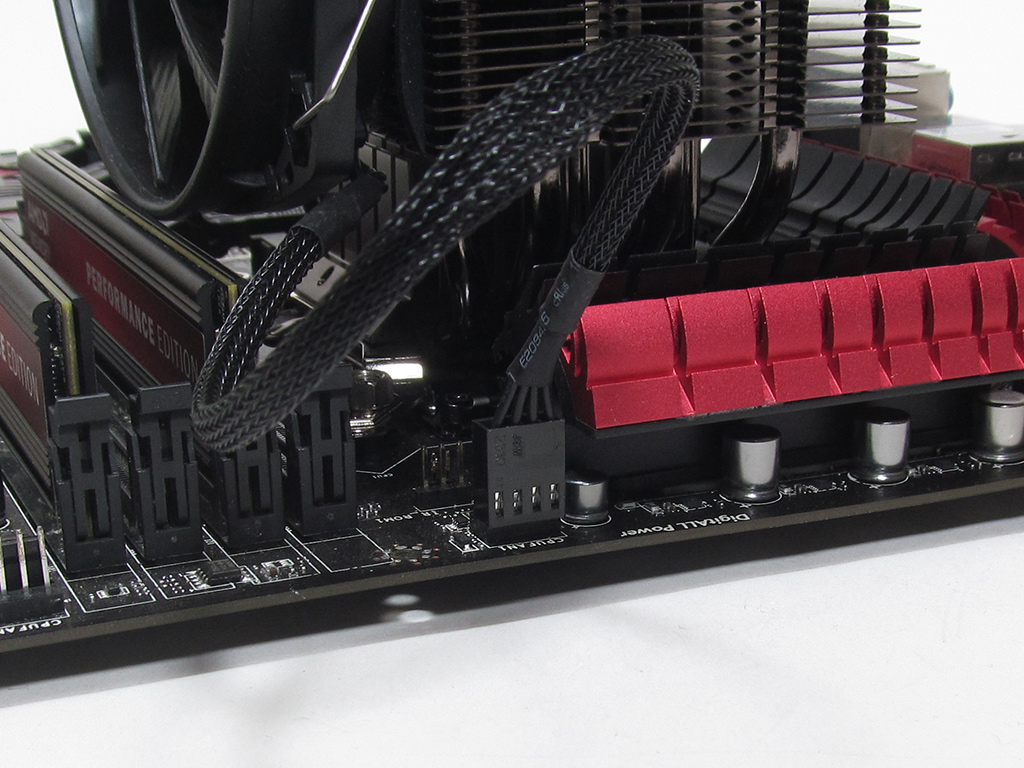
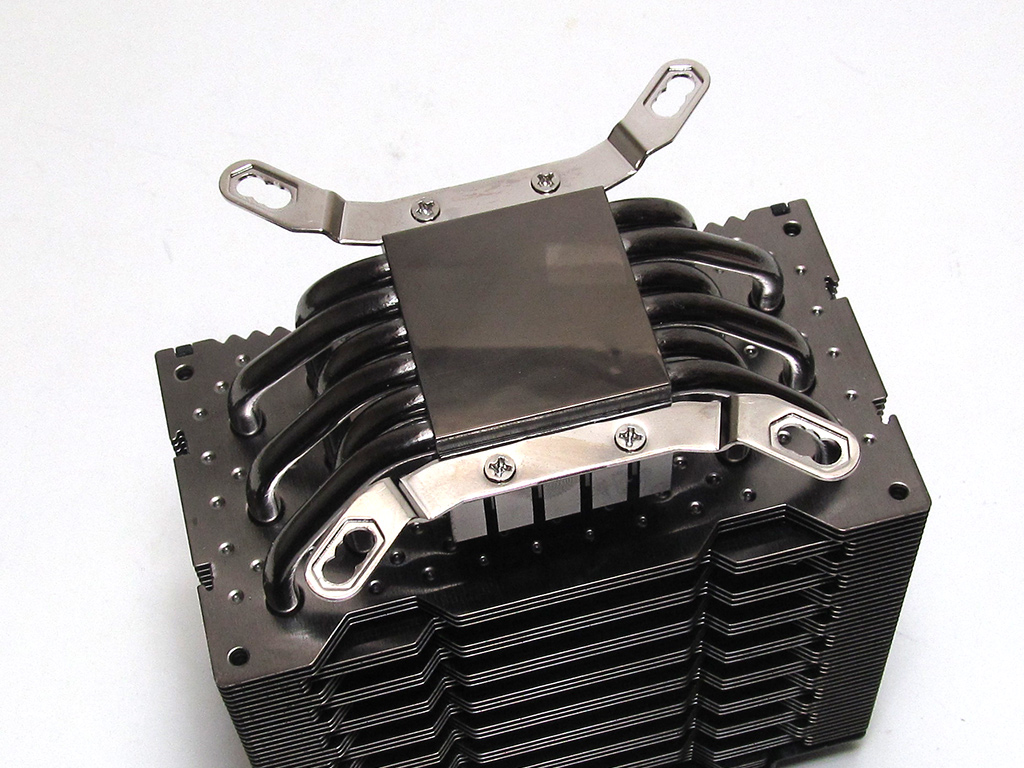
All that is left is to do now is to attach the fan before plugging it into the CPU fan header, and that's it - the be quiet! Dark Rock 3 is now ready to go.
The mounting hardware be quiet! provides works fine, but is still a bit on the awkward side. I would rate the installation procedure for an average user a 7 on a scale of 1 (hardest) to 10 (easiest).
Jul 2nd, 2025 23:38 CDT
change timezone
Latest GPU Drivers
New Forum Posts
- NVIDIA App (36)
- Will you buy a RTX 5090? (588)
- AMD RX 7000 series GPU Owners' Club (1327)
- What's your latest tech purchase? (24189)
- RDNA 4 Fine Wine? (HUB Vid) (41)
- GravityMark v1.89 GPU Benchmark (308)
- Good time in the year to buy a new PC (5)
- The Official Thermal Interface Material thread (1767)
- What Windows is overall the best to you and why? (262)
- Nvidia drivers (6)
Popular Reviews
- ASUS ROG Crosshair X870E Extreme Review
- Crucial T710 2 TB Review - Record-Breaking Gen 5
- Sapphire Radeon RX 9060 XT Pulse OC 16 GB Review - An Excellent Choice
- PowerColor ALPHYN AM10 Review
- Upcoming Hardware Launches 2025 (Updated May 2025)
- AMD Ryzen 7 9800X3D Review - The Best Gaming Processor
- AVerMedia CamStream 4K Review
- Sapphire Radeon RX 9070 XT Nitro+ Review - Beating NVIDIA
- NVIDIA GeForce RTX 5060 8 GB Review
- AMD Ryzen 9 9950X3D Review - Great for Gaming and Productivity
TPU on YouTube
Controversial News Posts
- Intel's Core Ultra 7 265K and 265KF CPUs Dip Below $250 (288)
- NVIDIA Grabs Market Share, AMD Loses Ground, and Intel Disappears in Latest dGPU Update (212)
- Some Intel Nova Lake CPUs Rumored to Challenge AMD's 3D V-Cache in Desktop Gaming (140)
- NVIDIA GeForce RTX 5080 SUPER Could Feature 24 GB Memory, Increased Power Limits (114)
- NVIDIA Launches GeForce RTX 5050 for Desktops and Laptops, Starts at $249 (105)
- Microsoft Partners with AMD for Next-gen Xbox Hardware (105)
- Intel "Nova Lake‑S" Series: Seven SKUs, Up to 52 Cores and 150 W TDP (100)
- NVIDIA DLSS Transformer Cuts VRAM Usage by 20% (96)