 12
12
be quiet! Pure Base 501 LX Review
Thermal Stress Test »Assembly
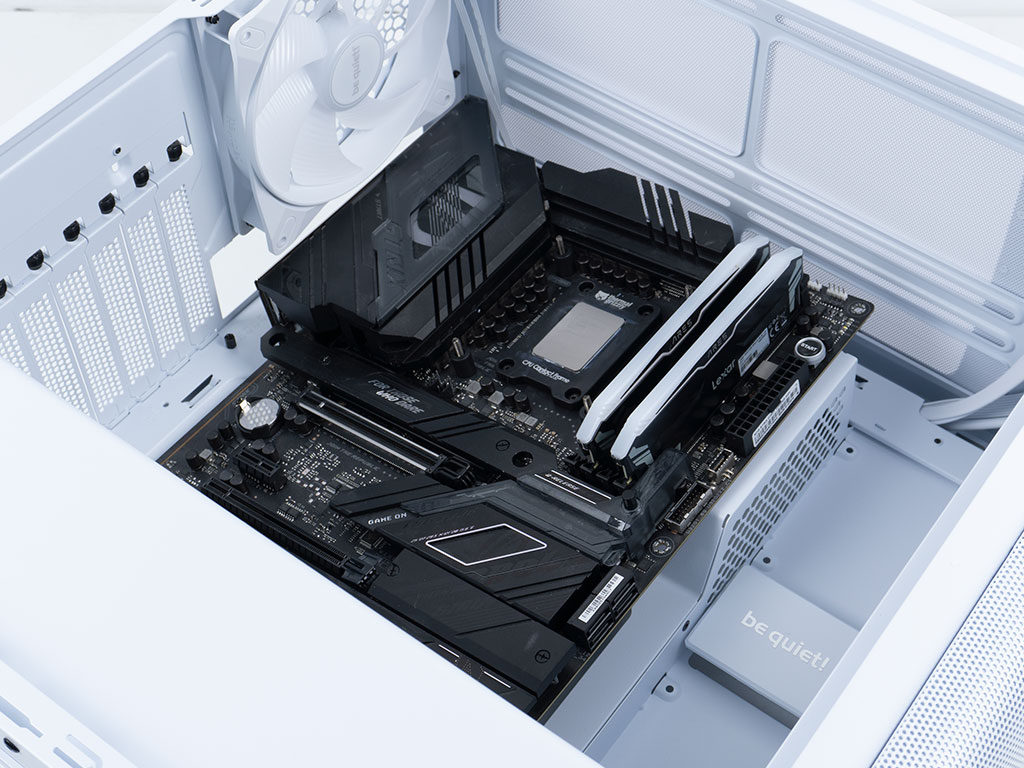

When attempting to install the motherboard inside the chassis, we hit a small snag. The redesigned cable cover/SSD bracket gets in the way of dropping the board in. Not a big deal, but something to consider when doing your assembly, as you have to remove either the rear fan or take that cover off. The motherboard fits well inside the case. There is little space along the edges, but the openings are well-placed, so cable routing should not be an issue.

Adding the GPU is straightforward as well, and the RTX 4080 fits perfectly fine. It would have been nice if be quiet! had found a way to include a GPU support system as cards have gotten much bigger and heavier over the last decade.


The 3.5" drives also have to be installed outside the chassis. be quiet! includes special screws that are long enough to go through the rubber-equipped holes. Once filled, simply slide the whole cage back in place and tighten down the two attached thumb screws.
While we chose this setup, you may opt to hide the SSD by screwing it to the plate above the CPU cooler opening and putting that whole contraption back into place. Alternatively, if you would like to show things off more, you could simply screw the drive into the plate provided to cover the cable-routing hole.


Adding a 240 mm AIO in the ceiling is straightforward, and it clears all the motherboard components. While access to the top edge connectors on the motherboard would usually be blocked, be quiet! managed a functional workaround by including openings in the ceiling to reach in and access those from above. This is simple, yet quite smart!

While the PSU had to be pushed in through the back of the frame with the original Pure Base 500 models, you may now simply drop it in and screw it in - no more mounting frame needed. There is ample room for a quality unit, even if you decide to put the HDD cage unto the position so that you have room for a radiator in the front.


With everything installed, the Pure Base 501 LX has a very clean interior in part thanks to the bracket in the front, which also acts as a cable channel. On the rear, most of the cables are held in place by the four Velcro strips, but we did end up using a few zip ties at the top and bottom. This worked well, but be quiet! could have modernized the Velcro strips as there are quite a few more elaborate implementations out there these days.
Finished Looks
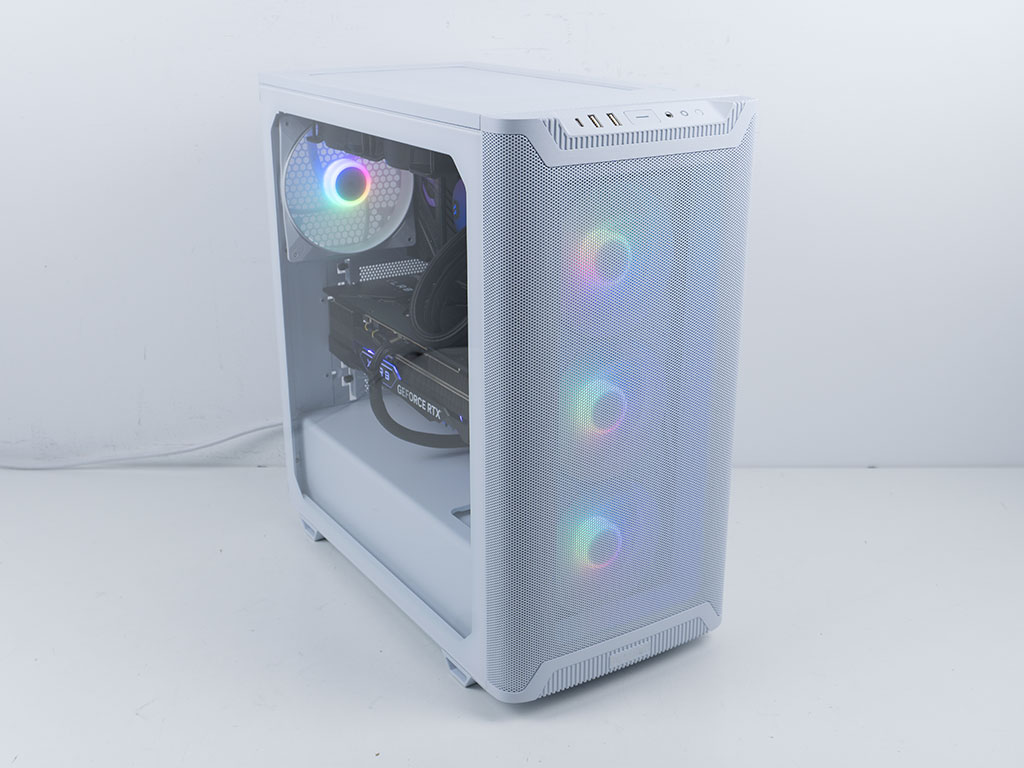

Once turned on, the be quiet Pure Base 501 LX allows for a subtle glow of the hub mounted ARGBs to shine through the front and main glass of the chassis. The overall design is simpler and more understated than the 501DX, which some may prefer. The power button also has a white LED, which lights up when the system is on.


Looking at the chassis from the front, you can see the fans in all their glory, thanks to the fact that these are mounted on the exterior of the case frame, right behind the mesh front layer. Due to the clear glass, you can also see all your hardware nicely. In the rear, everything is where you would expect to see it from a modern chassis like this. You may toggle through various animations and color modes with the built-in controller. Below are the solid color choices it is capable of.


Mar 28th, 2025 04:21 EDT
change timezone
Latest GPU Drivers
New Forum Posts
- How is my CPU's temperature? (19)
- Is RX 9070 VRAM temperature regular value or hotspot? (245)
- 9070 XT - 2x HDMI high refresh displays (144 and 120 Hz) not working (70)
- TPU's Nostalgic Hardware Club (20135)
- Microprose: Falcon 5.0 - Well under development- yeay (4)
- What are you playing? (23283)
- The TPU UK Clubhouse (25983)
- Post your Speedtest.net Speeds! (2355)
- Smelly brand new graphic cards? Remanufactured? (14)
- Your PC ATM (35294)
Popular Reviews
- Sapphire Radeon RX 9070 XT Pulse Review
- Samsung 9100 Pro 2 TB Review - The Best Gen 5 SSD
- Assassin's Creed Shadows Performance Benchmark Review - 30 GPUs Compared
- Pulsar Feinmann F01 Review
- ASRock Phantom Gaming B860I Lightning Wi-Fi Review
- be quiet! Pure Rock Pro 3 Black Review
- Sapphire Radeon RX 9070 XT Nitro+ Review - Beating NVIDIA
- ASRock Radeon RX 9070 XT Taichi OC Review - Excellent Cooling
- AMD Ryzen 7 9800X3D Review - The Best Gaming Processor
- ASUS ProArt X870E-Creator Wi-Fi Review
Controversial News Posts
- AMD RDNA 4 and Radeon RX 9070 Series Unveiled: $549 & $599 (260)
- MSI Doesn't Plan Radeon RX 9000 Series GPUs, Skips AMD RDNA 4 Generation Entirely (142)
- Microsoft Introduces Copilot for Gaming (123)
- AMD Radeon RX 9070 XT Reportedly Outperforms RTX 5080 Through Undervolting (118)
- NVIDIA Reportedly Prepares GeForce RTX 5060 and RTX 5060 Ti Unveil Tomorrow (115)
- Over 200,000 Sold Radeon RX 9070 and RX 9070 XT GPUs? AMD Says No Number was Given (100)
- NVIDIA GeForce RTX 5050, RTX 5060, and RTX 5060 Ti Specifications Leak (96)
- Retailers Anticipate Increased Radeon RX 9070 Series Prices, After Initial Shipments of "MSRP" Models (90)