 0
0
BitFenix Phenom Mini-ITX Review
Assembly & Finished Looks »A Closer Look - Inside
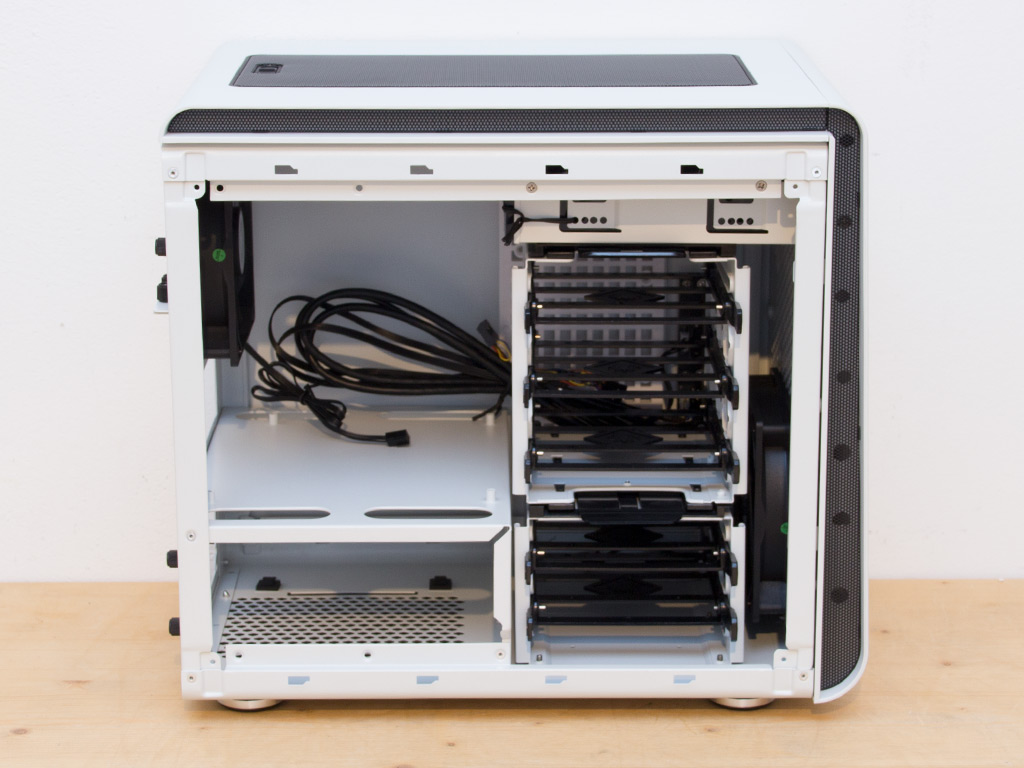

Simply remove two thumbscrews to take a panel off and access the interior. As mentioned before, the entire interior is white to match the exterior of the Phenom Mini-ITX. An interesting feature reveals itself once you look at the right side panel: Invisible to the outside due to some well-placed screws, there are two 2.5'' bays for hard drives here.
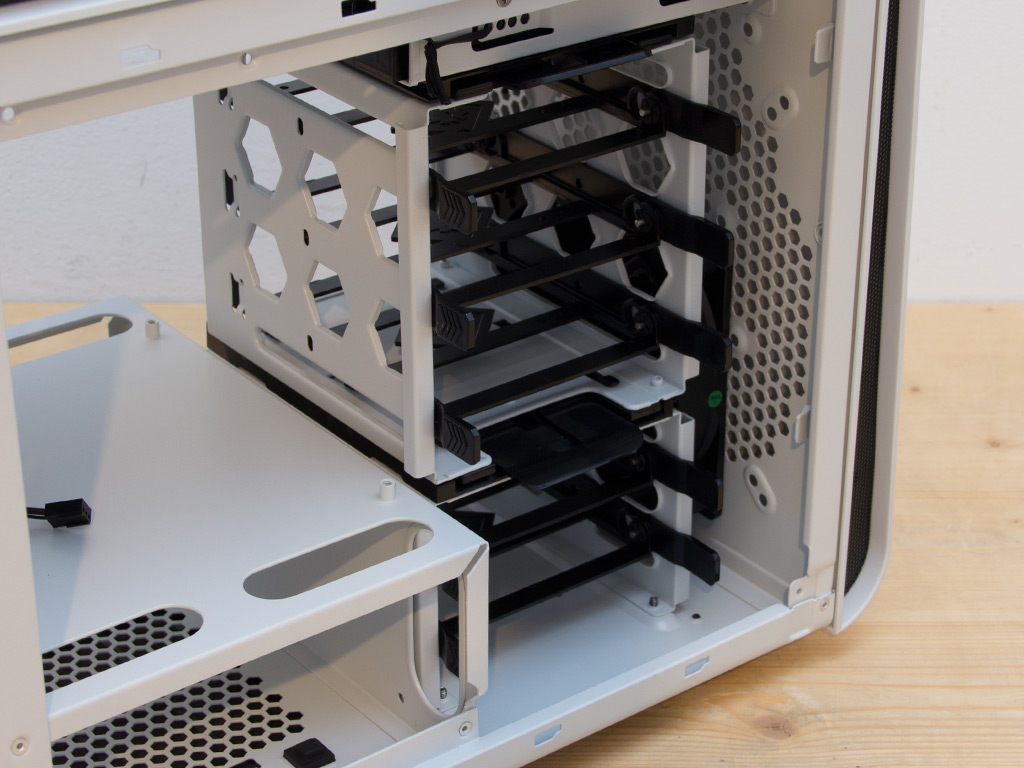

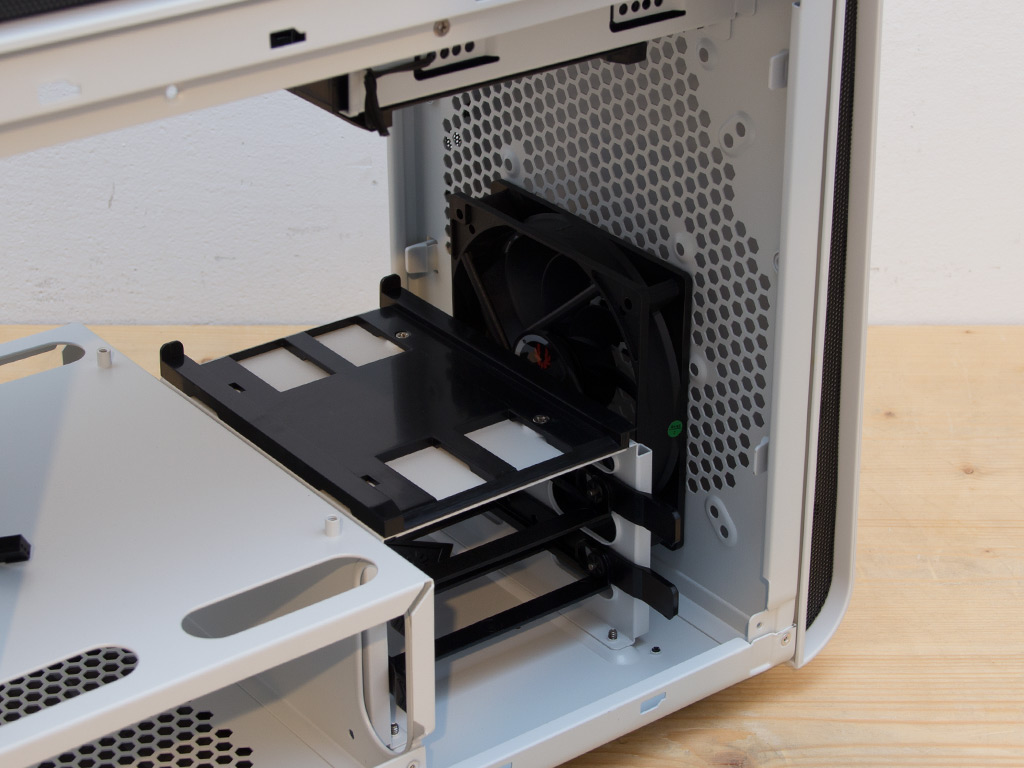
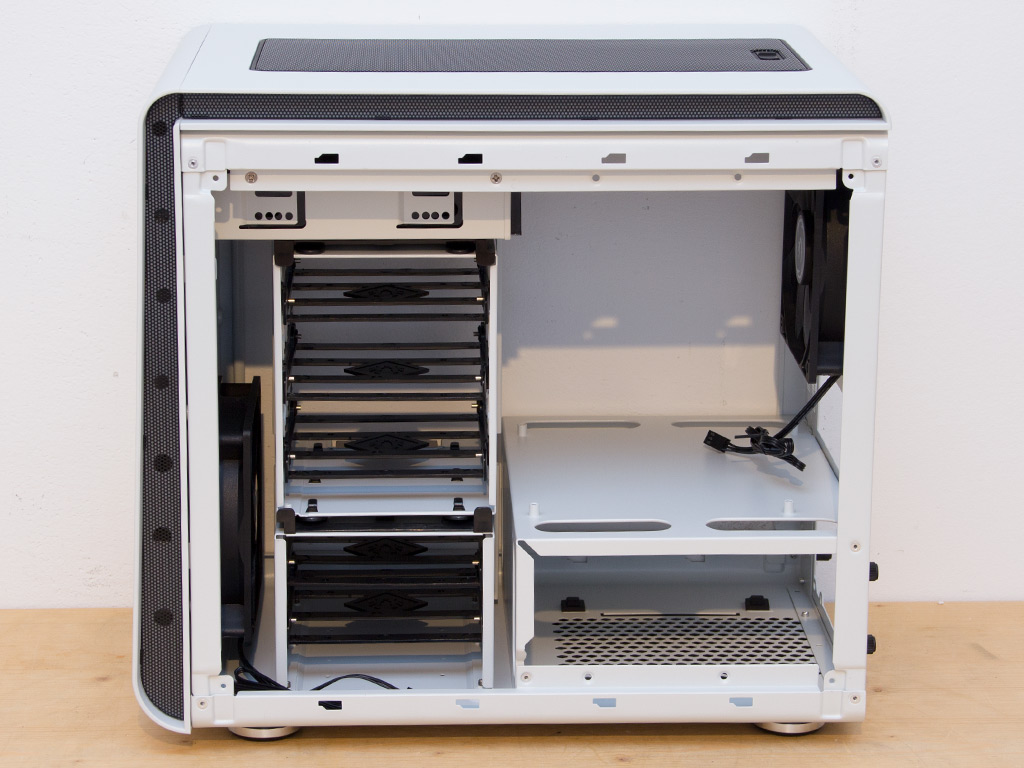
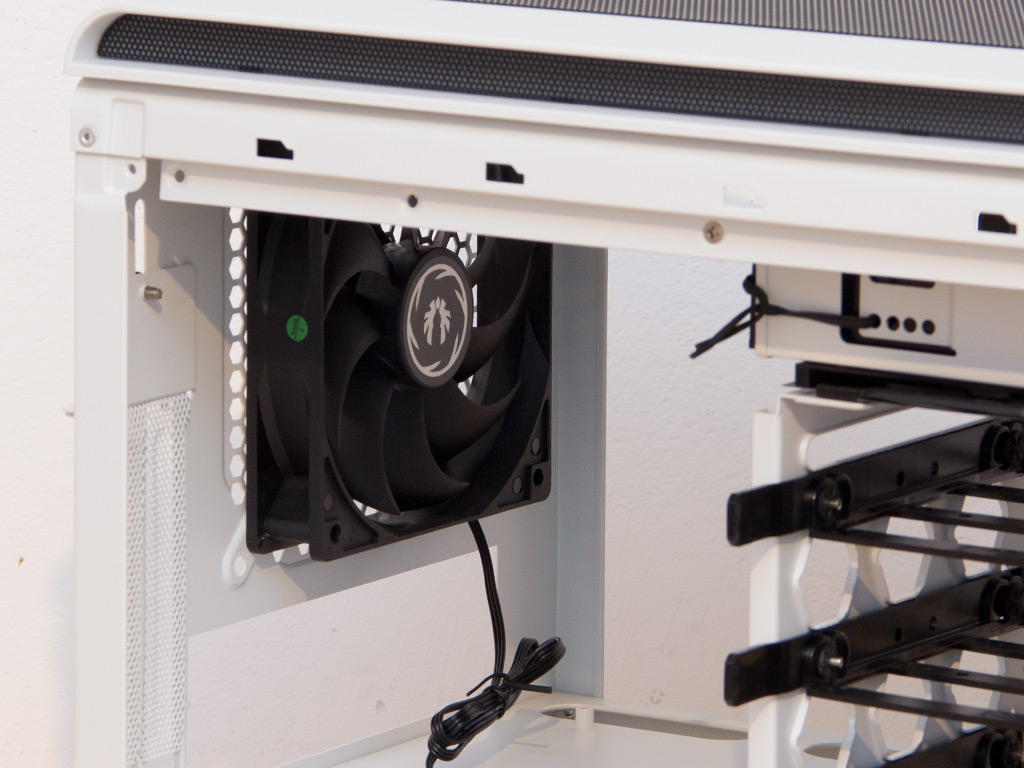
The Phenom Mini-ITX may hold up to five 3.5" hard drives, but you may remove the top cage to reduce that number to two, which would provide enough room for long GPUs. You can also take all hard-drive bays out. This last step makes sense if you want to remove the 5.25'' bay to maximize intake at the front of the chassis by including another fan there. The Prodigy ships with a single 120 mm Spectre fan BitFenix pre-installed into the front, but it is good to have the flexibility to go bigger.
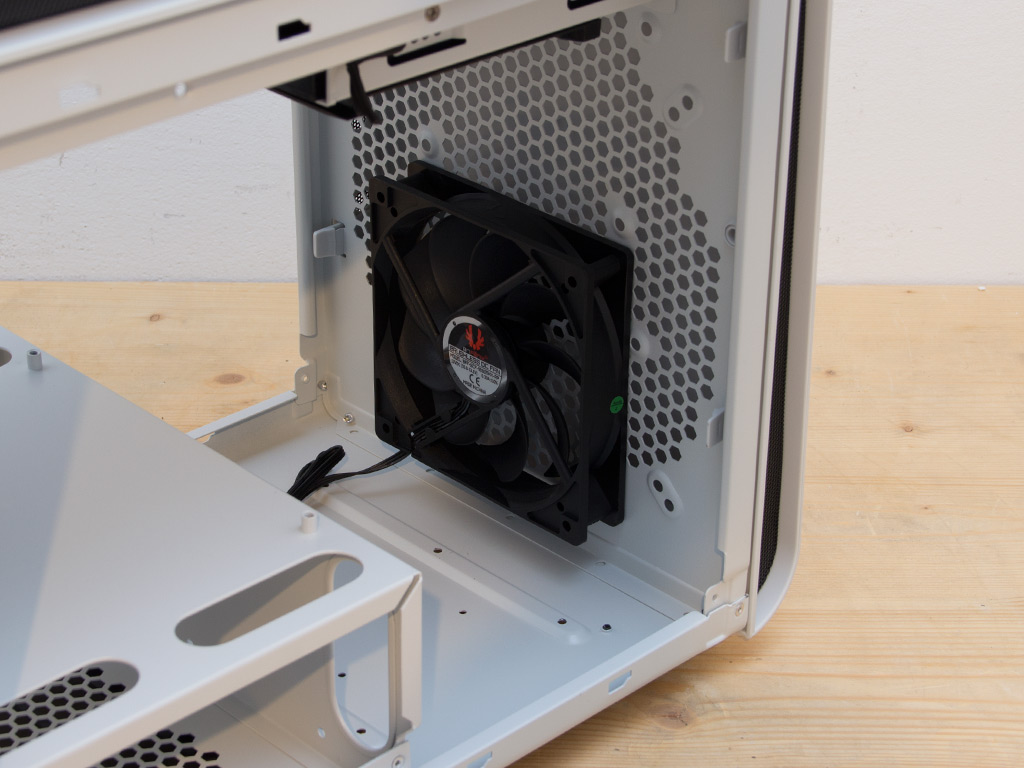
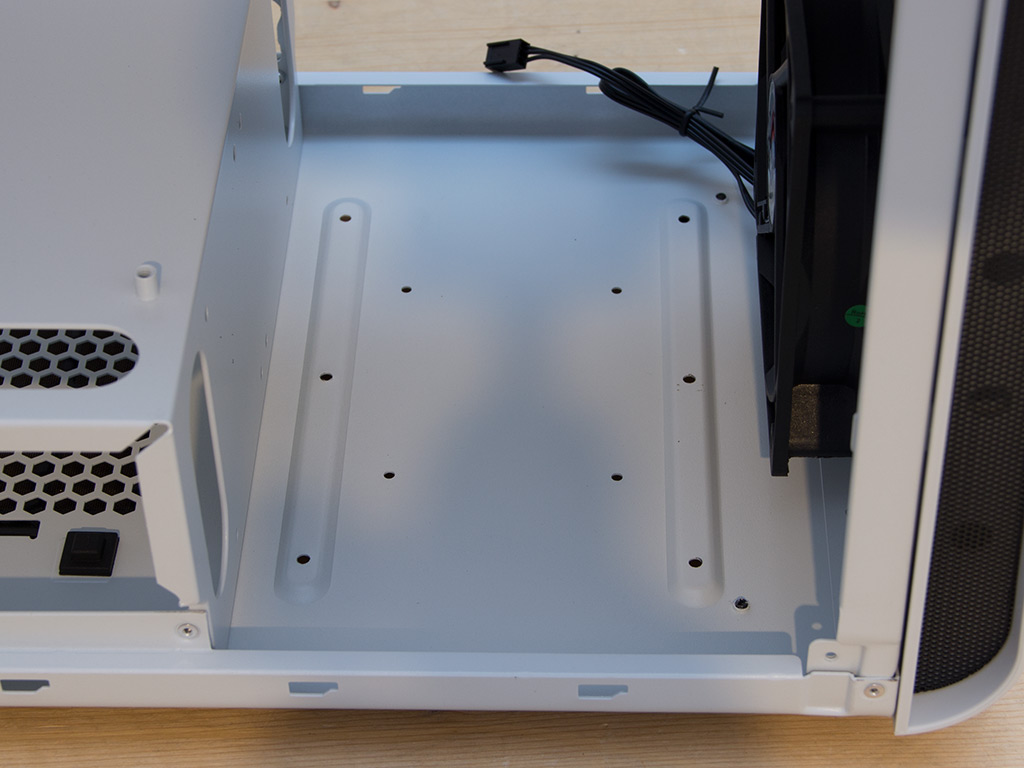

Remove everything and you should even have enough room to place a 240 mm radiator into the front of the chassis for a total of 480 mm in radiators. Removing the bottom hard-drive cage will also allow you to access the three 2.5" drive bays. One of these bays is on the floor of the chassis, while the other two are on the frame of the power supply.
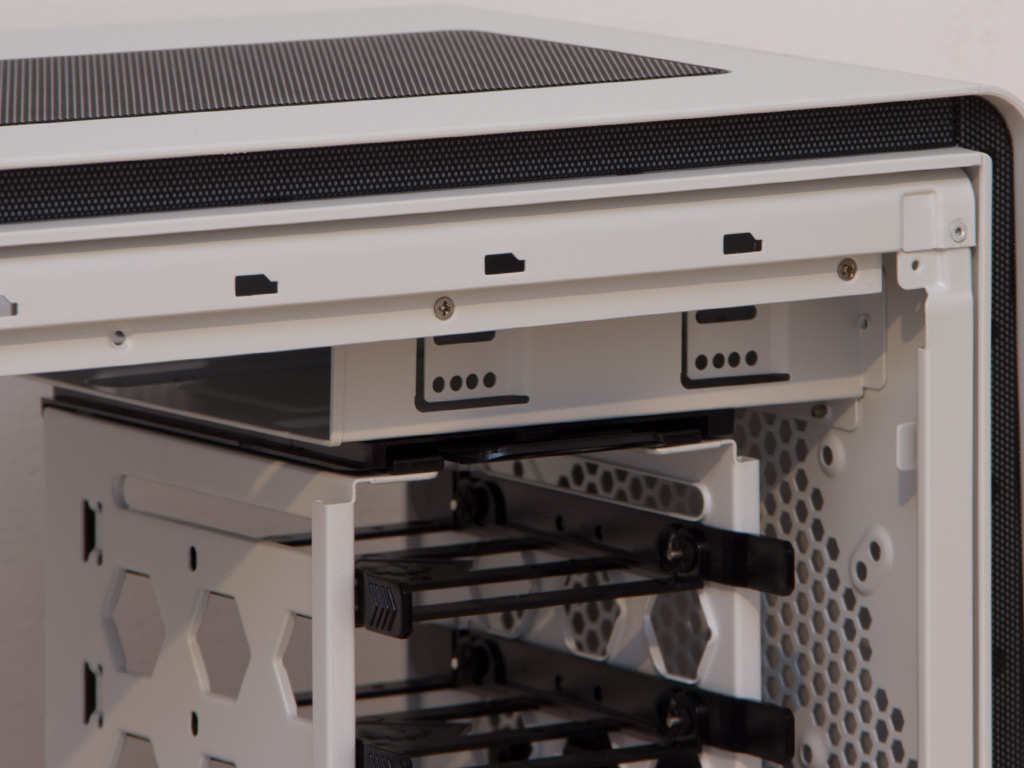
That single 5.25" drive bay at the very top would make installing an optical drive possible were it not for the front panel, but it instead acts as an additional hard-drive bay within the Phenom Mini-ITX.

The motherboard area is nothing out of the ordinary, but its horizontal placement gives you plenty of clearance for large CPU coolers with a maximum height of 175 mm. Below that is the PSU bay. The most restrictive part of the chassis, it is good for PSUs with a length of up to 160 mm, but considering that most power supplies are modular nowadays, you need to reduce their length accordingly. You also need to keep in mind that your cables need enough room to turn since there are cable exit holes on either edge of the PSU compartment. BitFenix does offer an optional extension bracket for large PSUs.
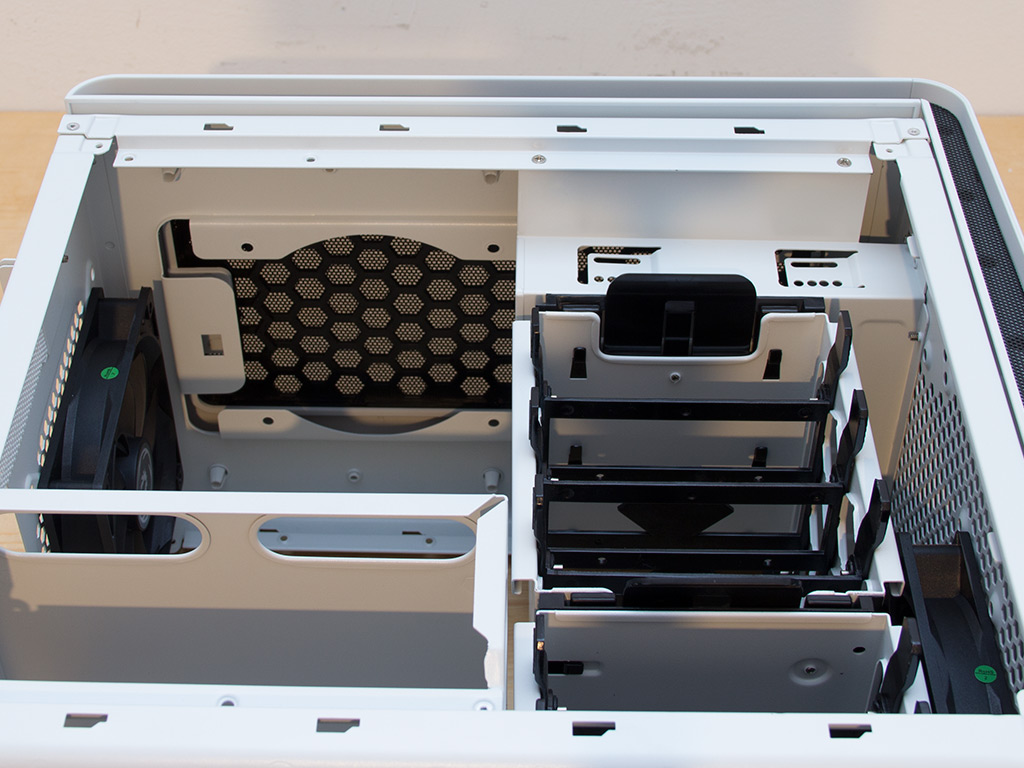
Take a quick look at the ceiling of the case, and you can see where any cooling fans or that radiator at the top would go.


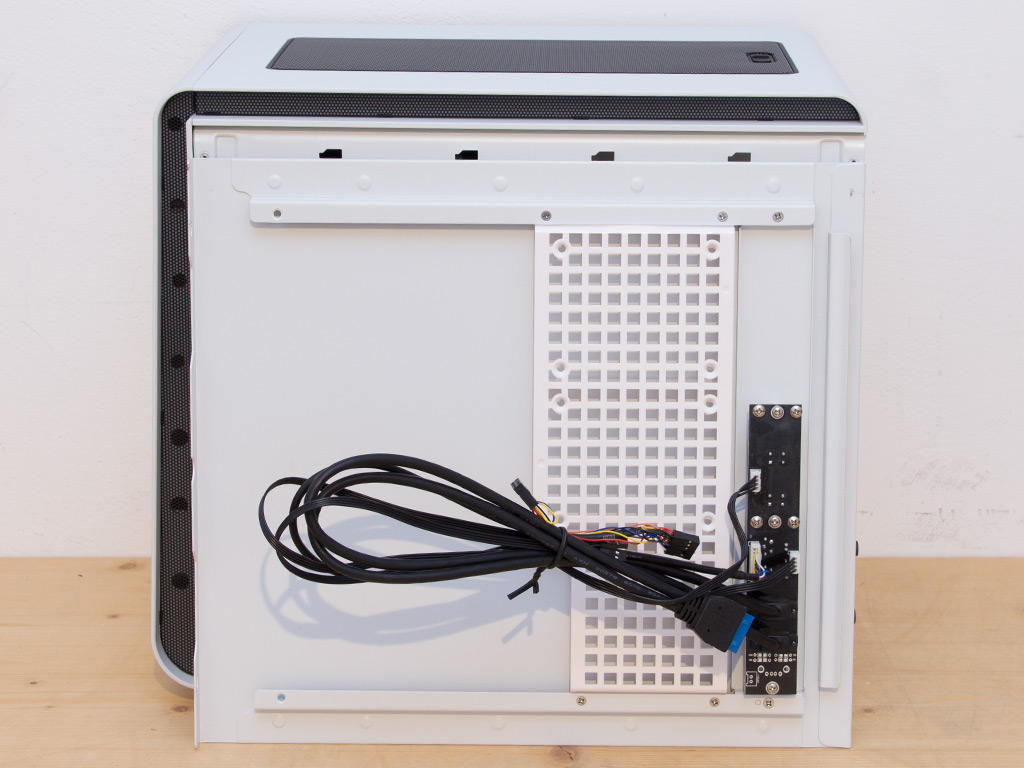
Every cable in the Phenom Mini-ITX is black and utilizes a standard connectivity option. Unique here is that USB 3.0 cable with an attached USB 2.0 header as you won't need an additional adapter irregardless off what type of header your motherboard uses.
Feb 5th, 2025 01:55 EST
change timezone
Latest GPU Drivers
New Forum Posts
- 7900XTX Thermal pad size? (10)
- NVIDIA RTX owners only - your opinion on DLSS Image quality (456)
- Investigating possible firmware/AGESA bug on AM5, help wanted. (3)
- Hello everyone, what HDMI cable do you recommend to connect a PC(5090 GPU) with a 120HZ TV? (19)
- RTX 2070 Super build (49)
- ASUS Dual GeForce RTX 4070 SUPER EVO OC Edition - stay away from this card, very hot and loud (20)
- MSI monitor not working, flashing colors (3)
- Res-BAR Option on X670 AORUS ELITE AX question (12)
- Unigine Superposition GPU Benchmark (1080P Extreme) (392)
- New 8700g build for a client. (6)
Popular Reviews
- Spider-Man 2 Performance Benchmark Review - 35 GPUs Tested
- Corsair Frame 4000D Review
- NVIDIA GeForce RTX 5080 Founders Edition Review
- Gigabyte GeForce RTX 5080 Gaming OC Review
- MSI GeForce RTX 5080 Vanguard SOC Review
- AMD Ryzen 7 9800X3D Review - The Best Gaming Processor
- ASUS GeForce RTX 5080 Astral OC Review
- Cooler Master X Silent Edge Platinum 850 W Review - Fully Passive PSU
- NVIDIA DLSS 4 Transformer Review - Better Image Quality for Everyone
- NVIDIA GeForce RTX 5090 Founders Edition Review - The New Flagship
Controversial News Posts
- NVIDIA 2025 International CES Keynote: Liveblog (470)
- AMD Debuts Radeon RX 9070 XT and RX 9070 Powered by RDNA 4, and FSR 4 (349)
- AMD Radeon 9070 XT Rumored to Outpace RTX 5070 Ti by Almost 15% (282)
- AMD is Taking Time with Radeon RX 9000 to Optimize Software and FSR 4 (256)
- AMD Denies Radeon RX 9070 XT $899 USD Starting Price Point Rumors (239)
- Edward Snowden Lashes Out at NVIDIA Over GeForce RTX 50 Pricing And Value (233)
- AMD Radeon RX 9070 XT & RX 9070 Custom Models In Stock at European Stores (226)
- New Leak Reveals NVIDIA RTX 5080 Is Slower Than RTX 4090 (215)