 16
16
Chieftec Visio Review
Thermal Stress Test »Assembly
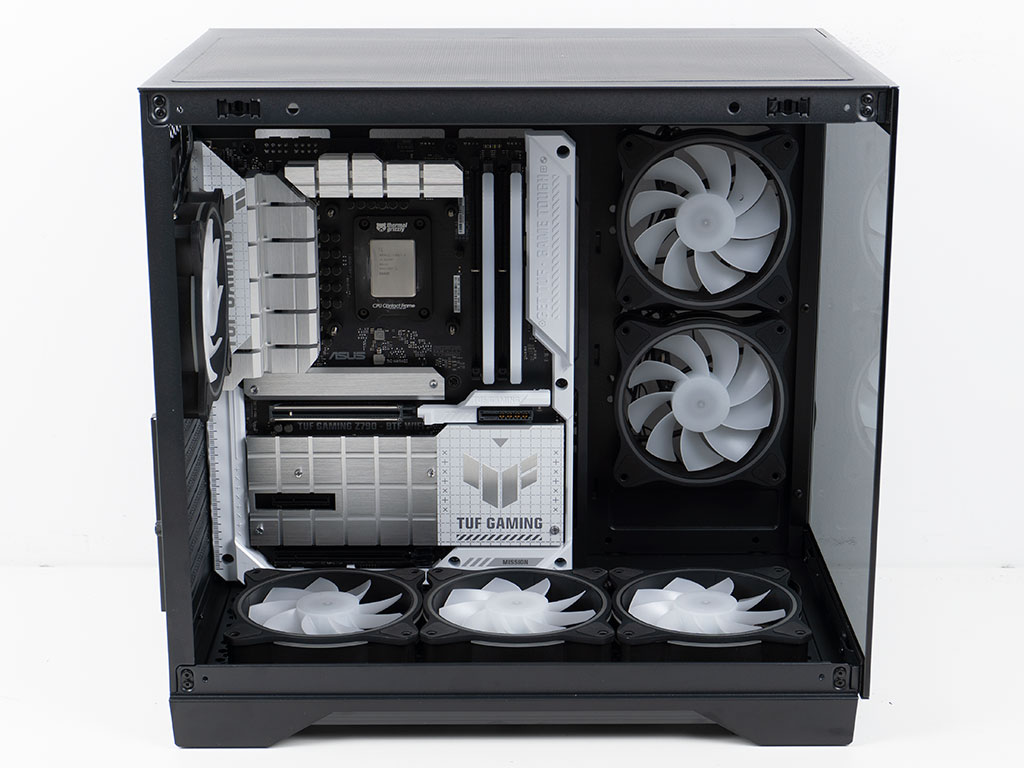

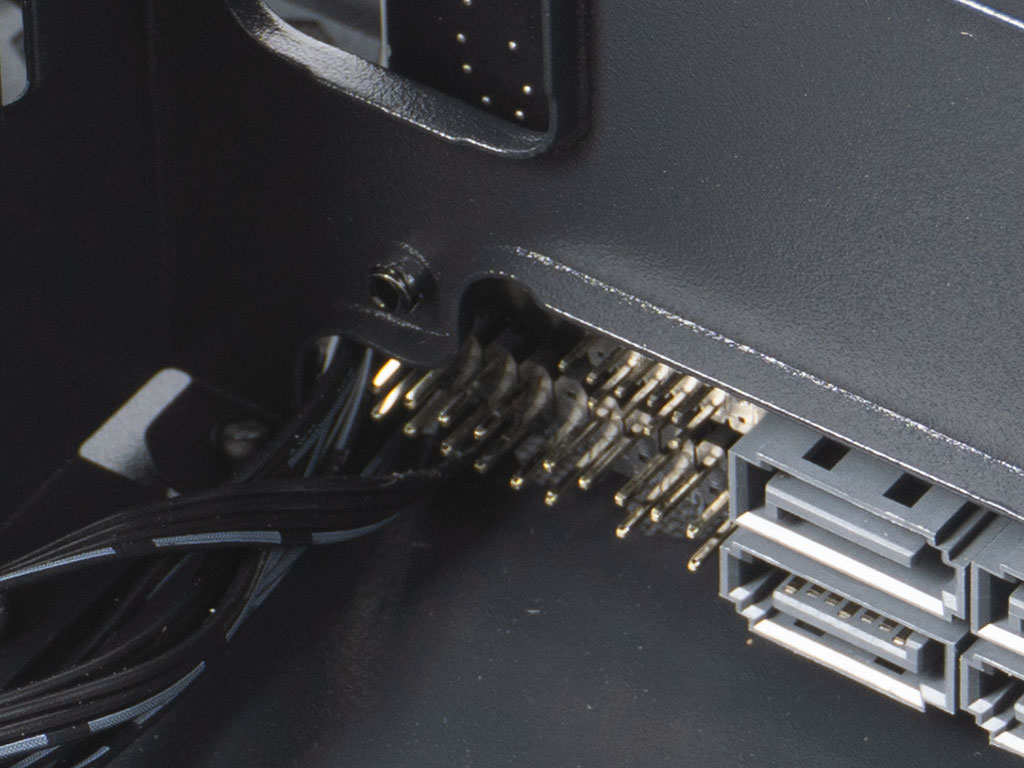
Installing a BTF motherboard takes up most of the motherboard area with only the top edge exposed for cable routing. In the back, you will have to remove the HDD cage to have access to all connectors around the three edges of the board. We had to remove the three fans on the floor to secure the board at the bottom. The BTF cutouts in the Chieftec Visio are perfectly aligned and have plenty of clearance around each connector. As expected, the wires of the three fans in the floor can barely make it past the board as its bottom edge sits right against the floor of the case. So we left those there and worked with this.
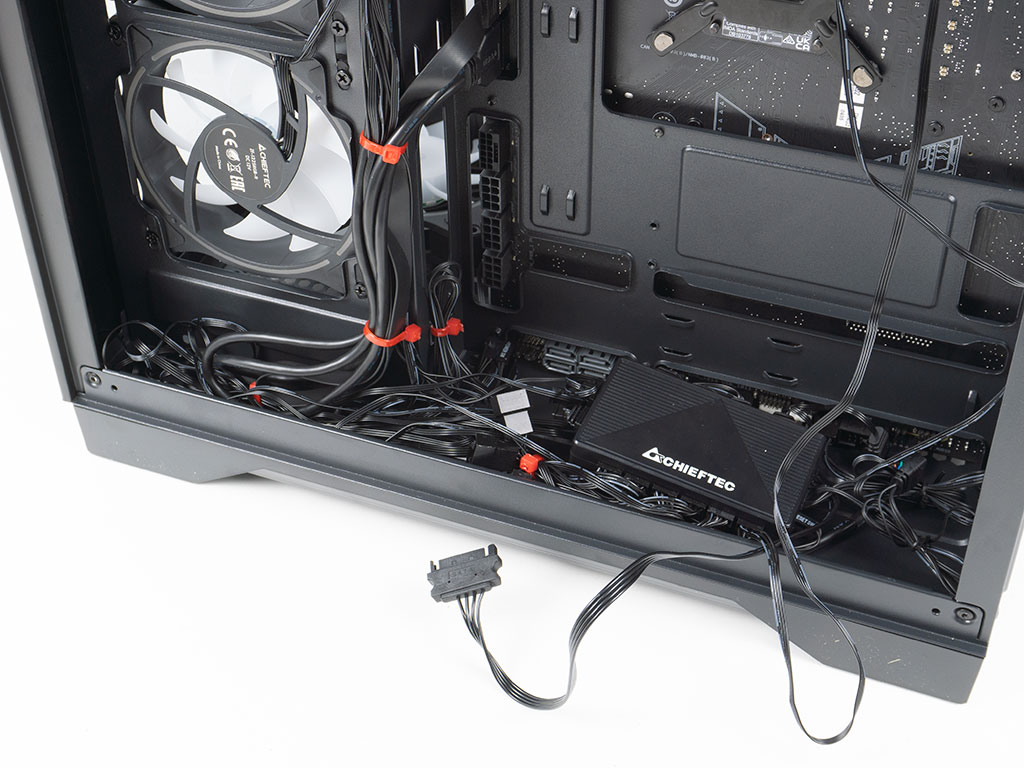
Before we can even consider attaching anything to the motherboard, we spent some time to tame the amount of cables this compact case comes with. This included rotating the two side intake units so that their four wires could be bundled up with the I/O leads without interfering with airflow for example. The one fan on the back was routed loosely, as there won't be any room behind the PSU to run to down against the motherboard tray and the remaining three were bunched up as much as possible to stay on the floor of the case. Since the controller does have two magnets, we could have placed it in the ceiling, but their grip strength is not enough to keep it there reliably with all the wires attached to it either.
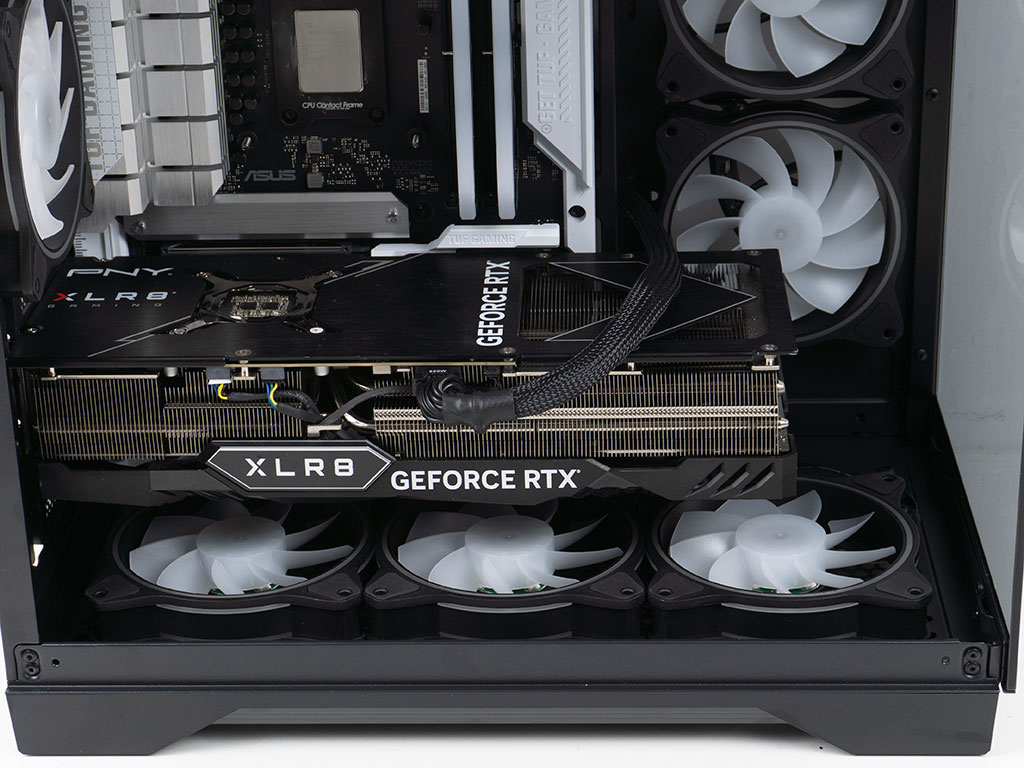
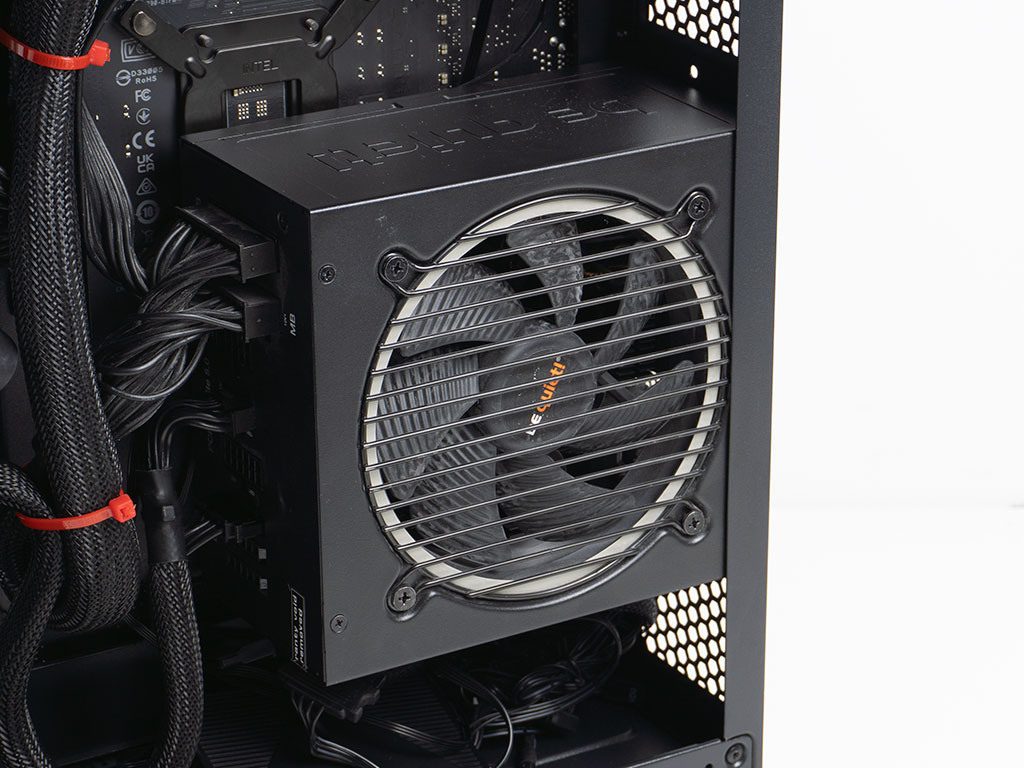
Installing the GPU is straight forward with plenty of room for long and powerful units. There is enough room towards the side fans to install a classic AIO with its fans as well. We had to route the GPU power wiring above the GPU because the only place to route this wire is out from behind the side of the motherboard tray and away from the fans in the floor. Adding a PSU also uses classic methods. There is a small lip for it to rest on so you can screw it in easier, but there isn't a lot of room left of cable manage at this point, so we tried our best to bunch wires up as needed.
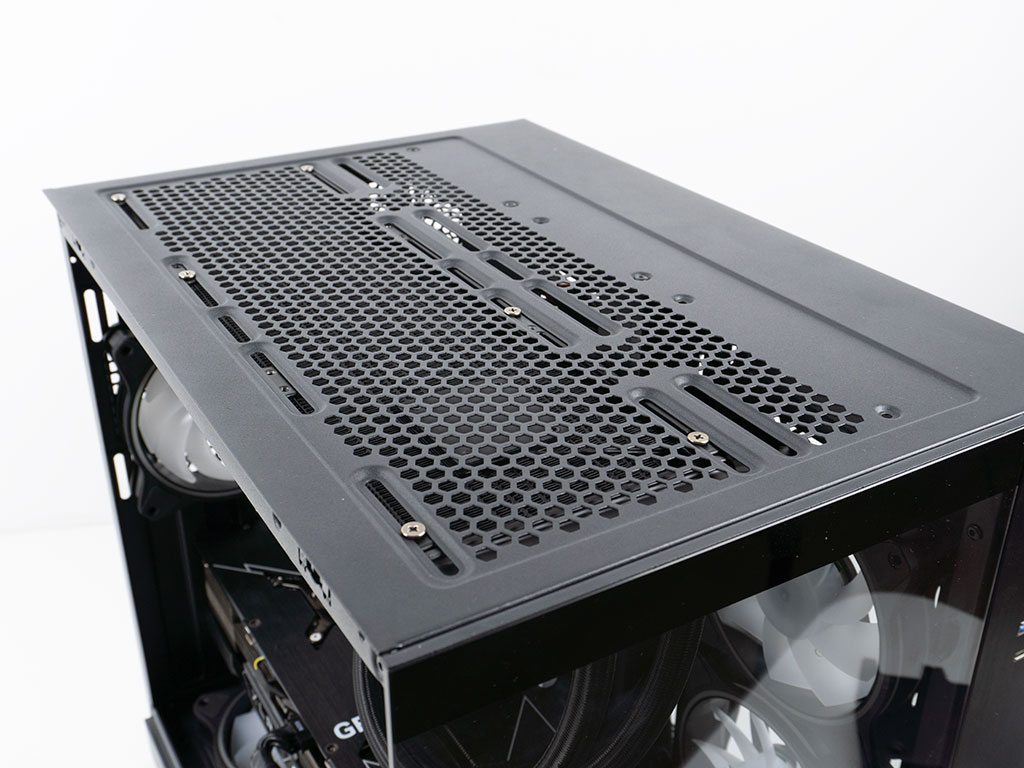

In the ceiling, the 360 mm AIO fit easily with room to spare, so you can slide it back and forth a little bit to fit your needs. That comes in handy, if you want to push the rear fan all the way up at the same time.
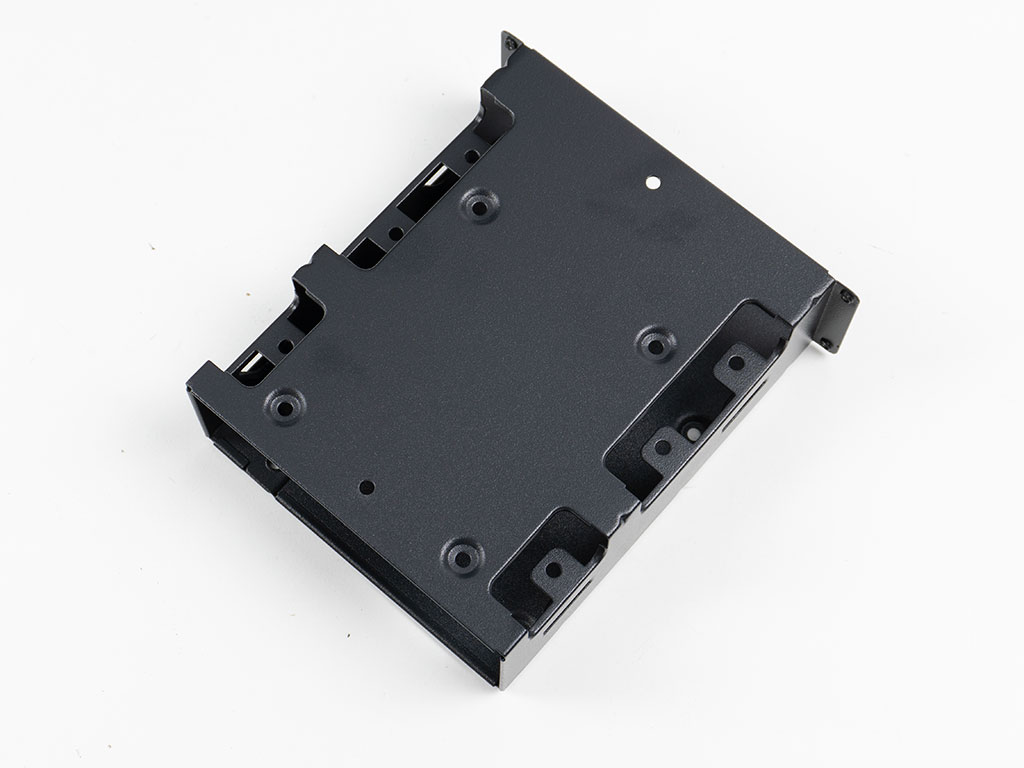
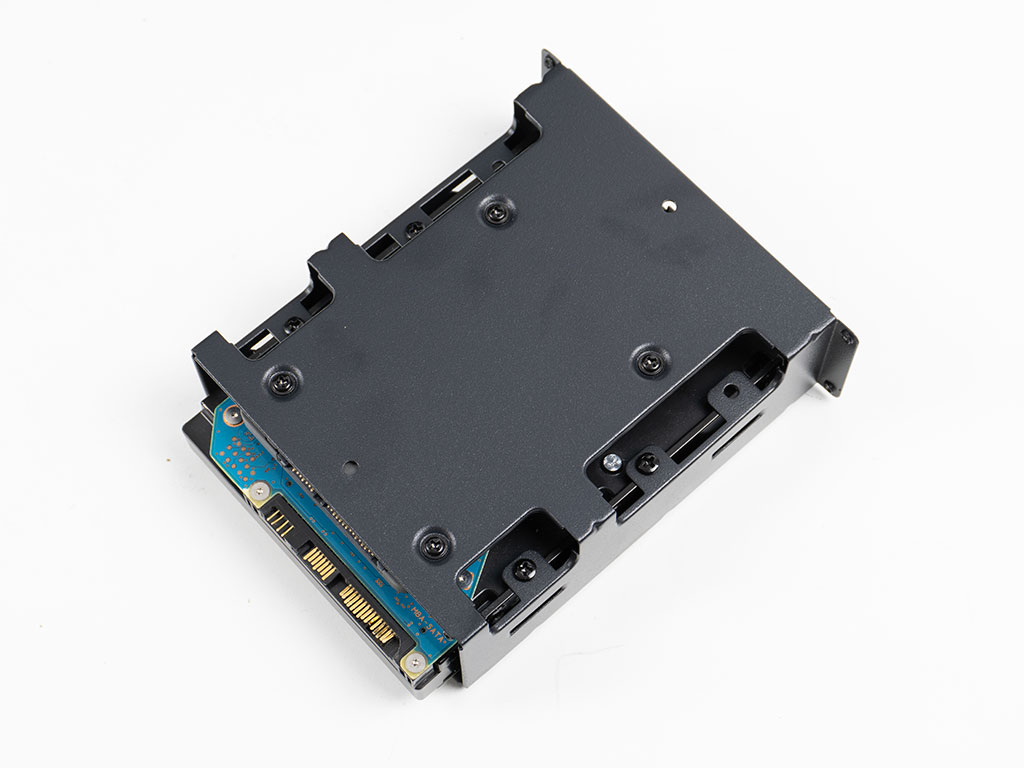
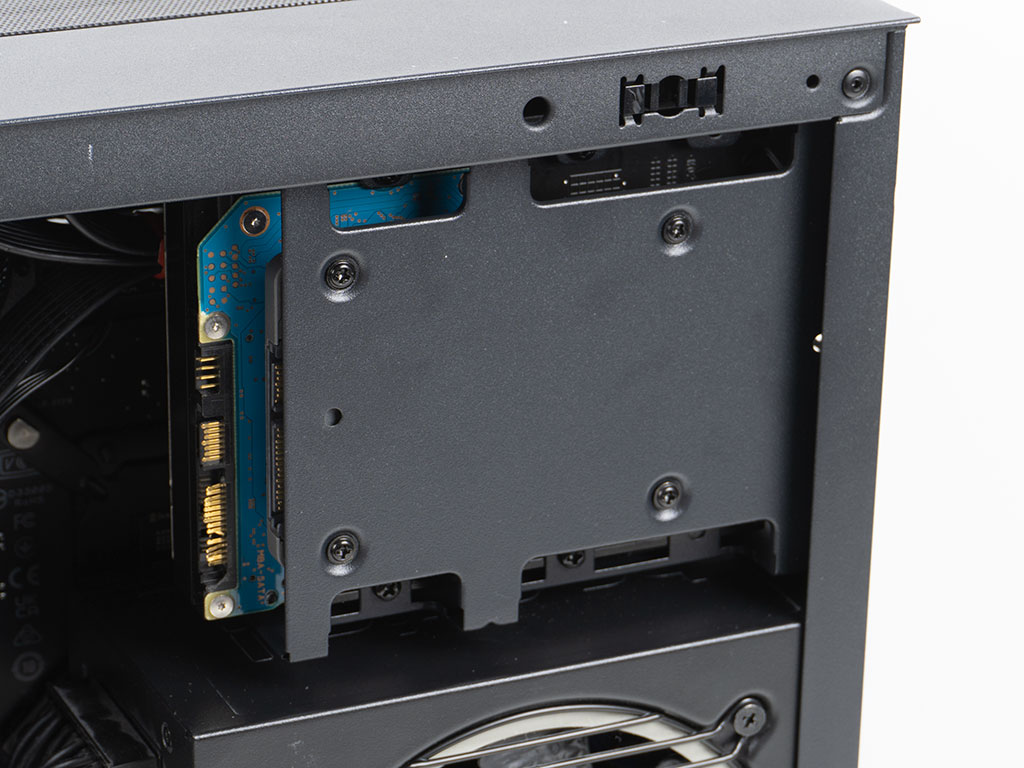
While installing the hard drive does not require you to remove the cage, we already had it detached to route power cables to the BTF board. Adding the pair of 3.5" and 2.5" drives with the provided screws was a breeze and a little highlight thanks to the nifty design. Once filled, it can be placed back into the chassis. This does block access to some BTF connectors but won't be an issue if you stick with an ATX board instead.
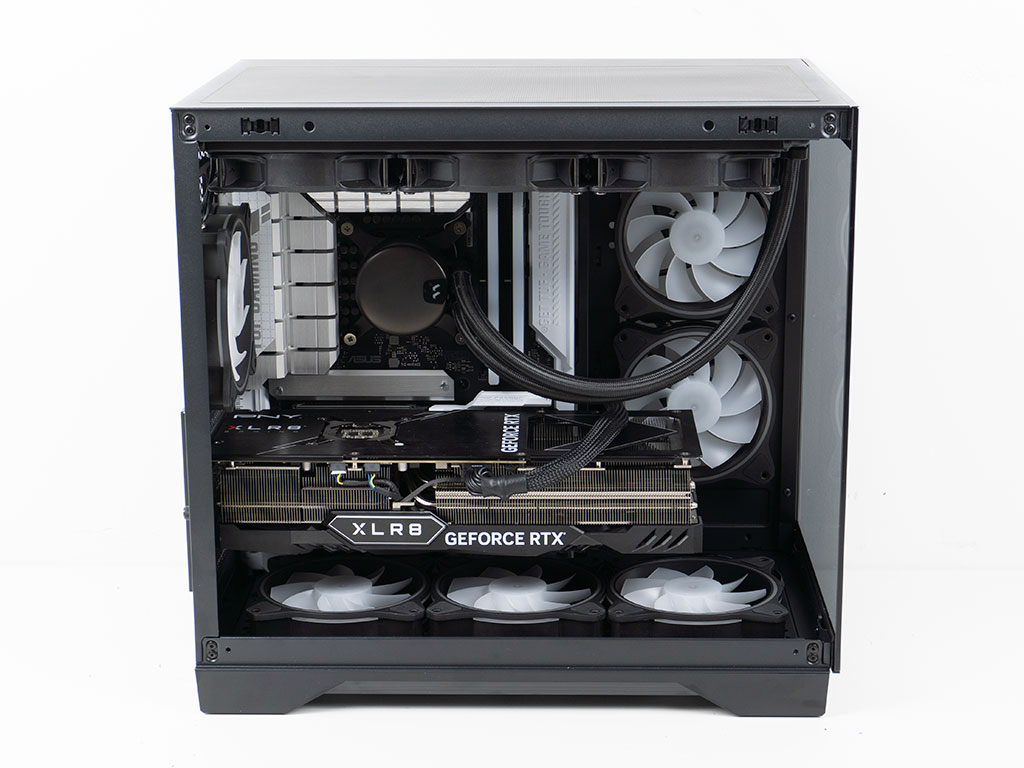
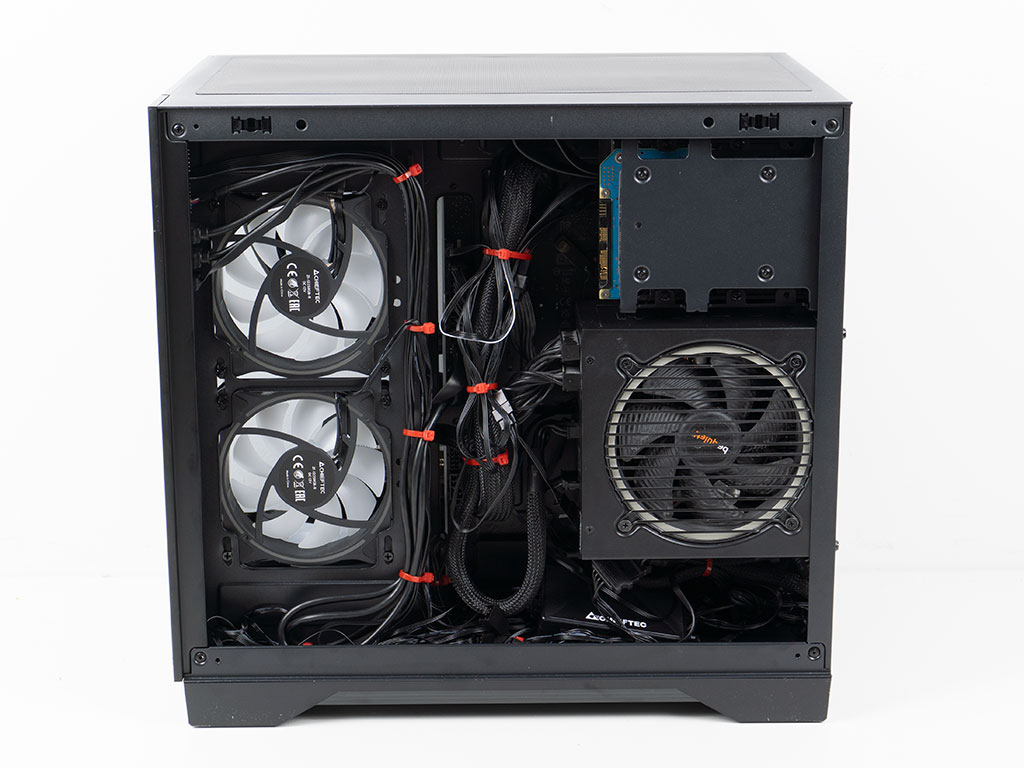
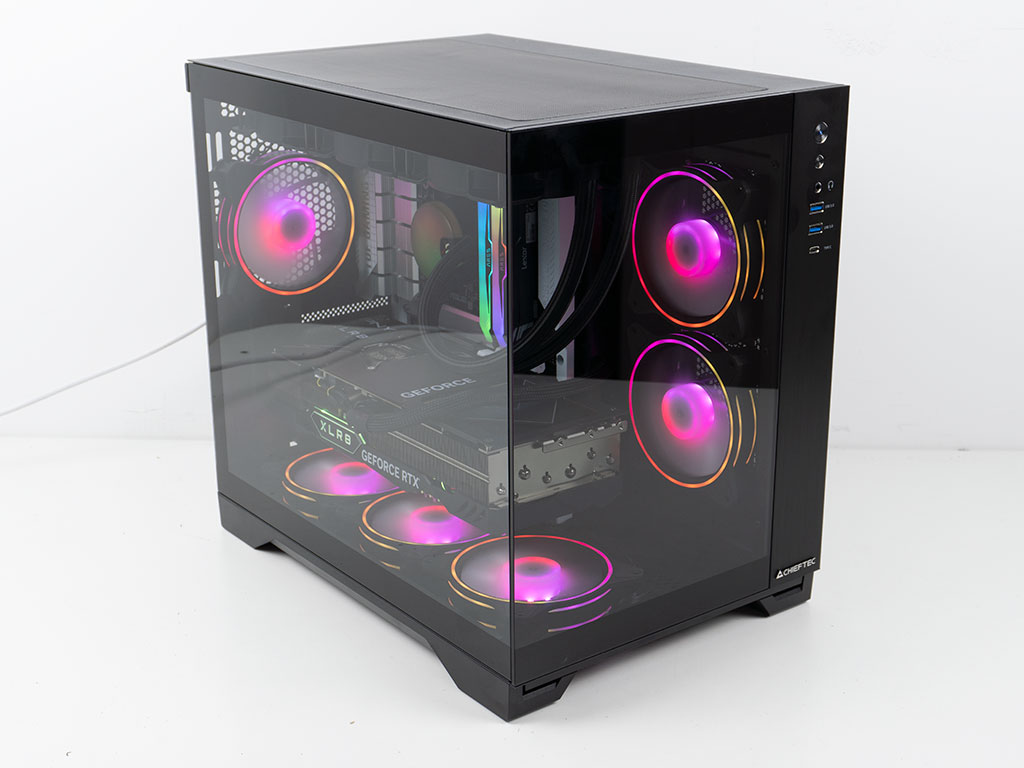
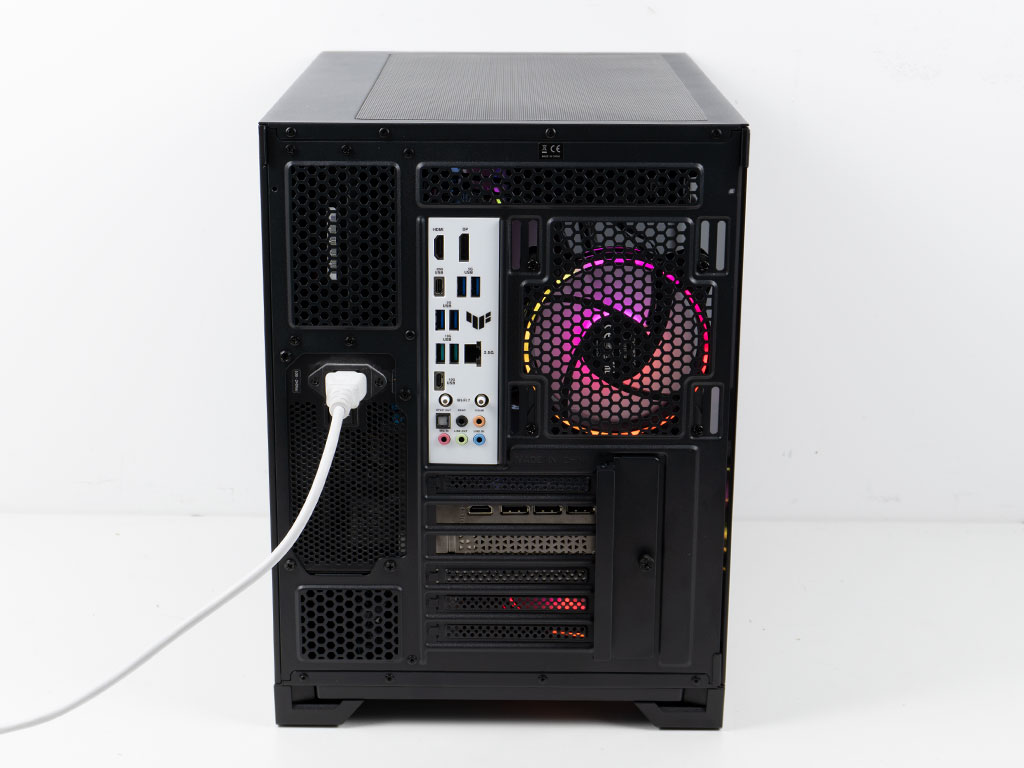
Once everything is in place, the interior is clean, which can be attributed to the BTF board for the most part. There is very little room between the GPU and the three fans, so it will be interesting to see how thermals are affected. As there is very little clearance underneath the case as well, airflow may be a bit restricted. If you are using a full size ATX board, you will have to route every single wire that connects to the bottom edge of the board through the same hole as the PCIe power cable, which will negatively affect the finished looks considerably. In the back you have the wires of 9 fans, six ARGB wires, the IO cables, separate case wiring as well as the modular PSU cables. This does not even include up to four SATA cables and associated SATA power (Editor's note: we do not connect these, as we end up routinely destroying the connectors of hard drives when reconnecting them over and over in all our case builds).
Lastly, we mentioned that the metal body of the Chieftec Visio feels a bit thin in the beginning of the review. If you look closely at the screws for the side intake fans, you can see them deforming the steel, which is an indicator of the lack of thickness of the material. In fact, out of the box, these screws were barely tightened.
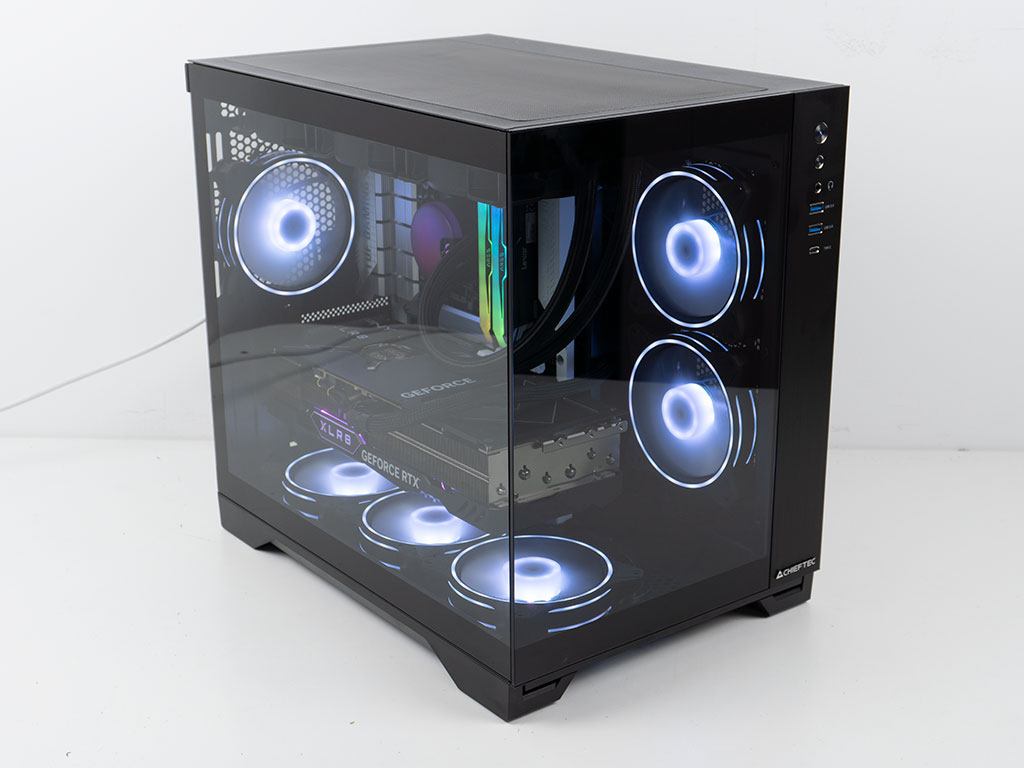
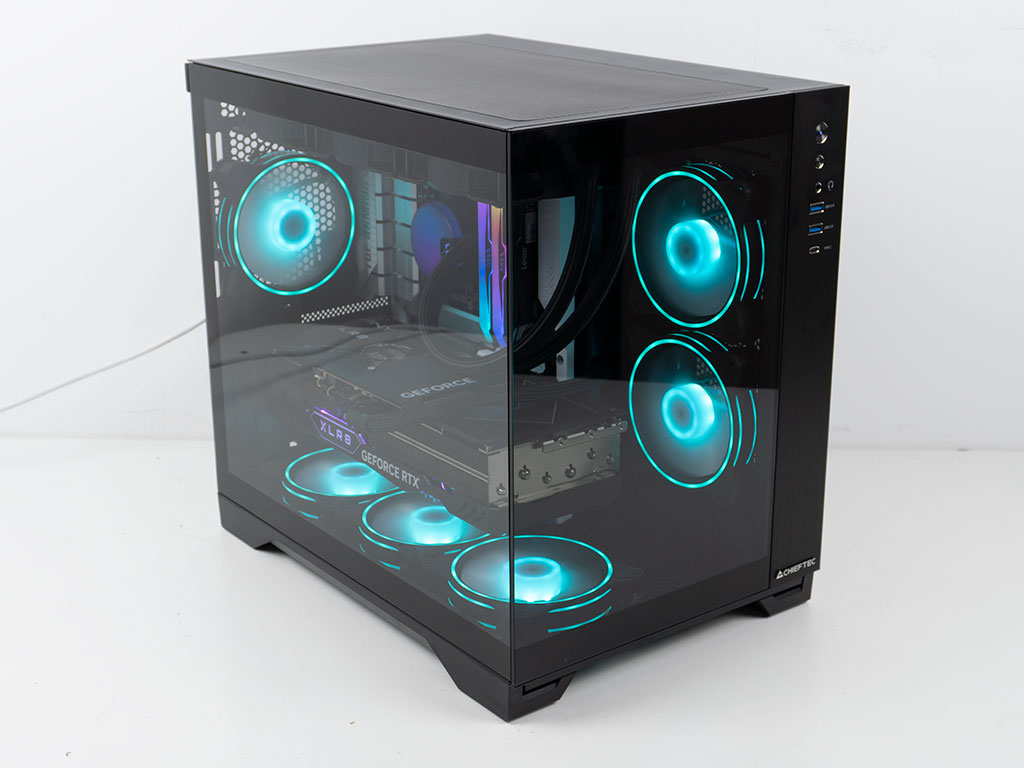
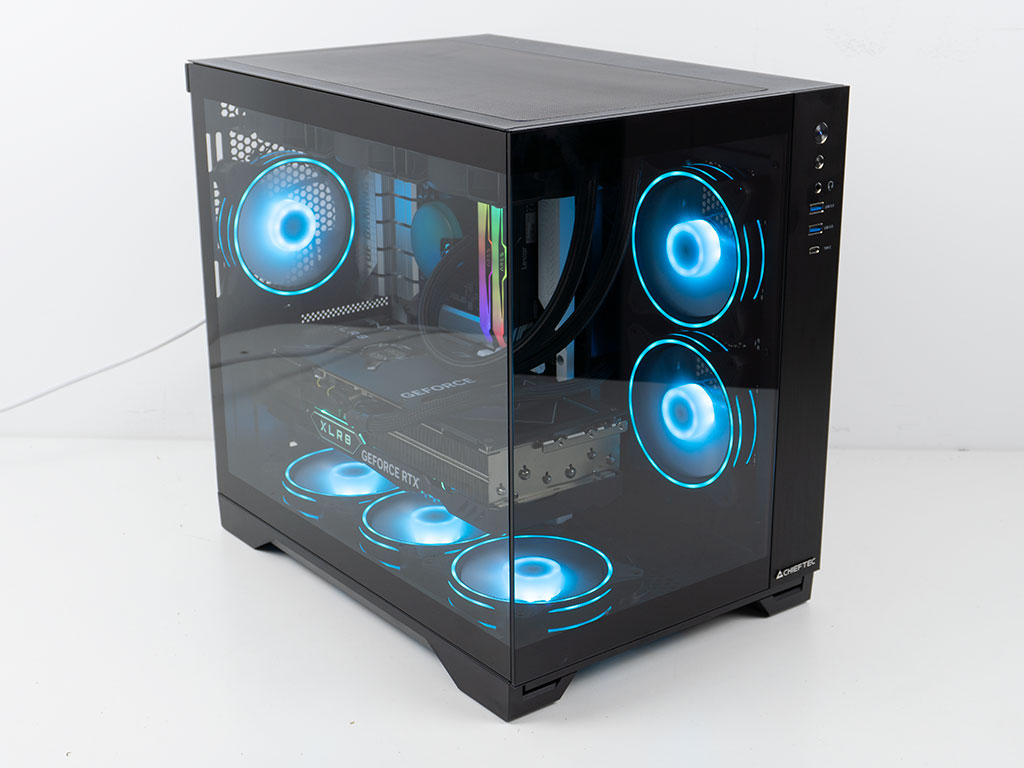
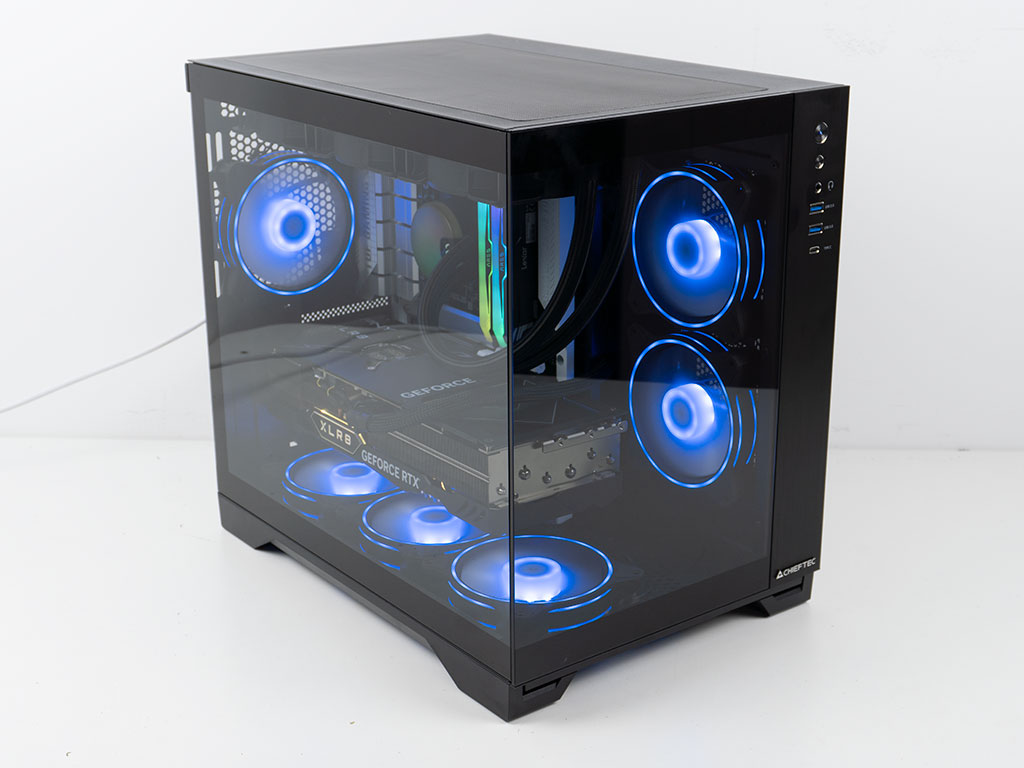
Finished Looks
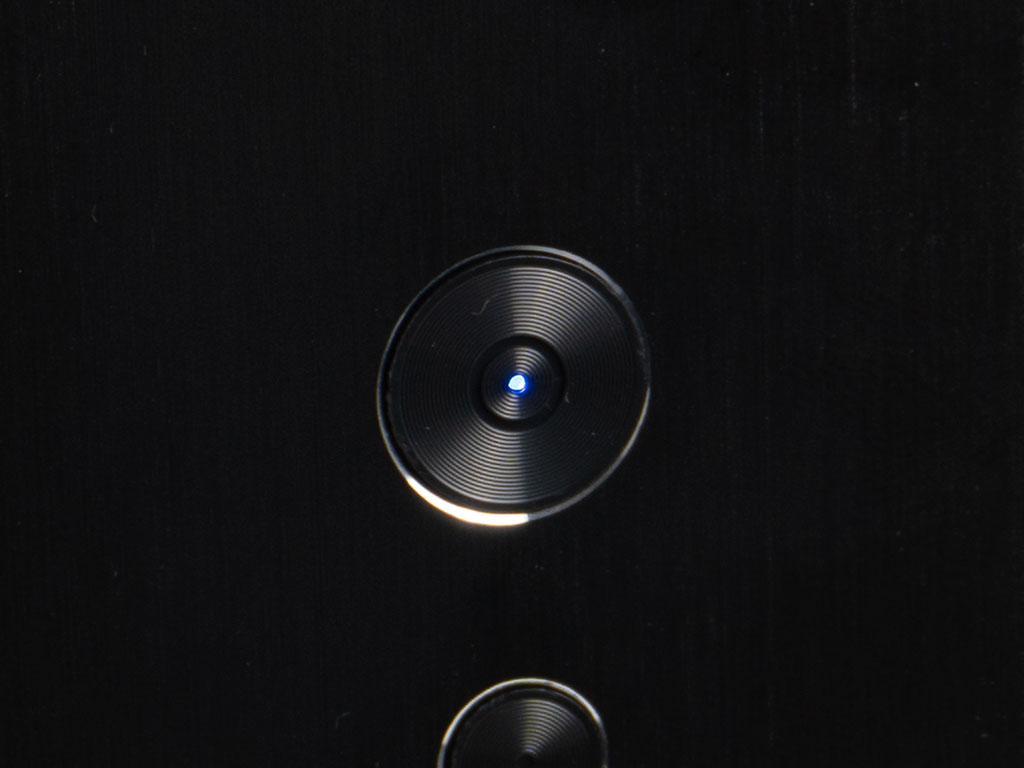
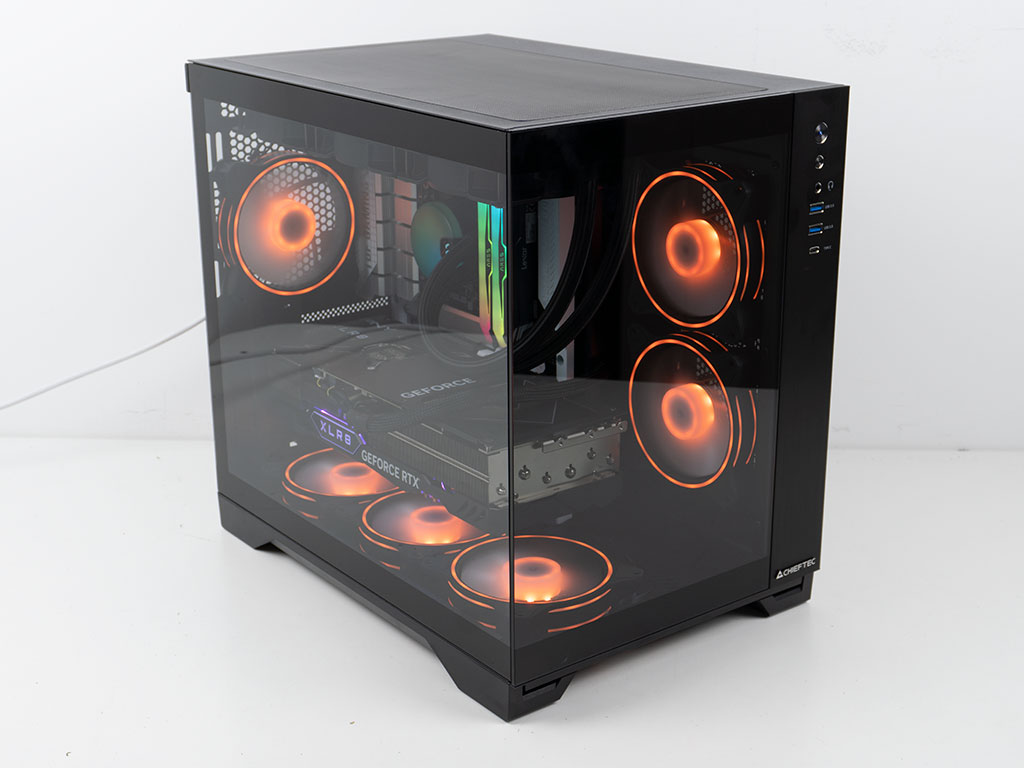
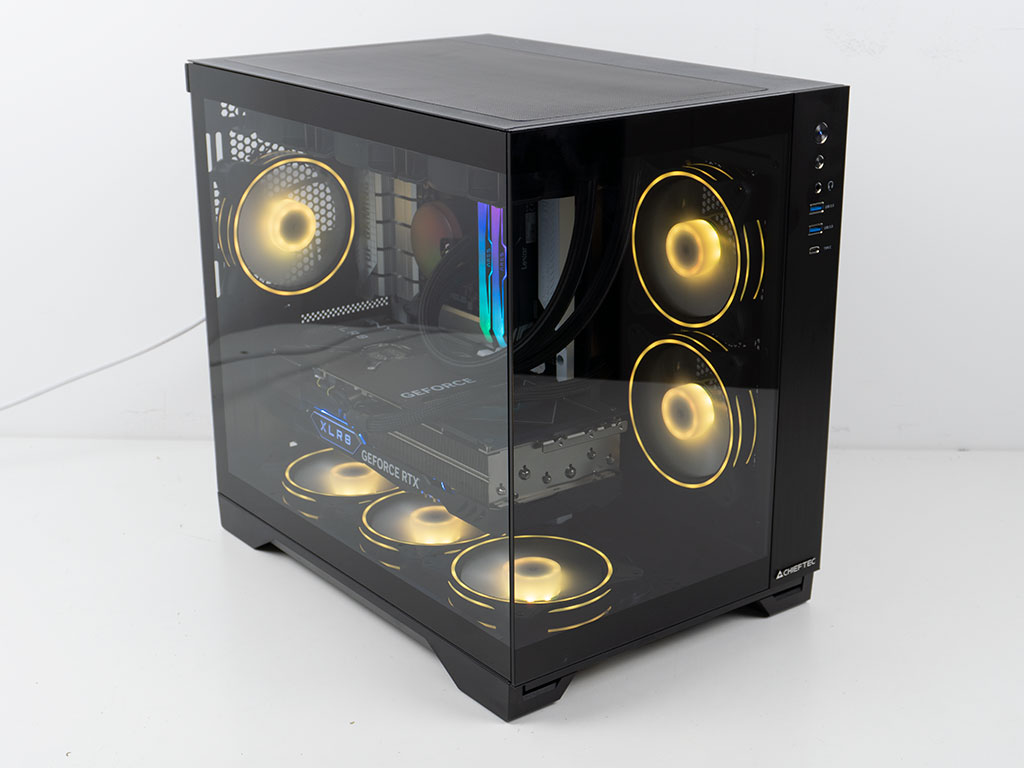
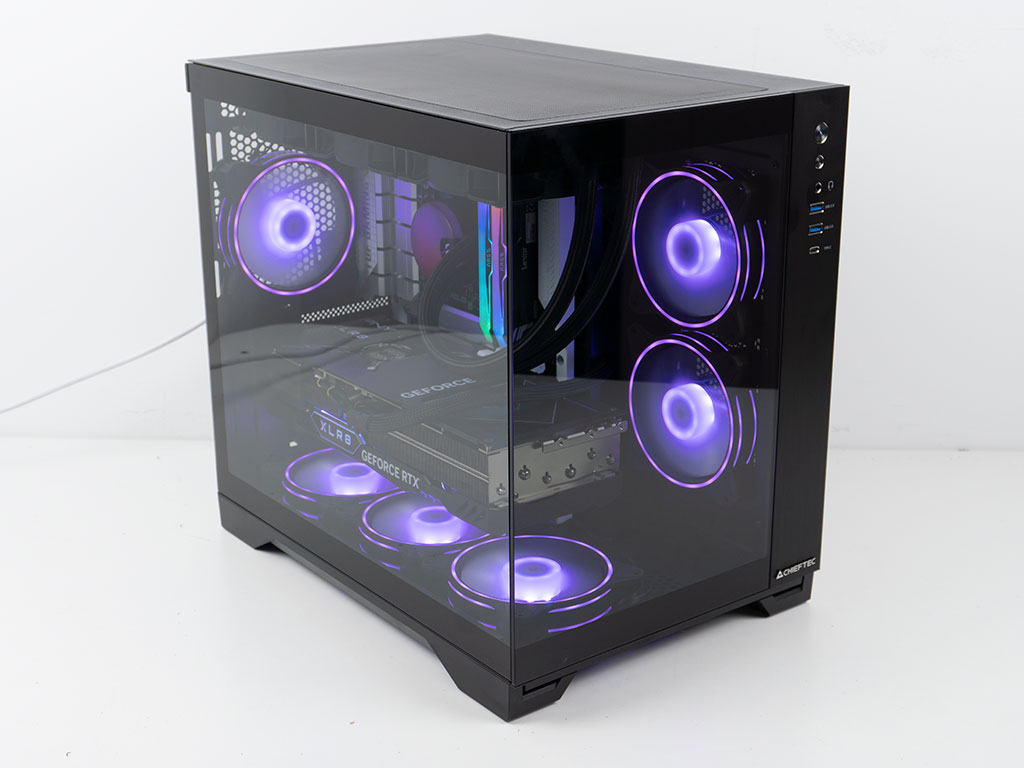
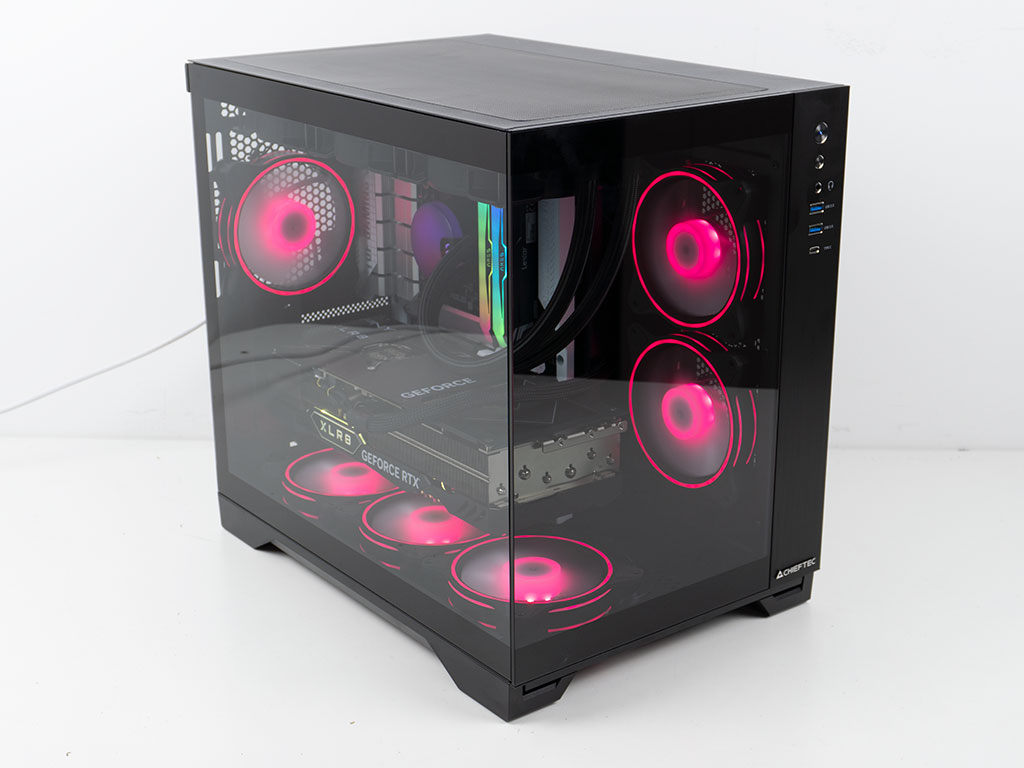
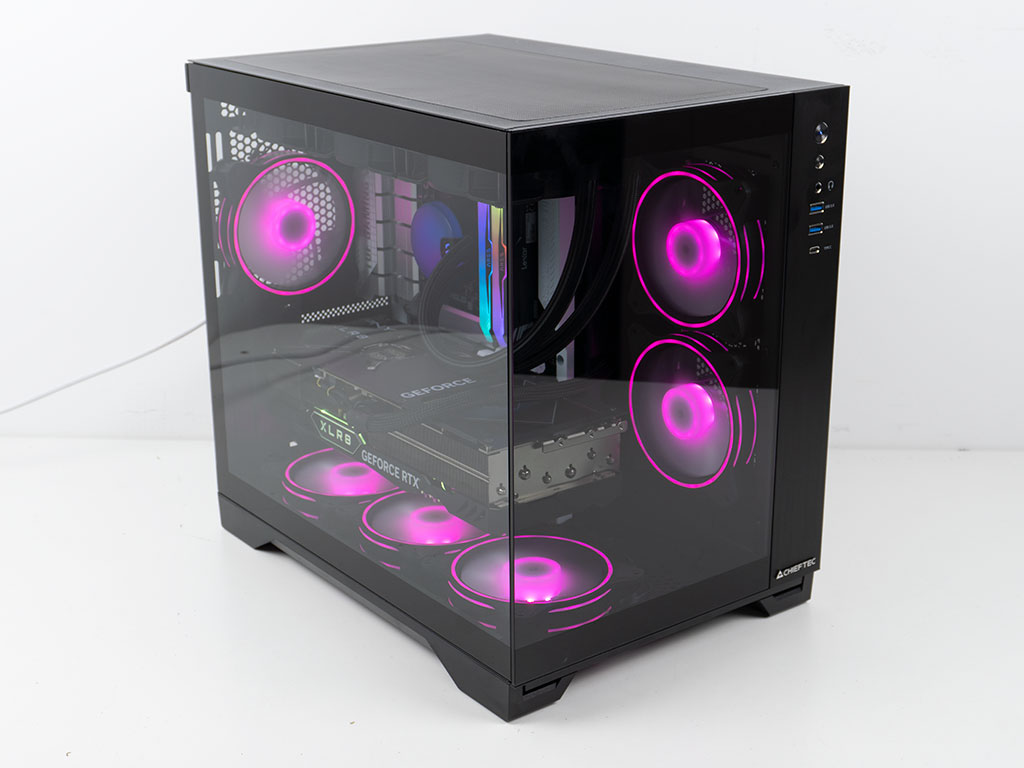
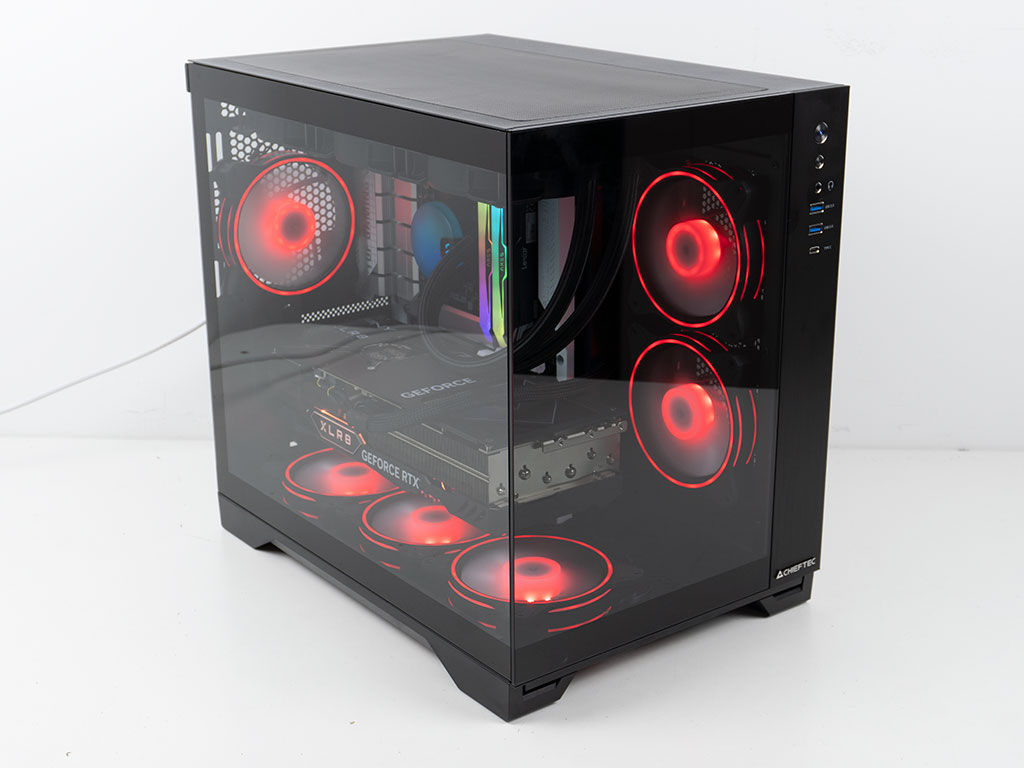
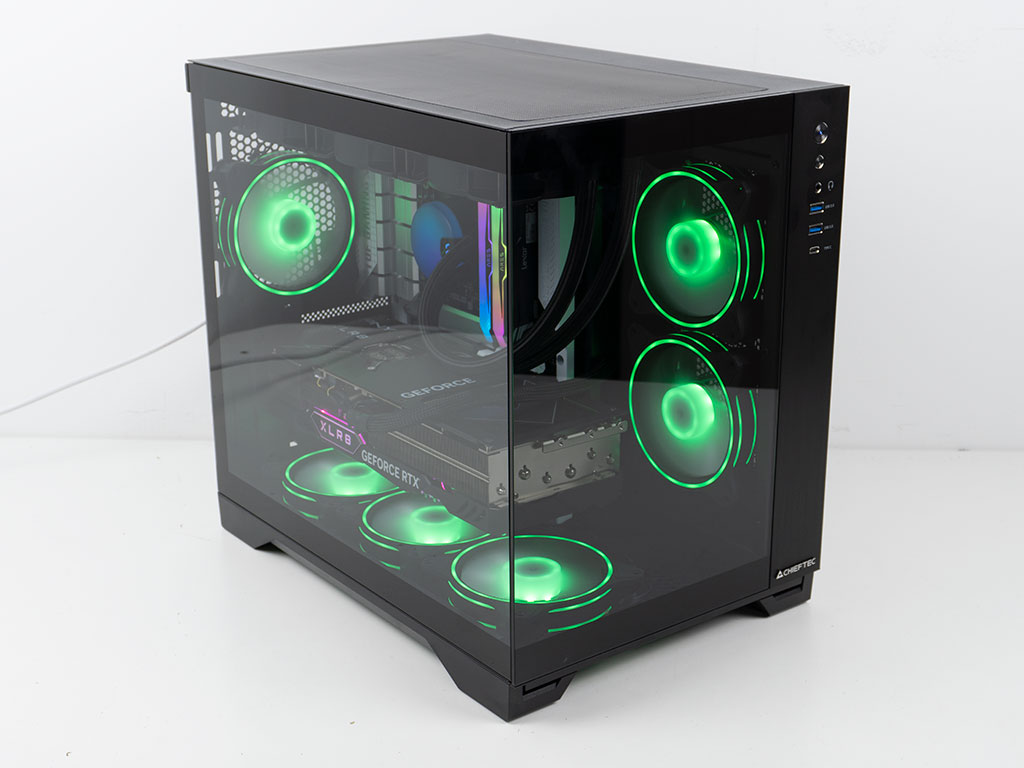
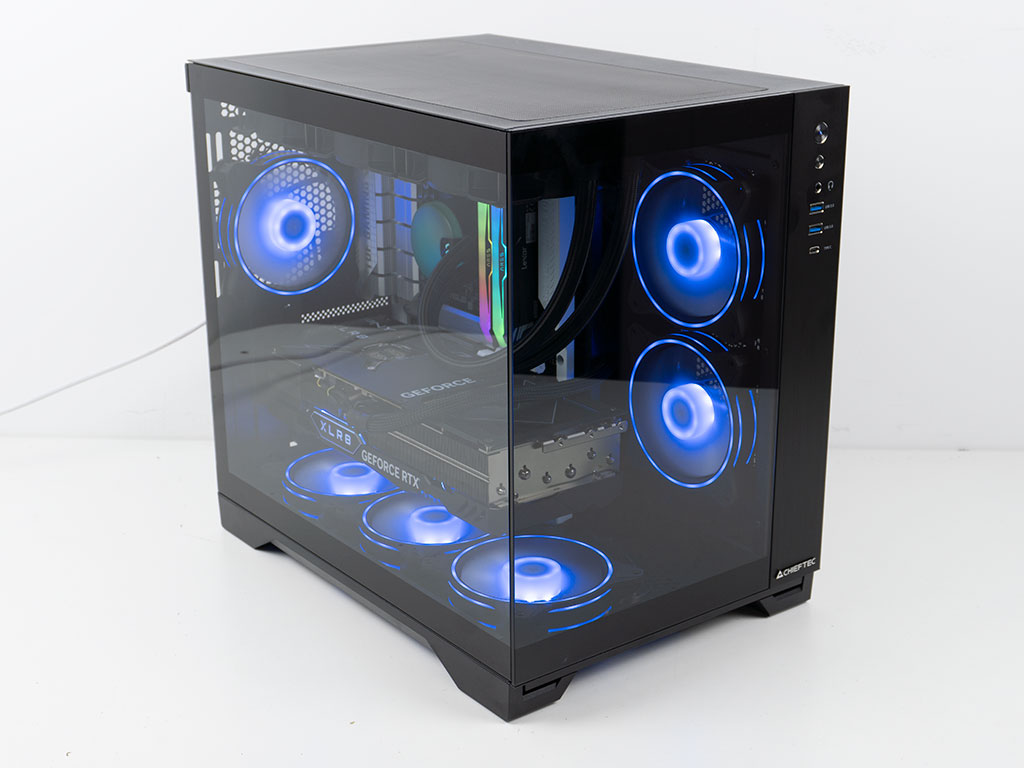
Turning the system on, all the ARGB elements of the fans light up, with the ones in the frames being a nice extra. You can see the individual ARGB elements a bit, as the diffusion isn't great, but that is not a big issue. Looking at the system like this, you could be forgiven to forget about the cable craziness that hides within. A small blue power LED will also let you know that the system is on.
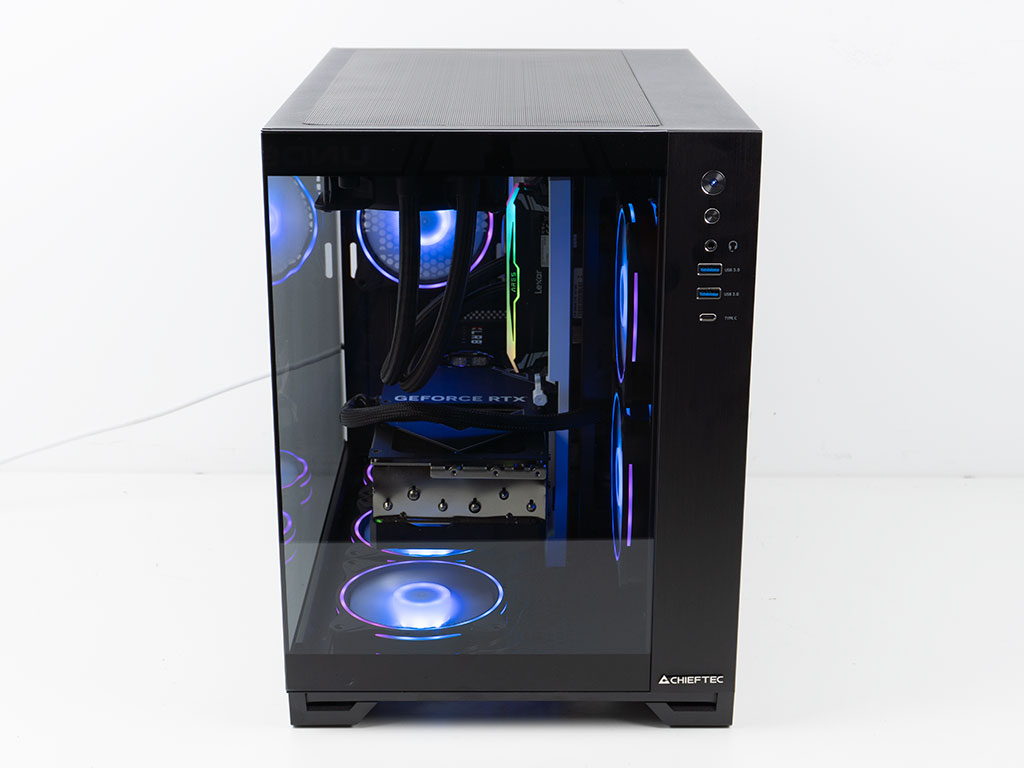
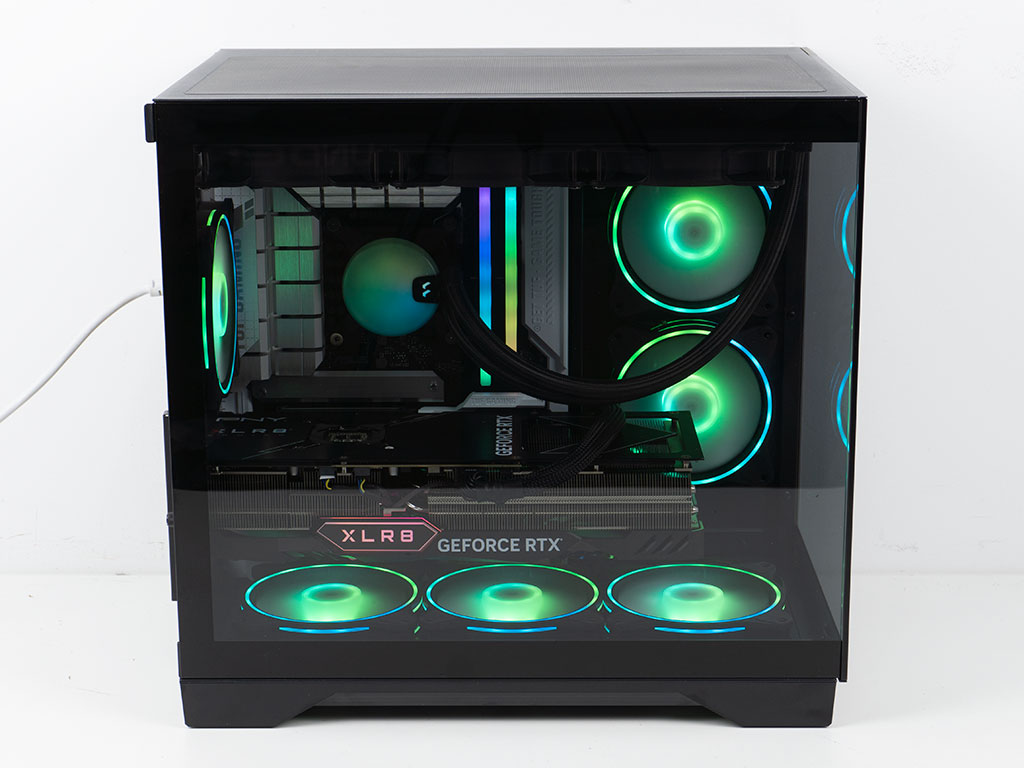
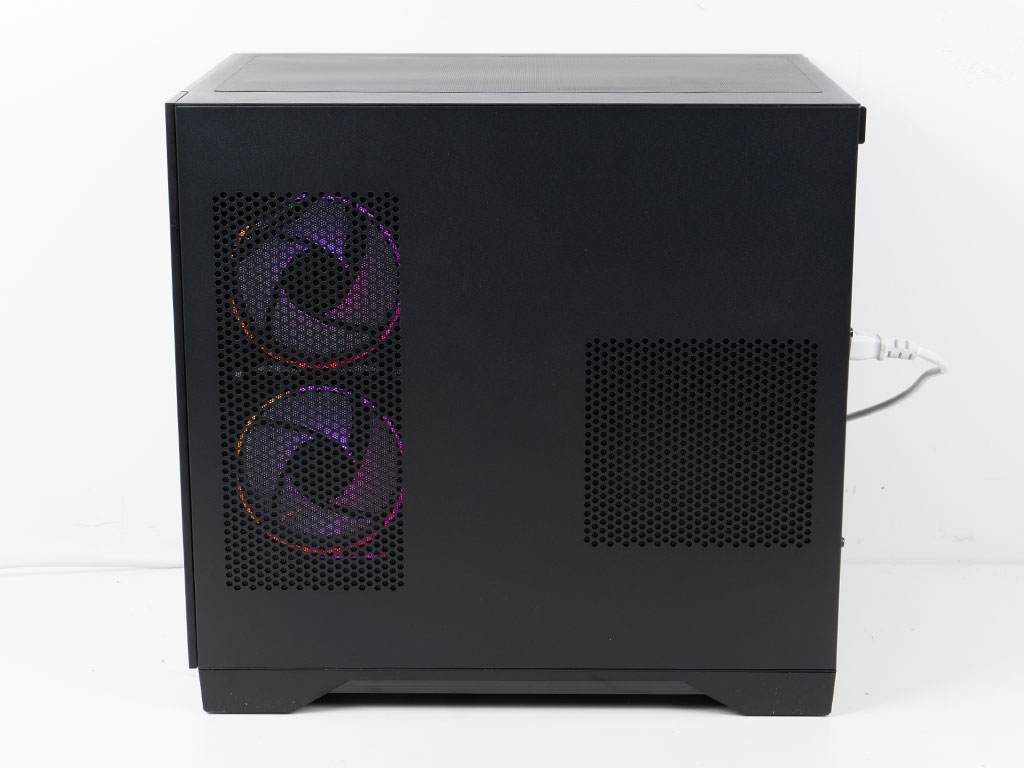
Looking at the front, you will be able to see into the backside of the motherboard tray, because there are no grommets on the openings, so those with ATX boards will also see wiring coming out of here more so than with a BTF board. Otherwise, the clear glass on the front and side allow you to feast your eyes on all your hardware in the glow of the fans, which is pretty nice. In the rear, Everything is where you would expect to see it, with the glow of the rear and floor fans shining through. You can also see the white sticker of the 3.5" drive through the vent in the top left corner of the chassis.
Thanks to the included, separate controller, you can cycle through a huge number of cool ARGB animations - far more than most other implementations we have looked at recently. This is a nice little extra which also results in a well above average 12 different solid colors to pick from, even though some of the blues are hard to distinguish from each other.
Feb 2nd, 2025 18:46 EST
change timezone
Latest GPU Drivers
New Forum Posts
- RTX 5090 ridiculous price! (122)
- remove hum from active subwoofer? (35)
- TECHPOWERUP HWBOT Contest Submissions List (53)
- Interest in Foldathons? (33)
- RTX 5080 - premature review - it sucks (226)
- Wow YouTube is a Hog (13)
- Testing max ram overclock pn Ryzen 1700 (40)
- GameTechBench GPU benchmark is already out! (254)
- Optane performance on AMD vs Intel (32)
- Post your Anvil's Storage score for SSD (52)
Popular Reviews
- NVIDIA GeForce RTX 5080 Founders Edition Review
- Spider-Man 2 Performance Benchmark Review - 35 GPUs Tested
- Galax GeForce RTX 5080 1-Click OC Review
- NVIDIA DLSS 4 Transformer Review - Better Image Quality for Everyone
- MSI GeForce RTX 5080 Vanguard SOC Review
- ASUS GeForce RTX 5080 Astral OC Review
- Gigabyte GeForce RTX 5080 Gaming OC Review
- MSI GeForce RTX 5080 Suprim SOC Review
- ASUS GeForce RTX 5090 Astral OC Review - Astronomical Premium
- NVIDIA GeForce RTX 5090 Founders Edition Review - The New Flagship
Controversial News Posts
- NVIDIA 2025 International CES Keynote: Liveblog (470)
- AMD Debuts Radeon RX 9070 XT and RX 9070 Powered by RDNA 4, and FSR 4 (349)
- AMD Radeon 9070 XT Rumored to Outpace RTX 5070 Ti by Almost 15% (255)
- AMD is Taking Time with Radeon RX 9000 to Optimize Software and FSR 4 (251)
- AMD Denies Radeon RX 9070 XT $899 USD Starting Price Point Rumors (239)
- AMD Radeon RX 9070 XT & RX 9070 Custom Models In Stock at European Stores (226)
- NVIDIA GeForce RTX 5090 Features 575 W TDP, RTX 5080 Carries 360 W TDP (217)
- New Leak Reveals NVIDIA RTX 5080 Is Slower Than RTX 4090 (215)